Full Bedroom Reveal and Tour – Farmhouse Master Bedroom
It’s time for our Farmhouse Master Bedroom Reveal!
This room has been in process for 11 long years since we first moved in. For a while I had gone one direction with it, but then three years ago I realized I was ready for a change to a more permanent farmhouse bedroom feel.
During that time, my mood board for the room looked like this:
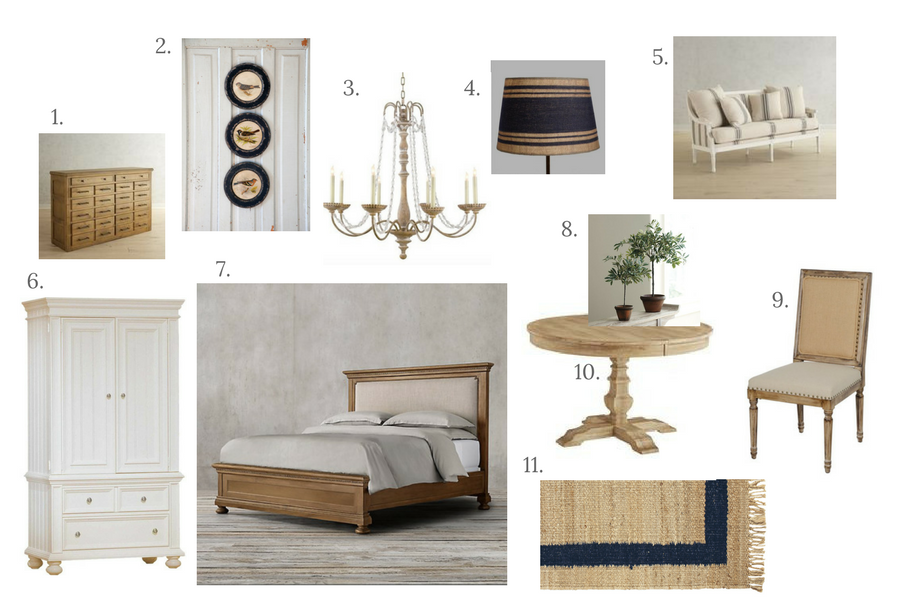
Some things have stayed pretty close to the original inspiration, but as with any design, some things also evolved over the years!
At the beginning of this year I shared another update, and it’s fun to see how much has changed in even just the past 10 months!
I’m excited to say that it’s finished now, though! My husband and I both love it, and I don’t foresee any big changes for years to come!
Be sure to scroll to the end for the full Source List!
There have been so many smaller projects rolled into this bigger reveal, so if you’re curious about any of the individual pieces, make sure you check out the linked blog posts below for tutorials and more detailed information!
*This post contains affiliate links to products I know &/or love.
Let’s get Started on our farmhouse master bedroom tour:
| The Armoire |
One of the first things you see when you walk in the room is my husband’s upcycled armoire.
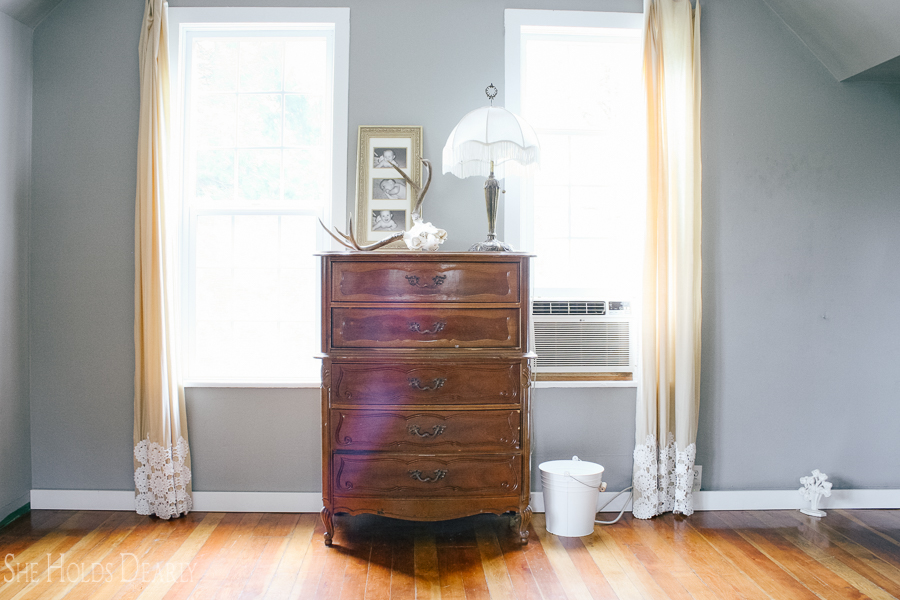
Here’s the before:
And the after:
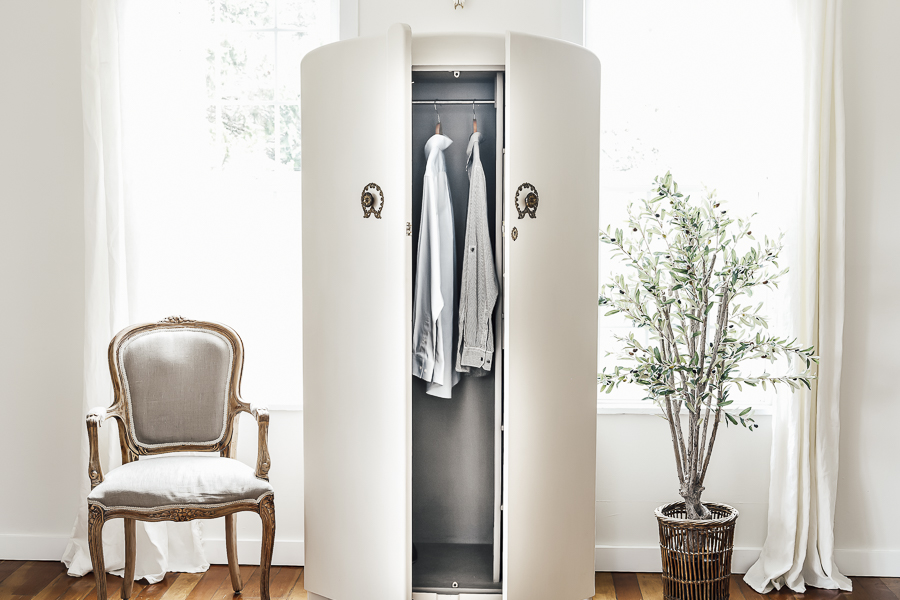
He uses this in place of a dresser for his clothes.
We got it for free from my husband’s grandma and painted it in two different colors of chalk paint to match our room. I love that the darker grey pops only after you’ve opened the doors.
The french chair pictured next to the armoire is used for for my office chair, and has a history all of it’s own. I found it at a garage sale for $15!
A little bit of work to refinish the wood and reupholster the seat and chair back, and viola! This cute workhorse of a chair that has been a favorite of mine for the past years.
The Olive topiary to the right of the armoire was another fun thrift store find – and if you’re wanting something similar for your own home, you can make a DIY Olive topiary really easily!
| My Office Area |
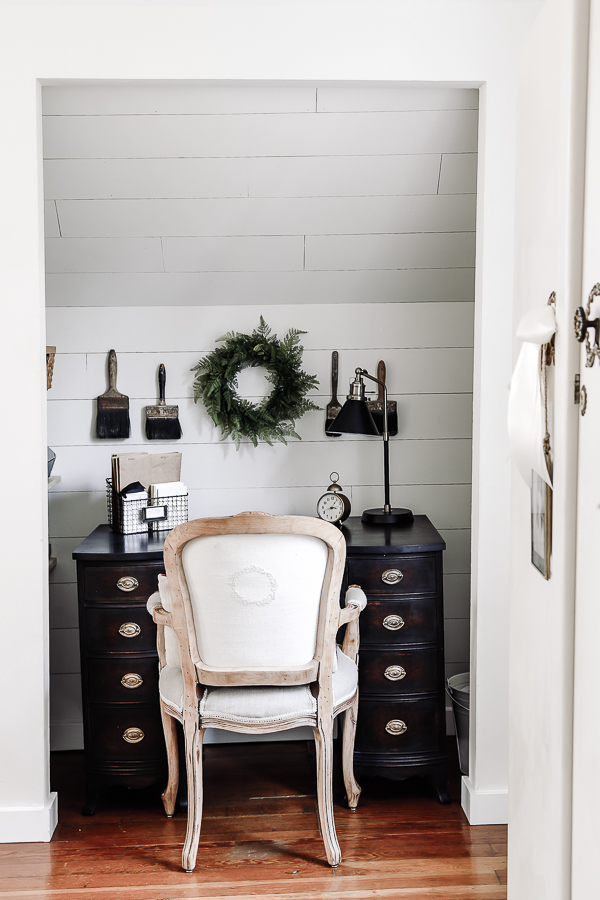
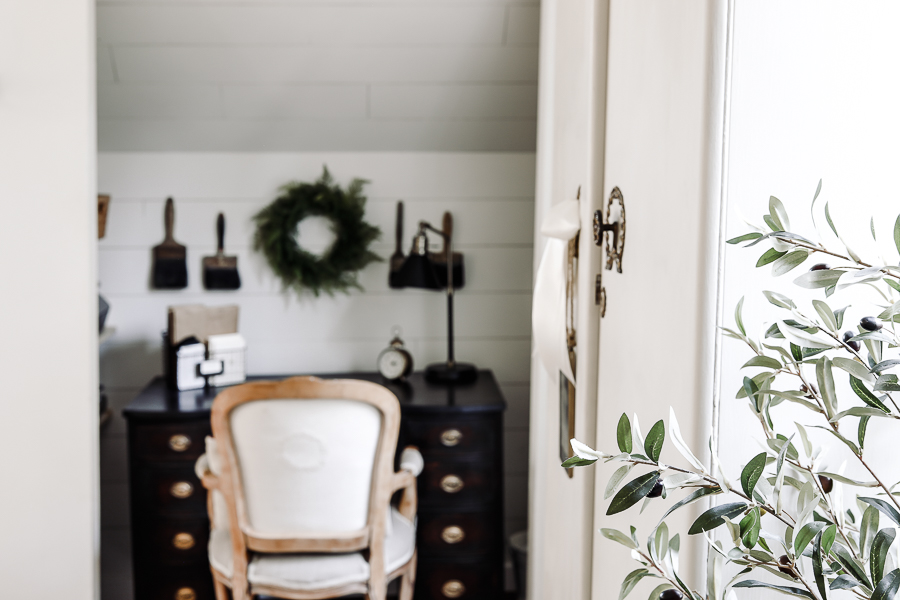
Moving along to the next corner of the room, you’ll find my closet office! We used one of the three closets in our room to convert to office space since I have been doing all of my blog work from home for the past few years.
Here’s how it looked before:
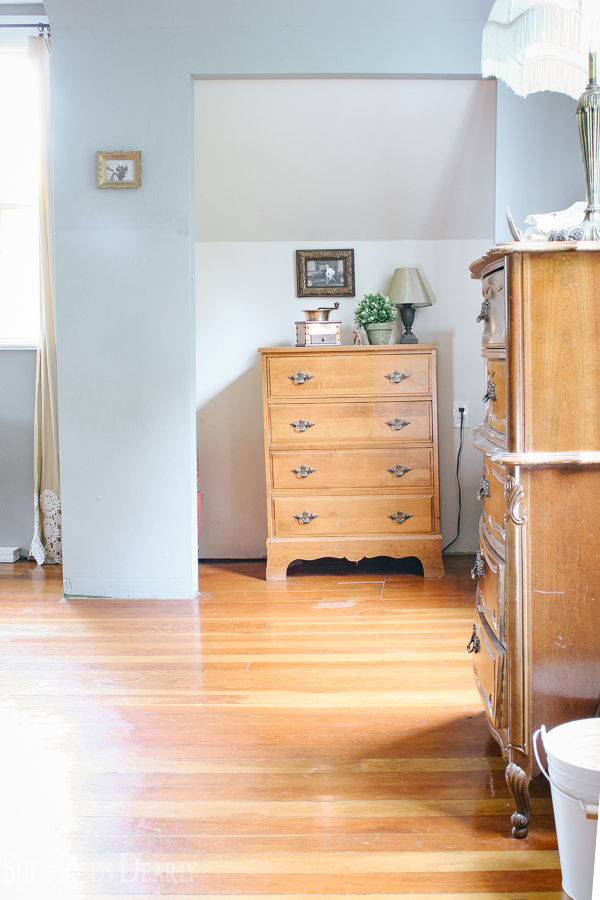
I was really glad to get my office set up in there!
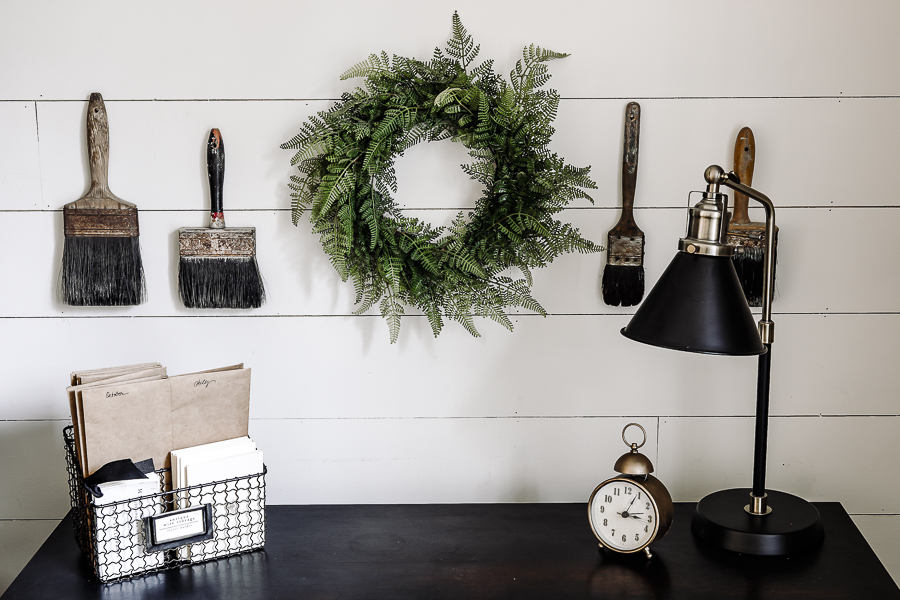
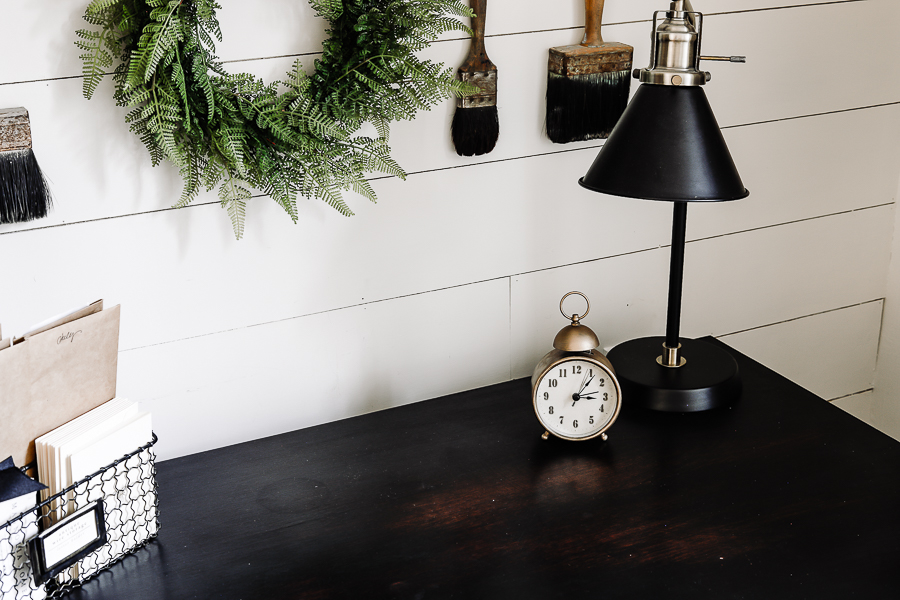
As we started making other changes to the room, I realized that the desk needed a little something to add some extra character. I had heard of color washing furniture before (like in “white washing” brick fireplaces) but hadn’t ever tried it for myself.
Never one to pass up a new DIY skill, I ended up black washing my desk and I’ve been really happy with the dimension it’s added to the piece!
| Our Bed |
Continuing around the room, the next thing you come to is our bed!
Originally we had a big wood and leather sleigh bed that was against the other wall (where my husband’s office is now).
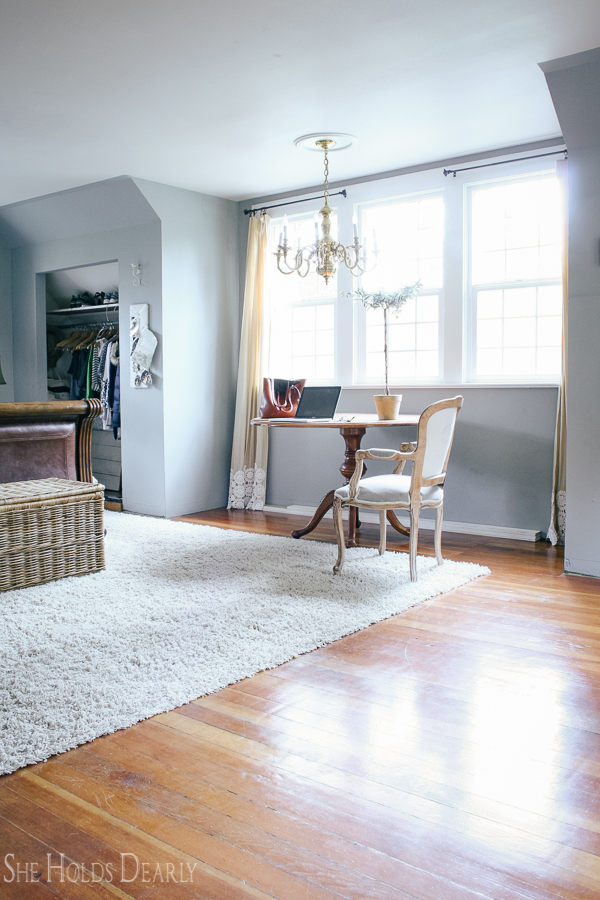
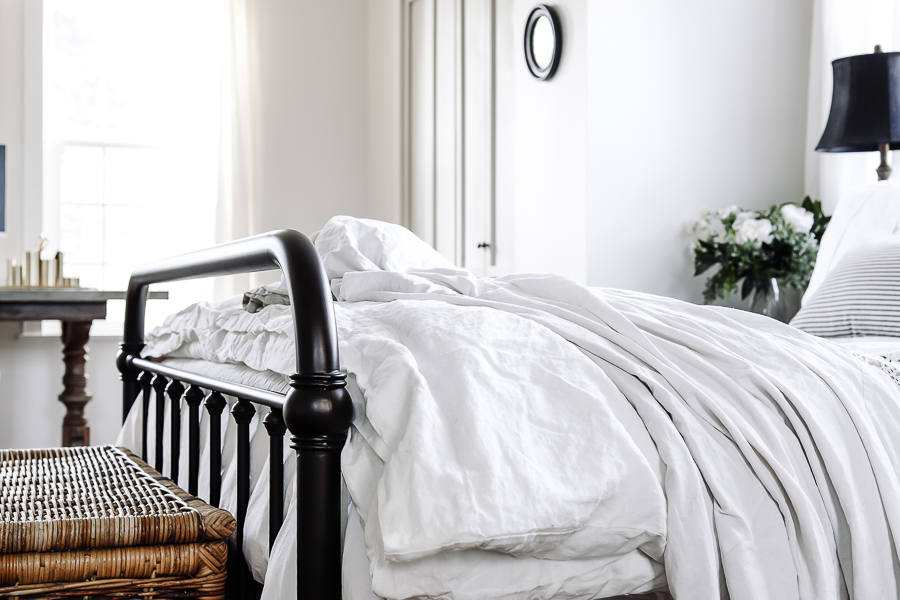
The sleigh bed was originally a really big design decision and purchase, but after years we decided to change to a black wrought iron bed that felt more airy and open.
When it arrived my husband was out of town, so I not only swapped them out, but also moved it to this other wall as a surprise.
We both ended up liking it better there, so that’s where it has stayed!
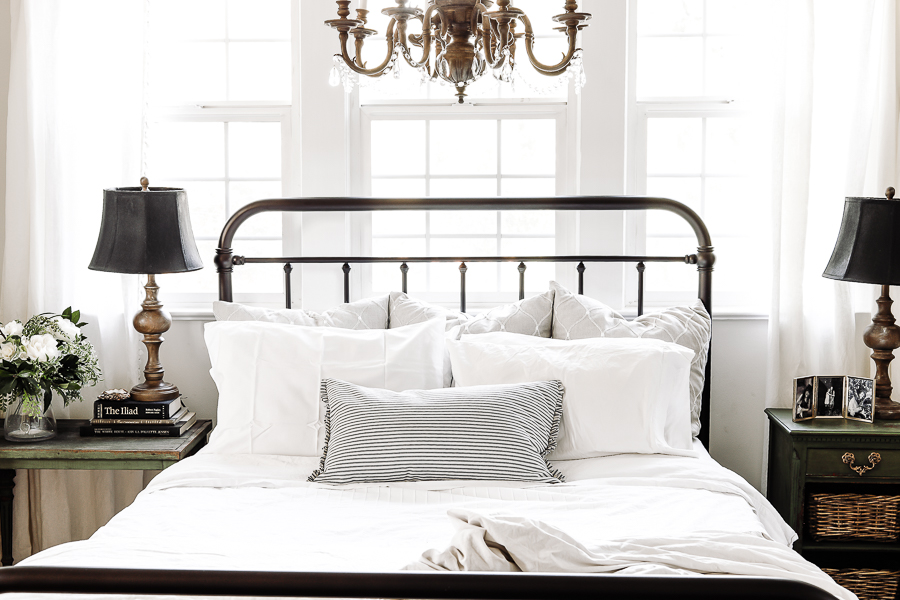
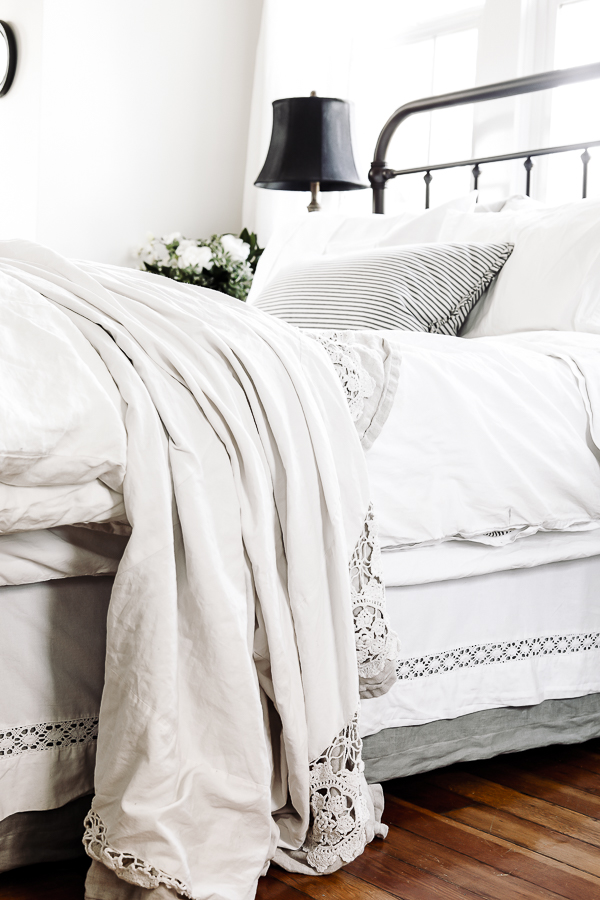
For the bedding:
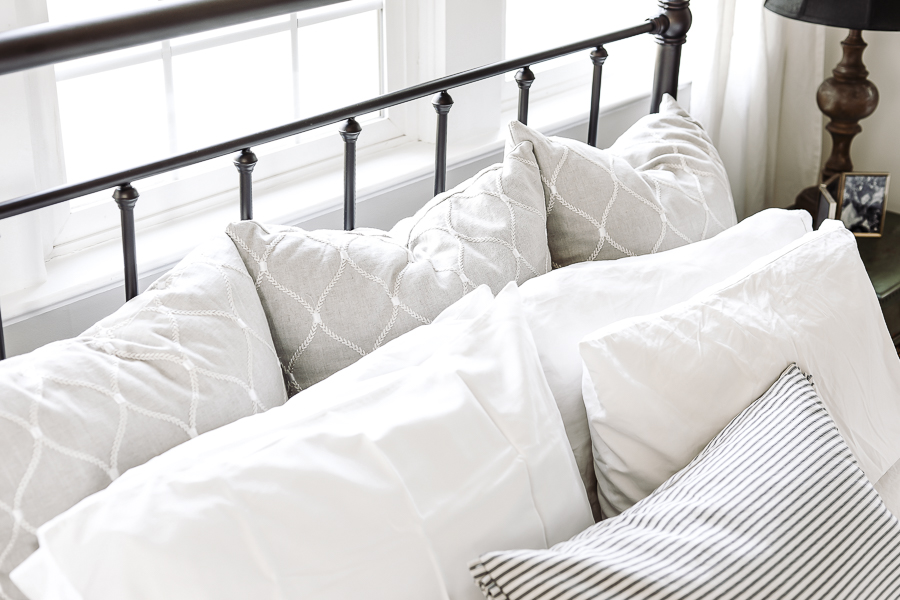
I used this hack to do a double layer dust ruffle , and I love this DIY Crochet and Linen throw blanket for over the top.
I made the covers for our big euro pillows with fabric from Joanns that I just loved (and it’s currently on sale at the time I’m writing this post!), and then made the DIY ticking lumbar pillow for the final touch.
Earlier this year I shared my formula for styling bed pillows that can serve as a handy reference for your specific size bed!
| Our Bed – Continued |
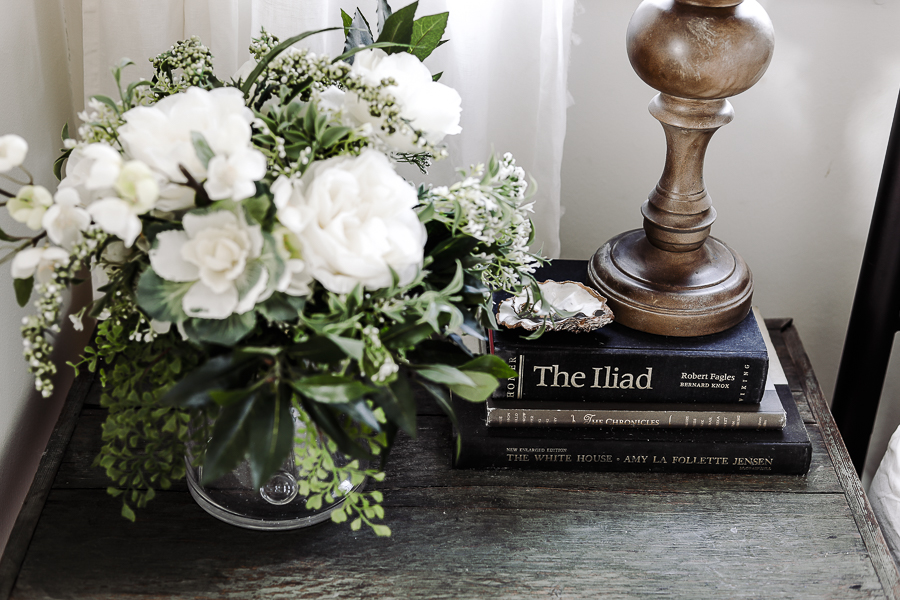
Next to our bed on either side we have mis-matched nightstands, both of which were thrifted finds – though almost a decade apart!
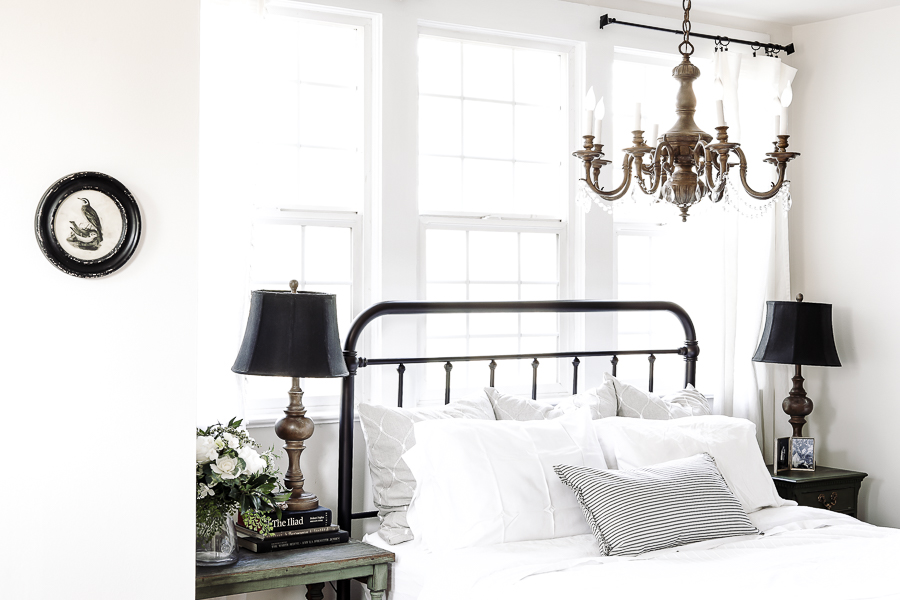
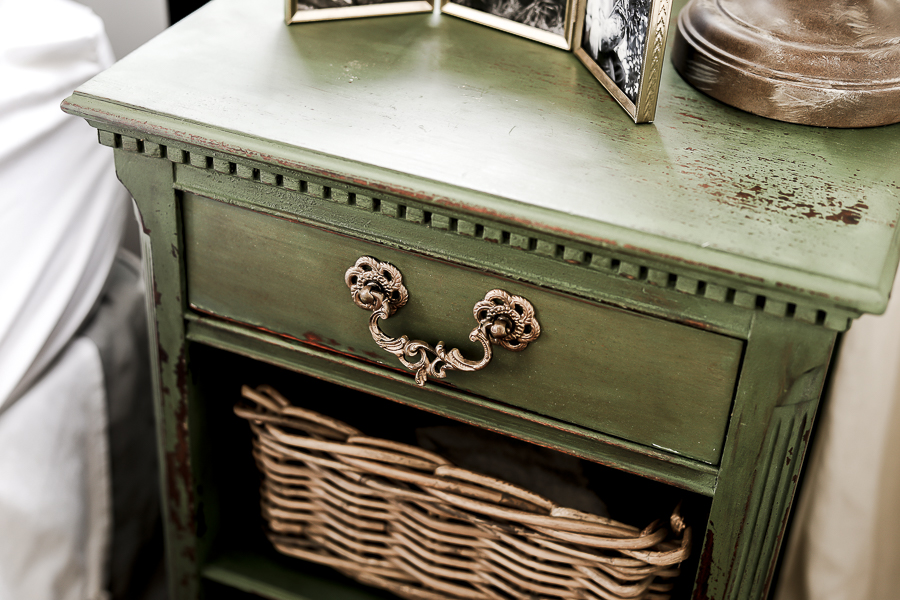
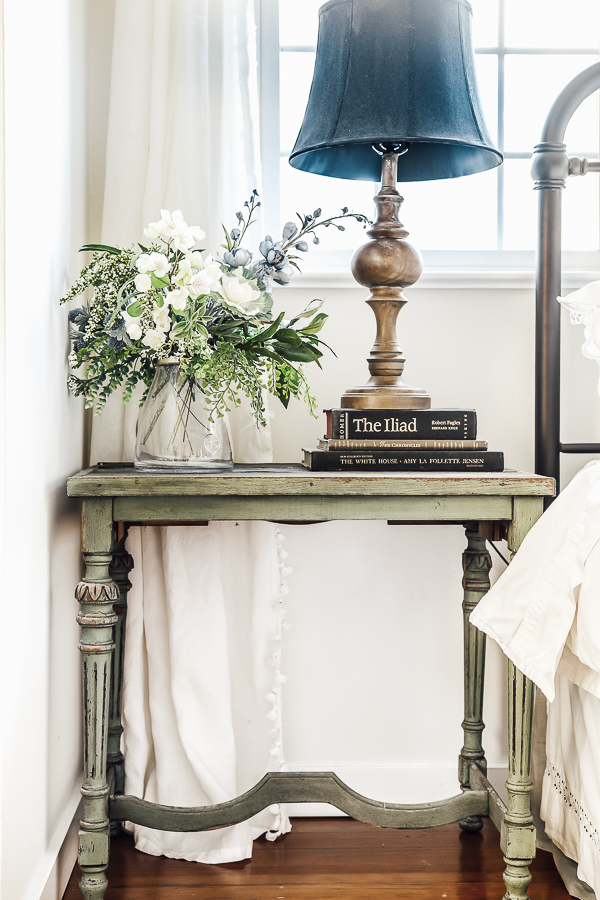
They’re both painted in Boxwood green milk paint by Miss Mustard Seed – my favorite shade of green!
On top we have two thrifted lamps that I painted to look like faux wood, both with black lamp shades that I dyed!
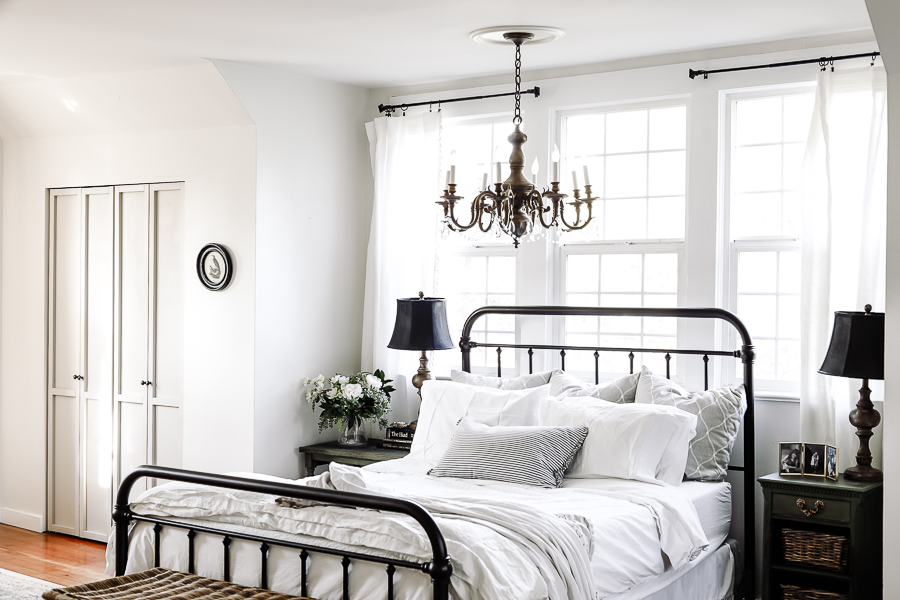
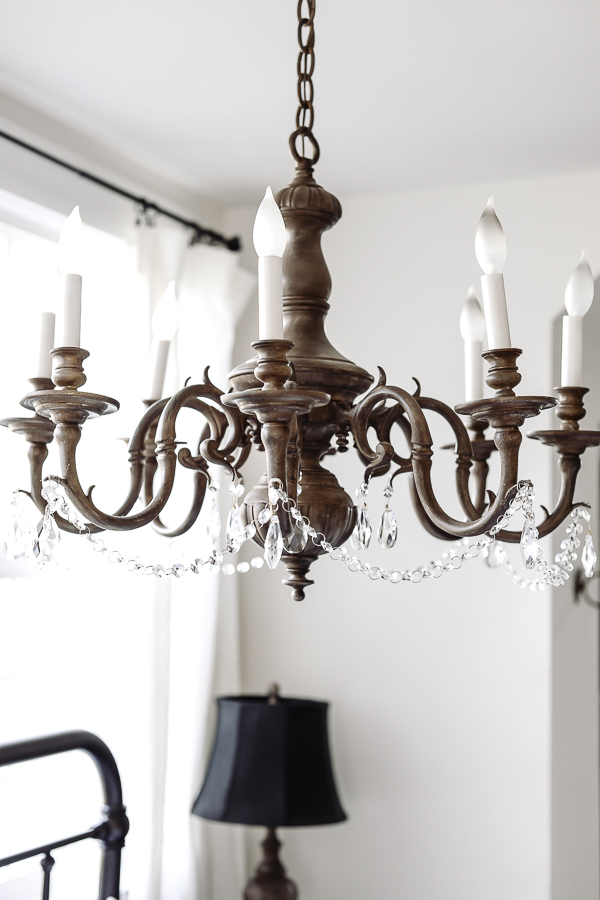
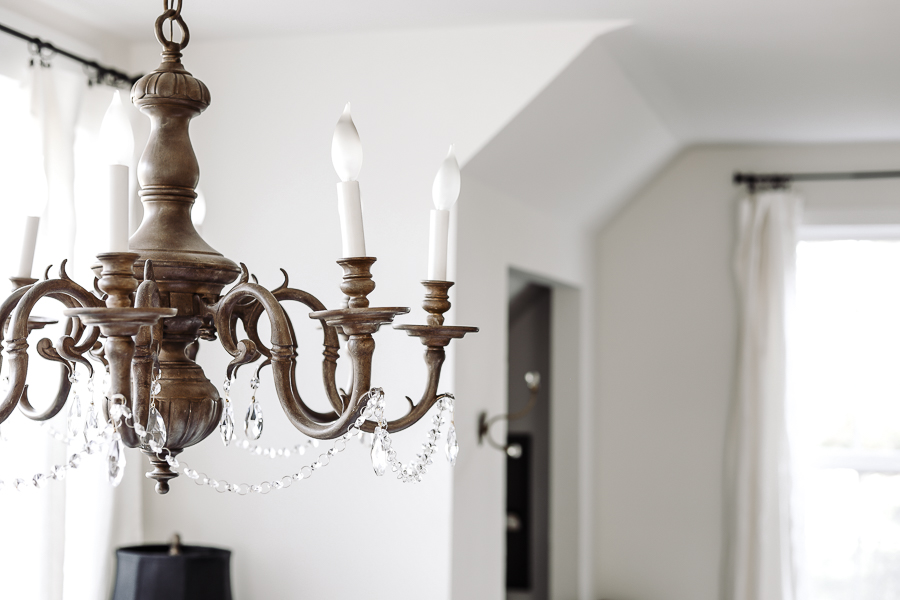
Above our bed is our chandelier that I just recently made over! It was previously a really 80’s looking brass – not at all the hammered brass that is coming around to be on-trend again. But straight 1980s bright smooth brass.
I painted the brass to look like faux raw wood, and used my hot glue gun to add crystals for a feminine touch. ( I like to think that no one would ever know they were hot glued on there except that I keep telling people on the blog!)
| Our Closets |
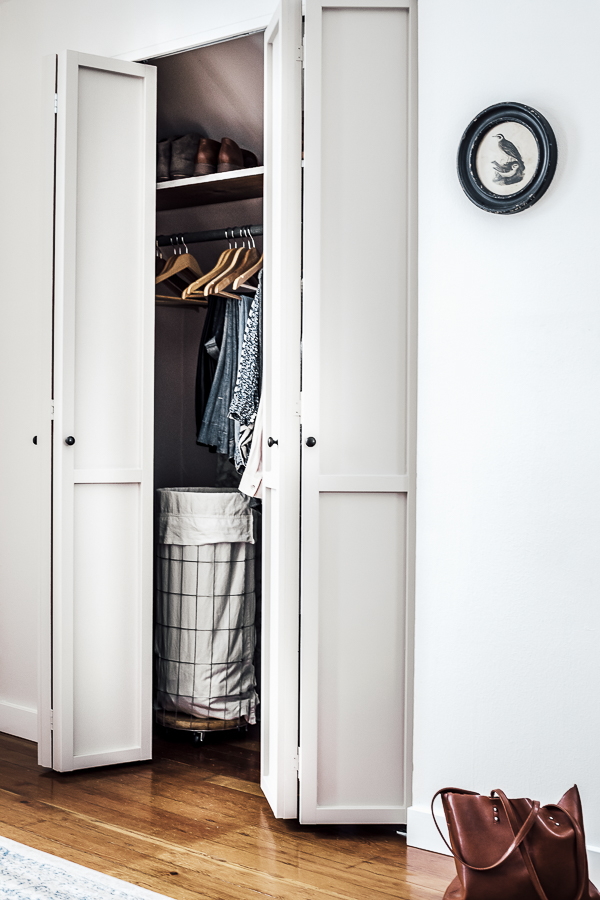
The next area in our farmhouse bedroom includes our remaining two closets that we use for our his and hers clothes storage. Originally they were without doors, and I really didn’t like that they couldn’t be closed away!
We found some bi-fold closet doors on craiglist and added the shaker style trim to give them some extra charm.
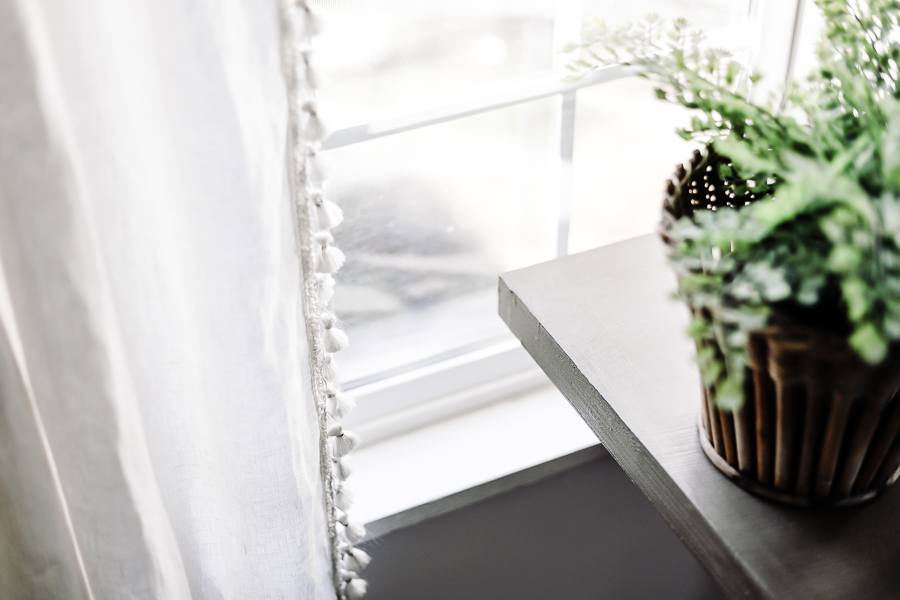
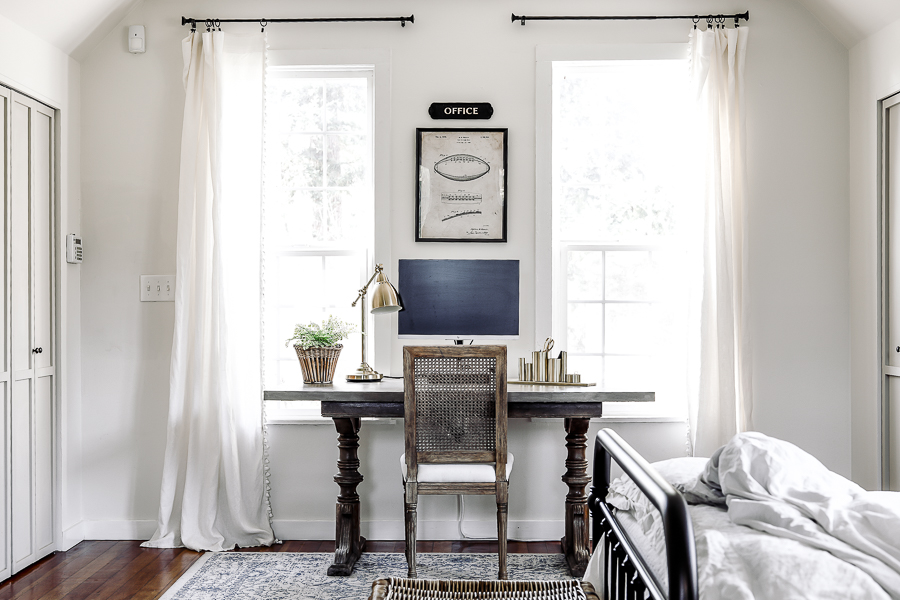
Between the Closets we have two windows that have beautiful IKEA curtains on them. I’ve loved these curtains for quite some time, but they originally had a yellow undertone to them, and I wanted them pure white for our room. It took some trial and error – but I figured out what product to use, added a cute tassel trim and they’ve looked great ever since!
| Office Area Number Two |
My husband only began working from home this year, but we pretty quickly realized that he was going to need his own set space to work.
Enter our recent farmhouse home office!
This faux concrete table top desk was quite literally saved from the fire-pit and boy am I glad I took a chance on this technique! Both my husband and I are pleased with how it turned out!
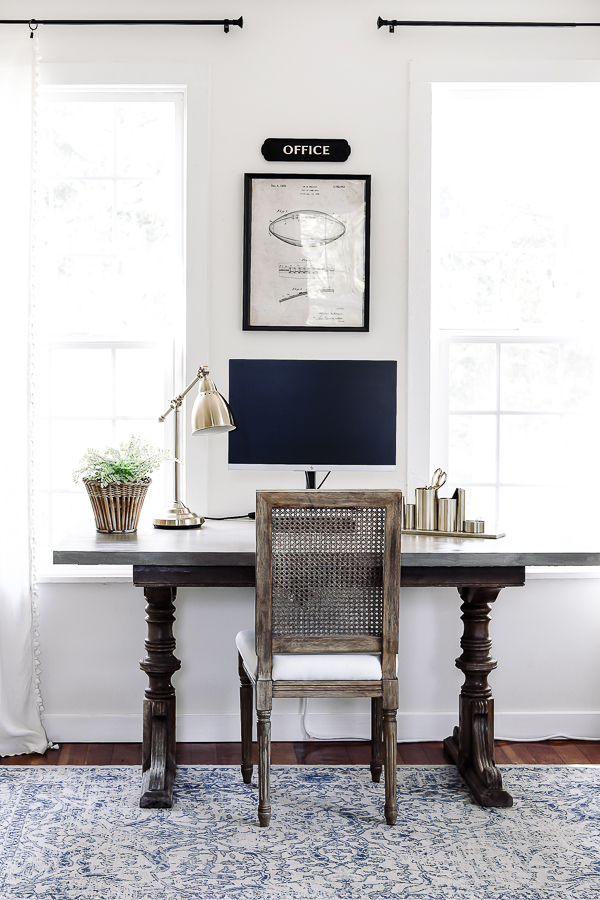
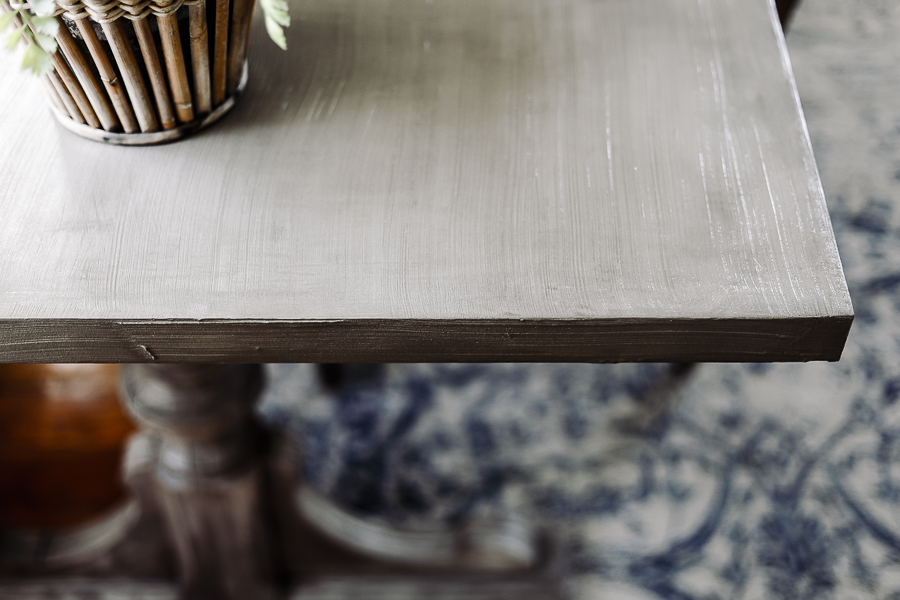
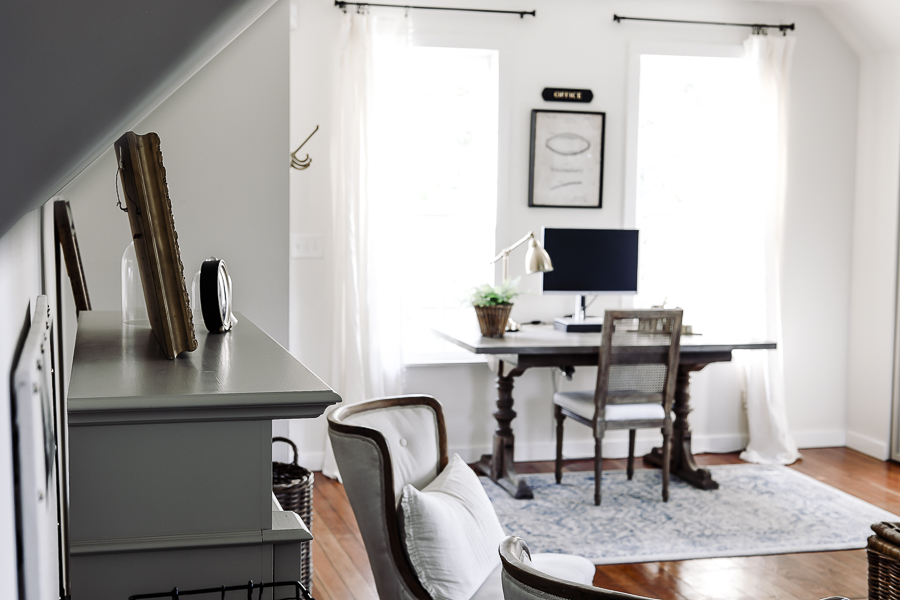
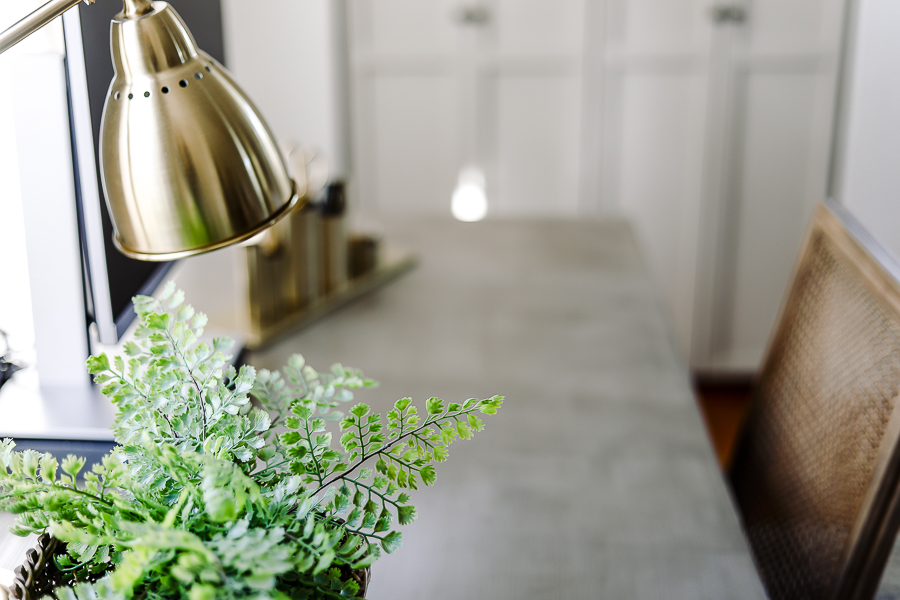
In general, actually, I was really happy with how this office came out – even with a quick turn around! And I always love it when your design board and your final product look nearly identical..
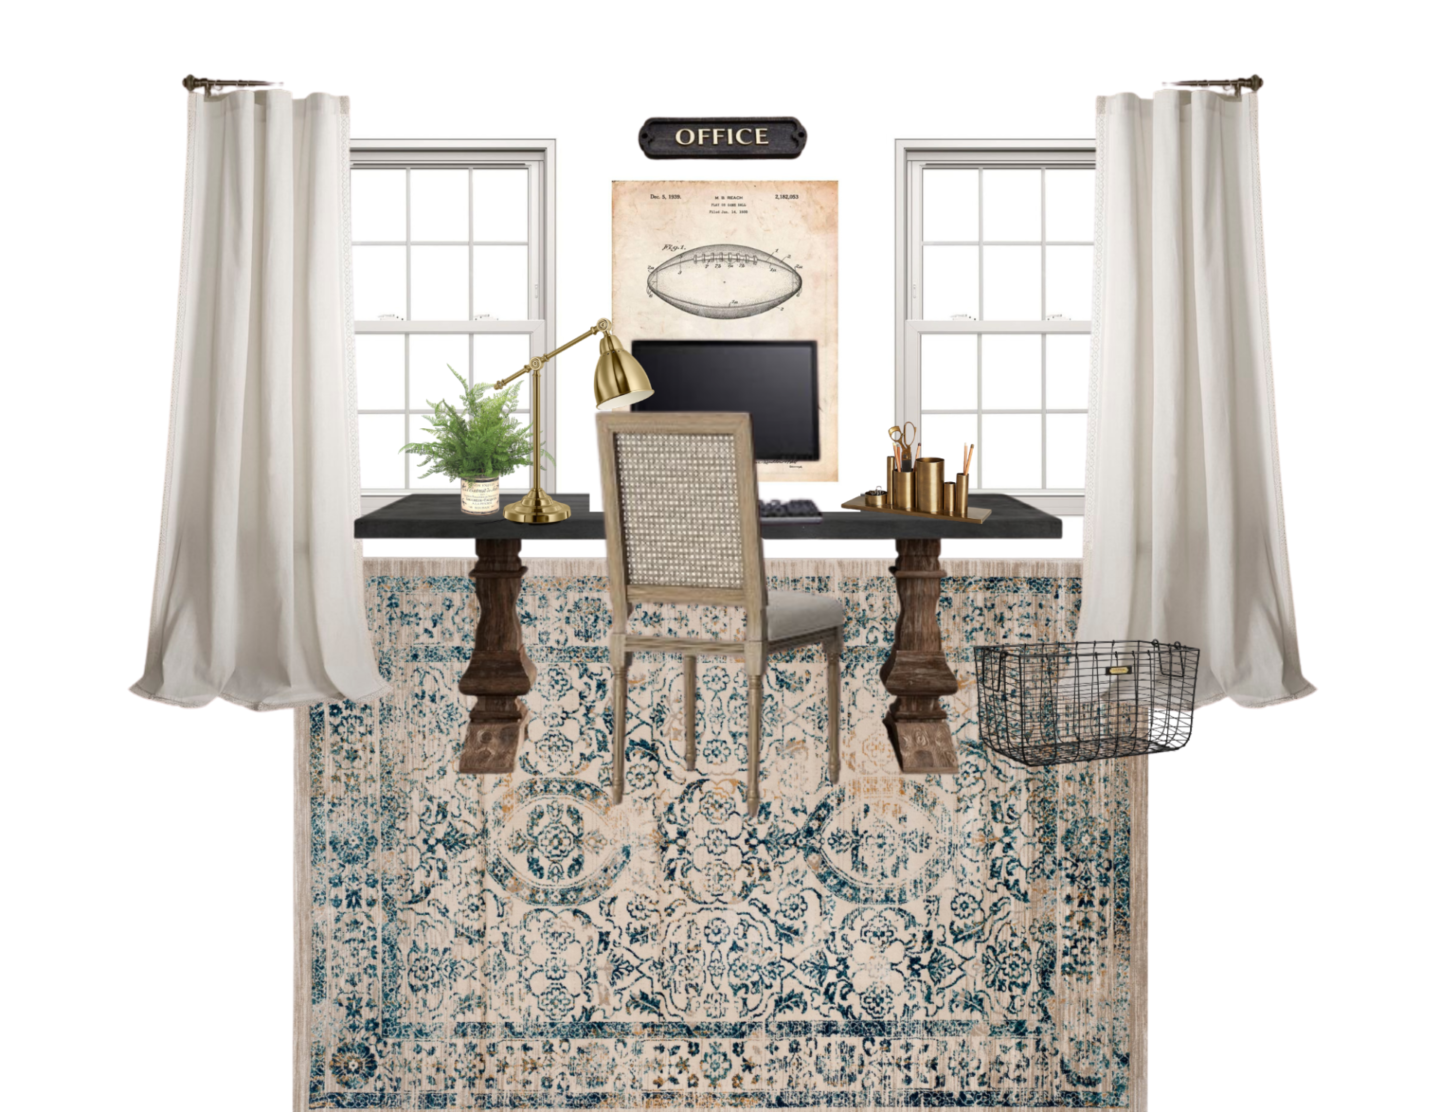
If you’ve ever wondered how to put mood boards together yourself, you can enter your email address below for the tutorial video!
Rounding the final corner in our farmhouse master bedroom tour you come to:
| Our Full Length Mirror |
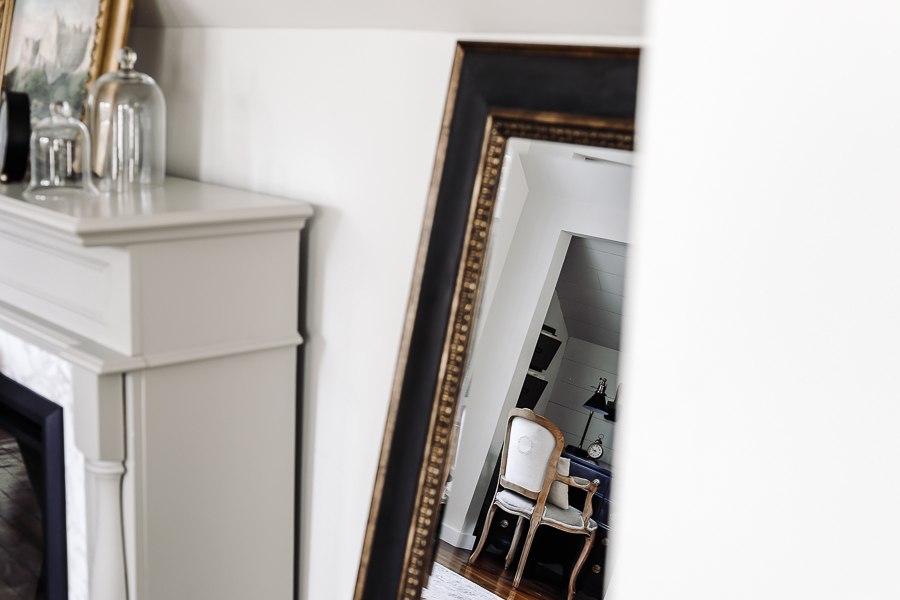
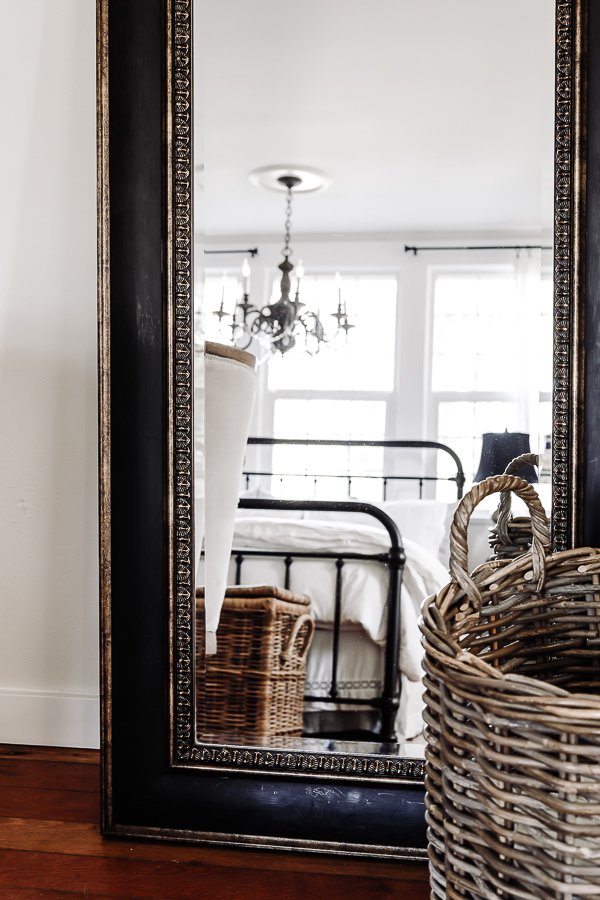
This mirror was actually a Costco purchase from YEARS ago that simply needed a little help to bring it to my farmhouse bedroom feel as opposed to the sort of Tuscany feel it had originally.
After a bit of decision making I found a solution I loved, and I think it works really well in our room!
| Our Fireplace |
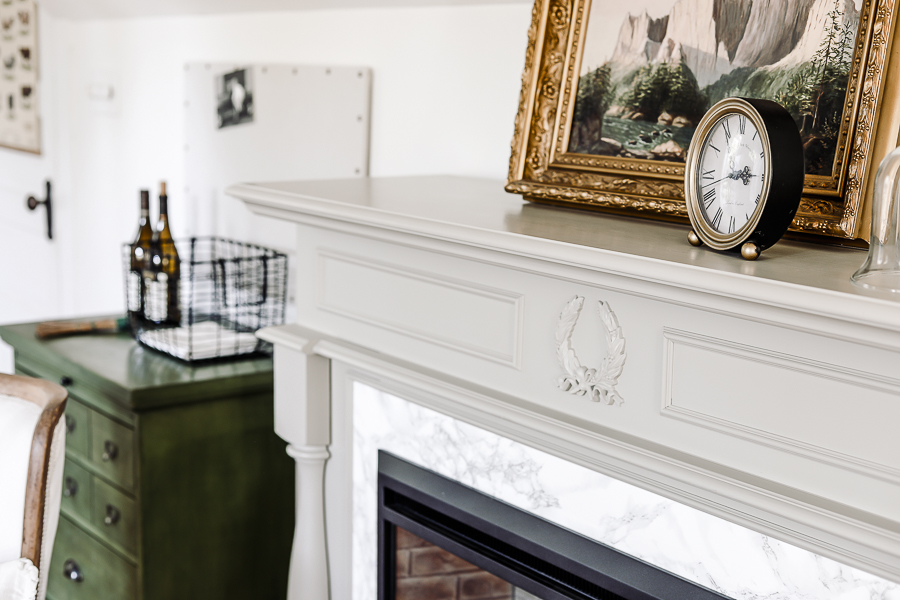
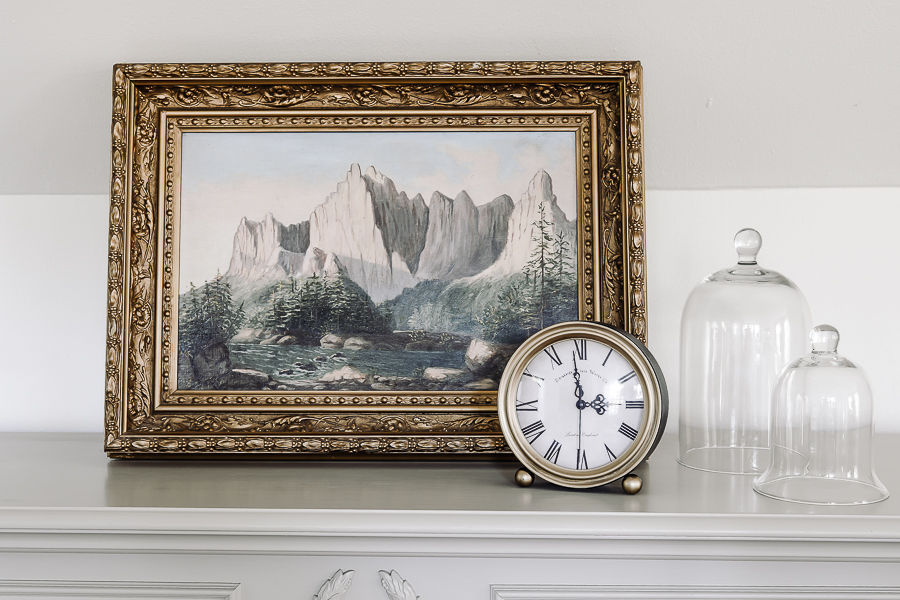
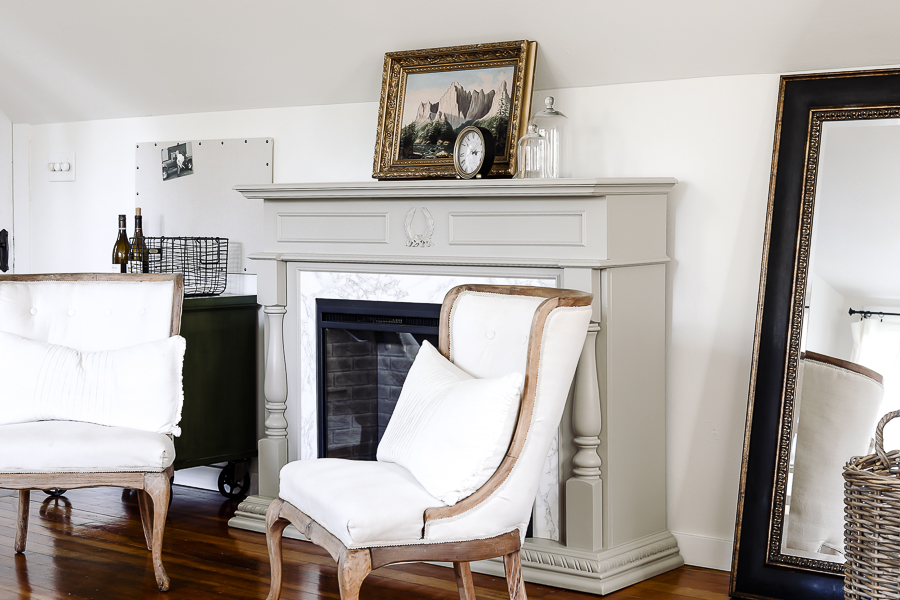
As sometimes happens in design, the direction I wanted to take this fireplace of ours took some time and tweaking! You can follow it’s long history with these three posts:
It certainly looks different now than it did when we first got it!
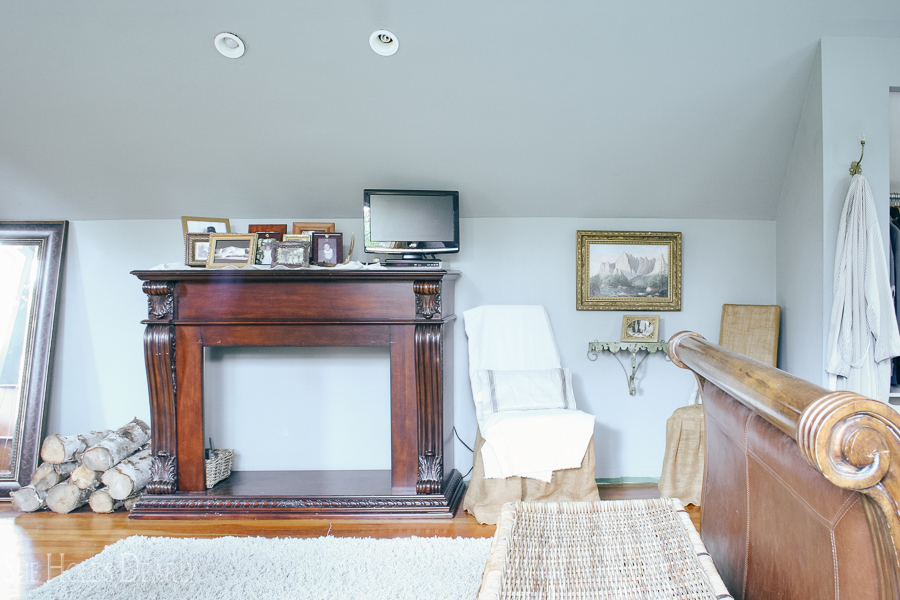
But the end result is a stunning fireplace and mantle that we love the look and function of!
In front of the fireplace we have our two vintage tufted slipper chairs which were also garage sale makeovers.
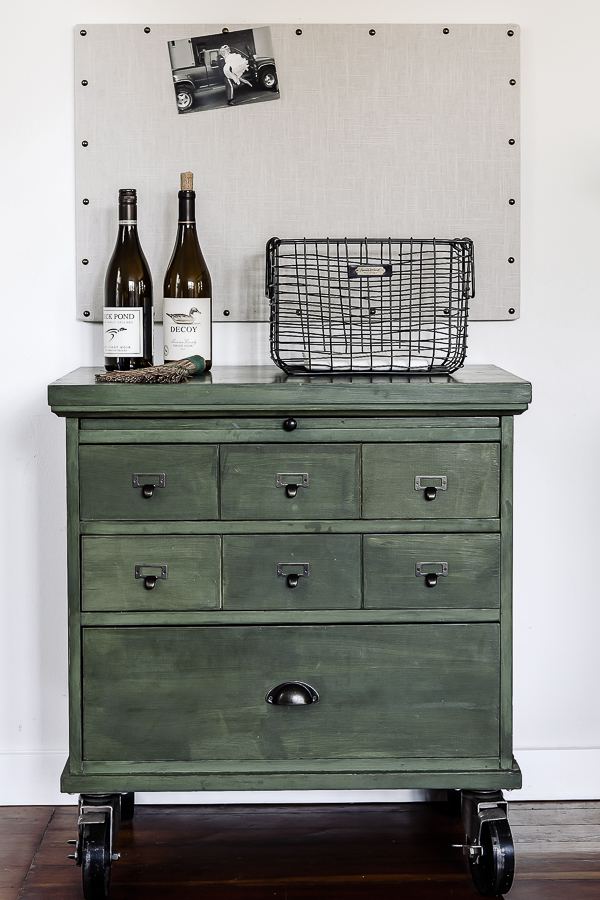
The last, but not least corner of the room is back around just to the left of our doorway, and it currently holds my fun green DIY faux card catalog – which is also painted in Boxwood green (remember how I said it was my favorite shade of green).
Above the card catalog I hung my recently hacked Ballard Designs linen bulletin board. I had originally intended on giving this bulletin board to my daughter – but it was just too cute! Good thing they were really easy to make!
Shop This Look!
[show_shopthepost_widget id=”4238543″]
And that’s a wrap!
It’s really nice to be able to feel like this room is really and truly done for the next long while!
Aside from giving it a little Christmas look in the coming weeks, there’s nothing else that needs to be done here except to relax and enjoy all the projects we’ve already completed.
I think I’ll shift my focus next to our kitchen, laundry room and exterior porches!
Final Thoughts on our Farmhouse Bedroom:
And also, I think it bears saying – this room was in progress for a LONG time. Sometimes that infuriates me as I wait and just want it to be done. But I have to remind myself that it’s normal for some projects to take longer, and it’s OK to have revisions and minds that change in the middle.
It’s also I think safe to say that our room wouldn’t feel like the room it does now if we had rushed through it quickly.
There’s something to be said about doing custom and DIY work – it brings about these touches and bits of character, and history that would be completely missed by buying things outright and shoving them into a space.
For me, the stories come together to create a room that feels almost like a piece of art that I’ve been working on for months (ok, years!) – and it’s so very worth it!
I hope you’re finding success in your recent projects and getting a chance to sit back and enjoy them as well!
Full Source List
- Iron Bed
- Miss Mustard Seed Milk Paint in Boxwood
- Hob Nail Bulletin Board
- Card Catalog
- Tufted Slipper Chair
- Office Sign
- Football Patent Office Print
- Fern
- Gold Office Set
- Caned Chair
- Wire Basket
- Black Storage Box
- Concrete Table
- Gold Barometer IKEA lamp
- Blue Distressed Rug
- Wicker Trunk
- Gray Floor Pillow
- Vintage Paint Brushes
- Wood Chandelier
- Ticking Pillow
- Nightstand- without storage
- Nightstand- with storage
Pin this for Later:
Until next time,