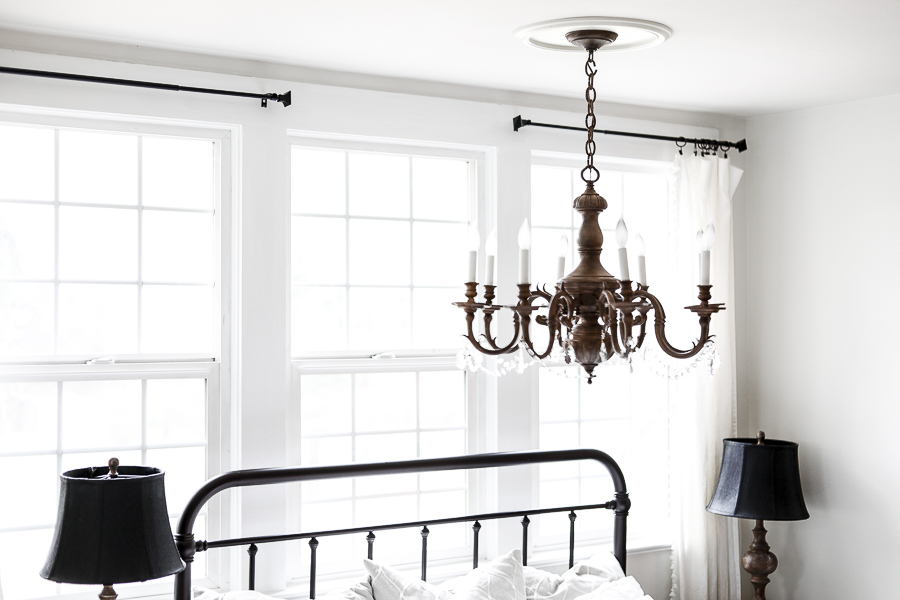
Brass to Faux Raw Wood Chandelier Makeover
We have a new faux raw wood finish on our master bedroom chandelier, and I can’t wait to share the process with you!
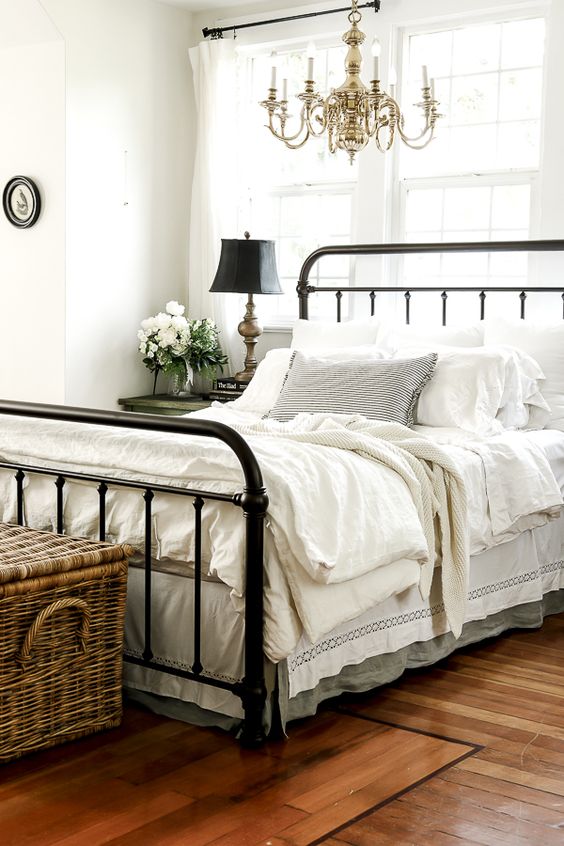
We got this heavy brass chandelier 11 years ago when we first bought our 1906 farmhouse.
My husband was actually the one who picked it out, and he’s always loved it, and for a while, I did as well! But once the rest of our bedroom started getting updated, I knew this light would probably require a little love of it’s own.
It was a harder sell for my husband, but he recently agreed that I could change it up. Yay!
I’ve been moving toward a raw wood look in our home, and have known for a while that this was the technique I wanted to try.
I did this same technique on our two nightstand lamps, but didn’t make an official blog tutorial that time, so here we are!
I’ve done about 10 versions of this process, and this one I’ll tell you about now is hands down my favorite!
It’s not overwhelmingly difficult, but there are some techniques you’ll want to pay attention to if you’re aiming for the faux wood look when finished!
This process also can work on just about anything!
Metal, like I’m showing you today is actually one of the harder surfaces to do this process on, so I thought that showing you the tutorial for the harder option would make it even easier for you to tackle an easier option on your own later!
*This post contains affiliate links to products I know &/or love.
Creating a Faux Raw Wood Look:
Supplies You’ll Need:
- Rustoleum Spray Paint- Nutmeg
- Rustoleum Spray Paint- Oil Rubbed Bronze
- White Paint
- Annie Sloan Dark Wax
- Siff Round Brush
- Crystal Garland
- Crystal Tear Drops
- Hot Glue Gun
The Process:
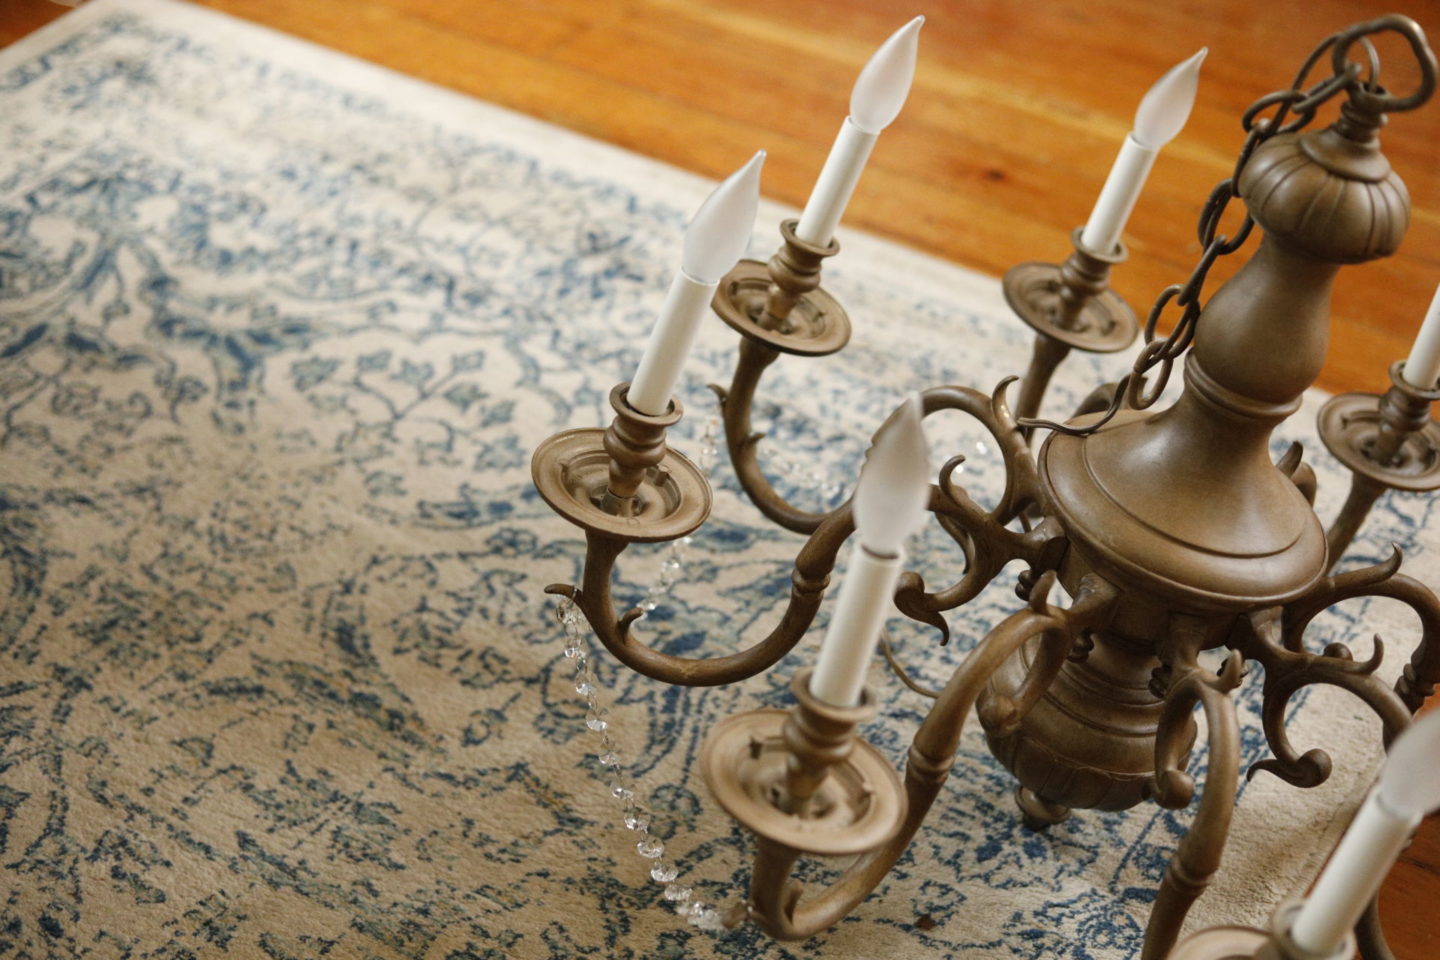
Step Number One | If your chandelier is already hung, turn off the power and carefully take it down.
|If your chandelier hasn’t already been installed, you obviously can skip turning off the power.|
Make sure you take down everything that will need to be painted for a uniform look.
We took down the plate that hides the wires and all the chain links that hold it up so they could all be painted at once.
Step Number Two |Prepare the chandelier for painting
For me, this step just meant giving it a good cleaning wipe down, and then taping off the parts of the lamp that I didn’t want painted.
Step Number Three | Spray the entire chandelier with your base color.
I used Rustoleum 2x spray paint that is a paint and primer combo, and used the color “Nutmeg” in a satin finish.
It took me 2 cans to cover my entire 8-arm chandelier, so plan accordingly! I thought I could do it in only 1 can, and ended up having to run out to the store to finish up. *sigh
Wait about 15 minutes for this first layer to dry.
Step Number Four | Overspray the chandelier with your second color.
I again used Rustoleum 2x spray paint, this time in “Oil Rubbed Bronze“.
It’s important to make sure this is a REALLY light coat – not even a full coat.
You want to use an overspray technique to create a kind of sprinkled look.
This will help add the texture that makes the faux raw wood look more realistic.
To overspray: Start your stream of paint OFF the item, and then quickly sweep across. You don’t want the actual stream of paint hitting the item anywhere, but instead you want the mist to fall down creating a thin dusty layer with lots of speckles.
Because you’re doing such a light layer, you’ll want to make sure to spray from multiple angles if you’re doing an intricate piece (like a chandelier) with lots of arms and legs, or nooks and crannies.
Step Number Four | Dry brush on your white paint
This is another really light layer used for adding texture to make what was smooth brass look more like wood grain!
Take any white paint you have handy (I had some basic white chalk paint I used) and pour some onto a paper plate.
I used my new Siff round brush and dipped just the very ends of the bristles into the paint and dabbed off any excess paint with a paper towel.
Then on my chandelier I cross-hatch all over with criss crossing brush strokes.
You keep brushing the white paint on until your brush is completely empty, then start again with a small amount of paint.
Because you’re simply texturing you don’t want to see large glops of white all over, just thin whispy white strokes.
It’s OK if at first you think, “Wait, there’s way too much white”, because it will be evened out in the next step!
Step Number Five | Apply your dark wax
I always like to use a gloved hand and a soft cloth to rub my wax onto my finished pieces.
This will help smooth out any discoloration and make everything look like a smooth finished faux raw wood texture.
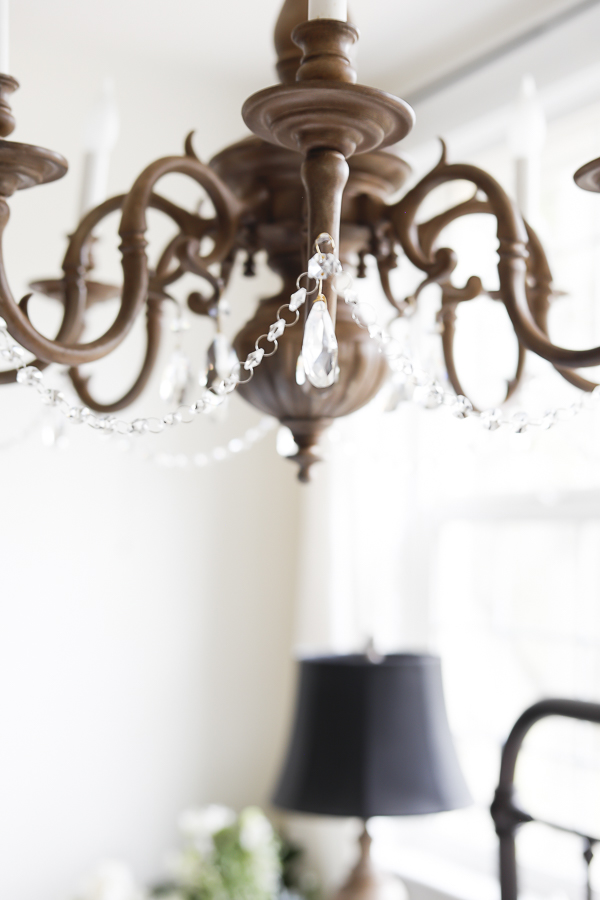
Step Number Six | Add glass crystals
I found these cute tear drop crystals and crystal garland on amazon, and knew I wanted to add them as details to this light.
I acutally just used hot glue to attach them! Does that surprise you?
I’ve found that with decorating, it really pays to splurge on the places and things that are up-close and within reach. Things like curtains, sheets, blankets that will be touched – make those soft and quality and really well made.
Things like pictures hung on the wall, or chandeliers hanging up high just need to LOOK really nice.
It’s ok if the cheaper or faux version is much less expensive, or maybe even a little lesser quality, because no one will be inspecting them up close and wondering about your hot-glue-gun usage.
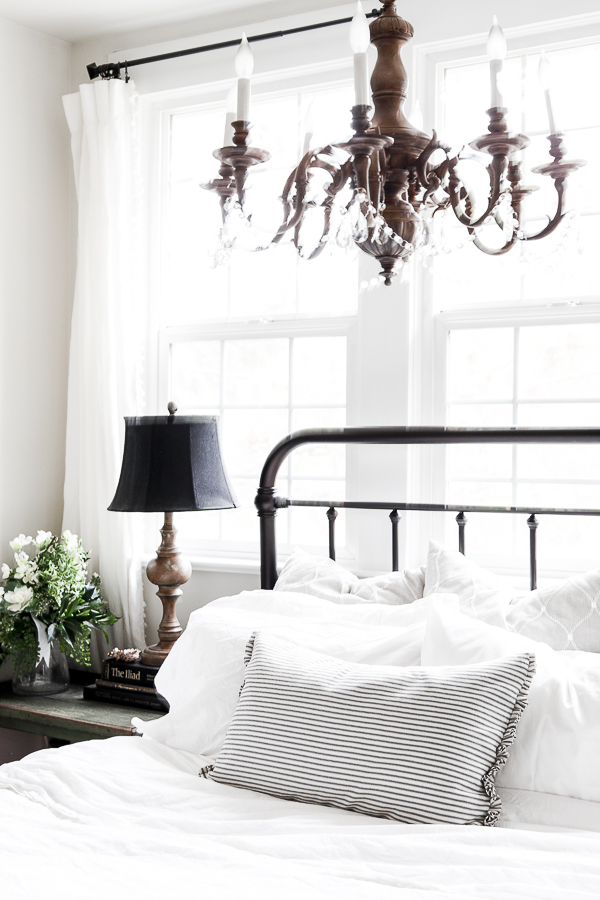
Viola! That’s that! Creating a faux raw wood look is easier than you’d imagine, and the results are stunning!
And if you’re wondering about what my husband thinks now that I’m done…. He likes it!
Shop This Look:
[show_shopthepost_widget id=”4202552″]
Related Blog Bosts:
Curious about the transformation of this room? Here are some past blog posts about it!
- Farmhouse Bedroom Designs
- Bi-fold Closet Doors Makeover
- Master Bedroom Update
- Upcycled Armoire Using Chalk Paint
- How to Paint a Lampshade Black
- How to Mis-match Nightstands
- Black Washing Wood Furniture
And stay tuned, we’ll do a final reveal of all the changes soon!
Pin this for Later: