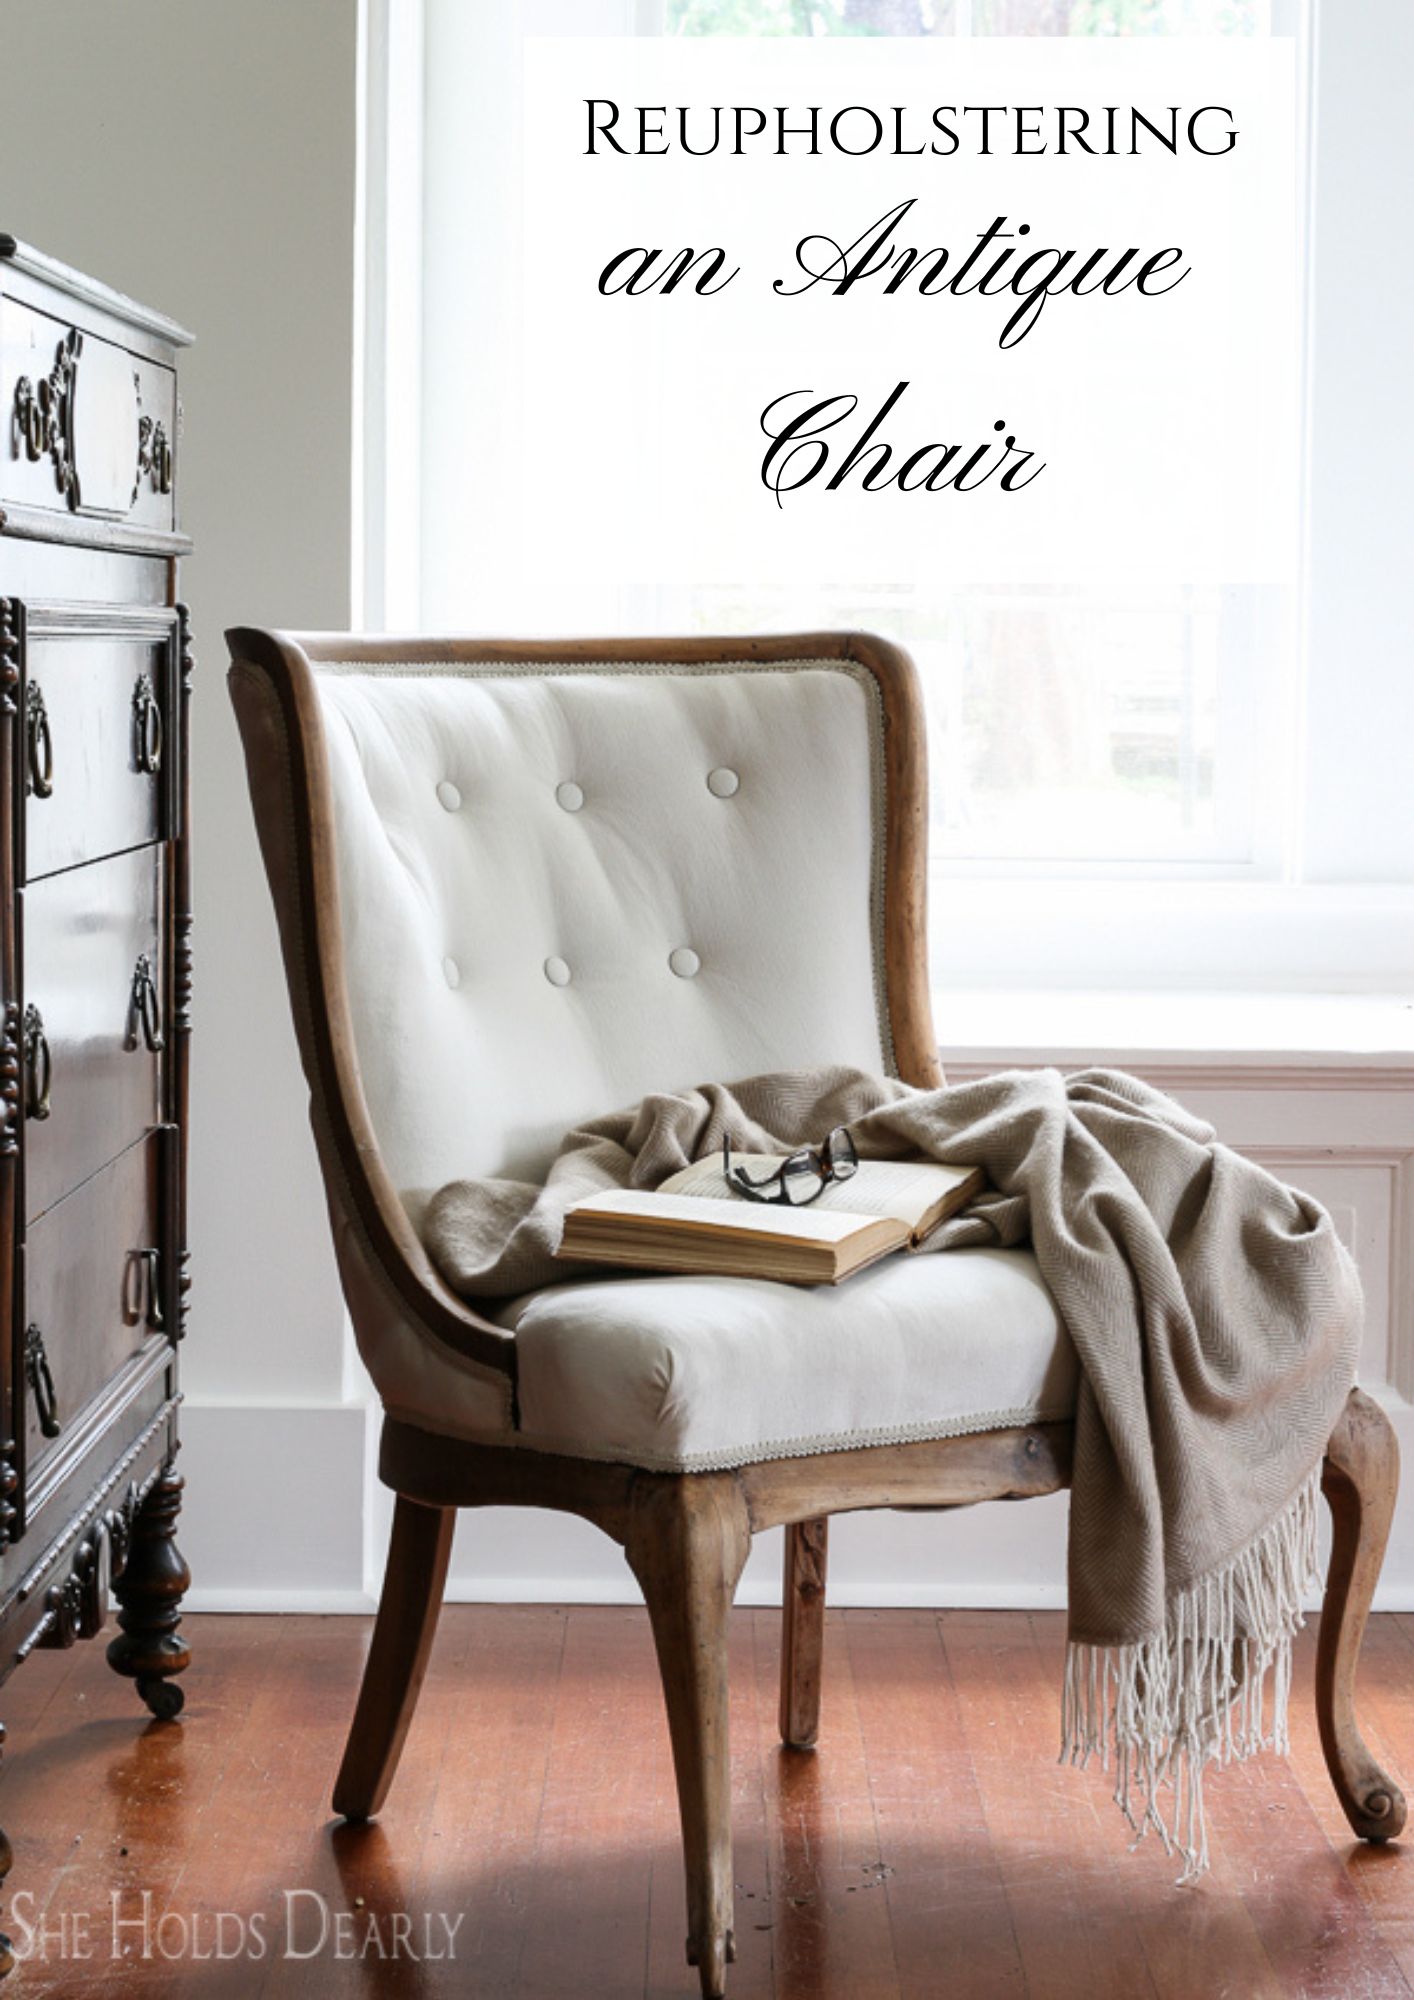
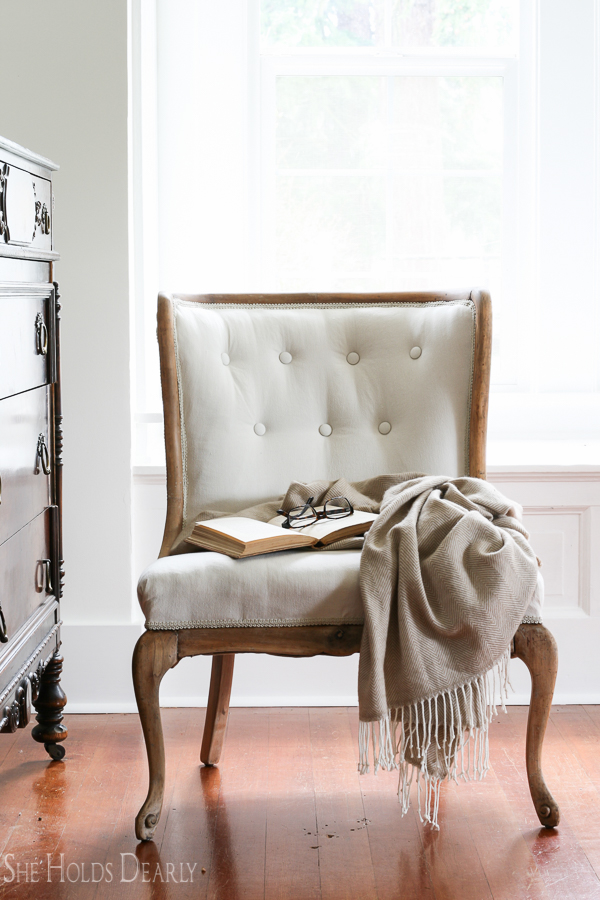
Reupholstering an Antique Chair
Do you have any antique chairs sitting around that you plan to reupholster? Do you feel a little intimidated getting started on this kind of project? Yeah, me, too.
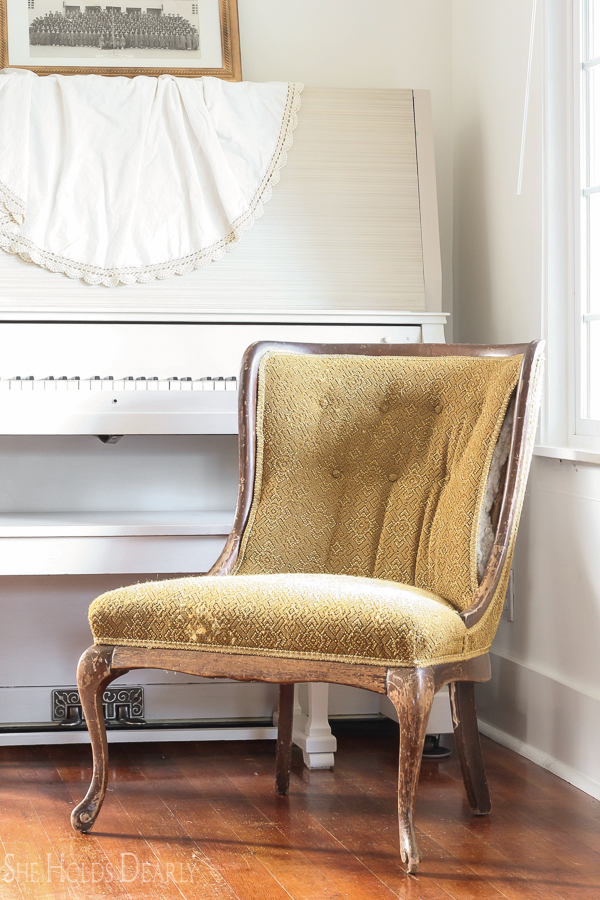
Today, I want to walk you through, step by step, how I recovered a set of chairs last month. I found them at a garage sale about ten years ago.
Actually, they were the first real pieces of furniture that I ever bought at a garage sale.
Ten dollars each.
I wrote the man a check. I told him he knew where I lived if he had any trouble with that check, just to reassure him it would be fine.
He lived four houses down from me, which meant I didn’t even load the chairs into my car.
One by one, I carried them on my head, ran down the street straight through my front door and plunked them down in my living room.
New furniture!
I was hooked.
Now I buy second hand furniture all. the. time.
Sometimes it takes me awhile to decide what I want to do with a piece of furniture. Like ten years.
But, here we are, they are done and I will show you how I did it- start to finish.
This post contains affiliate links to products I know and love. Click here to read a full disclosure.
Supplies for Reupholstering an Antique Chair:
- Staple Remover
- Don’t skip this tool!! I ended up needing to wear gloves my hands hurt so badly and this tool was the only thing that kept me from donating the chairs to Goodwill at this point.
- Pliers
- Strypeeze
- Cheap Paint Brush
- Scraper Tool
- Rags
- Steel Wool
- 220 Grit Sand Paper
- Miss Mustard Seed White Finishing Wax
- Fabric Scissors
- If tufting. . .
- Buttons (here is a post on how to make your own covered buttons), Razor Blade, Waxed Upholstery Twine and Upholstery Needle (here is a kit)
- Upholstery fabric
- I recommend hemp sheets, you can learn more about them here.
- Pneumatic Upholstery Stapler
- This is the other tool, I would not attempt this project without!
- Staples
- Air Compressor
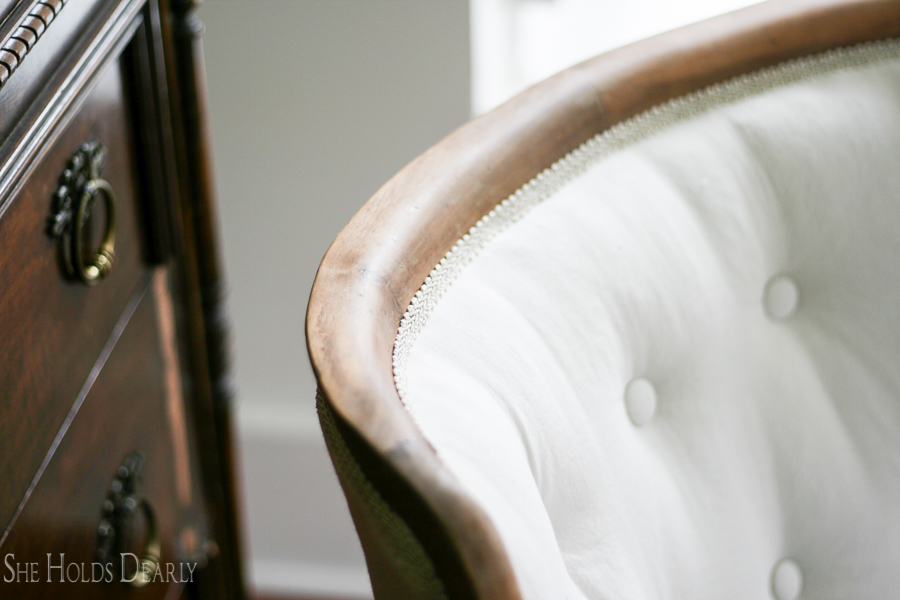
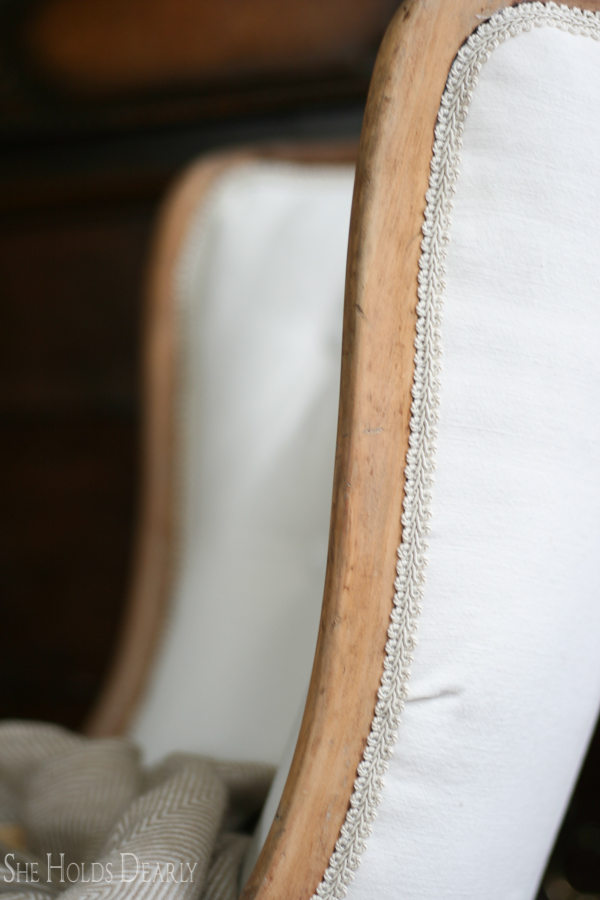
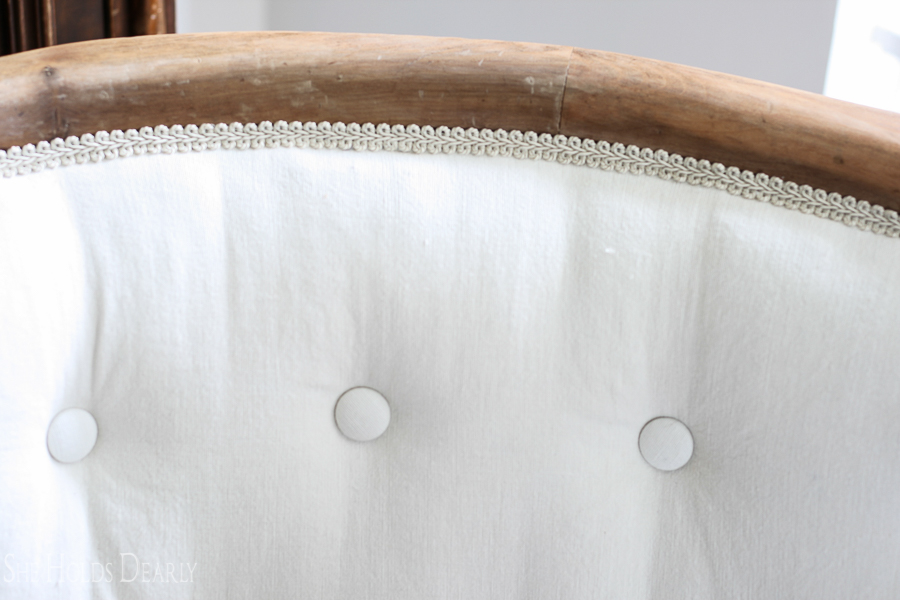
- Upholstery Trim
- It looks like they are out of the one I used, but here is a similar one
- Hot Glue Gun
- Scotch Guard
Tutorial
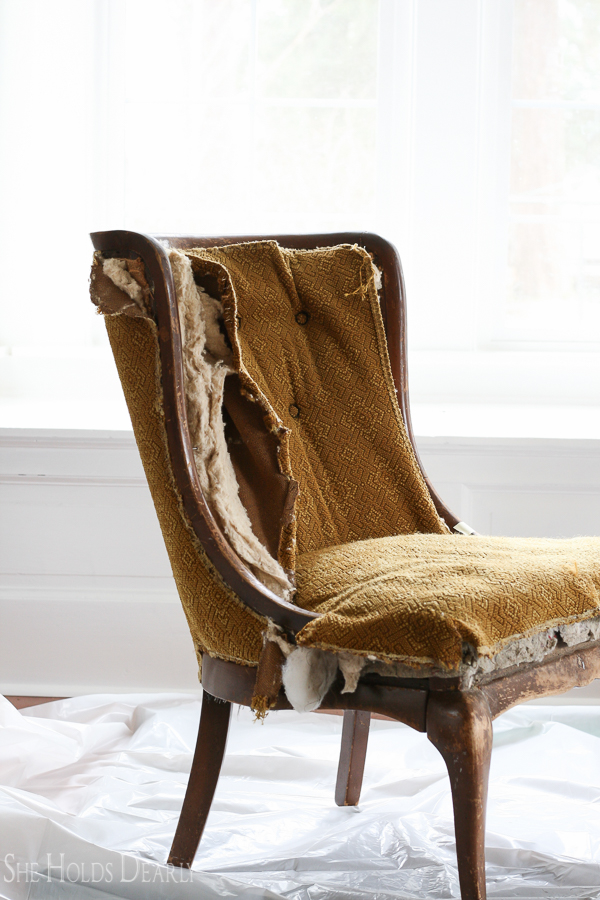
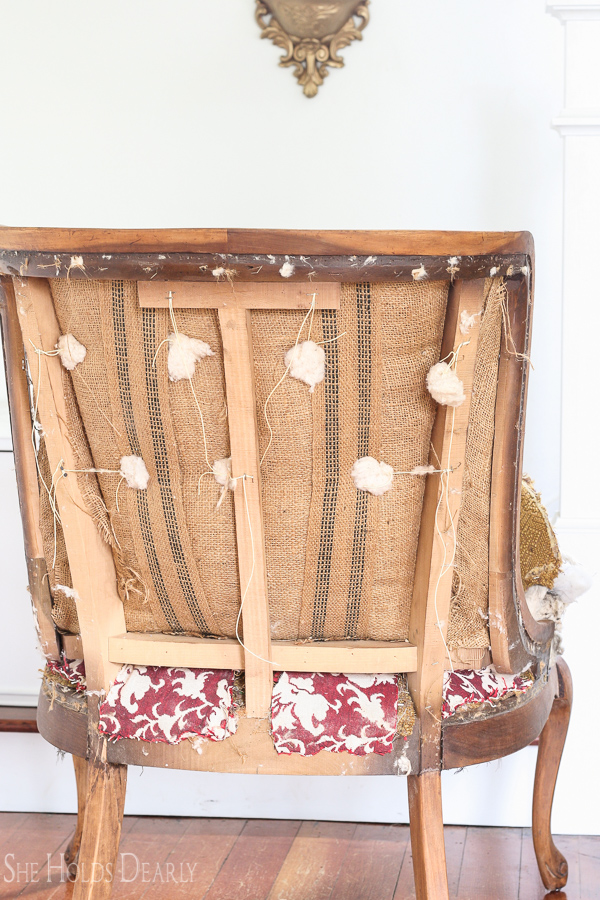
- Rip off any trim (it is just glued on). Remove any upholstery tacks and staples with staple remover and pliers.
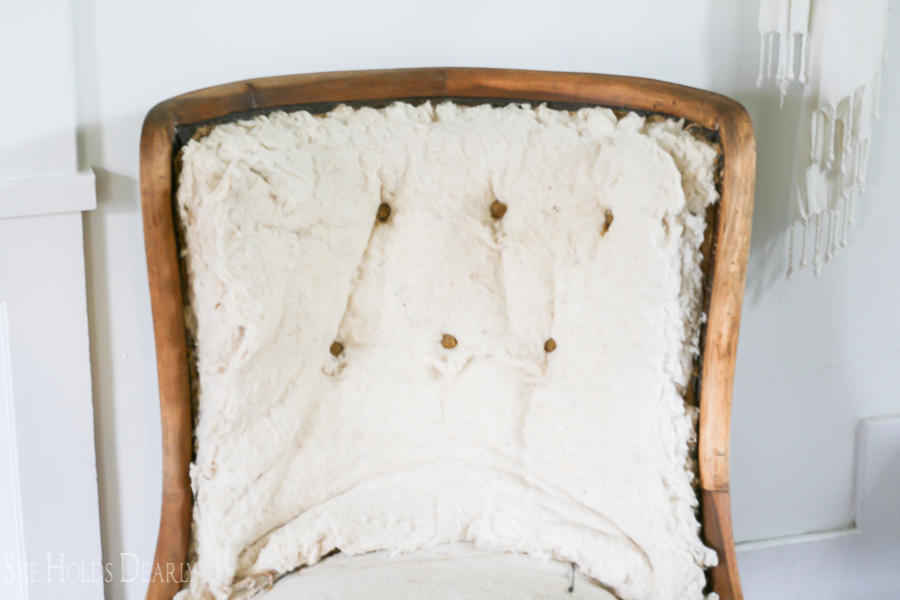
- This is when I knew for sure I had two antiques, the chairs were stuffed with cotton batting and horse hair, not foam.
- Refinish the frame or not.
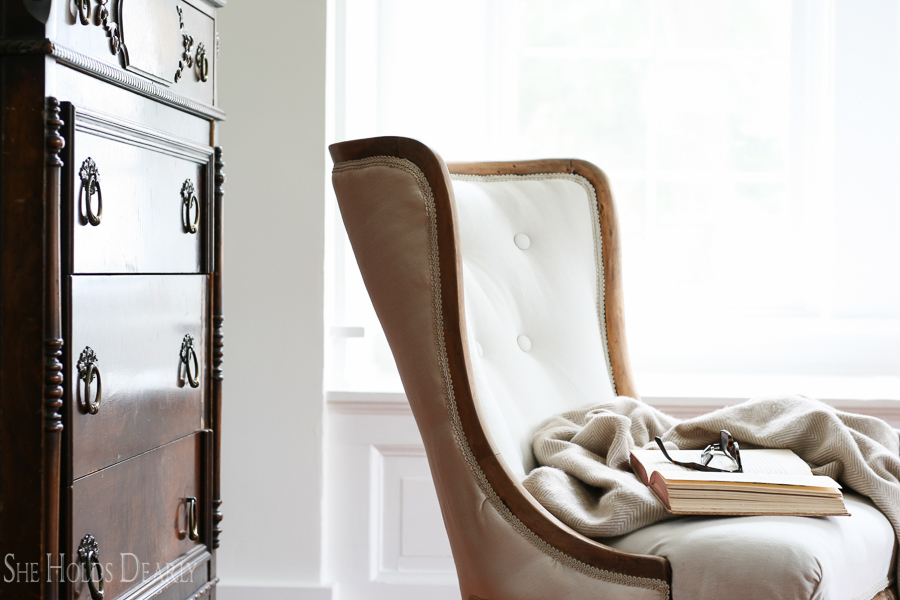
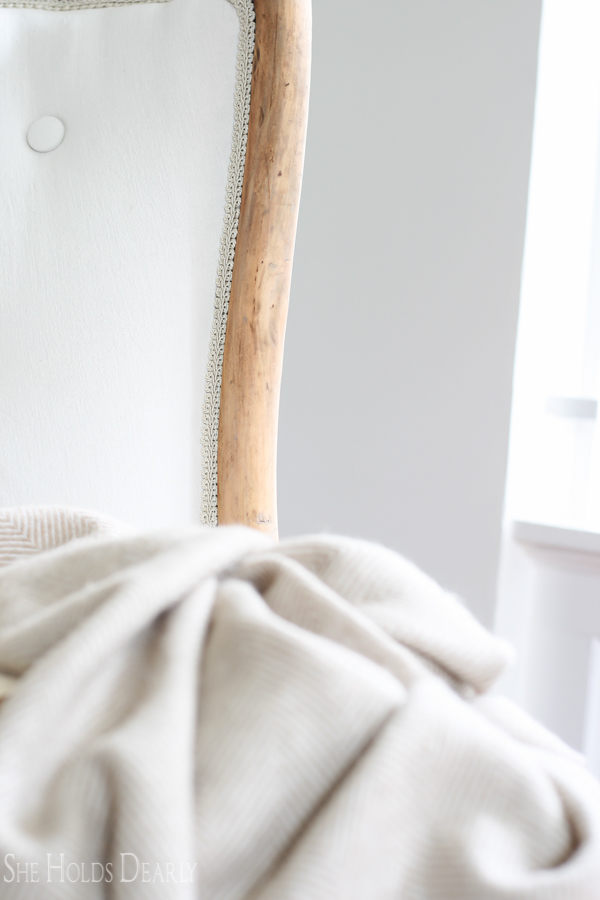
- I decided I wanted raw wood, so I stripped off the stain with Strypeeze and the scraper tool, scrubbed the frame with water and steel wool. I wiped the wood down with paint thinner, let it dry and sanded it with 220 grit sand paper, wiped it all down and finished it with a white wax.
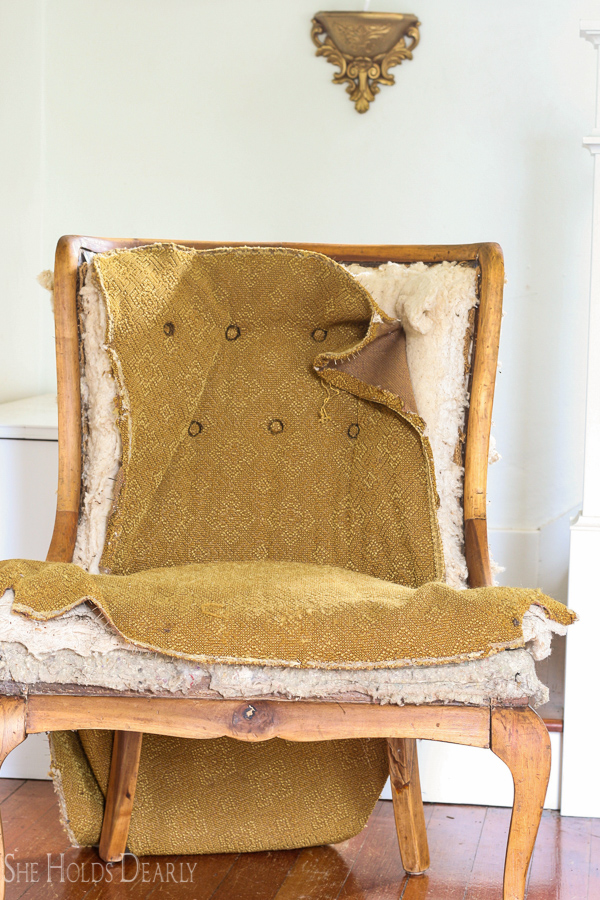
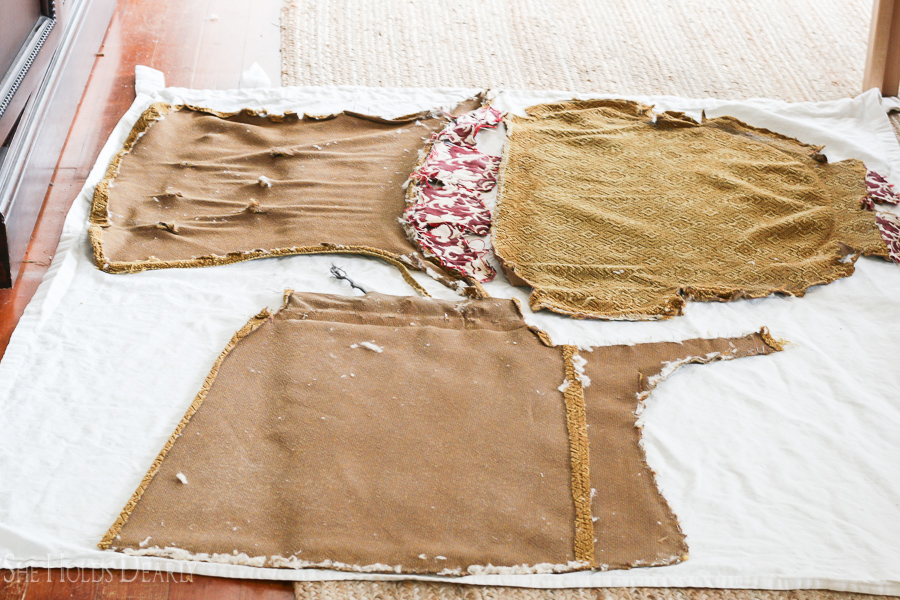
- Carefully remove all the fabric pieces and take pictures as you go.
- These will be your pattern pieces, so you don’t want them to be torn. Also, as you dismantle the upholstery you will start to understand how to re-assemble everything.
- Cut an extra inch or so around all the edges, so you have some wiggle room.
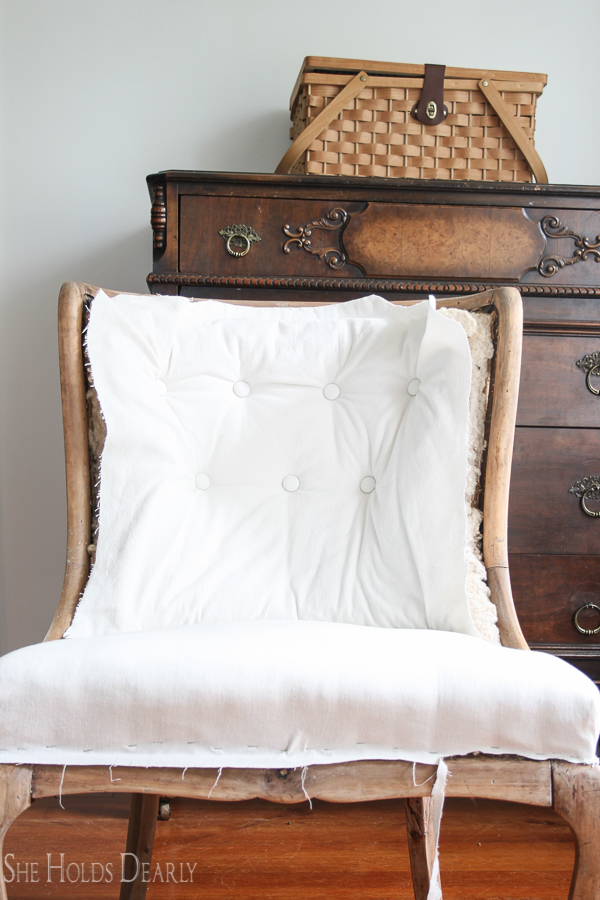
- If you need to tuft the chair, just cut out the buttons with a razor blade and leave them in tact. You will replace them one by one.
- Using your old fabric as pattern pieces, cut out the new fabric.
- If tufting, mark your fabric where each of the buttons should go.
- If tufting . . .
- Remove one button at a time, place the new fabric in place. Thread your new button with the waxed twine and then thread your upholstery needle. Push the needle through from front to back, this takes some effort. Once you have both ends of the twine through, stitch through a ball of batting to help secure your knot. Pull the needle out and tie a good, tight knot. Then, anchor your two ends by stapling them to a nearby section of the frame.
- Replace the fabric pieces and batting with the pneumatic stapler.
- Work in a north, south, east, west pattern and pull everything nice and tight as you work. This goes fast and is such a rewarding part of the process.
- Leave some overhang.
- Trim off the overhang with fabric scissors.
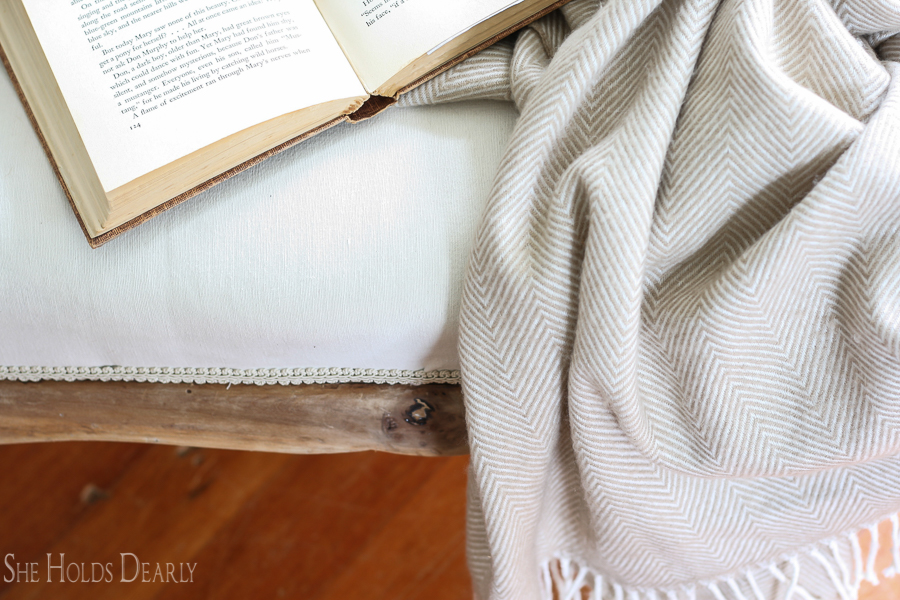
- Hot glue the upholstery trim over the staples.
- To finish the ends of the trim, just cut the ends so they meet together perfectly and sink them into a big blob of hot glue.

- Scotch guard the living daylights out of the chair!
And in case this is too much effort, here are some beautiful vintage style chairs from around the internet.
[show_boutique_widget id=”602001″]
Let me know if you have any questions!
UPDATE- To see the finished room, visit the Farmhouse Living Room Reveal!
Pin this Tutorial for Later: