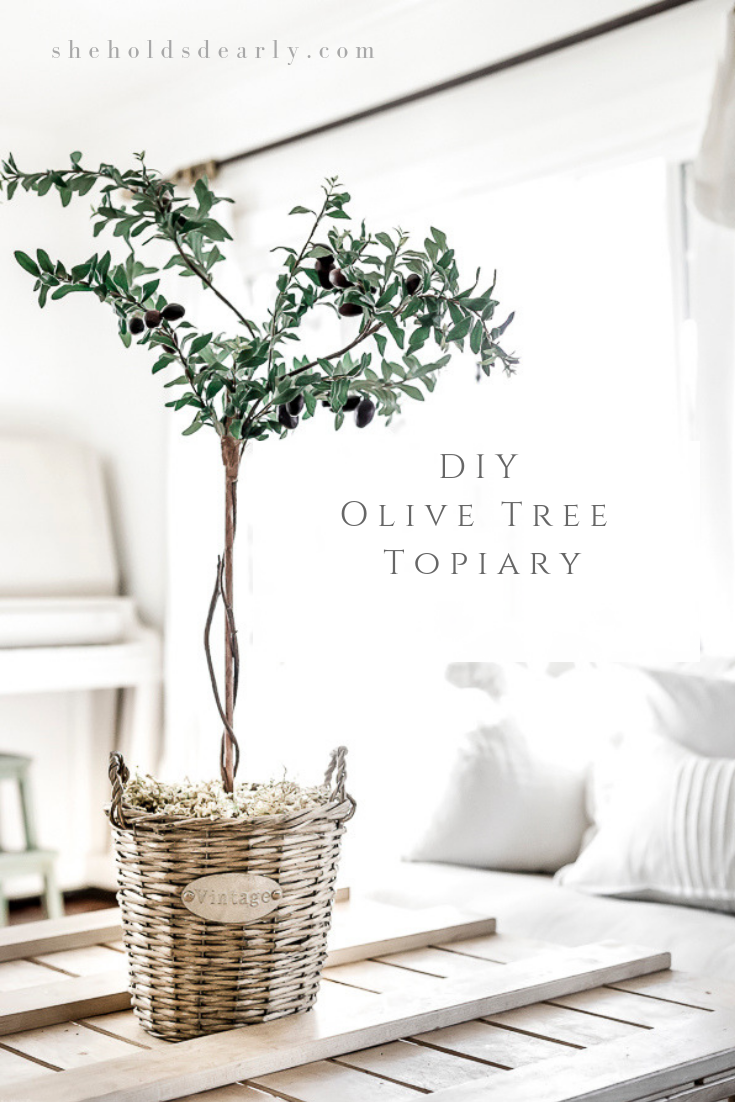
How to Make an Easy Olive Tree Topiary
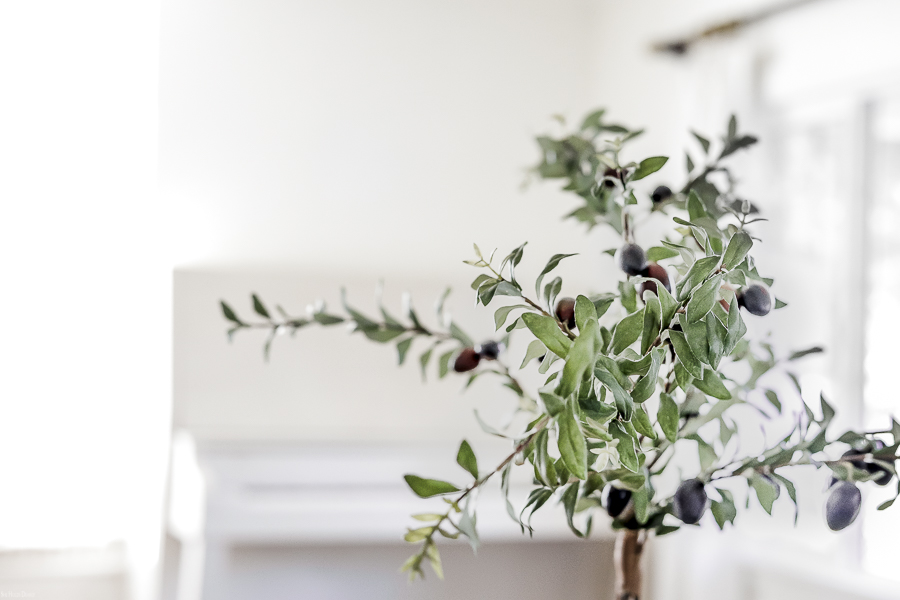
I have had my eye on olive tree topiaries for awhile, have you? They are the perfect subtle touch of green with a little bit of height.
The only problem I keep running into is the price of said topiaries. Even little ones are pretty spendy.
Whenever I run into this kind of problem, the logical response is always, “Can I DIY this?”
Story of my life.
And just like that another project is born.
DIY Olive Tree Topiary Tutorial:
Supplies
- Pot
- Hot glue gun and glue
- 1/2 Sphere of floral foam or styrofoam
- Dowel
- Olive branches (I like these from Hobby Lobby)
- Brown floral tape
- Small grapevine wreath- optional
- Brown craft paint- optional
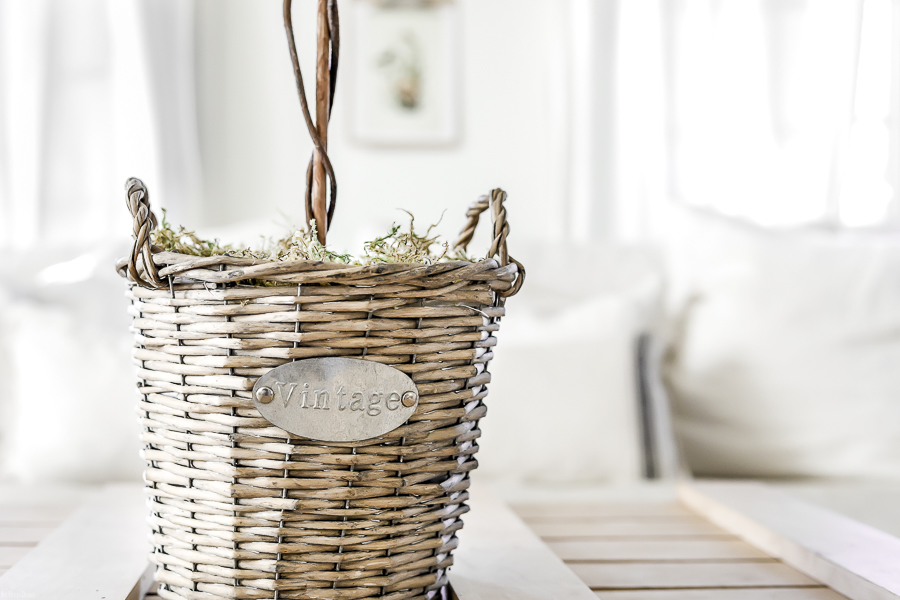
- Moss (could also use potting soil or burlap)
- Scissors
- Wire cutters
Tutorial
- Glue your floral foam into your pot.
- Decide how tall you want your topiary and cut or break the dowel at the desired length.
- Take your olive sprays and attach them to your dowel with the brown floral tape. You may need to trim off some of the lower branches and add them in at the top for a fuller look.
- Wrap the stems around the dowel and decide if you need more texture to create a more realistic looking trunk. If so, unwrap the tiny grapevine wreath and wrap pieces of this around the dowel, as well, securing with the brown floral tape.
- Next, push the dowel into the floral foam or styrofoam.
- Stand back and look at the topiary from all angles. Add in more branches, if needed.
- If you need to blend the floral tape, dowel and stems a little, dab some brown paint all over everything.
- Finally, cover the base of the topiary in moss, potting soil or burlap.

Pin for Later
