An Easy Formula for Styling Bed Pillows
Styling bed pillows might feel a little intimidating, but I have a formula that simplifies the process for you!
I’ll say right off the bat, that with this, as with any design element – even professional designers differ some on what they prefer for their look.
And in the same way, everyone has their own personal preference!
If this look that I prefer isn’t exactly the same as what your eye is drawn to, that’s OK! The formula I share below can still be beneficial, just tweaked to your preferences.
I’ve always believed that a well made bed can really elevate the look of an entire bedroom!
The Ingredients in My Bed Pillow Styling Formula:
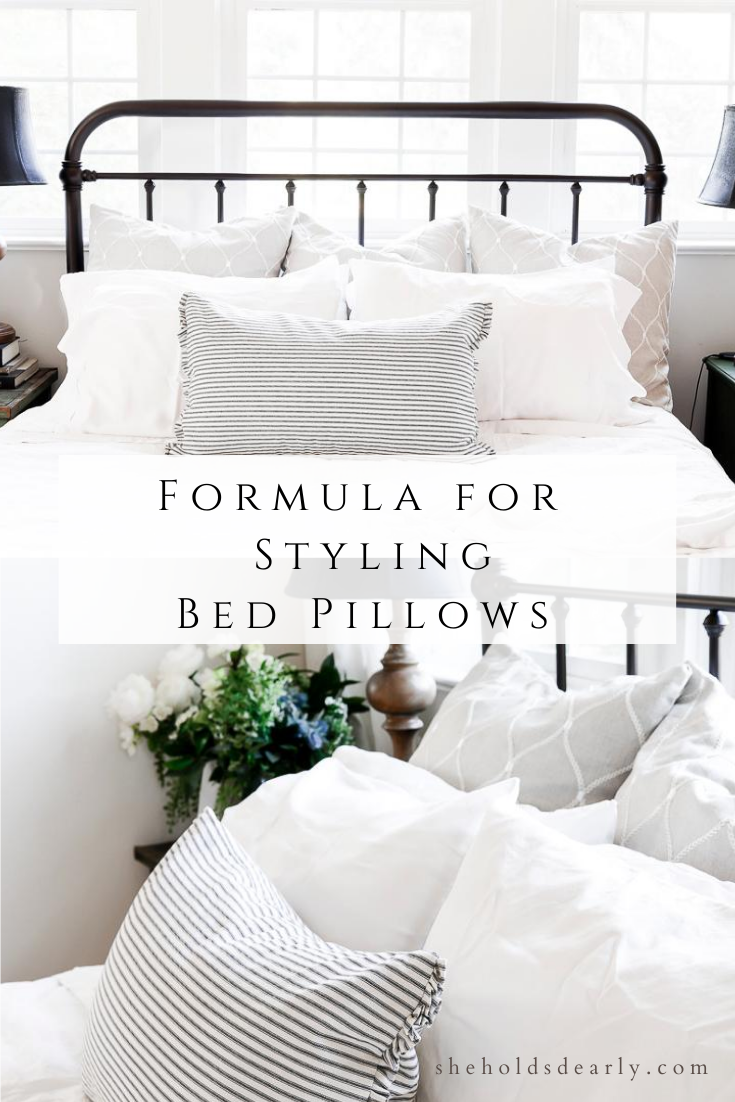
I have three main sizes of pillows that I always use:
- Pillow shams | 24 x 24″
- Standard/Queen (or King size) pillows |20 x 26″, 20 x 30″ or 20 x 36″
- Lumbar Pillow | 16 x 26″
Read on to see where I source my pillows from, and how I use each size specifically when I’m styling my bed pillows.
*This post contains affiliate links to products I know &/or love.
Sourcing Pillows:
From a design aspect, I prefer feather pillows over snythetic, but I am actually allergic to the feathers in feather pillows, so I chose not to use feather pillows anywhere on my bed that will be close to my head or face while sleeping.
The only feather pillow on our bed is actually our FJAEDRAR lumbar pillow from IKEA. If you’re even more sensitive to feathers than I am, they have a synthetic version called the INNER that is the same size.
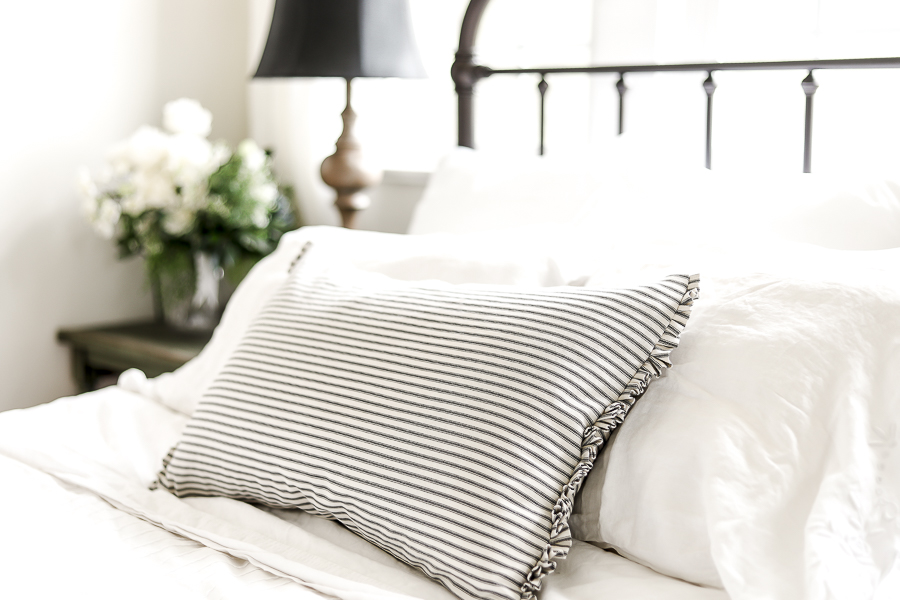
I shared how I made our current ruffled ticking lumbar pillow cover on a recent blog post if you’d like to make one of your own!
If you’re able to use feather pillows, I do suggest it! I think they typically hold their shape better than synthetic pillows, they’re easy to shake and fluff up when needed, and they can be either crisp and uniform, or “karate chopped” in the middle if you like that look.
Because I’ll often lean against our larger sham pillows against the back of our iron bed frame while I’m reading or working, I do use a synthetic option for those as well as our standard sleeping pillows.
I get the 24″ square sham pillows online from Pillow Flex on Amazon and love that they’re a good weight and they hold their shape well.
(This is really the only time it’s good to buy an online sham… haha)
I made the pillow covers for these shams myself with this fabric from Joanns.
Sometimes when I mention this next fact, I get comments and questions about whether or not it’s sanitary – but I’ve also had good luck finding feather pillows when thrift shopping!
I always run them through a sanitizing cycle in my washing machine when I get them home, and then through multiple cycles in the dryer to make sure they’re completely dry.
Often I’ll find the 20 x 20″ accent pillows I love to use in other areas of the house that way. It doesn’t matter if the pillow cover it comes with is ugly, because it’s really easy to make a new pillow cover!
Here’s my tutorial on adding a zipper to a pillow in 10 minutes. And here is another tutorial on making a pillow cover if you’re newer to sewing!
Taking Bed Size into Account:
So now you have an idea of which pillows to get – but how many?
I’m personally becoming more and more a fan of a scaled back pillow approach, and don’t love the practicality of having a bed nearly half covered in pillows, so I stick with the following count:
For a Twin:
- Two Sham Pillows
- Two or Four Standard Pillows
- One Lumbar Pillow
For a Full/Queen:
- Three Sham Pillows
- Four Standard or Queen Pillows
- One Lumbar Pillow
For a King:
- Four Sham Pillows
- Four King Pillows
- One Lumbar Pillow
The Formula for Styling:
Now once you know which pillows you need, and how many, you can get to the fun part! Figuring out which style you like best.
There are two main ways to style pillows:
- Forward Facing
- Stacked
But the fun thing is that these two styles can be mixed and matched for a lot of different looks! I’ll share some of the most popular ones here, with thanks to Studio McGee for the following four pictures!
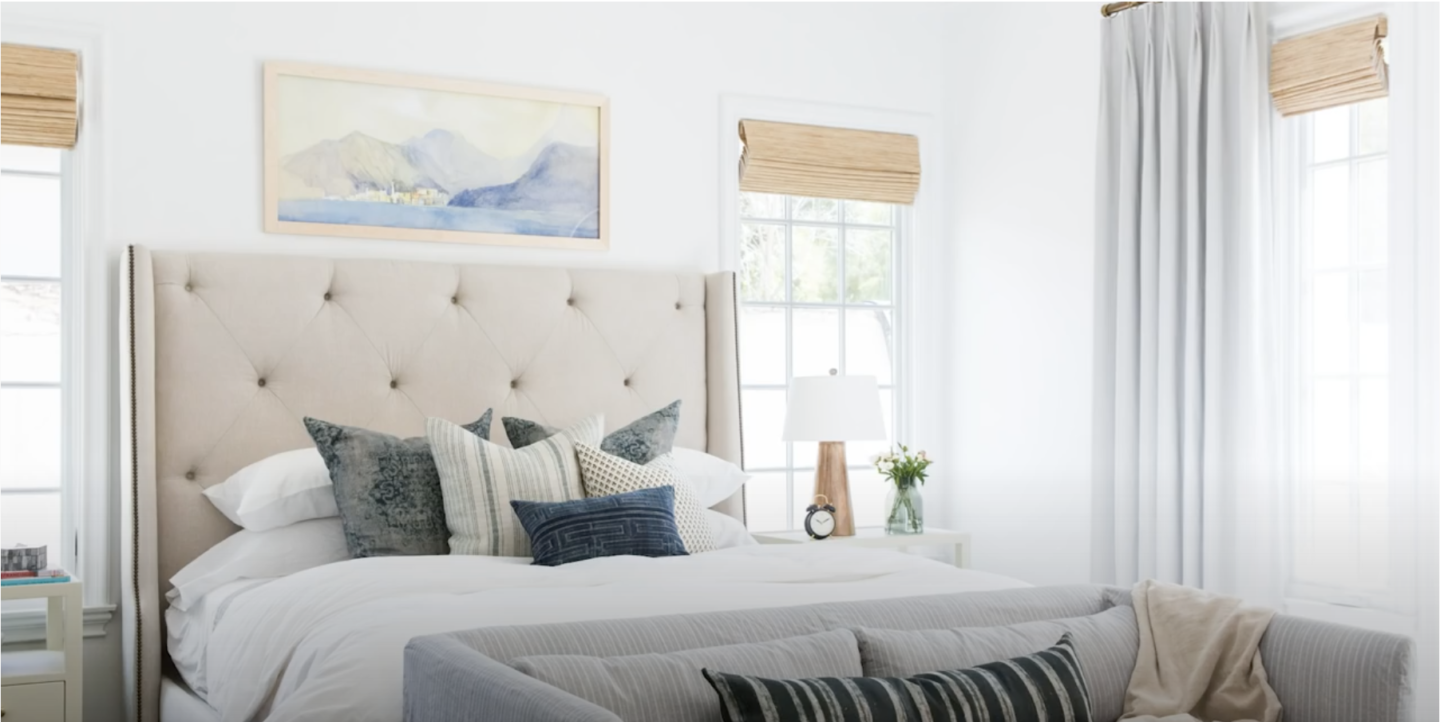
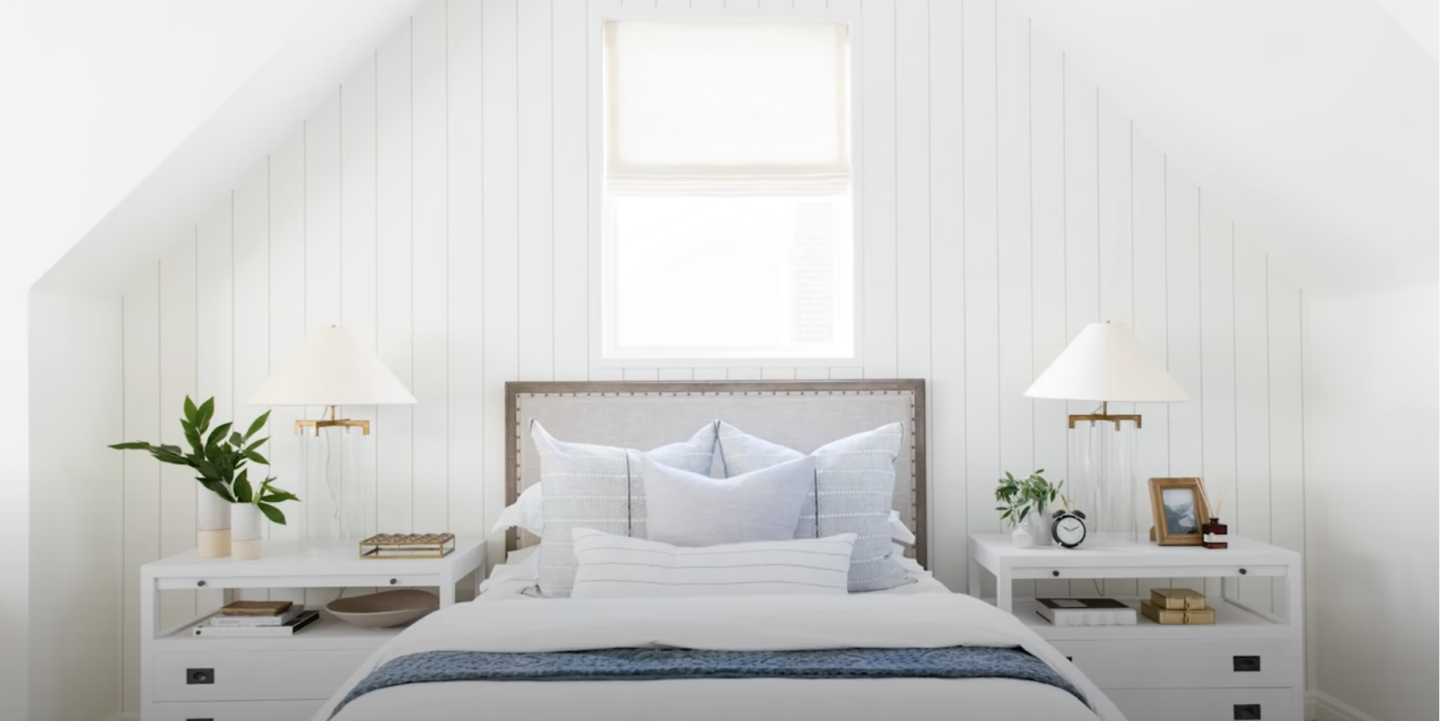
In these two pictures, the standard pillows are stacked at the back, with the shams and accents and lumbar pillows forward facing in front of them.
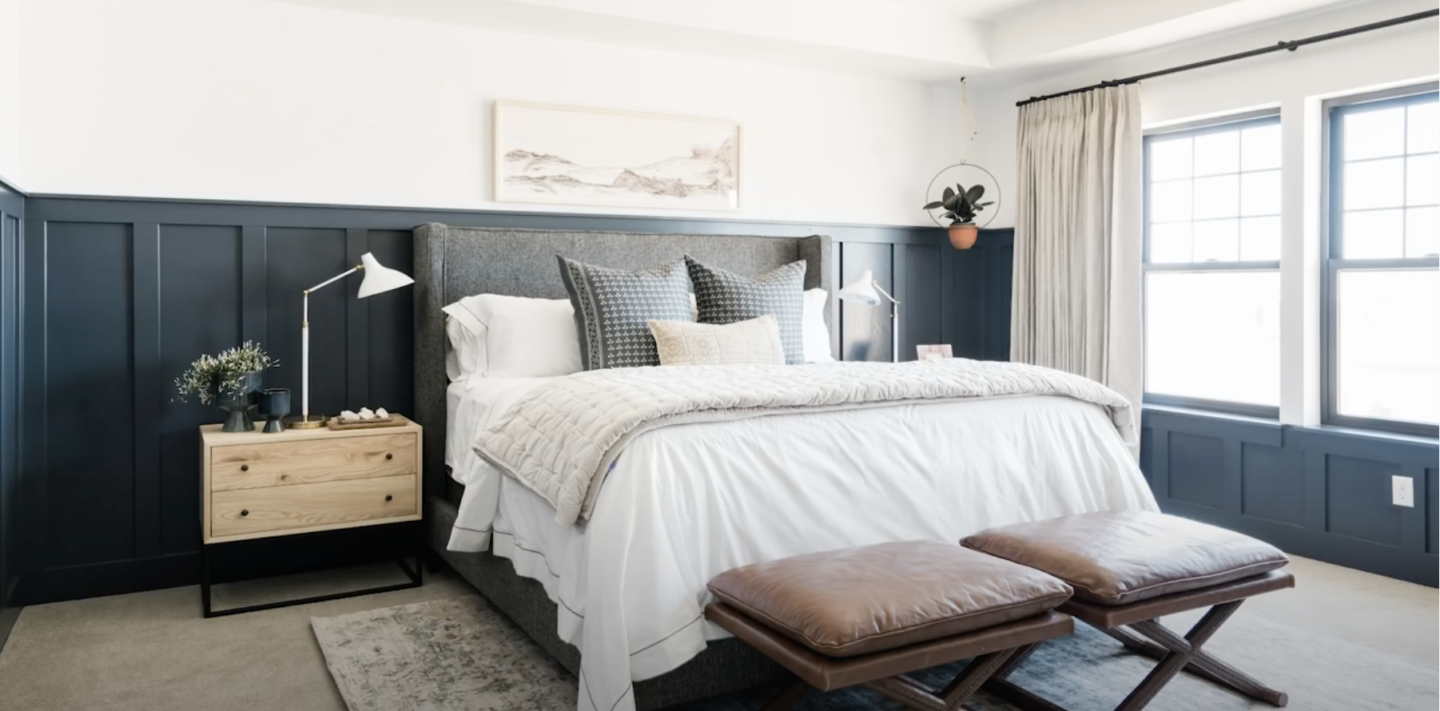

In these two pictures, all of the standard pillows, the shams, and the lumbar are all forward facing – with the standard pillows behind the shams.
Another option is to have the shams forward facing at the back, with the standard pillows stacked in front of them, and the lumbar pillow forward facing in front of those. I like using this one when I’m going for a more modern or masculine feel.
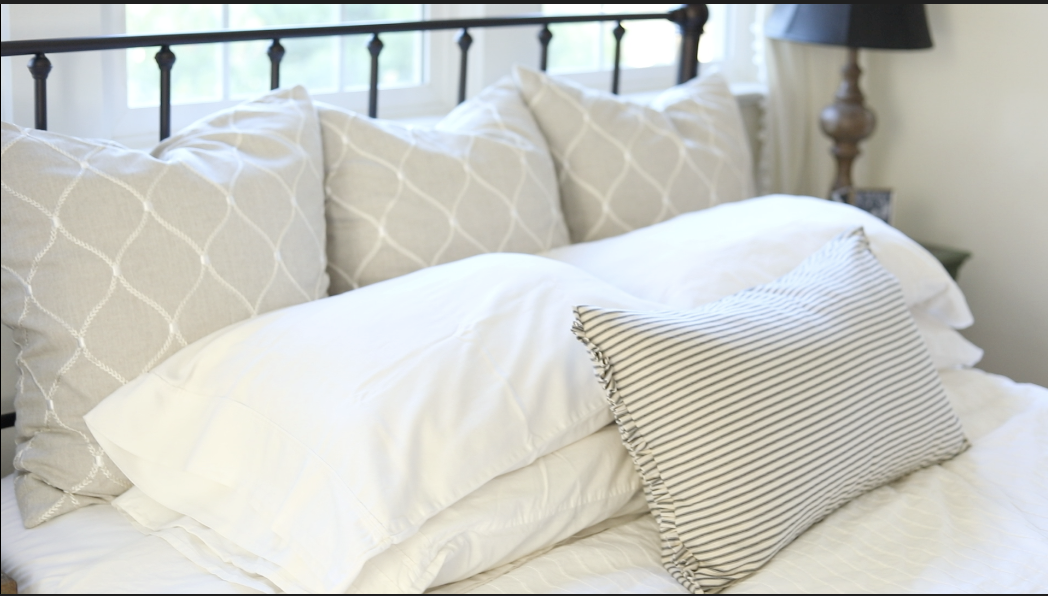
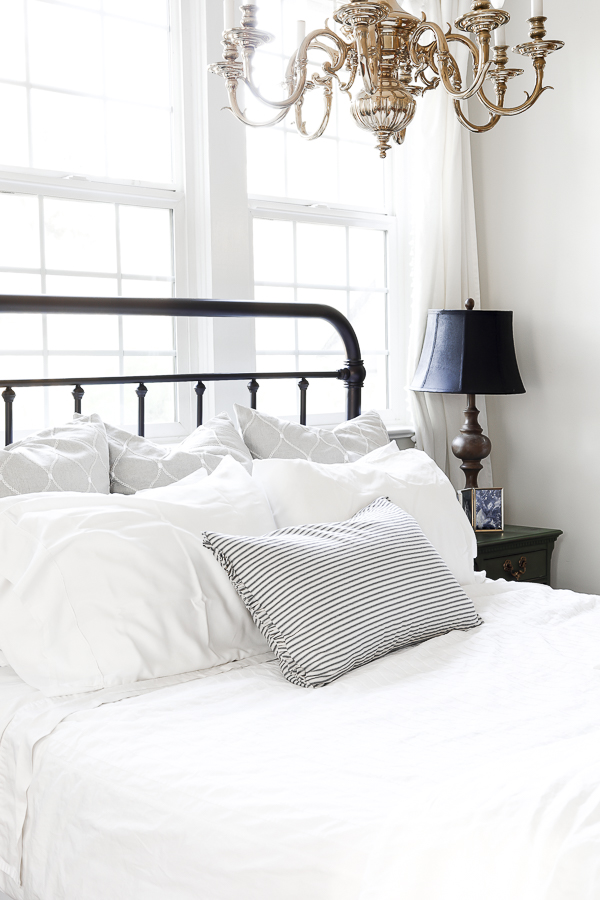
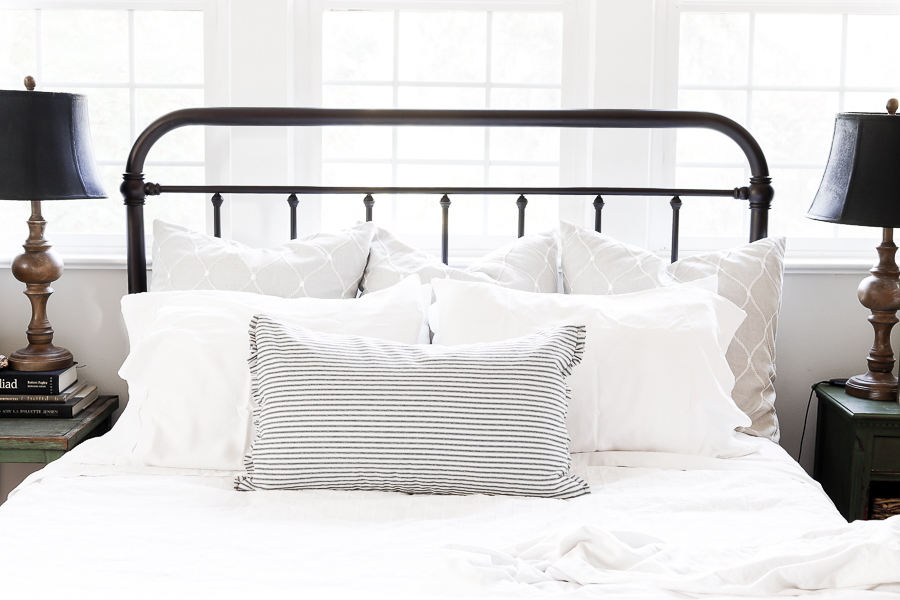
My personal favorite look is to have all of the pillows forward facing, but with the shams in the back of the standard pillows.
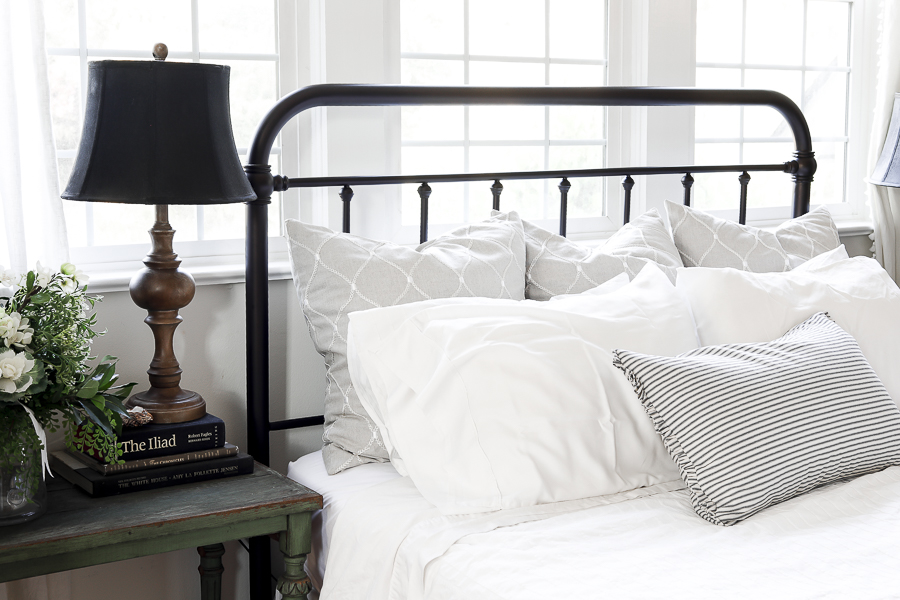
I think this is both a style preference, and a practical stance since as I mentioned before briefly, I’ll often sit in bed working or reading, and having those shams behind my back against the iron bed is essential.
I hope this was helpful! I love encouraging and equipping the DIY home designer with professional formulas that help you have a home that looks professionally done – without the added cost!
I’d love to hear what formulas you use in your decor, or what formulas you feel like you’d benefit from learning about!
Related Posts:
- How to Make the Perfect Bed
- How to Make your Bed in 60 Seconds
- Creative Dust Ruffle Alternative
- Crochet and Linen Throw Blanket
And if you’re looking for nightstand styling tips:
- A Beginners Guide to Flower Arranging
- How to Mismatch Nightstands
- 3 Days to Decorate with Vintage Books
- How to paint a Lampshade Black
If you’re on the lookout for other farmhouse inspiration, you should get yourself a copy of my free Farmhouse Source Guide HERE:
Pin this for Later:
Until next time,


