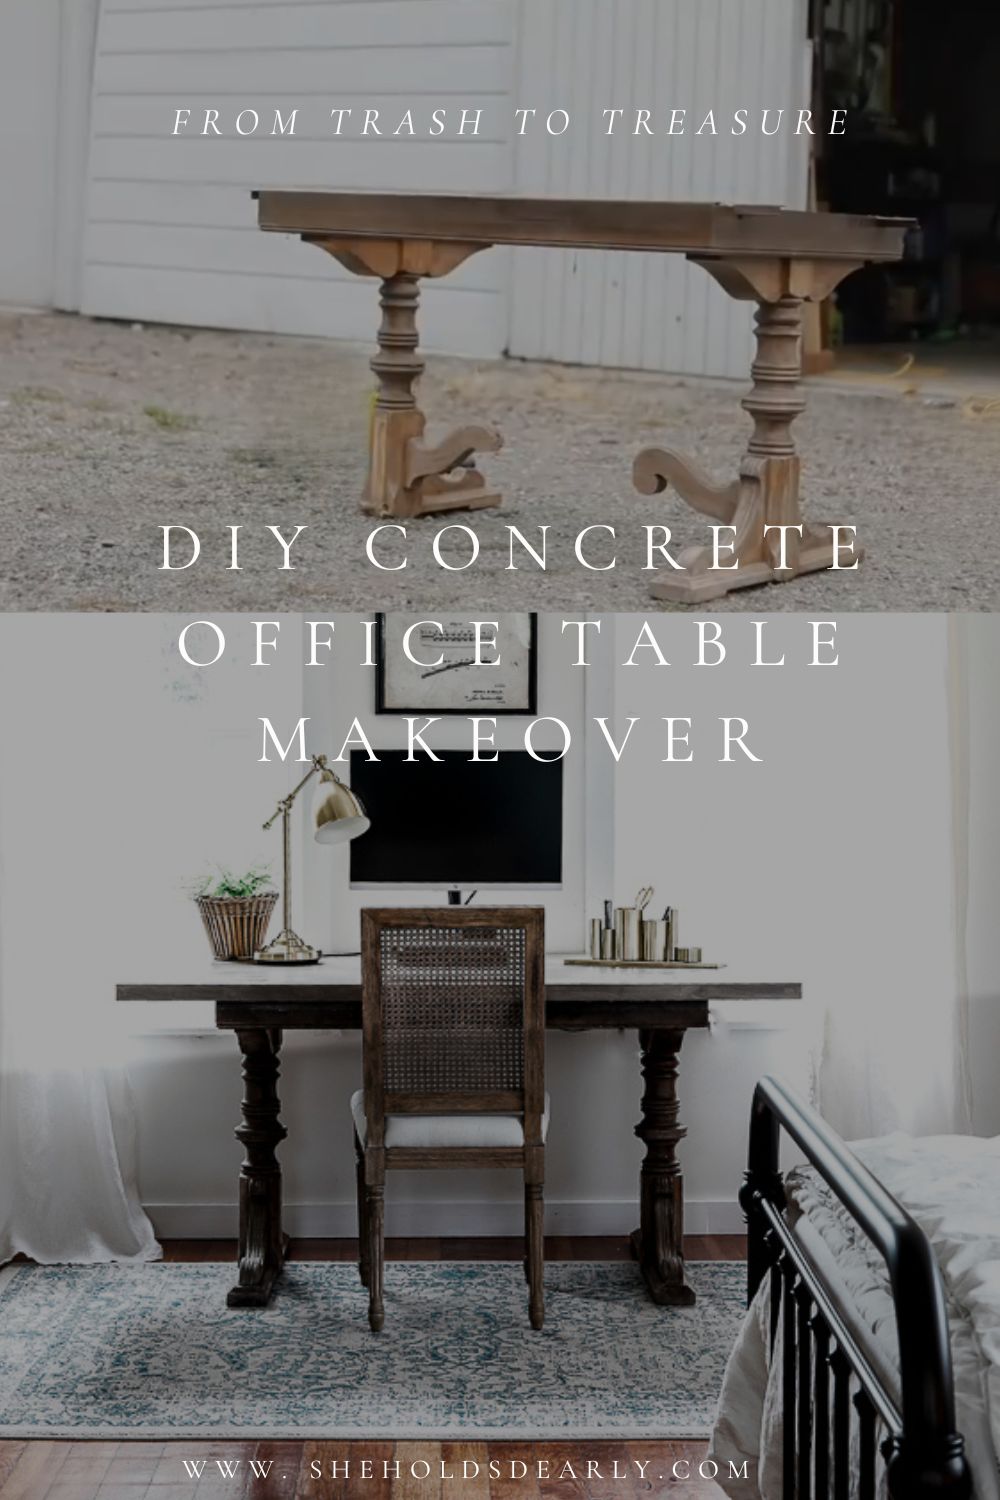
From Trash to Treasure – DIY Concrete Table Top
If you have a table with terribly damaged veneer, a brand new table top might be the place to start. And if you’re up for it, this DIY concrete table top can be the perfect solution!
Hi, my name is Sarah and sometimes my someday-projects sit out in the weather as a catch all for nearly a decade before they get completed.
I wanted to get that off my chest and share here, just in case you ever begin to think you are the only one who ever puts projects off.
I shared a teaser about refinishing this table a few months ago when I did the post with my 6 Quick Porch Refresh Ideas.
I got it for free almost 10 years ago and at the time had plans to remake it and sell it.
But that got pushed off for other more important projects, and this table found a temporary home on our back kitchen porch for years as a landing spot for lots of miscellaneous things (aka: junk).
It was only partially protected from the weather, so the already sad table just got more beaten and damaged.
Once I decluttered and refreshed that porch, I knew it was time to give this table a chance at being a DIY success story or finally make the call to throw it out if my ideas didn’t work.
*This post containsaffiliate links to products I know &/or love.
Deciding to do a Concrete Table Top
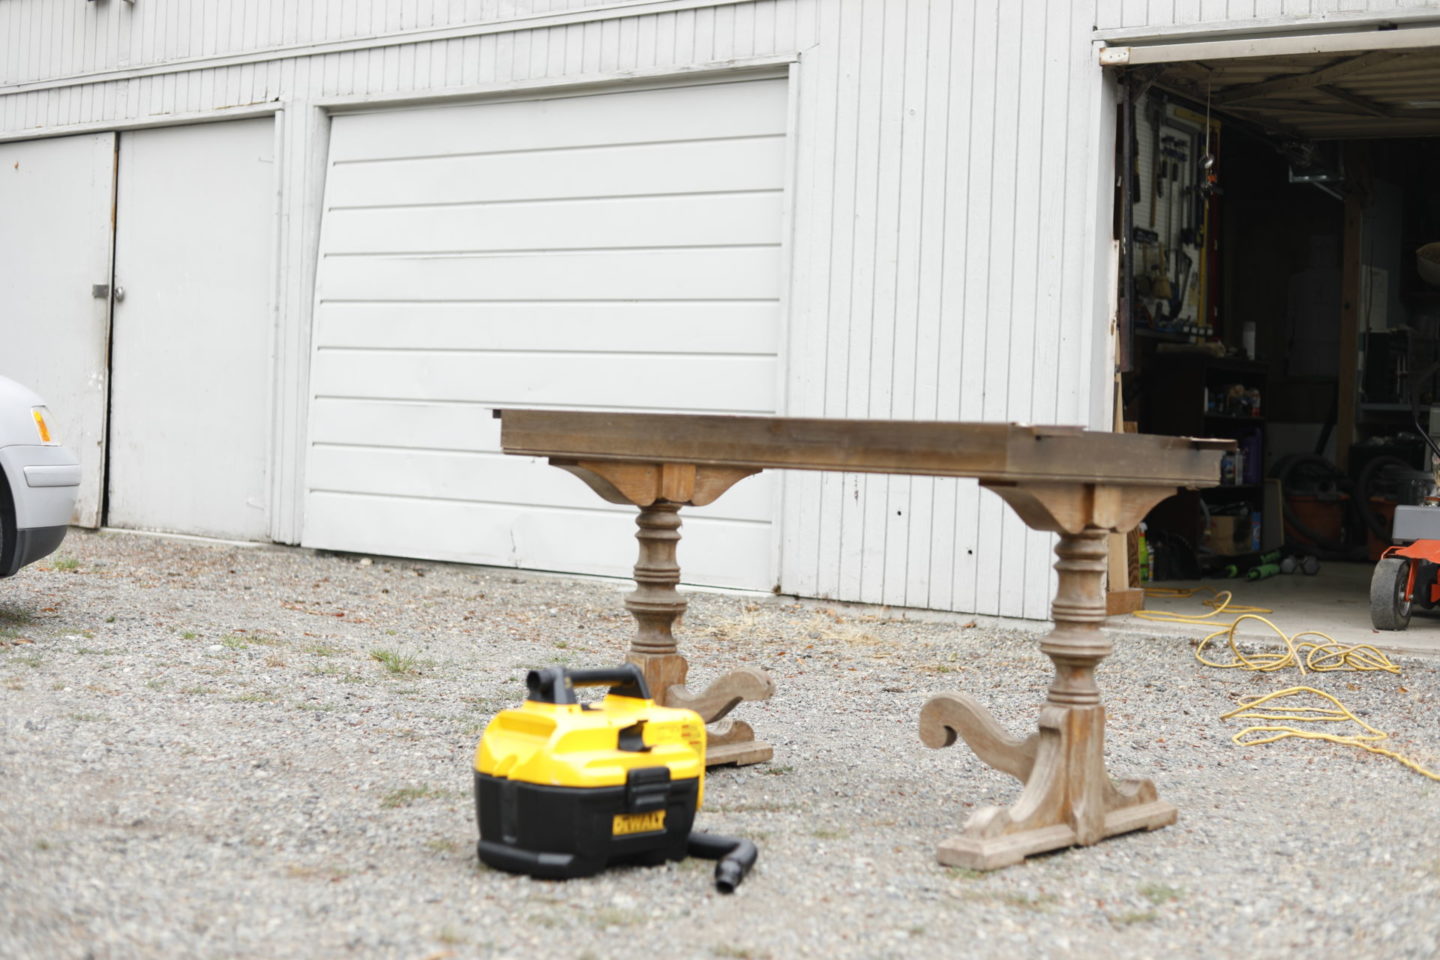
My first thought was to simply remove the peeling veneer and see if I could fix up the existing table top.
A good portion of the veneer did actually come off easily with a paint scraper, but then I got to a point where the pieces that were still attached were really attached well.
I knew I would either need to resort to a strong chemical stripper of some kind, OR I could simply remake the table top and add it to the cute legs that were still in decent shape.
Because making a faux concrete table top has been in the back of my mind for a while – that’s what I chose to do!
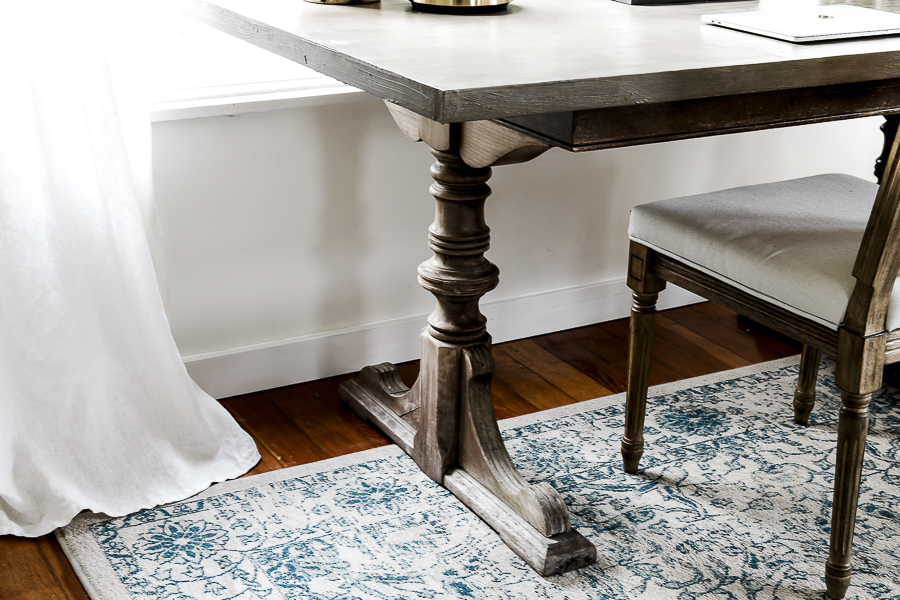
Cleaning & Fixing up the Legs
My husband and I removed the entire table top and I got to work cleaning up the legs.
It took lots of brushing and vaccuming and wiping with a terry cloth towel (the texture did a great job grabbing old dust and dirt) but they cleaned up quite nicely!
There were a few small fixes we did to the legs:
- We removed the pieces that were on the insides of the legs because they were broken and didn’t look all that great. My husband was able to saw these off easily.
- Then we glued and clamped one piece of the broken leg back in place.
Creating the Concrete Table Top Structure:
Because a true concrete table top would be really heavy, and much more work to assemble, we did a faux version with a wood base and a concrete treatment over the top.
For the wood base we used:
- 4′ x 8′ piece of 3/4″ birch plywood.
- 1″ x 2″ trim pieces
We cut the plywood down to 35″ x 6o” using a make-shift table saw.
To set that up, we used our table legs as the saw-horse, and a metal level and clamps to create a saw guide. Then we were able to use our skill saw directly against the guide for nice straight cuts.
For the trim pieces we used our miter saw, but did straight cuts that would simply butt up against each other, instead of mitering the edges.
Once all the pieces were the correct size we glued and nailed on the trim pieces to the edges of the plywood.
Then we secured the legs in place to the base of the table.
Adding the Concrete Table Top Treatment:
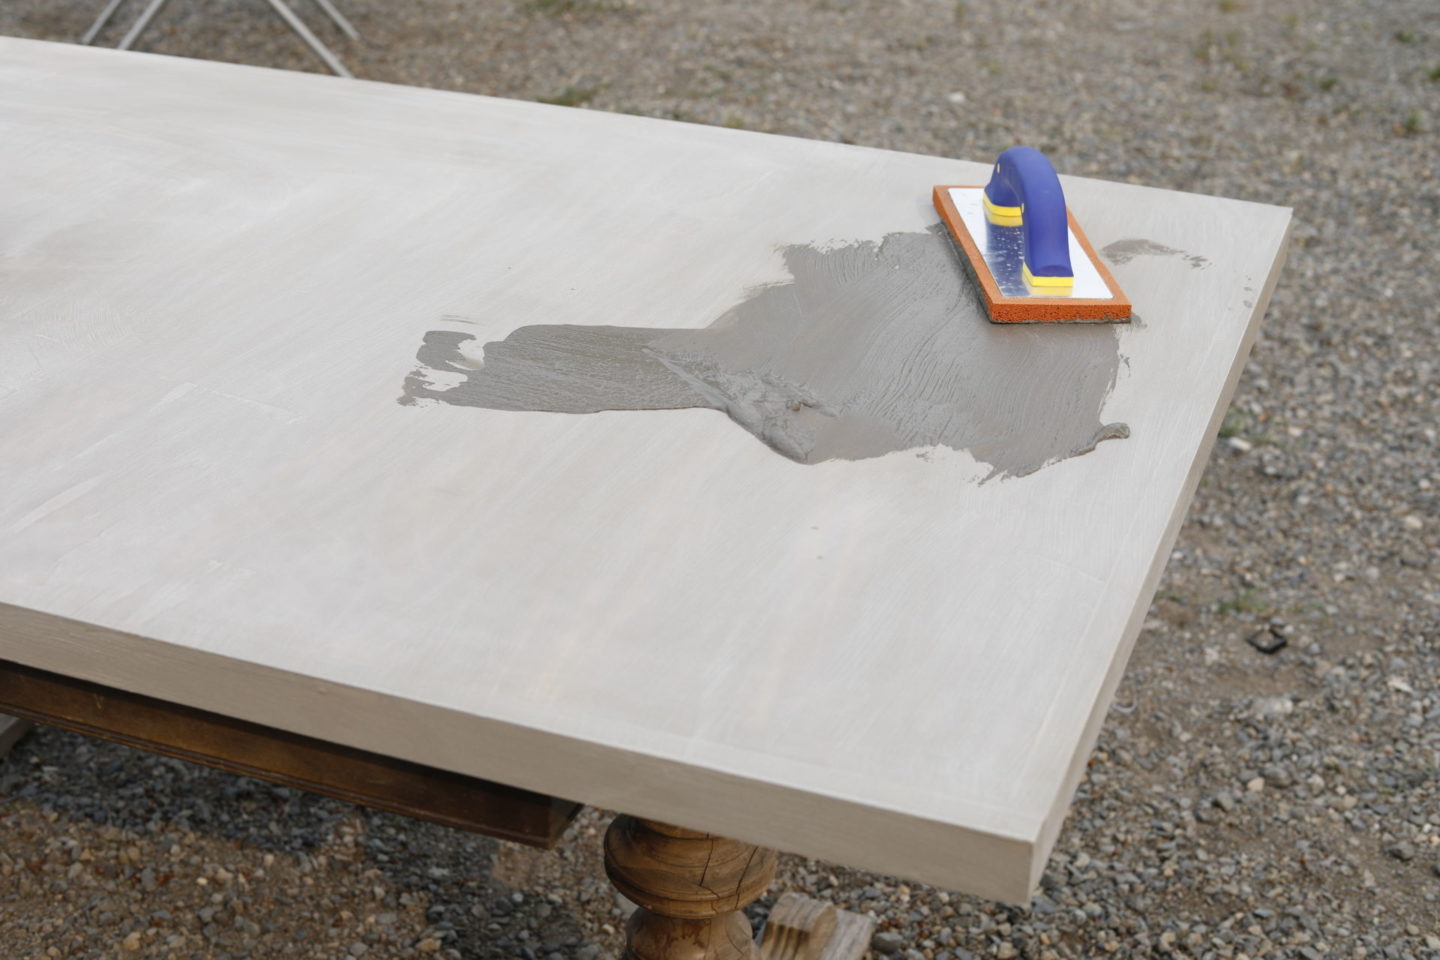
Next came the concrete treatment!
The product I used for this was called Ardex Feather Finish and this was my first time using it!
It’s a cement based product, but with a different texture that can almost be painted on.
I found that mixing it with a stir stick in a gallon bucket worked the best.
To make the concrete mixture, I used about 1 cup of the powder and 1/2 cup of water to start. Then I added a little bit more water as needed until it was the consistency of cake batter.
I learned that it does not keep well between coats, so it’s best to make a small batch that you’ll use up all at once.
I applied it using a plastering trowel that had a sponge on the bottom of it. I was really happy with the thin layer I was able to apply, and how smooth the coats each came out.
Once I finished a coat, I would rinse off my trowel and bucket and stir stick so that I could have it all ready again for the next coats without the product drying and setting on my tools.
The coats took about 2 hours to dry.
Once each coat was dry I lightly sanded the table top down with 180 grit sand paper between coats. I would have used 220 grit, but happened to have 180 handy, and it did a good job.
I did a total of 3 coats, so plan accordingly to have dry time with each coat!
I was in a bit of a hurry, so after my 3rd coat, instead of waiting the full 24 hours of dry/cure time, we brought the table inside and helped it along by putting it a room with a heater. It got about 15 hours of total dry time.

Applying the Sealer:
The last step was to seal it. I used this product called Tile Lab Gloss Sealer . It’s made for these “masonry” type applications like grout and concrete, and I like that it’s high gloss.
Again, I did 3 coats, with 2 hours dry time between each one.
I applied with a small sponge brush, but looking back I wish I would have used a larger thicker brush.
Because I was using such a small brush I tackled the top of the table in sections, and those ended up still being slightly visible even after the table dried, which I don’t love!
If I had used a larger brush it would have been easier to do full strokes the width of the table and would have looked a little nicer.
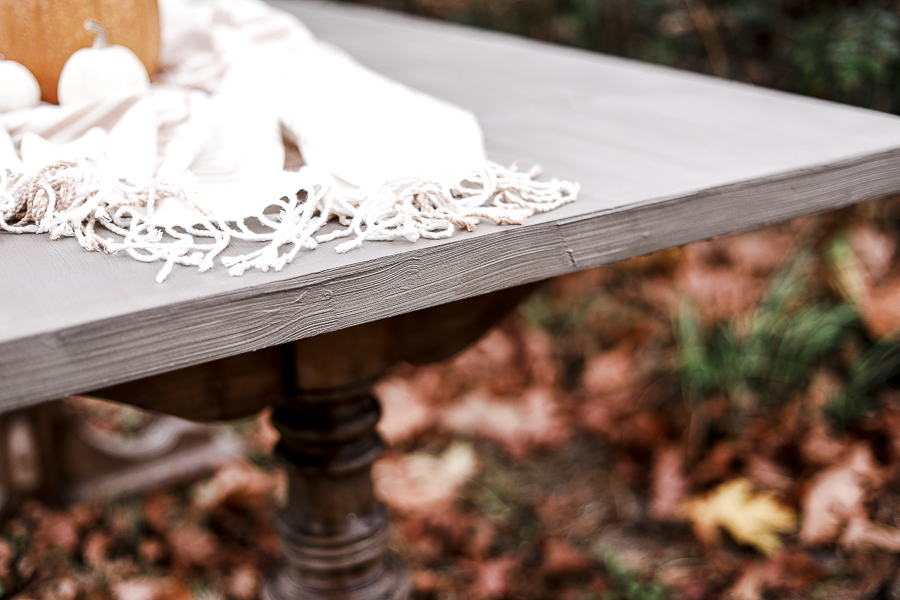
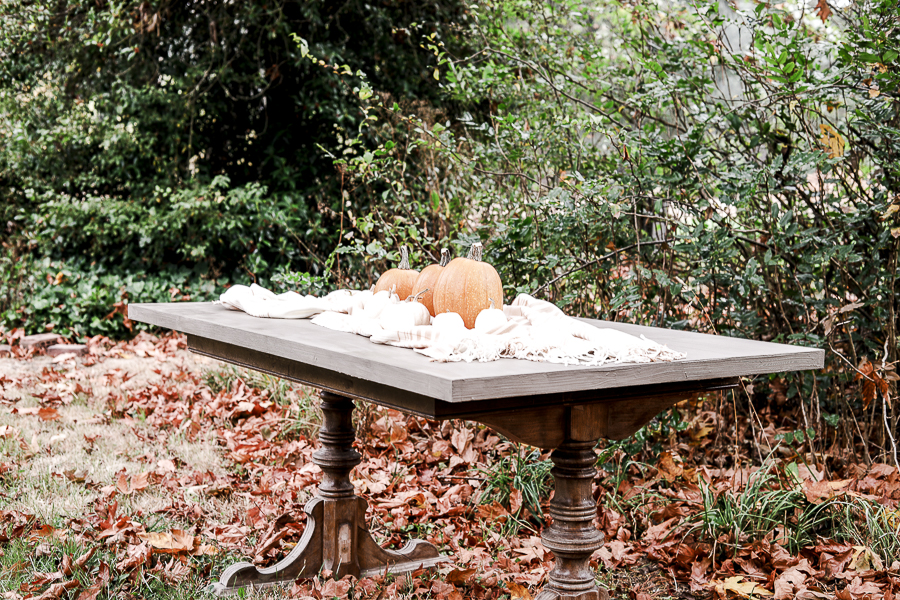
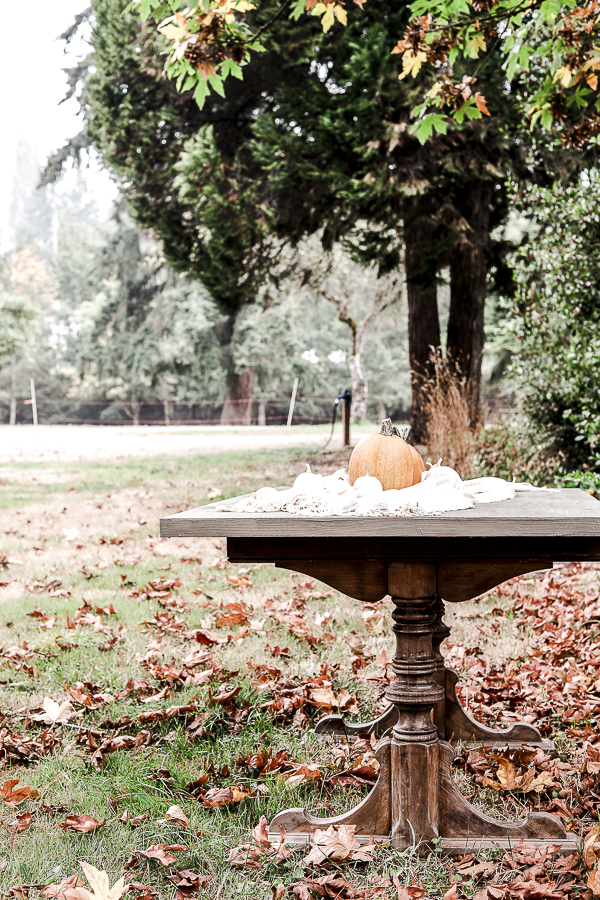
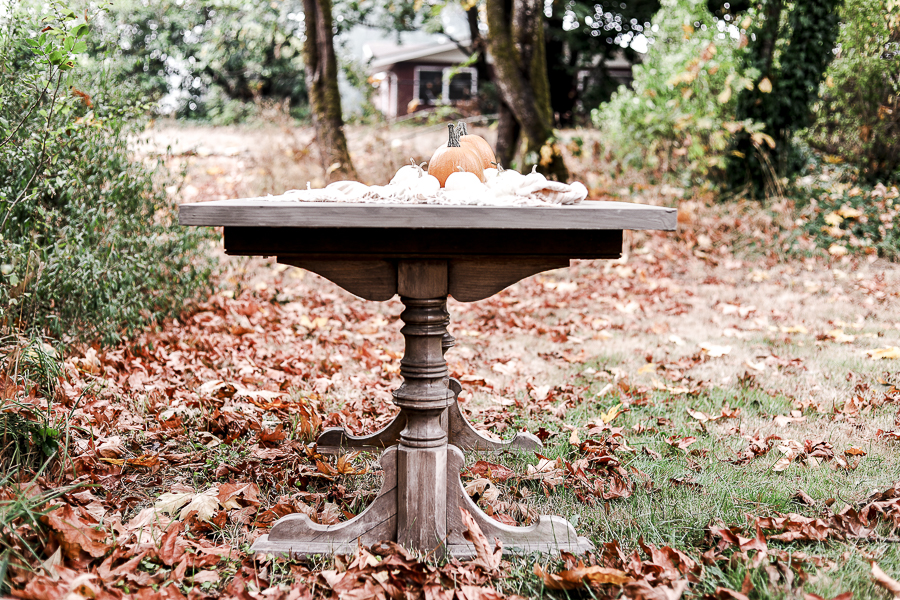
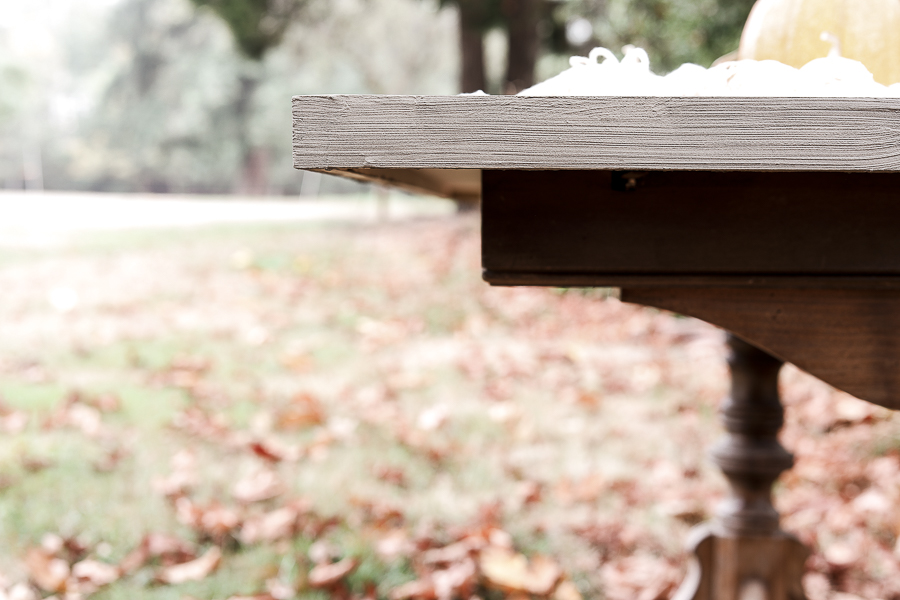
Overall, I’m really really pleased with how this table came out, and especially excited that I now know how easy this process is (almost fool proof), and how stunning the results come out!
I’ll certainly be using this technique again in the future once I decide what I want to turn into faux concrete next!
Related Posts & Resources:
- Upcycled Picnic Basket Concrete Planter
- How to Make Faux Concrete Pots & Planters
- DIY Concrete Hearth
- 10 of the Best Do it Yourself Projects
Pinterest Boards You may Enjoy: She Holds Dearly DIY Projects | Thrifting Tips & Inspiration | Vintage Furniture | Vintage Style Offices
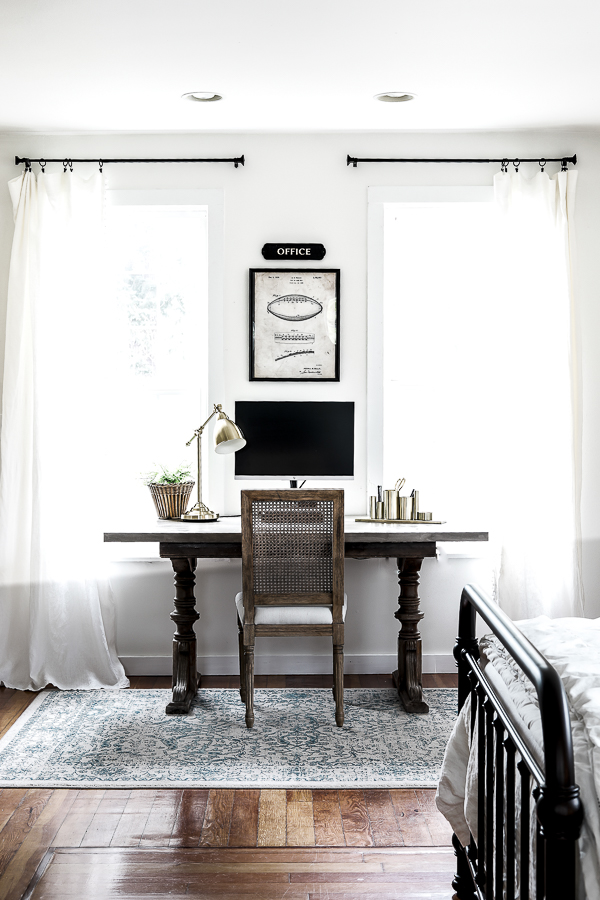
How does a DIY Concrete Table Hold Up?
As an update – this table has found it’s permanent home in our bedroom as my husband’s home office desk and is used daily. The concrete treatment has stood up very well over the past few years, and I still love the way it looks!
Pin this for Later: