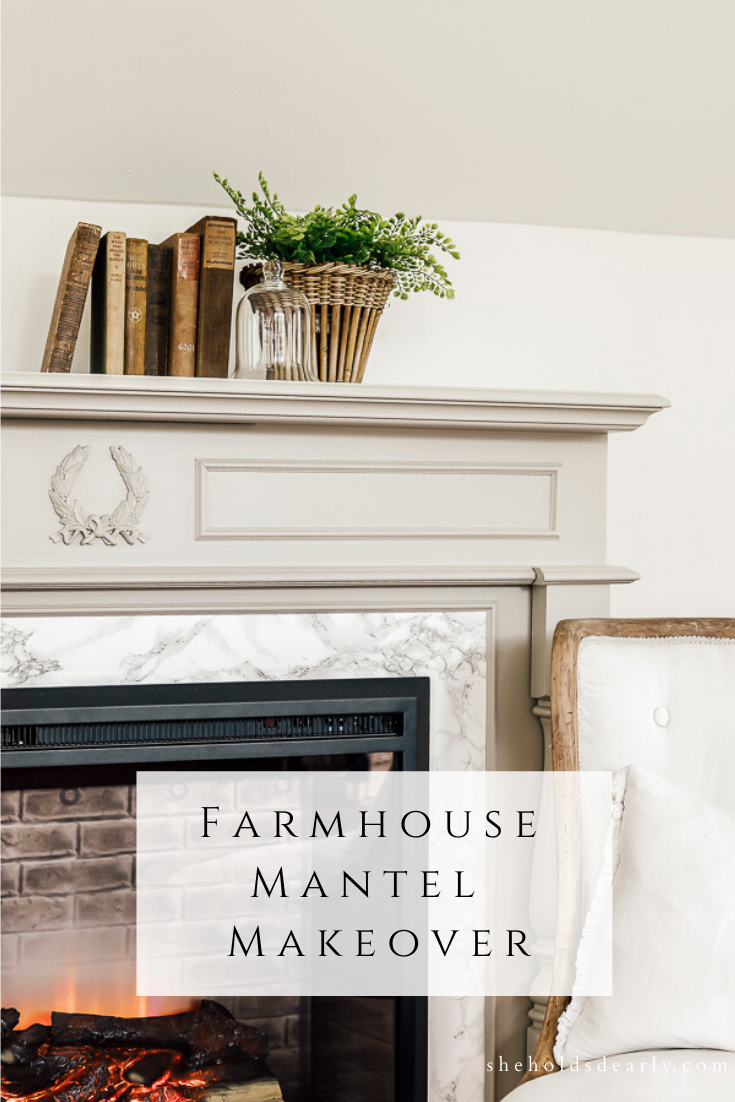
Farmhouse Mantle Makeover
I’m thinking what they say about the third time being a charm is going to ring true with my Farmhouse Mantel Makeover!
If you’ve been following along here for the past year or so, you’ll know some of the details of this fun piece, but I’ll recap for anyone who is new!
*This post contains affiliate links to products I know &/or love.
A little bit of history…
This Electric Fireplace Mantel DIY post was the first blog reveal, but it actually all started 10 years ago when we originally found and purchased this mantel from Craigslist.
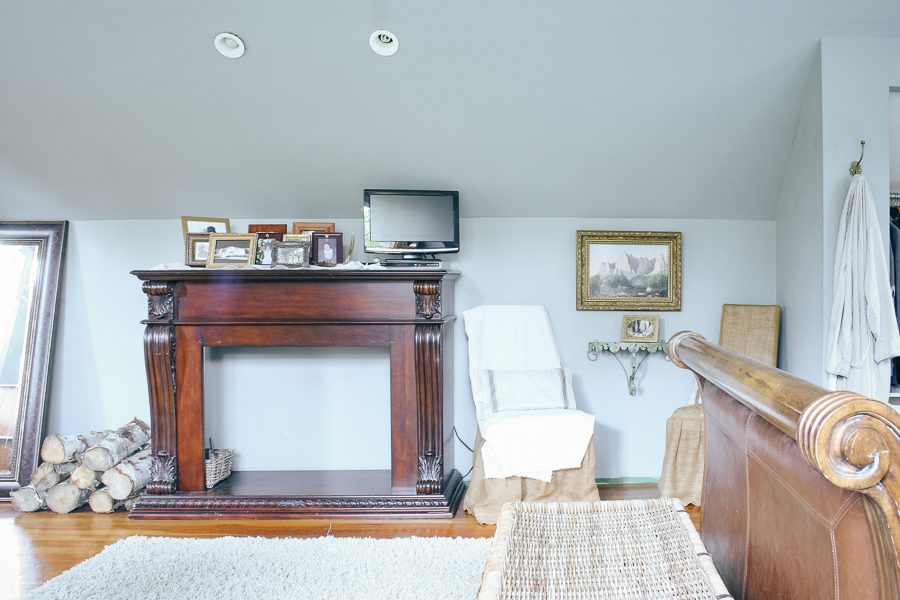
It sat for an embarrassingly long time until last year when we finally decided to make the mantel work for an electric fireplace instead of a gas fireplace as we had originally planned.
We found the electric fireplace on Amazon, and have been really happy with the look and functionality!
Having this mantel sitting around our house waiting to be finished is just such a true picture of the nature of some DIY projects, isn’t it?
They sometimes just need to sit patiently until you’re inspired and ready to tackle them! Along with some minor adjustments to the body of the mantel itself to fit the smaller electric fireplace unit, we also painted the fireplace white.
As is also the nature of some DIY projects, I decided not too long afterward that I wanted to give the plain mantel a little bit of a facelift.
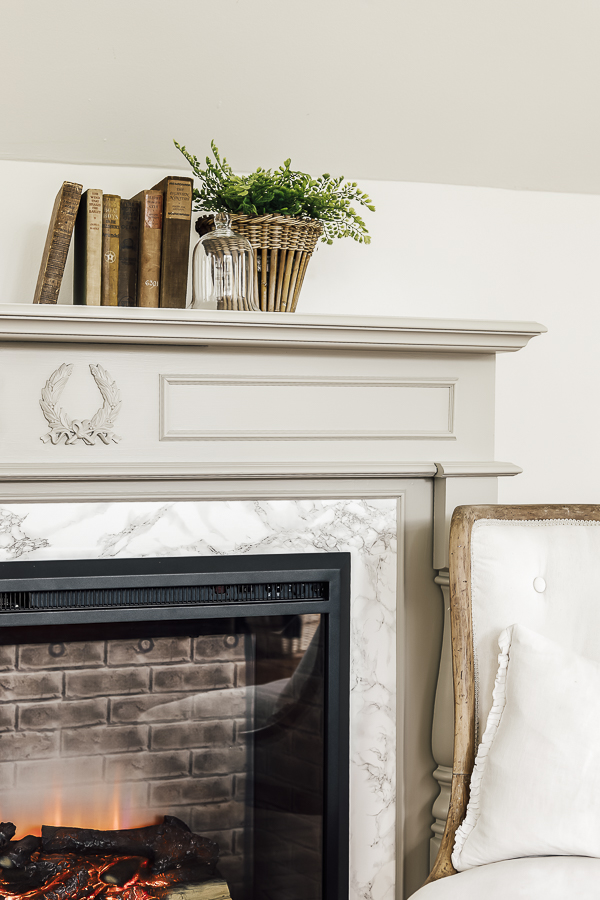
So next came the Simple Mantel Makeover where we added back in the ballasters on either side of the lower portion of the mantel, and the marble look contact paper around the fireplace itself.
That brings you up to speed and back to the current day!
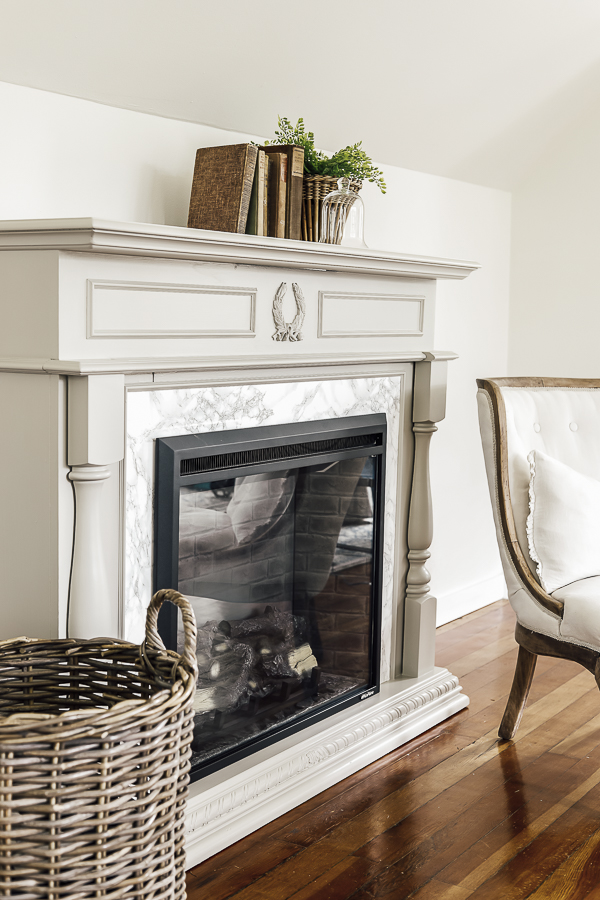
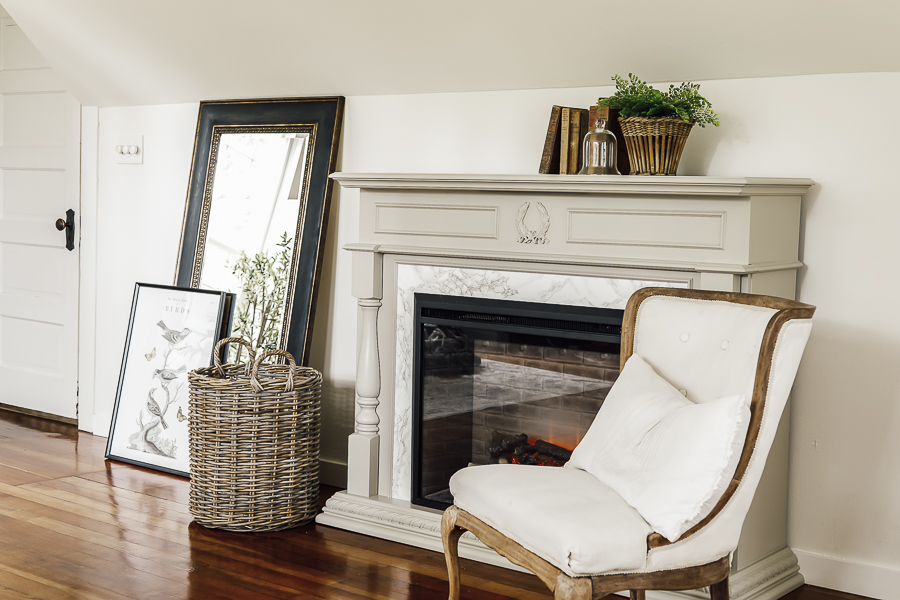
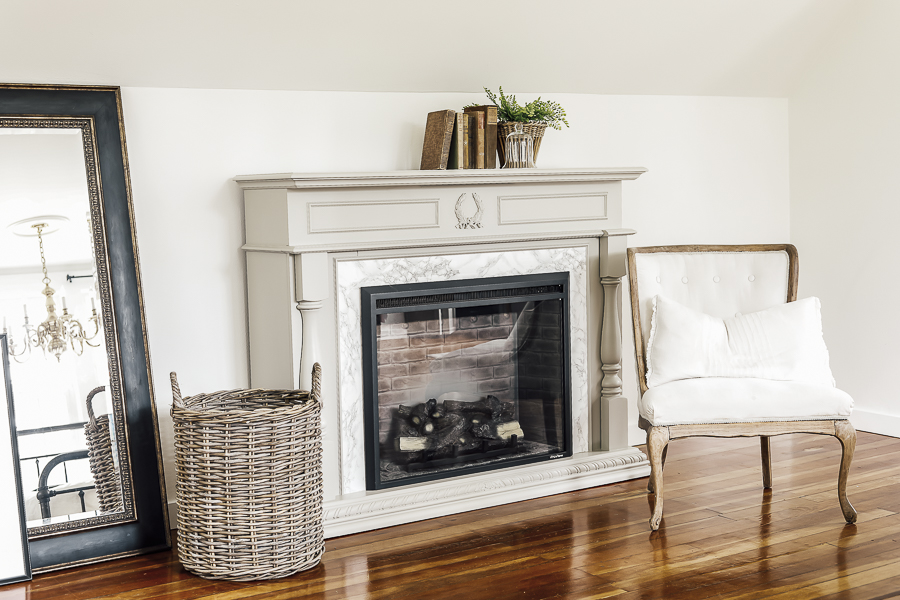
Today’s Farmhouse Mantel Makeover:
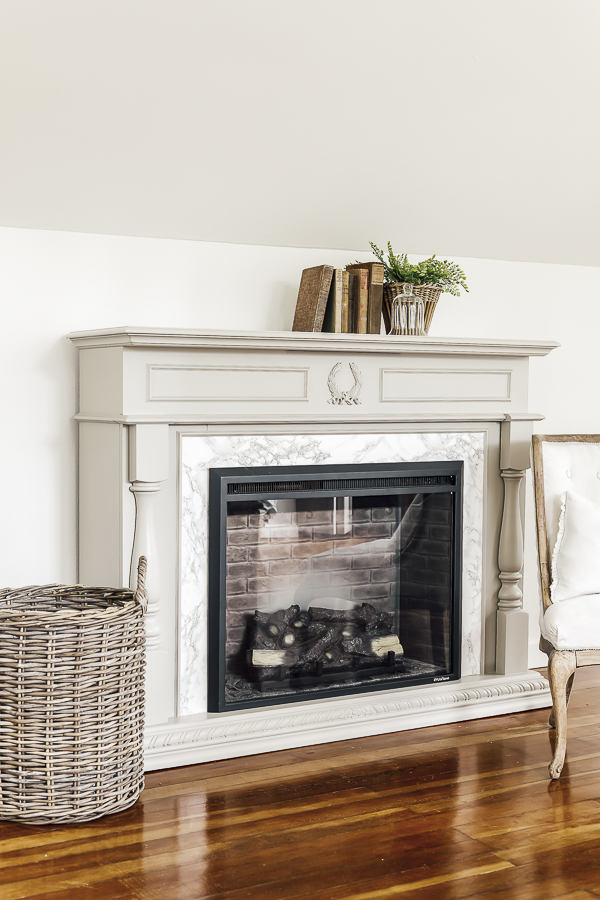
I knew the fireplace was getting close to being finished, but I wanted to add some design elements to the top portion that was feeling a bit plain.
I also decided that I wanted to bring in some color in place of the white.
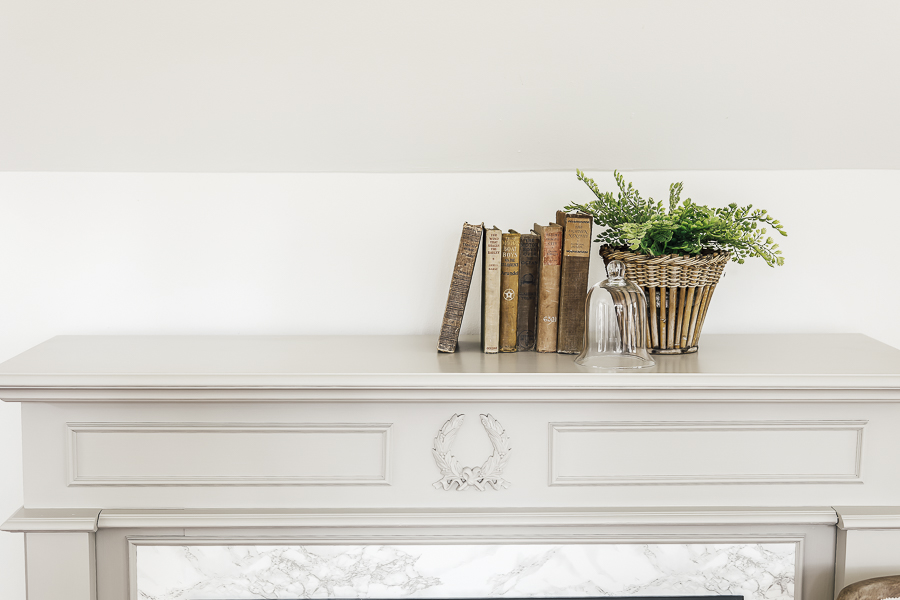
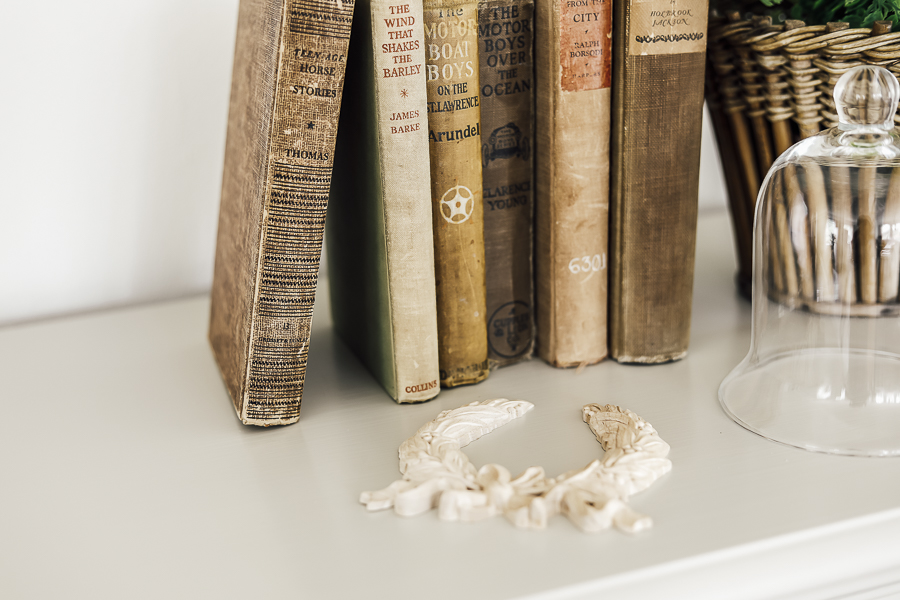
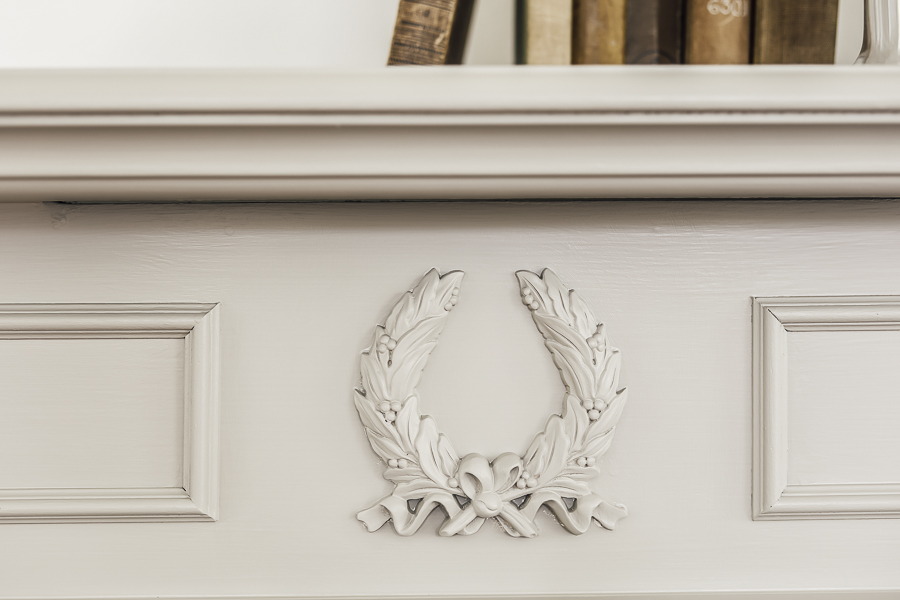
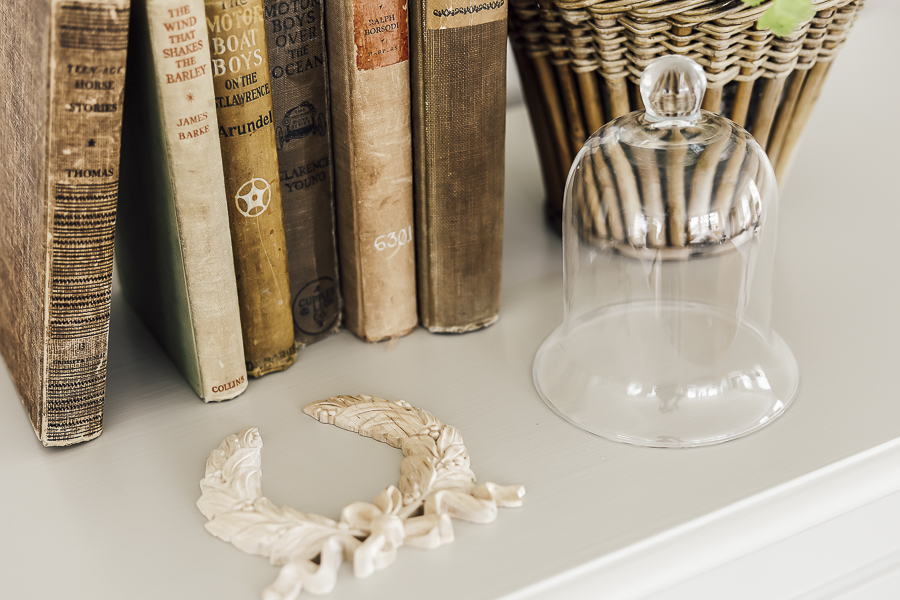
For the design elements, I chose this wooden laurel wreath applique from Etsy, and two trimmed rectangles to give a paneled or framed look on either side.
At first I had thought about doing 3 sided rectangles that opened and highlighted the wreath in the center, but decided against it once I taped them up and saw it coming together.
Switching to a 4 sided rectangle ended up requiring another trip to Home Depot for additional trim and needing to recut all 8 pieces. Sometimes a true DIY project just requires a couple of trips to the hardware store!
For the color, I have really been loving the shade I have on both our bi-fold closet doors, and our upcycled armoire, but I didn’t want to overwhelm the room with too much of that exact shade.
My solution was to stick with the same color family but to go a shade darker.
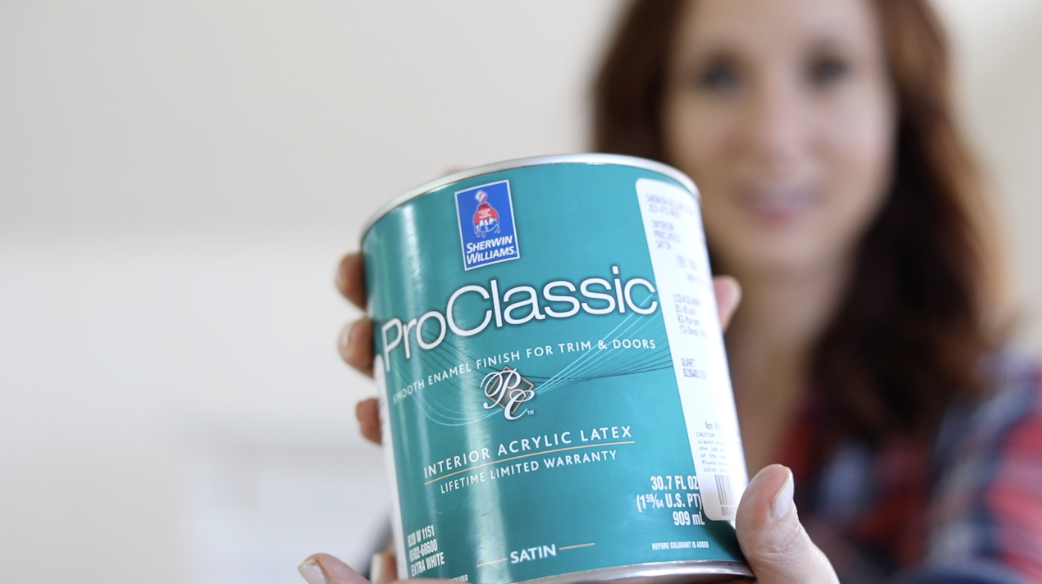
The color is called “analytical grey” and is Sherwin Williams’ Pro Classic paint with a satin finish. (Sherwin Williams code #SW7051)
Supplies:
To recreate this look for your own farmhouse mantel makeover, here’s what you’ll need:
- Trim Pieces
- Laurel Wreath
- Miter Saw
- Level
- Measuring Tape
- Masking Tape
- Pin Nailer
- Air Compressor
- Sand Paper – 220 grit is my favorite for finishing projects
- ProClassic Sherwin Williams Paint in Satin, color- Analytical Gray
The Process for our Farmhouse Mantel Makeover:
Step One | Attach the Wreath Applique
I measured our mantel face to center our wreath (both horizontally and vertically) and confirmed it was level, then taped it into place. Then used our pin nailer to secure it there.
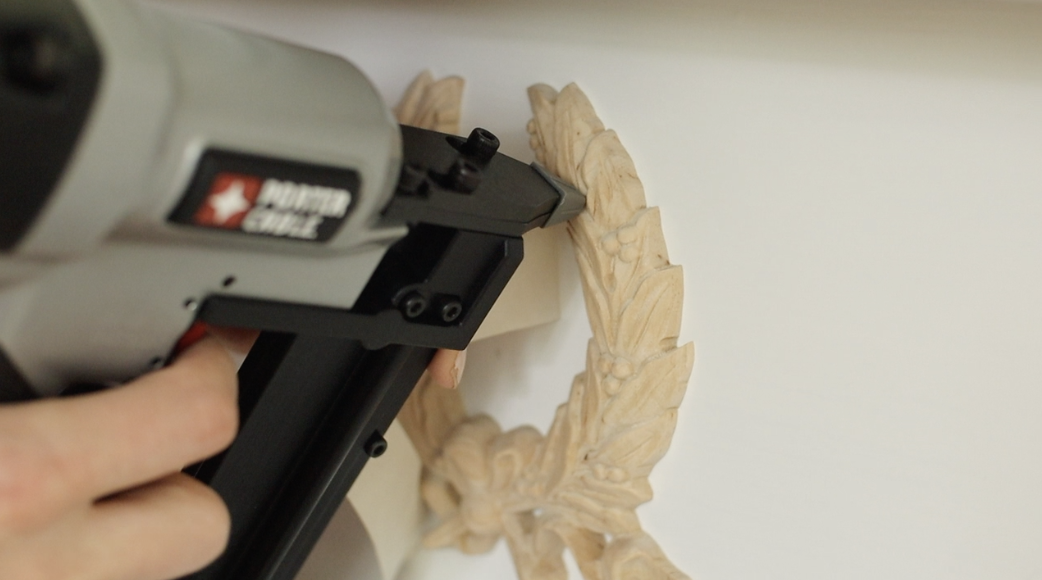
I chose to use the nailer instead of wood glue and skipped the caulking around the edges because I know myself, and sometimes I change my mind about things.
I figured that removing this later down the road would be much easier if it was simply nailed in place.
Step Two | Attach the Rectangle Frames.
We measured the remaining space on either side of the wreath and cut the 4 pieces of trim required to make each rectangle.
My husband used his miter saw to create nice 45-degree cuts on the ends so that it fit together really neatly when we installed it.
I used my 220-grit sandpaper to smooth down any rough edges left from the saw cuts.
Then I followed the same careful process to measure where the rectangle belonged on the face of the mantel and carefully made sure it was level and straight before taping it down and nailing it in place.

I used a little spackle to cover and fill in the holes left by the nailer, and then we were ready to paint!
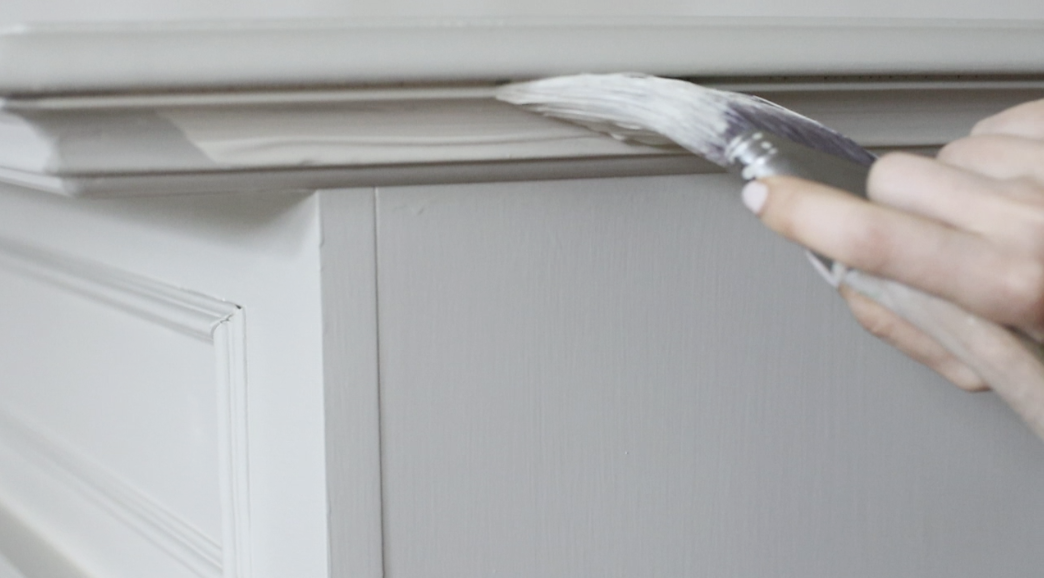
Step Three | Prep & Paint.
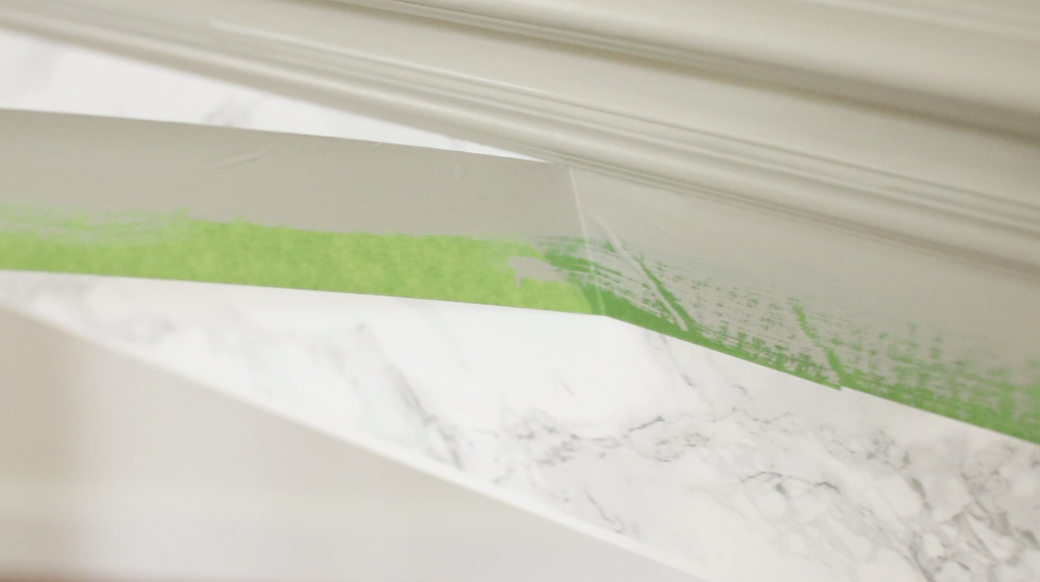
We prepped the area for painting and taped off the marble contact paper to make sure we could paint neatly around it.
Here are some of my “Painting 101” tips!
- I like to remove my painter’s tape as soon as I’m finished with the last coat of paint – while it’s still wet. This might partially be because I’m impatient and excited to see the final look, but it also allows me to do any necessary cleanup right away if paint bled through the tape in any spots.
- I clean up the paint while still wet with a Q-tip soaked in water, or if it’s dried too much already, I carefully use a razor blade to scrape any bleed through away.
- I always like to paint detailed sections (like the wreath) first to make sure I take the time to get the brush everywhere it needs to be in the nooks and crannies.
- Then I move on to the edges of the larger areas and carefully fill them in.
- When painting across a long surface, like the top of this mantel, I mentally cut the surface into sizeable sections that I can easily cover with smooth long brush strokes. Those long even horizontal brush strokes will really help make your painting look professionally done.
I ended up doing 3 coats of paint. I probably could have done just 2, but it was going so quickly and I had leftover paint so it was easy enough to add another coat.
I love how the satin finish feels almost like chalk paint – but without the added step of needing to apply the wax coat!
I’m also really thrilled with the color, and something about the color and texture gives me a stone/concrete feel which I absolutely adore! A surprise development I wasn’t even expecting.
|Giveaway|
Some fun news is that the cute little wreath I ordered from Etsy came in a two-pack! And you know what that means, right? A giveaway!
It’s carved birch and about 5″ wide and a little over 7″ tall.
If you leave a comment below and tell me what your favorite thing is about She Holds Dearly, you’ll be entered into a drawing to win the 2nd wreath!
I especially love feedback like this, because it helps me know your favorite types of things for me to share more of!
The giveaway closes June 13th!
*Giveaway Closed*
Congratulations to Lissa on winning the wreath! Can’t wait to see what you do with it!
Pin this Idea for Later: