Bi-fold Closet Doors Makeover
Do your closet doors need a makeover?
Closet doors can really drag a room down, but they are important for covering over the craziness that usually inhabits one’s closet.
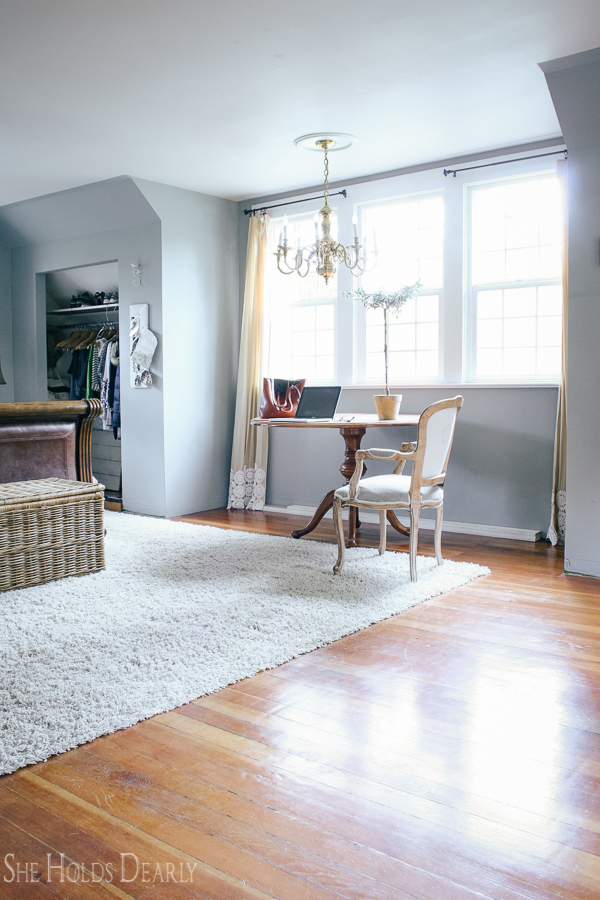
For years, the closet doors in our master bedroom remained non-existent and the closets were one of the worst eye sores in the house, at least in my opinion.
The biggest problem was that my husband and I could. not. come to an agreement on what to do. I really wanted to be elegant and feel more like an armoire than some cheapo closet doors.
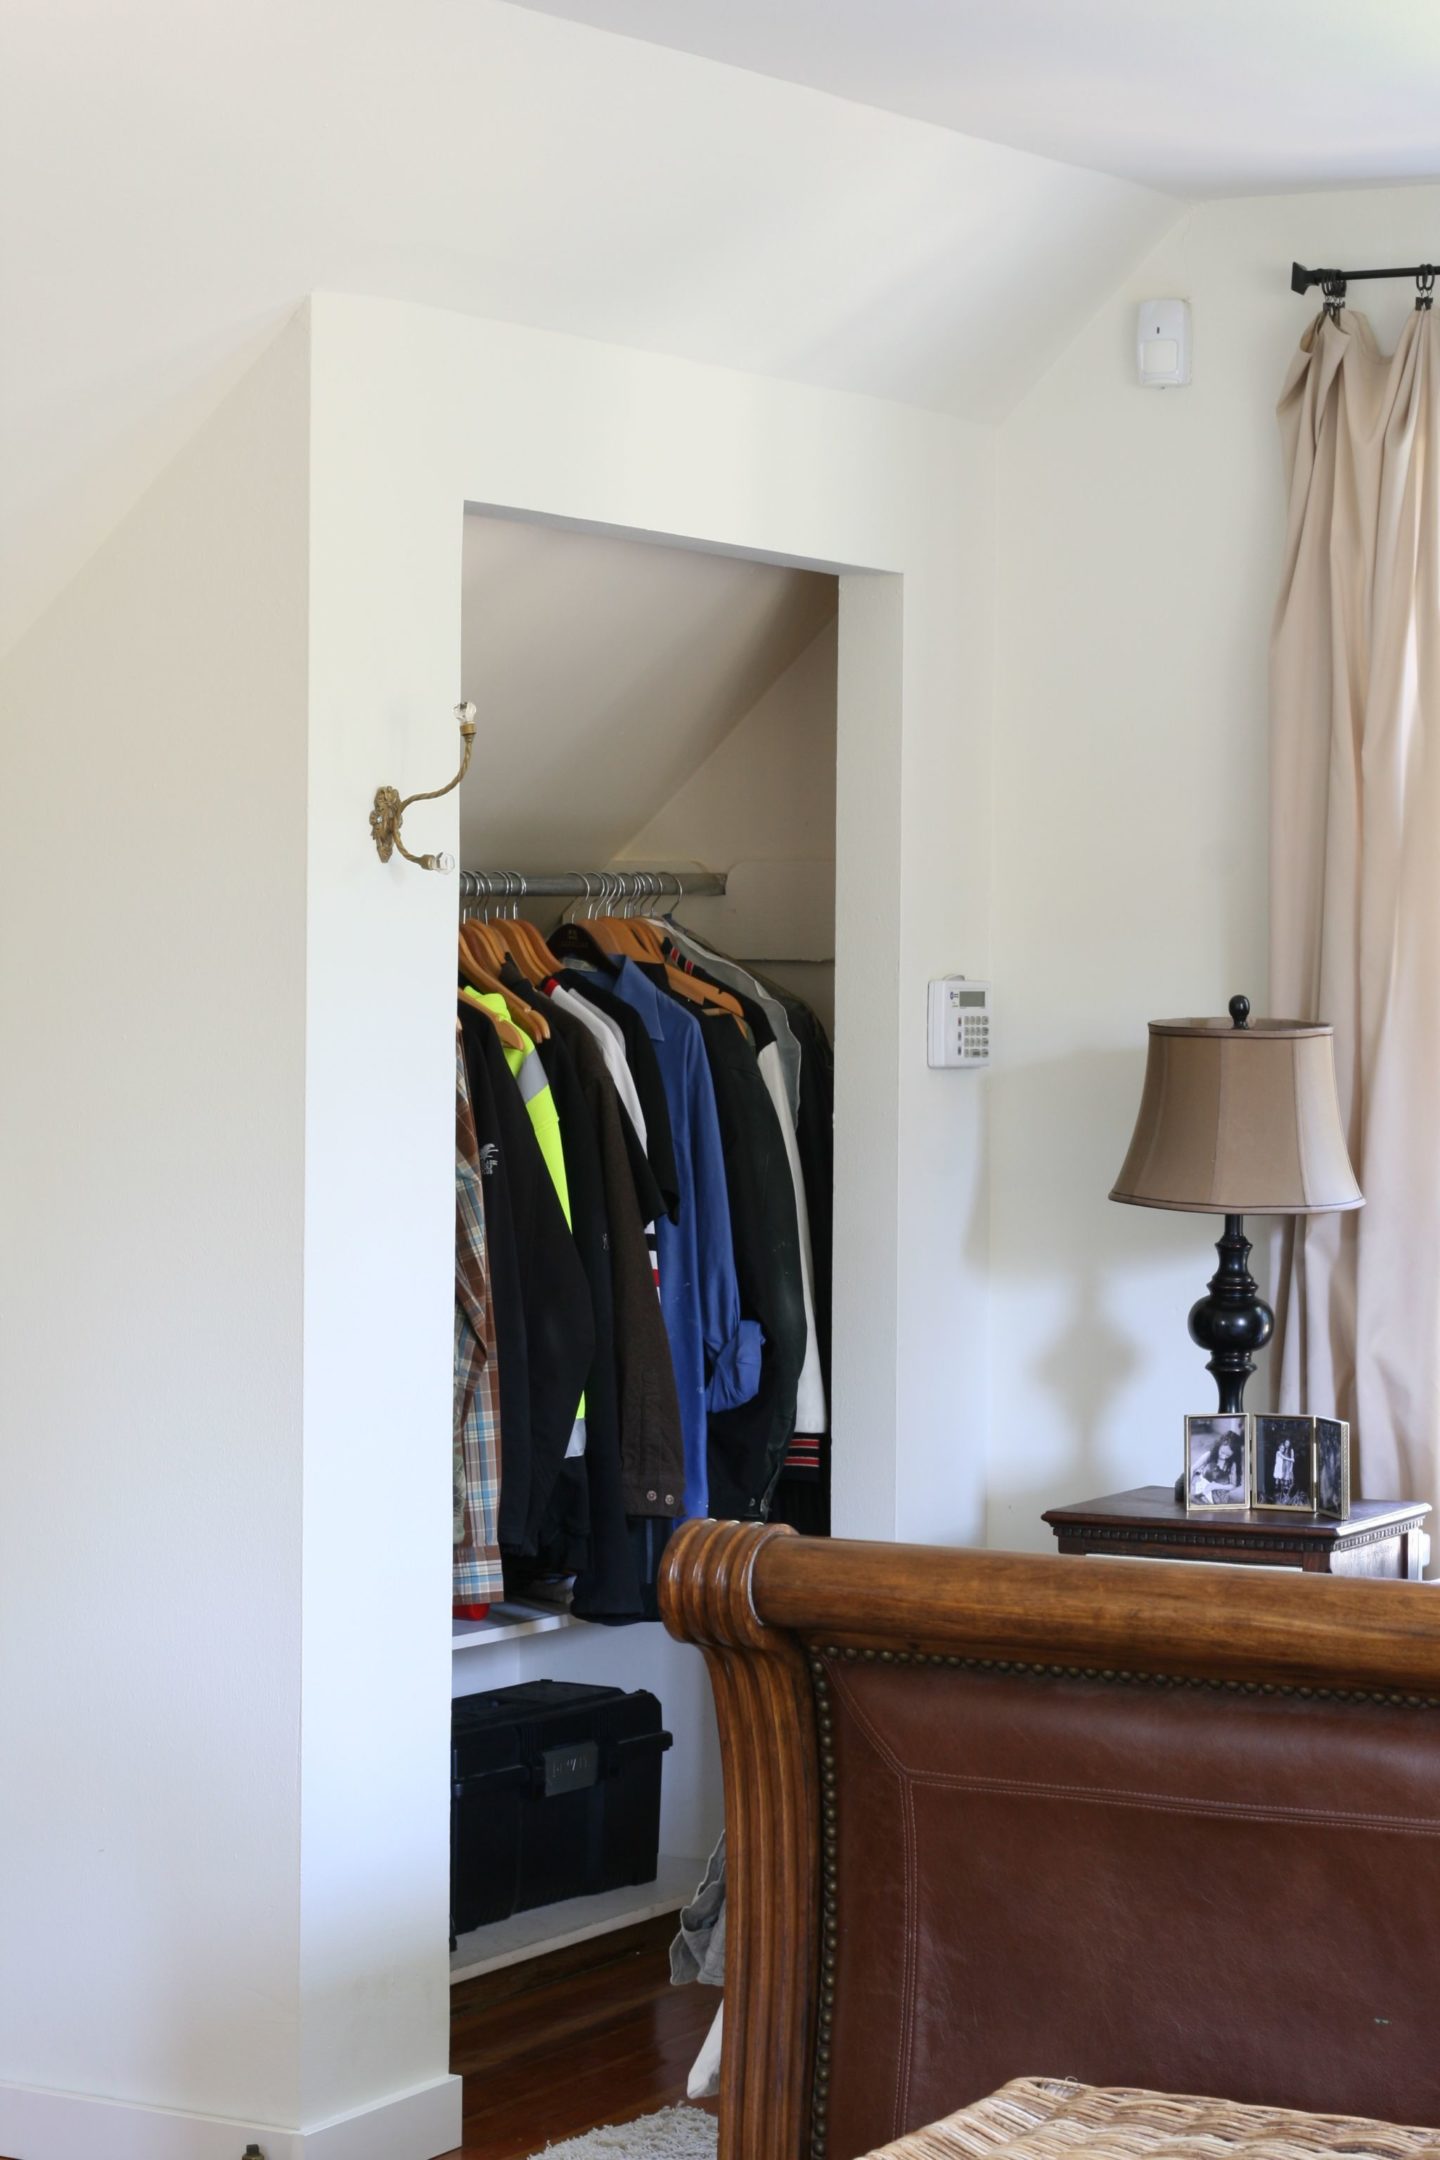
He was concerned that two doors opening up like an armoire wouldn’t be able to swing wide enough with our nightstands. As it turned out, we moved our bed under the chandelier and there is plenty of room to open the doors.
But, you know me, the furniture will be rearranged soon enough, so I am glad he stood his ground. He is definitely the practical one in the marriage.
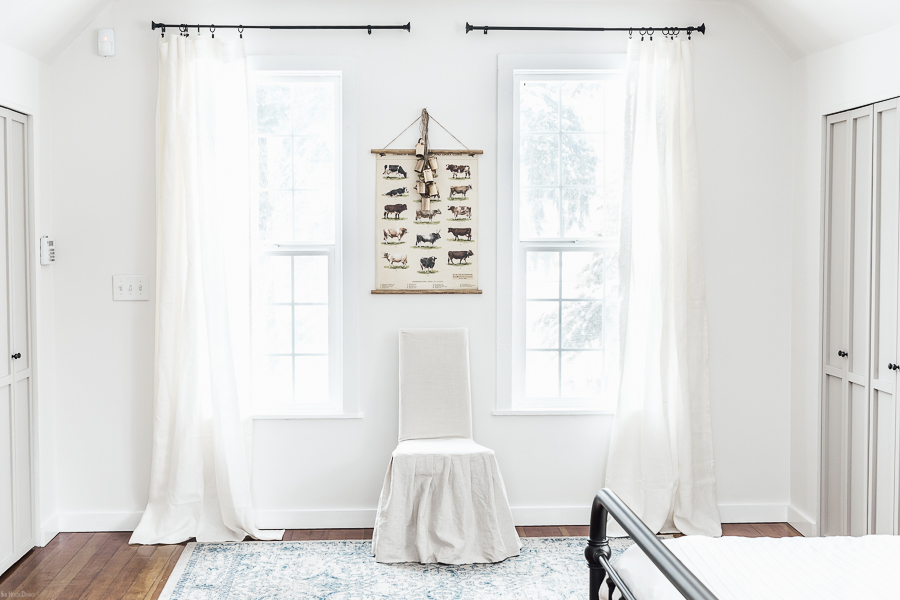
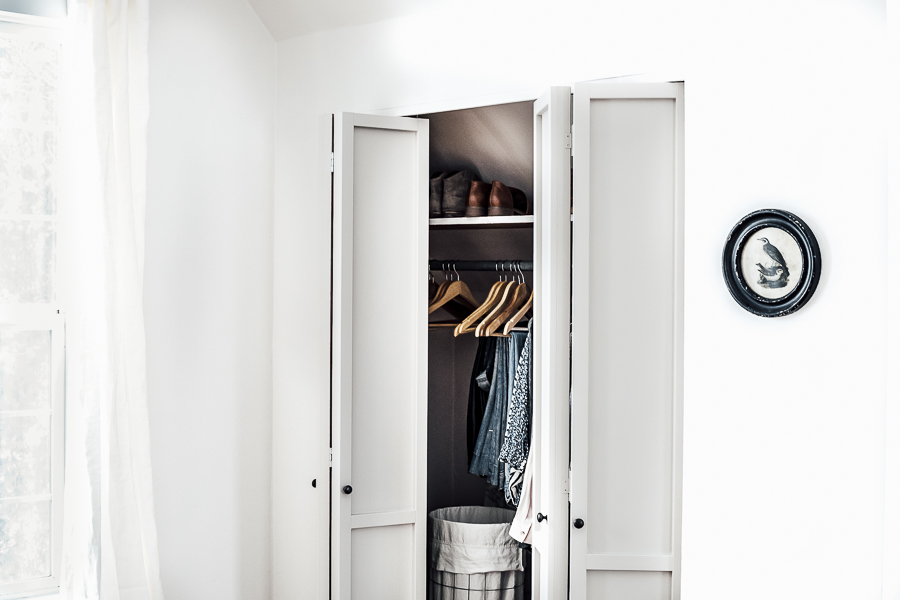
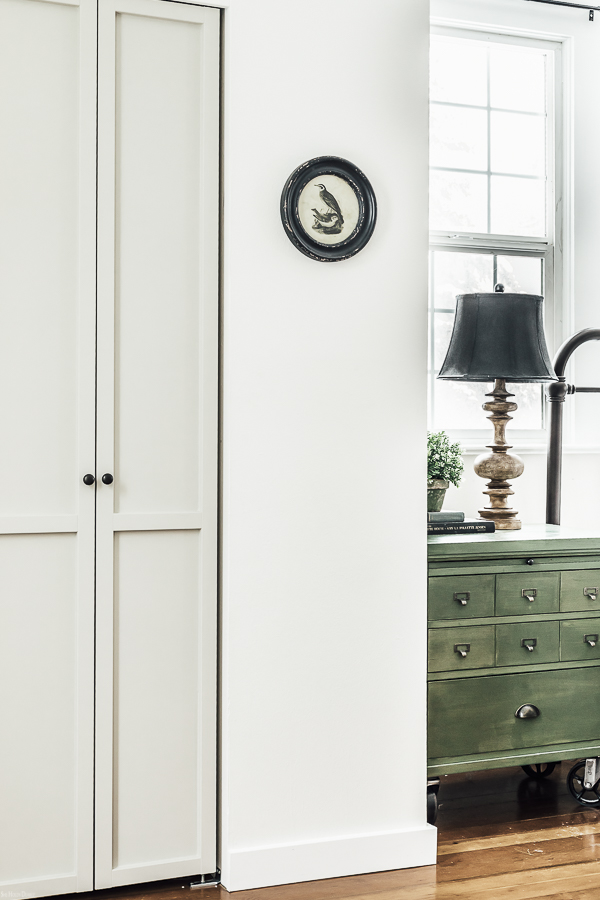
A few months ago I wrote a post entitled 7 Custom Closet Door Ideas and you gave SUCH great feedback. We ended up settling on a “four door” set up, which actually means two bifold doors and dressed them up a bit.
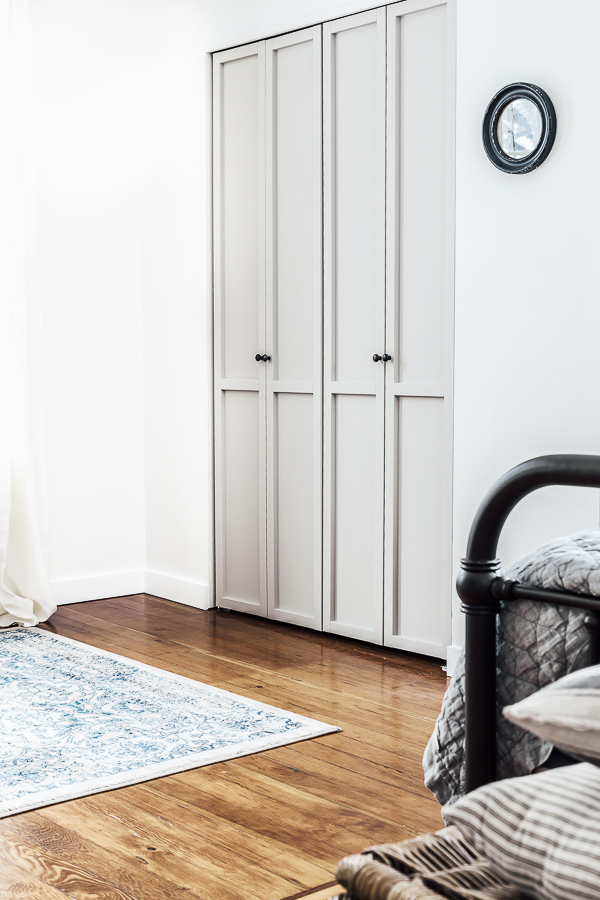
I love the look of lockers all in a row, so taking my inspiration from them, decided to place the knobs (from my card catalog nightstand) in two sets to create the illusion of smaller side by side doors.
Bi-fold Closet Doors Makeover Tutorial
*This post contains affiliate links to products I know &/or love.
Here’s the run down on just how we did it. . .
Supplies
- 2 Bi-fold Closet Doors per closet– we found 3 of ours on Craigslist and had to trim them down and buy hardware. NOTE- you have about 1/2 ” on either side with a bi-fold that you can trim down before you hit the hollow core. Also, deduct 1/2″ from your closet opening measurements in order to accommodate the trim work you will add on the front of the doors.
- Trim- You may need to custom cut your trim, but you will want strips of wood that are 1 1/2″ wide and 3/4″ deep.
- Finish Nailer and nails
- Spackle
- Red Putty
- Sandpaper- 220 grit
- Primer
- Caulk
- Paint- I’m using Rescue Restore Paint in Paris Flea Market and I needed 3 quarts for the whole project
- Finishing Wax – if using chalk or milk paint. I used clear.
- One more piece of trim- to cover the hardware at the very top and paint to match your wall color. We used scrap pieces of MDF cut to size.
Tutorial
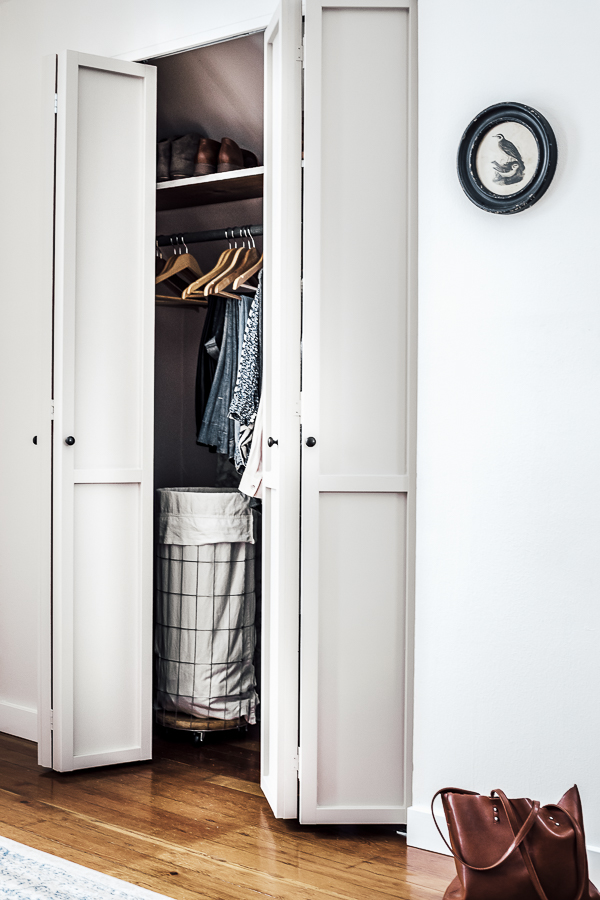
- Once you have your correct bifold doors and hardware, you need to cut the right amount of trim.
- Nail the trim to the front of the doors with your finish nailer. (The crossbars are positioned 33” from the floor.)
- Install hardware and doors. (The knobs at 36″ from the floor.)
- Then, add the trim piece above the doors to cover the exposed hardware.
- Fill the nail holes with spackle first, then with red putty and sand when dry. This will give your doors a really smooth finish where the nail holes are.
- Prime your doors and let dry.
- Now caulk all the seams and let the caulk dry overnight.
- Finish with one or two coats of paint (I used two) and once dry, seal with a finishing wax, as needed.
- Finally, paint the top trim piece to match your wall color.
Elite Decorating Academy | Open For New Students!
Head on over to elitedecoratingacademy.com to learn more!

Pin This Closet Doors Makeover Tutorial for Later:


