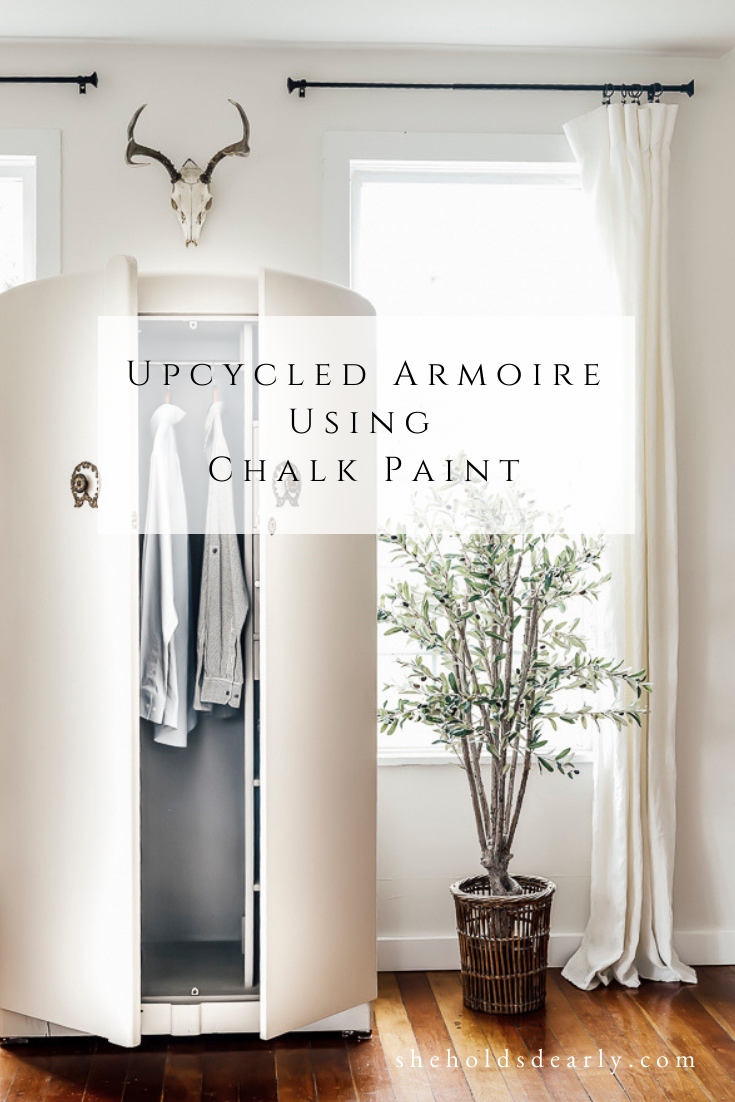
Upcycled Armoire Using Chalk Paint
Have you been wanting to know how to upcycle an armoire using chalk paint?
Today is your day, you can follow along with a project I did for our master bedroom and learn all the ins and outs.
I’ve been looking for a piece to replace my husband‘s dresser that has been falling apart for years. I checked Craigslist and really couldn’t find something that I loved.
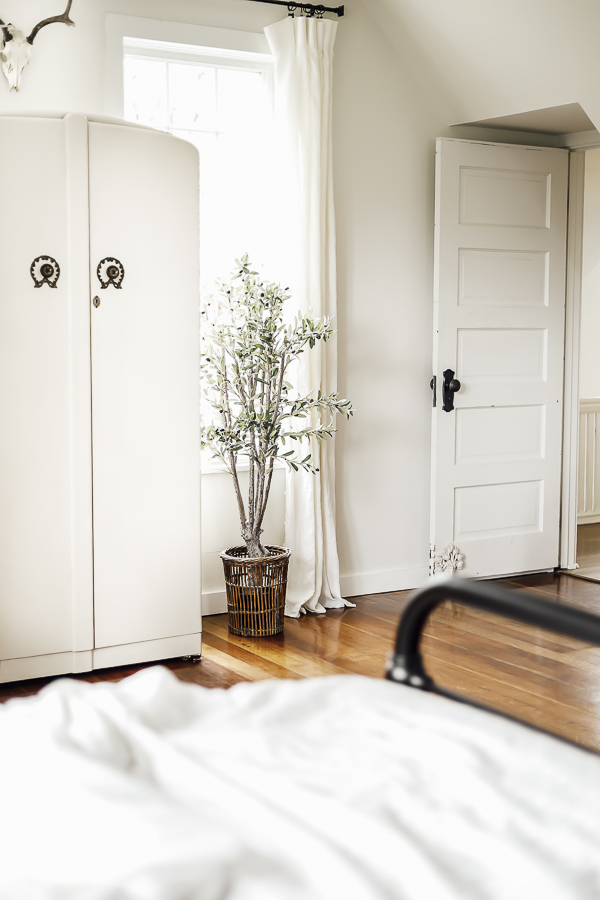
I had to be really careful with the size of this piece because it fits between two windows in our bedroom.
It also needed to be big enough to handle the pieces that he needed to store.
Needless to say, it’s been on my list for a while with no real success.
Then, out of the blue my husband’s grandma said that she was moving out of her home and in with family. She, of course, was trying to downsize her furniture, which was a dream come true for me.
She had this armoire that was just sitting out in a moving trailer and would probably have ended up at Goodwill if I hadn’t taken a peek at it.
Instantly, I was intrigued with it even though it was very simple on the outside.
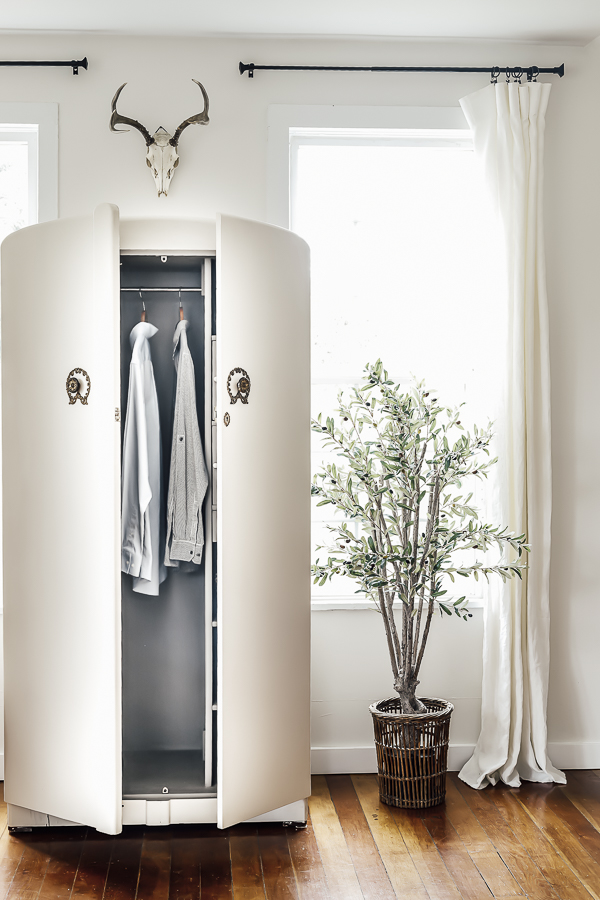
I told her that if I took it there’s a really good chance I would alter it somehow. I would take off the doors, I would add shelves, I would paint it.
Who knows what I would come up with.
I come from the belief that it is better to alter an antique and let it live on and be loved then to let it just fall apart and not be used because it doesn’t fit your current style.
Normally, I like our furniture to be a lot more ornate or a lot more rustic.
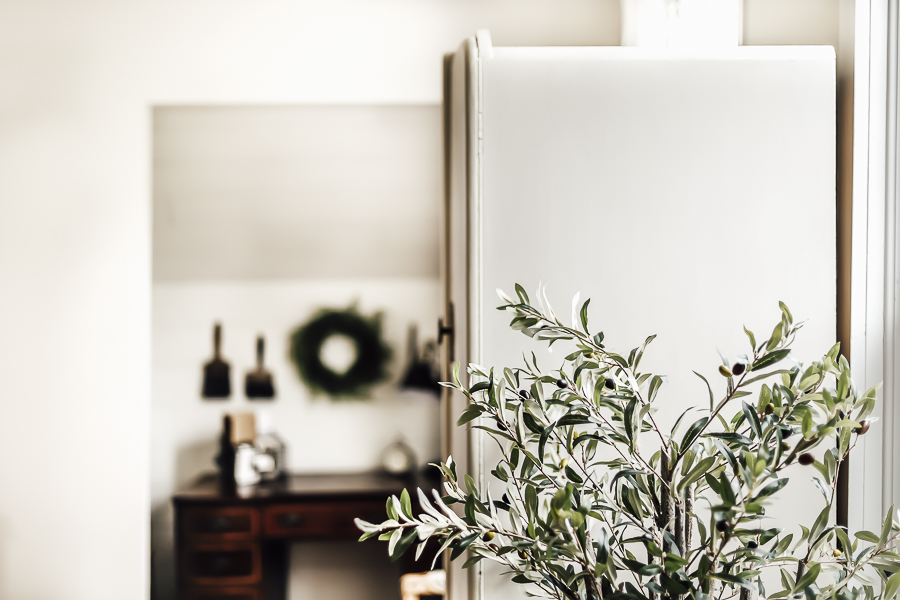
Truth be told, this one is a little bit more modern than my normal go to.
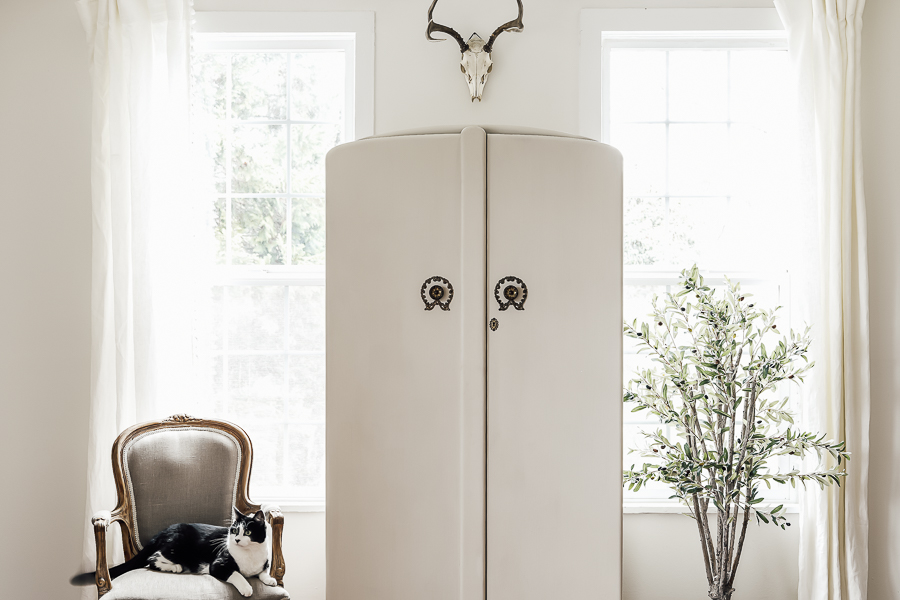
I’m not sure what decade it came from but it is pretty simple on the outside. My kids keep calling it a refrigerator.
Ha! I WISH my refrigerator was this cute!
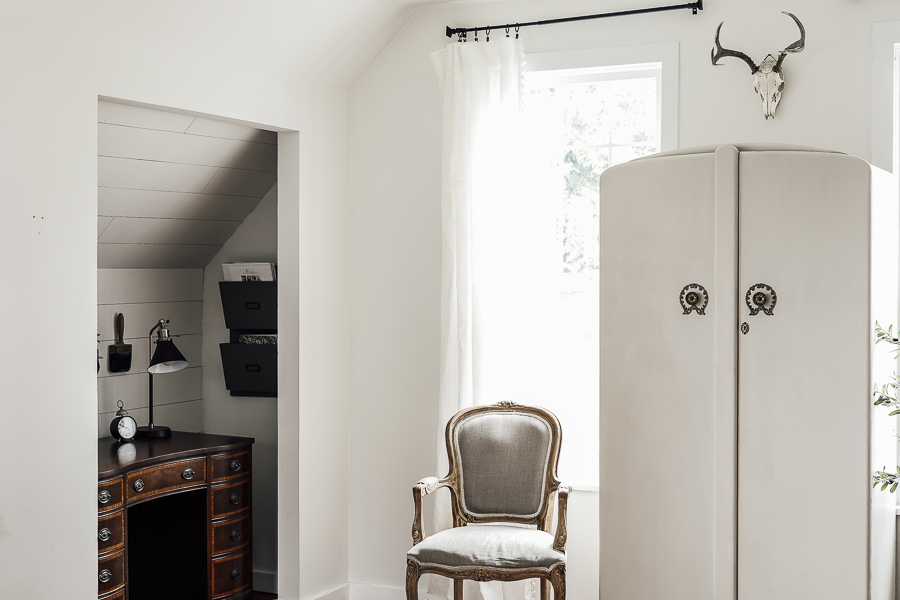
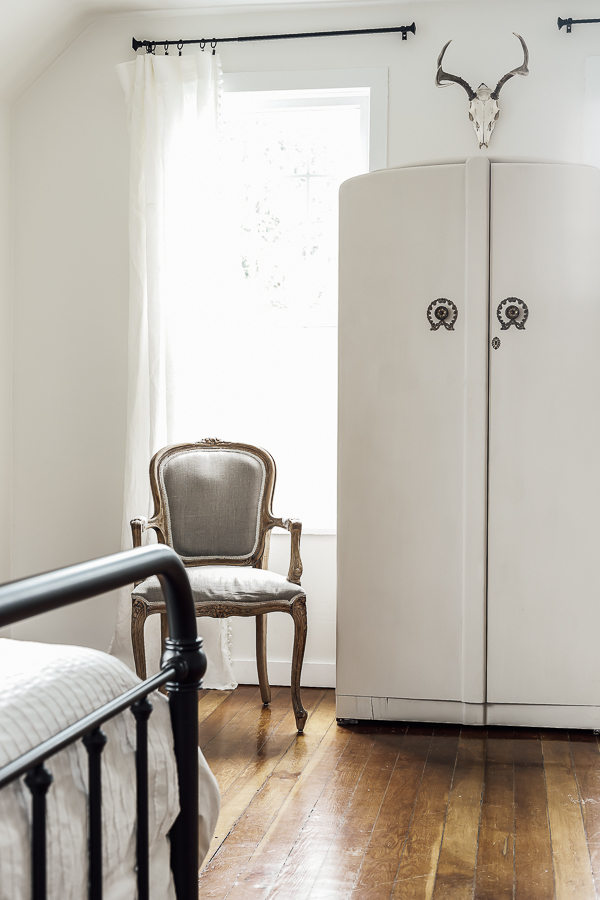
But here’s the deal. I have a lot going on in this bedroom. It’s a large room with great focal points.
The bed is a great focal point, the fireplace is a great focapoint. I don’t need everything to steal the show, I needed a piece that would play a secondary role in the whole design scheme.
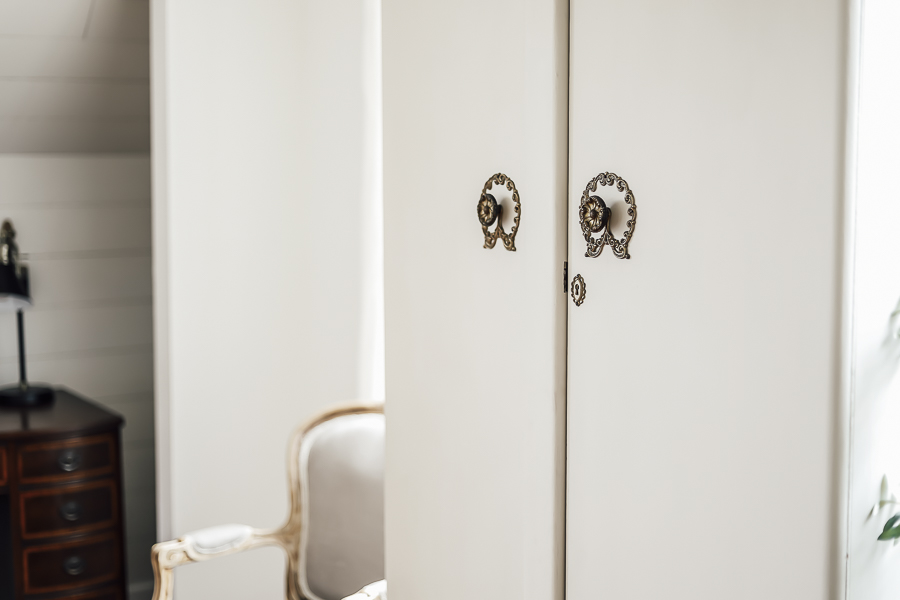
I also have tall closet doors on the opposite end of the room in this light gray color. Good design should be repeating itself throughout the room so I needed something tall and simple.
It was a given that I would be painting it the same light gray as the closet doors.
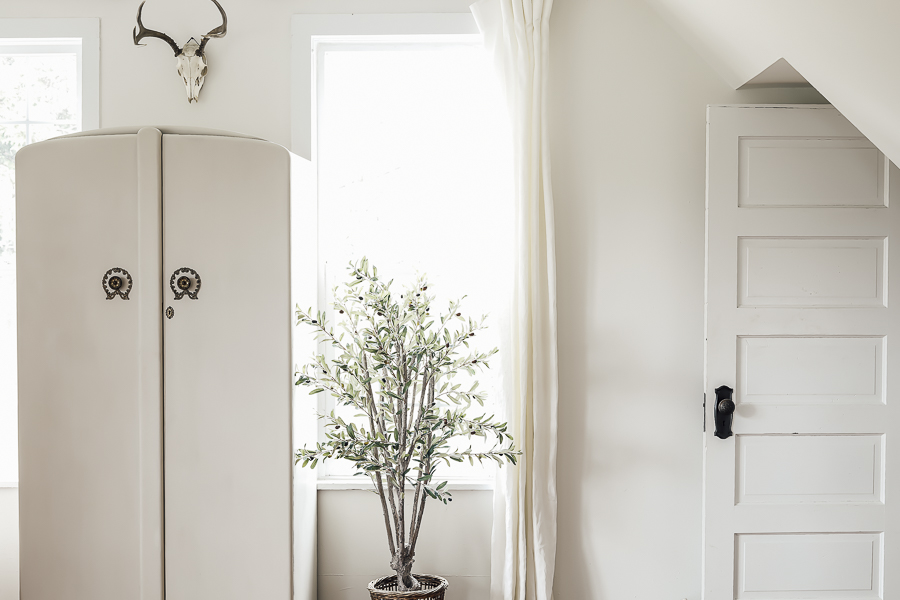
The other thing that I really appreciate about this piece is that it does have a nice curved top. Looking throughout my room there’s a curve in my desk (it almost looks like a kidney bean).
There is a curve on my antique desk chair and curves in the two upholstered chairs in the sitting area.
The headboard and footboard of my bed are curved.
So, I was fine repeating some soft lines and decided this piece was going to be perfect.
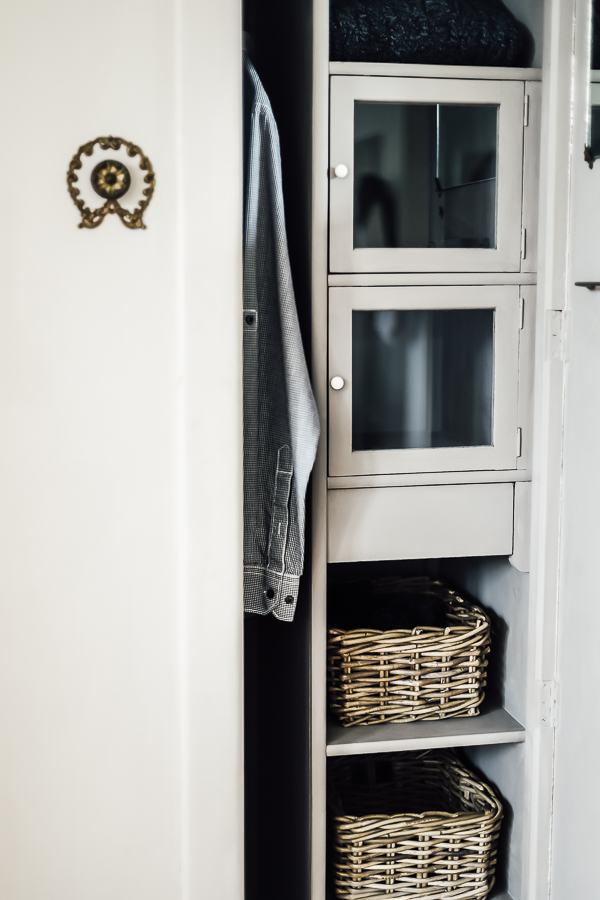
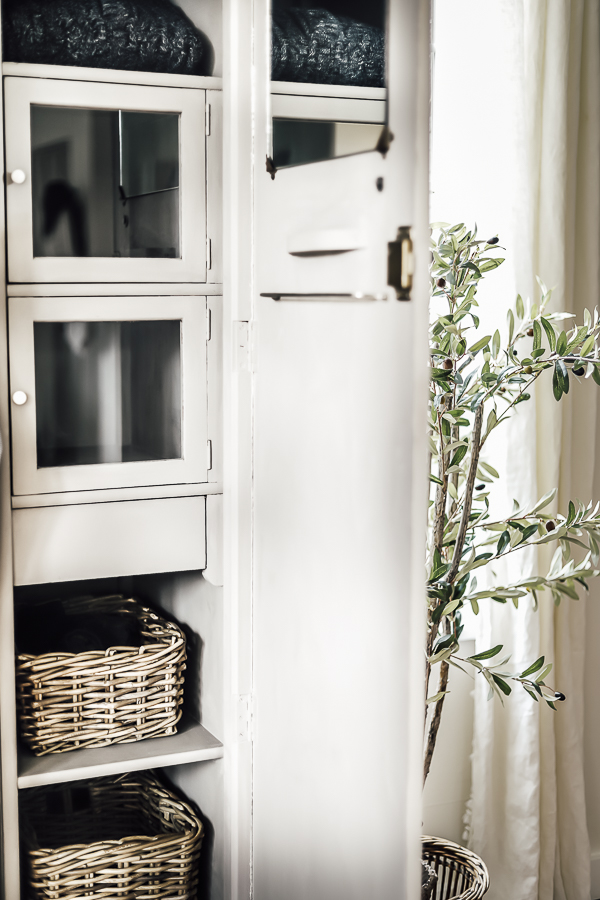
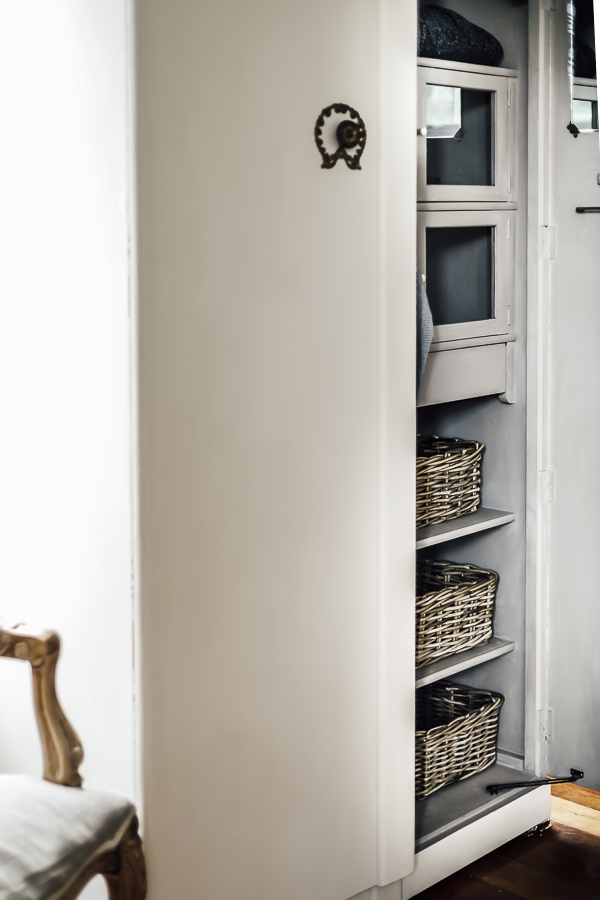
The inside is extra cute, too. It has several cubbies, a vintage mirror and some little glass doors. Lots of character and vintage charm!
For the inside I decided on a darker gray, I love that it is a two-tone piece of furniture!
I recommend this for fun surprise when you open an armoire.
I had done a informal survey on my Instagram stories and had my followers help me choose a paint color.
We landed on the Annie Sloan French linen chalk paint for the interior.
Upcycled Armoire Using Chalk Paint
*This post contains affiliate links to products I know &/or love.
- My first tip for painting an armoire is to plan on two coats of paint at least. Especially, when you’re doing a light color over a dark. This wardrobe has a veneer and a varnish on it. Normally, I would shy away from something like this. But because it was free and it was sentimental piece, I’m just going with it.
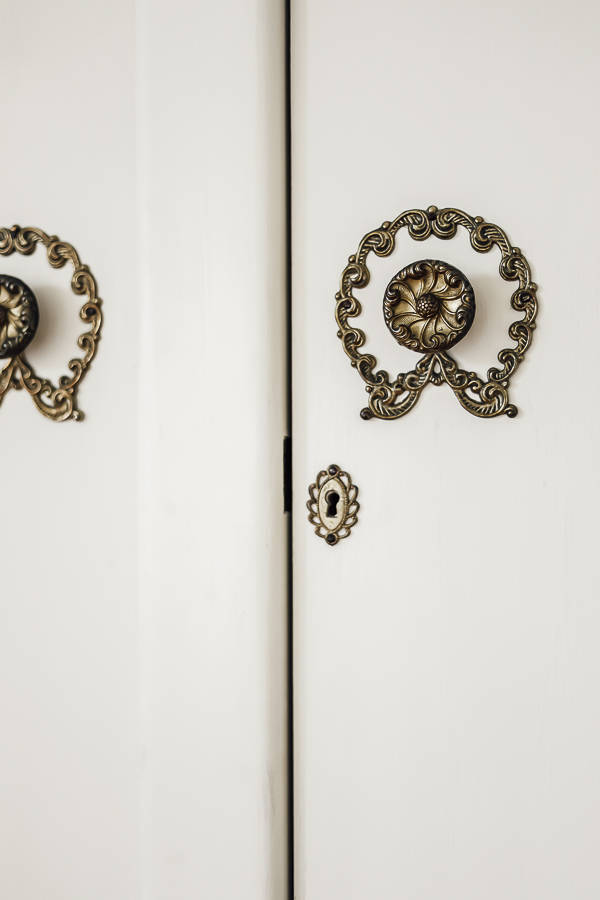
- Tip number two is to decide which hardware are you gonna leave on and what you’re going to take off. A rule of thumb that I follow is if I want to show off the hardware I will remove or tape it depending on the complexity of the design. For instance, I wanted to take off the outside knobs and wreaths because they would be way too difficult to tape. Anything hardware-wise that you do not care to show off means you can paint over it!
- Tip number three is to start by vacuuming out the whole piece really well and wiping it all with a good degreaser. Here is the shop vac I love. As for a degreaser, I prefer the Mrs. Myers concentrate. I mix 2 teaspoons in a bottle of water. I get my spray bottles at the Dollar Tree. That’s my go-to degreaser for projects like these.
- Tip number four is to keep very careful tabs on your hardware that you are removing!! In fact, I would even go as far as to say, tape the individual screws with the specific pieces that they belong to and then set them somewhere very safe in your room. You will be so grateful when you go to replace them and find everything is all together.
- Tip number five is to use a certain methodology as you paint compartments. This works for the big back area in this armoire and each of the cubbies. I painted the back wall, then half of the top of the ceiling section and half of each side, finishing with half of the floor. Working from the back to the front, I finished by painting the second half of the ceiling, the two sides and then the floor. This minimizes touching wet paint that I have just painted. It’s extra tricky when you have the paint brush swinging around in there and you don’t want to mess up the work you just did!
- Tip number six has to do with paint this isn’t drying very smooth. If you’re finding that your paint is starting to dry out too fast and getting clumpy or streaky, meaning you can’t even go back over and smooth out your brush strokes because it’s already sticking so badly and doing funky things, you can either add a little water to your chalk paint or you can dip your brush in water just like if you were in water coloring and go back over it. If you end up coming back to your project and not liking drips or streaks you can sand it down really carefully, I like a 220 grit sand paper. Then you’ll have to finish with yet another thin coat of paint, but it will fix the problem.
- Tip number seven- instead of washing out your paintbrush between each coat of paint, you can wrap your brush in saran wrap and save yourself some time. You can even put this in the refrigerator and keep it for up to one week, although hopefully your project is going faster than that!!
- Tip number eight- be sure to finish your chalk painted piece of furniture with a finishing wax. I love Amy Howard and Annie Sloan waxes. I am using the Beeswax for this particular piece, it’s kind of like a lotion that you work into the flat finish of your paint. You let it dry and then it seals the finish. I especially love the depth that it brings to a piece. Even when you’re putting a clear coat on it seems to make the piece almost look velvety. It also really helps with being able to keep the furniture clean, as the years go by.
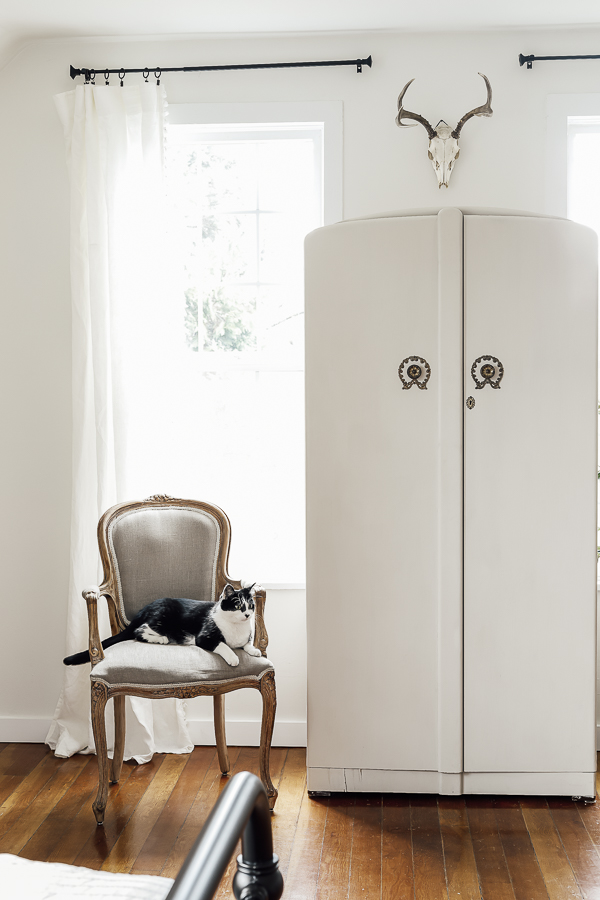
So, there you have it, how I upcycled an armoire using chalk paint!
I added some Ikea baskets, replaced the hardware and we were good to go!
Let me know in the comments below if I missed anything. Thanks for joining me each step of the way as I give this bedroom a full makeover!
Related Posts
- Pedestal Table Makeover
- Full Length Mirror Makeover
- Master Bedroom Update
- Bifold Closet Doors Makeover
- 3 Farmhouse Upcycled DIY Projects
Pin For Later