Create Custom Piping | Slipcover & Upholstery Series
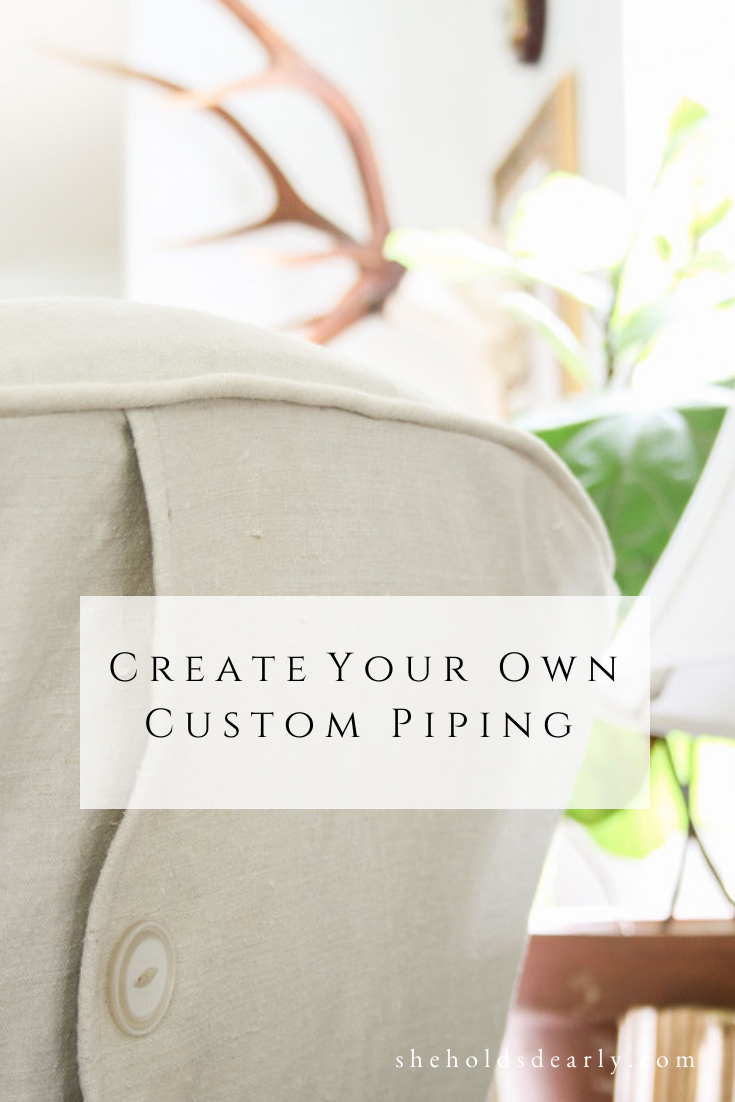
Whether you are recovering a chair, making a pillow, or upholstering a piece of furniture you will want to know how to create your own custom piping.
If you are new to sewing, creating your own custom piping for a throw pillow is the perfect way to start.
If you do not know how to sew and you want to learn more I suggest Farmhouse on Boone’s sewing series.
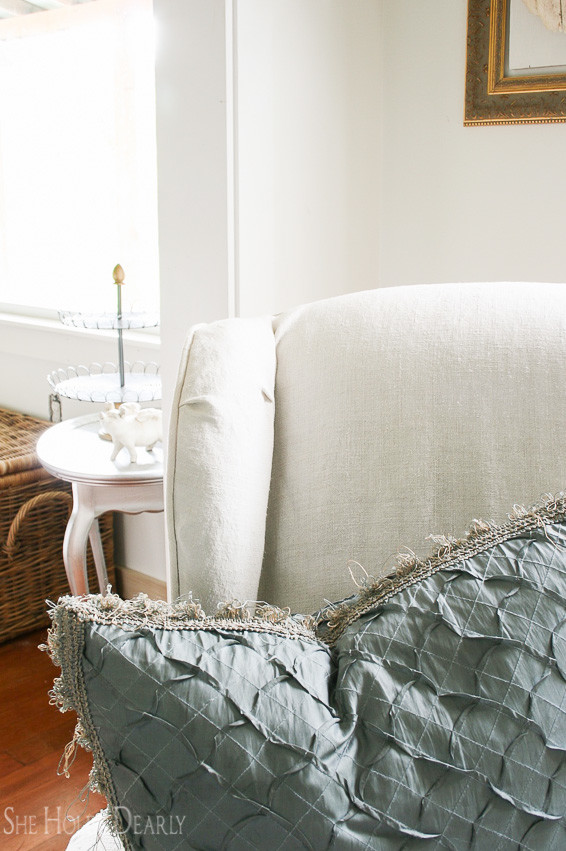
I love piping because it’s not that much extra work and it makes your project looks so professional and finished. It acts like a little frame around whatever a piece of fabric you have on your furniture or pillow and makes it look like it actually could be store-bought.
DIY is wonderful until it doesn’t look very nice. I want you to love the finished product and feel like your home is more beautiful because of your efforts.
Creating custom piping is such a great little trick to have in your back pocket. It will make your fabric projects look extra finished and professional.
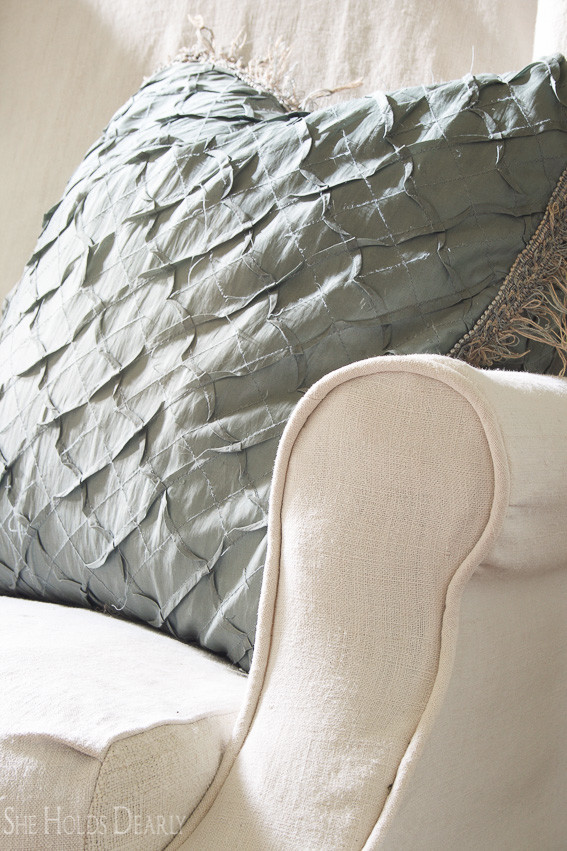
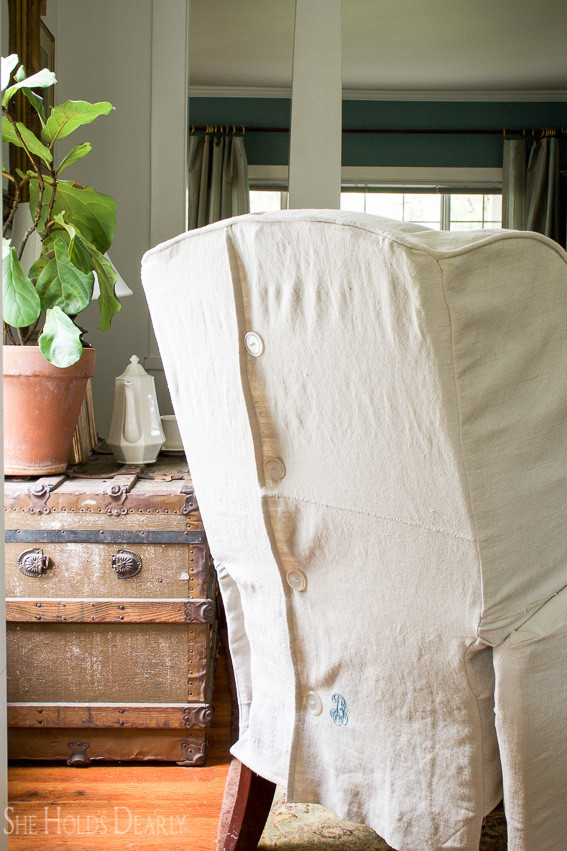
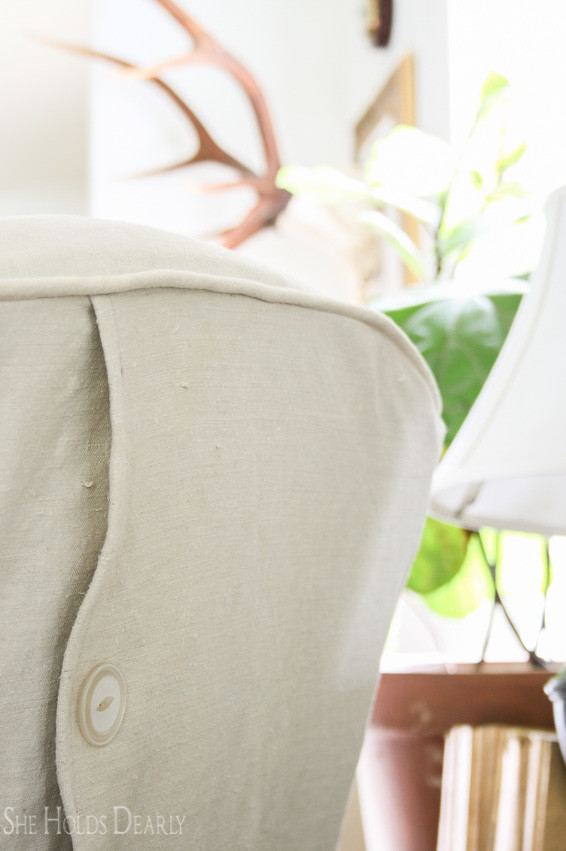
In the case of slipcovers, you will actually be creating more structure and will be better able to follow the lines of the chair.
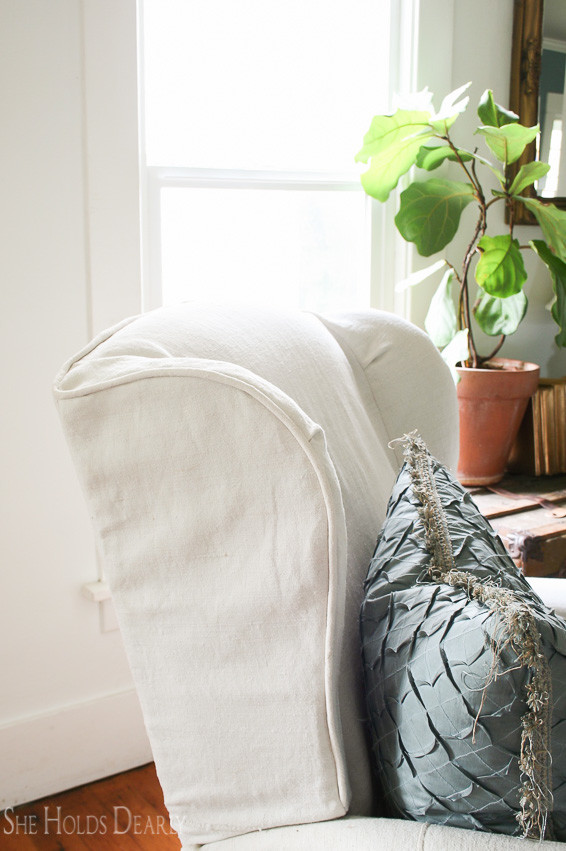
You will even find that the slipcover will stay in place much more easily!
I highly recommend spending the time on custom piping for slipcovers. You will be happier with how functional and beautiful your end product is.
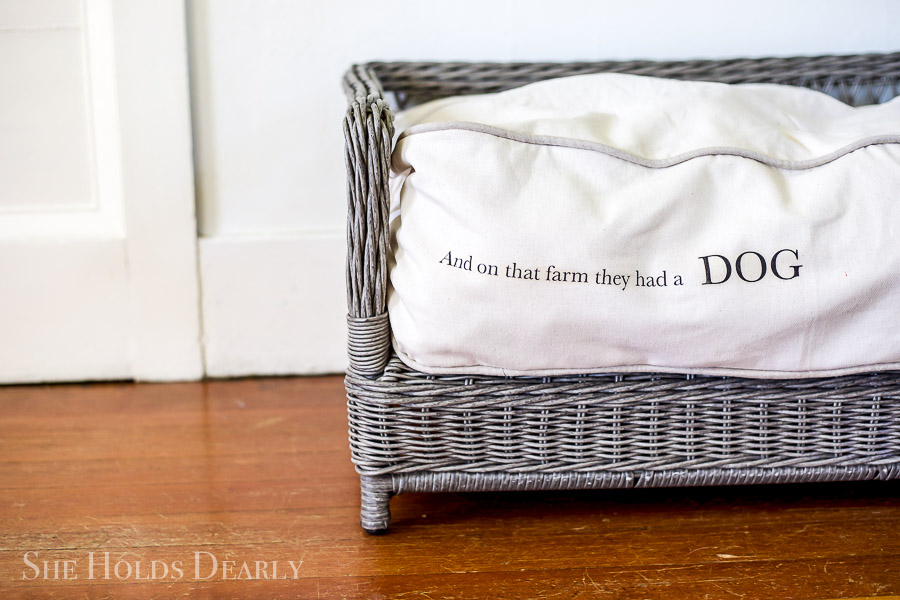
A recent example of adding piping to a project that I made was a farmhouse dog pillow.
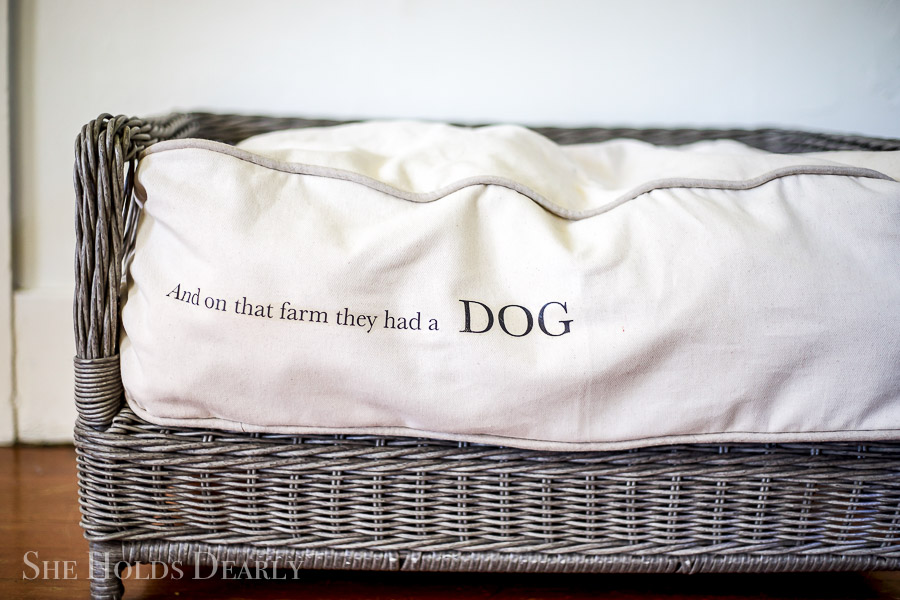
You can imagine how lumpy and shapeless it would have turned out if I hadn’t added in that piping.
The first time I ever used piping I had purchased it pre-made.
You can do that, but you will find the selection is fairly limited.
You may have seen it over in the notion of section of JoAnns. It’s with the zippers and bias tape binding.
It usually only comes in maybe one or two sizes and in solid colors. I have seen some in gingham at the store before. It’s super cute, but if you want to have unlimited options and sizes this is where today’s post comes in!!
Create Custom Piping | Slipcover Upholstery Series
**Be sure to watch the video to see exactly what I am describing in the tutorial.
Supply List
*This post contains affiliate links to products I know &/or love.
- Cording- This is the most common size for upholstery, slipcovers and throw pillows.
- Desired Fabric- If this is your first time, avoid stripes. Florals or solids are more forgiving when you line up the seams.
- Sewing Scissors
- Fabric Measuring Tape
- Straight Pins
- Matching Thread
- Sewing Machine
- Zipper Foot –Comes with sewing machine
- Iron
- Ironing Board
Tutorial
- Gather all your supplies.
- To figure out how much cording you are going to need is as simple as measuring the outside of your pillow or your arm chair with your fabric measuring tape. Just trace along exactly where you want the piping to show and add up the total number of inches. Add on a few inches and there’s your amount that you need.
- Use this binding calculator to calculate how much fabric you need for your custom piping. (Scroll down to the bias binding calculations). This calculator is especially good for conserving fabric, but feel free to use a larger piece of fabric for less seams in the finished product. Also, if you need to line up stripes or patterns, plan to use more fabric than the calculator suggests.
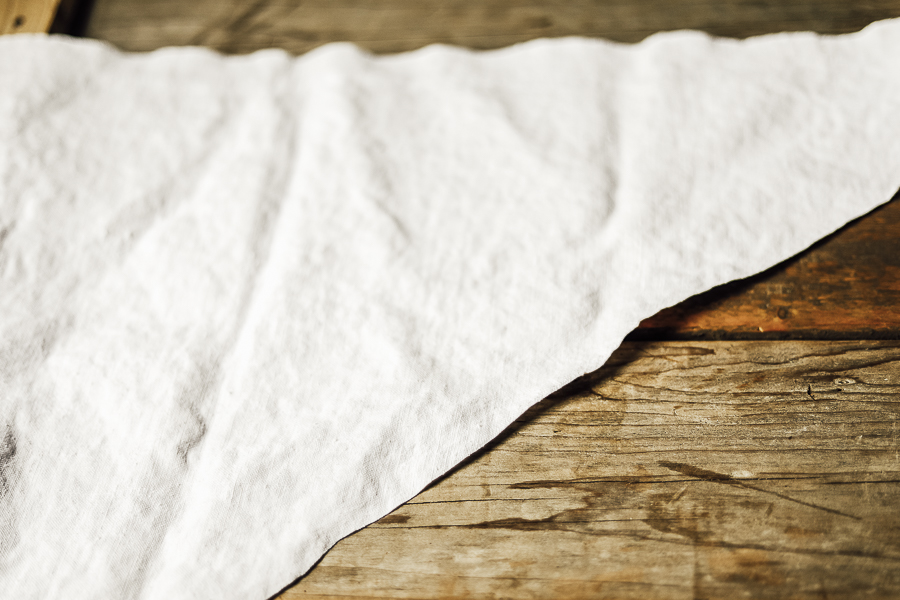
- This step can be a little intimidating because you need to cut your fabric on what is called the bias. Stick with me, though. Lay out a rectangle section of the fabric that you want to use. Cut a large triangle off one end by making one large diagonal cut at a 45 degree angle. This is called cutting on the bias. It is worth the extra effort because you end up with piping that is more stretchy. It will cooperate with whatever shape you’re trying to shape it to. You can look at the video to see exactly what I mean.
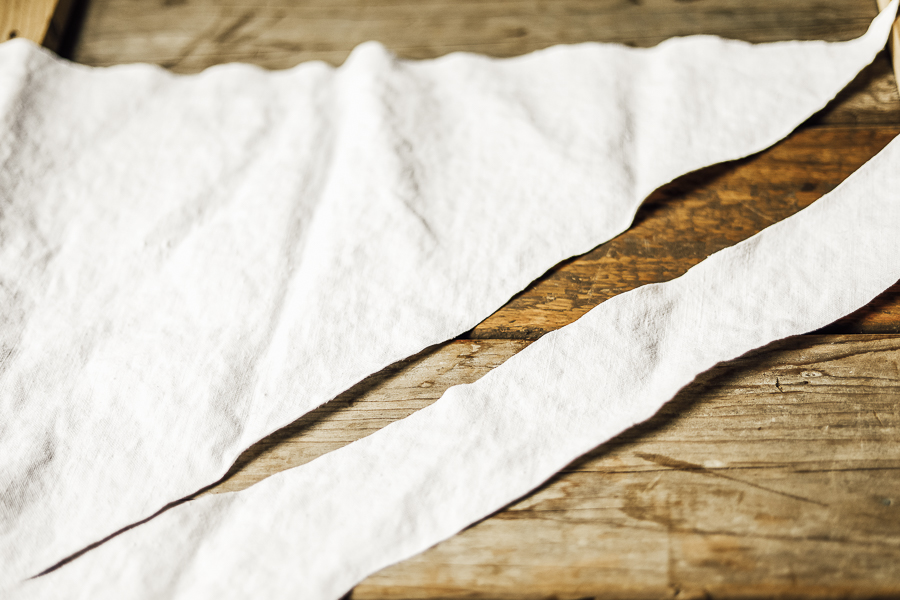
- Now you need to cut your fabric into strips. For the standard size cording I suggest 2 inch width strips. Adjust the width according to cord size. Basically, you want 1/2 inch more than the seam allowance when folded for the project. You can just lay down your tape measure and move it every 6 inches and then just aim for it like I do in the video. Otherwise use straight pins to mark out your cutline. Cut a strip off the long edge of the triangle. Keep cutting these 2 inch strips off the same edge of the fabric until you run out of fabric or you have enough that’s going to cover all of your cording.
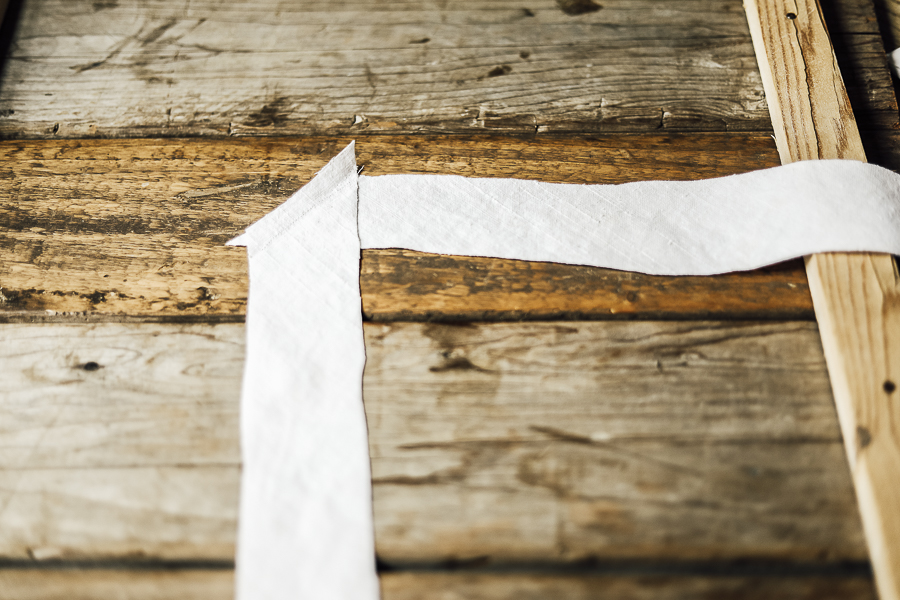
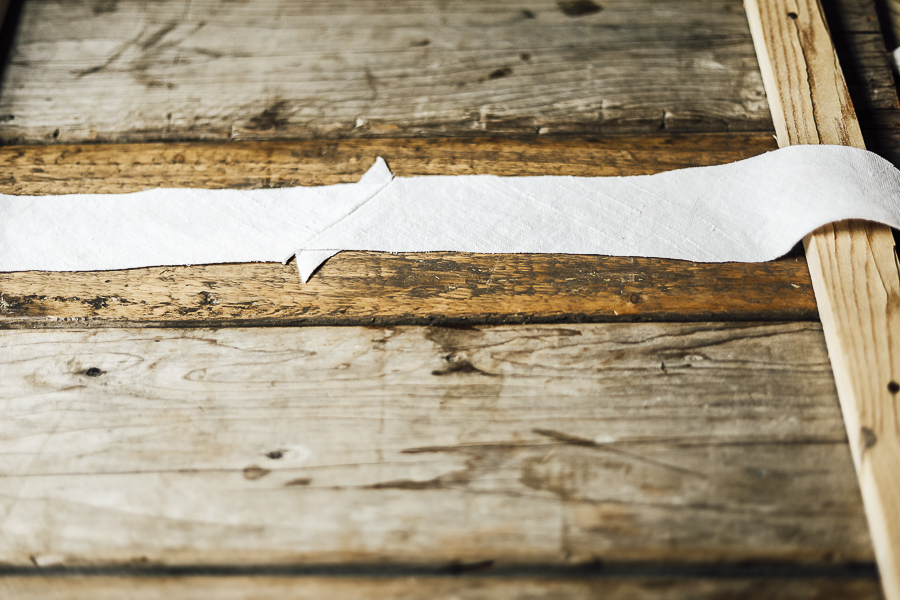
- This step is the trickiest. You’re going to take your strips of fabric called bias tape strips and you start joining them together to make long pieces to cover your cording. You need to line up the two diagonal edges and this you will make a right angle shape with your two bias tape strips. Pin them together and stitch in place. Check the video if you need to see what I mean. Iron the seams flat.
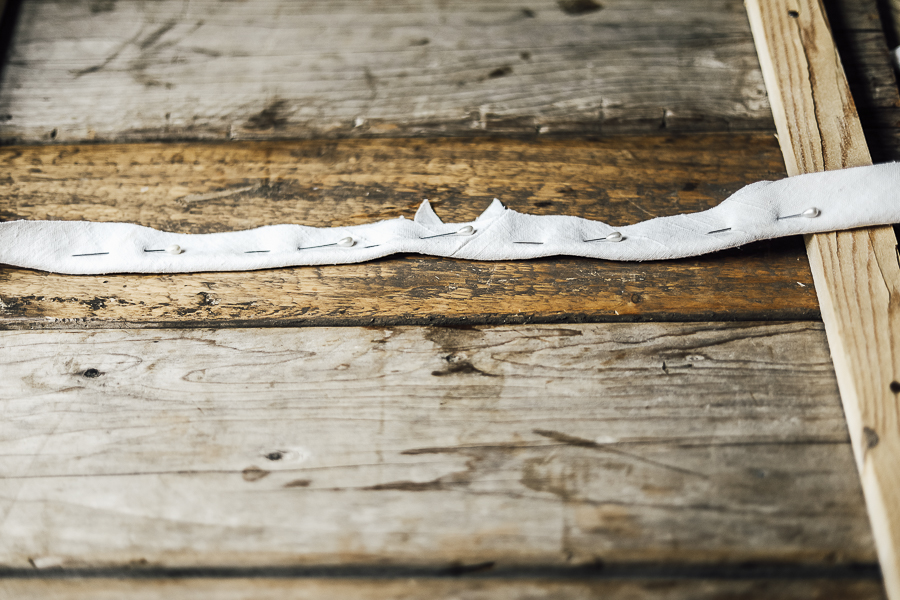
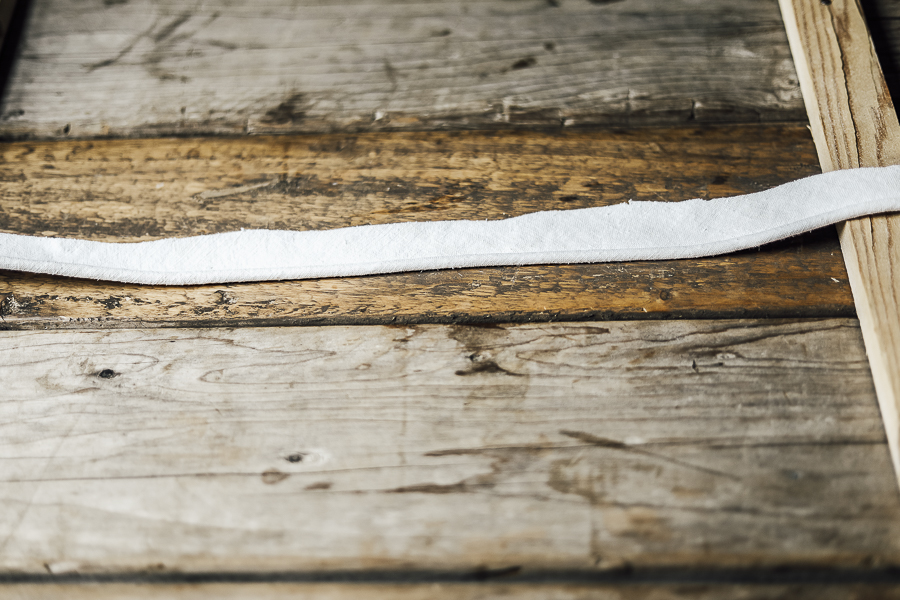
- Now you just add cording. Lay your custom bias tape down face down. You’re going to put the coding right down the middle and fold your fabric in half around it. Pin it closed and put your pins as close as you can to cording. Stitch in place using a zipper foot so you can get as close to cording as possible.
- You have just made custom piping, now you can add it to your next project!
Related Posts
No Pattern DIY Slipcover Tutorial
How to Replace the Old Foam in Your Recliner
DIY Recliner Slipcover (The updated tutorial)
Farmhouse Style Dog Bed Tutorial
Add Zipper to a Pillow in 10 Minutes
Reupholstering an Antique Chair
Pin For Later