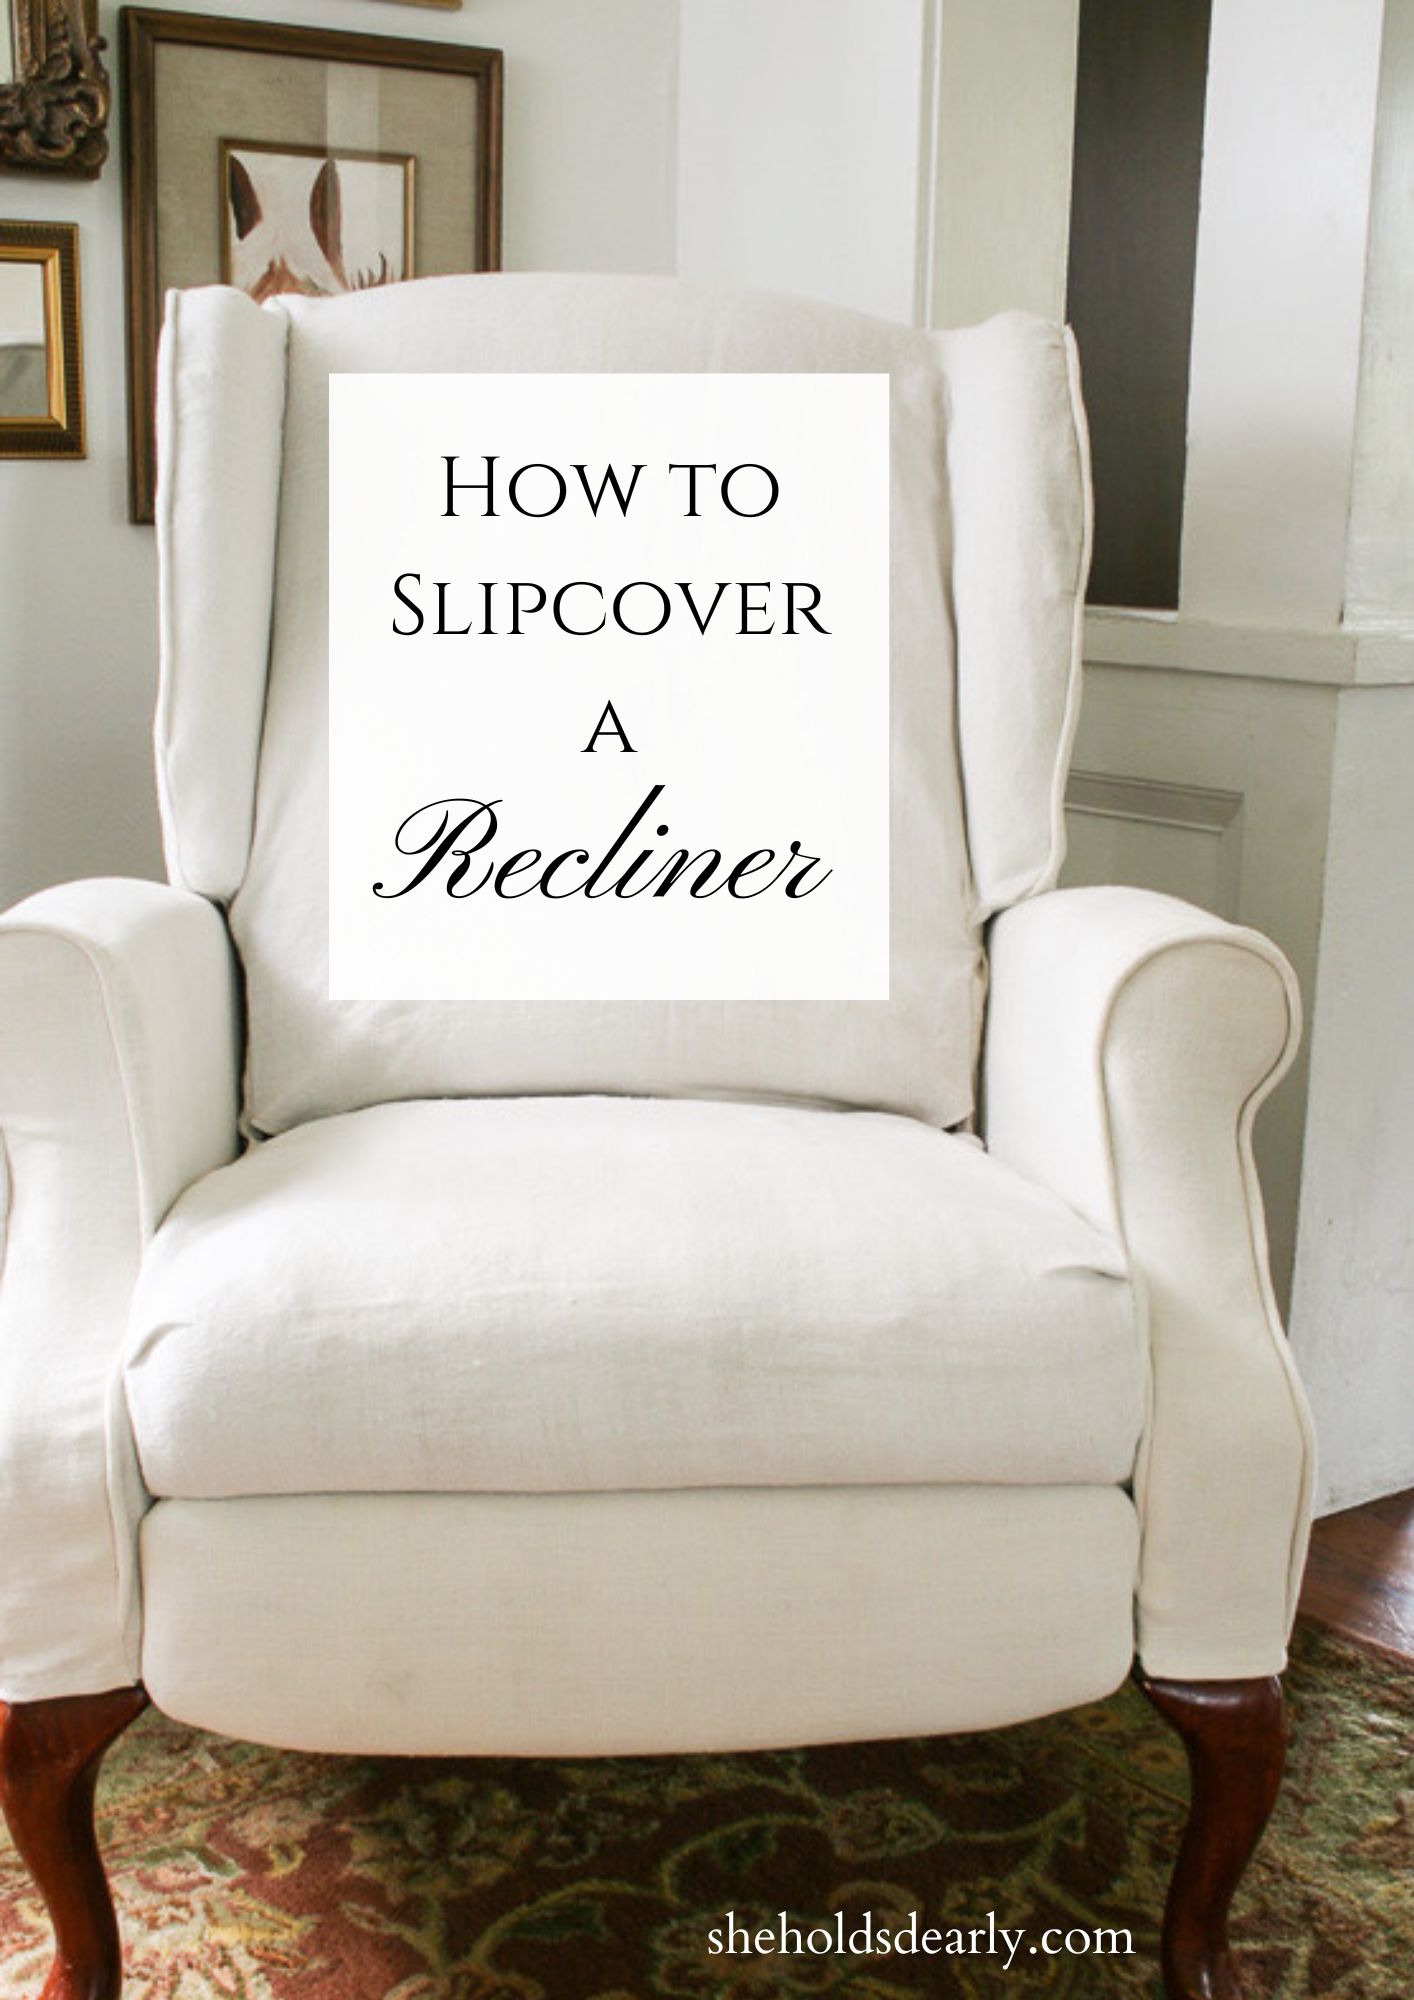
How to Slipcover a Recliner
When I decided to slipcover my two recliners, I found there to be a shortage of information for recliners in particular. Slipcovering, sure. Upholstery, no problem.
Slipcovering recliners, hmm, not so much.
So, I got to work and just created my own information. As it turns out, a hybrid of upholstery and slipcovering seems to be the ticket.
There are two main differences between regular chairs and recliners:
foot rests
and
moving parts.
With this in mind, I had to make five different “slipcovers”. The two foot rests are just reupholstered, but each arm has its own slipcover and the back and seat make up one long, flexible slipcover.
Ok, let’s get started.
First off I have to say “Get your game face on, Sister!”
This is not a task for the faint of heart. Its time to be really stubborn. I averaged 16 hours per chair. Making slipcovers is not my favorite thing to do, it is amazing to accomplish something like this. But, I rank it up there with photography and cake decorating, in other words its more advanced on the scale of crafty things.
If you don’t have any sewing experience, this is not a good first project.
However, you can conquer this by taking it one step at a time. But, after a few hours, when you start to get that crazed look in your eyes and are thinking you would like to punch the next person that asks you what’s for dinner, then it is time to take a break . . .just sayin.
Slipcover a Recliner
*The post contains some affiliate links*
Supplies
- Antique Hemp Sheets
- Each chair took about 2 1/2 hemp sheets, if I had done ruffles, I would have needed three sheets each. I bought my hemp sheets off Ebay. In the first video below, Marian discusses more about the pros and cons of using hemp sheets. And here are my thoughts on more of the whys and hows of purchasing hemp sheets.
- Wash and dry these as you normally would before beginning.
- If you are using upholstery fabric that is approximately 4 1/2 yards per chair.
- Sewing Machine
- Mine is just a mid level Pfaff. If you are going to be making a lot of slipcovers, I recommend an industrial sewing machine. But, I made it through two with only four broken needles, so it is possible.
- Get several of the strongest sewing machine needles you can find. I used leather and denim grade.
- Matching thread
- Good fabric scissors
- A lot of straight pins
- Iron and ironing board
- Tape measure, optional
- Staple gun
- Screwdriver or drill
Here are the chairs before I slipcovered them.
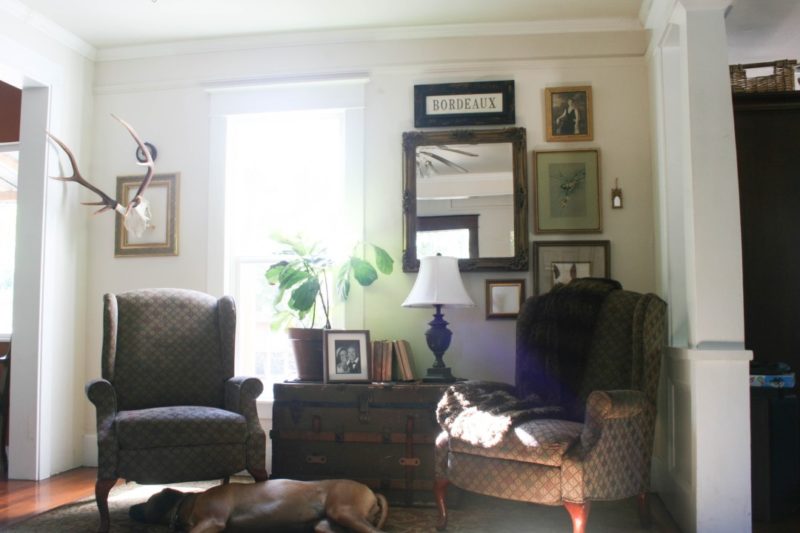
I inherited these two wing backs and am grateful, but have never thought the fabric suited my house very well. So, I became determined to change them.
Slipcover a Recliner
Tutorial
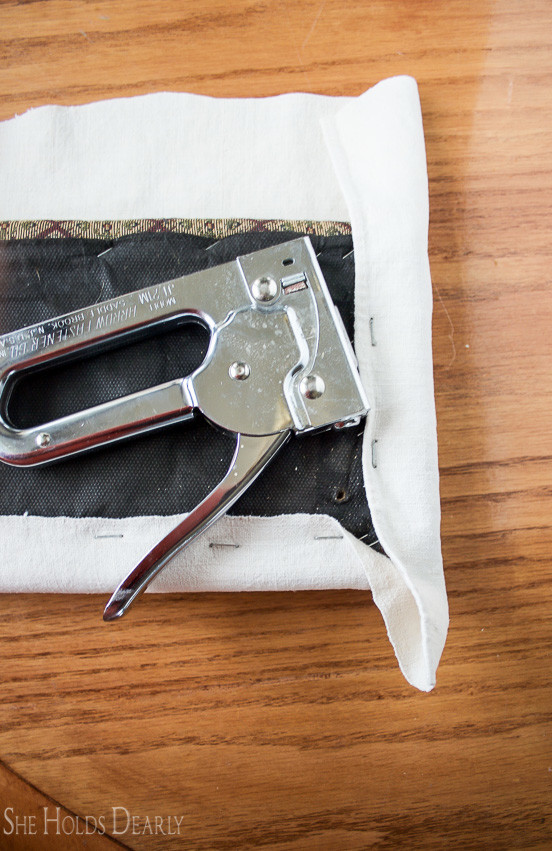
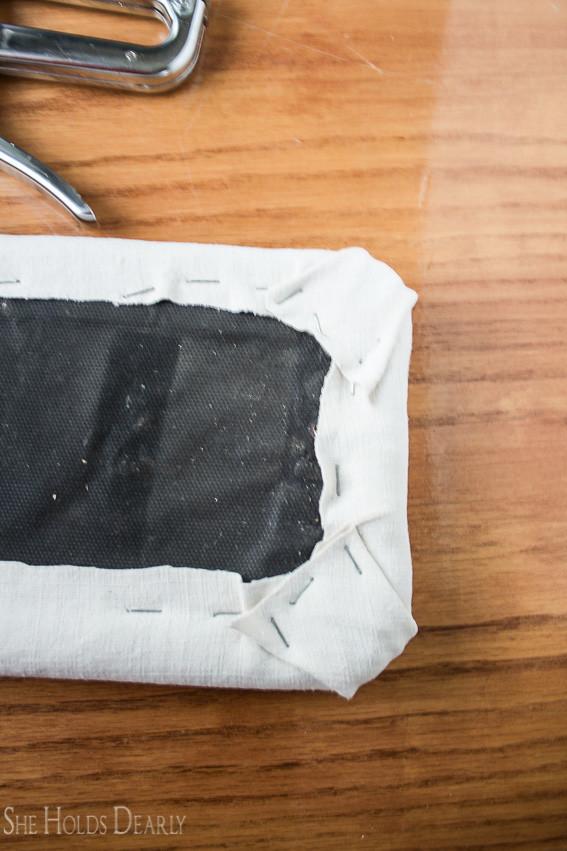
- First, I unscrewed the two foot rests and recovered them with fabric.
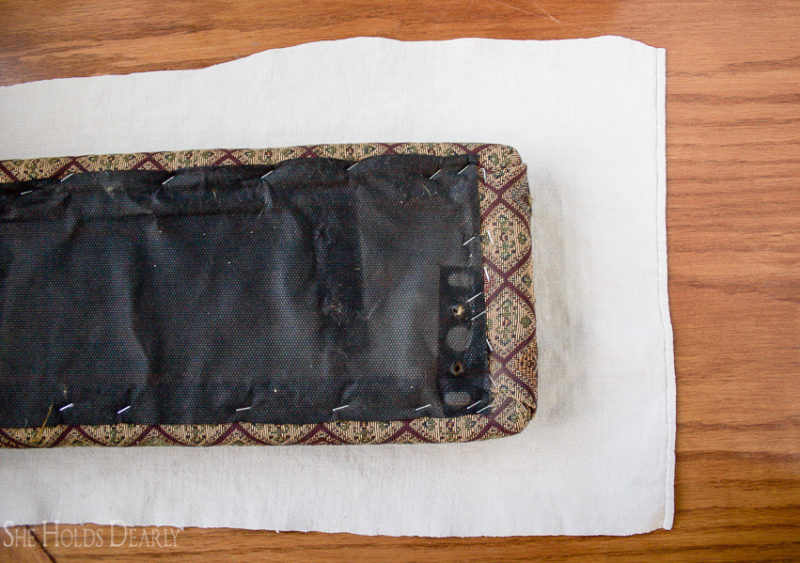
- I stapled the fabric in place and reattached the foot rests to the chair.
- I figure if I have to reupholster them once a year, I can handle that.
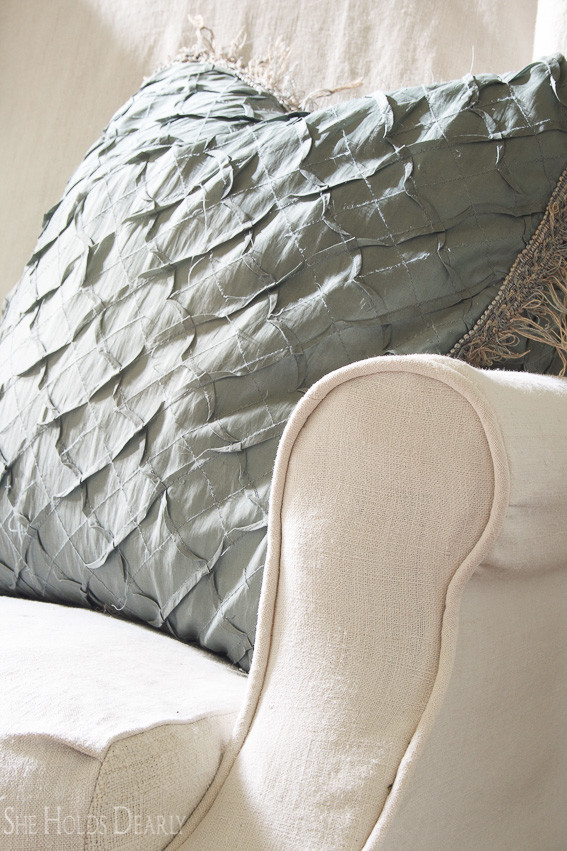
- Secondly, I made the piping. This step is optional, but I really love the look of piping and think it makes slipcovers look so much more professional.
- I can use all the help I can get to make my slipcovers look convincing!
- I used Miss Mustard Seed’s new slipcover video series for a lot of this project and improvised the rest. Part One covers hemp sheets and making the piping. Follow each of her steps and then come back here to continue.
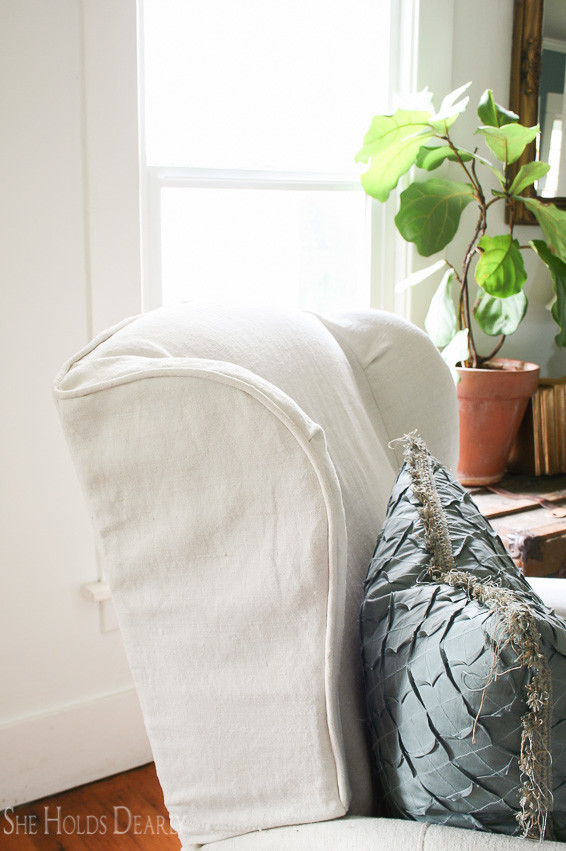
- Next, I made the two arm covers.
- Note that when you fit the left arm and stitch it, you are really making the right arm. You will see this once you turn it inside out. Be careful to fit the opposite arm for the second one.
- Watch Miss Mustard Seed’s Part Two and Part Three for all the cutting, pinning and sewing steps.
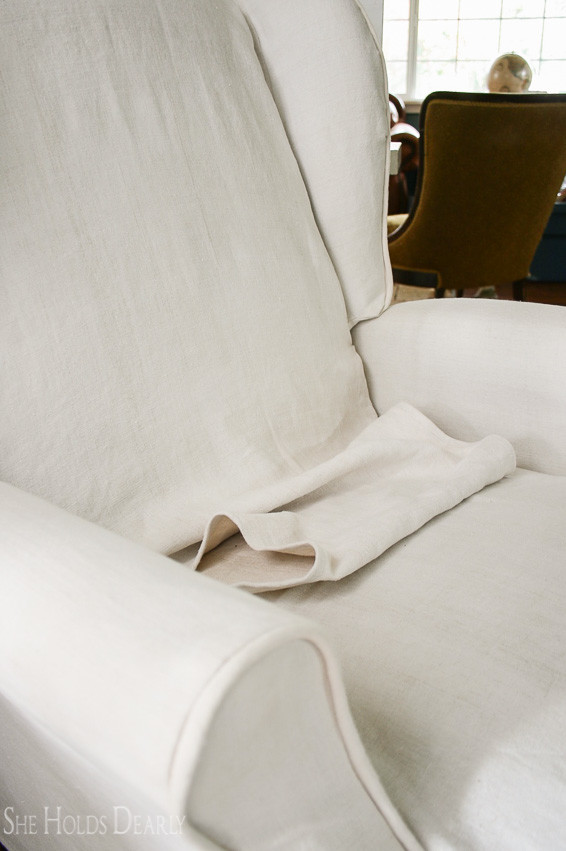
- Make the long piece of fabric that covers the front of the back and the seat cushion about 12 inches longer than you think, so you can tuck it in later. I will show you what I mean.
- For the arms, remember to make the slipcover go down between the inside of the arm and the seat.
- Also, stitch the arm closed along the back.
- Once you have finished sewing the arm slipcovers, trim the seams inside about 1/4 inch from the stitching.
Warning!
Do this very, very carefully. Know exactly what you are cutting. I didn’t do it this time, but I have many times been trimming my seams and accidentally cut the stitching or worse, I cut a hole in the middle of the item I was making.
- The last piece to sew is the back and seat cushion section.
- This is a real bear. So, just start with the seam between the inside of the wings and the front of the back. Are you confused yet?
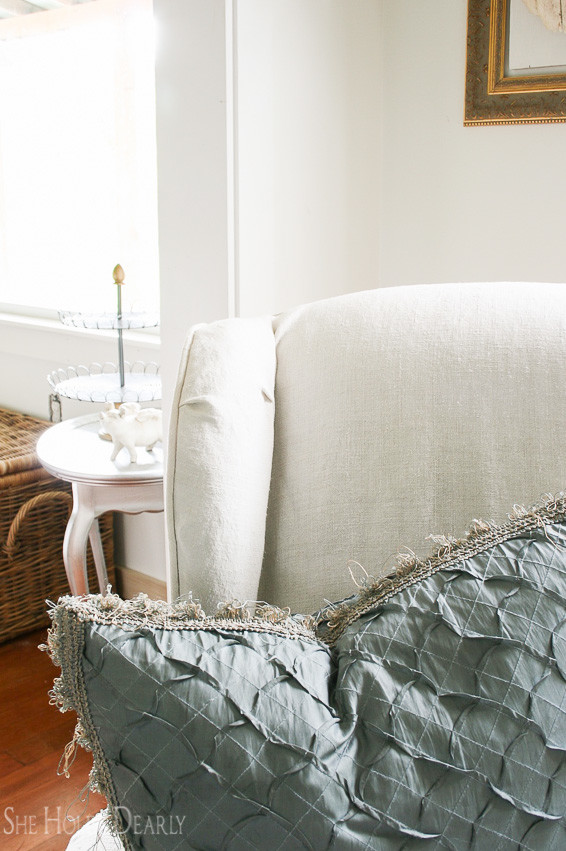
- Once that fits the way you want, work on the outside of the wings and piping.
- Then, move down to the cushion. You will need to bring the fabric down in front to tuck underneath.

- Add a piece of fabric along the sides of the seat cushion and have it meet up with the very back of the slipcover.
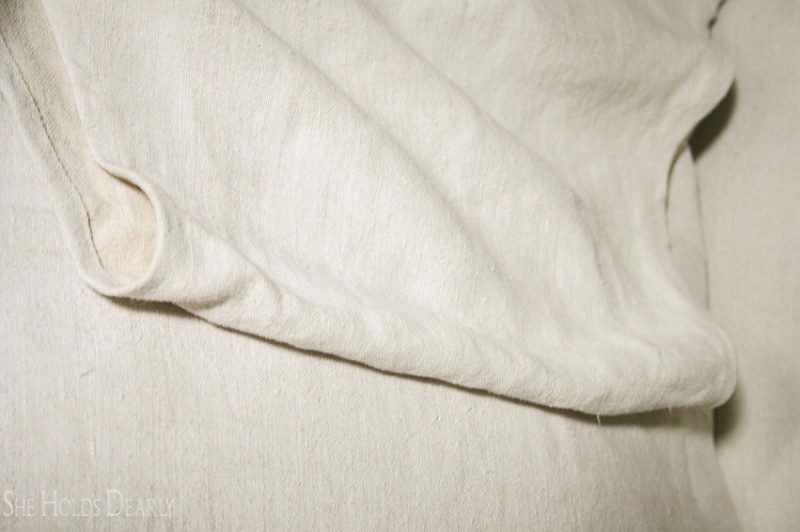
- The trickiest part is where the front of the back meets the seat. I left about a foot of fabric here and cut out an arch of each side. The arches need to be hemmed and then this piece is pushed back out of sight between where the seat and the back meet. This allows enough movement when the chair is in the reclined position.
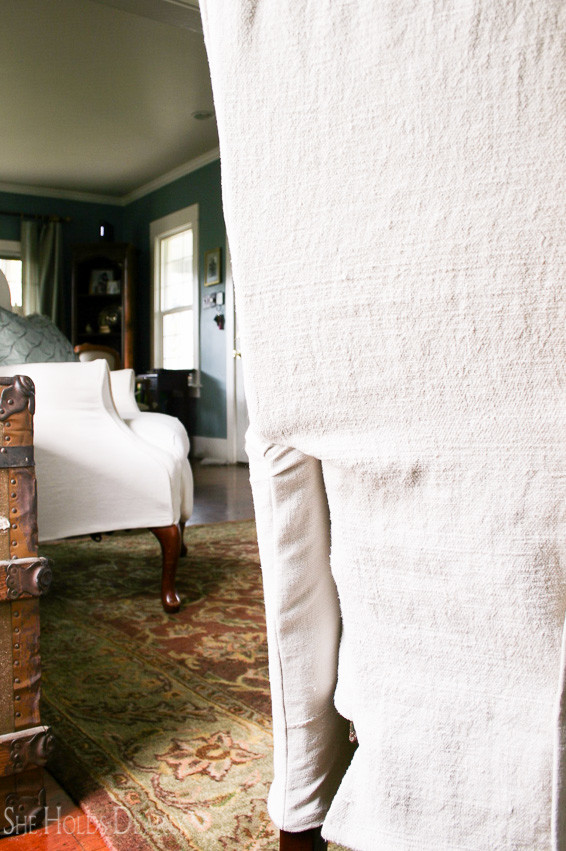
- You are almost done, continue pinning, trimming, stitching and trimming the very back of the slipcover and leave two big flaps like it shows in the videos.
- Finally, watch Part Four (you will not use the information on slipcovering the chair cushion) and finish up.
- Decide if you want to add a ruffle.
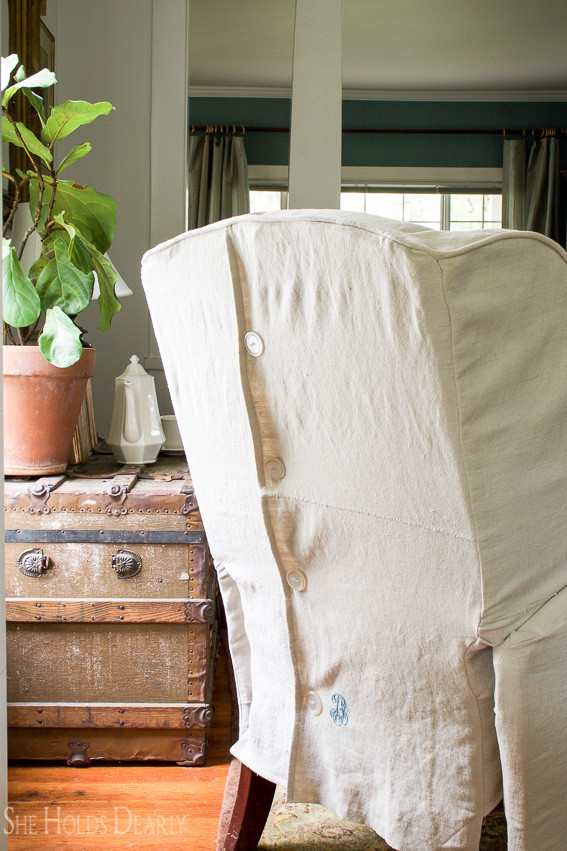
- Then, hem the bottoms of all three slipcovers and decide how you want to close the two flaps on the back. I chose big buttons because they reminded of the vintage children’s pajamas.
- I hate making button holes so I just safety pinned the flaps closed.
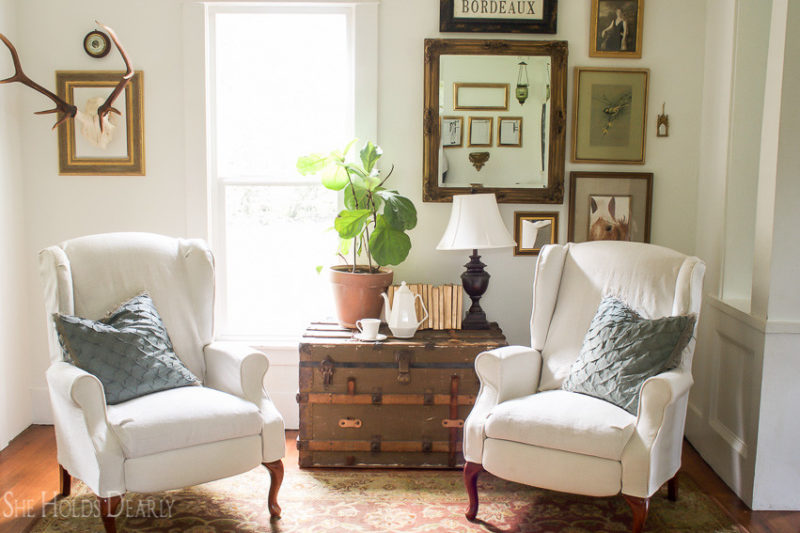
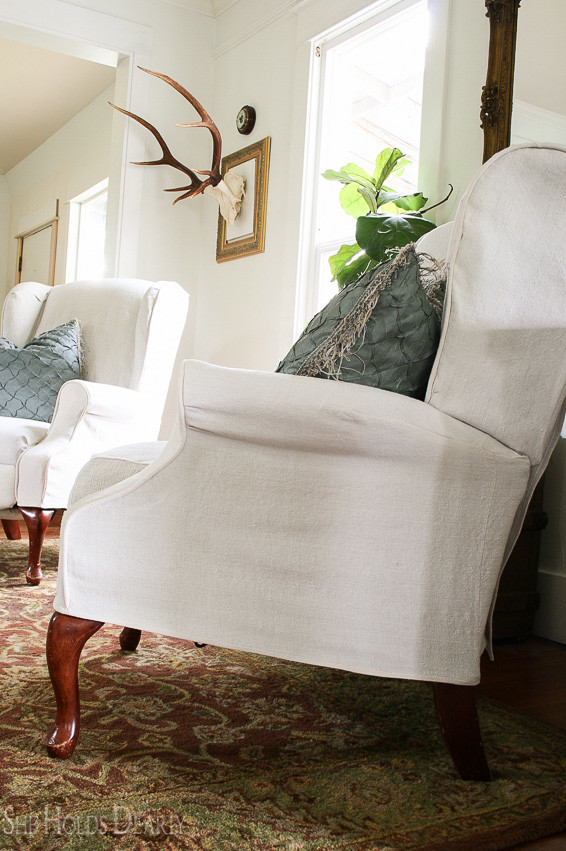
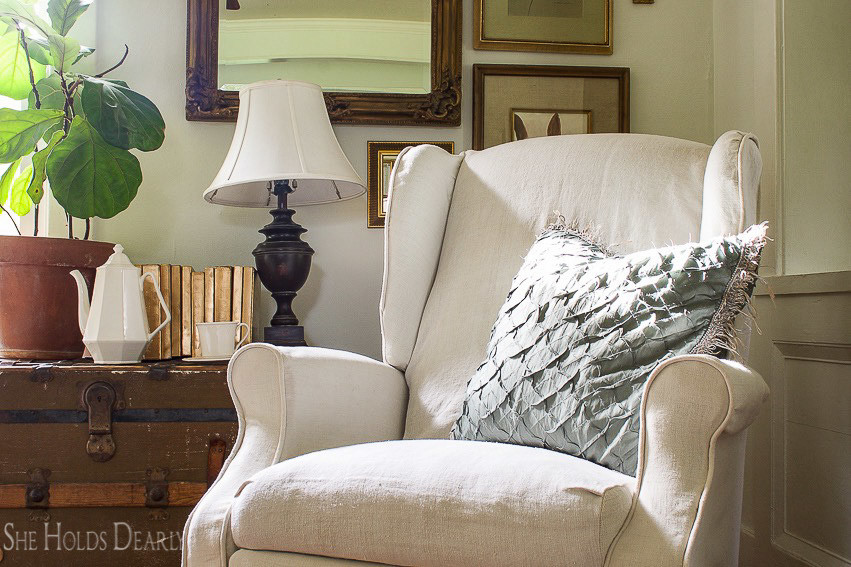
- Iron everything, put it all in place and go kick your feet up with a cup of tea!
Also, feel free to leave me any questions in the comment section and I will do my best to help you through this.
If you are not ready slipcover a recliner right now, this might be a good post to pin for later (wink)!