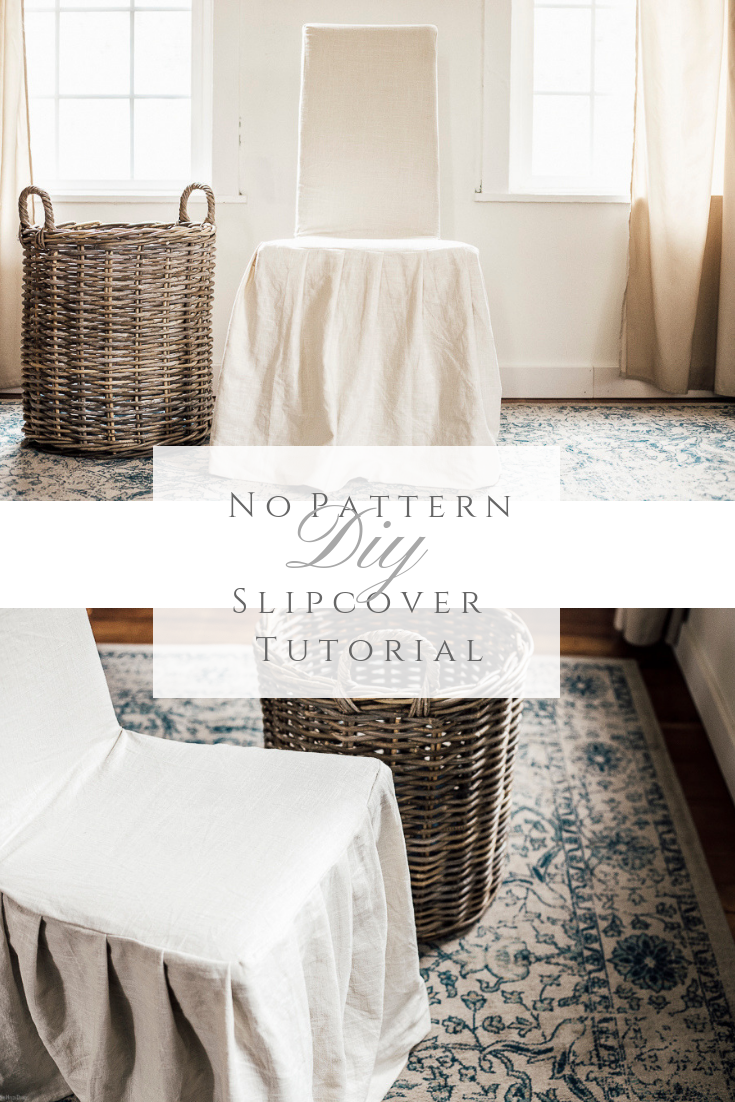
How to Make a DIY Slipcover Without a Pattern
Let me help remove the mystery & intimidation surrounding making a DIY slipcover… it’s not as complicated as you might think!
If I had a dollar for every time someone asked me to sew them some slipcovers I could probably retire. Ok, not really. But, it is a very common question I get.
Slipcovers are incredibly intimidating for people. I get it. Even the more experienced seamstresses out there get nervous.
But, here’s the big secret: You don’t need a pattern to make a slipcover!
That’s right. Your piece of furniture is the pattern.
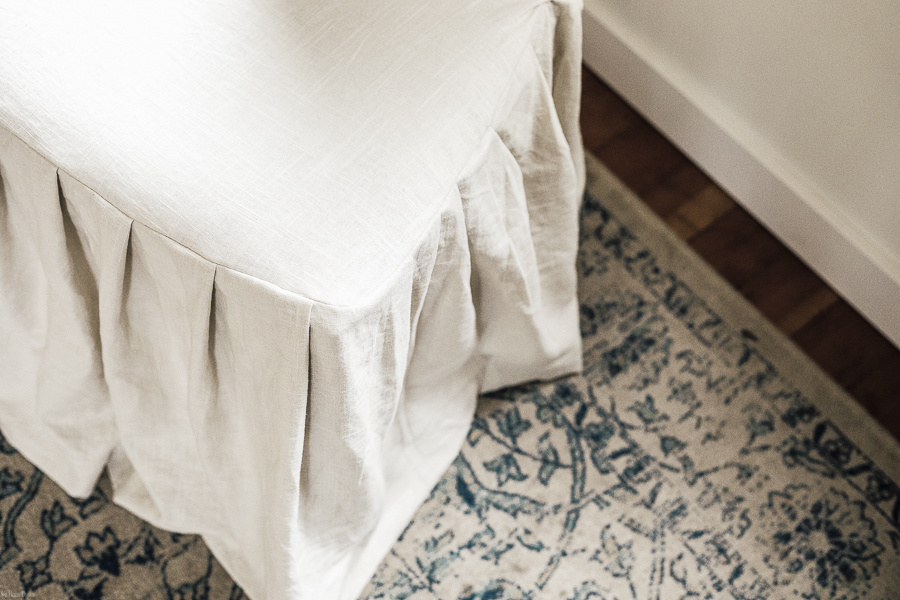
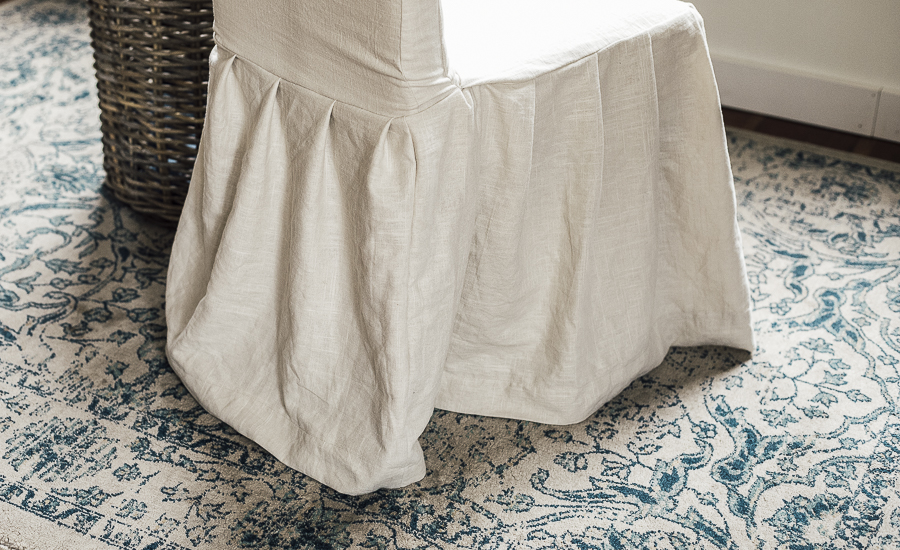
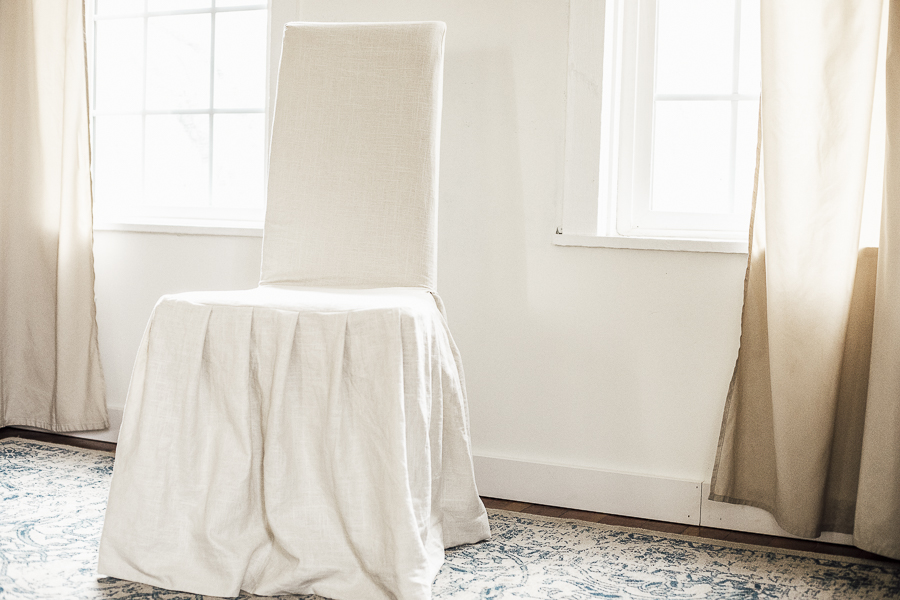
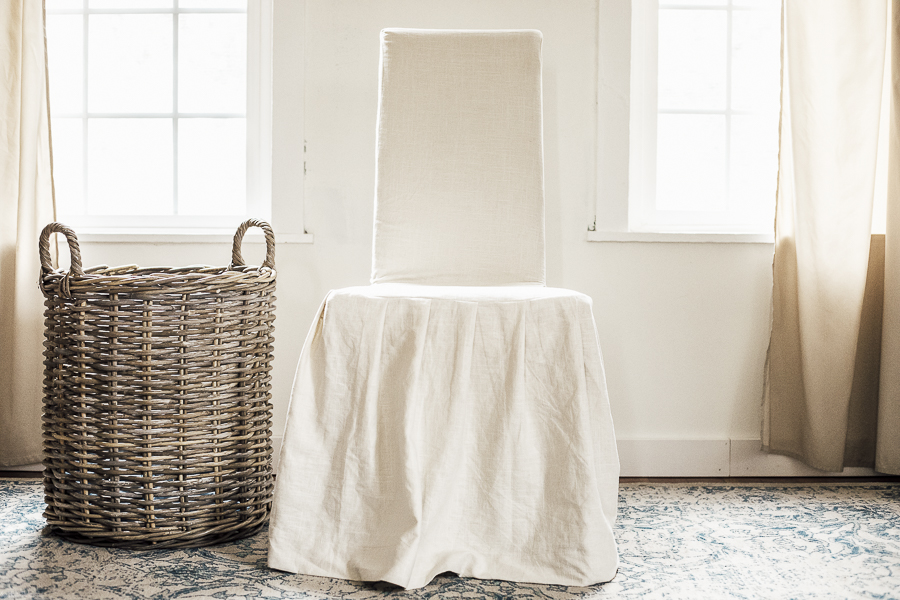
In the tutorial below I outline exactly how I slipcovered one my parsons chairs, elegant ruffle included, and be sure to watch the video for a better understanding if you want to try this!
*This post contains affiliate links to products I know &/or love.
No Pattern DIY Slipcover Tutorial
- Once you have your fabric decided on, wash and dry it. I’m using 2 1/2 yards per chair here. This linen from Joann Fabric is one of my favorite for projects like this. I like the color “natural”, if you’re able to find it.
- Decide where you want your seams and lay the fabric (right side down) in sections over the different parts of the furniture.
- Be sure to leave some over hang on all the edges, this will be your seams.
- Now, start pinning along the lines where you will stitch your seams. Keep the your lines straight and the fit nice and snug.
- Once your pins are in place for one section, you are ready to stitch exactly along the lines of pins, removing the pins as you go.
- Turn the slipcover section inside out and make sure that it does indeed fit the way you want it to.
- Then, turn it wrong side out again and trim the edges of the fabric down to about 1/2 inch.
- Repeat this process several times for each of your fabric sections until you have your slipcover.
- To see how I made the ruffle, see the video below.
- To hem the bottom, trim- leaving about three inches beyond where you want the bottom to be.
- Now, iron the hem 1/4 inch up, all the way around.
- Then repeat this step again, folding it a couple inches up and ironing in place as you go.
- Stitch in place using a wide stitch and you. are. done.