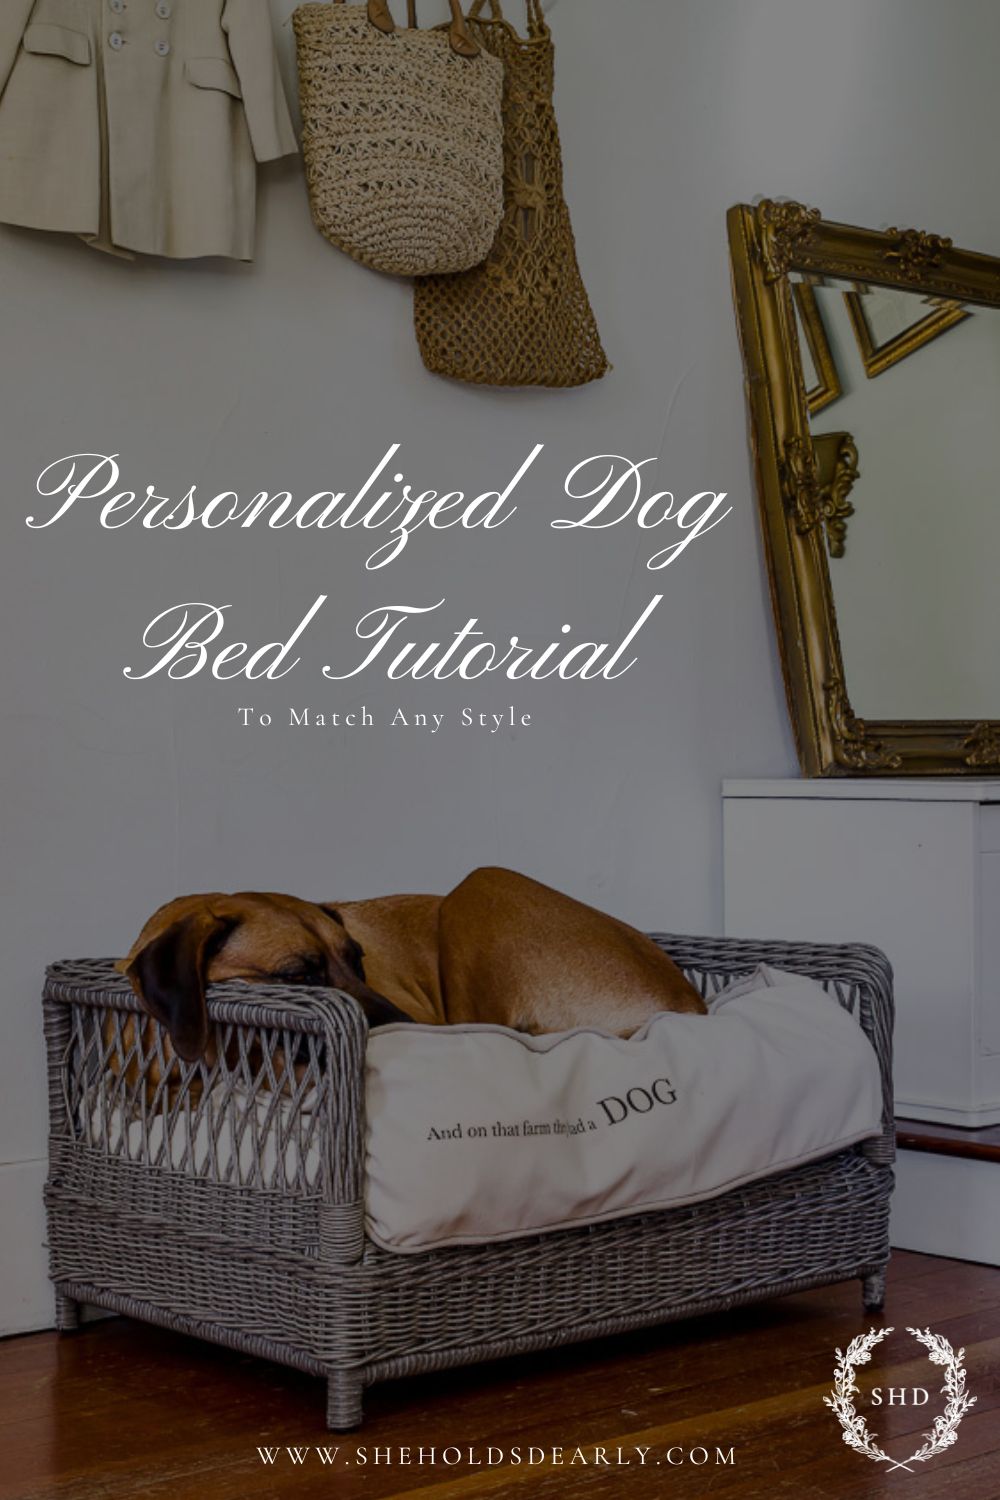
How to Make a Personalized Dog Bed
Here’s a tutorial for making a customized & personalized dog bed cushion for your pup to match your style!
Owning pets is worth all the hassle, in my opinion. Yes, you have to clean up after them sometimes and vacationing isn’t quite as simple as it used to be – you know, before pets. But, the joy of having a little buddy or two around the house far outweighs the negatives.
However, they do come with material needs and it is always a challenge of mine to figure out how to seamlessly incorporate their paraphernalia into my home decor. (Come on, I know I am not the only one!)
Finding an aesthetically pleasing dog bed for our Rhodesian Ridgeback proved to be a challenge. Actually, because of her size, I could probably get her a day bed and she would think I hung the moon.
But, she also does this thing where she acts like she is a tiny, baby lap dog and sits on your lap. I guess big dogs think they are little and little dogs think they are big.
*This post contains affiliate links to products I know &/or love.
So, I knew a small bed wouldn’t be the end of the world for her and she could always stretch out on our window seat if she wanted.
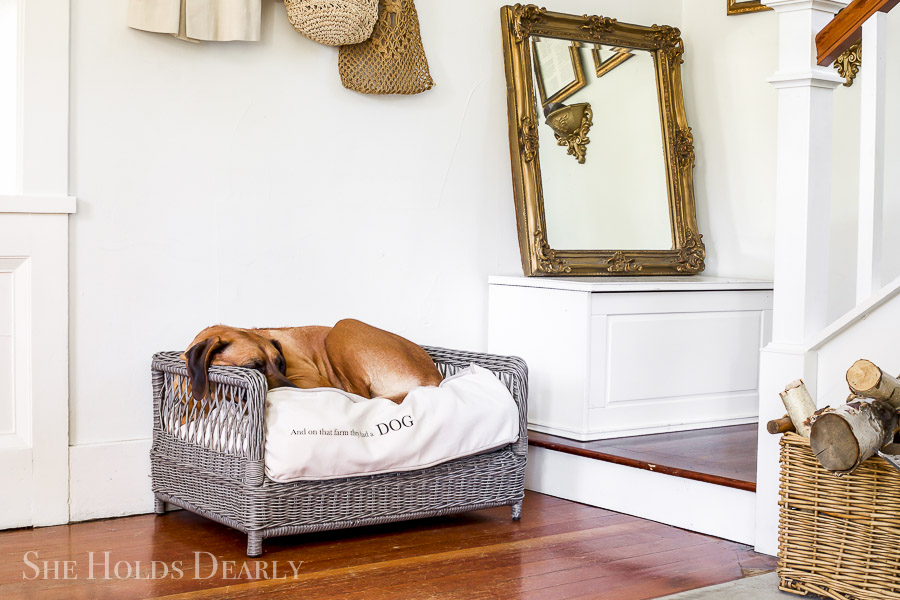
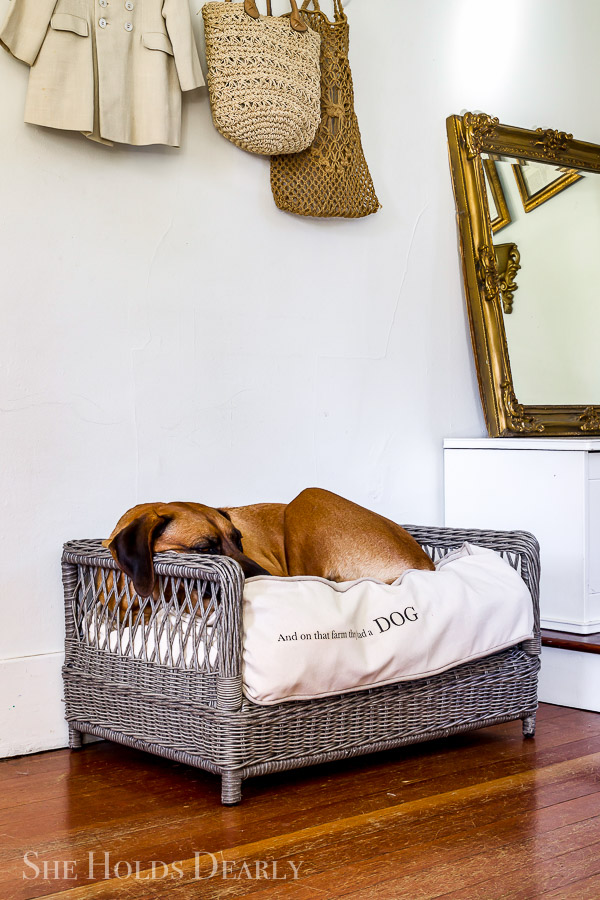
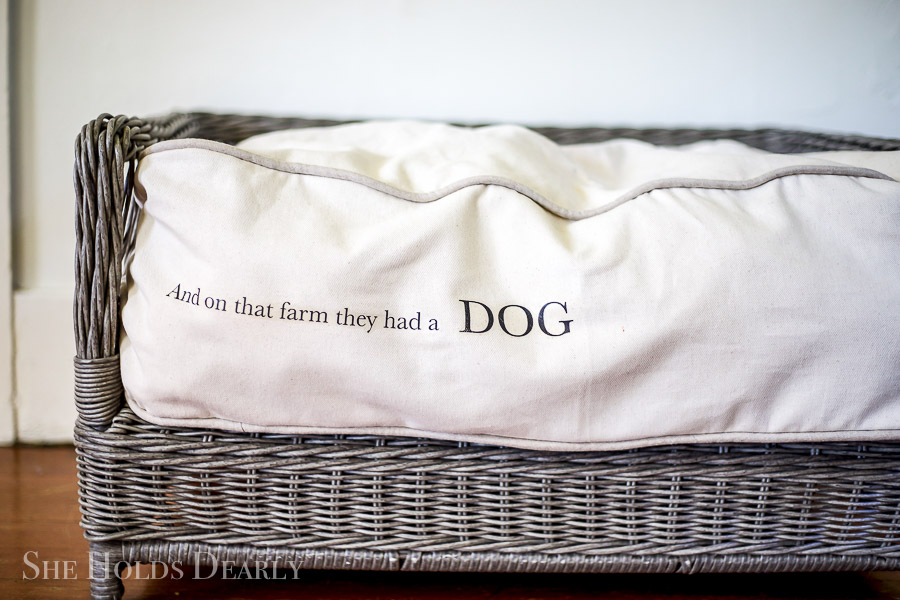
I decided on this wicker one from Hayneedle. Honestly, I really love it. She seems to like it, too, except for one thing. The cushion. Sorry, but it is way too thin for our pup. I had to come up with another one.
And, of course, when I can’t find one in my price range, my DIY wheels start turning. Here’s what I came up with. . .
You can make one, too, if you like!
Personalized Dog Bed Tutorial:
Supplies
- Upholstery foam
- Joanns or Ebay have pretty good prices
- Tear the foam into big chunks, dogs like lumpy beds that they can mess with and get “just right”;)
- Fabric for the pillow insert
- I used a thrifted linen tablecloth
- Heavy-duty fabric for the pillow cover
- I used duck cloth; a drop cloth would work, too
- Piping
- Or fabric and cording to make your own
- I used this tutorial here!
- Zipper
- Matching thread
- Fabric scissors
- Measuring tape
- Straight pins
- Sewing machine
- Zipper foot
- Iron-on transfer paper
Tutorial
Pillow Insert
- Originally, I thought I would just use upholstery foam for the dog bed, BUT after I set it in her dog bed to check the sizing, I left for church. When I got back the upholstery foam had been destroyed! It made for a really funny Instagram story, but I was so mad. Upholstery foam is expensive! I think what actually happened was she started digging at it to fluff it up and it was way too much fun and before she knew it, it just kind of exploded. I decided to just roll with it and finished tearing it into chunks to stuff it into a pillow.
- I measured the bed and added ten inches to the width and length. Then, I stitched the two rectangles together, turned it inside out, stuffed it with the foam, and stitched the opening closed.
Cutting out the fabric
- I cut out two more rectangles a little larger than the wicker bed and measured the diameter for the length of the band that would form the sides, back, and front.
- I ran out of fabric and decided to take the original pillow apart to use on the bottom.
- The band portion is ten inches wide. If you run out of fabric for this just stitch together however much you need.
Adding the zipper
- Cut a portion of the band off, fold it in half lengthwise, and cut into two pieces. Fold and iron one inch over the long edge of each strip.
- Unzip the zipper and pin it face down on one of the folded strips (see video for clarification).
- Finally, zip up the zipper, finish pinning to the other side, and stitch everything in place using a zipper foot.
- Don’t forget to stitch together any openings still left on either end of the zipper, if you need to.
- Add this zippered section to the band section.
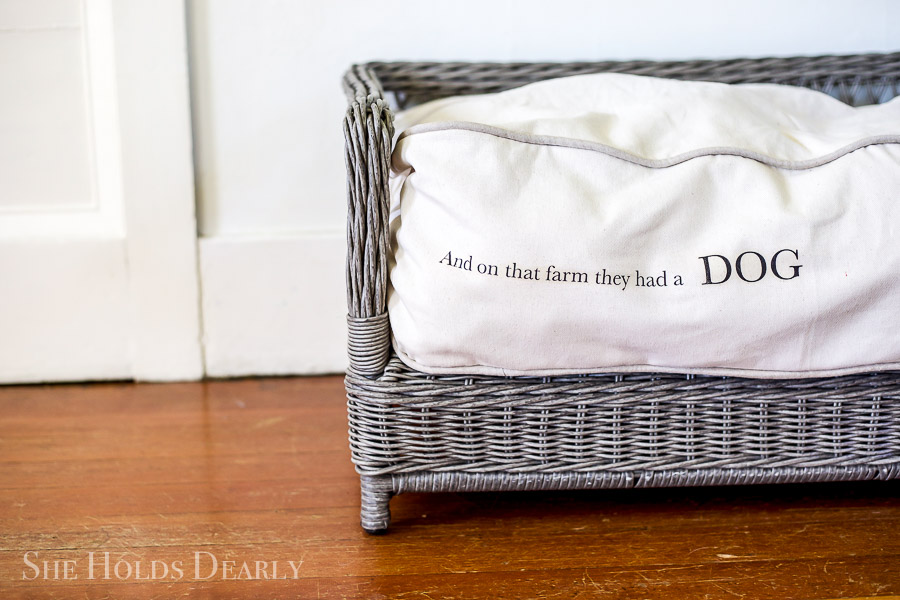
Iron On Transfer
- Design and print out IN REVERSE any design your little heart desires on iron-on transfer paper. This is where you can really make this dog bed personalized for your pet!
- Let it dry for 30 minutes.
- Cut out the design leaving 1/8″ margin all the way around.
- The key is to get your iron super hot! No steam, though.
- Place some fabric on a hard non-painted surface, place your design on your dog bed fabric where you want it to show, and stand on a chair so you can press really hard with the iron. Move it back and forth for 2 1/2 minutes.
- Then, carefully peel off the transfer paper.
Assembly-
- Find the front center of the band that wraps around the dog bed. Cut your piping in half and then find the center of one of the pieces and pin it with raw edges together to the center of the band. I used the O in “dog” as my center. Work your way around the entire top edge of the band, pinning the piping in place.
- Carefully stitch the piping in place using a zipper foot. For the two ends just tuck them over each other and make the raw edges bend away from the stitching to hide inside the pillow.
- Repeat this step along the bottom edge of the band. In my experience, it is best to add the piping first and then add the rest of the pillow pieces.
- Next, find the center of the top rectangle and pin it, right sides together, to the center top edge of the band with the piping. Continue all the way around pinning the top of the dog bed in place.
- Stitch in place, still using the zipper foot. If the pieces aren’t lining up exactly right at the end, which mine never quite do, ease them together on the backside. You will have a little lumpiness, but it will be hidden in the back.
- Then, unzip the zipper and repeat the last two steps for the bottom of the dog pillow.
- Finally, stuff the dog bed cover with your insert and present it to your adoring pup!
Pin This Personalized Dog Bed for Later: