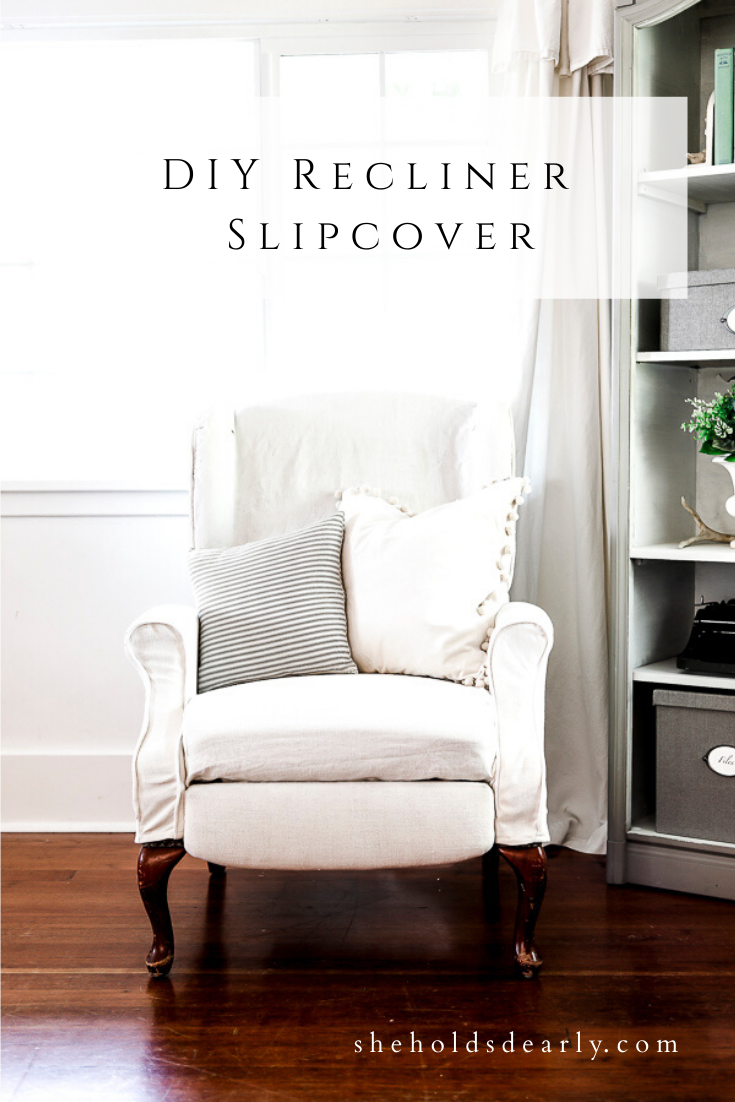
DIY Recliner Slipcover | Slipcover & Upholstery Series
The day has arrived! The final submission to our slipcover & Upholstery Series is here: The DIY Recliner Slipcover!
If you’ve been following along with this series, you know we’ve been working through a detailed look at slipcovers and upholstery while I’ve been working on updating the slipcovers for my living room armchairs.
If you’re new here, here’s the recap of what we’ve covered so far!
Posts in the Slipcover & Upholstery Series:
- Create Custom Piping | A versatile and easy to master skill that can be used for slipcovers, pillows and more!
- How to Replace the Foam in a Recliner | Knowing how to replace one broken or worn part of an otherwise good piece of furniture really helps you get the value out of each item you own.
- Recliner Foot Rest / Upholstery 101 | This one is a great resource for upholstering all sorts of beginner friendly items like benches, dining room chairs, and stools.
- DIY Slipcovers with Piping |Once you’ve mastered how to make your own piping – adding it into a DIY slipcover really isn’t much more work! But the final result is elevated and has much more structure. Totally worth it! This tutorial is a good basic introduction into any piece of furniture with arms like couches or sectionals.
Now that you’ve had a chance to get caught up on that, I’m excited to finish up this series with the last piece of the puzzle.
In this case, it’s the back and seat of my chairs!
*This post contains affiliate links to products I know &/or love.
Supplies for your DIY Recliner Slipcover
- Linen Material |Yardage depends on the item you’re recovering! My favorite color is “Natural”, followed by “White”. Papyrus has too much of a yellow undertone for my taste.
- Sewing Scissors
- Straight Pins with ball heads
- Sewing Machine
- Iron
- Ironing Board
- Fabric Measuring Tape
And here’s the Tutorial:
Step One |Pattern & sew the chair back wing pieces
This process is exactly the same as when we covered the arm chair portion of this same chair in the DIY Slipcovers with Piping Post.
As a quick note, one thing that is different between this tutorial and the arm chair tutorial is that you will be working with two separate pieces of material to create the wing because your piping (if you chose to use it) runs down the middle of the wing.
You’ll first want to start on one end/edge of your fabric and pare down to a workable size that is big enough to cover your inner and outer wing areas, but not so big that it is getting in your way and causing problems.
Then you’ll simply match the material edges up and pin it in place to give yourself a guideline once you’re ready to sew.
If you’re using piping, you’ll sandwich it in between the inner and outer wing pieces when you pin and sew.
Follow the natural curves of the chair and pin the material snug but not too tight.
|If this doesn’t seem to make sense, please watch the video of me assembling the arm slipcovers – it should help, especially if you’re a visual learner! |
You’ll remember from my piping post, that piping adds structure to your sewn items – and this is a great example!
| If you chose not to add the piping on the wings, you could probably use one piece and wrap it around to both the inside and outside of your wing. You’ll most likely want to add some darts at the rounded edge to help the material lay without bunching. |
Once your pieces are pinned in place, trim away any excess material leaving only a seam allowance of 1/2-1″.
Leave seam allowance on both the inside and outside wing pieces. The inside piece will be sewn to the sides of the chair seat back piece, and the outside pieces will be sewn to the back closure flaps.

Step Two | Pattern & sew the seat and cushion pieces
Pare down from your material to create a long rectangular piece that covers from the top of the chair (+ seam allowance) down to the bottom of the seat where you’ll need to hem (+ seam allowance).
And at least for my chairs, it seems to work best if I include an extra 12″ or so which becomes a sort of “pouch” that I tuck in between the seat and the chair back to help hold it all in place.
I know some people treat these as separate pieces – and you may be able to do that, but it depends on your chair!
Carefully pin this piece right side out to your wing pieces making sure to match the seam allowance at the back/top of the wings. This joint will meet up with the back panels once we’re ready to attach them.
For the seat, cut two smaller rectangle pieces that will be attached to the long rectangle piece to form the structure that “hugs” the seat cushion and can be tucked in between the arm and the cushion to help make a nice smooth seat.
Pin and sew these two rectangles onto the end of your long back & seat piece matching up the ends with the end of the fabric that will be hemmed at the front of your seat.
Make sure to pin so that you’re sewing a straight seam down the 2 front corners of the chair to really add to the structure and help it fit better.
You’ll end up with a long rectangular piece with two wings sewn together on either side of the top, and two smaller rectangles sewn together creating the seat at the bottom, and the large “pouch” section in the middle that isn’t necessarily attached to anything.
I’d carefully turn and hem in the sides of the “pouch” so that you don’t have issues with fraying or any peaks of a raw edge once it’s tucked away.
This would be a good time to hem the front of your chair piece as well.
Because mine can be tucked in behind the beginning of my foot rest pieces, I simply measured about 3″ so that it would be long enough to tuck in well once hemmed!
Step Three | Pattern & sew your back panel pieces.
The back panel pieces are the most simple – two rectangles that overlap in the middle! I’d suggest maybe a 1-2″ overlap.
Measure out the distance from either side of the chair to the middle and add in your seam/hem allowances and overlap measurement.
Measure from Top to bottom including your seam/hem allowance.
Cut your rectangle panels out and hem what will be the “open” edges that meet in the middle, and the bottom edges.
Overlap the two hemmed sides by the amount you’ve chosen and sew them to the back/top of your chair back piece where it meets up with the wings.
Then pin the outside edges to the remaining un-finished wing pieces and sew down both sides.
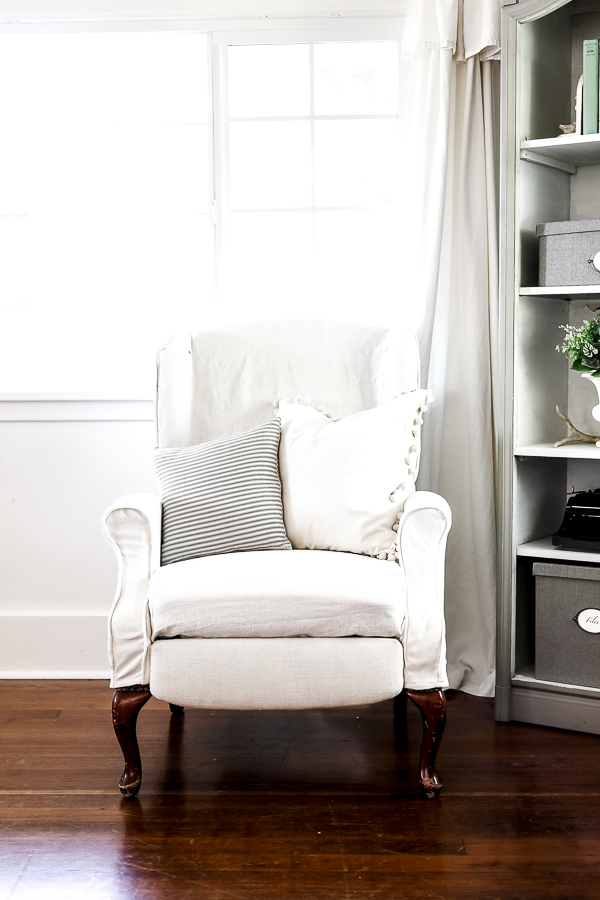
At this point you should be able to turn your piece right side out and try it on your chair!
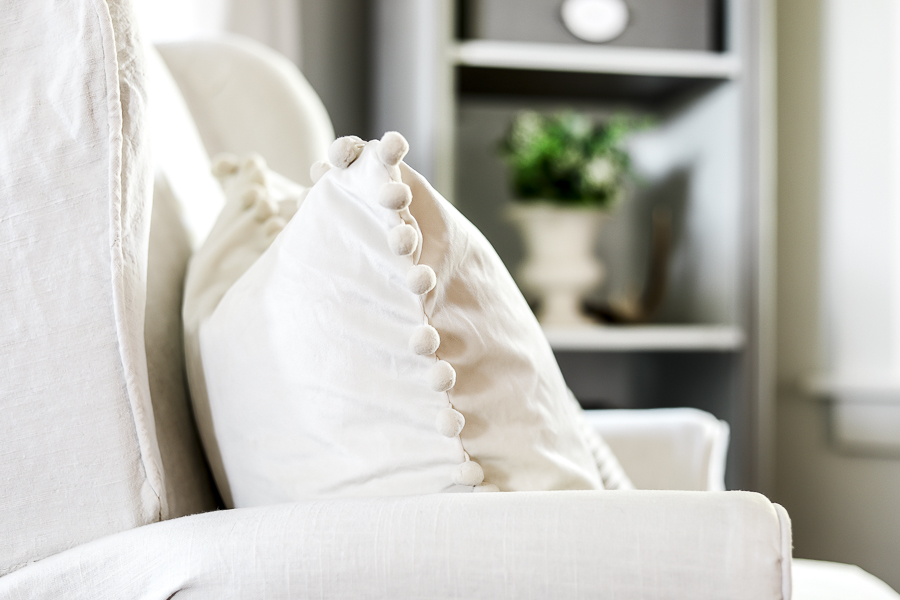
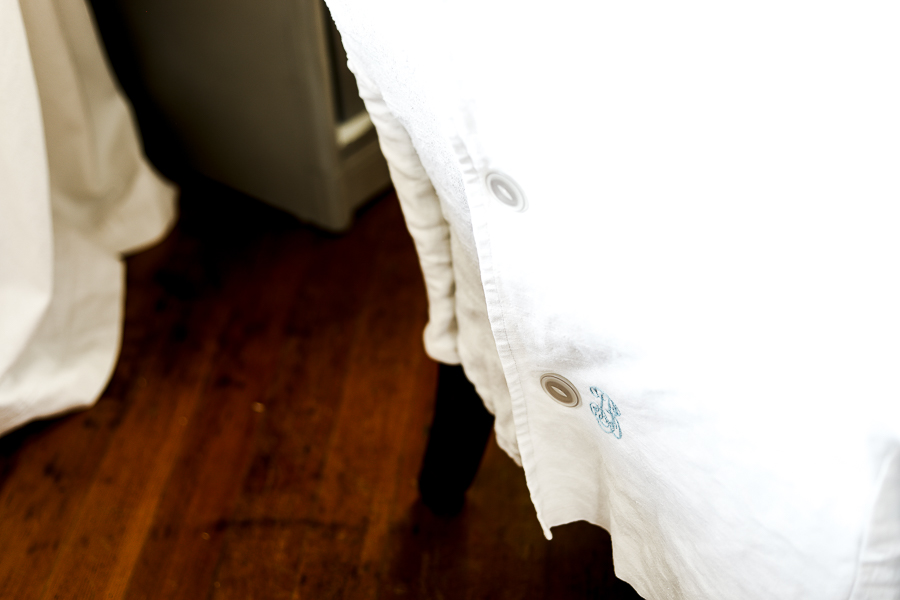
I used heavy duty snaps to secure the back closure on my two overlapped pieces, and then added buttons for the visual interest.
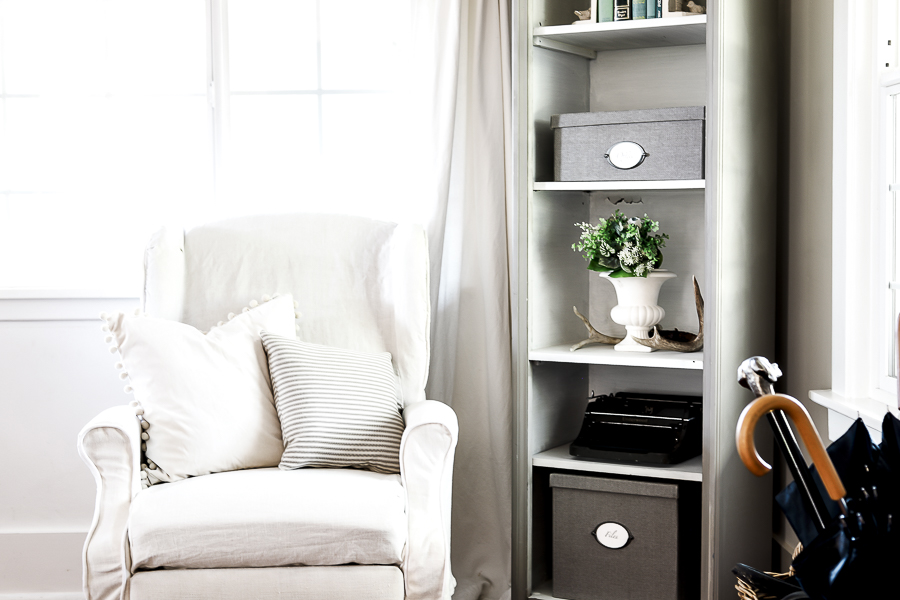
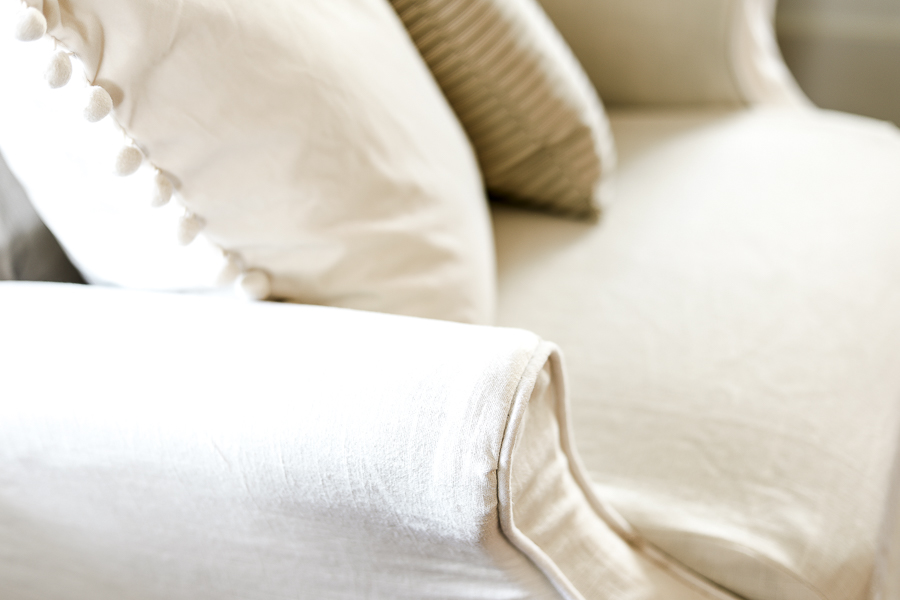
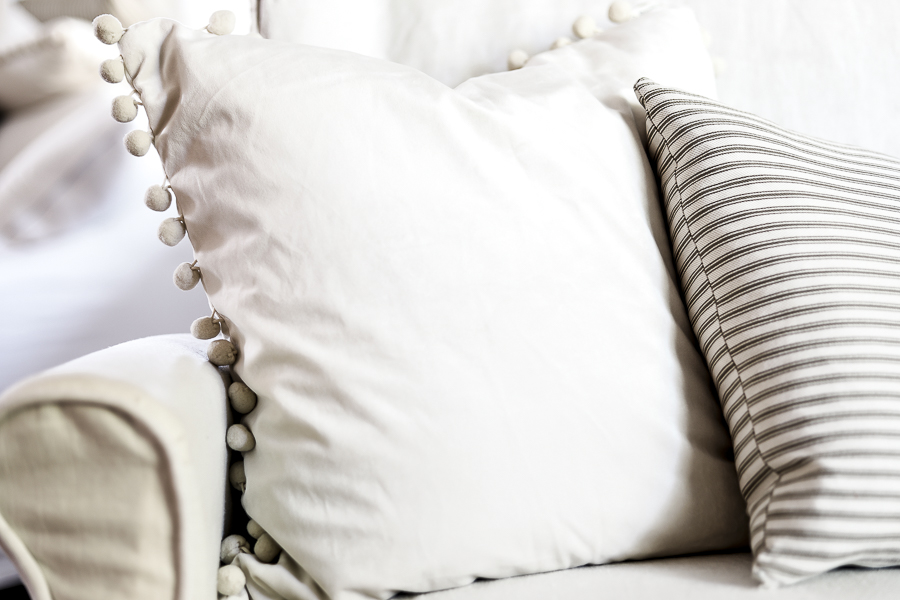
All that’s left after that is to style and enjoy your chairs! I found these adorable Velvet pom pom pillows that I think look really cute on mine.
Care & Keeping of Slipcovers
Now that we’re finishing up this series I also promised that I’d share my tips for taking good care of your slip covers!
I wash mine about once a month using Oxiclean and Mrs. Meyers Laundry Soap .
If I have guests coming or need to extend the time between washes for other reasons, I’ve been known to throw an extra pillow or throw blanket on the chair to cover any less-than-ideal areas. (Again, teenagers and pets!)
My greatest laundering tip for slipcovers is to put them back on your furniture when they’re still slightly damp!
It sounds kind of strange, but when they dry in their actual shape, with the tension of the furniture beneath them, they’re more likely to dry without wrinkles and they form to the item much neater!
I hope this series has been informative and fun to follow along with! Let me know if you have any more upholstery questions in the comments below.
Pin this for Later: