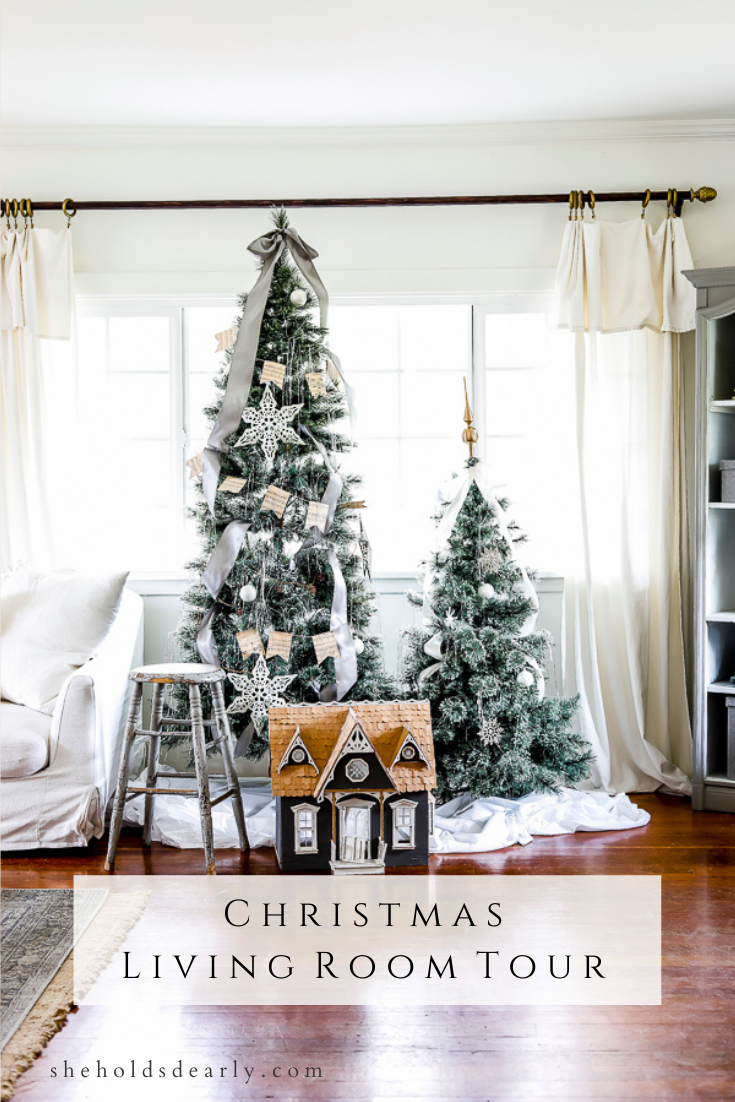
Living Room Christmas Tour
The Christmas living room tour is here! Come along!
I always like reinventing my Christmas decorations in little ways each year, both because it’s what I do as a designer, and because I like being able to show you new looks as well!
At the end of this post I’ll link a few of my past Christmas posts so you can compare!
I’m also realizing this year that each room has really taken on a life of it’s own!
I feel like our Christmas bedroom is very french, neutral and cozy.
The porches (#1 and #2) were a bit more fun and vibrant.
And the living room is actually giving me hints of a mid-century vibe this year!
*This post contains affiliate links to products I know &/or love.
Let’s get the Christmas Living Room Tour Started
When you first walk in the door, the area directly to the left houses the trunk (which I decoupaged earlier this year) that holds all of my paints and supplies.
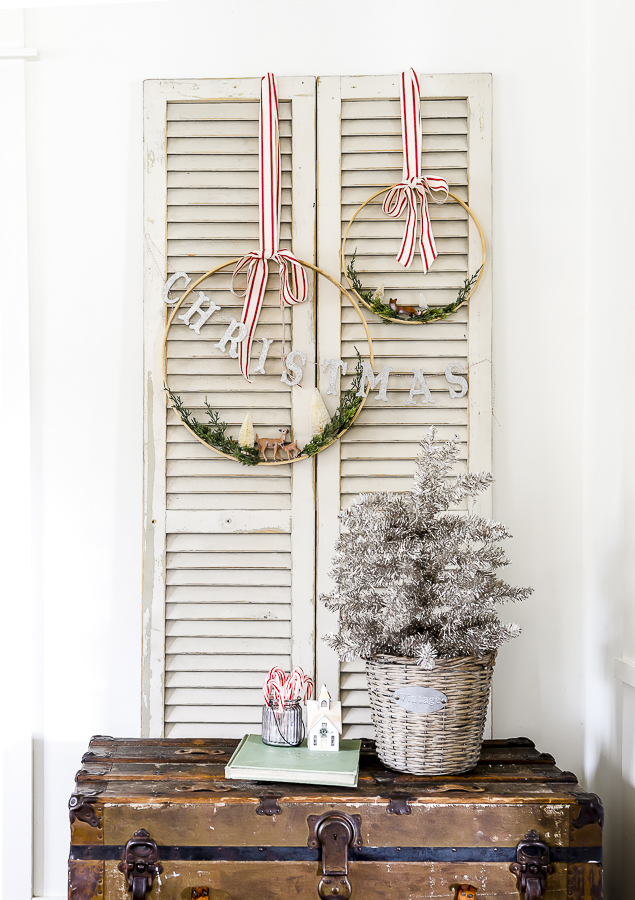
I filled up the empty wall space behind the trunk with a bi-fold door. They’re great for adding height to a design, and I love that it looks like old shutters.
I made three more hoop wreathes like the one I had made during my recent post about Styling Thrifted finds and hung two from the shutters at different heights for a staggered look.
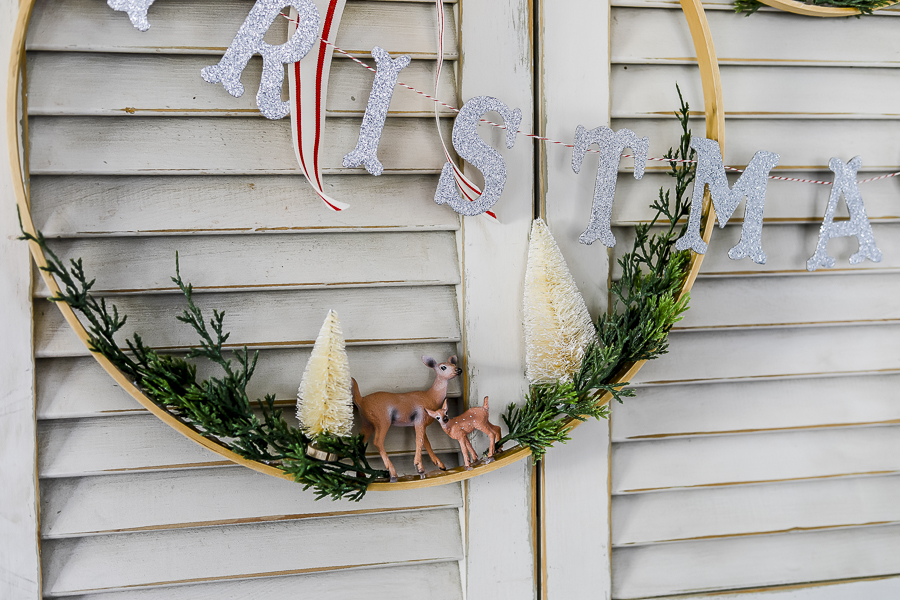
I swept a “Christmas” garland across that I had made last year with glittered letters hot glued to a piece of bakers twine.
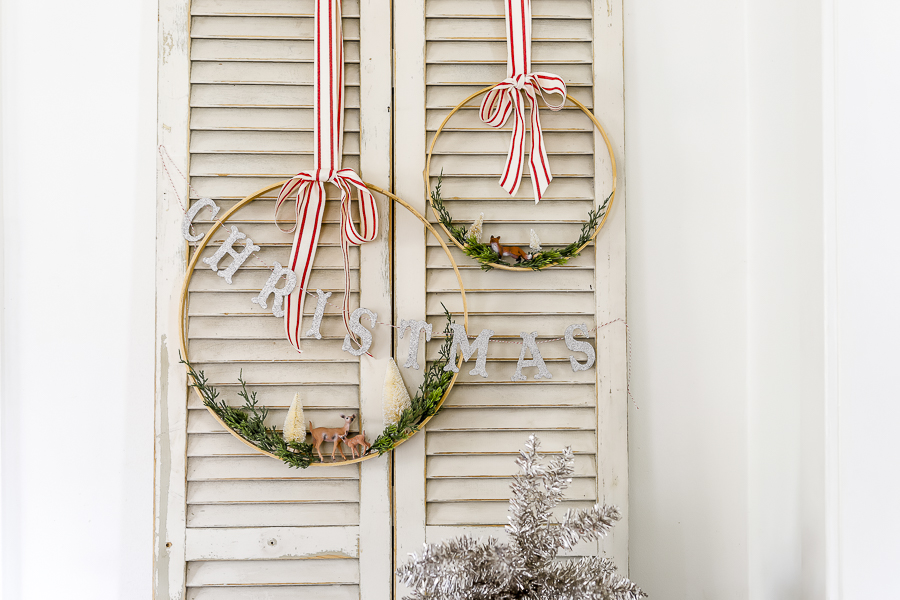
Here are some really cute wreathes if you’re liking that look!
On the trunk I added a metallic tree that I had gotten from Walmart – well, I should say I added half a tree! It was too tall for what I wanted, so I actually only used the bottom section (it was more full) and just folded and molded the branches to look more “tree-like”.
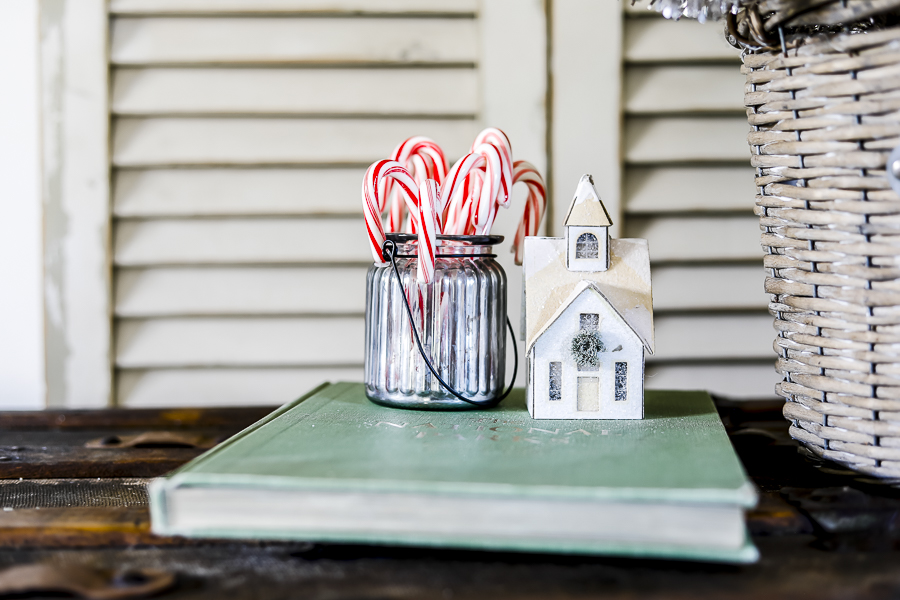
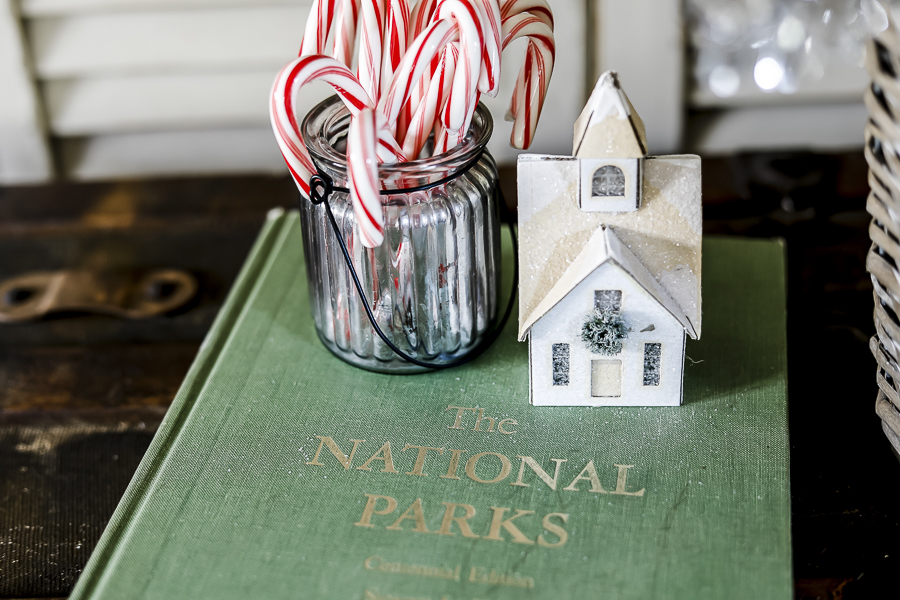
Then I plopped it into a basket and added some cute details nearby like a jar of candy canes and a tiny silver church on top of vintage green book.
Just look at that itty bitty tiny wreath above the door. Precious, right?!
And moving right along…
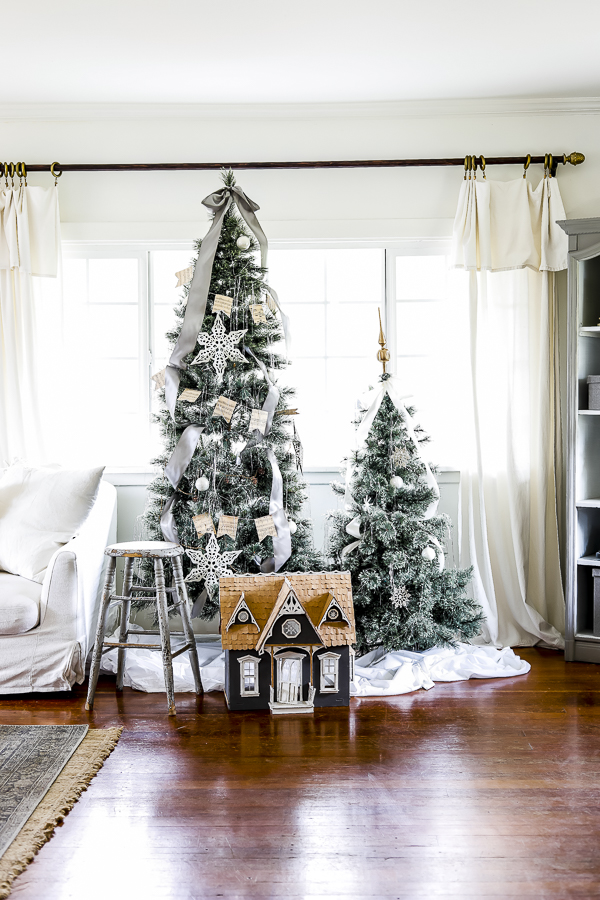
On the right side of the front door are our trees!
Yep, you read that right, I have two side by side this year!
They’re both faux, and I got one from goodwill, and one from Walmart.
The tree from walmart is the same as the one we have in our bedroom. It’s a faux spruce, and I love that it has two toned branches with fluffy green sage tips.
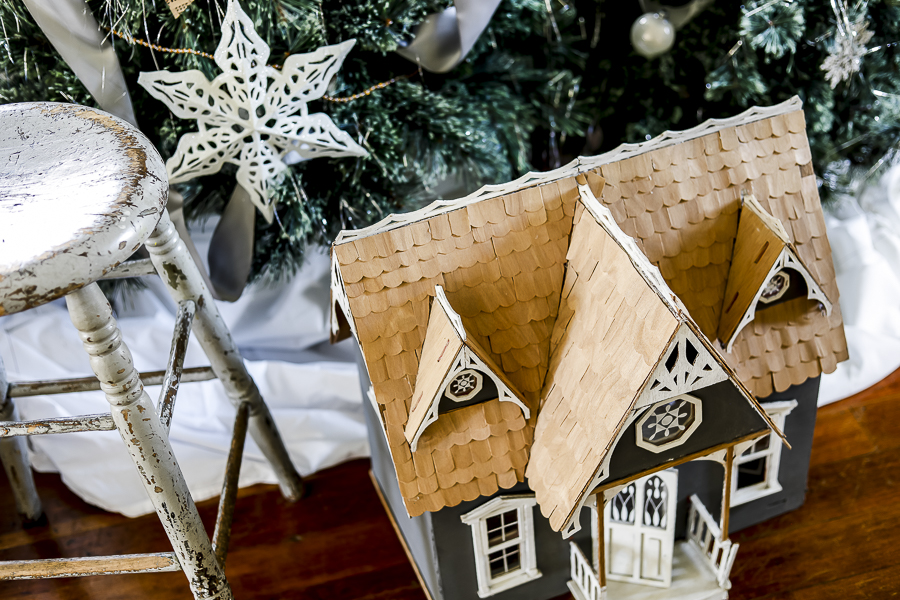
On the floor in front of the tree I set a chippy wood stool and our cute wooden doll house.
To decorate the tree, I originally had lights that I had gotten on clearance last year after Christmas. But when we turned them on, they were a really cool white – almost blue! Not at all what I was hoping for.
So for this year, I just went ahead and skipped the lights!
I opted instead to add lots of my thrifted stars that I had spray painted, and some of the vintage globe ornaments that I had used above my sewing cabinet in my kitchen. (You can see them here with the Gingerbread wall hanging.)
Along with those, I added a sweet sheet music garland I had made a few years back from my Grandfather’s old sheet music. He has since passed away, so this garland is truly sentimental to me now – and it’s starting to fall apart, so I’ve been taping it back together where needed.
If you’d like to make your own, you simply cut the sheet music out into the small pendant shape. I added glue and glitter along the bottom cut edge for some extra charm. Then I hot glued the top edge to bakers twine.
There are similar versions here if you’re not up for a DIY this year!

For the tree topper, I tied a wide satin ribbon and cascaded it down the tree, tucking it in here and there as I went.
Once that was all done, I stepped back and realized it needed just something a little bit extra.
I was already feeling some mid-century 40s/50s vibes from the corner with the trunk, so I decided to add some silver tinsel! I got a package for $0.98 from Walmart and was so pleased with what it added to the tree.
Tip: I saw a tutorial recently on Instagram that shared how to best apply tinsel to keep from getting large clumps. You take a small handful, holding it loosely in your hand and gently pull it over the branches. Some of the strands will get stuck on the tree branches making for a more natural and subtle look!

The Couch:
Above the couch I changed out our usual picture for a cute “Tree Farm” sign.
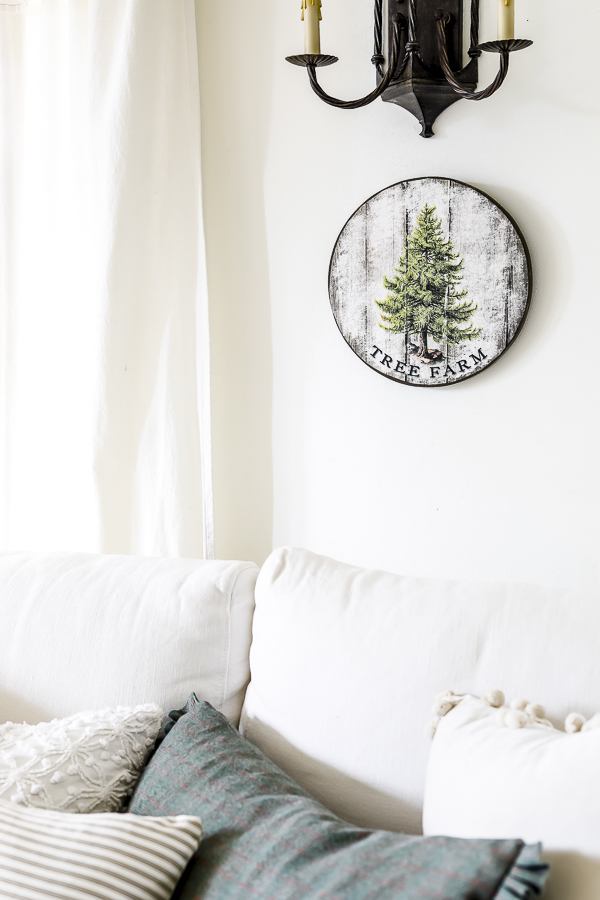
The couch itself is loaded with cozy pillows that I swapped in for the season.
I made two lumbar pillows with a green plaid fabric I had found during one of my recent thrift store trips – they turned out so cute and are really easy to do! You can see my tutorial here. I put one on the couch and one on the armchair at the end of the room.
The other couch pillows include a DIY chenille pillow I made from a chenille scrap – you can order small pieces from Etsy at a great price!
And of course no pillow shot is complete without some of my favorite pom pom pillows that are 2 for $15! They’re just so cute and perfect for winter and Christmas!

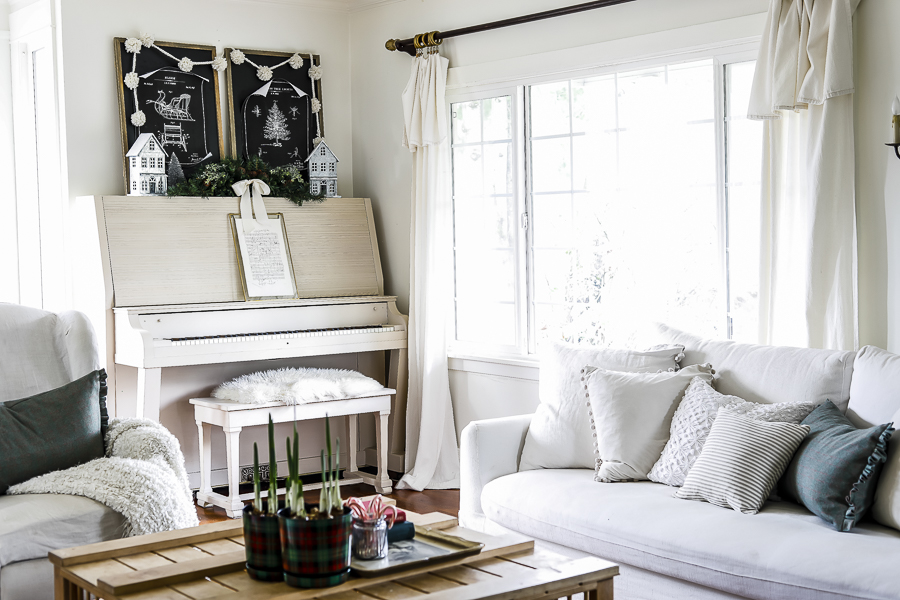
Over at the Piano…
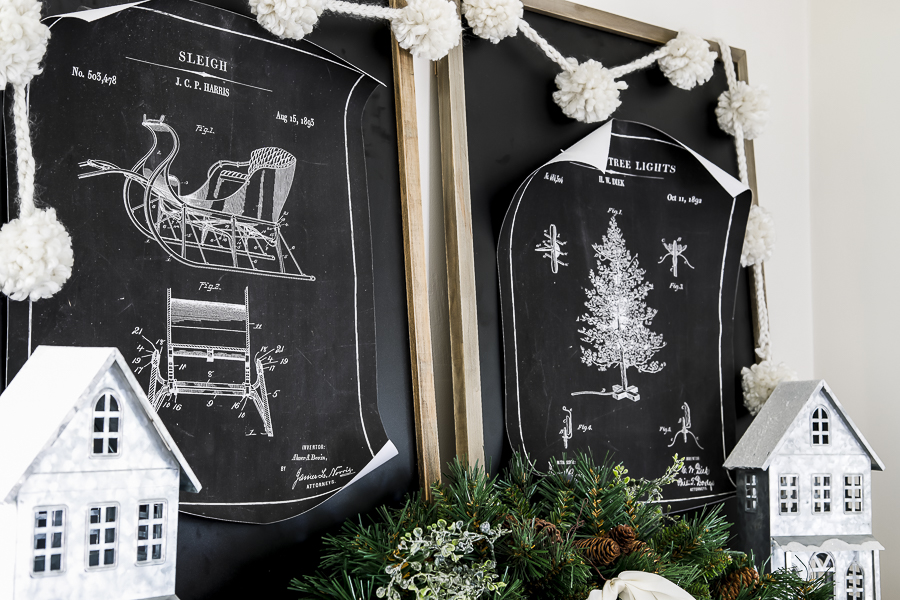
I shared about these cute patent prints that I taped onto my thrifted chalkboards in my recent thrifting post, but I think they look even cuter now with all the rest of the Christmas decor up.
I love that their edges turn in as if they were scrolls!
I added my DIY pom pom garland along the top.
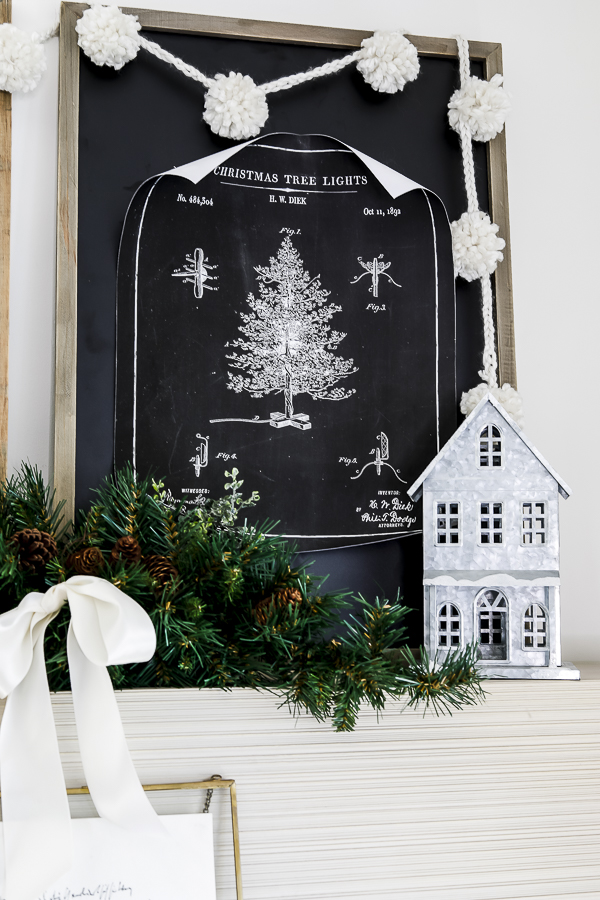
The rest of the decor on top of the piano was purchased in last year’s post-Christmas clearance sales.
I realized that the pinecone swag was looking a little tired, and even a tiny bit cheesy, so I employed my favorite tricks to spruce up faux greenery. I added in a few pieces of additional greenery to fill it out and to add some great texture, and I added a beautiful bow. Good as new!
The gold frame sitting on the piano is from a previous season of Joanna Gaines’ line. I got mine at goodwill with a broken chain, but I’ve heard that you can find them on ebay still.
Next up, the Window Seat:
The window seat got a similar treatment as the couch with fun wintery pillows.
I added a green throw blanket and left my beautiful green copy of Charles Dickens “Stories of Christmas” laying open there as well.
The third and final embroidery hoop wreath is hanging in the window. This one is my favorite because the plastic figurine is a tiny version of our dog!
(This would make a really cute personalized Christmas present for anyone with a special pet!)

And the next corner in our Christmas Living Room Tour…
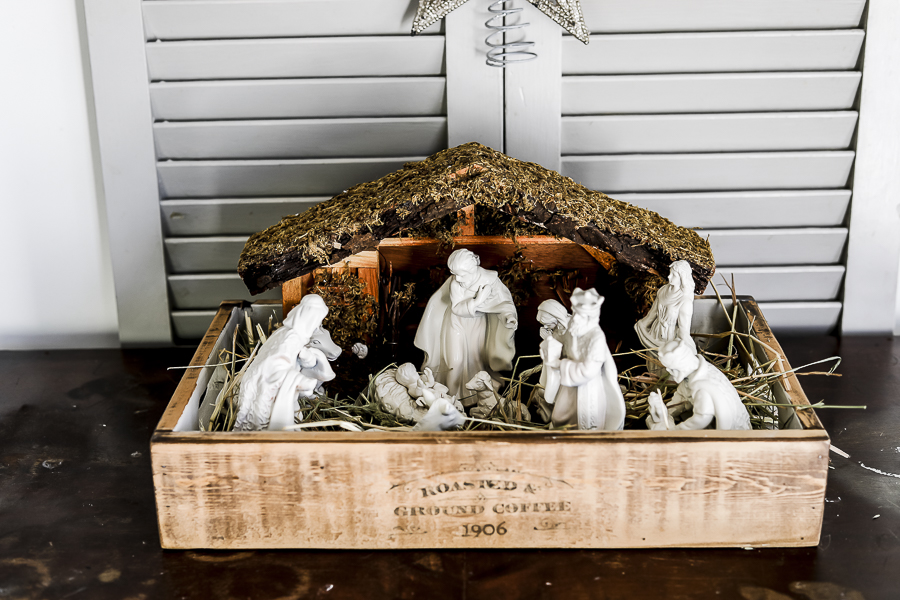
To the left of the window seat is this beautiful chest of drawers. On top I have our nativity inside a vintage wooden crate with a little bit of hay from our horse.
This nativity set was actually from a garage sale, but it was too brightly colored, and honestly not a great paint job. So I simply spray painted each piece with my favorite cream spray paint (Rustoleum Heirloom White)!
It instantly calmed the set down, and added the elegance that I knew I’d enjoy for years to come!
If you’re looking for a neutral nativity you can find some here.
Behind the drawers I have another set of louvered doors, and I was able to use them to anchor my star with a tiny nail on top and a piece of fishing line.
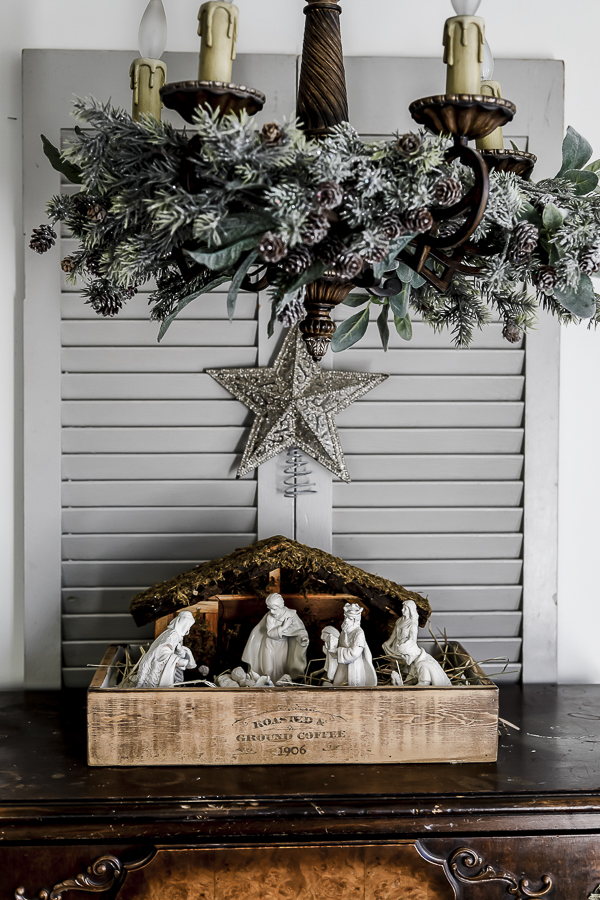
Above that, I have a chandelier, and I gave this one a similar treatment to the one in our bedroom. Lots of greenery with pine cones, frosty evergreens and lambs ear.
And last but not least:
On our coffee table, I added a vintage tray to “ground” the vignette that included my potted paperwhite bulbs (I plant the bulbs after thanksgiving and “force” them to bloom indoors! They take about 30 days, so they should be ready right at Christmas.), some vintage books, and a mercury-glass jar with another handful of candy canes.
(My kids have been really enjoying those!)
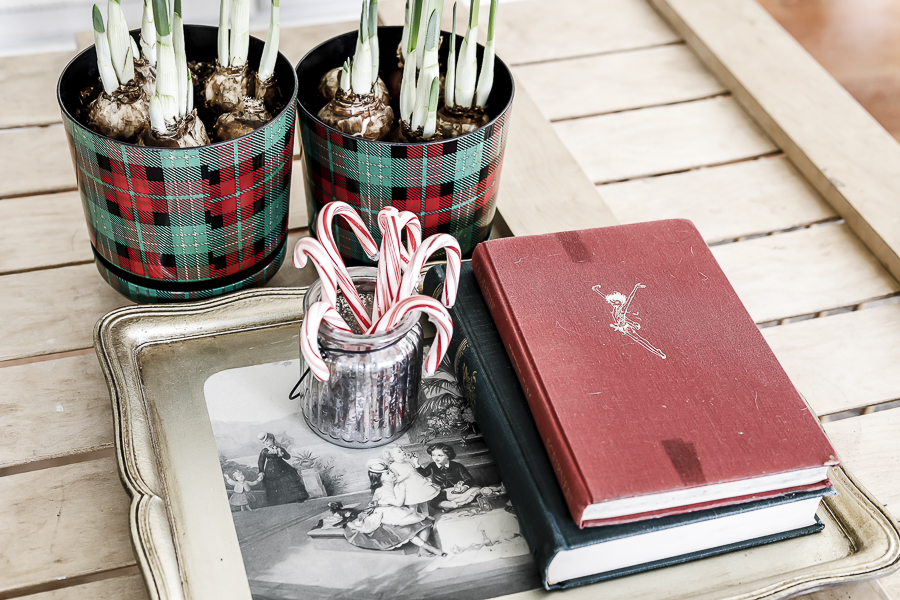
The “mercury glass” is actually a DIY I did a while ago! I spray painted the jar with silver spray paint, and then spritzed water on before it dried creating the drippy mercury glass look. Really easy!
And I think mercury glass is one of those really fun things to include in your Christmas decor.
Christmas is actually one time I bend my usual rule about mixing your metallics! I think if you’re ever going to mix your metals, this is the season for it!
I still usually stick to about 1 main metal per room, (this living room is silver, but my fireside room is going to have some gold) but I’m not opposed to mixing when the occasion and pieces call for it!
I hope you’ve enjoyed this Christmas living room tour!
Here are some past Christmas posts for your viewing pleasure!
- 2018 Christmas Living Room
- 2017 Christmas – 10 ways to Reinvent your Christmas Decor
- Clay Gingerbread House Tutorial
- DIY Vintage Christmas Bells
- 15 Inexpensive Christmas Decorating Ideas
- Decorating with Evergreens
Pin this for Later: