How to Decoupage for Beginners
Knowing how to decoupage – the right way – is a really handy DIY skill to have!
I’ve done quite a few decoupage projects in the past, (I’ll list them below if you’re not familiar with them) but I had not been as pleased with some of the results as I would have liked.
Mostly, it was the wrinkles that bothered me! I wanted my art and picture projects to come out super smooth, and they never quite reached that pinnacle of success I was shooting for.
If you’re curious about my past decoupage projects:
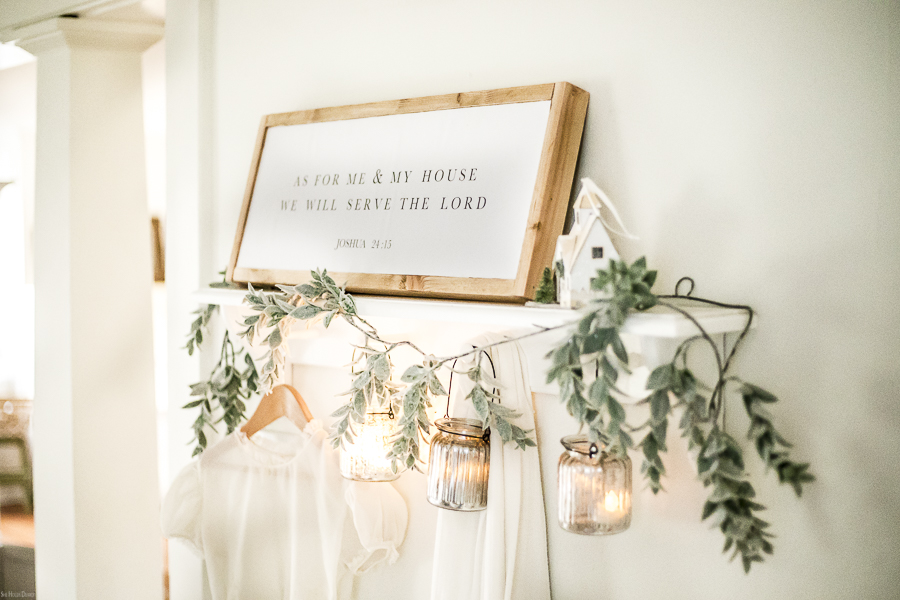
- My DIY “As for Me” Sign – with verse from Joshua 24:15 (Includes a free printable that can be delivered directly to your email address!)
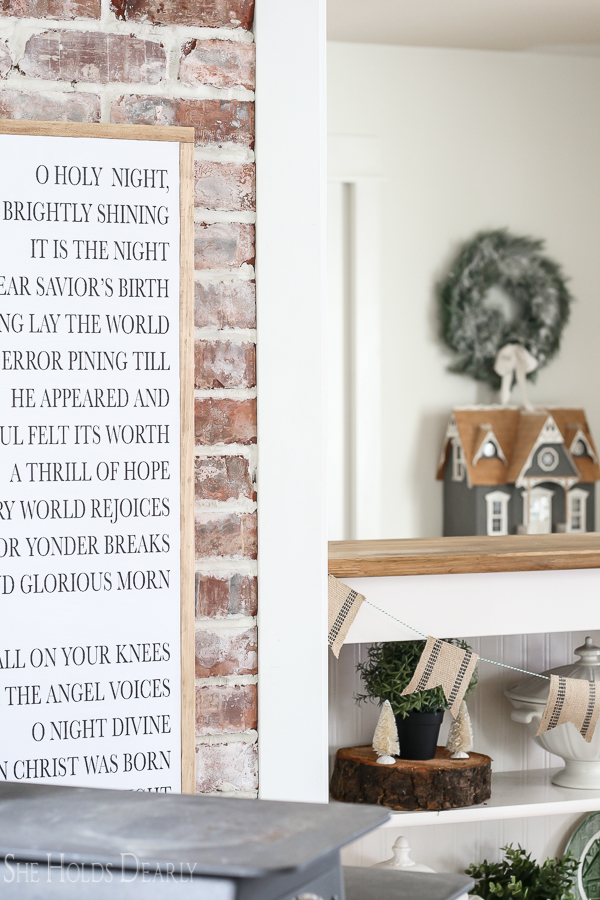
- My DIY O Holy Night sign
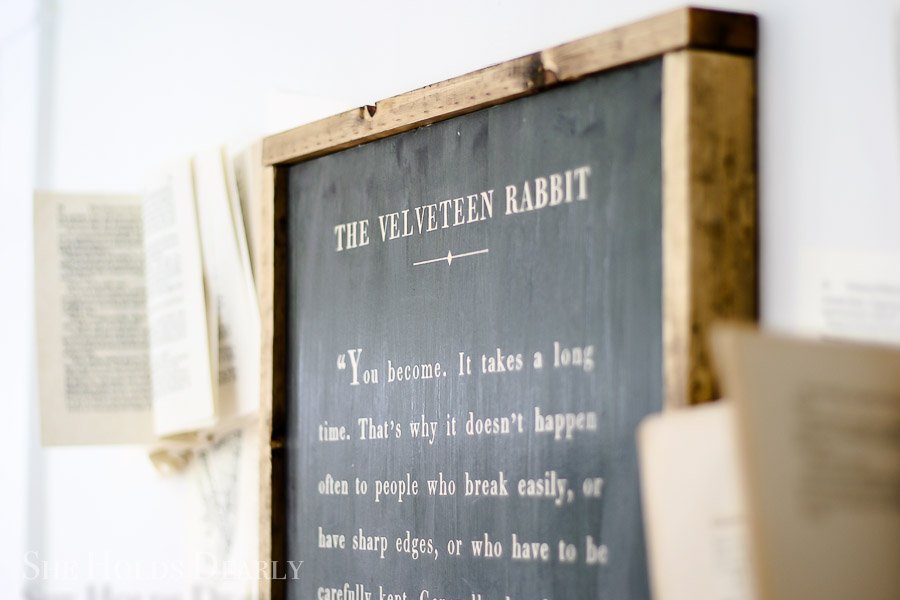
- My Book Page Wall Tutorial – aka the Velveteen Rabbit sign
Now, I’ll say, they did eventually turn out well enough that I use them in my home! My complaints are not to say that they were total disasters.
| …well, except for the very first Joshua 24:15 sign I did that was so wrinkled I didn’t end up keeping it… at least the second one turned out! |
But I knew I could do better, so I did some research, and I’m excited to share some tips with you to hopefully make your next DIY decoupage project more successful as well!
*This post contains affiliate links to products I know &/or love.
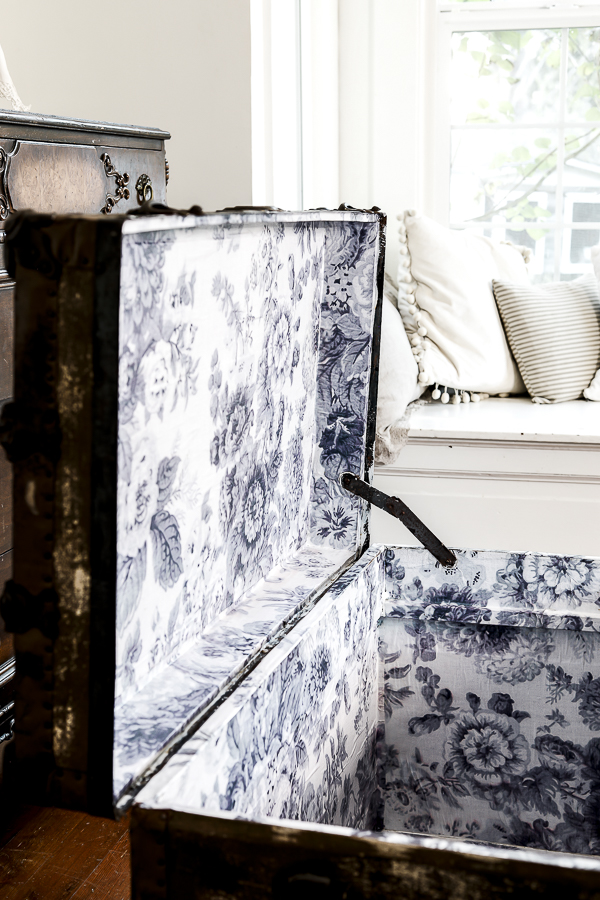
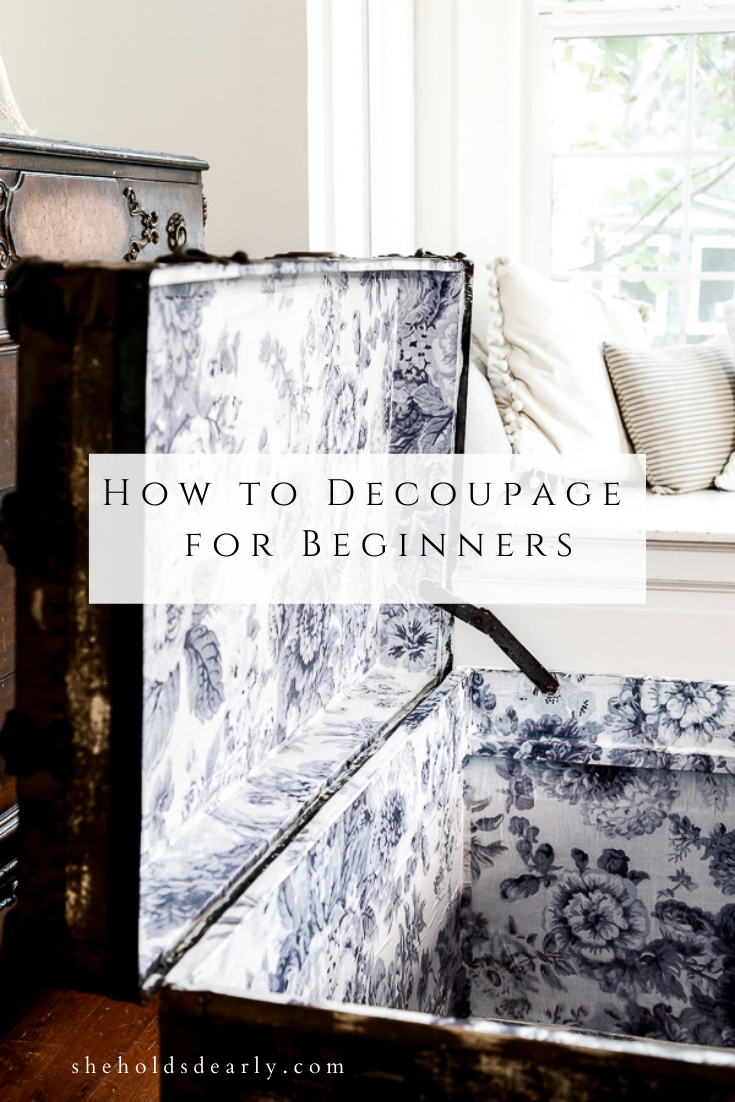
My next decoupage project: My Steamer Trunk
You might remember last month when I shared a post about this trunk in my Get Rid of the Musty Smell in Furniture blog post.
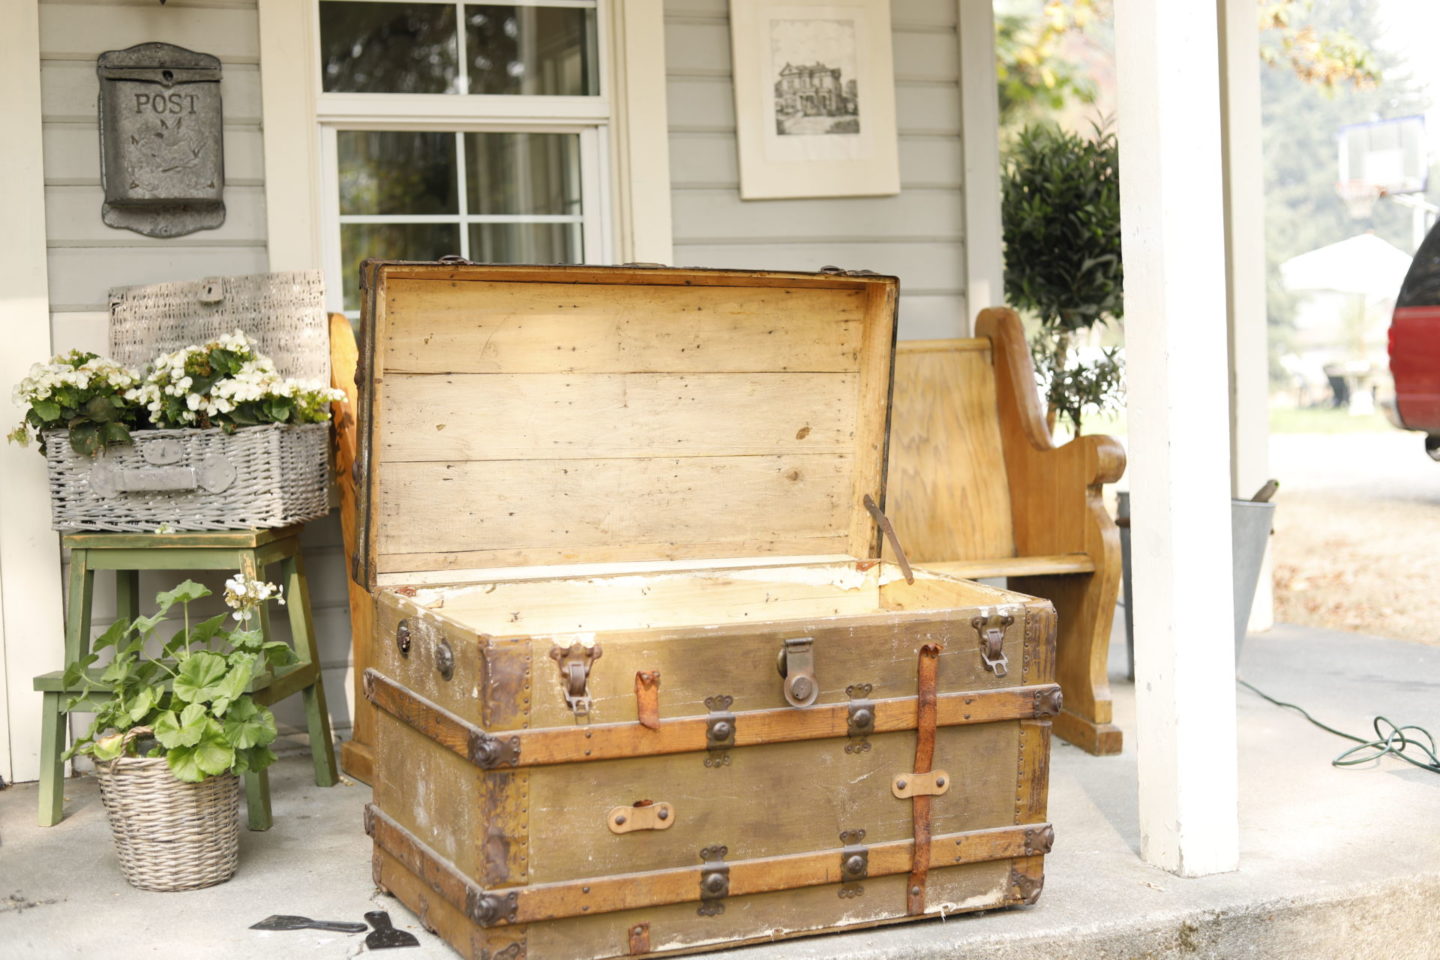
I’m glad to report that the method I followed for that project did in fact remove the terrible smell from the trunk! I’m so glad that it’s more functional now, and I’ve been using it to store my painting and upholstery supplies.
Even though the smell is finally gone, I knew I could give it just one more little style boost by adding a cute lining paper.
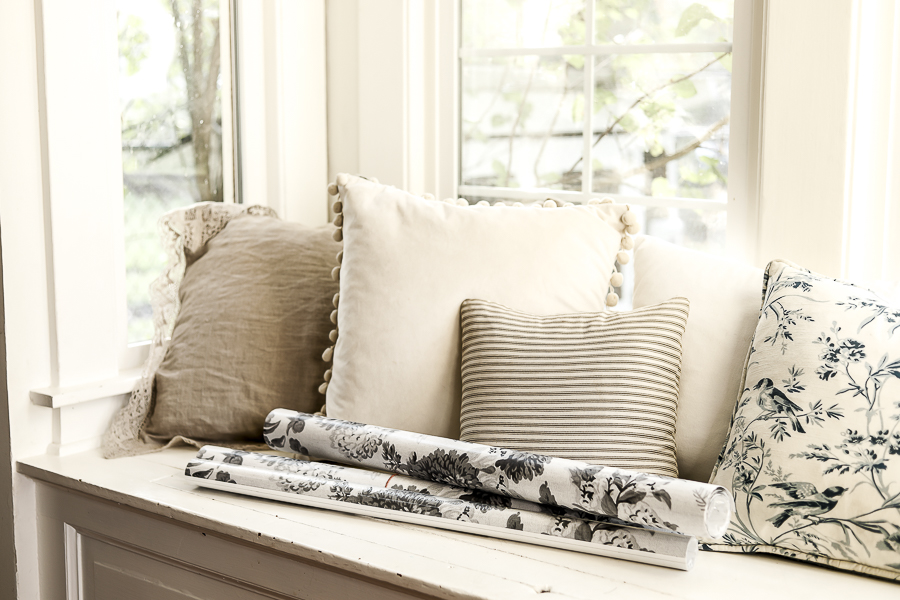
The paper I used for this project was actually something I ordered previously with another use in mind, and then ended up going a different direction.
It’s a grey floral wrapping paper from the website Zazzle, and I had plenty, so I knew it would work well for a large undertaking like this trunk interior!
If I wouldn’t have already had this on hand, I most likely would have gotten some wrapping paper from Cavallini Papers! They have the cutest designs, and I’ve used them before for a couple of different projects! (Most notably, my DIY Vintage Wall Hanging.)
Other materials to use when learning how to decoupage:
In addition to decoupaging wrapping paper onto your piece, you can also use
- Fabric
- Maps
- Scrapbook Paper
- Printer Paper
- Tissue Paper
Here are my tips for each of those options!
How to Decoupage with Fabric:
Make sure to wash and dry your material and iron it as flat and smooth as you can!
Put wax paper down below your material and coat it with Mod Podge, then let it dry. That way when you’re cutting your pieces you won’t have any fraying at the edges!
When decoupaging with Maps:
Again, if you want a wrinkle-free look, you have to make sure your starting material is as flat as can be!
If you have a map, I recommend pressing it carefully to get as many creases out as possible.
Decoupaging with scrapbook Paper:
Because scrap paper has a good weight to it (similar to wrapping paper), it will hold up better to decoupage, and you shouldn’t need to do anything special to prepare it!
Using Printer Paper:
But printer paper is another story – because it’s so thin, I would suggest that you lightly spray your paper (on both sides) with an acrylic clear coat.
Let it dry, and then treat it the same way you would with any other heavier-weight paper.
And last, but not least – tissue paper:
Because tissue paper is SO thin – I don’t know that there’s a way to decoupage it without the wrinkles.
So my advice would be to only use tissue paper for decoupage if you’re intentionally going for, or are really OK with a super wrinkled look.
What product do I use for my decoupage?:
So once you know what you want to cover or make, and you have your material picked out – the next important thing to do will be to make sure you know which decoupage is right for your specific circumstance!
There are two main kinds I know of that I’ll tell you about.
Mod Podge is a very well-known brand, (even so much as people use it as a verb at times instead of the word decoupage!) and bonus, it is also pretty inexpensive!
It comes in both gloss or matte finishes – and as per usual, I pretty much always prefer the matte, because I think it gives my projects a more authentic vintage feel.
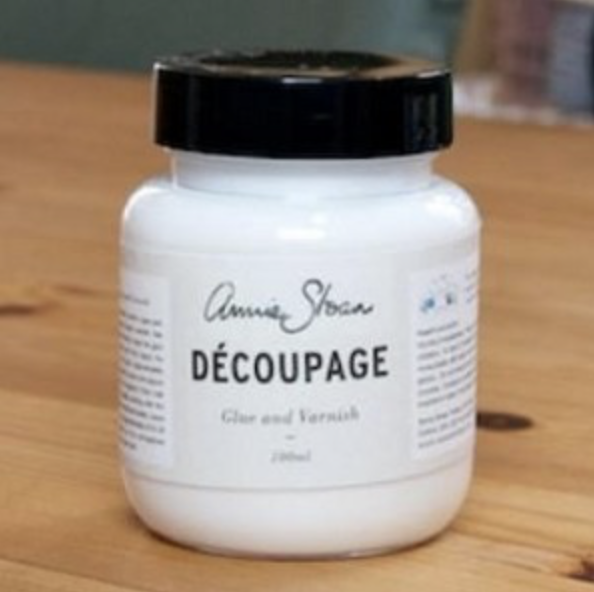
A more high-end version of the same type of product would be this one by Annie Sloan. I haven’t tried this exact version yet, but the reviews I’ve seen are very positive!
This one is supposed to be especially good for helping you get wrinkle-free projects, and it boasts quick dry times.
But this version is quite a bit more pricy – so keep that in mind!
I think I will plan on using this product the next time I’m making a more specific art piece (rather than something large and unnoticeable like the inside of a trunk), and then I’ll report back and let you know my thoughts!
If any of you are familiar with the Annie Sloan product, please feel free to share your own thoughts in the comments below!
How to Decoupage | The Brushes:
You can imagine that in a process like this, the brush you use matters!
Decoupaging is best done with a soft-bristled brush. In a pinch, I chose to use a cheapo chip brush, and it worked just fine, but I would have preferred to have used a foam brush.
I also keep this neat roller on hand for projects like this one – because it is great for smoothing out wrinkles.
There are optional finishing touches you can use if you’re going for a really clean final look.
Similar to other painting projects, you can lightly sand between coats of Mod Podge (with 400 grit sandpaper) and do 2-3 thin layers.
Then finish it off by carefully rubbing your product with super fine 0000 Steel Wool.
The Process:
Okay, so up to this point I’ve been sharing what you need to know before starting your project, and now I’ll share the actual process to follow!
Step Number One | Use your decoupage as your adhesive to get your material stuck in place.
To do this, use your brush to apply a thin layer of glue to a small section of your project.
Then carefully set your material down on top of it.
Step Number Two | Smooth out the material as best as possible.
Use a flat item like a debit card to smooth out any wrinkles where your item is touching the decoupage adhesive.
Start in the middle and work your way to the outsides.
The roller brush I mentioned above does a great job at this and also has a flat card-like surface on the back to help smooth it as well.
I’ve also heard before that you can use a squeegee – but I haven’t tried that myself.
Step Number Three: Apply a topcoat/varnish layer of the same decoupage project over the top of your material.
Be especially careful to hit all of the edges!
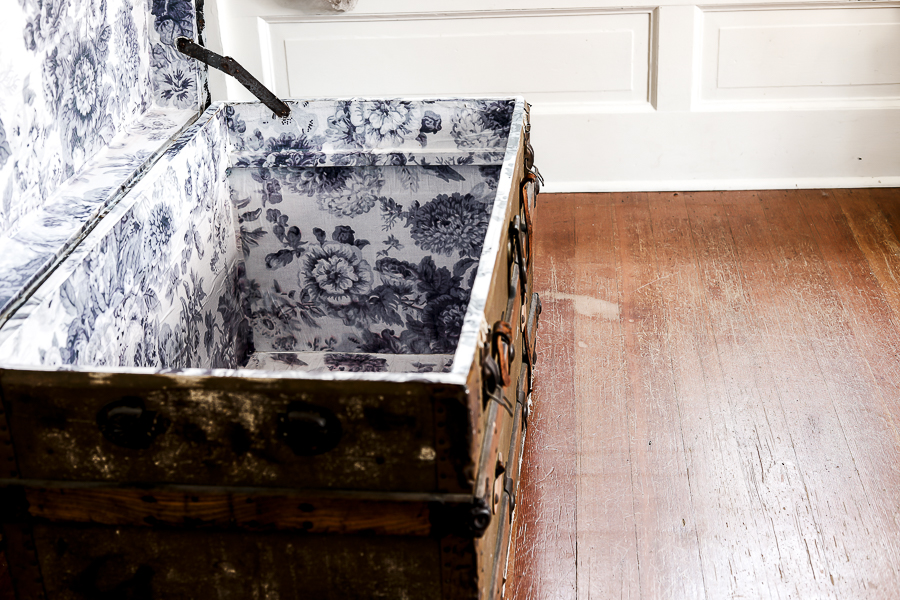
Step Number Four | Repeat until your piece is finished!
Once it’s dry you’re ready to display it or, if you’re like me, turn it back into functional storage space in your home!
I hope this tutorial on how to decoupage is helpful!
If you try any new decoupage projects out, please share them with me on Instagram by adding #sheholdsdearlyinspired – I always love highlighting your projects on my stories!
Pin this Tutorial for Later:
Until next time,


