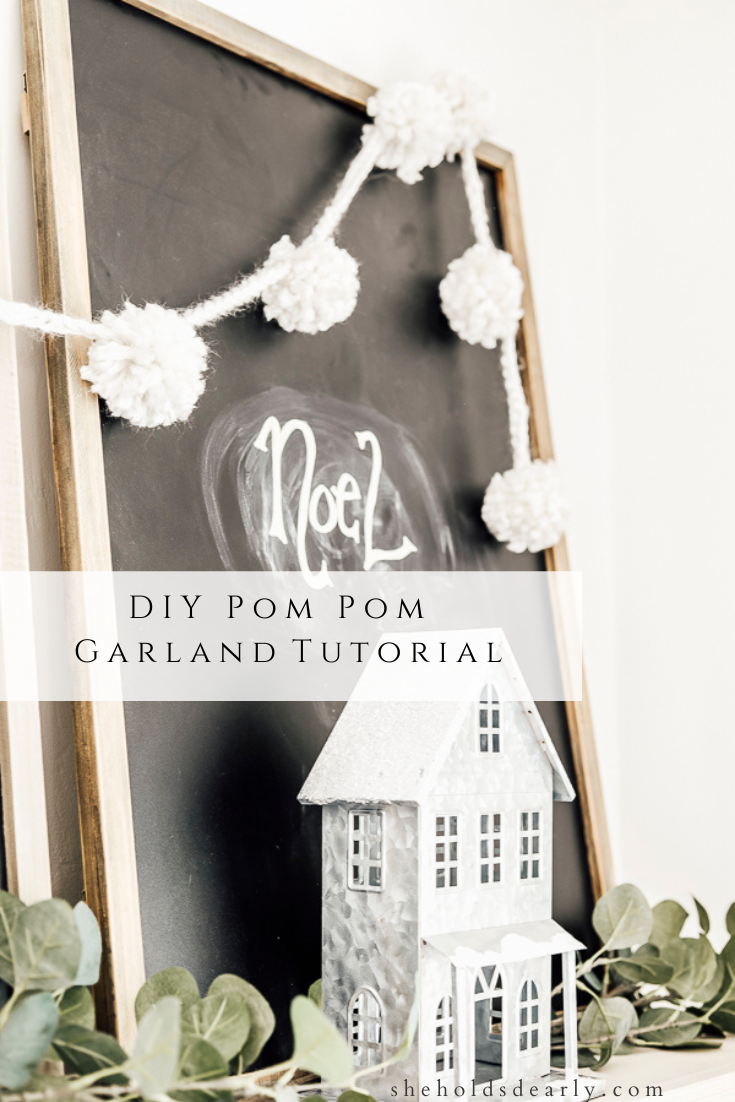
DIY Pom Pom Garland
Looking for something Festive to Work on? How about a DIY Pom Pom Garland Tutorial? These make great for decor AND gifts!
I’ve always loved pom poms – I think it goes back to my Mom sewing them onto all our things in the 70s and 80s.
Even now as an adult and professional designer, I think they add a great bit of whimsy and charm – especially during Winter and around Christmas!
It’s like having tiny snow balls adorning your pillows – what’s not to love?
I think it would be a rare occasion that I’d walk past a piece of pom pom trim for sale and not buy it. Especially when I find it at thrift stores or garage sales.
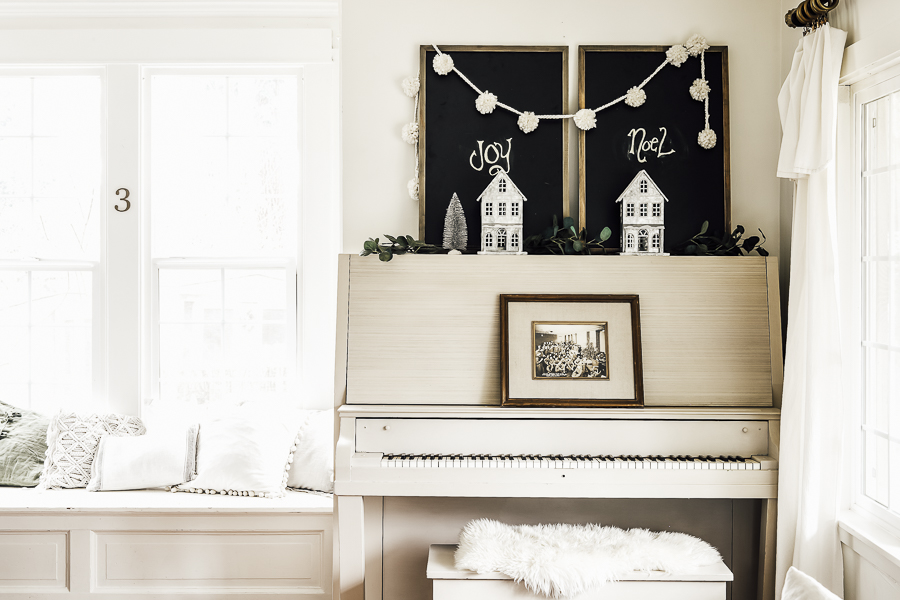
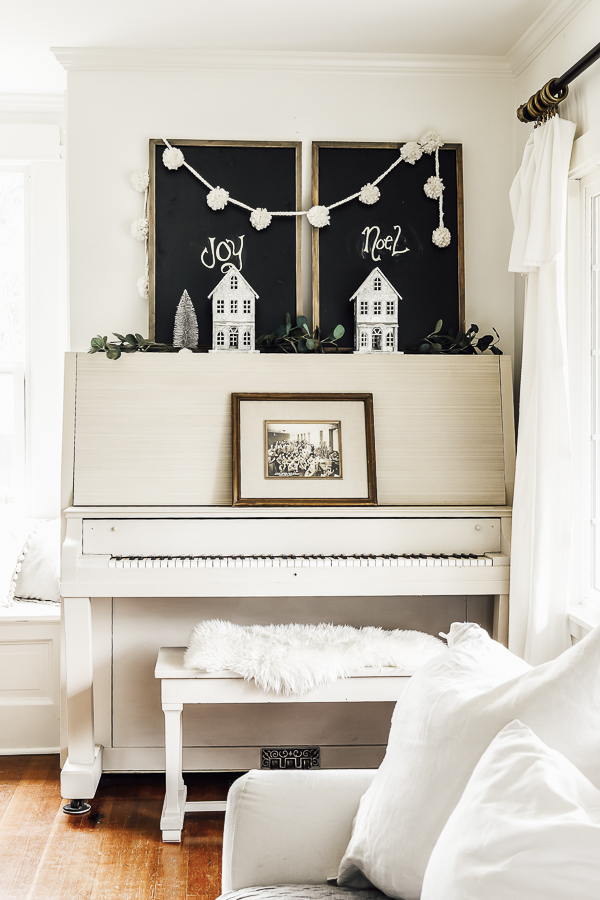
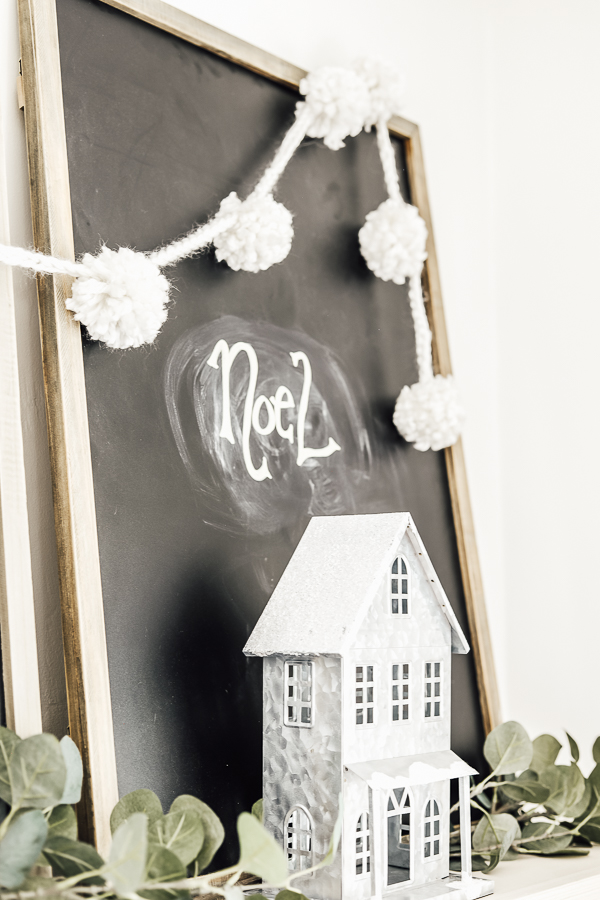
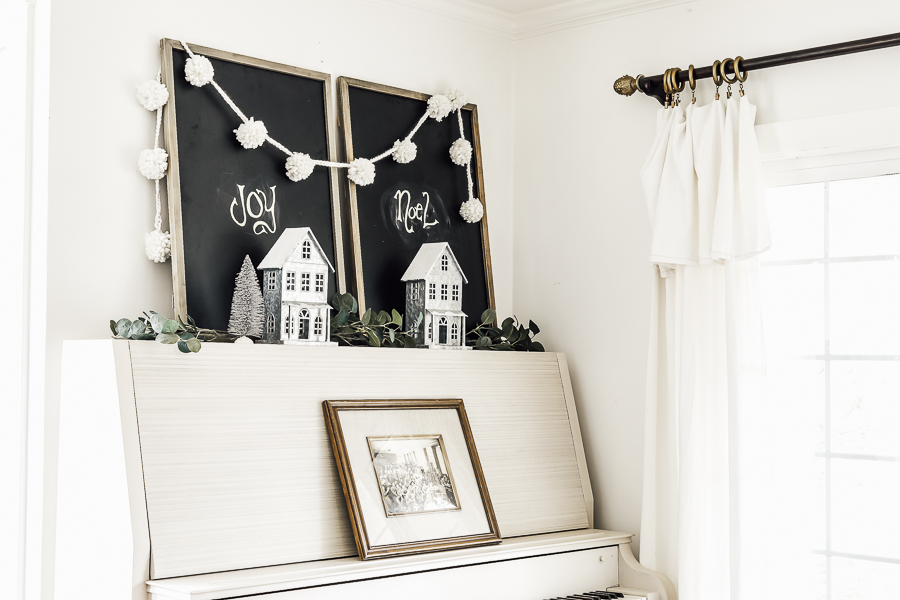
I love using them on pillows and curtains, or as a garland of it’s own.
My DIY Pom Pom Garland Inspiration |
Last year I saw a large pom pom garland and I was hooked! The problem it was about $50 for a 6′ garland from Anthropologie and I knew I could do it for less.
So flash forward 1 year to this week, and I’ve finally got my pom pom garland all made!
There was a bit of a learning curve for me, but as I’ve mentioned before, I’m always glad when I walk through (and sometimes struggle through) new things, as long as it means that I’ll be able to share my tips with you and hopefully remove some of the intimidation from the process when you’re ready to tackle it yourself!
If you have yarn available at home and chose to use a free pom pom template (more about those in a second), you could theoretically do this project for free!
If you need to buy materials, it could be upwards of $20, but probably would be a little less – especially if you can coupon.
Also Great For Gifts! |
Seeing as these are really cute, inexpensive and fun – doesn’t that just ring “Christmas Gift” to you? I’m thinking about making one of these for my sweet Mother in Law!
Plus you can customize colors and the size of the pom poms and the length of the garland for your intended recipient!
If you’re loving the idea of Pom Pom garlands as a gift, but not in the mood for a fun DIY project, you can also find Pom Pom Garlands available on Etsy!
*This post contains affiliate links to products I know &/or love.
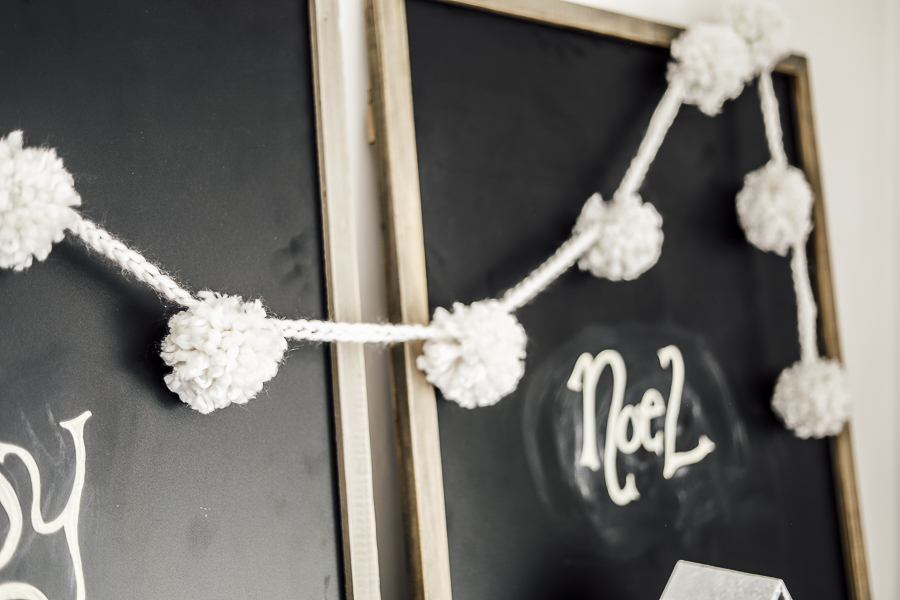
Some Notes Before we Begin the Tutorial |
In the inspiration garland I saw, they had a beautifully crocheted garland between the pom poms. I fell in love with that look and wanted to recreate it, but I’ve never crocheted before! I’ve done a tiny bit of knitting, but didn’t even know the simplest crochet stitch.
You know what that meant, I headed off to YouTube to find a beginning crochet lesson! I’ll share all that I learned below step by step, so have no fear if you’re a beginner, too!
If you aren’t set on the crocheted look, you can either use a single yarn, a piece of ribbon, finger knitting or you could even simply braid three strands of yarn together – whichever option you liked best!
If you chose not to crochet your garland, you can skip the first part of the tutorial below because it will be focused on what I learned!
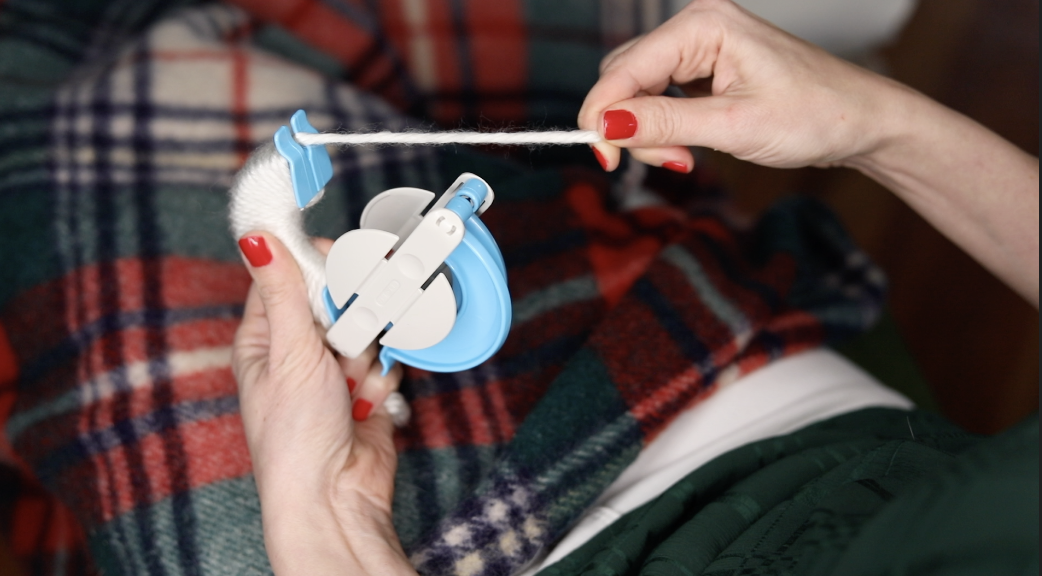
Also, I found a neat little $7 “pom pom maker” to try out (linked below), but there are countless free options you can use that I’m sure you already have around your home! Here’s a list for some free pom pom maker ideas.
Here are the Supplies You’ll Need |
The Process for Making a DIY Pom Pom Garland |
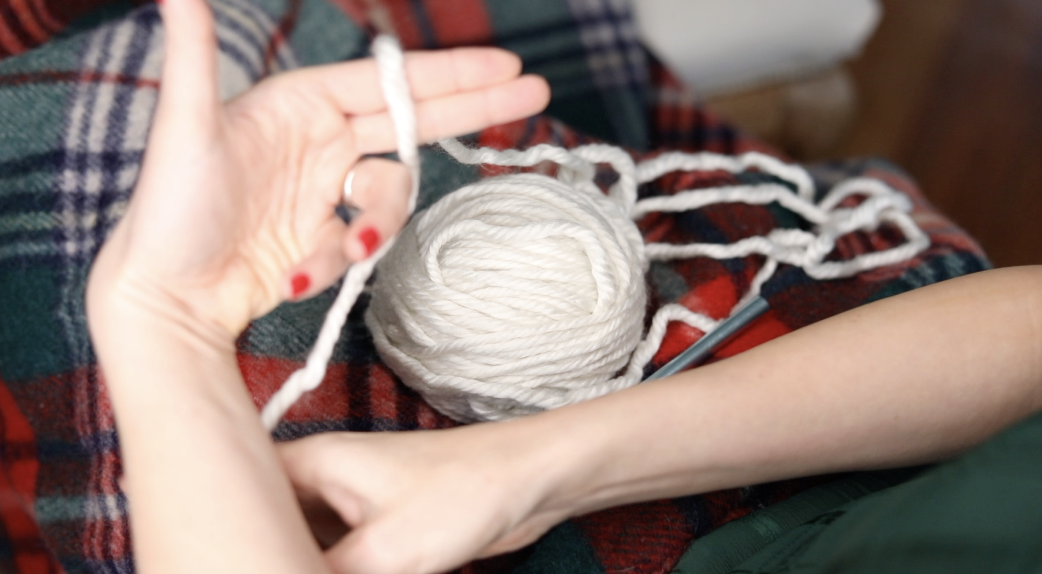
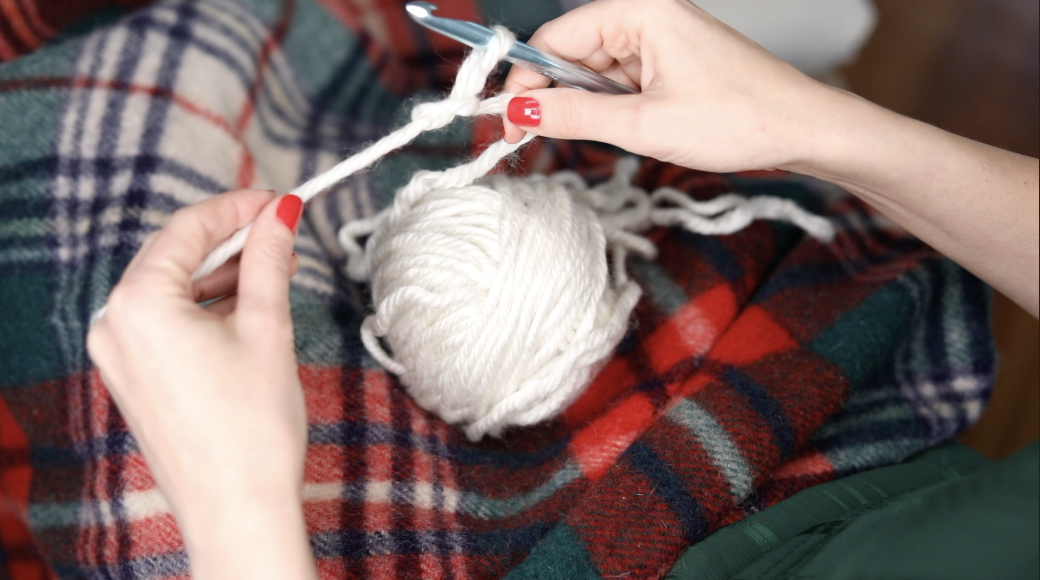
Step Number One | Turn your skein of yarn into a yarn ball.
This is optional, but I feel like the few minutes it takes does help the rest of the process go a bit more smoothly.
Plus I feel really nostalgic working alongside a ball of yarn.
Step Number Two | Prepare your “Stem” aka the Part the pom poms will hang from.
Depending on which material you use, this step will look differently for you!
For me, and for anyone else who loves the crochet look.. we’re going to delve into a new skill and crochet a 6′ long “stem” using the most basic chain stitch.
Here’s how you do that!
To Cast On:
Start with a “tail” at the end of your yarn ball, I did about 18″.
| For the sake of this tutorial, I’m right handed, so my directions are based on that as my dominant hand! |
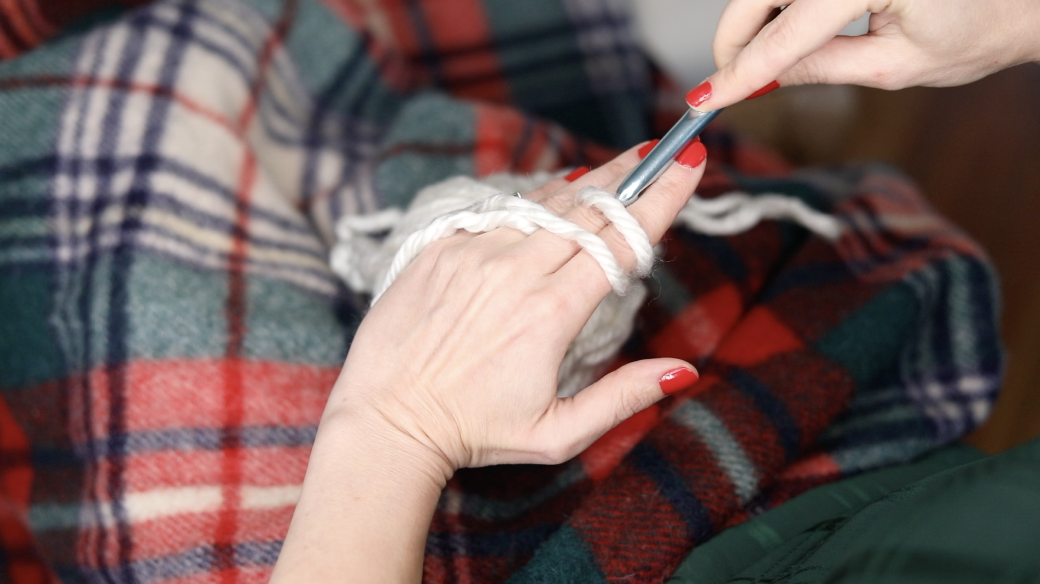
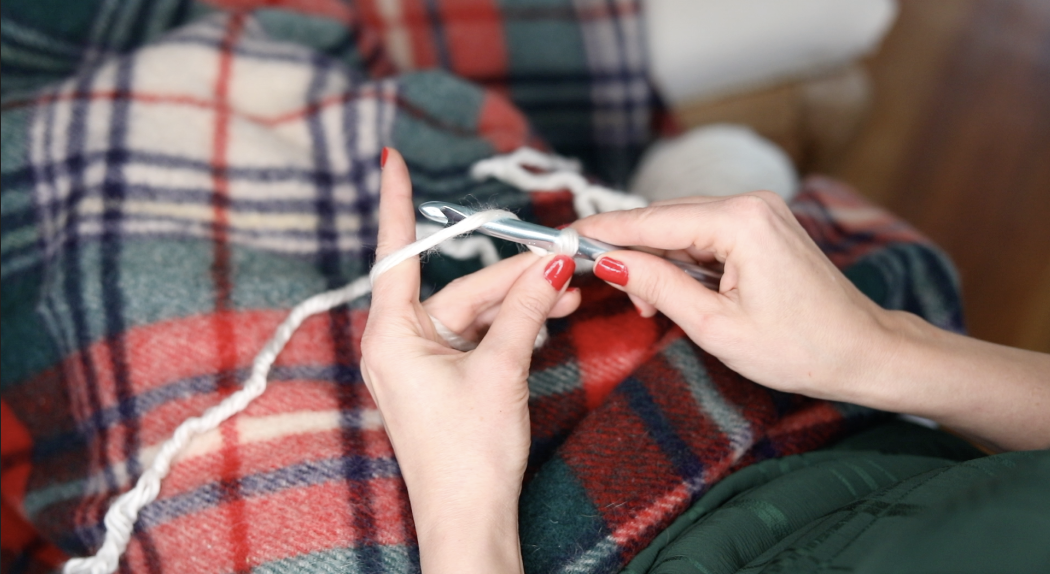
Take your pointer and middle finger on your left hand and (for lack of a better term) make a “finger gun”.
Pull the yarn from the yarn ball over the top of your fingers from the back and tuck the tail in between your middle and ring fingers and put the end off to the side so it’s not in the way.
Then take the yarn from the yarn ball side and cross it up and over your fingers again, this time crossing your original strand of yarn to make an “x”.

Then flip your hand down so you’re looking at the yarn on the back of your fingers.
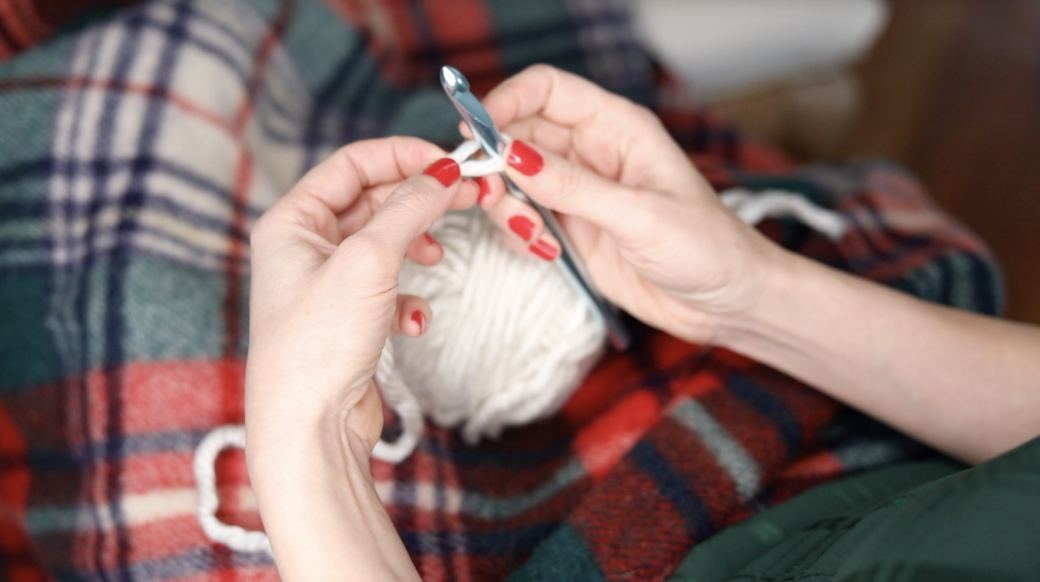
Take your hook and starting at the side closest to your fingers, go under the first loop, and then hook onto the second loop.
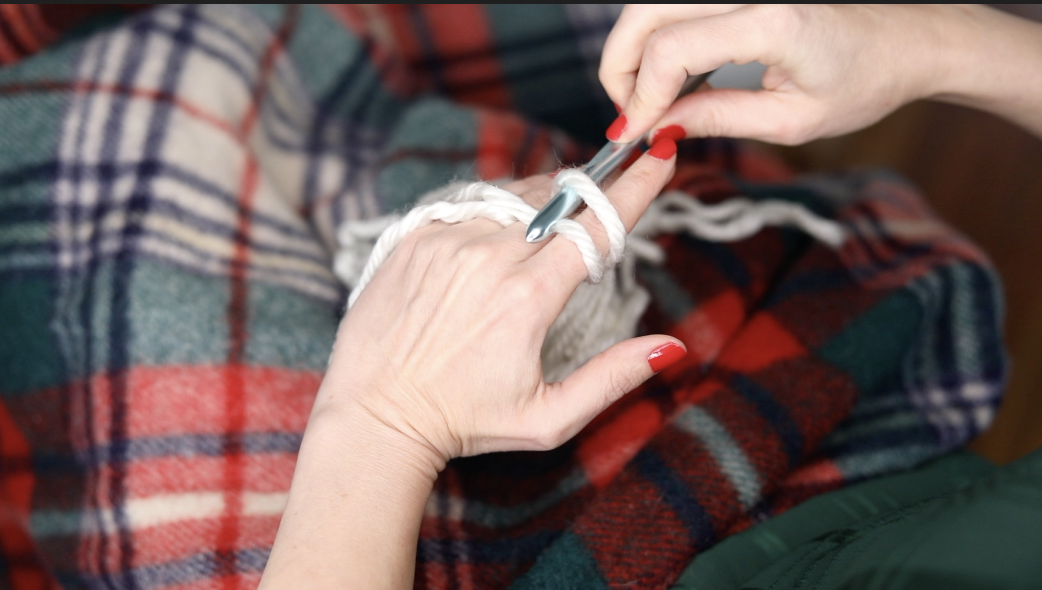
Pull the hooked loop under the first loop. Twist clockwise as you come out so the hook is facing you again.
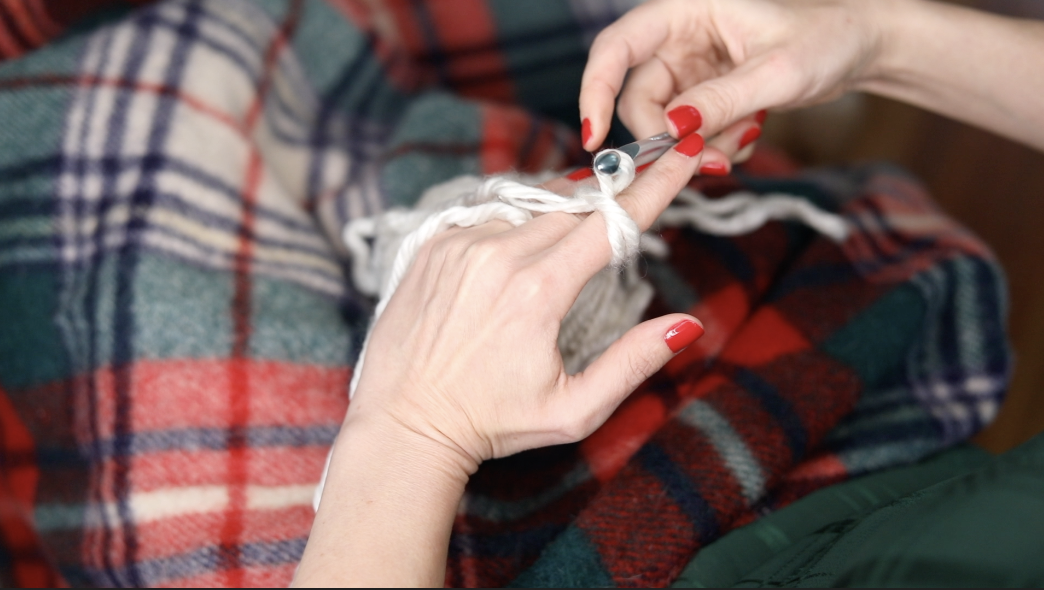
Then carefully pull the entire section off your fingers and tighten the knot loosely down towards the hook.
This is called a slipknot, so it’s easily adjustable. You’ll want to have about as much spare room as you would need to put two additional hooks through between your knot and your hook.
This way you’ll have plenty of room to carefully pull your next chain stitches through!
Too tight and it will be a tough squeeze. (And sometimes you’ll even catch only sections or “plys” of the yarn and you’ll pull it apart – we want to avoid that!) Too loose and your stitches will look a bit floppy and uneven.
Now that we’ve casted on and have our slip knot secured, it’s time to get ready to crochet the chain stitches into the 6′ long stem!
Use your left hand to guide the yarn from the ball so that you can work with just a small section at a time without distraction.
Hook the yarn around your pinky finger first.

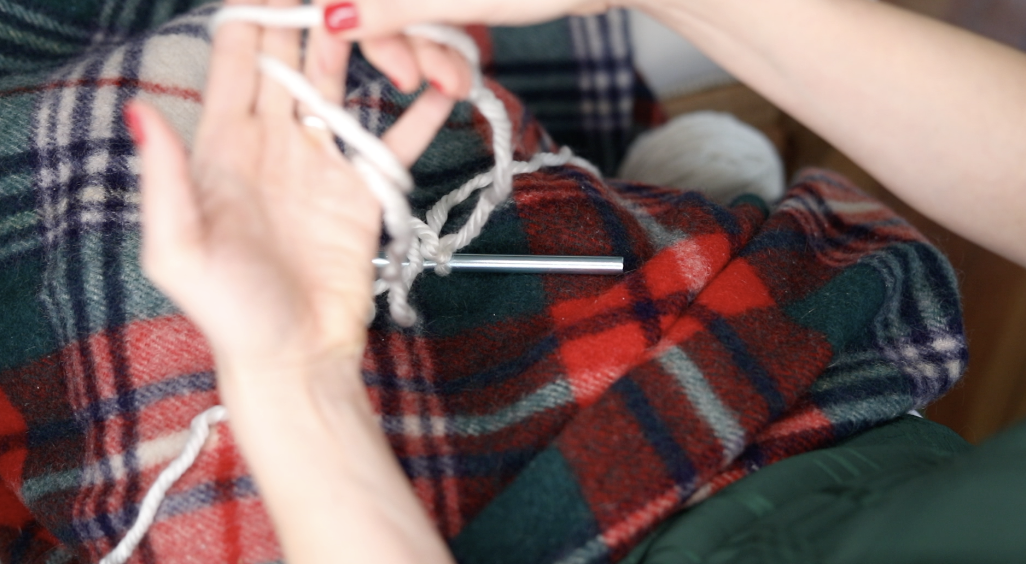
Then loop it under and around the pointer finger leaving just about 2-3″ between the hook and your pointer finger. This will be the zone where you’ll make your stitches.
Use your thumb and middle finger to help hold the slipknot and stitches steady while you work.
And on your right hand, your thumb and pointer finger will do most of the work.
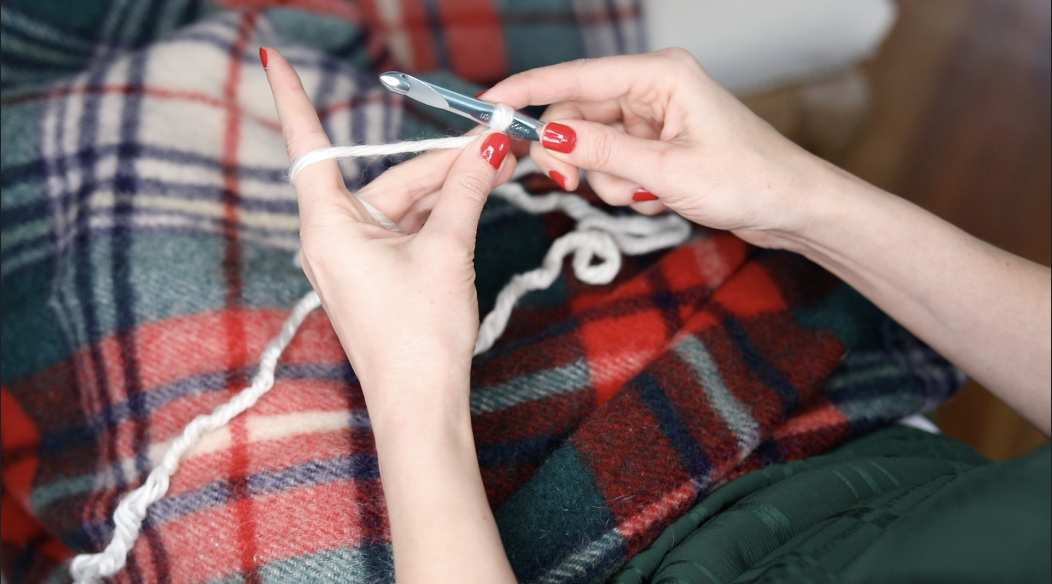
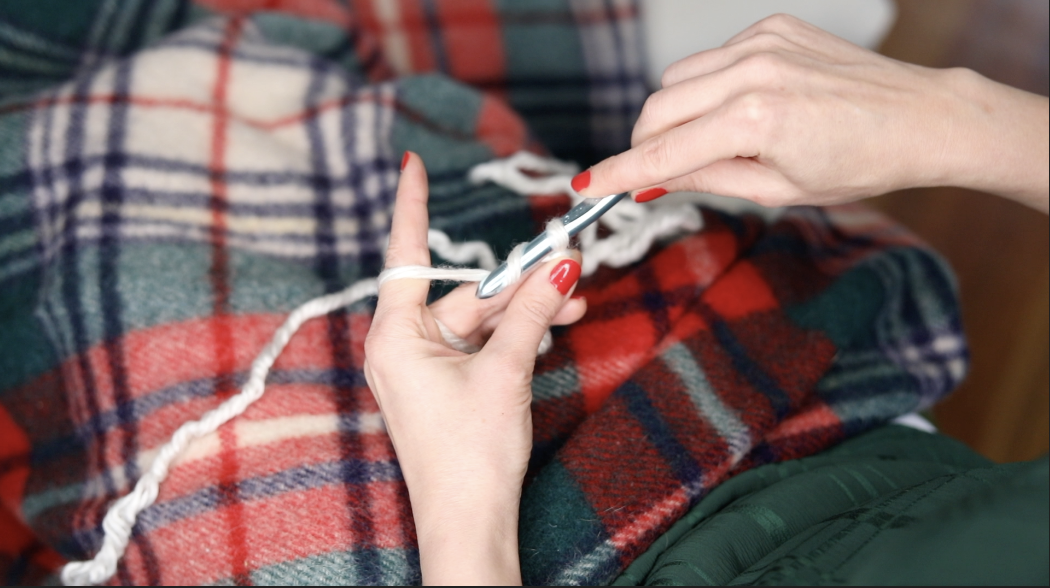
How to Chain stitch:
Take your hook under and around the yarn before catching it with your hook.
Then pull it back carefully through your slip knot.
This will create the stitch!
Then you just repeat until you have the length you need for your “stem”.
The last thing you’ll need to know how to do is to “cast off” when you get to your desired length!
To Cast Off :
Cut your tail to about 4″ after your last stitch.
Carefully remove your crochet hook by pulling it up out of the last stitch, and pull the tail until it tightens to a knot.
Then you can use your crochet hook or a large plastic needle to simply weave your tail back into your stem until it’s hidden. (You can cut it to shorter than the 4″ if needed.)
Phew. I hope that helps – but if you need more help, check out the video associated with this blog as well!
I found that as soon as I got a little more confident with my stitches, it was actually quite enjoyable, instead of stressful! I hope you find the same is true for you!
Step Number Three | Create your Pom Poms
The pom poms, undoubtably the most important part of the DIY pom pom garland! Am I right?
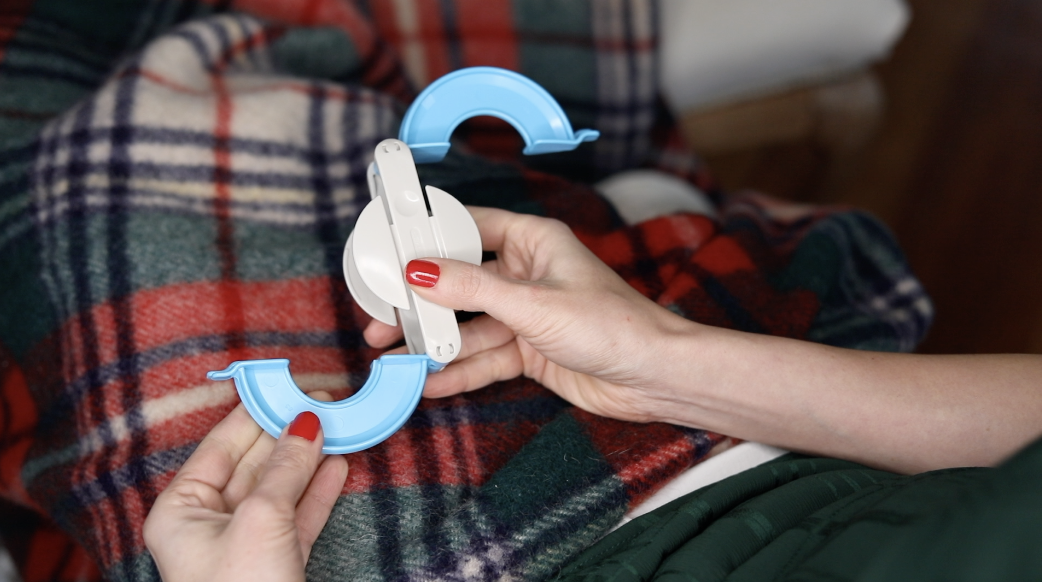
So I found my little pom pom maker to have a little bit of a learning curve, but once I got started it went pretty quickly! By the end of the process I was making 1 pom pom every 4 minutes.
Set your tool up to look like an “s” to begin.
Then start your thread from the hinge point between the beige and blue sections on the top curve of the “s”.
It’s as simple as just wrapping your yarn around and around until this entire blue semi circle portion is covered!
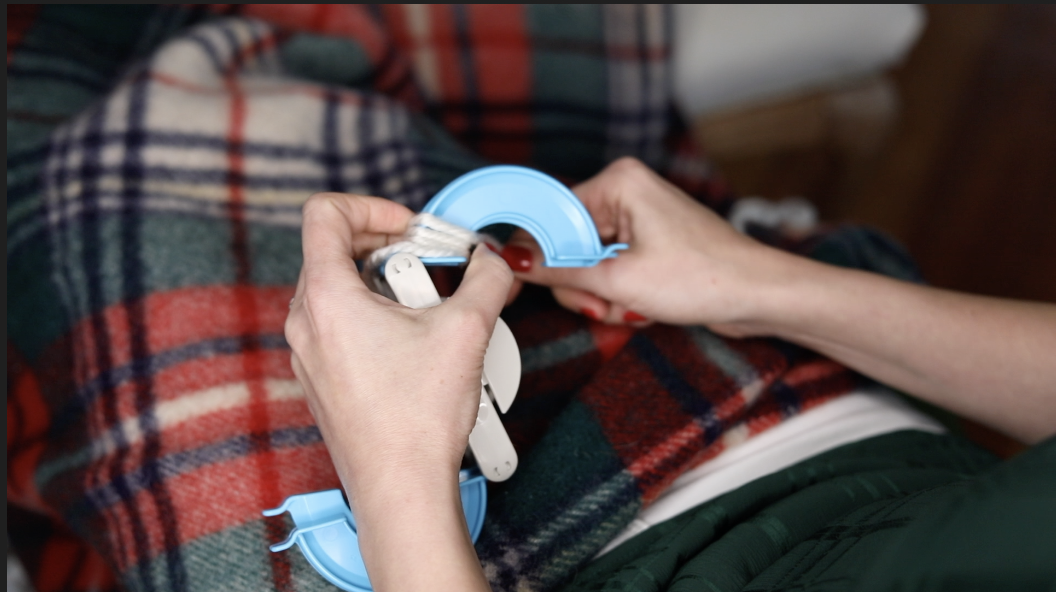
If you are using a thinner yarn, or if you want REALLY fluffy pom poms, you can repeat the process on each half side any odd number of times.
So you can do it just once, or 3 times, or 5 times, etc… The important part is that it needs to be an odd number so that you end on the open end of the blue semi circle.
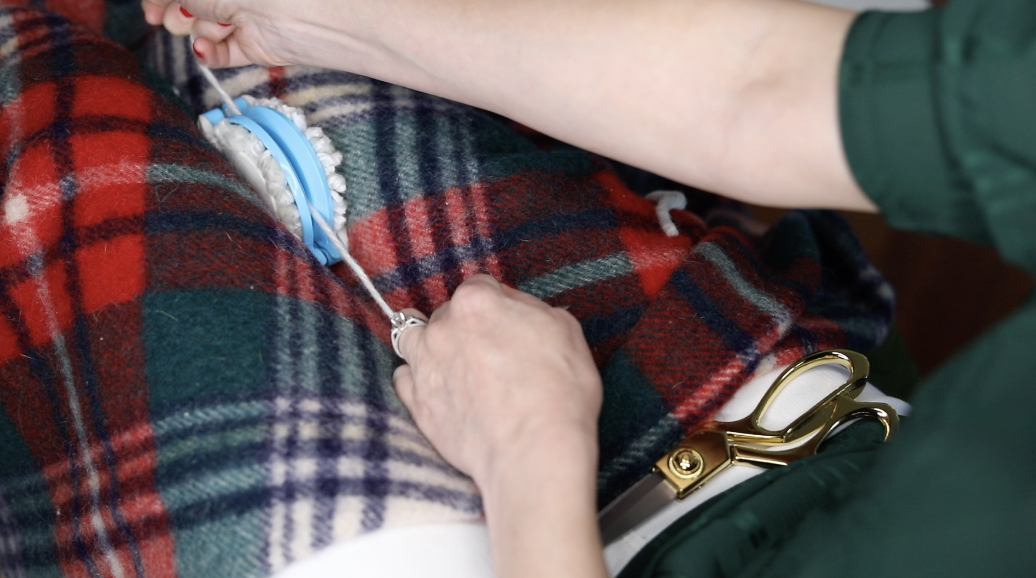
Once you’re ready to end that side, pull your thread through the “teeth” on the end cap.
Snap the completed blue semi circle closed, and then repeat the process on the remaining blue semi circle.
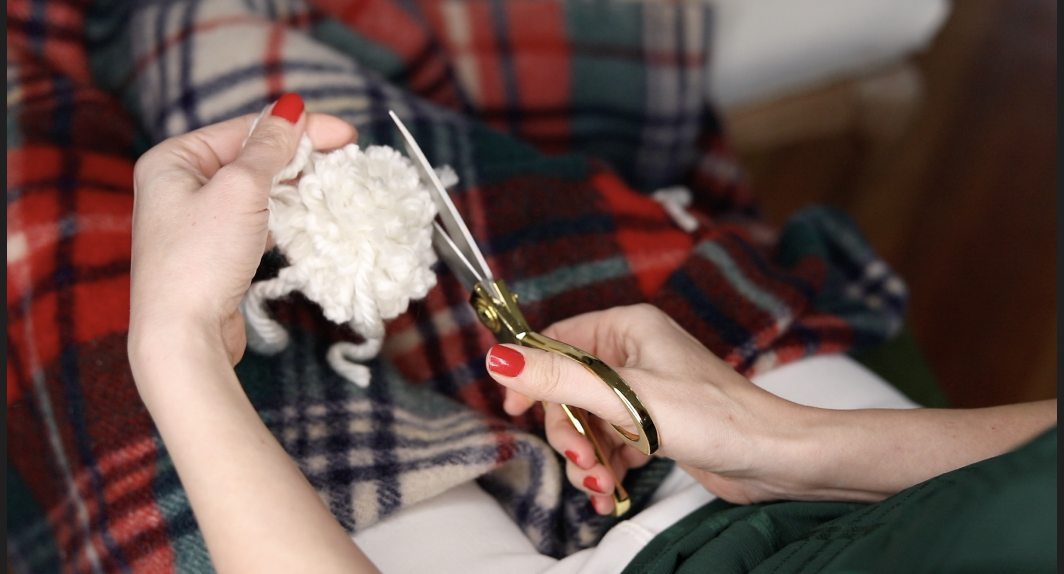
Once you’re done, run your scissors along the “dip” between the two blue discs to cut all the yarn threads and then use a separate piece of yarn to tie the pom pom through the middle as seen here. I double knotted, and then turned the discs around and tied again on the opposite side to be safe.
Then you just pull the two blue discs apart and out puffs your perfect pom pom!
I save the two tails from the piece that I tied the pom pom off with to use as my threads that will attach my pom poms to the garland.
Any other longer tails can be trimmed as needed!
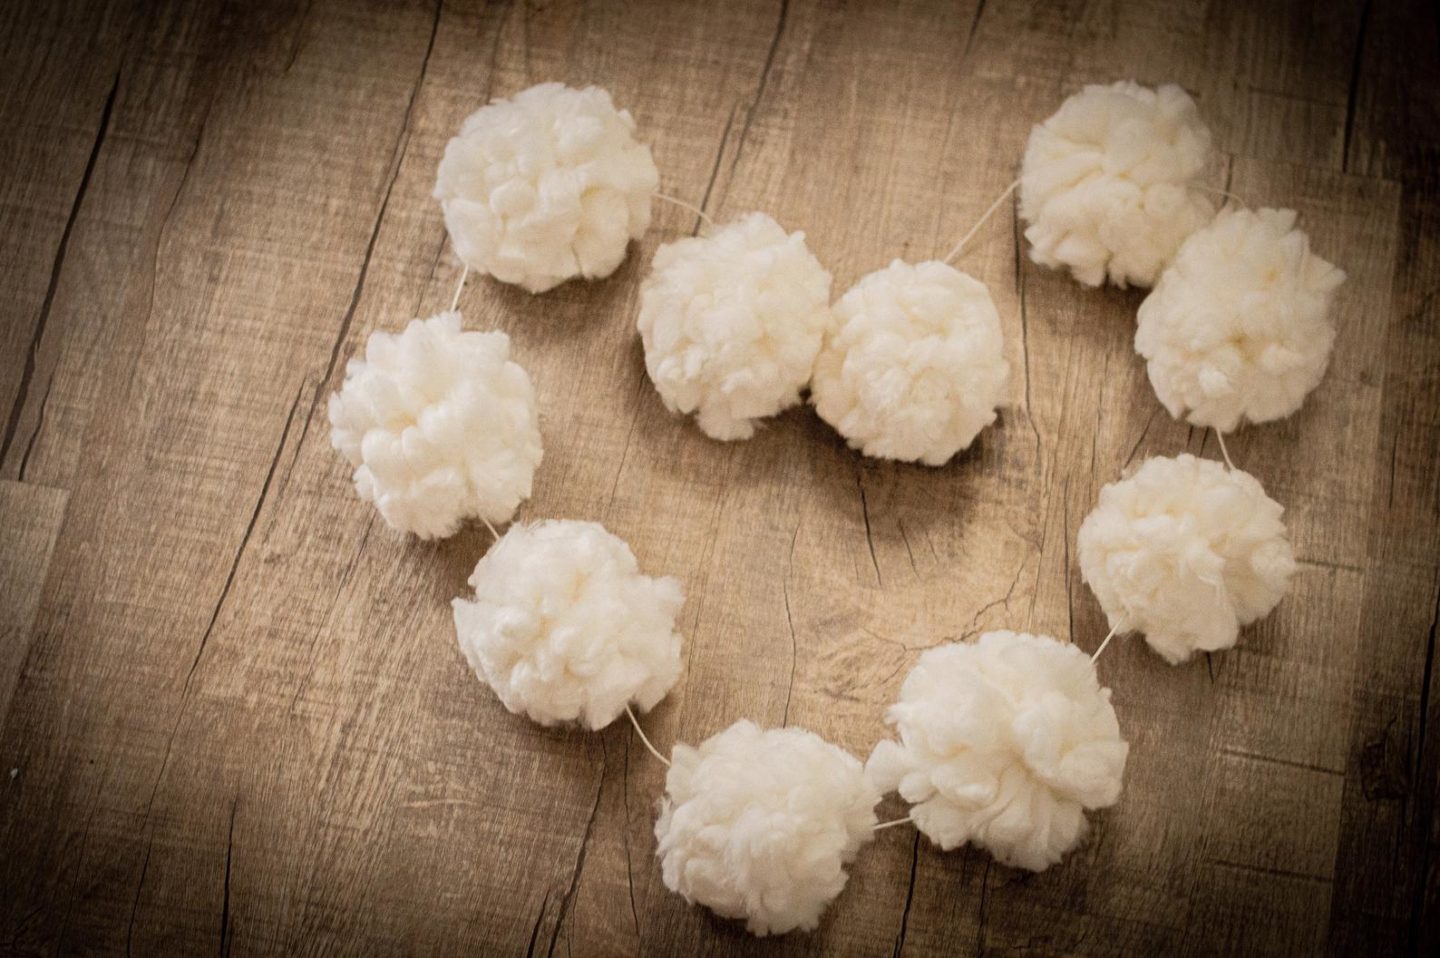
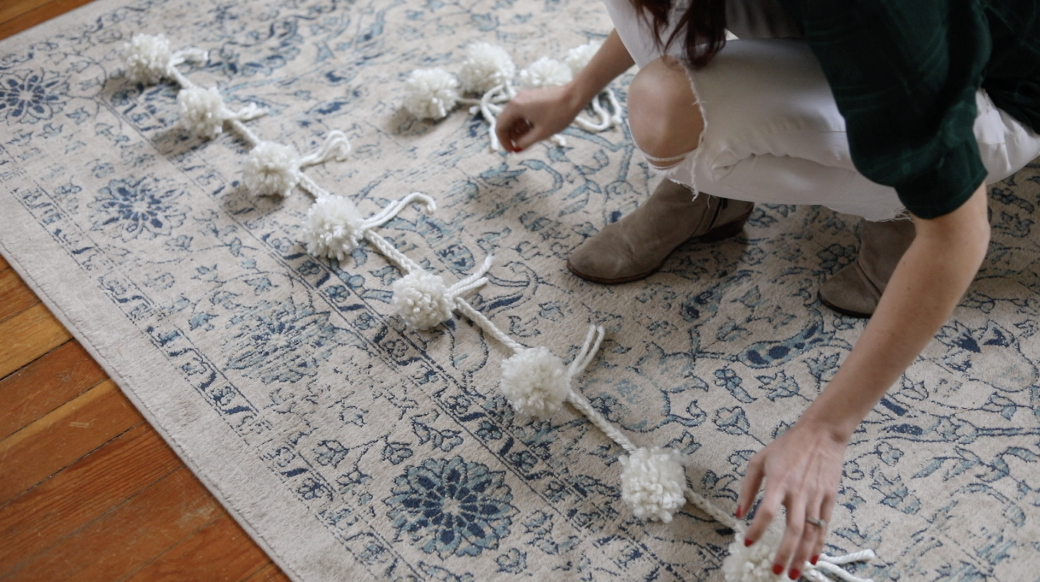
Step Number Four | Attach the DIY Pom Poms to the Garland!
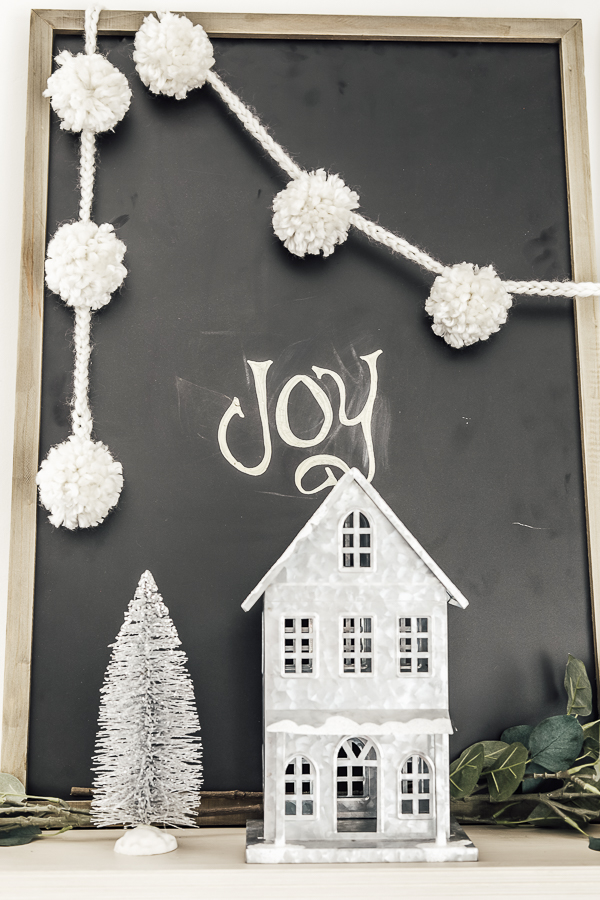
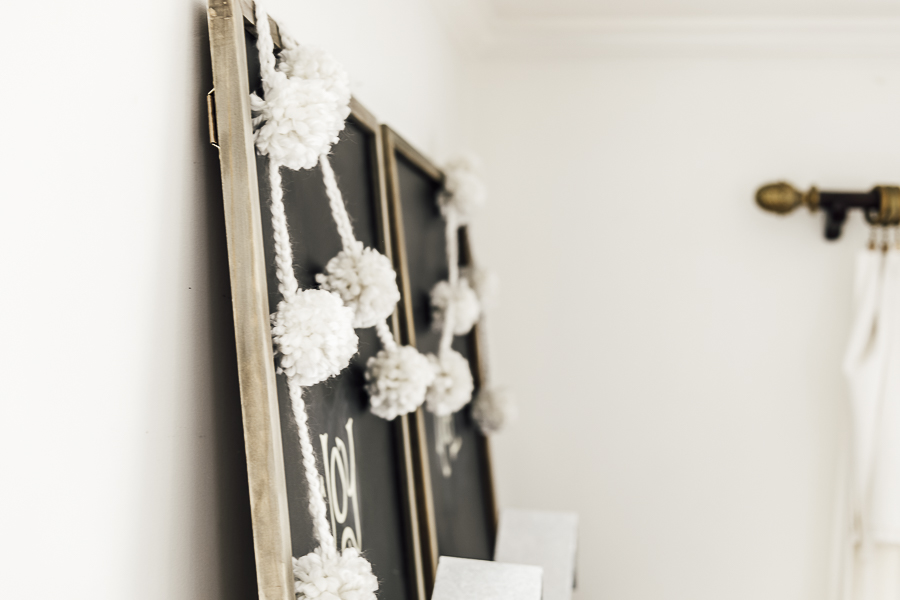
I chose to do 12 pom poms for the 6′ section of “stem” I had made.
I laid it all out on the floor and spaced them approximately before tying them on.
Then I trimmed away the extra long tails to blend them into the pom pom.
I hope this serves as a great help for you! If you end up making a garland, please do share it over on Instagram with the tag #sheholdsdearlyinspired !
I love seeing what you designers in this community is working on!
Pin this DIY Pom Pom Garland for Later |