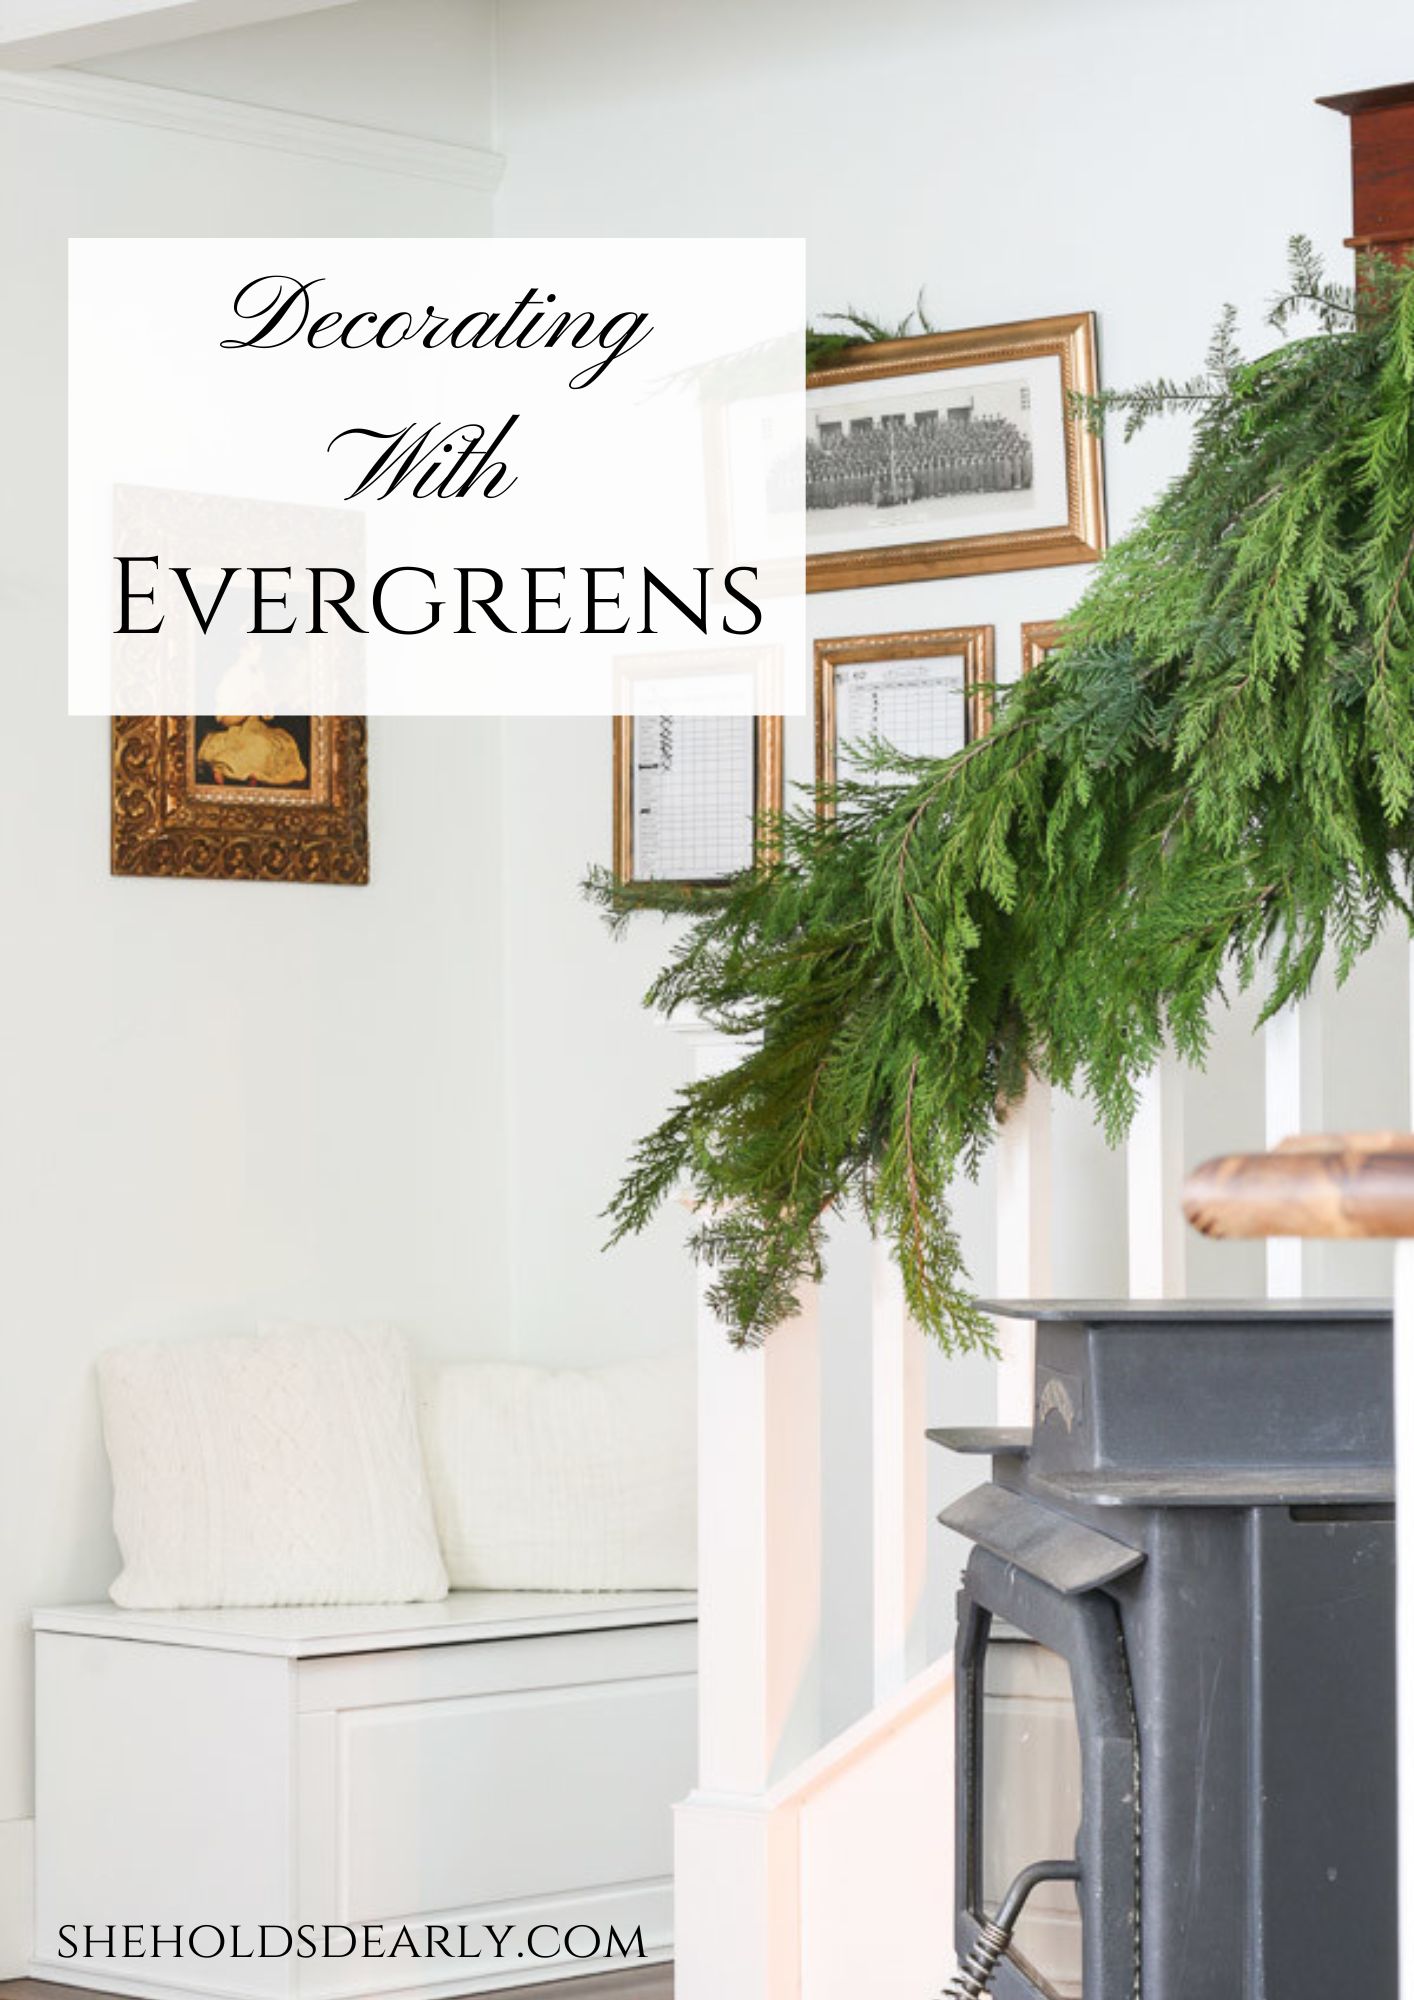
Decorating with Evergreens
Decorating your home with evergreens could be just the scaled back vision you’re after this year.
This year I am working really hard at keeping Christmas simple and peaceful. One of the first things we did was to cut back on decorating, which got me thinking. What if I could only have one kind of Christmas decoration?
And if I had to choose one decoration for Christmas it would be evergreens. Bringing nature into the house is always a favorite of mine for any holiday. So, I wanted share some of the ways that I have been decorating with evergreens this year, concluding with a simple tutorial on how to add an evergreen garland to a banister.
If you would like more tips on a peaceful Christmas, you can download my 10 Steps to a Peaceful Christmas Printable by clicking below.

But, before I get started, I want to say how pleased I am to be part of the “bHome for the Holidays” Christmas blog hop and if you scroll to the bottom of this post you will find a fabulous line up of other Christmas home tours.
My favorite place to add greenery is actually on top of my kitchen cabinets, it makes my kitchen feel like its right out of a storybook.
Here’s a full “Christmas in the Kitchen” tour!
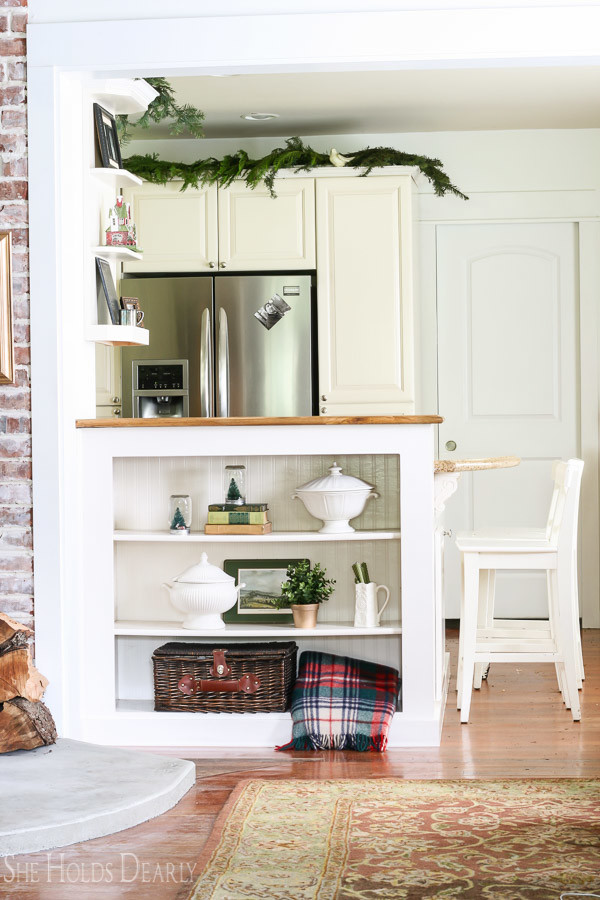
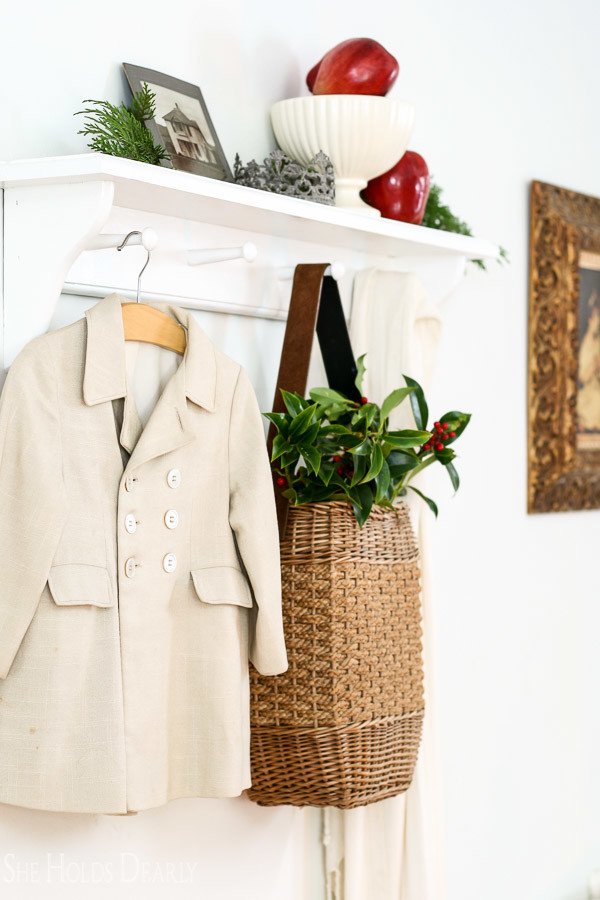
Then, of course, any shelves or decorative containers will benefits from incorporating evergreens.
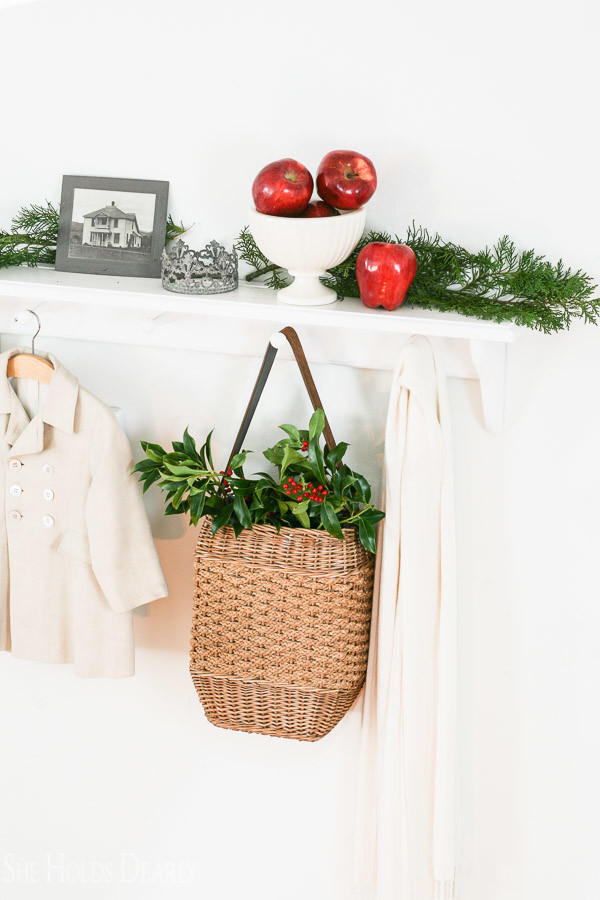
And I love seeing a simple touch of green tucked behind a picture.
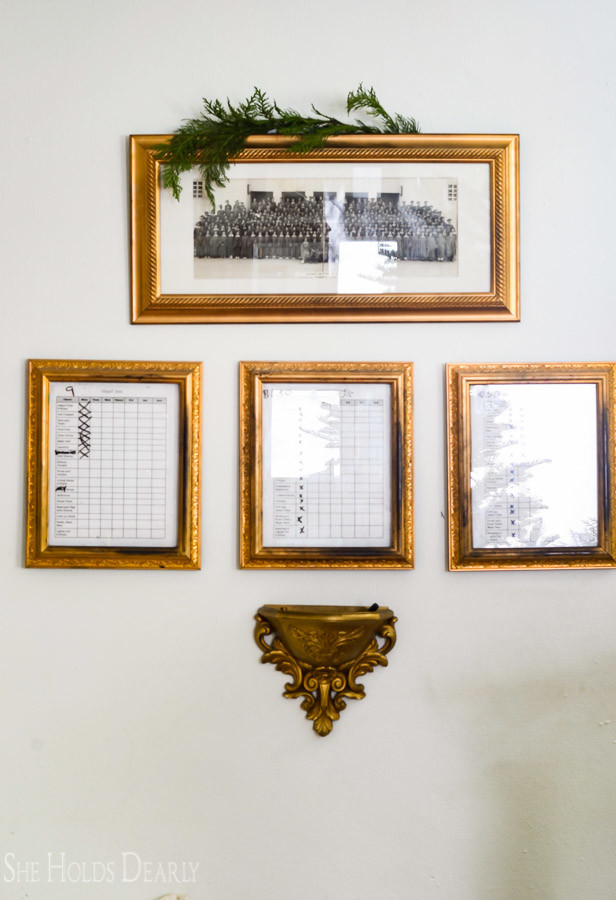
(I kept trying to get the glare off the glass here, until I noticed the silhouette of the Christmas tree and then I liked it.)
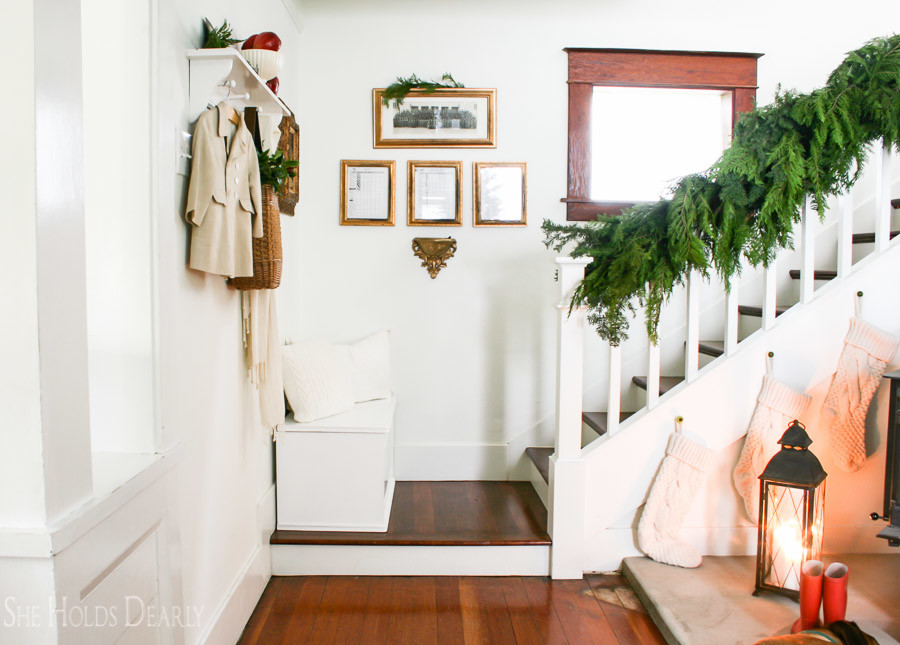
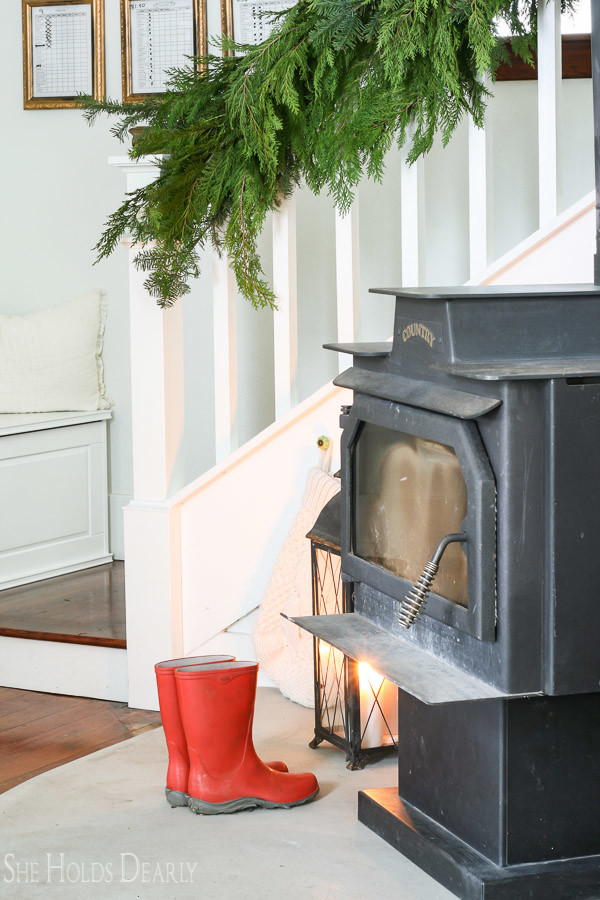
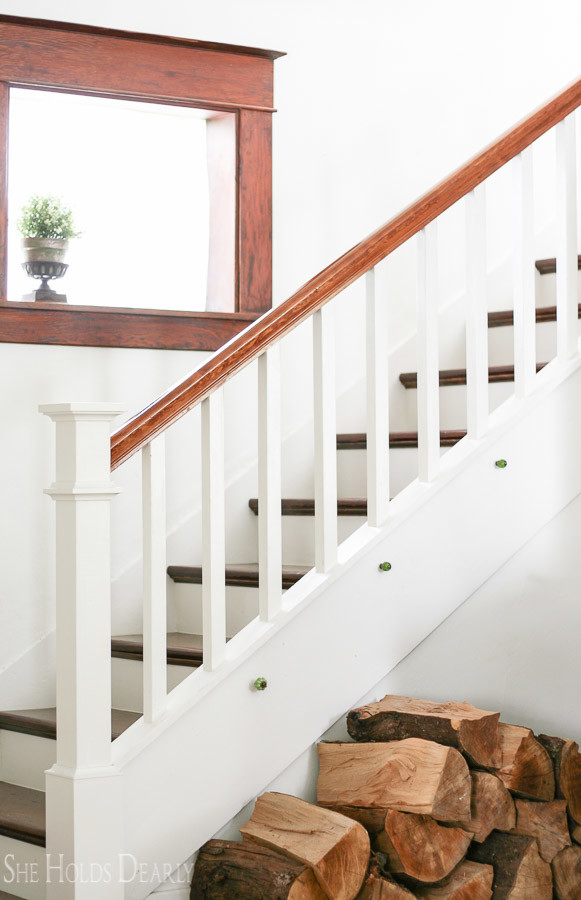
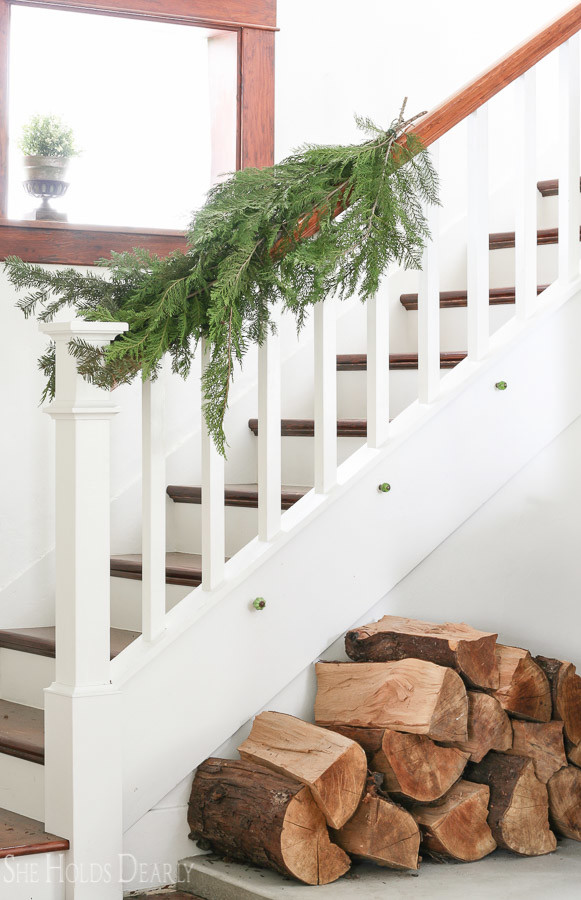
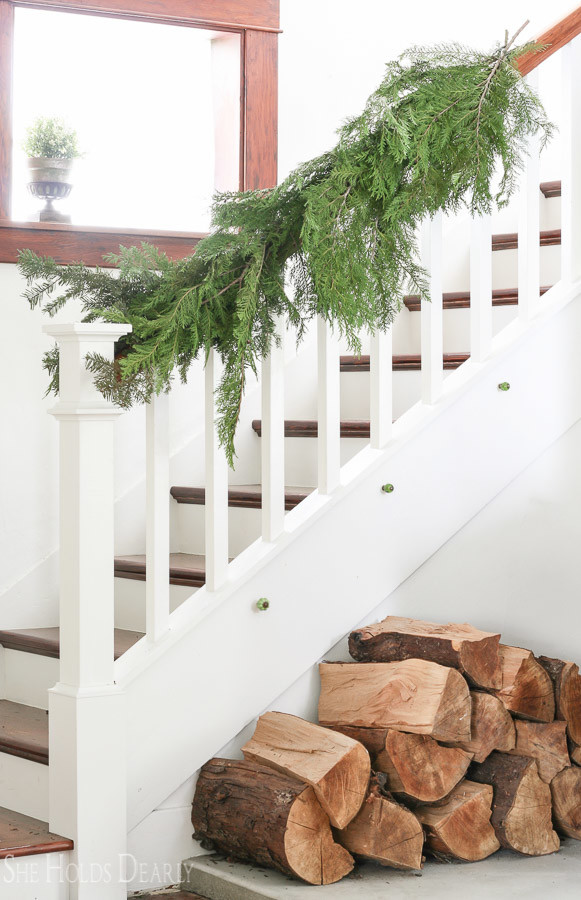
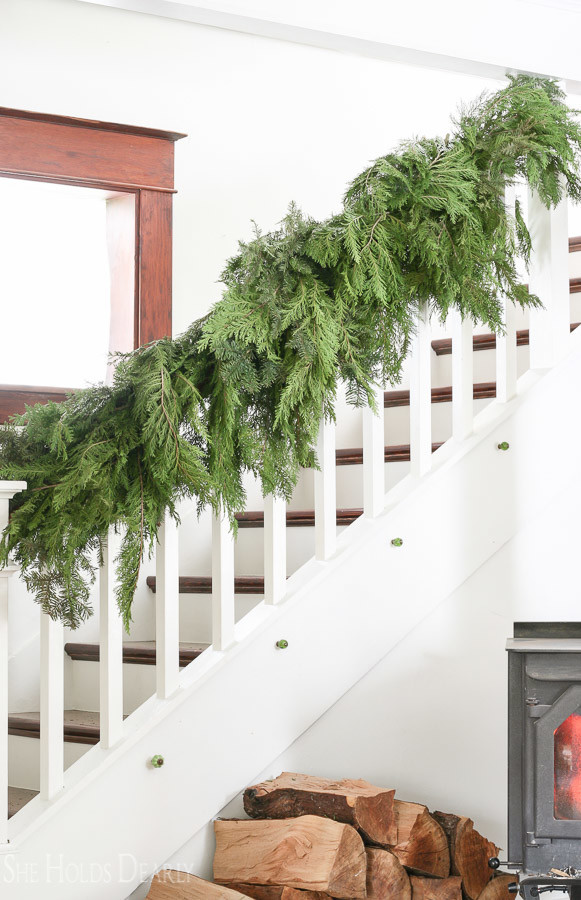
And, finally, the banister in all its glory.

Would someone tell my photobombing dog that laying half on the hearth and half off is really uncomfortable?
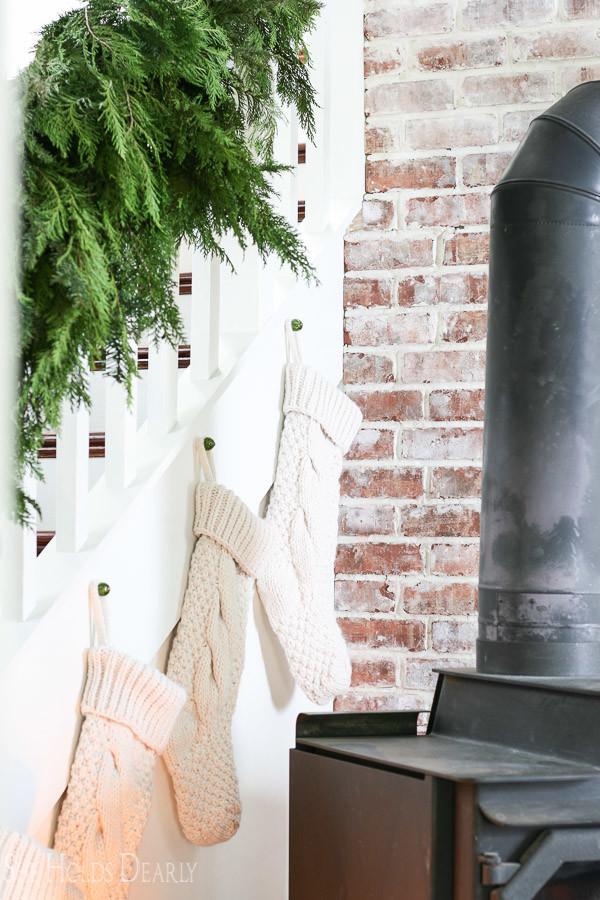
I searched high and low this year to find the perfect cable knit stockings and am happy to report that I have found them. They are lined with flannel and they feel like cashmere, which makes me wish I could use them for sleeping bags!
I found them at L.L. Bean. Sadly, the “natural” ones are currently sold out, the other three colors are super cute, though.
As for other decorating spots, we have also added evergreens to wreaths, decorative trays, chandeliers, and even the Christmas tree.
For more inspiration, feel free to visit my Christmas Pinterest board.
This post contains an affiliate link to products we know and love. Click here to see a full disclosure.
Ok, and now on to the . . .
Garland Tutorial
You will need. . .
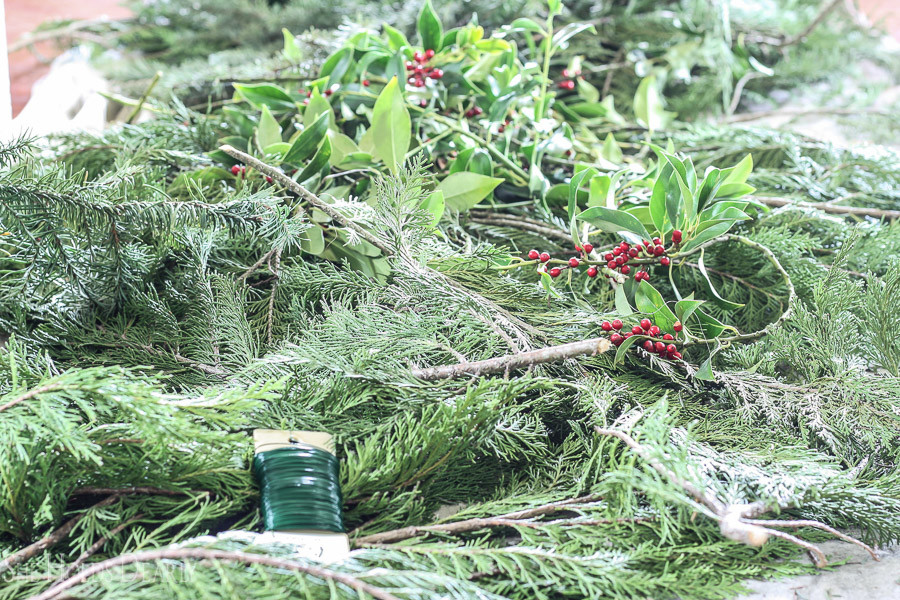
- Evergreen trimmings
- I used about 50 cedar trimmings for my banister, cedar is a little flat, though. You could use less if you had douglas fir or something similar.
- If you don’t have evergreens in your yard, ask at a tree farm for their trimmings.
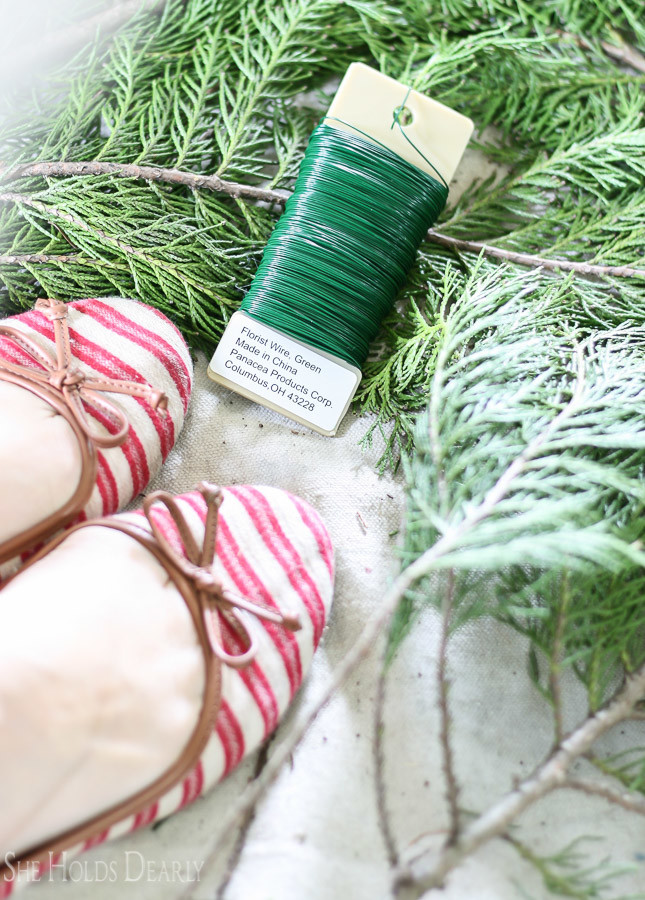
- Green wire or string
- Last year, I used green string and it was easier to take down and dispose of.
- Pruning sheers
- Wire cutters or scissors
Once you have assembled everything, you will . . .
- Make several little bundles of 3-4 branches.
- Attach both ends of the first bundle to the banister using the wire or string. Leave one branch free to cover the wire on the end with the tips.
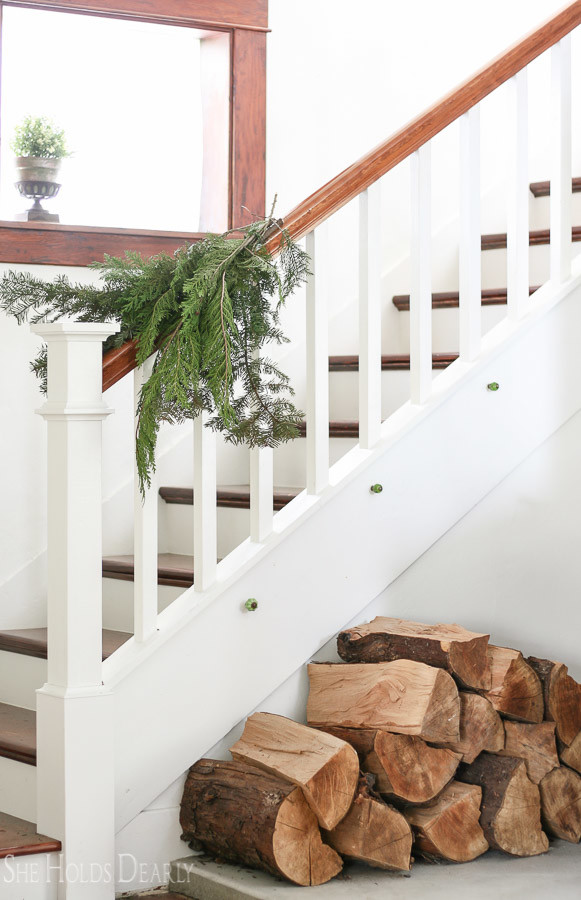
- Now, overlap the second bundle over the first bundle, covering the first bundle’s cut end.
- Repeat this step until you come to the other end of the railing.
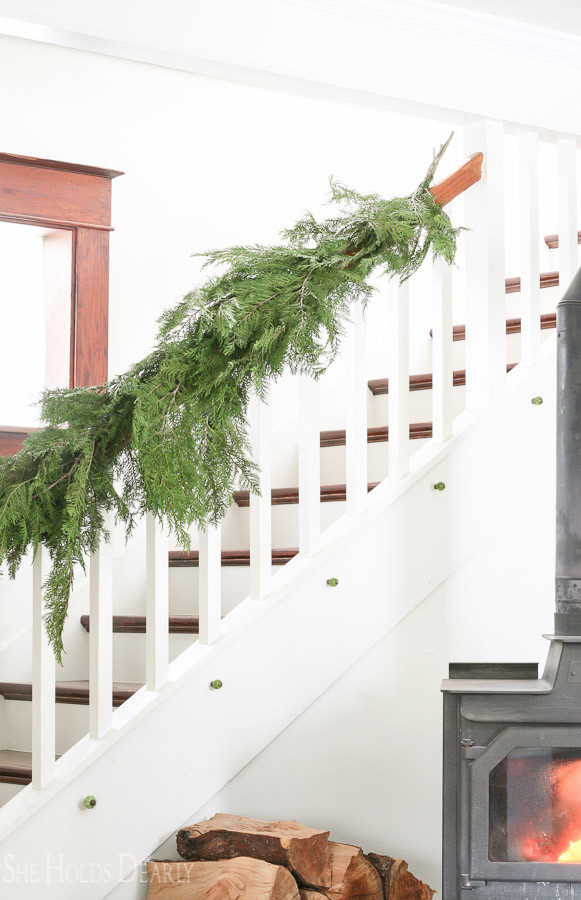
- For the last section of the banister, flip a bundle around so it points the opposite direction and secure in place. The two cut ends with need to be kind of intertwined so the ends are hidden.
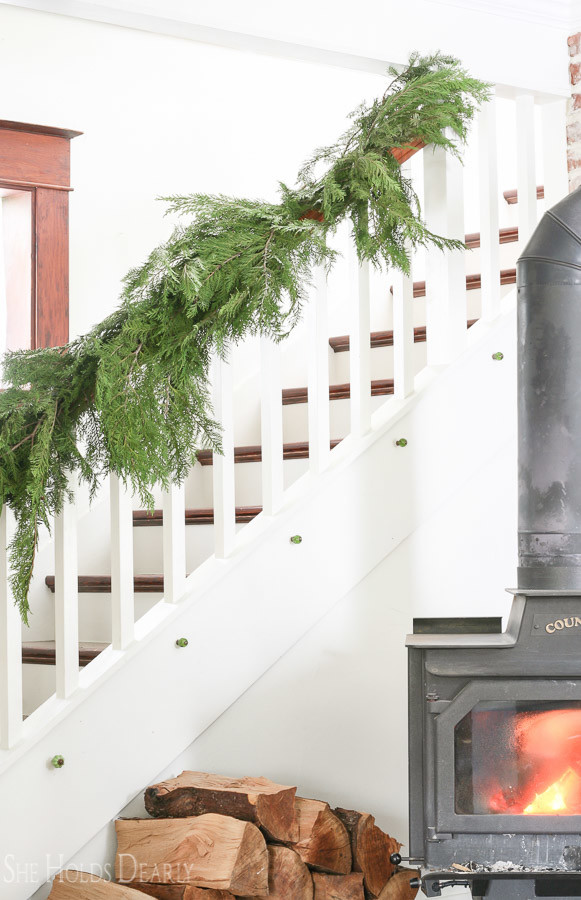
- Fill in any bare spots with smaller bundles of evergreens, hiding any cut ends.
- By now the garland is pretty strong, you can just start tucking in the little filler branches and they will stay in place. I like my garland to look full from all angles, so I build it out on both sides, as well as the top.

Related Christmas Home Tours:
Confessions of a Serial DIY’er
French Garden House * Shabby Fu Fu * Zevy Joy * Redhead Can Decorate * My Soulful Home
Starfish Cottage * Little Farmstead * So Much Better with Age * Cedar Hill Farmhouse
Garden Therapy * TeaselwoodDesign * Shabby Art Boutique
Love of Home * Duke Manor Farm * Setting for Four
White Lace Cottage * Cupcakes & Crinoline * Our Southern Home
Pin this Decorating with Evergreens Post For Later: