Styling Thrifted Decorations, Part 6, Spring Edition
We’re on the 6th post for our Styling Thrifted Decorations series! This month we’re talking about Spring!
For those who are new to the blog, what started out as a simple idea to share some of my thrifting tips and styling tricks has become a series that I’ve decided to continue monthly! The first post of each month focuses on thrifted decorations I’ve found, AND how I style and use them in my home!
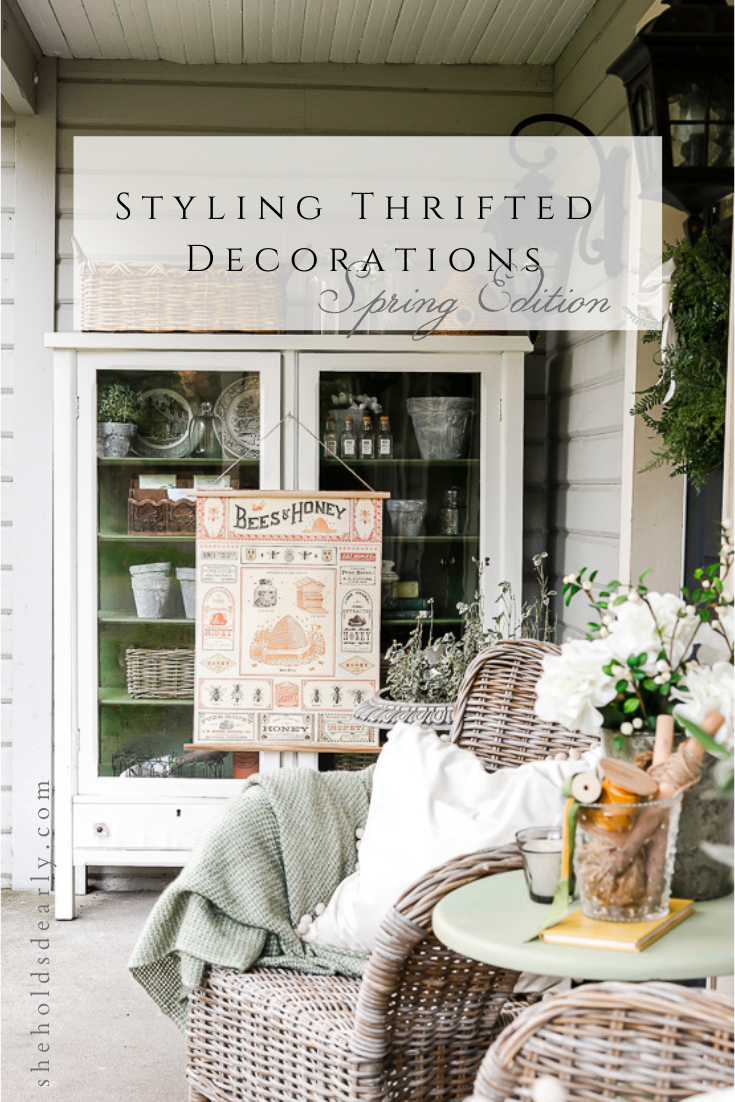
This month we’re focusing on specifically Spring decor, and how I used my new-to-me items to bring some spring beauty to my front porch.
I like sharing about Spring a little ahead of the curve to give you some inspiration and also the time you’ll need to search out similar items that will work best for your decor!
Only about 6 more weeks until Spring arrives! (At least at the time I’m writing this!)
If you’ve missed any of the posts in the Styling Thrifted Decorations Series, here’s a quick recap before we dig in to this month’s finds!
- Tips for Styling Thrifted Decor
- Styling Your Thrifted Finds, Part 2
- Styling Thrifted Decorations, Part 3
- Styling Thrifted Decorations, Part 4 (Christmas Edition)
- Styling Thrifted Decorations, Part 5
My Thrifting Process:
Each time I stop in at a thrift store or garage sale there are specific areas I always check, and specific items I’m always on the look out for. I share more about that in a few thrifting related blog posts that I’ll link at the end of this post.
And I have a free printable Thrifting Checklist you can use if you’d like something tangible to bring along with you as well!
The items I look for most all fall within these categories, so I like to use this as my list when I’m sharing what I’ve found each month!
- Fabric/Linens
- Small Furniture
- Vintage Books
- Seasonal & Holiday Decor
- Containers
- Art
- Antique or Architectural Pieces
Sometimes I find lots of items within one category, sometimes I find nothing in another, it all just depends on the individual trip(s) in the given time frame! (And isn’t that part of the adventure of it all?)
*This post contains affiliate links to products I know &/or love.
Thrifted Spring Decorations:
Fabric/Linens
I didn’t find any fabrics or linens this month.
Small Furniture
Didn’t find any small furniture items. (But I did repurpose something from my own house…more about that later!)
Vintage Books
None this time!
Seasonal & Holiday Decor
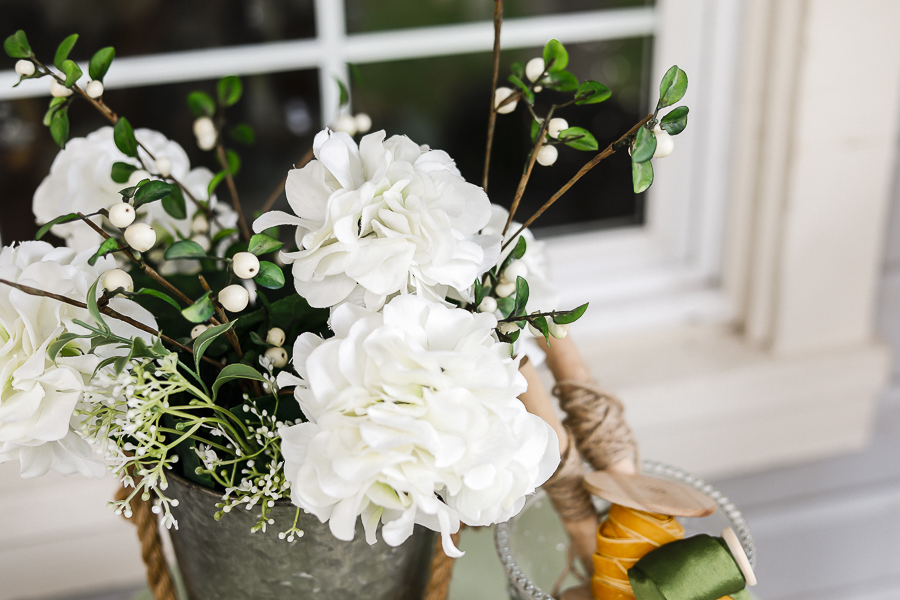
I love checking through the seasonal and holiday decor, and this time found both faux hydrangeas ($3.99) and cute white faux “winter berries” ($0.99).
I love white florals and accents because they’re wonderful supplements to slip in with other colors for a variety of occasions, but can also stand alone!
Also, a quick note about pricing! The winter berry stems I found had no price tag on them, so when I went to checkout, I simply told them that the tag was missing, and asked, “Would you take $0.99?”. Most of the time when I do this, they’re glad to oblige!
Containers
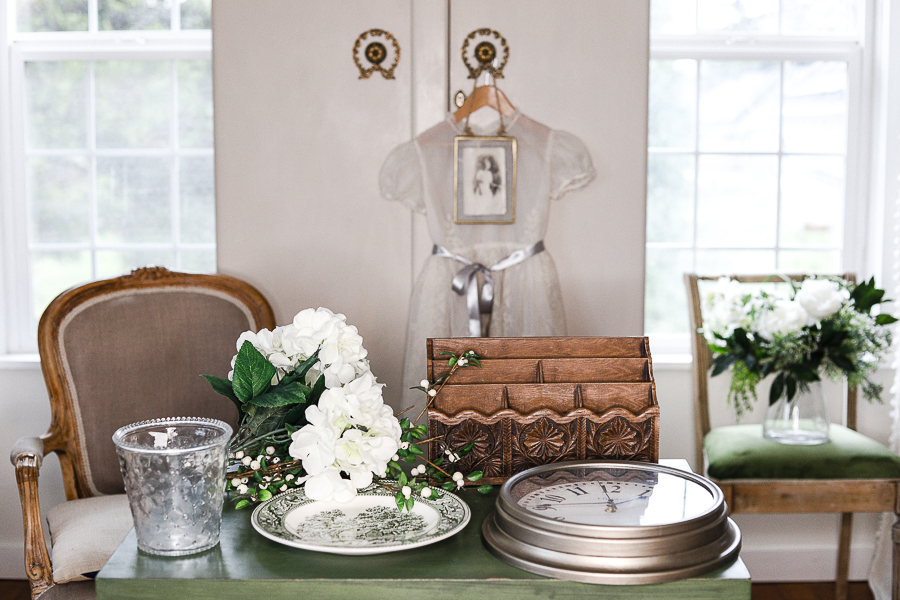
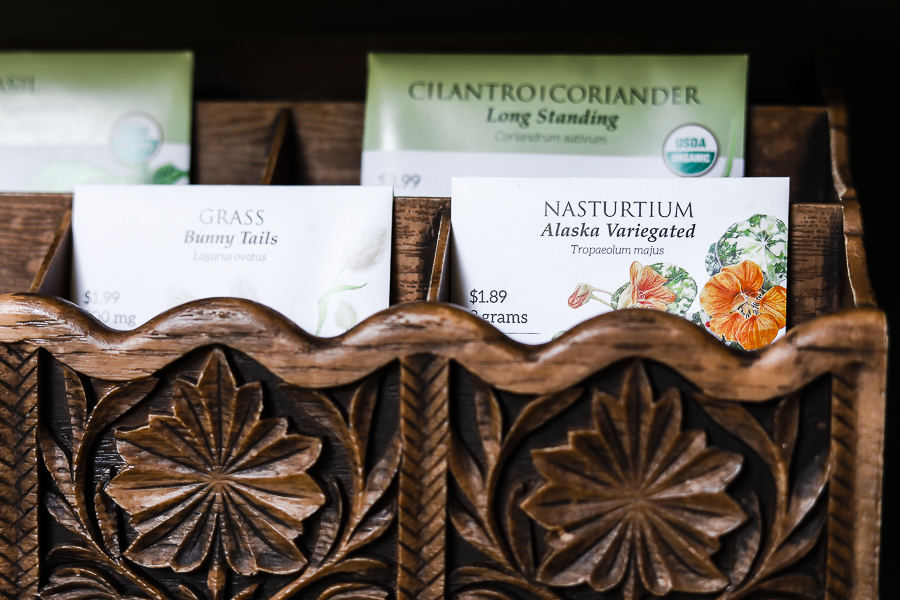
I found this really neat faux wood desk organizer (it’s really made out of plastic) for $6.
It gives off a bit of a 1970’s feel, but I love the structure of it, and know that if I decided to, I could always give it a coat of paint to make it blend in a little more if needed!
Something to always keep in the back of your mind is that color should pretty much never be a deal breaker! Colors are really easy to change on most items!
Do take a close look at the structure, shape and condition of the item(s) in question to make sure that they’re your style and that they’re good quality/don’t need repairs above and beyond your capabilities.
But do your best to overlook the color – because we have tricks for that!
Then I found a green transferware plate (see above on the right) for $2.99 with a cute farmhouse in the middle and acorns around the edge. I’ve been drawn to transferware for quite a while, and especially love that it has such a whimsical, old world feel to it.
Pieces like this make it feel even more obvious that the popular farmhouse style over the past few years can pretty seamlessly take a turn in a more “cottage core” direction – and I’m fully onboard, in love with the idea!
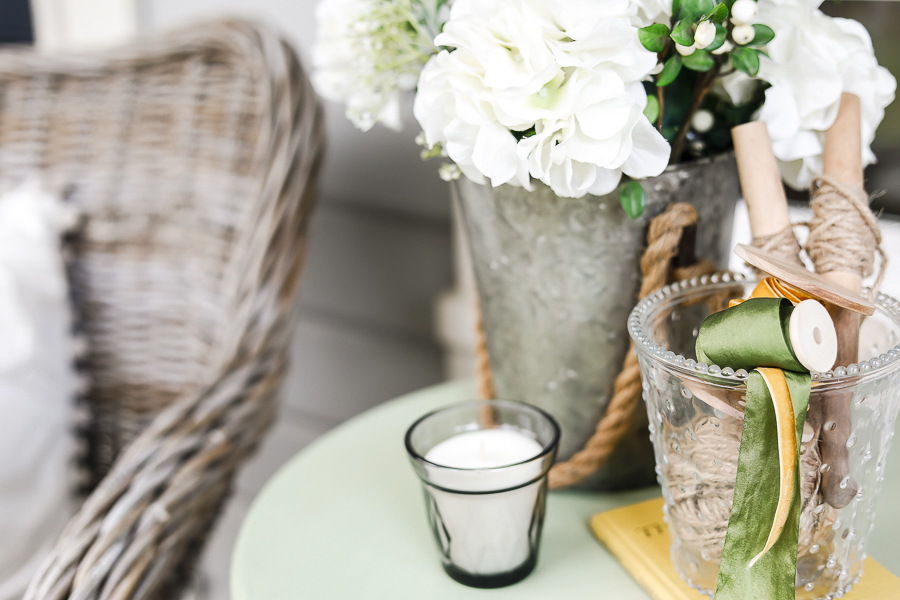
I aso found this unique glass container for $2.99!
I love that it’s almost shaped like a flower pot, but also gives off some “cloche” vibes, and that it has the beadwork like vintage milk glass.
I knew I liked it and wanted to incorporate it, but had to spend a little while wrestling with how I wanted to style it. I knew I didn’t want to do a real plant with dirt showing through the pretty class, and while something like candy could be cute, it just didn’t give off the spring greenhouse feel I was going for on the porch. (Keep reading for more details about these pieces I did end up choosing!)
Art
This isn’t necessarily “artistic”, but it’s wall decor, so this seems like the best category for it! I found a simple medium size clock, also for $0.99! It’s a simple plastic frame, but I love that it reminds me of a garden barometer.
And I know that if I should ever want to, I can easily update the frame with spray paint or rub n buff to get a different look.
Antique or Architectural Pieces
Sadly, the one piece I found that would had fit well in this category met an un-timely demise thanks to my dog holding it not so dearly in her teeth.
I had found this really neat paper mache bunny that was about 18″ tall for only $0.99 and I was really excited to include it on my spring porch! It was cute, dare I even say elegant, and had really quiet beautiful lines. It would have been perfect nestled in with my spring decor.
So perfect, in fact, that I had set it out on the porch, excited to get it ready to add a faux concrete finish (like I did on this table)… but when I came out the following morning, it was ripped all to shreds laying scattered across the porch.
Poor poor bunny.
I love our sweet dog, but sometimes she really knows how to turn a project sideways.
Styling my Thrifted Decorations for my Spring Porch:
Now that I’ve showed you all the fun things I got, I get to move on to the even more exciting part – sharing how they all get styled together into a beautiful story on the porch!
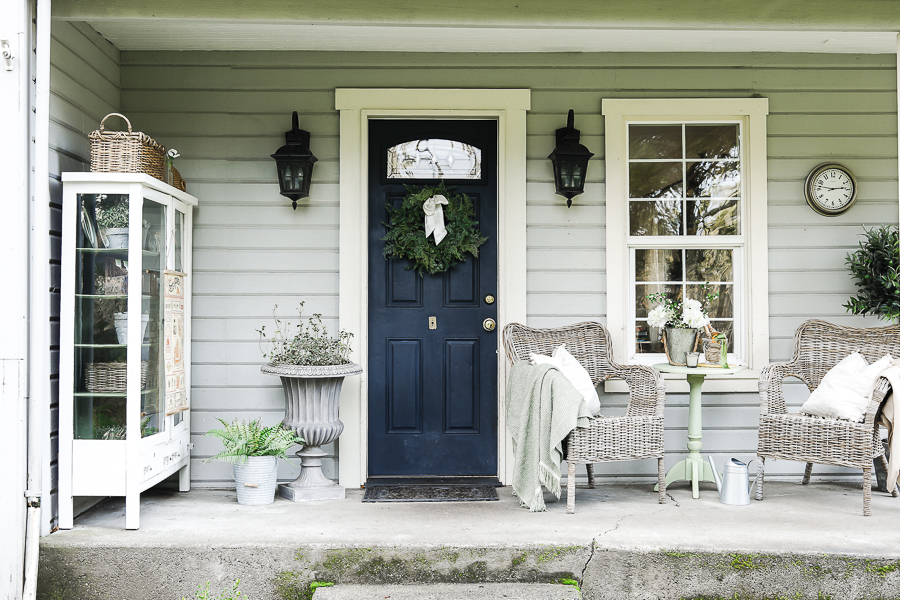
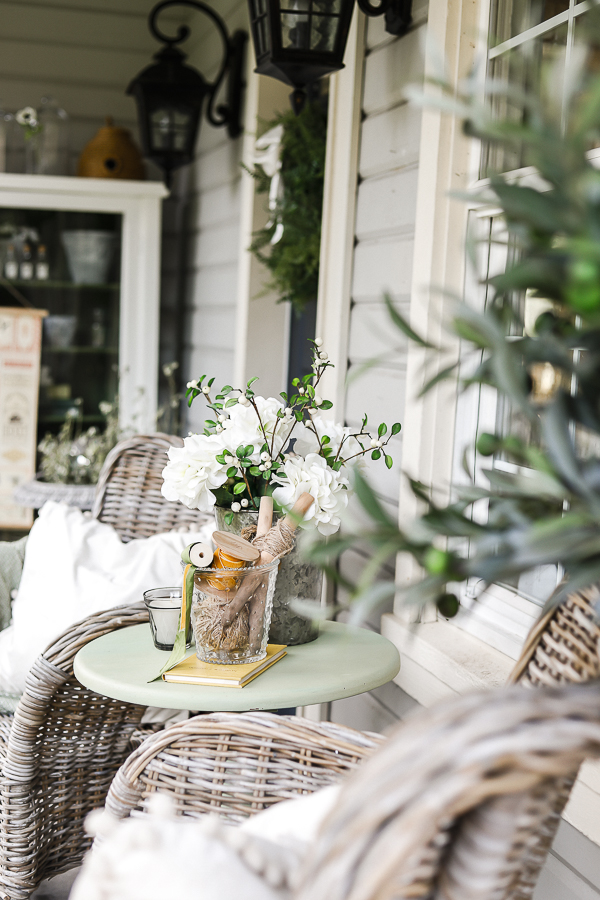
First things first I swapped out our church pew for the two wicker chairs that had previously been over on our kitchen porch.
In between them I set a small table that I had thrifted a few months back (in part two of this series) that was previously red! It looked great on our kitchen porch as part of our Christmas decorations, but I knew it would get more bang for its buck around here being a color other than red.
I went ahead and painted it a really cute shade of green milk paint called “Luckett’s Green” by Miss Mustard Seed. I just love how it turned out!
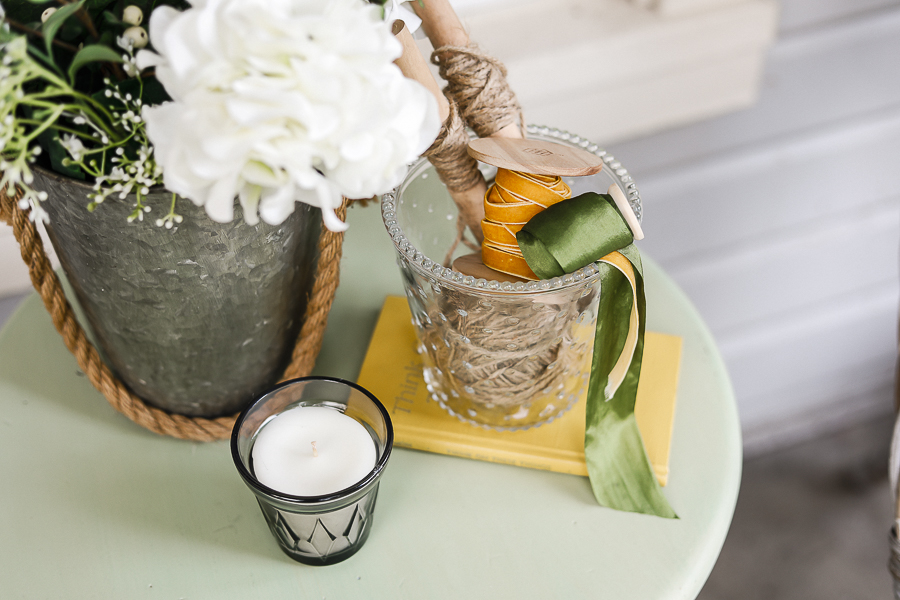
On the table I arranged my faux hydrangeas and white berries into a galvanized bucket after carefully taping the hydrangea buds a little more closely together with floral tape to create more dense blossoms that were a bit smaller. I wanted them to look more like the actual hydrangeas I could grow in my yard.
Next to that I put my new cute glass pot on top of a yellow book, and filled it up with some garden twine, mustard yellow velvet ribbon, and green satin ribbon.
I’m leaning more and more toward cottage core designs and styles, and loving the introduction of pops of color as I go!
The little candle next to the dish is from IKEA, the VALDOFT set!
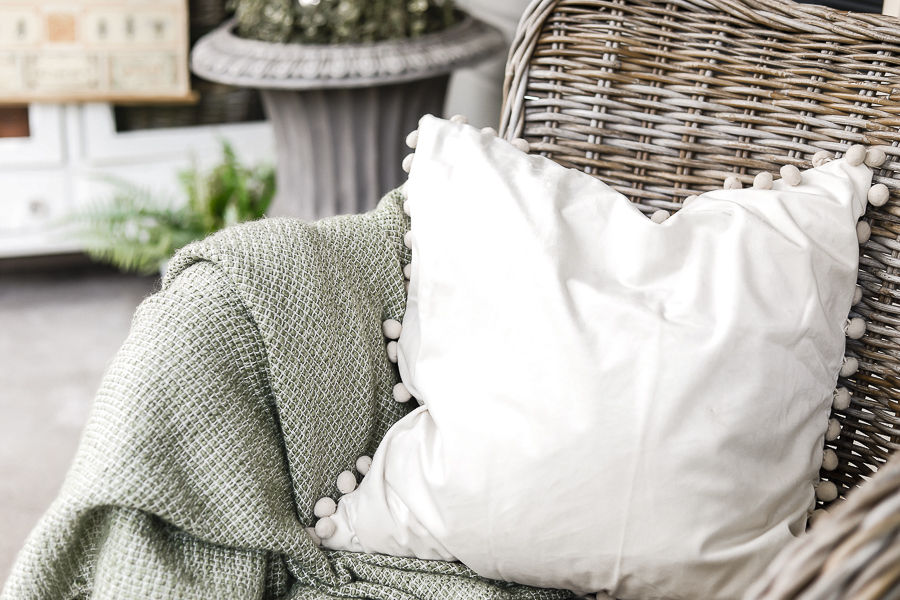
I finished the chairs off with some cute cream pom pom pillows and a cozy green throw blanket.
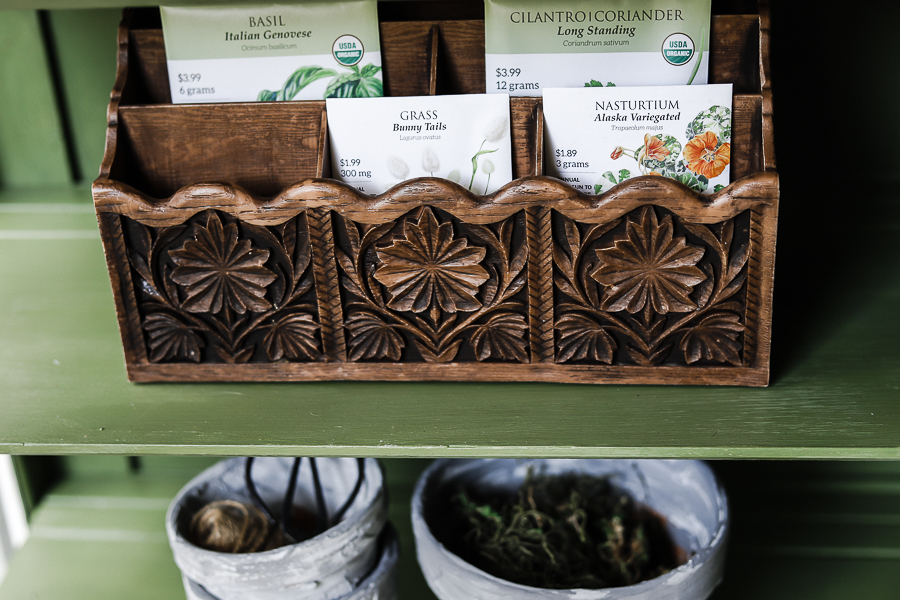
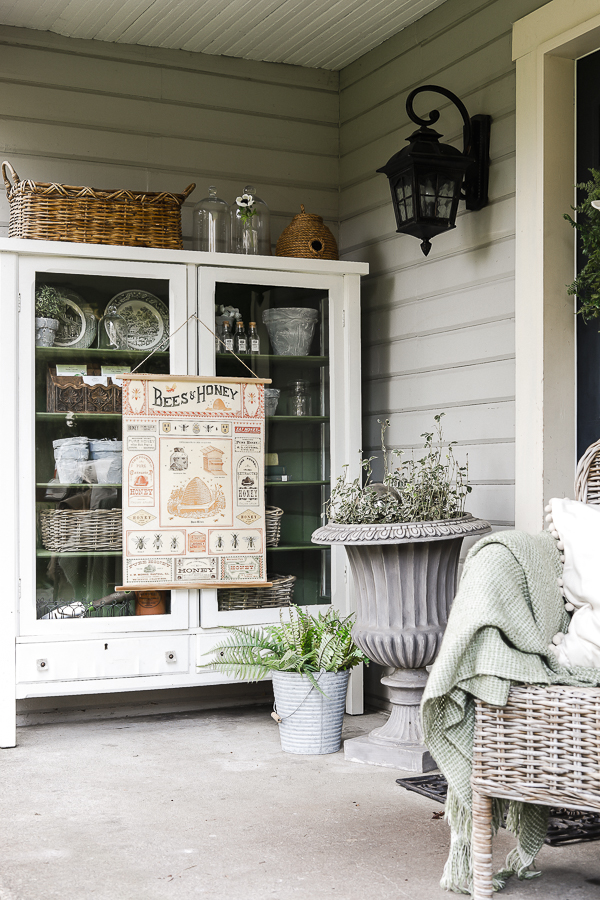
Across the porch I added some Spring sweetness into my favorite (highly contested) garden cabinet.
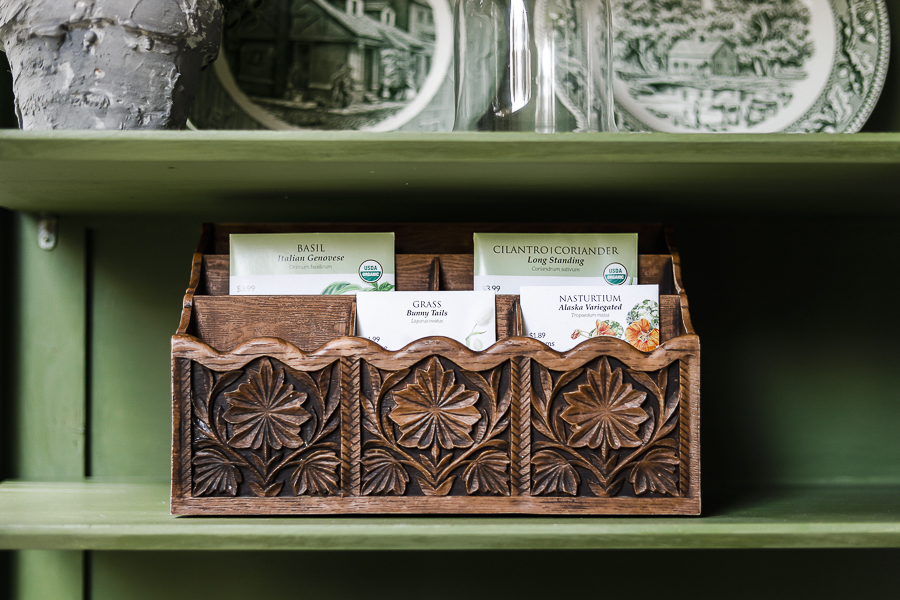
I used the office organizer to store some really pretty seed packets.
And can I just take a minute to say how much I love when companies put such thought and effort into their packaging? I mean, gardeners all want and need to buy seeds at one point or another, but having them come in a beautiful seed pack just makes it that much more fun.
If you have any boring seed packs of your own, or if you collect your own seeds and find yourself running out of places to put them, I have a free printable seed pack that you can receive by email (below) to elevate your own gardening this coming season!
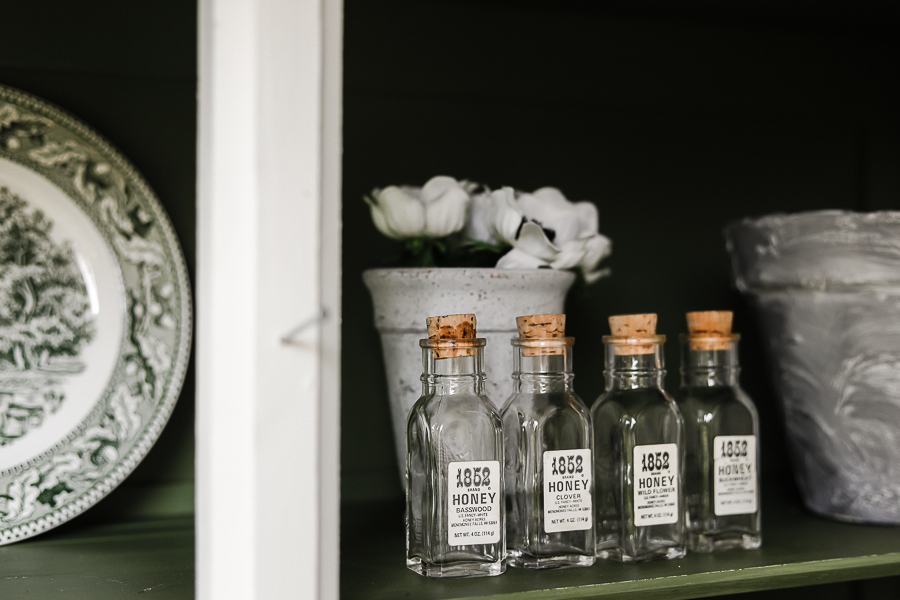
I also set my new green transferware plate along with another I had found previously together on the top shelf inside the cabinet, and added some vintage class honey jars as well.
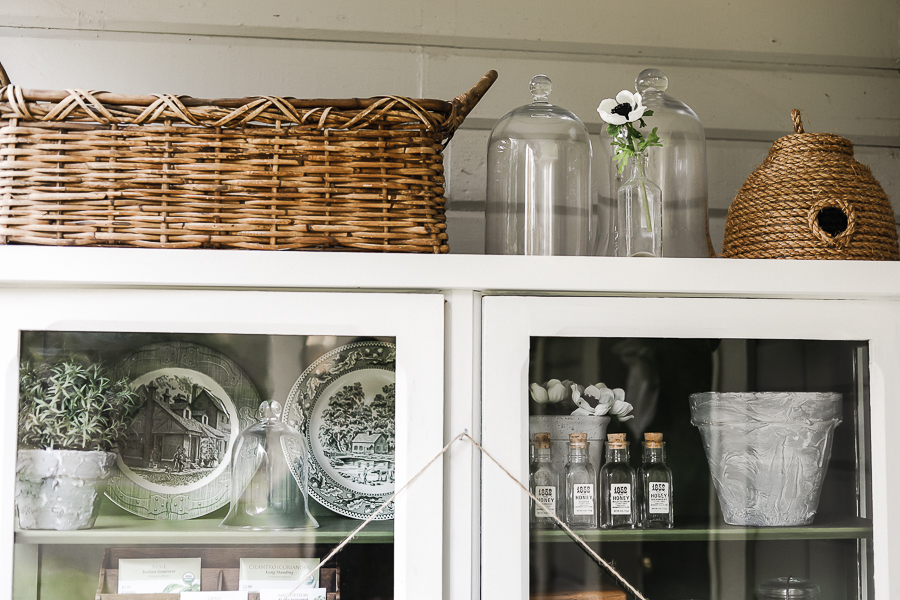
On top of the cabinet I added some cloches I’ve found over the years, and my DIY Bee Skep!
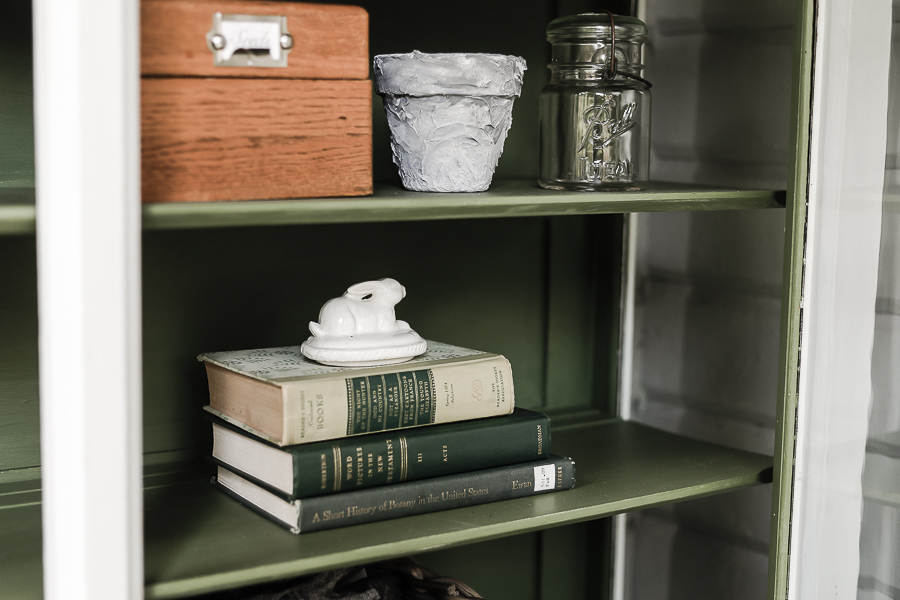
Inside the cabinet you can also see the faux concrete pots I made last year.
They’ve been fun to incorporate across the seasons!
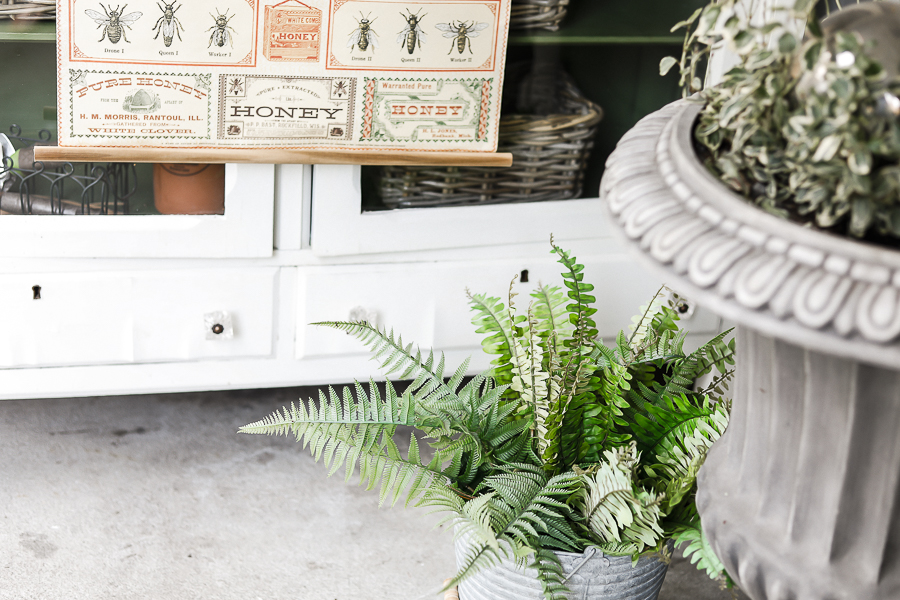
On the front of the cabinet I hung my Cavallini bee print that I turned into a DIY vintage wall hanging!
It was a little too low when I hung it on the door knobs, so I used a command hook to place it a little higher! Command hooks are a dear friend of the interior designer, let me tell you!
Shop This Look:
[show_shopthepost_widget id=”4365731″]
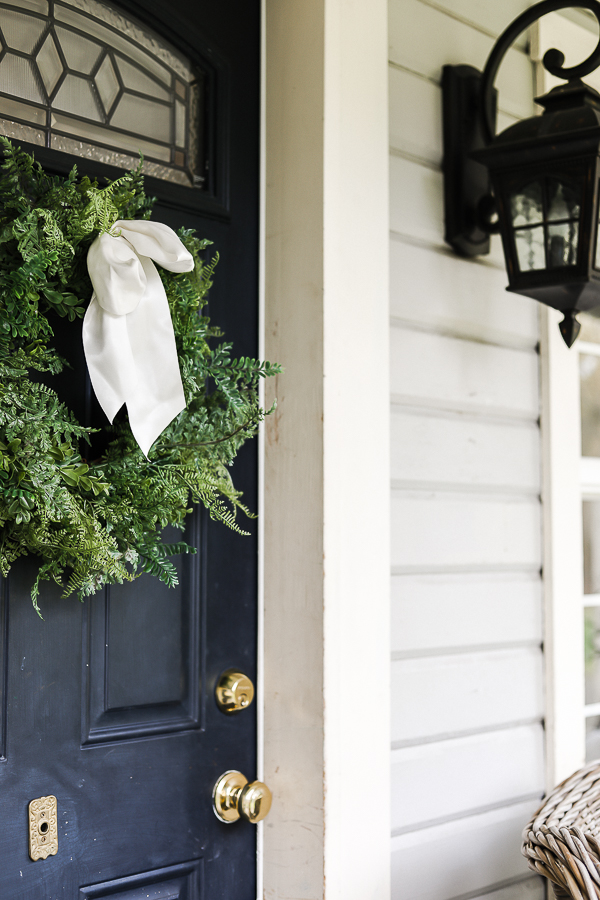
I added some other faux greenery like my 5 minute fern wreath which I put on the front door. And spiced it up with a little cream bow which I had just recently taken off a Christmas wreath!
Then I got to sit back and enjoy that our porch is styled and ready for spring, and mostly in part due to thrifted decorations!
Related Thrifting Posts:
In addition to the other posts in this same series, here are some other thrifting posts I’ve done over the years!
- How to Clothes Shop at Thrift Stores
- 4 Tips for Finding Decor at Thrift Stores
- Antique Mall Sales & Shopping Tips
- 10 Tips for Negotiating at Yard Sales
- How to Yard Sale with Children
- What to Pack when Shopping Yard Sales
- 5 Secrets to Shopping Yard Sales
Pin This For Later:
Until next time,