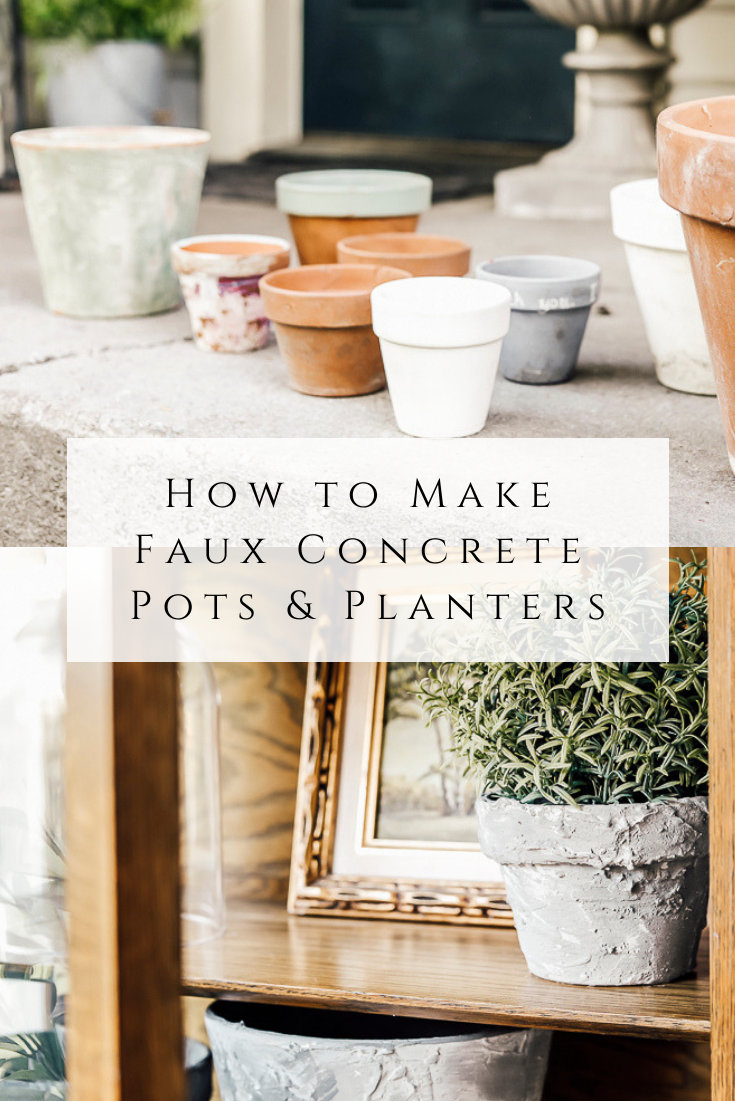
How to Make Faux Concrete Pots & Planters
One of my favorite things about DIY projects is creating something beautiful out of materials you already have at home, or can find much more cheaply than buying new! These faux concrete pots are no exception!
As part of our current garden work, I was cleaning out some areas holding garden supplies and found I had an abundance of mismatched terra cotta pots in various sizes.
Some were from years ago – like the peter rabbit party favors for my now 17 yr old daughter’s 1st birthday!
Some were from more recent projects, like when I aged these pretty green terra cotta pots a few years ago.
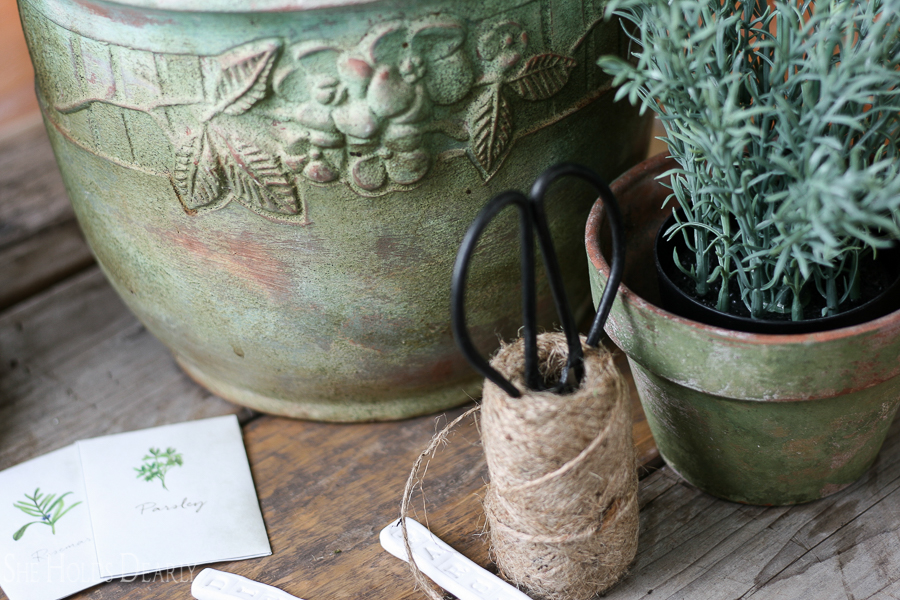
Luckily all of them were in good shape, they had just outlived their style and didn’t quite match what I wanted for right now!
Another thing I love about DIY is that in a lot of cases, you can use your DIY skills to transform and update older DIM (did it myself) projects.
That’s just what I did with these!
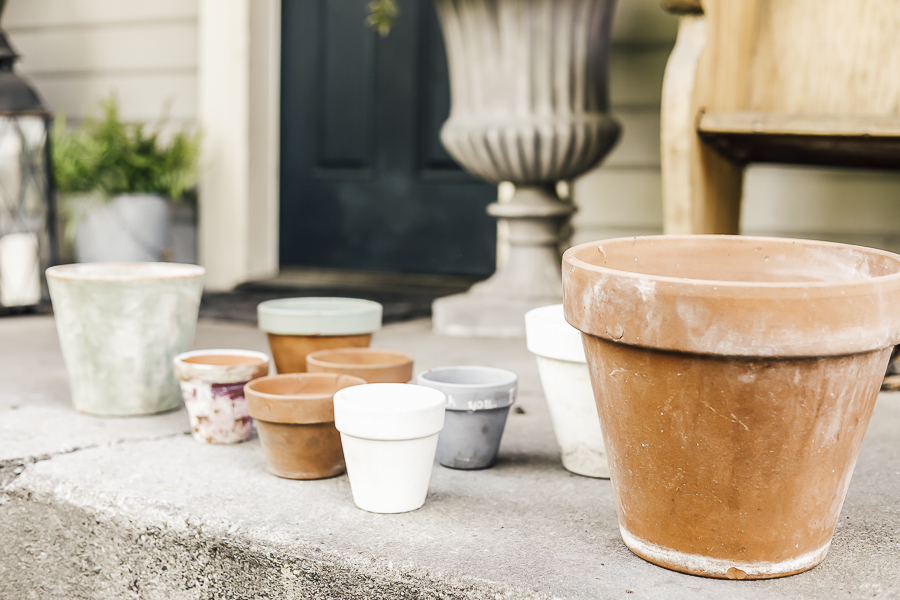
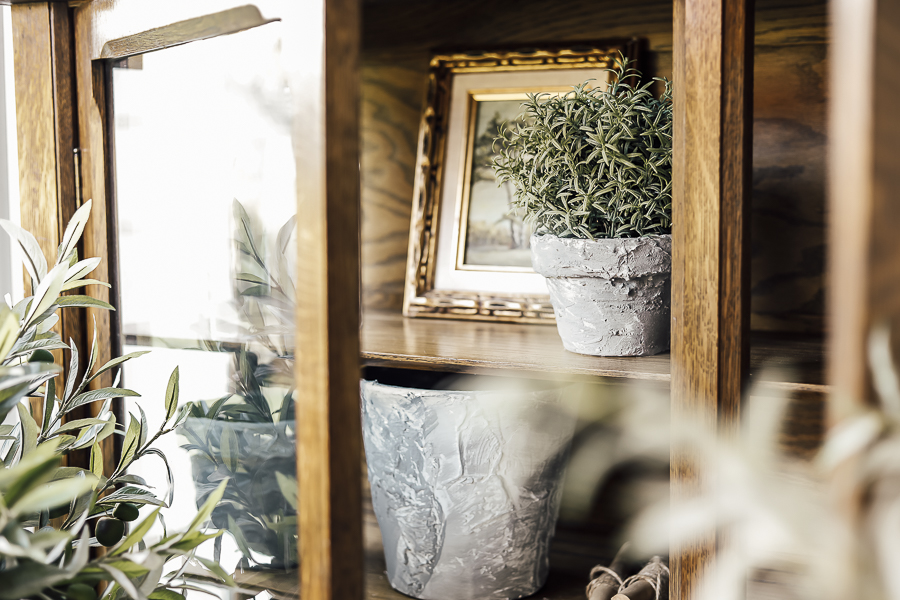
I love that this collection is so varied in size. Even once they all have a similar concrete texture, they’ll still stand out and have style of their own!
*This post contains affiliate links to products I know &/or love.
Supplies Needed to create Faux Concrete Pots:
- Terra Cotta Pots – Either new from your local garden supply store, thrifted, or ones you’ve already got at home!
- Firm Brush/whisk broom – to knock off any cobwebs if you’re pulling these out of your garage like I did!
- Drop Cloth – I love using shower curtain liners or plastic table cloths form the dollar tree for messy projects like these!
- Plaster of Paris
- Putty Knife/Paint Scraper – Helpful when applying the plaster.
- Mixing Container – to mix the plaster powder & water.
- Gloves – the plaster will irritate your skin if left in contact. Best to use gloves if you’re going to apply with your hands!
- Paint – I used two colors I already had on hand: “Dove Tail” by Folk Art Paint, and “Southern Gentleman” by A Maker’s studio/Rescue Restore.
- Paint Brush
The Process:
Step One | Give your pots a quick cleaning if they’re thrifted or used.
Mine were really dusty and a few sweeps with my whisk broom helped knock off all the excessive cobwebs and gross bits.
It’s okay if they’re not perfect – don’t think you need to wash them or get every bit of dirt off.
A little bit of dirt will just add to the aged look and concrete texture!
Step Two | Protect your work space
Once you start texturing and painting, you’ll need a safe place to set all your pots for them to dry during the process!
I simply used a shower liner curtain from the dollar tree in the grass outside of our house.
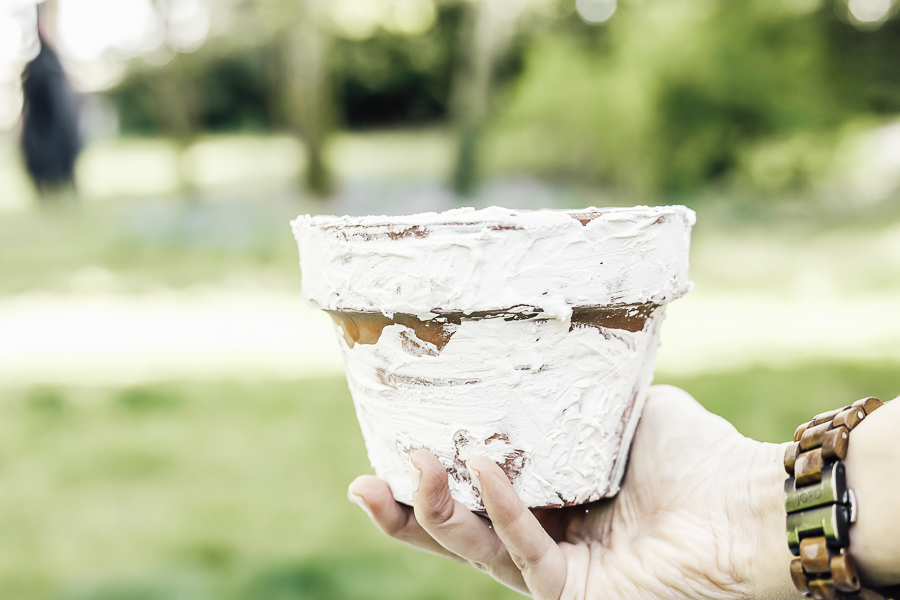
Step Three| Add your texture
Mix your plaster of paris powder with cold water to make the consistency of pancake batter.
Use your paint scraper/ putty knife, or gloved hands to spread the plaster over the pot. You don’t want an even layer, because this is what will help create the unique concrete texture.
Concrete has rougher edges where it dries against “forms” used for getting the concrete to set where they want it – so you can keep those imperfections in mind while you spread!
This is a great project to have children help with under supervision and with gloves on. The lye in the plaster of paris can start to irritate your bare skin, so be careful!
Once you have the plaster on the pots, you should let them dry for about 1 hour.
Step Four | Add your first coat of paint.
I used some grey chalk paint called “Dove Tail” by Folk Art Paint that I had on hand for my first coat.
I had only a small sample size container, and at first was worried I might not have enough to coat all of my pots.
I ended up watering it down to make it a milky consistency for ease of use, and that also helped it spread more than far enough for all of my pots!
Wait for this paint coat to dry.
I’d again suggest waiting about 1 hour, but if you’re short on time, it’s alright to do your next step a little sooner – since these pots are all about texture and character anyway!

Step Five | Apply second coat of paint.
I used a second grey chalk paint I also had on hand, this one called “Southern Gentleman” by A Maker’s studio/Rescue Restore.
Is anyone else realizing that this is a great “use up what you’ve got” season, or is it just me?
For this second coat, use a “dry brush” technique.
If you’re unfamiliar with what that means, it’s kind of the opposite of regular painting where you’d saturate your brush with paint and do nice short strokes with a thicker layer of paint.
When you’re dry brushing, you want your brush to stay pretty dry (hence the name) and not loaded through with paint. You make each stroke of the brush and paint work for you, not the other way around.
The goal is to spread the paint further than you usually would, creating a thin top coat layer with lots of variation and texture!
Because of how the plaster is coated on, you’ll end up hitting most of the high spots of the texture, and missing the smoother parts of the pot. That’s okay!
Since we’re looking to create faux concrete pots, and the texture on true concrete is anything but the uniformity you find in both the texture and color of regular terra cotta!
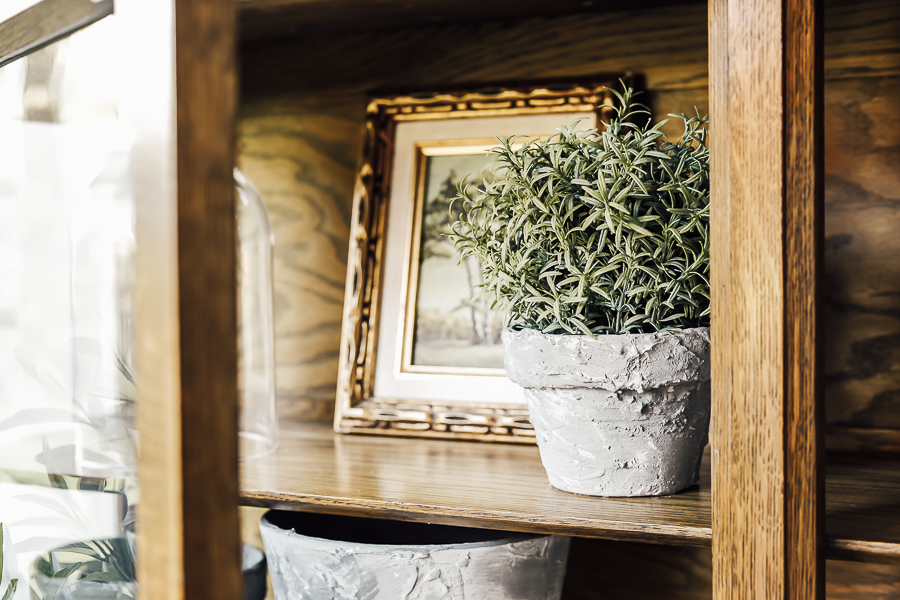
Once your second coat of paint is dry, you’re done!
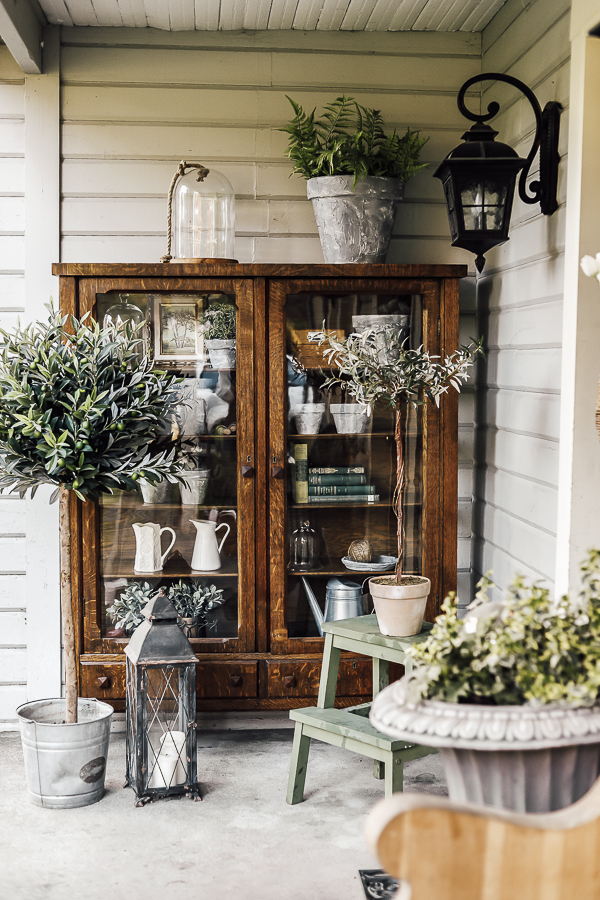
Now it’s time to style away!
You can use these for real plants outside, or artificial plants indoors, there’s no right or wrong way to go about it!
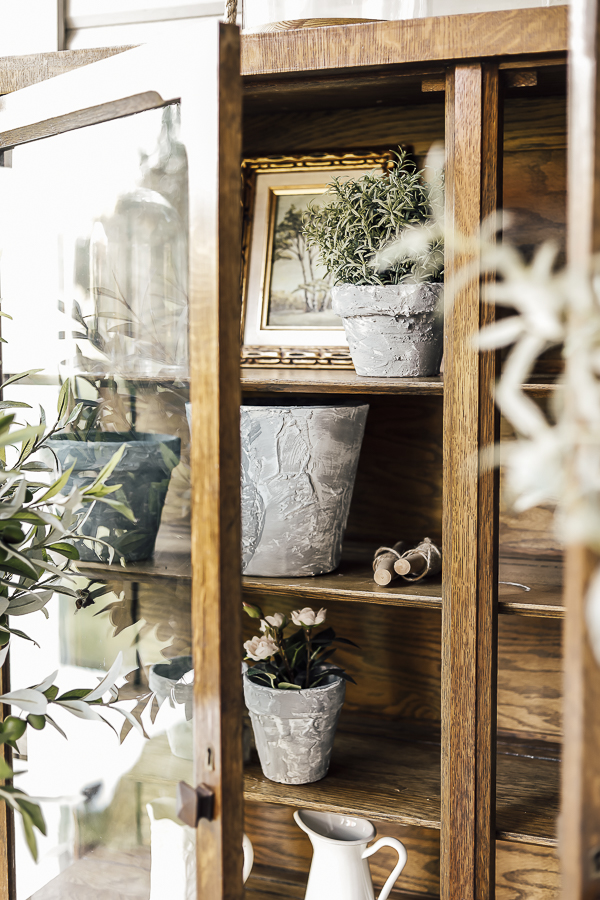
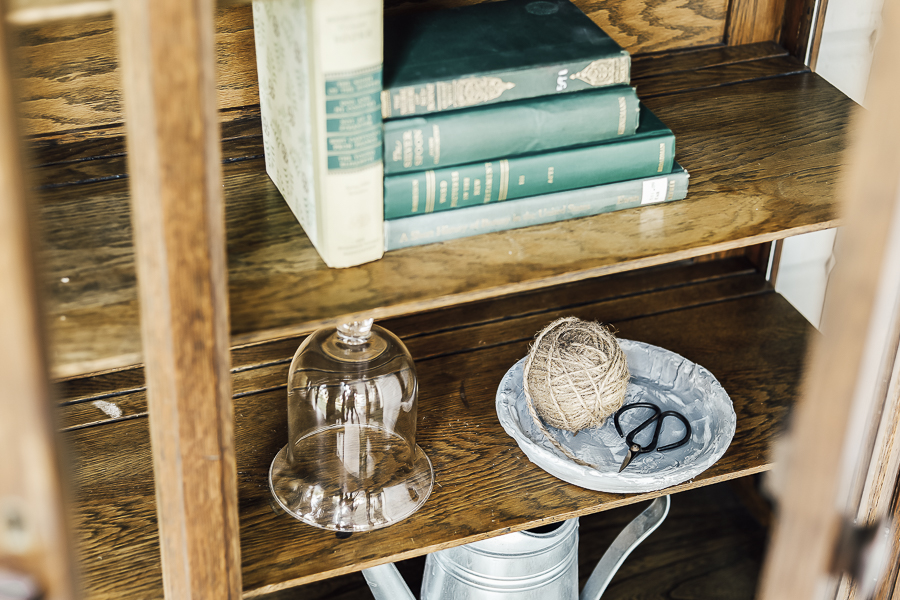
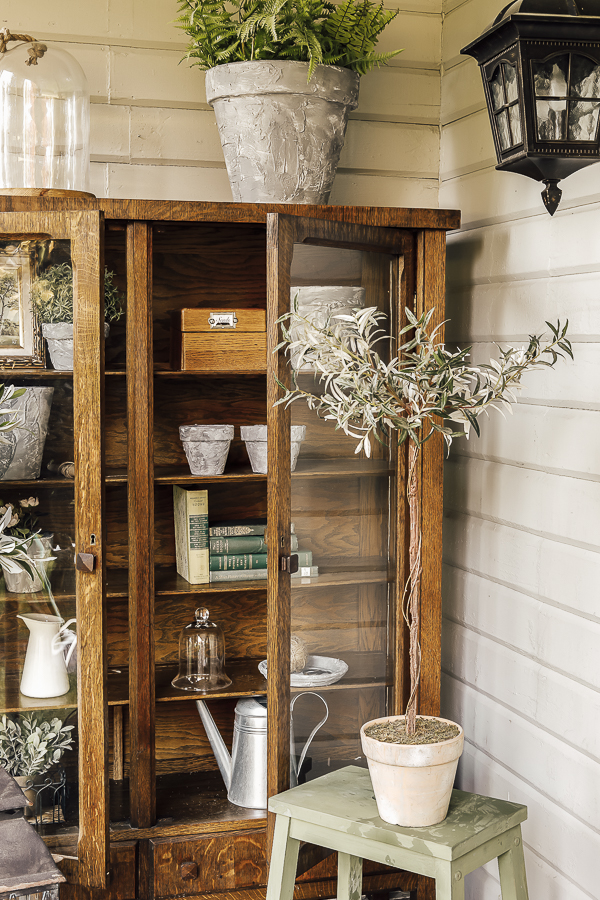
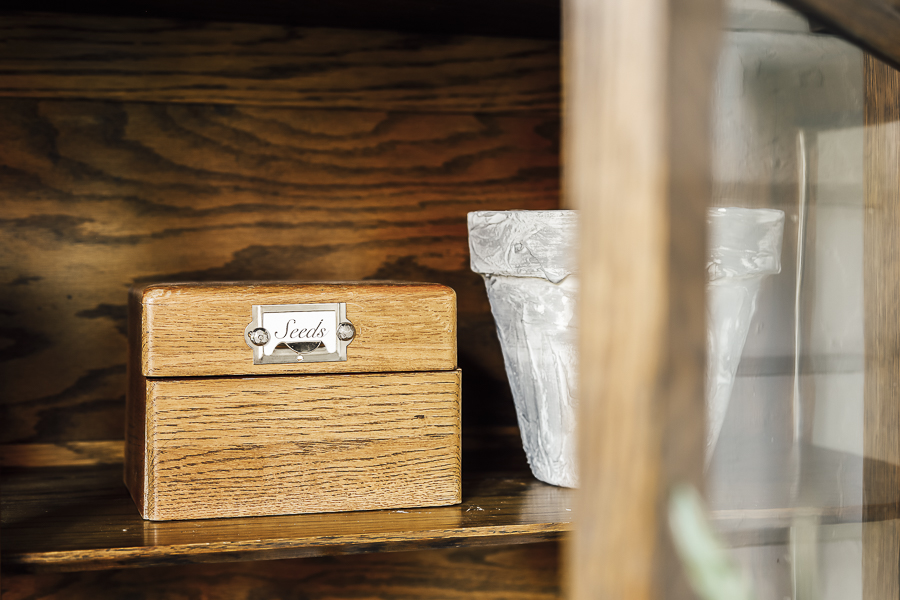
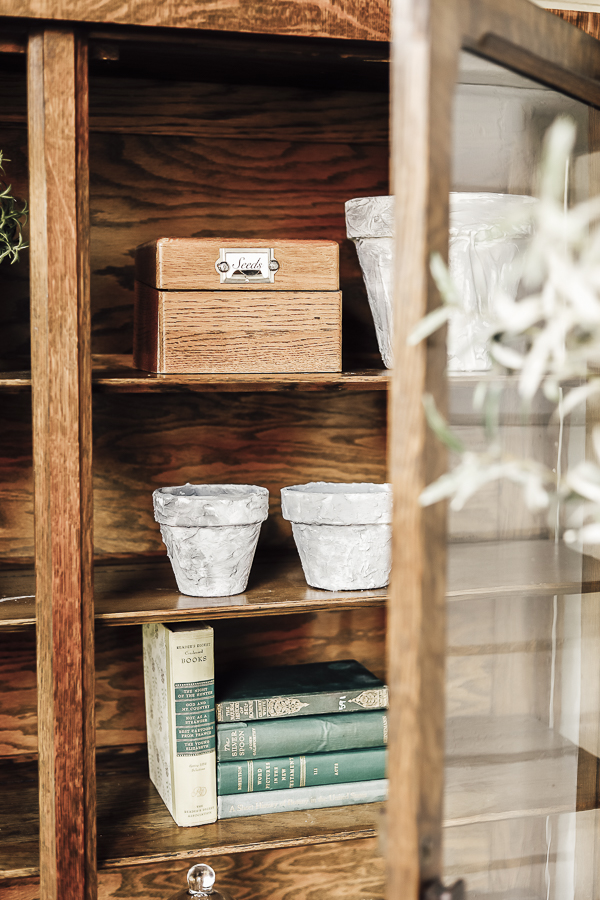
Also, did you happen to notice this beautiful new china cabinet on the porch?
It’s my newest inherited piece, and while I’m not sure what big plans I have for it in the future, for now it’s holding some of my favorite garden items and my new faux concrete pots!
Loving this for spring!
Some Fun Features!
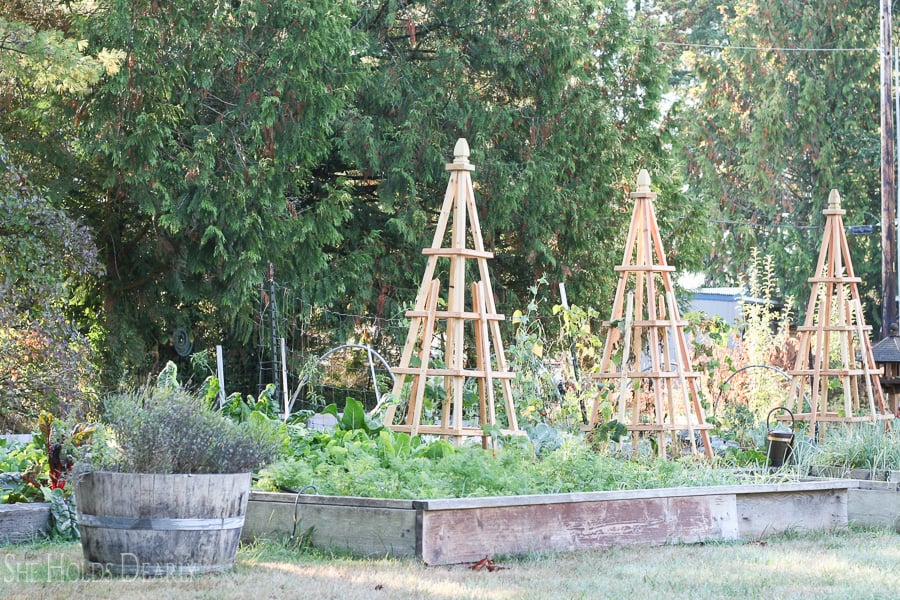
Do you remember seeing my post about DIY French Tuteurs?
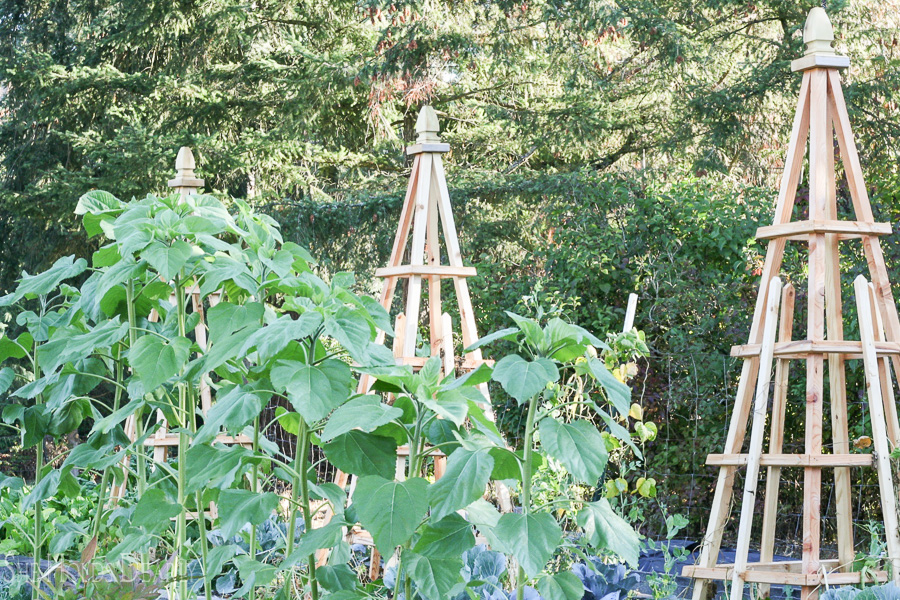
Well I wanted to share a couple of lovely ladies over on instagram who made versions of their own!
I can’t tell you how fun it is to see these out in your gardens at your homes!
If you haven’t made these for your own garden yet, here are the Free DIY French Tuteur plans:
I’d love to see yours once you’re done! Tag me on instagram, @sheholdsdearly!
Pin this for Later
Until next time!


