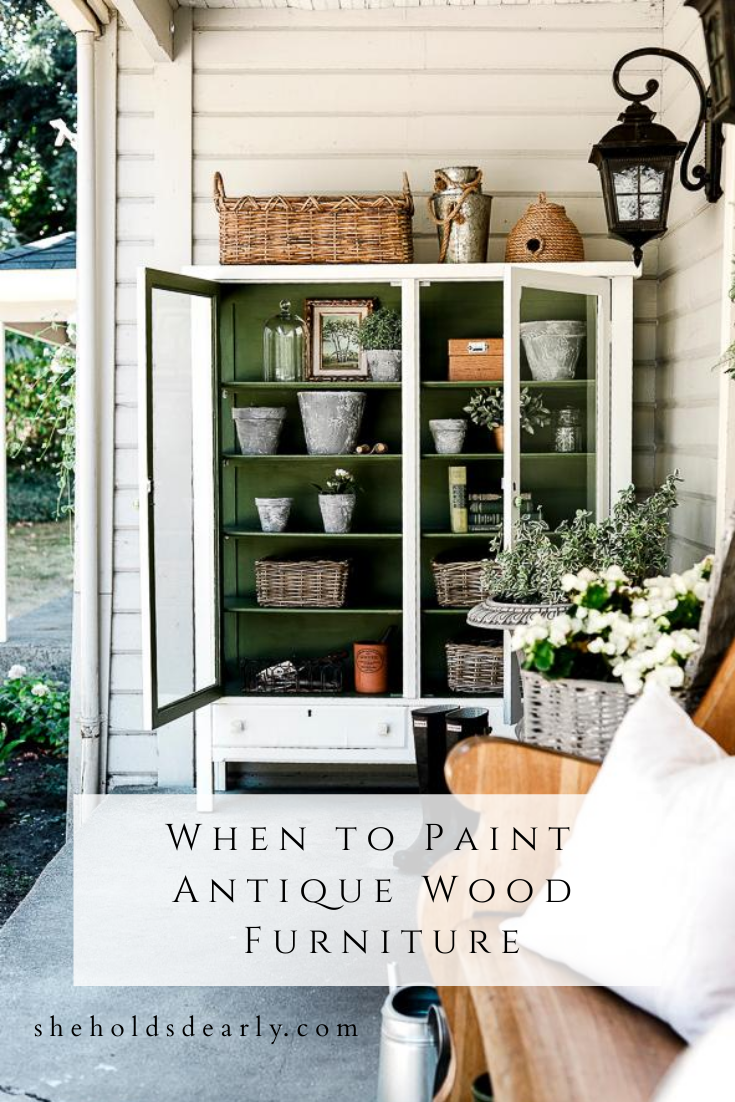
How to Know Whether or Not to Paint Antique Wood
Which camp are you in? Do you paint antique furniture, or are you completely opposed?
This is a highly contested topic in the design world, and even here in this She Holds Dearly corner of that world I get quite a few comments whenever I decide to paint antique furniture. Some people love it, some people are not fans. It seems to be one of those more polarizing issues.
Today I’m hoping to convince a few of you who might be on the fence about painting those antique pieces – that it really is OK under certain circumstances!
I feel like it’s worth noting that I DO absolutely love family heirlooms and antique pieces with family history.
I was a really happy camper when we met the original family of our historic 1906 farmhouse, and somehow even happier when they gifted me the desk chair that belonged to the owner and builder of our home which I (you guessed it) painted and turned into a rocking chair for our front porch!
I don’t take it lightly to modify antiques, and don’t ever do it with a flippant attitude toward ruining history! I am just a big proponent of loving your space.
I talk about it in my Behind the Scenes Design Group, but when we can do things like decluttering and modifying pieces to make our homes a place we love and enjoy, it’s totally worth it!
My “inner circle” discipleship & design group opens for new members a few times a year, join the wait list below if you’d like to see what we’re all about Behind the Scenes:
And that segues nicely into the three times I think it’s not only OK, but recommended to paint antique furniture!
You Should Paint your Antique Furniture Piece When…
Number One | Updating the Piece helps it fit your lifestyle and ensures an extended useful life.
I’m the person, on both our sides of the family, that gets “the call” to rescue furniture pieces whenever there’s something vintage that isn’t wanted or needed anymore.
A lot of times, it’s just me that stands between that piece being sent to a thrift store and or the dump!
That really helps solidify in my mind that by painting something, and giving it a place in my home, I’m giving the piece the opportunity to go on being functional and enjoyed for years to come.
In that same vein, I’m currently really loving the look of raw wood tones, but along with that, I’m realizing more and more that the darker stained, and especially orange toned woods just aren’t for me or for our home at this time!
It’s perfectly OK if you do currently like pieces like that, but for me, to enjoy a piece in my home and not let it become a design “bully” that I have to work around, I know that either taking a piece back to raw wood, or painting it are my two best options.
And I don’t take the decision lightly! There have been times where I’ve contemplated changing a piece for around 2 years before finally making it happen.
My trick about that though, is to specifically live with a piece for at least 1 week before making a decision about it. That can be a new piece you are adding to your home, or the 1 week waiting period after you change the color or update it in some way and aren’t sure yet if you love it.
If after a week you love it, you’re set! If after a week you’re still not on board – it’s pretty likely that your mind will not change based on time alone – it might be time to head back to the drawing board for that item.
Number Two | There’s any Kind of Smell Issue
I think we’ve probably all been on the bad end of an old item with a really un-friendly aroma. Whether it’s musty or possibly smoke saturated or perhaps used near pets.
There are times when certain smells just won’t release from a piece, and covering over it is your best option.
Sometimes paint alone is enough to cover a bad smell. If you’re really concerned, I’d recommend a layer of Kilz primer before you paint!
Number Three | There is Structural or Cosmetic Damage
Sometimes older pieces can have issues with wear and tear on their finishes, or there could be a broken leg that needs to be repaired and caulked, etc…
These are the kind of things I’d have zero issue painting after. If by correcting the problem and covering the repair with paint, you’re able to make the piece “good as new” – Go for it!
What Qualifies as an Antique?
The general rule is that anything 50 years old or older is considered vintage, and things older than 100 years are considered antique!
As it stands now, most of the time, if you’re finding a piece of furniture that is solid wood, it’s probably at least vintage if not antique. Most furniture pieces created after the 1950s started incorporating particle board and veneers.
Some of my Previous Painted Antique Pieces:
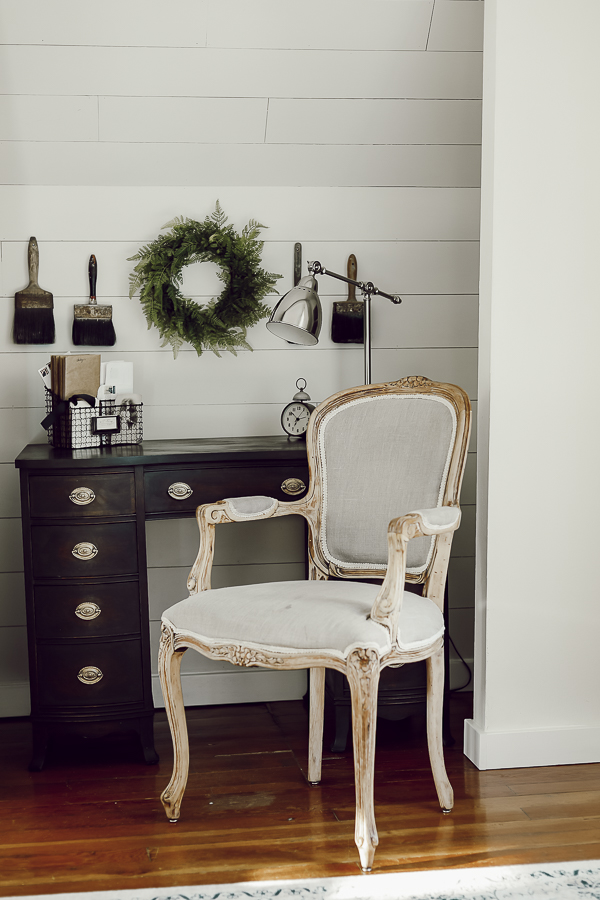
Black Washed Desk | This one was a craiglist find, so no family history – but I am pretty sure it is old. I wanted it to fit into our master bedroom well, though – so it got an upgrade! I used a new to me technique called “black washing” (similar to “white washing” a brick wall).
After living with it for a few weeks, now, though, I’m convinced that my black paint might have been a bit old/bad. The desk has kept some of the navy undertones I was not excited about, and so this desk will be going full black in the near future. I have some “Typewriter” black milk paint on the way from Miss Mustard Seed.
Upcycled Armoire | This piece was handed down from my Husband’s Grandma, and after updating the color to match our master bedroom, now houses his clothes! It’s been the perfect piece for the space and function we were looking for.
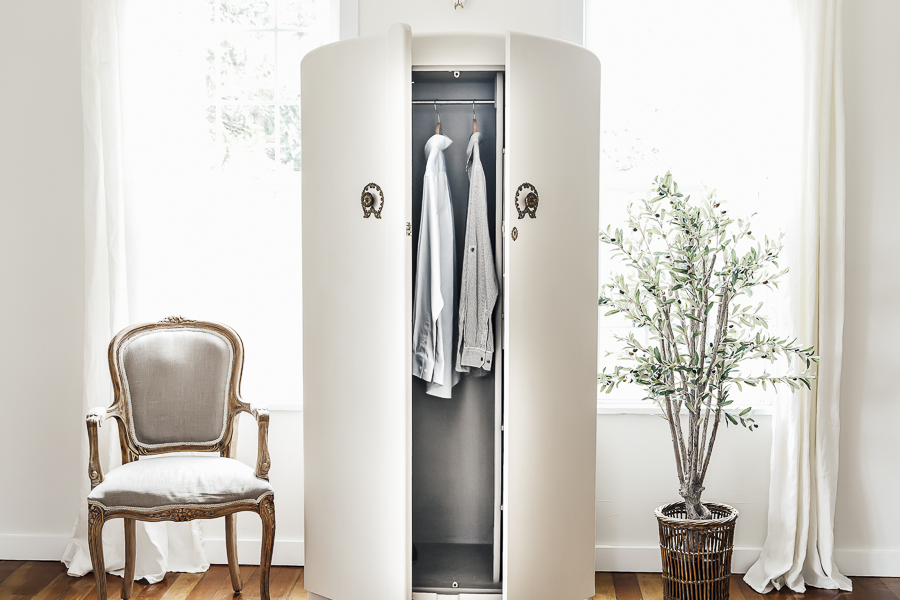
The two-tone look I chose for the armoire is one that has been really intriguing me recently.
As you can see from some of my inspiration pictures that also inspired my most recent project (which you’ll see more about down below!)
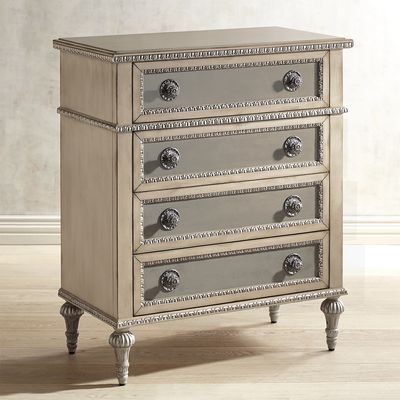
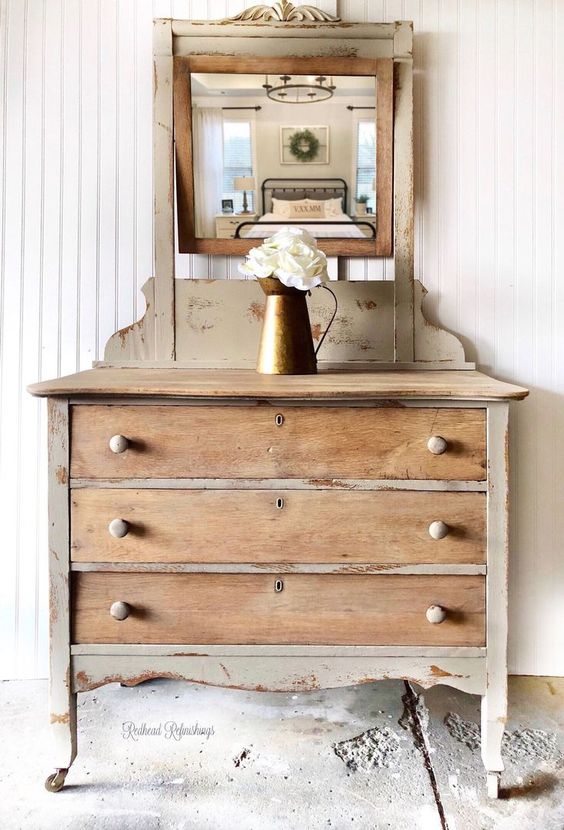
There are so many ways to do the 2-tone look well. Choosing just aspects of the piece to highlight in the 2nd color like this french dresser:
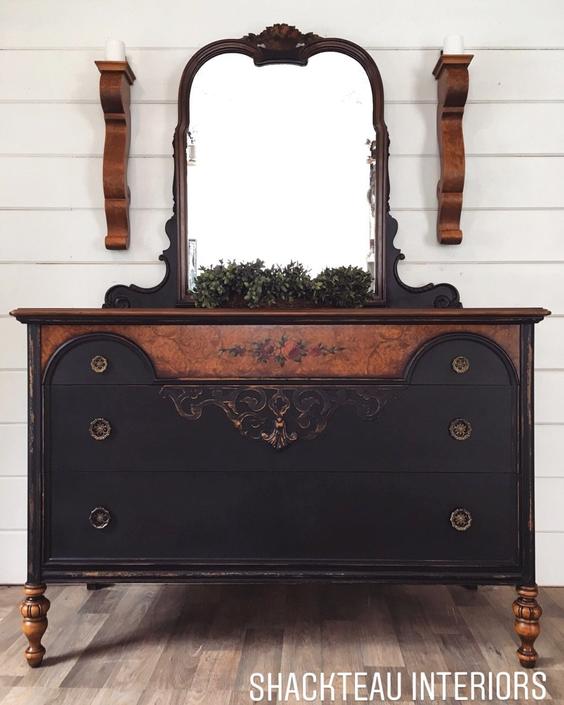
Or this black & stained wood dresser:
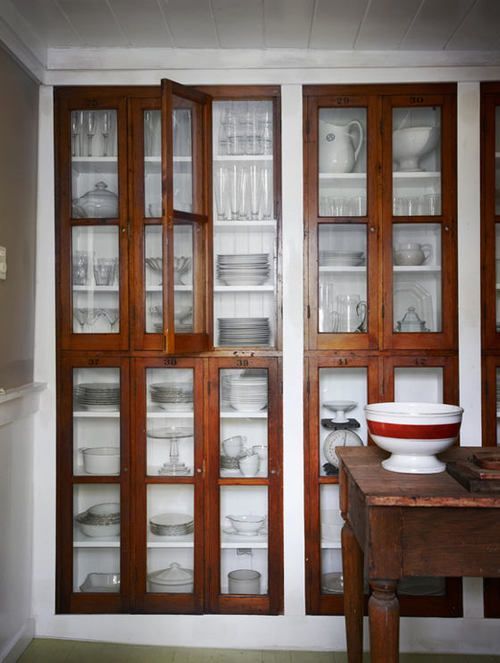
This built in china cabinet:
Or leaving just portions of the item in raw wood and accenting with a second color like this dressing table:
*This post contains affiliate links to products I know &/or love.
Still on the Fence?
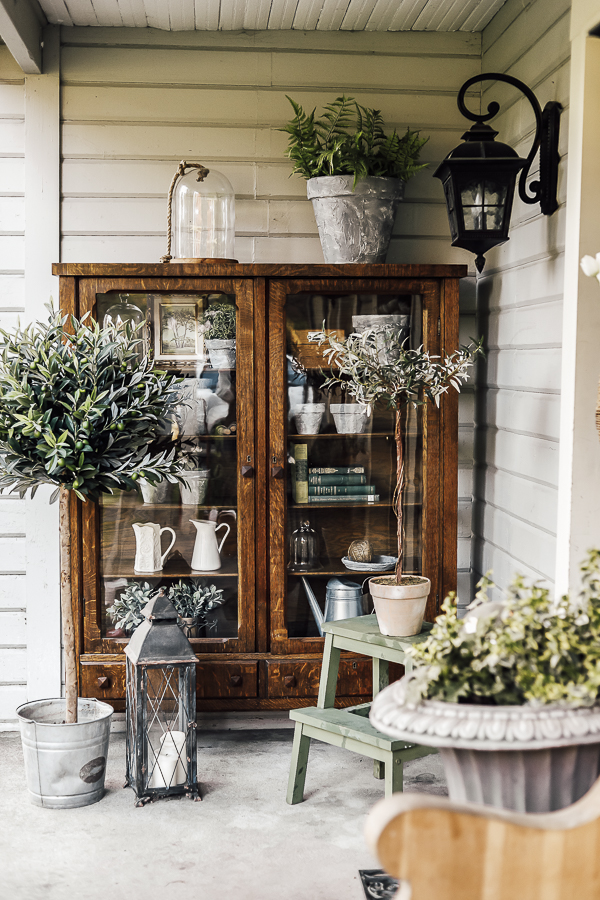
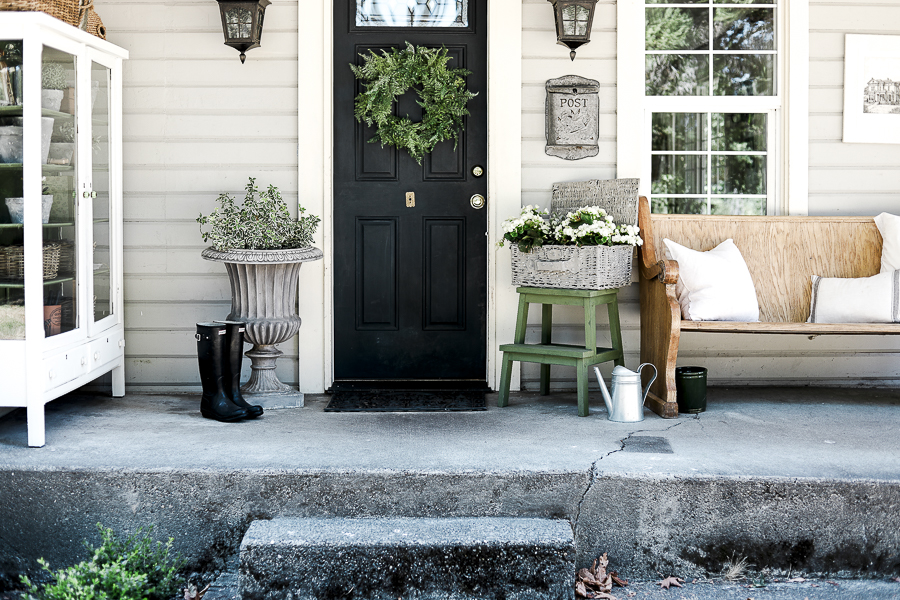
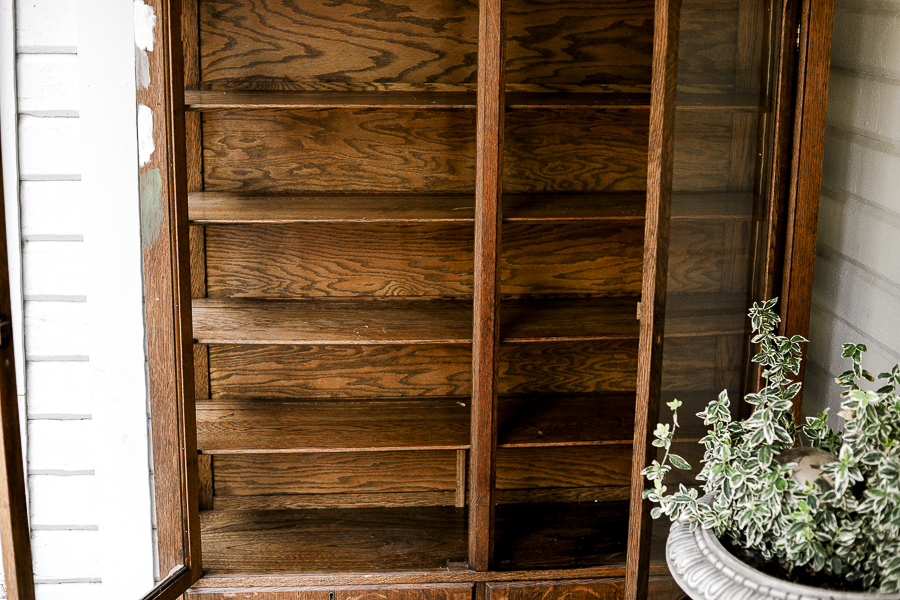
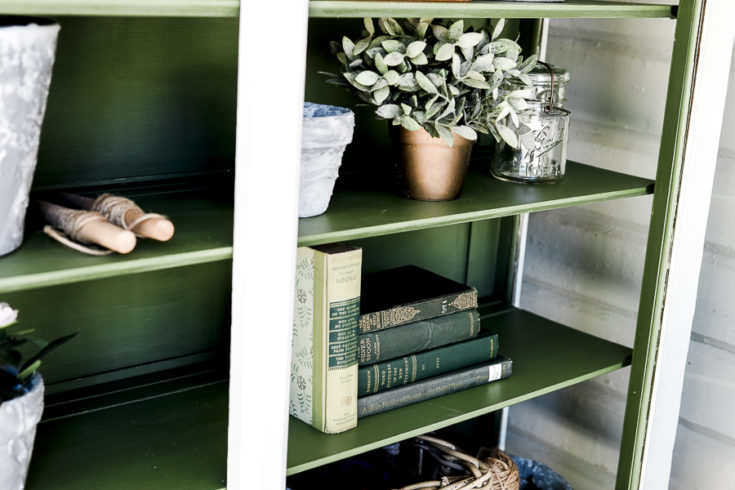
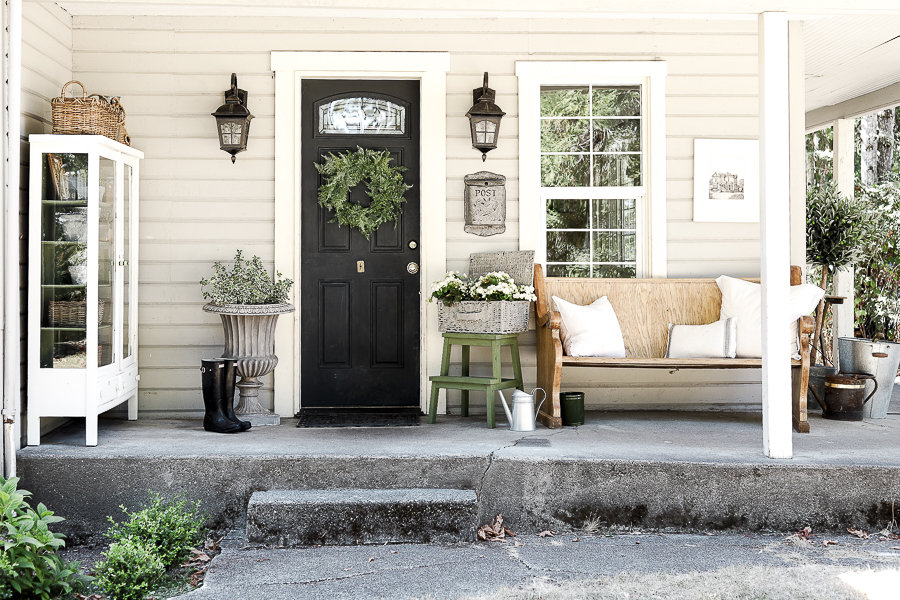
This week’s project has been really special to me. I was gifted this china cabinet from my Uncle and Aunt who have since passed away. Having this piece as a reminder of them for years to come is a special treasure.
When they offered it to me months ago, I loved it right away, but knew that I didn’t really have a place for it inside the house.
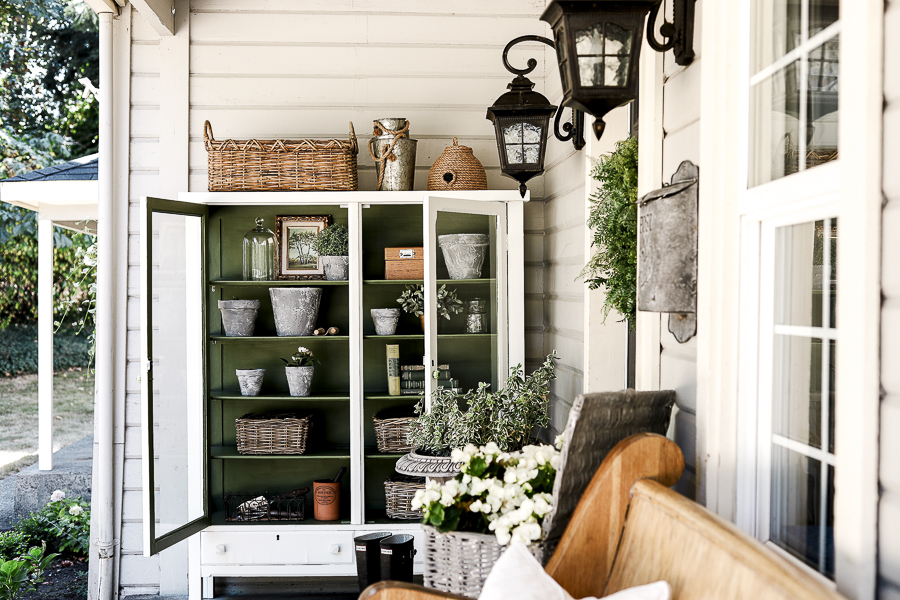
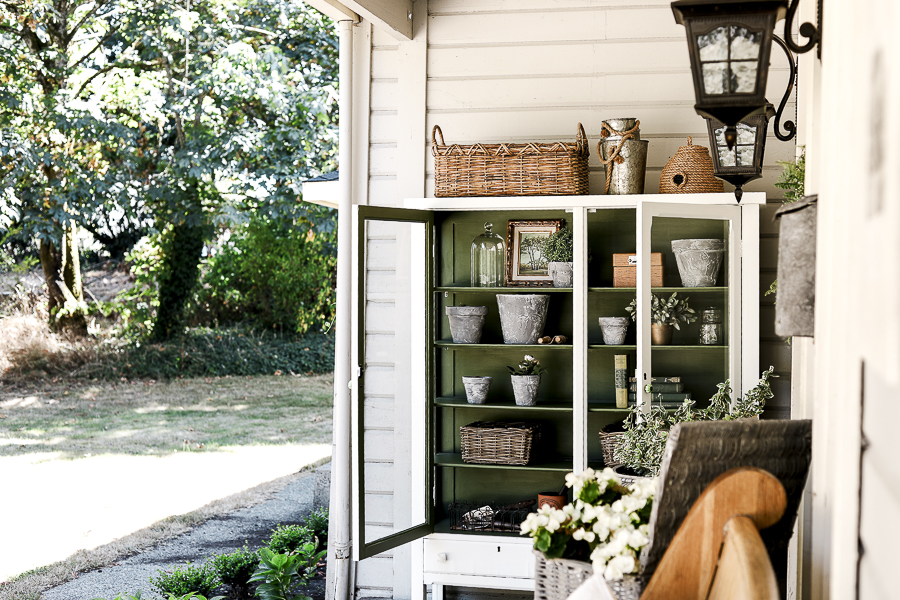
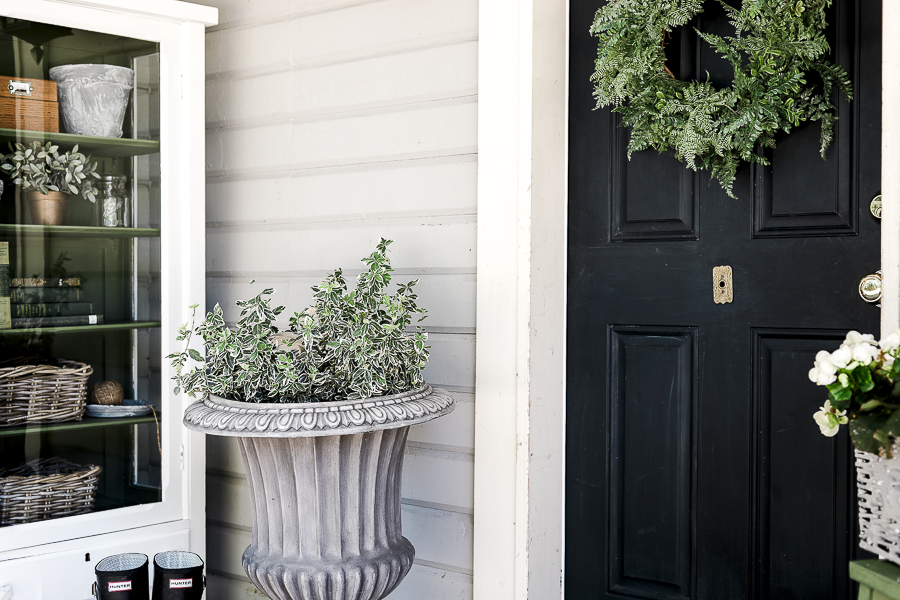
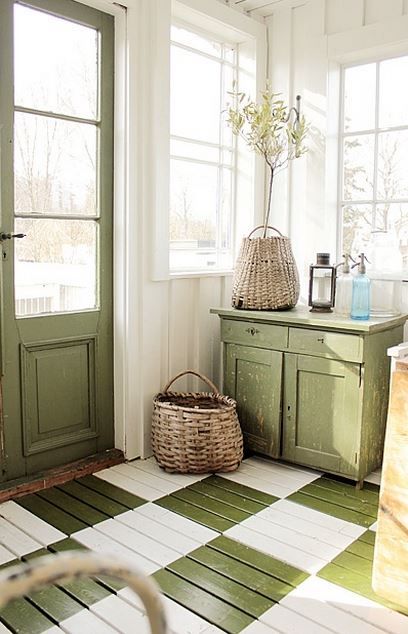
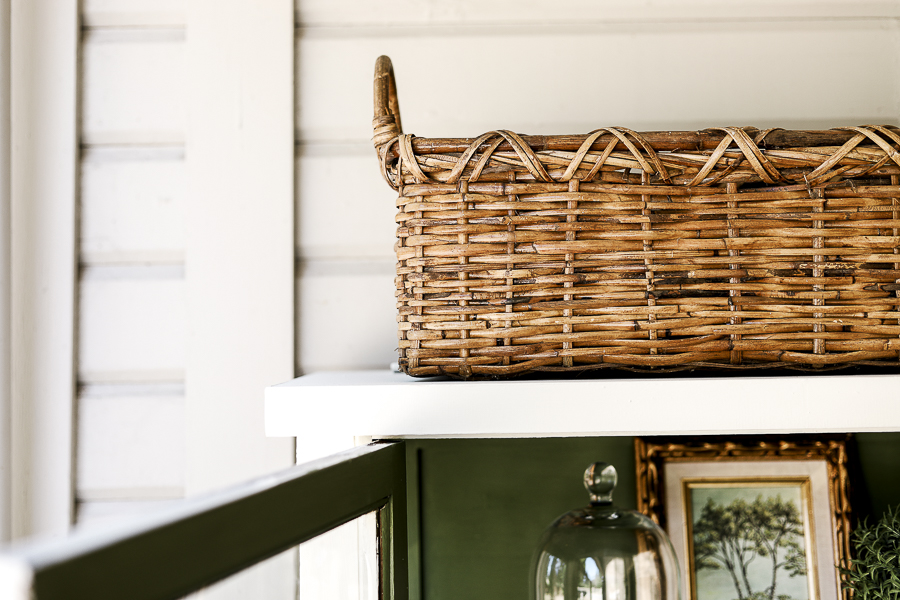
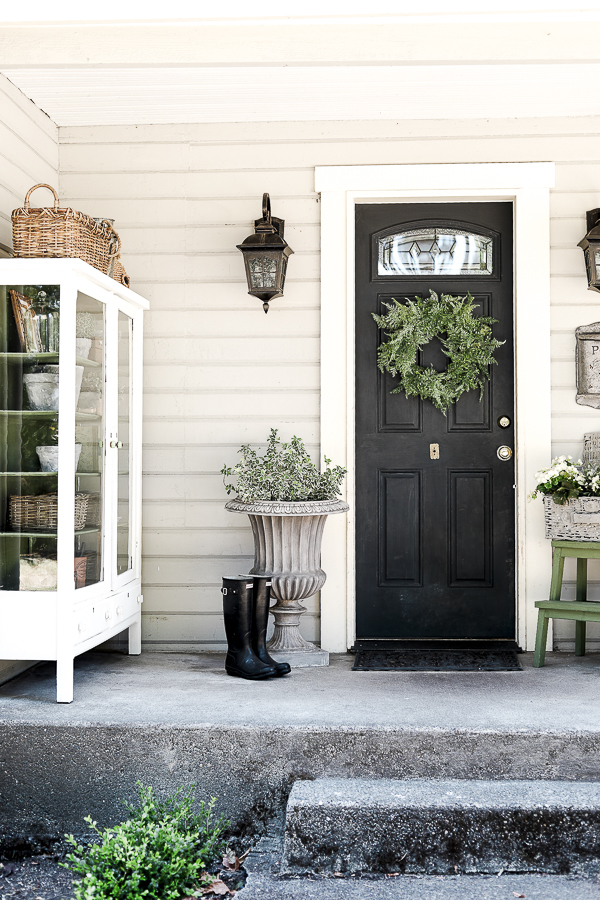
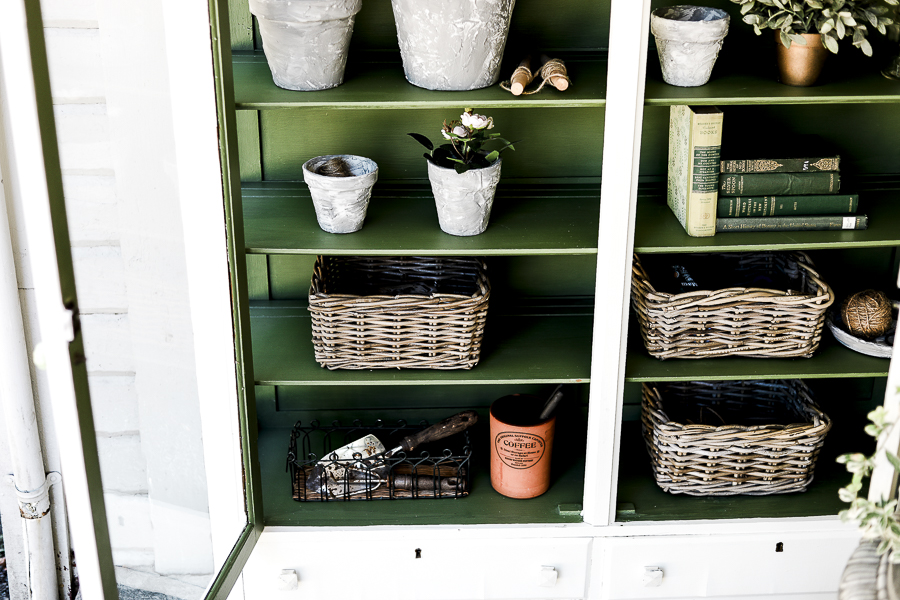
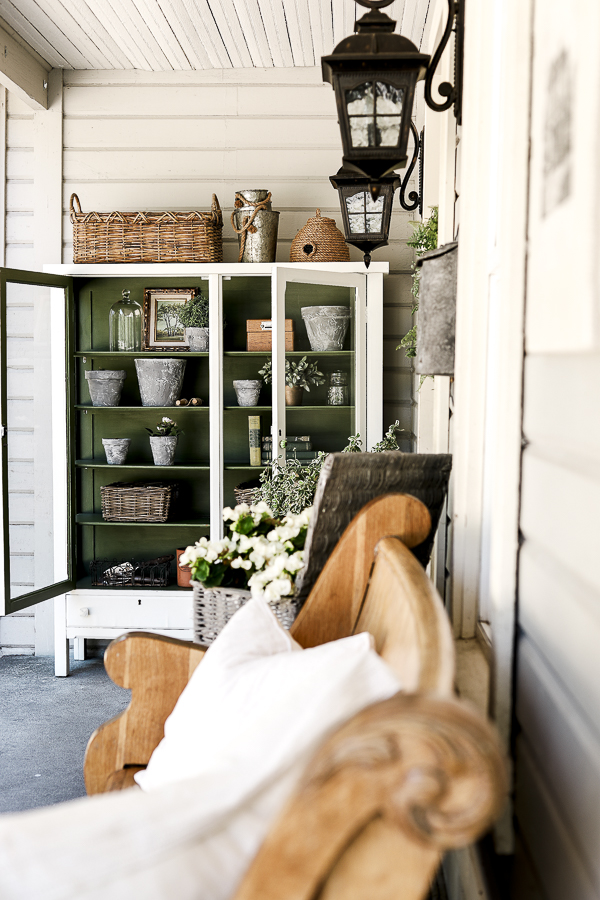
But I did realize it would be really cute on our covered front porch, and I had just the idea in mind to turn it into a cottage-esque green and white garden cabinet.
One more inspiration Picture:
I love that it’s only about 15″ deep, which means I could someday make room for it in the house, even in something like a hallway.
It also has beautiful original wavy glass – another true sign of an antique!
If you haven’t heard of wavy glass before, it happens when the liquid properties of glass settle in a vertical piece over long periods of time. It creates a true “wavy” look when you view it from the right angles, and it’s really pretty!
The Plan:
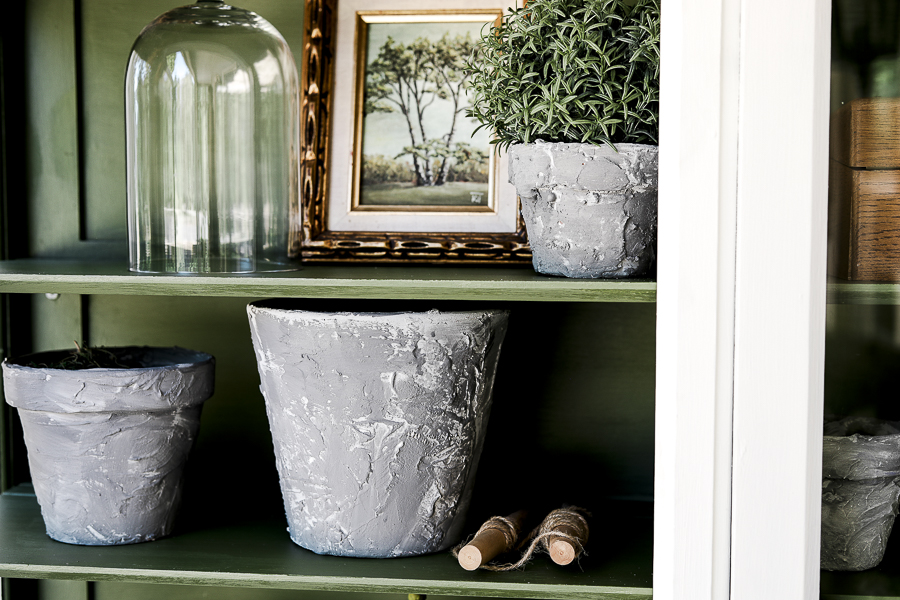
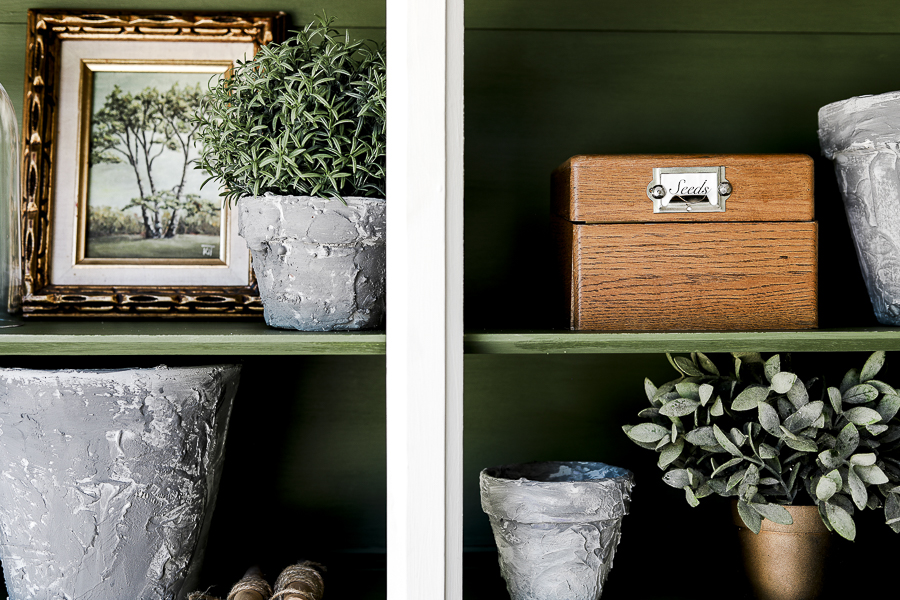
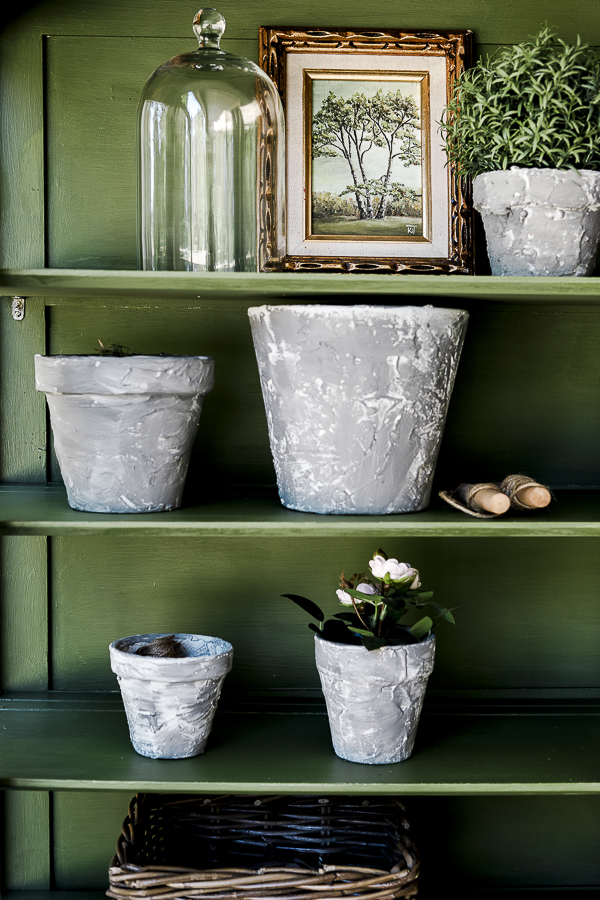
I decided on “Celery Seed” green – part of the Magnolia paint line – for the inside of the cabinet.
For the outside I chose a plain flat matte white – it’s actually the cheapest base paint you can find at Walmart with no tint added!
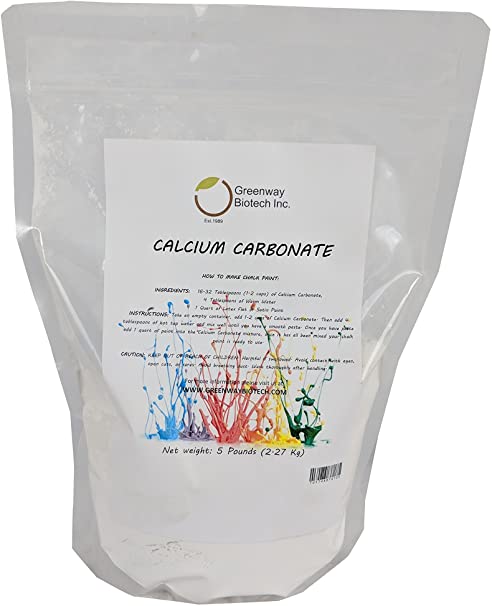
I used my DIY chalk paint recipe to turn that white into something with a bit more vintage charm.
DIY Chalk Paint Recipe
Here's my recipe for DIY chalk paint that works with any store bought paint that has either flat or matte finish.
Materials
- 1 Quart Flat or Matte Finish Paint
- 3/4 Cup Calcium Carbonate
- Warm Water
Tools
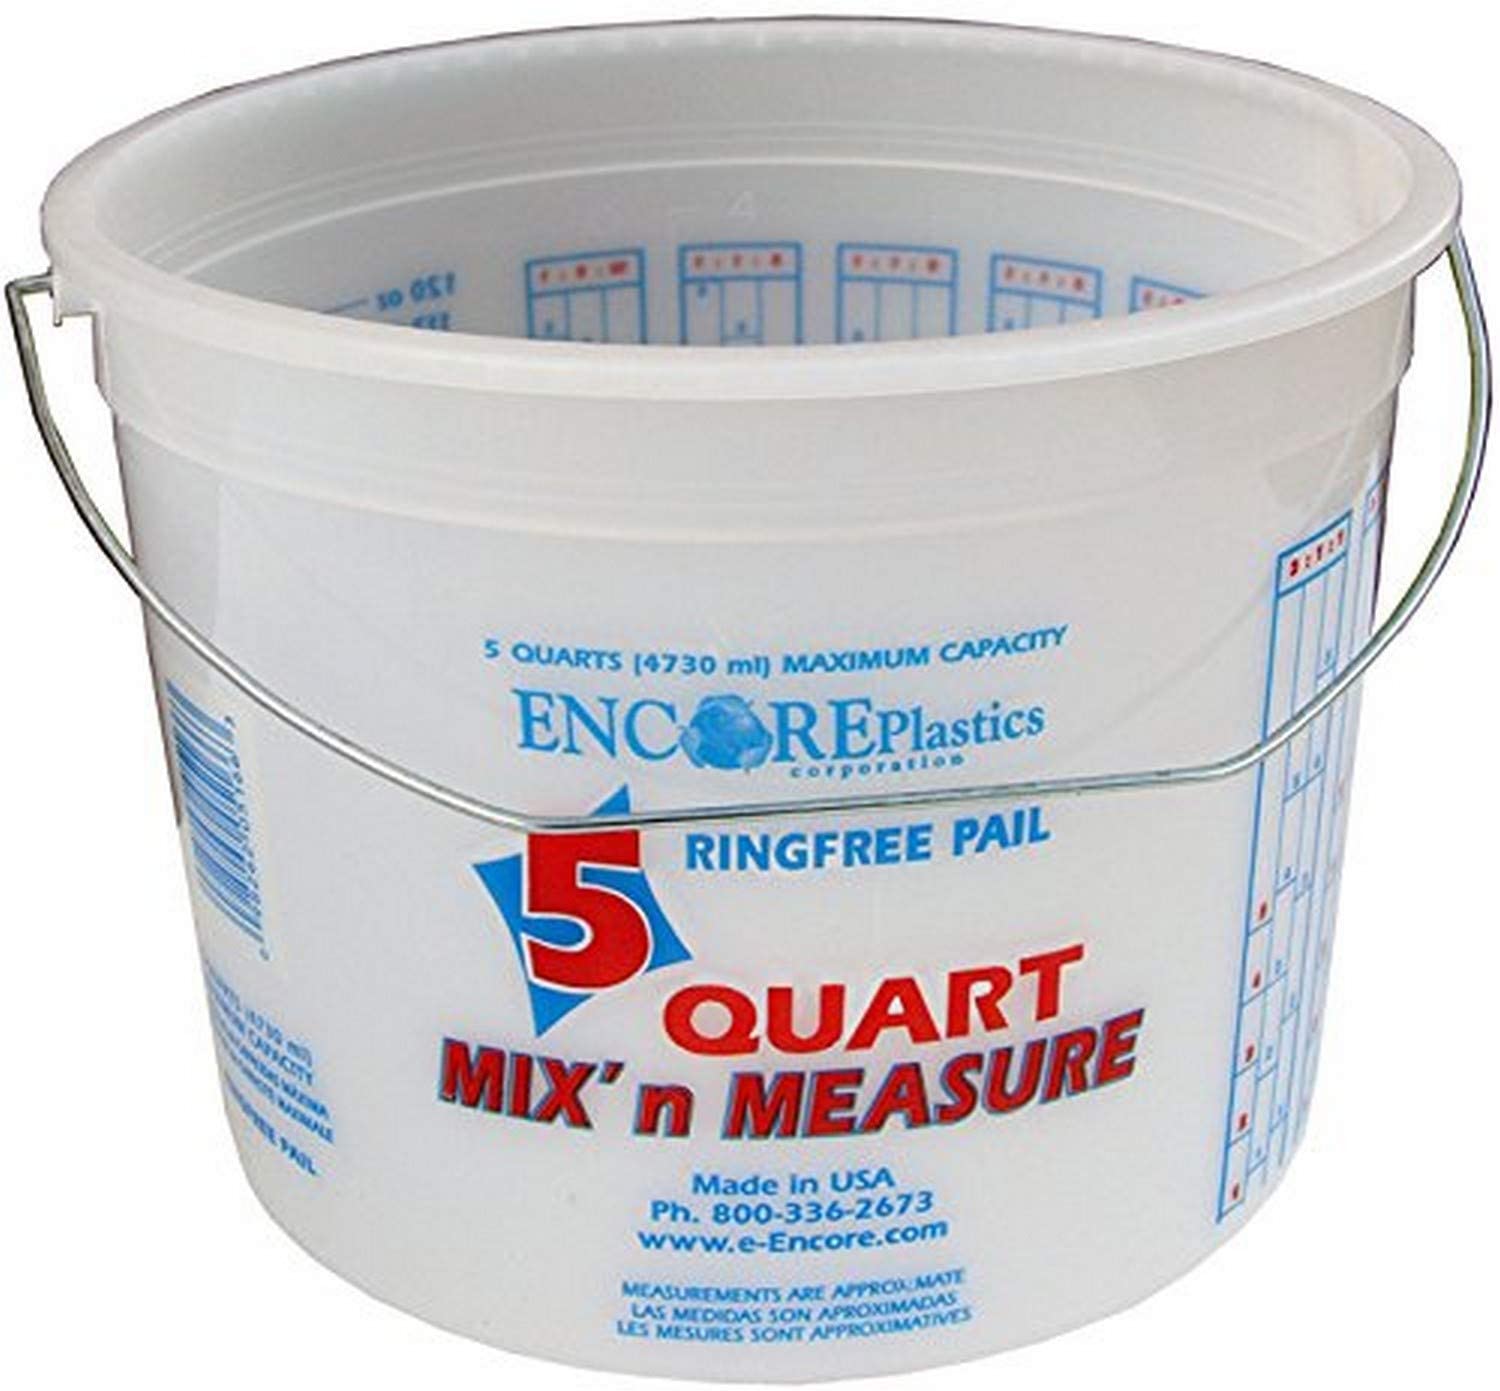
- Bucket - approximately 1/2 = 1 gallon size
- Stirring Stick (Or a dedicated immersion blender, or a drill with a mixer attachment)
- Dedicated measuring spoons/cups for your painting supplies.
Instructions
- Pour your quart of paint into your bucket
- Add your measured calcium carbonate into your bucket
- Mix thoroughly
- Add warm water if needed to reach the consistency of pancake batter.
- Pour your mixture back into your quart container for storage.
Notes
If you find that your paint consistency is thickening up or getting lumpy, you can add a little bit of warm water during your paint project and give it a mix.
This paint may settle if you do not use it all for one project, so you'll need to mix well (and add more warm water) when you're ready to use it again.
*This post contains affiliate links to products I know &/or love.
Recommended Products
As an Amazon Associate and member of other affiliate programs, I earn from qualifying purchases.

Then I decided on some new replacement knobs for the piece. I tried a few that I had on hand, (these green knobs, and these large green glass knobs), and even thought about using some rub-n-buff to update the look of the metal on some, but realized they weren’t exactly what I was looking for.
I ended up finding these glass tear drop pulls from Hobby Lobby and knew they would look beautiful. Unfortunately, they’re currently out of stock, so I’ll just wait patiently until I’m able to get 6 of them.
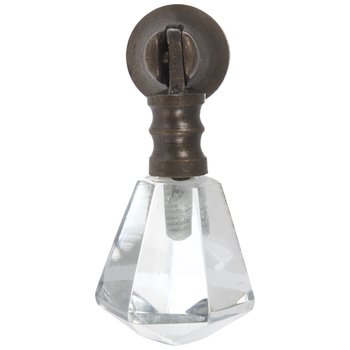
When thinking about knobs I knew I wanted something that had some size to it so it wasn’t lost in the space of the doors, but I also wanted something exciting and surprising! Because the total distance of the pull adds to the size – even though some of the space is negative space, I think it’s going to be just right.
I also love that Hobby Lobby’s items go on 50% sale so often – if you know what you want, be sure to wait it off and take advantage of their sale prices. I’ve heard some of their items go on sale every other week!
The Process:
The first thing I did was wipe the entire surface down with my favorite degreaser by Mrs. Meyers to give myself a clean slate to work from.
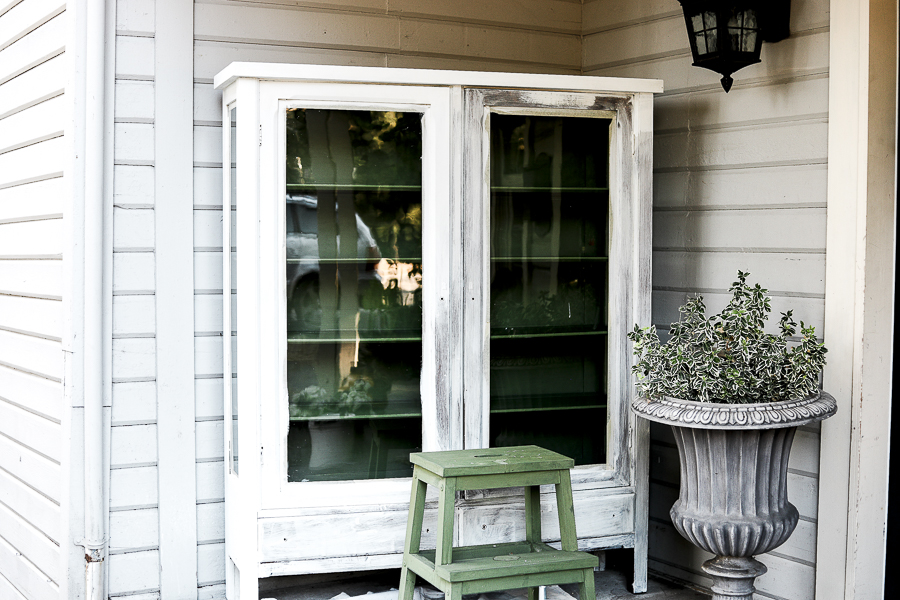
Then I used frog tape to tape off all the glass to protect it from paint.
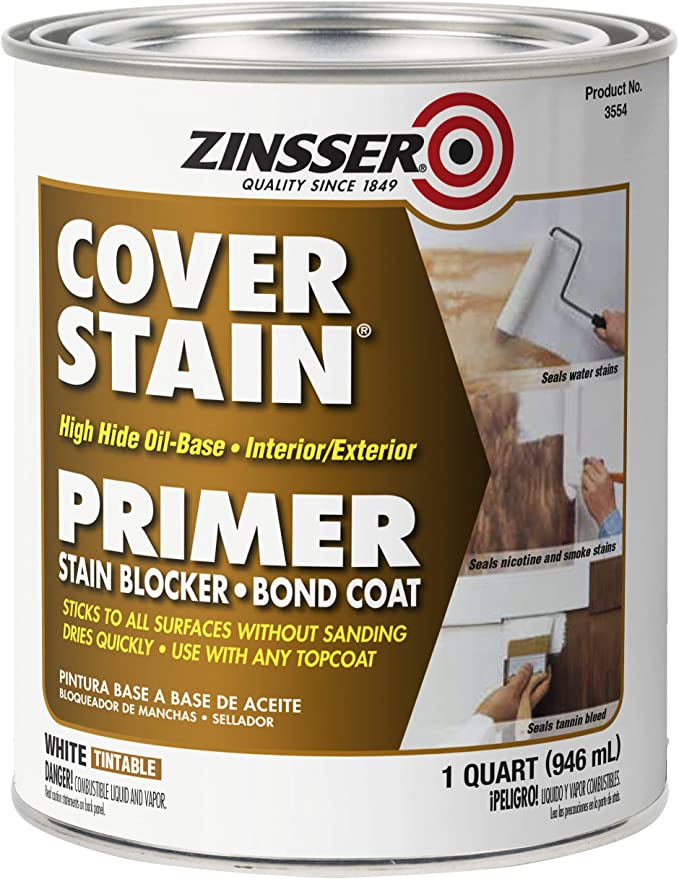
I didn’t sand, but I used a simple white primer, and then quickly realized that the old stain was bleeding through pretty badly.
I used this stain covering primer and it worked wonderfully to prevent the bleed through.
It was really hot for us in Washington this week (96 degrees some days, or as I like to call it, “stupid hot”), so painting this cabinet was tricky with the heat and much faster dry times. I quickly learned that painting in the morning was the best bet!
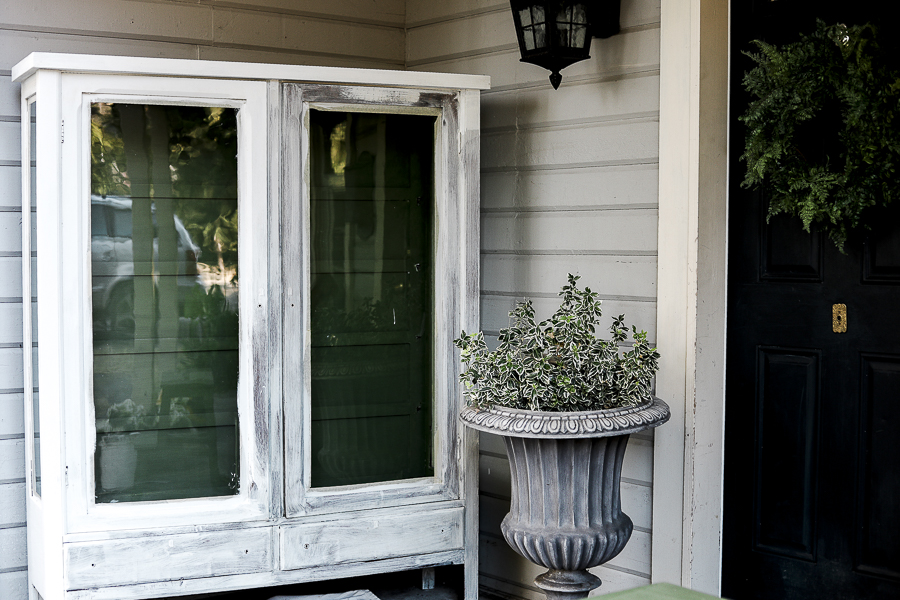
The final step was adding some tough coat sealer to the entire exterior of the piece to help protect from the elements, since it will be on our covered porch for most of the year.

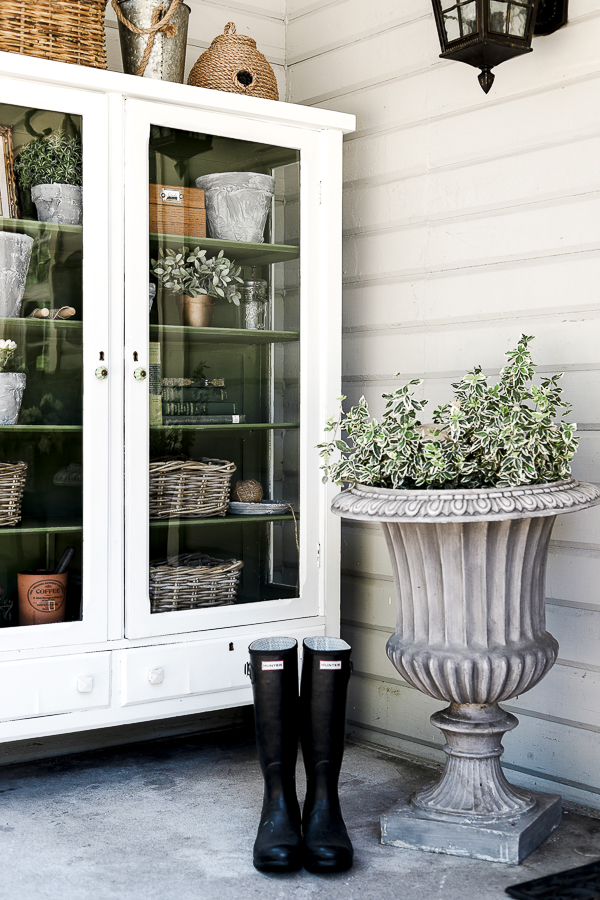

I hope you enjoyed these thoughts on when to paint antique furniture, and seeing some pictures of our repainted cabinet!
Let me know your thoughts on painting antique wood! Have you ever done it? Have you ever decided to strip something back to wood? I’d love to hear your experiences!
Pin this for Later: