Best ways to Style your Thrifted Decor for Fall
It’s time for the Fall Edition of my Styling Thrifted Decorations series! Grab a warm beverage and a cozy blanket to put yourself in the Fall mood, and let’s get started!
If you’re new here you might not know about this fun series yet! This is my chance to not only share some of the fun things I’ve found while out thrift shopping, but also to show how I style them in my own home, and – I think this is the most important part – the WHY behind where and how I use each piece!
If you haven’t already caught up on the other posts in this series, I’ll link them here for you!
Previous Posts in the Styling Thrifted Decorations Series:
- Tips for Styling Thrifted Decor
- Styling Your Thrifted Finds, Part 2
- Styling Thrifted Decor, Part 3
- Styling Thrifted Decor, Part 4 (Christmas Edition)
- Styling Thrifted Decor, Part 5
- Styling Thrifted Decor, Part 6 (Spring Edition)
- Styling Thrifted Decor, Part 7
- Styling Thrifted Decor, Part 8
- Styling Thrifted Decor, Part 9 (Summer Edition)
- Styling Thrifted Decor, Part 10
- Styling Thrifted Decor, Part 11
*This post contains affiliate links to products I know &/or love.
Today’s post will be all about my thrifted decorations for Fall- let’s get started!
My Finds:
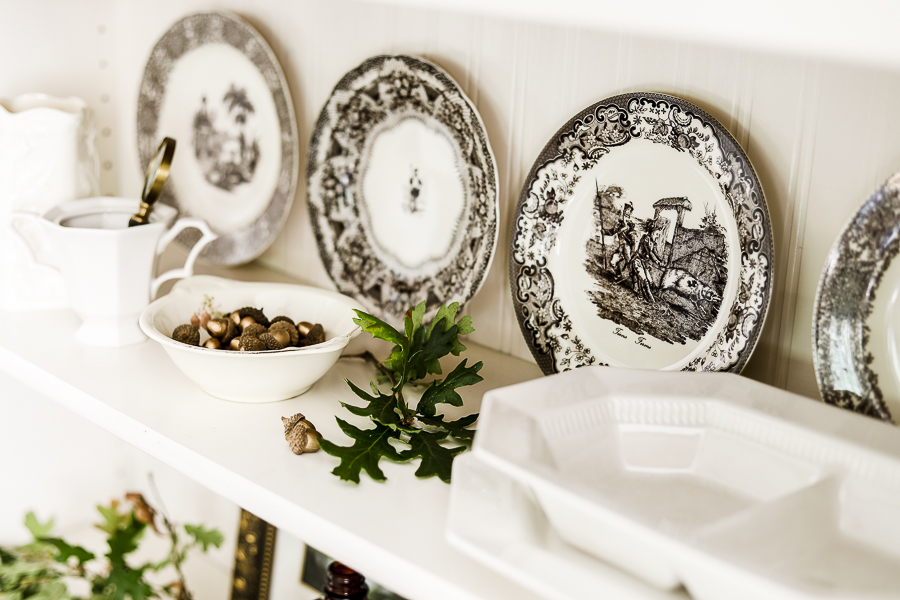
Brown Transferware plates for $3 each.
These were a bit more expensive than I would usually plan on spending per dish, BUT I love transferware, and have been wanting to add more in brown to my collection. Finding these four together was worth the small extra cost.
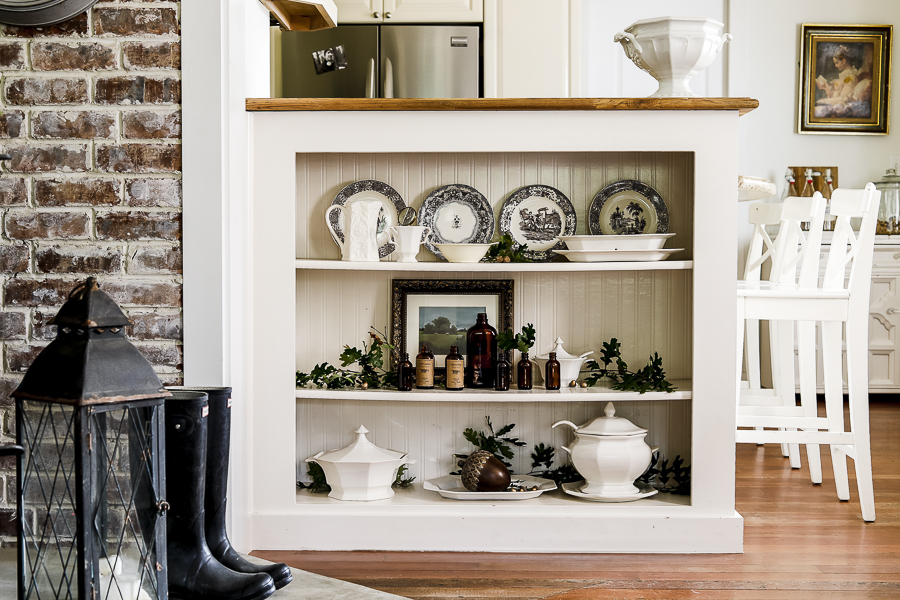
I thought they were especially beautiful all lined up together along the top shelf of my fireside room bookshelf.
I’ve mentioned it here before, but I use a small pea-size circle of poster putty behind each plate to help secure it to wall since this homemade shelf does not have a plate rail of any kind.
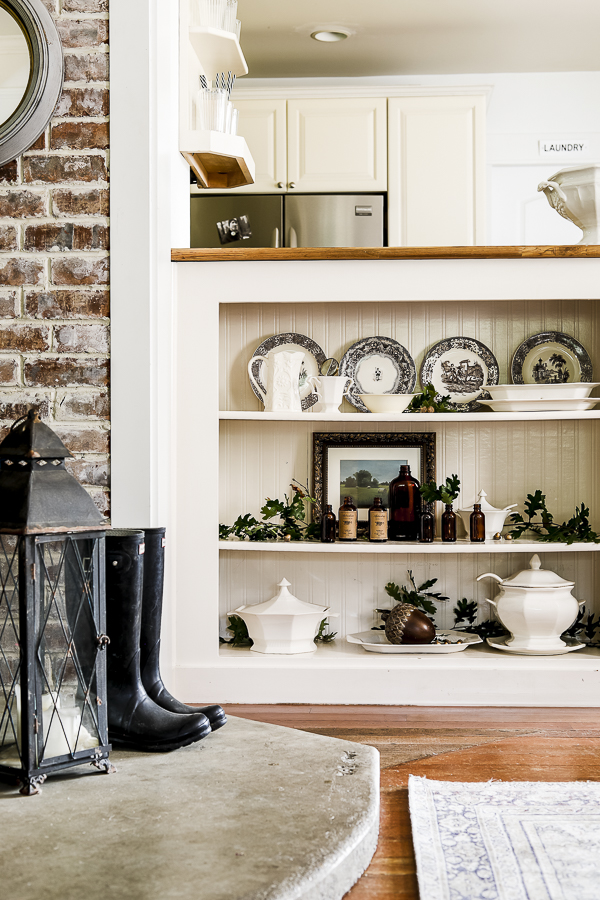
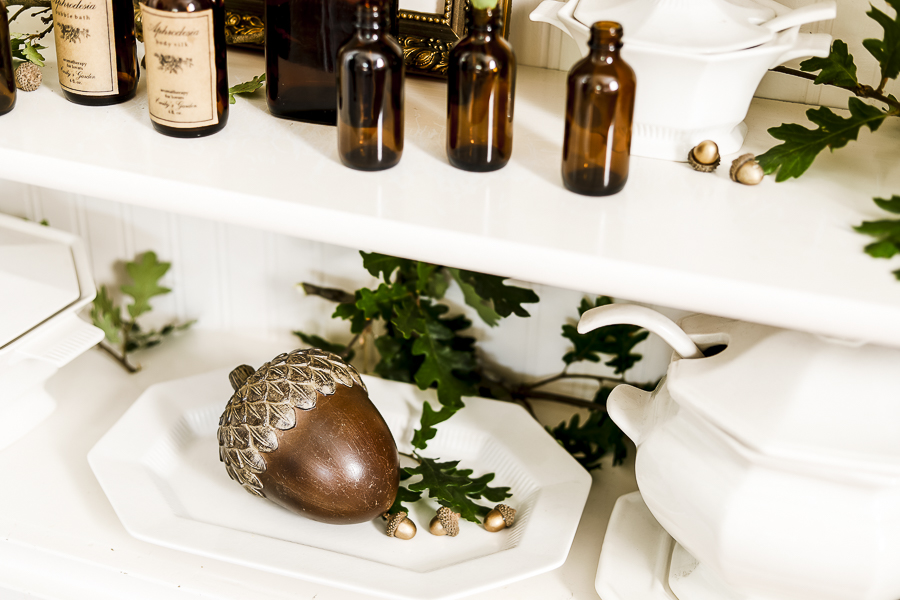
Large Wooden Acorn $3
This was kind of a fun and unique piece that I thought would make a nice surprise accent hidden in amongst dishes and other fall decor. I wasn’t at all disappointed when I saw it come together on the bottom of this small shelf between some of my soup tureens.
I also added some maple leaves and branches among these shelves to add to the natural element that was growing as I assembled this look together.
Another piece I found was this beautiful vintage gold picture frame with a mat. I was able to use it to frame a piece of art my friend Andrea from Pine & Prospect painted. Her pieces are so lovely, and can be found HERE.
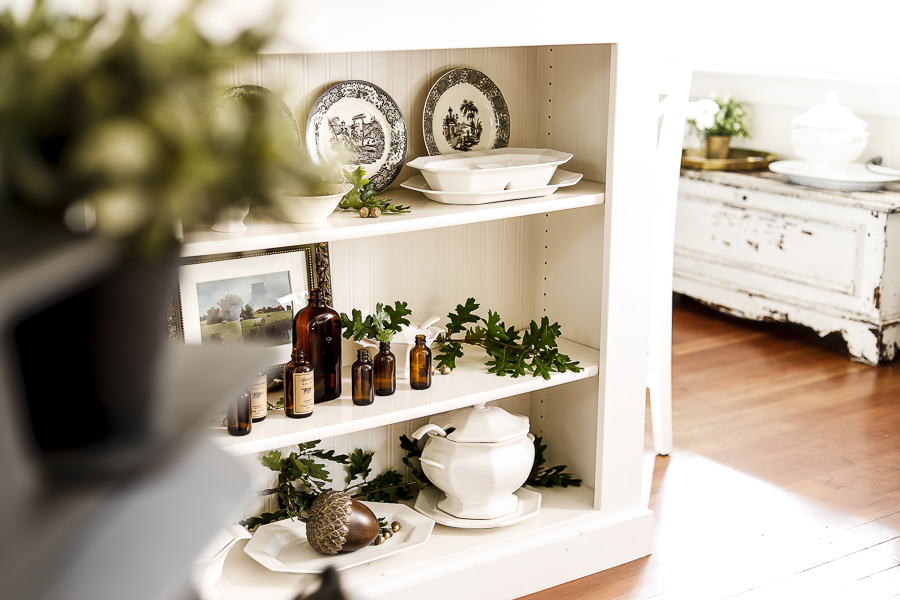
Sweet Woodland Dish for $1.50
I couldn’t pass up this small dish with tiny pinecones inside. It looked so vintage, and I love that the woodland theme works so well for fall.
The color of the dish was a bit more cream than the dishes surrounding it, so I added a handful of my golden acorns to help offset the color and keep the cream from looking dingy against the brighter white.
I painted the bottom of these acorns gold a few years ago, and I think it adds just the right amount of style to an otherwise pretty subtle item.
I sprinkled a few of these same acorns around the other shelves to help tie them in, as well.
Sophisticated Fall Decor:
This reminds me of a point that I think is really important to share!
Fall decor doesn’t have to be all about pumpkins, “Hello Fall” signs and halloween decor.
The best way I know to elevate your fall decor to be really sophisticated is to focus on your colors and incorporate lots of style and warmth within them and in different natural elements.
I love to stick with colors like brown, green, copper, gold, and black.
They bring about the feeling of a cozy fall day, without overdoing it.
One other benefit about these neutral colors and natural elements is that they’re lasting. They can easily carry through from August all the way up until you’re ready to start decorating for Christmas.
Final Thrifted Decorations For This Shelf:
The last items I added to these shelves were my brown glass bottles.
I already had a few in my collection from various herb tinctures and when I found three more, I knew it would make for a lovely focal point to have them grouped together.
This shelf ended up being a bit more crowded than I usually choose to do, but I love the end result. I think it’s cozy and very on-theme for fall!
Now Back to My Treasures:
The next item I found was this large piece of soft grey pinstripe fabric for only $3!
I knew I wanted to make pillows as soon as I saw it!
I washed it up and got started sewing. I used my same simple pillow tutorial to create 3 pillow covers for 20×20 pillow forms and added zippers the easy way.
All said and done, the three pillows took me less than 1 hour.
I had a bit of fabric left and think I might have enough to make 1 lumbar pillow cover, but I ran out of time before this post!
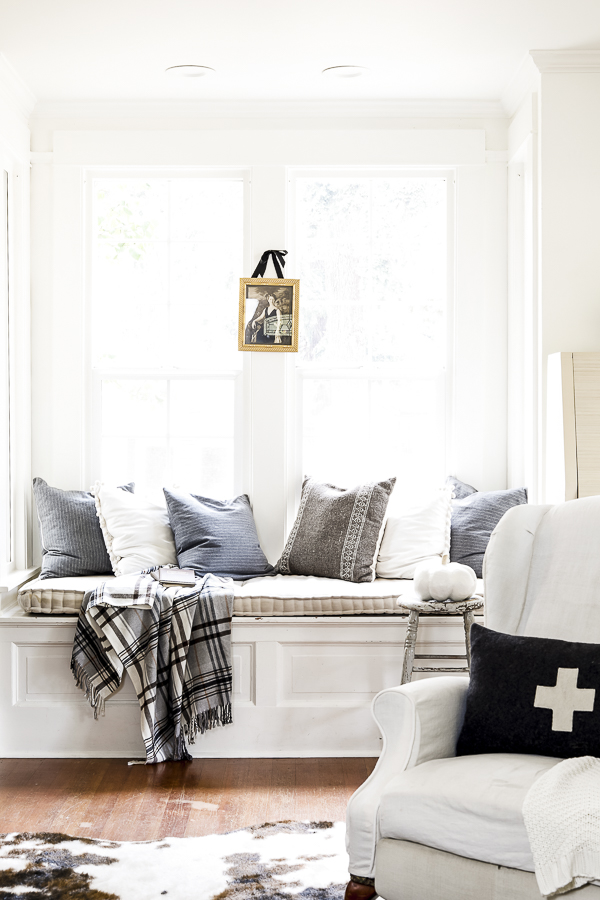
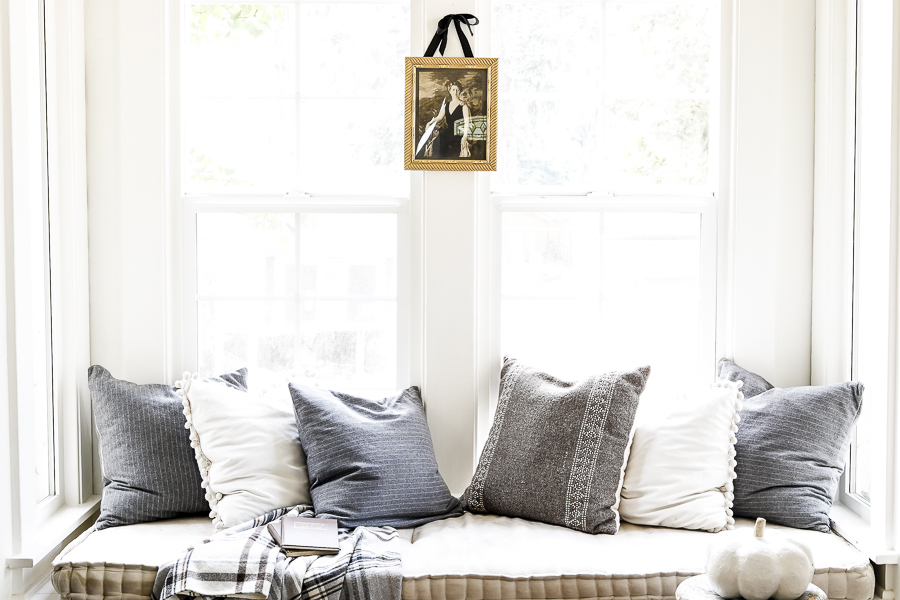
I styled the pillows alongside some of my own, like my favorite cream pom pom pillows in my window seat to create a really cozy fall scene.
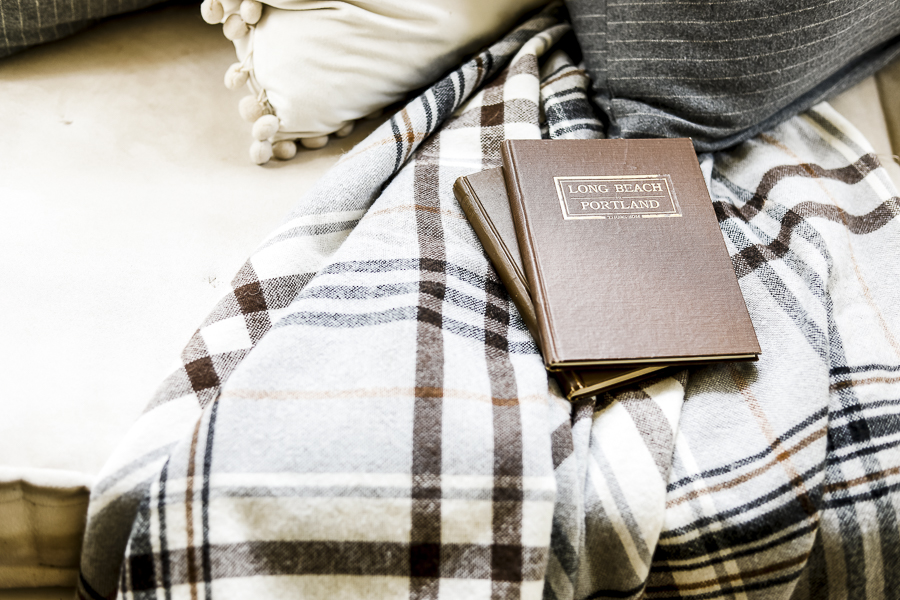
I added a plaid throw blanket from my own collection, and set two new brown linen cover books that I got for free on top.
I’ve had this black and white picture of an anonymous lady for a while and have always thought, “I want to be elegant like her when I’m old.” It felt only right that she would come out for this year’s fall decor.
I tied the gold frame up with a black ribbon to tie in with other black elements I chose to use around the room.
I think someday I’ll have to come up with a great name for this fashionable lady.
If you have any suggestions, let me know in the comments below!
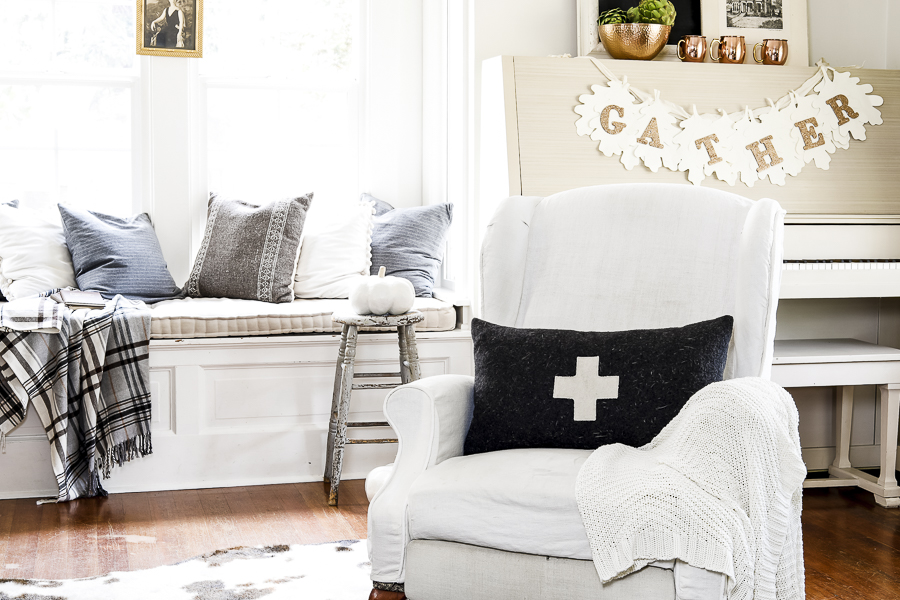
Back to pillows, I also found this really great felted lumbar pillow with a white cross on it. It has a linen back on it and was only $3 at a garage sale.
I styled it in my living room on my cream slipcovered recliner.
I love how the black rectangle is repeated here along with on the piano with the blank chalk board. Add in the black ribbon holding the picture of my elegant friend, and viola – you’ve got intentional black accents throughout the room used on various surfaces and planes!
Paper Mache Pumpkins:
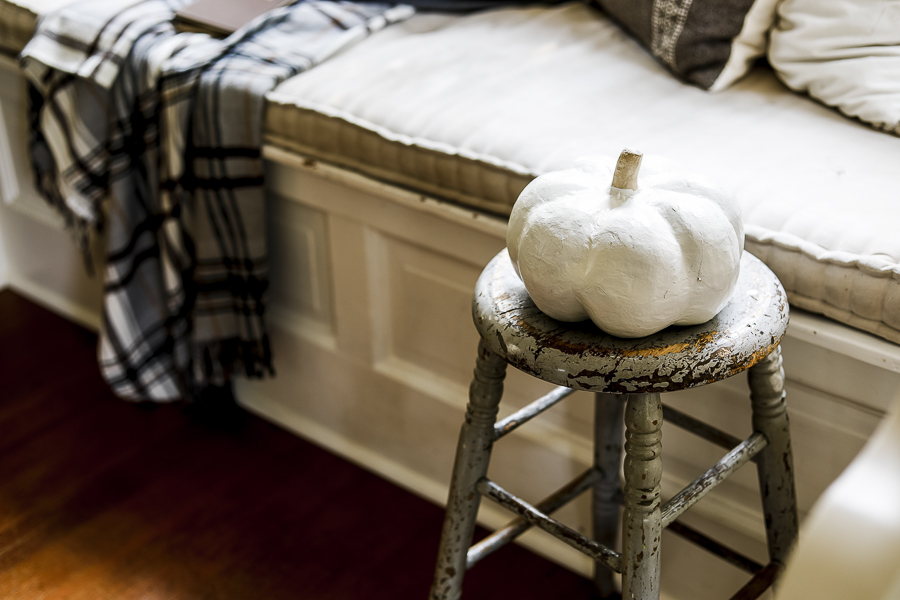
I found 3 of these paper mache pumpkins for only $1 each!
I always keep my eye out for pumpkin decor because, at least where I am, real pumpkins are not ready in time for August fall styling! Bloggers & designers everywhere commiserate together that faux pumpkins are often upwards of $30-50.
Thrifted pumpkins are a must!
These were plain kraft paper brown when I got them, until I taped off the stem, and gave them three nice coats of my favorite Rustoleum heirloom white spray paint in satin.
I did a Faux heirloom pumpkin tutorial a few years back, and stuck with the easiest of the three color options this go around because I was honestly a little concerned it might not turn out as well as it could on the paper mache backing.
I wouldn’t say it looks terribly realistic, but it also doesn’t look terrible, so I’m calling it a win for now!
Next Came My Piano Styling:
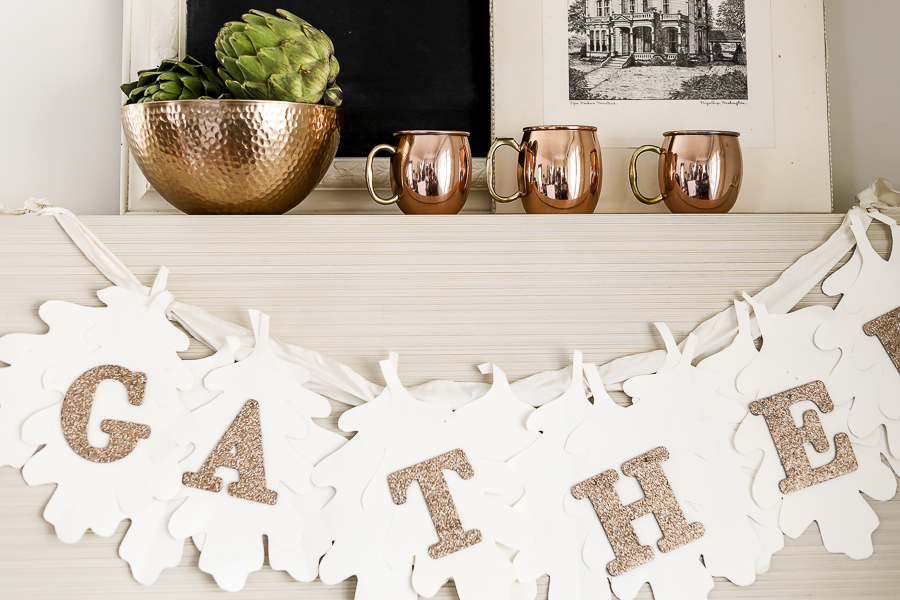
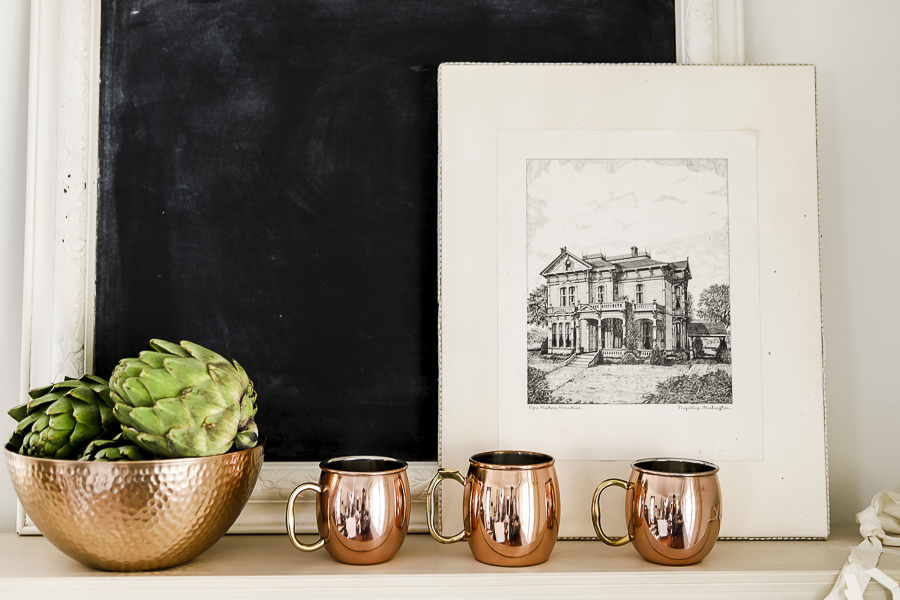
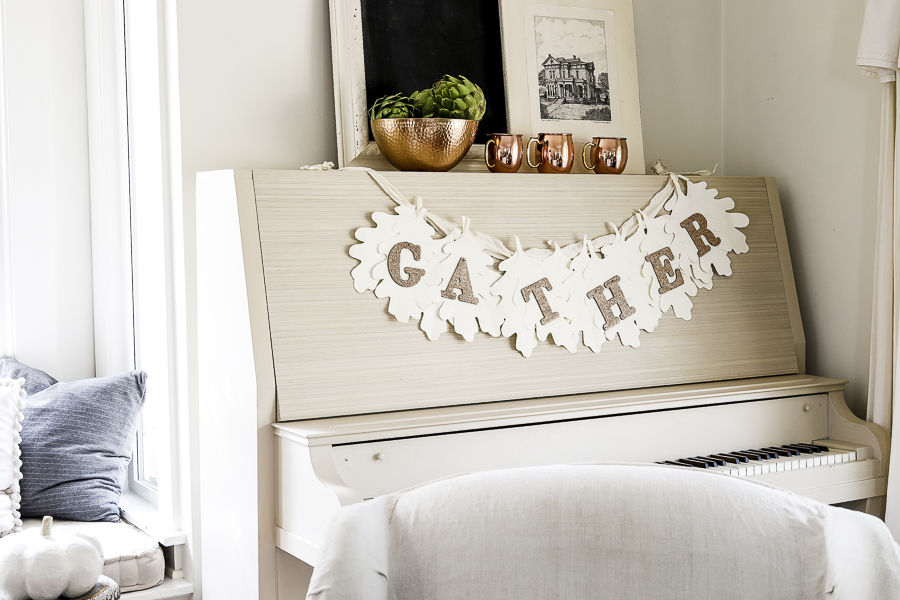
The first item was this cool hammered copper bowl. I really love incorporating copper into my fall decor, but I have realized you have to be careful to create balance with the glamour of the bowl itself and whatever item you decide to put inside.
I ended up choosing artichokes as my bowl filler for a fun pop of green, and because I knew the earthy and rustic vibe they added would offset the glam of the bowl.
If I had used something like glittered pinecones, it would have sent the look over the top, and that wasn’t what I was going for!
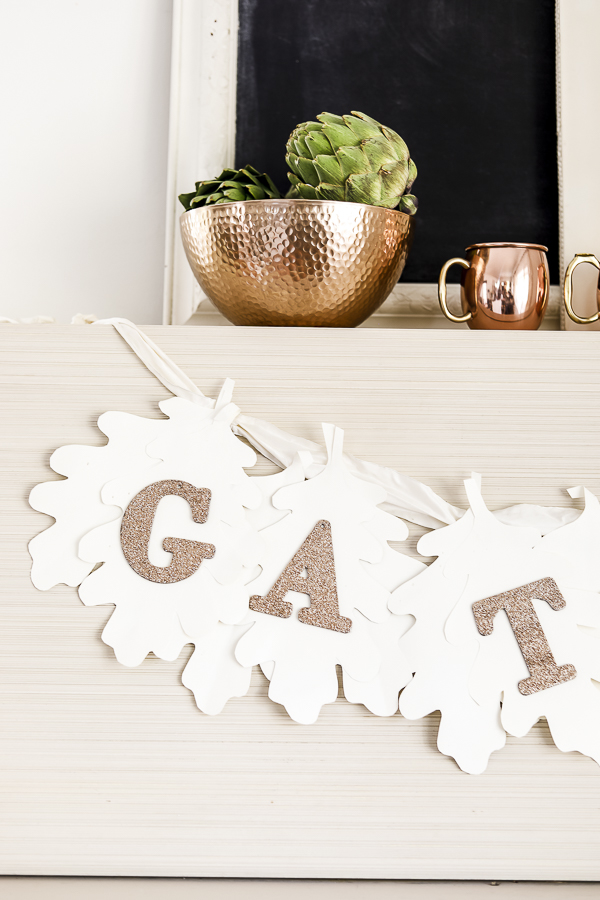
I got a few new copper mule mugs for $3 each as well and added them to my collection.
I added my favorite large DIY chalk board on top of the piano to bring in some more of my black accent, and included a black and white etched architectural art work piece.
This pretty “Gather” garland was a Thanksgiving DIY from a few years back! It’s actually become one of my favorite fall decorations, and makes me happy each year when I get to bring it out!
Feeling Inspired For Your Own Fall Decor?
I hope this gives you some ideas for your own home and your fall decor!
If you’re looking for more inspiration, I have an entire board dedicated to Fall decor over on Pinterest.
Also, if you’re wanting to get started finding and styling thrifted decorations of your own, I have a great free Thrifting Checklist that you can use as a reference when you’re out on your own!
Pin this Styling Thrifted Decorations Post for Later:
xoxo,