Thrifting Decorations to Style in Your Home
I’m excited to be sharing part SEVEN of our Styled Thrifted Decorations Series today!
If you’re new here, you might not know about this series yet, but it’s been a really fun one!
Each week I like to visit the thrift stores in my area and then once a month (usually the first post each month) I combine all my thrifted decorations together, and show you how I styled them in my home!
I think sometimes people share their “hauls”, but not necessarily the “why” behind what they choose, or how they go about using the pieces to make them functional and beautiful additions to their home.
Doing that is probably my next favorite part aside from finding wonderful things in the first place!
And I’m glad to have you along!
If you haven’t been following the series, I’ll link all of the associated posts down below so you can get all caught up!
If you’re new to thrifting, I also have a really handy Thrifting Checklist that gives you some ideas of what to look for when you’re out and about!
*This post contains affiliate links to products I know &/or love.
First Things First : The Treasures!
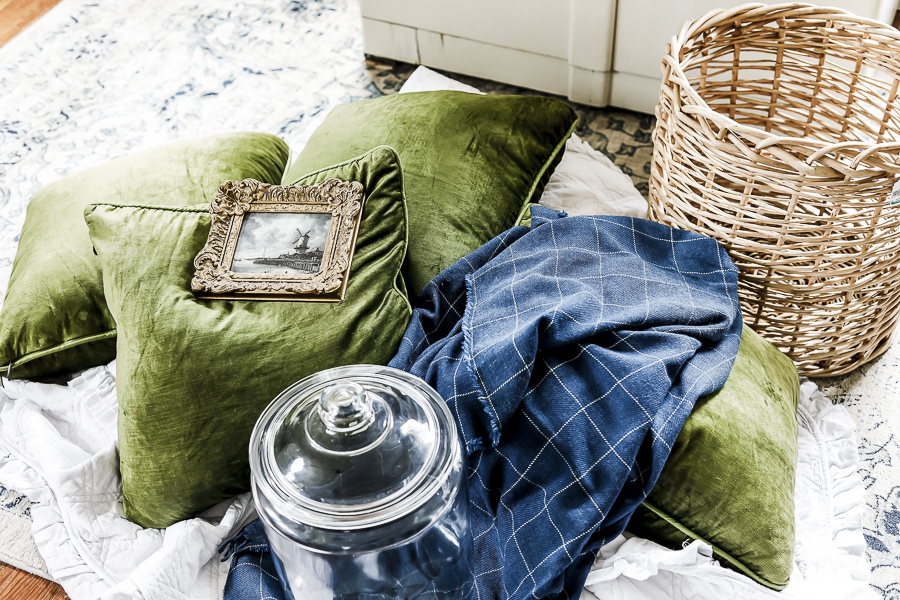
One of the first pieces I found this month was this really darling oil painting! It has the most beautiful ornate gold frame and really lovely colors. It’s of a windmill, and on the back it just says “Holland”. It was $2.99!
(See the close up picture above at the very beginning of this post!)
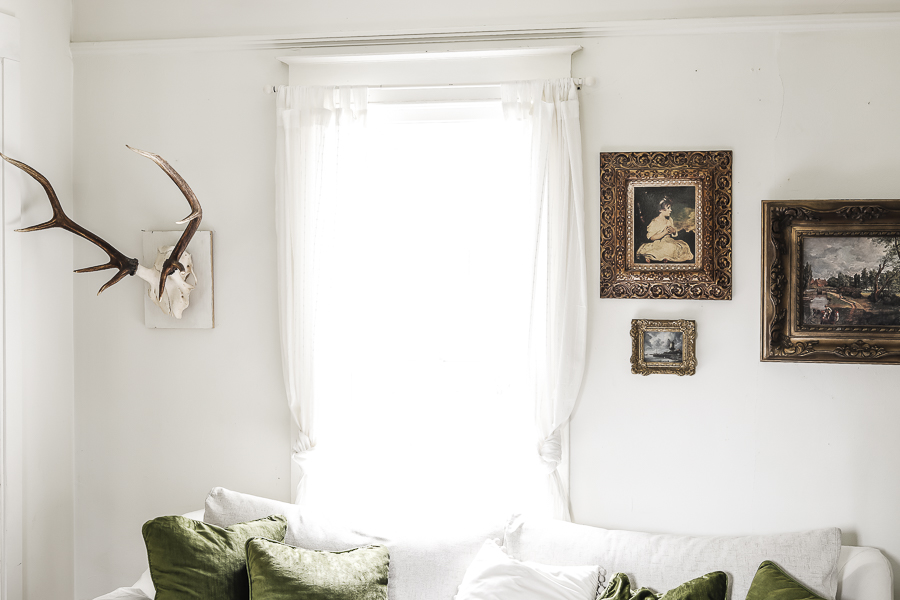
I’ll share a bit more about this new gallery wall later in the post!
I also found these four mossy green velvet pillows for $5 each.
They’ve got really sweet silk piping, they’re 20″ x 20″, which is one of my favorite and most used sizes for throw pillows, and bonus, the pillows inside the cases were feather pillows – which I prefer for decorating!
I found an original price tag on them that they were originally $30 each from Pier One! So I saved $100! Yay!

The next find was this really pretty blue blanket which I happened to recognize was originally from IKEA. It was $4.99.
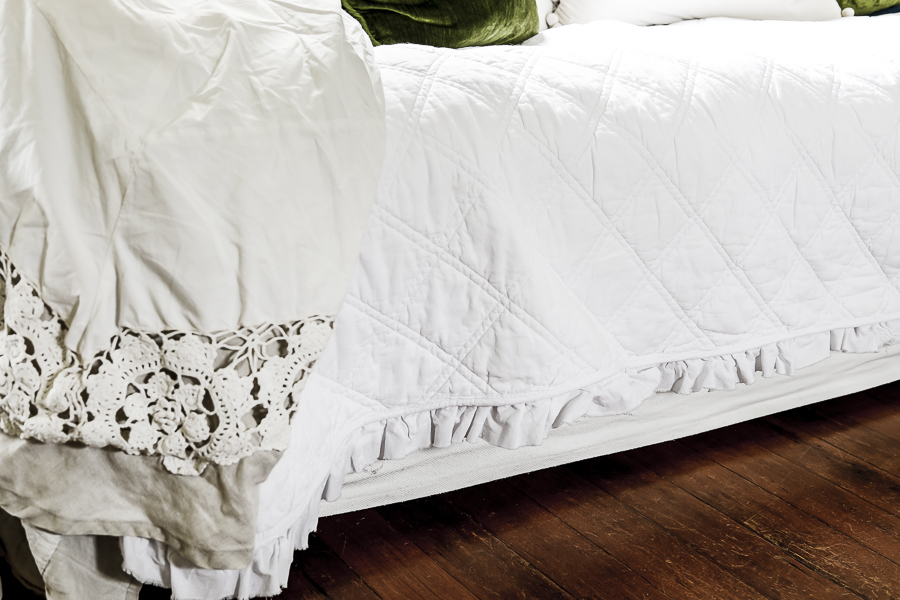
Then I found this really beautiful white diamond quilt with ruffled edges. It was $17, but was originally Threshold brand from Target. I found they were $70 for retail, currently discounted slightly to $62!
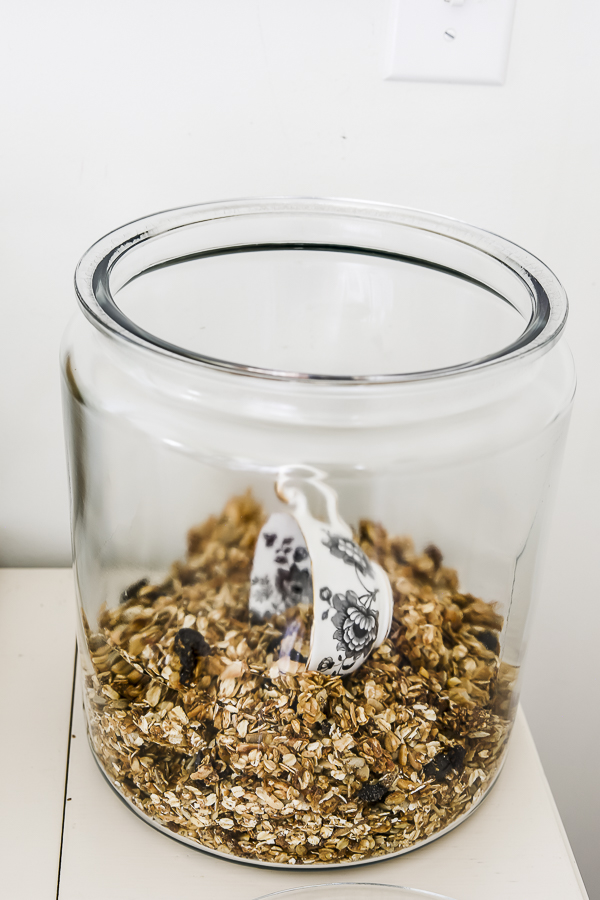
Another great find was this huge glass jar with a lid for $9!
I’ve seen these sell for around $20-30 even from garage sales, so if you ever find one for around $10, I’d say snatch it up! You can see a sneak peak of one of the ways I use jars like this below, but I’ll give you even more ideas further in the post!
There are so many uses, and they look so classic no matter your style!
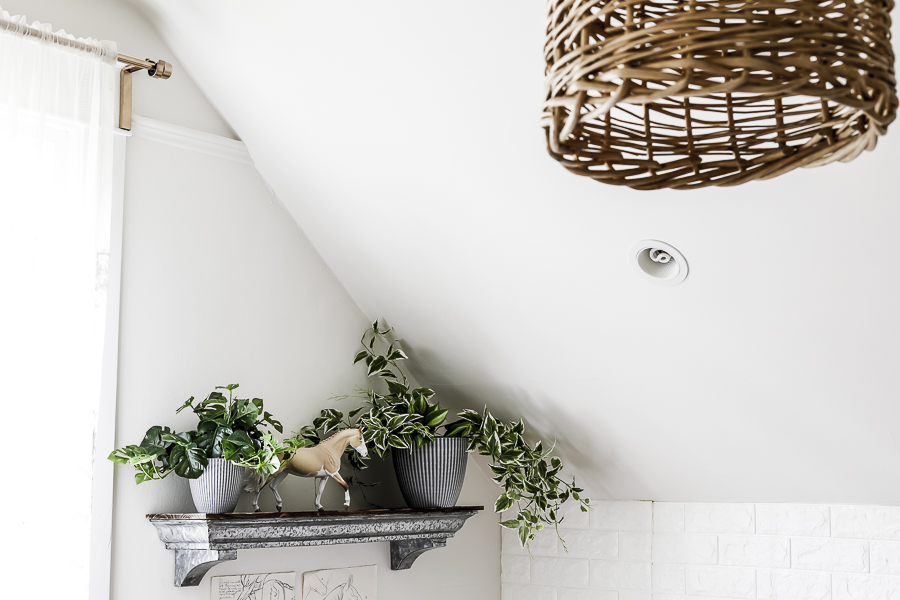
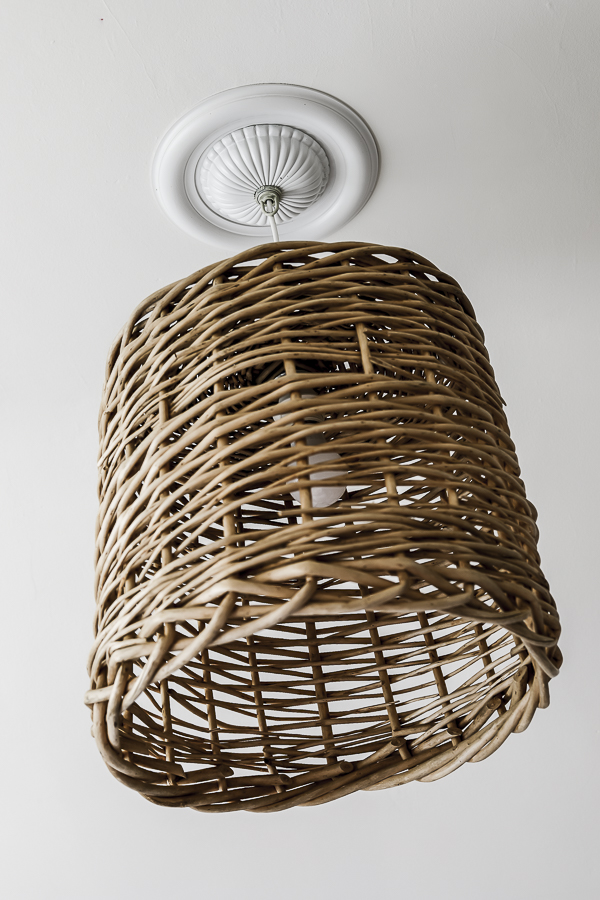
And last but definitely not least… this really cute $6 basket!
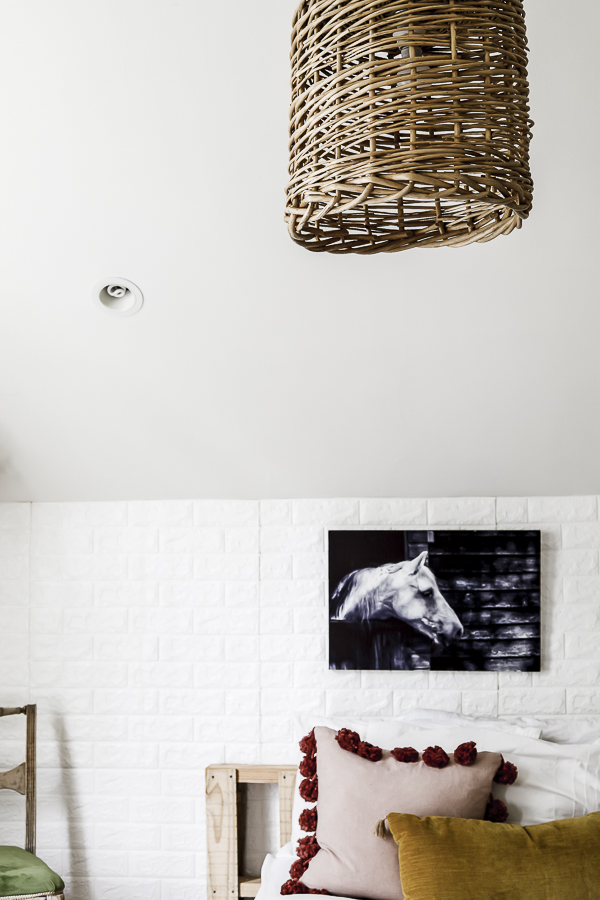
If you haven’t guessed it yet, this basket became the finishing touch that I had teased about during last week’s blog post when we revealed my daughter’s Boho Teen Bedroom.
I’ll show you below how we turned it into a hanging light! Perfect for a boho bedroom.
How I Incorporated & Styled These Items In Our Home:
So since the light is really one of the most exciting pieces, seeing that it’s the cherry on top of my daughter’s room, I’ll share about that first, and share how my husband helped wire it up!
How To Wire Up A Boho Basket Light Fixture:
Supplies you’ll need:
- Basket
- Pendant Light/Lamp Cord. (We modified the HEMMA Cord from IKEA that is originally meant to be plugged into an outlet. You can do it this same way, or you can buy a pendant light kit from Home Depot or any hardware store!)
- Wire Stripping Tool
- Voltage Tester
- Light Fixture Kit (This includes the hardware that will hold the light in place in the ceiling and cover the extra wires – not to be confused with the cord/cord kit referenced above!)
*As a caveat, if you ever purchase a chandelier from a garage sale or thrift store, often they will not include the light fixture kit pieces that are shown above, so you’ll want to remember to buy this in addition to the light itself to be able to install and hang it correctly!*
Note : You’ll also need to determine how long you want your light cord to be. The general rule of thumb is that you want the bottom of any light shade or chandelier to be no lower than 7′ above the ground, so that even your tallest guests can walk comfortably underneath.
Because we were putting this above our daughter’s bed, we did it a little lower than the guideline. We cut ours 16″ from the ceiling + about 4″ of extra wire to work with.
Here’s How to Install Your Light:
Step Number One: Turn off your breaker and use a voltage tester to confirm that there is no power where you are working. (This is very important step. Please do not skip either of these two items!)
Step Number Two: Remove the old fixture Completely
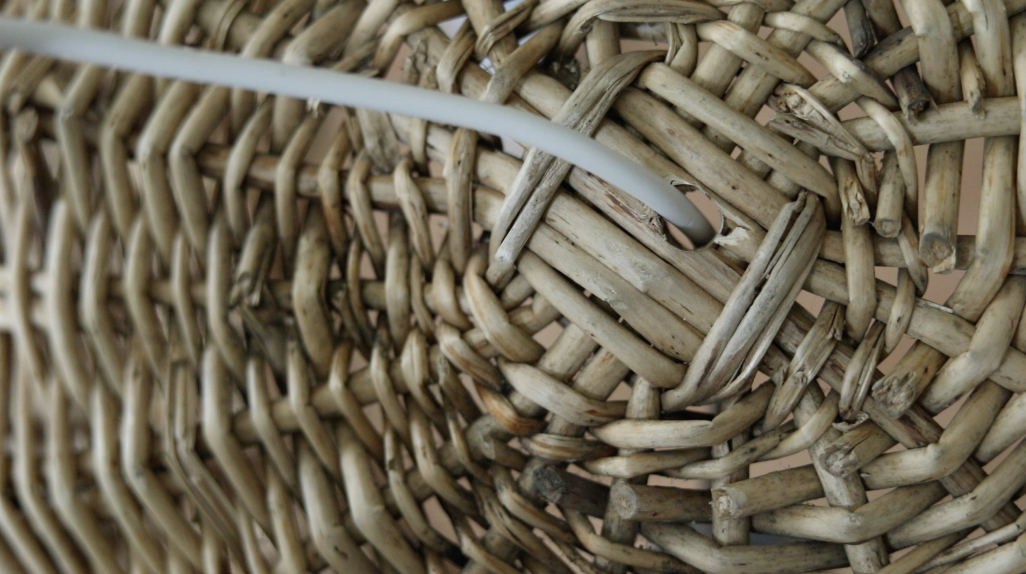
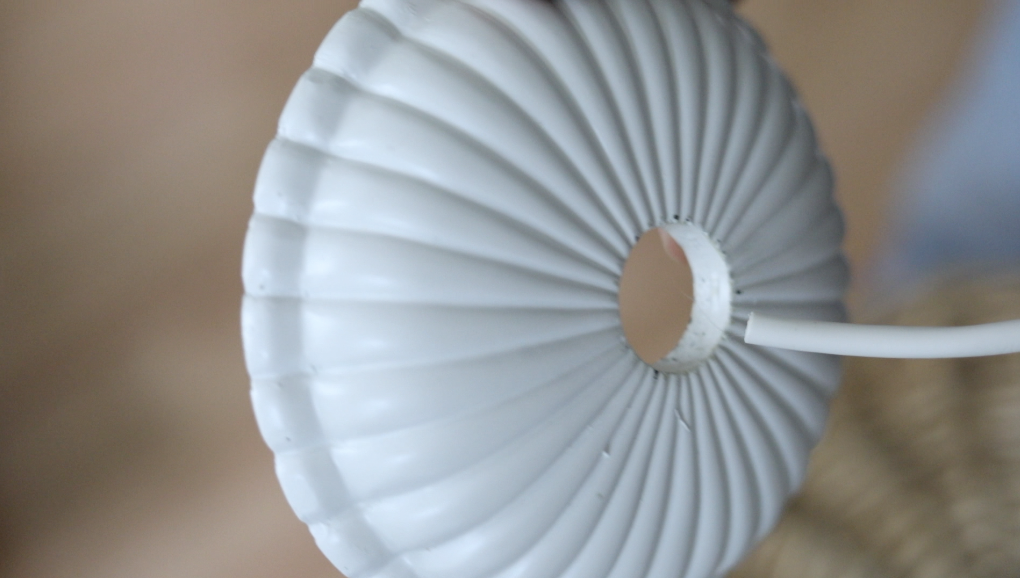
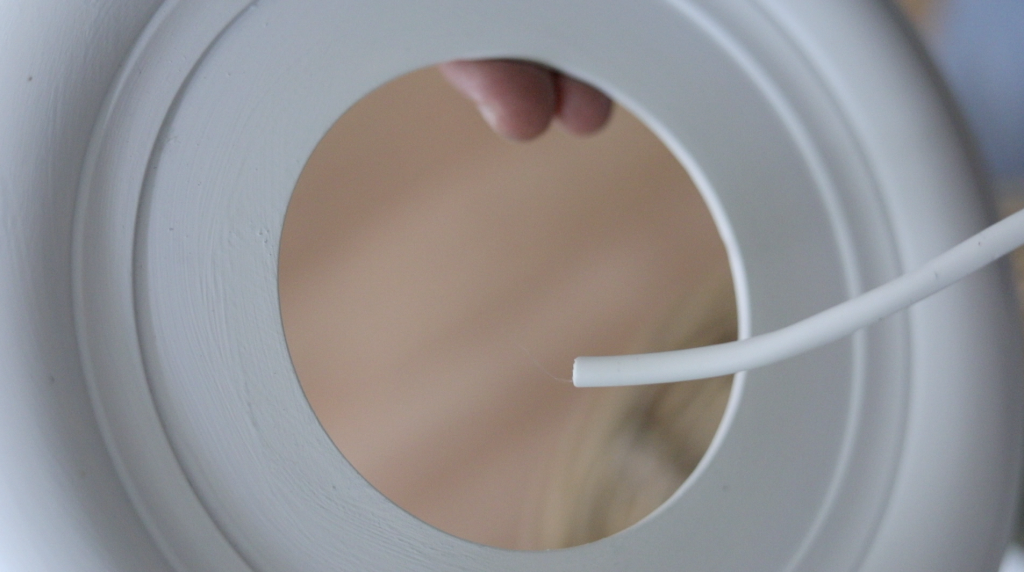
Step Number Three: Because we used a real basket for our shade, we drilled a 1/2″ hole in the bottom – which is now becoming our top since we flipped it upside down. This will be just big enough to accommodate the wire from our light.
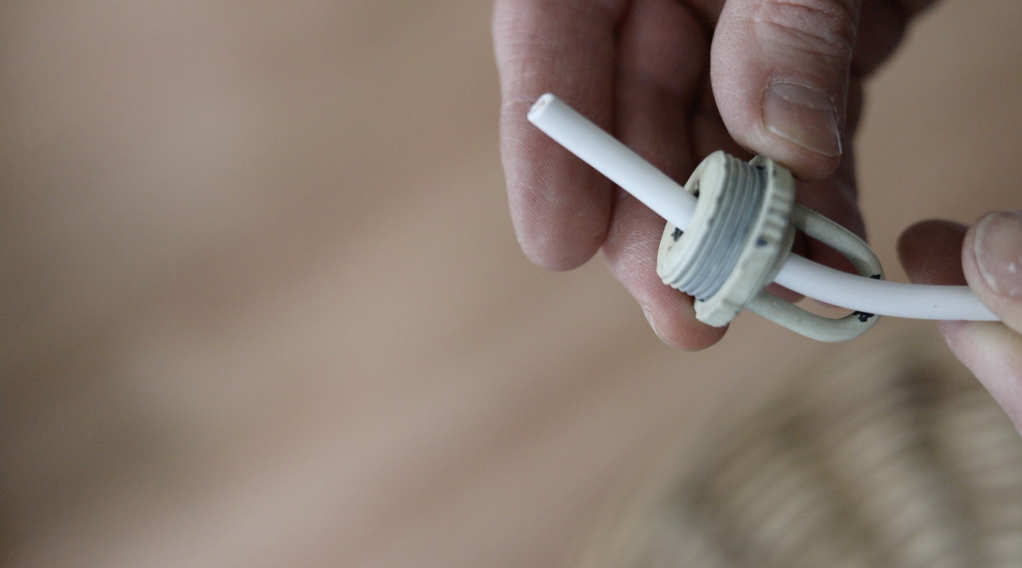
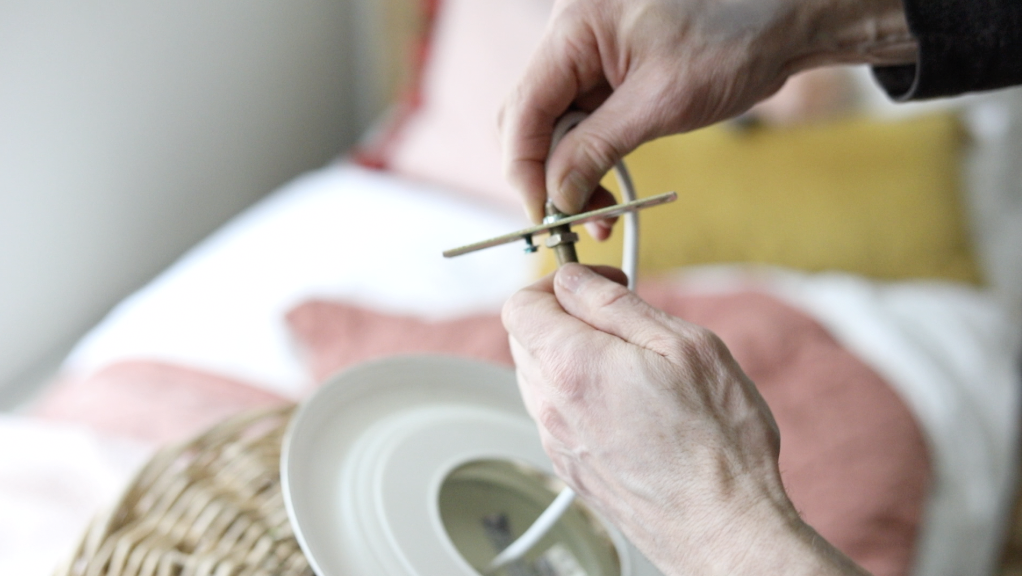
Step Number Four: Thread your light onto your wire together in the correct order.
- First, a washer to help hold the basket in place.
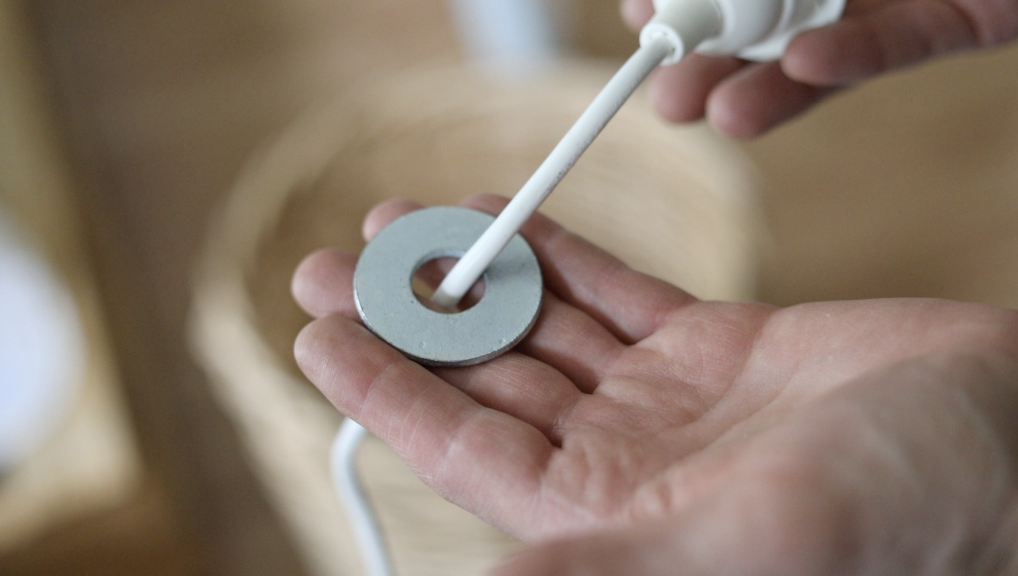
- Then your basket, open side down so that it looks like a shade over the end of your light where the light bulb will screw in.
- Then this threaded hook piece. This will screw into the next piece once you get it all installed.
- Then this domed piece called the chandelier canopy which will help hide your wires
- We happened to also have this plastic medallion that I found a while back and so we added that for an extra finished look.
- Then your “all thread” piece that comes along with your light fixture kit that screws into your bracket.
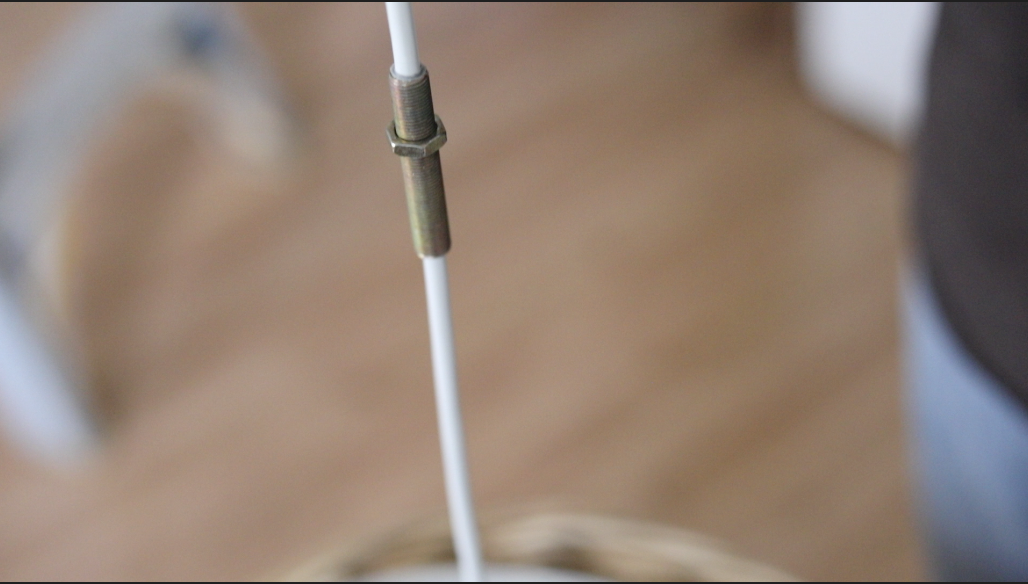
- Attach your all thread to your bracket, and then you’re ready to wire it up!
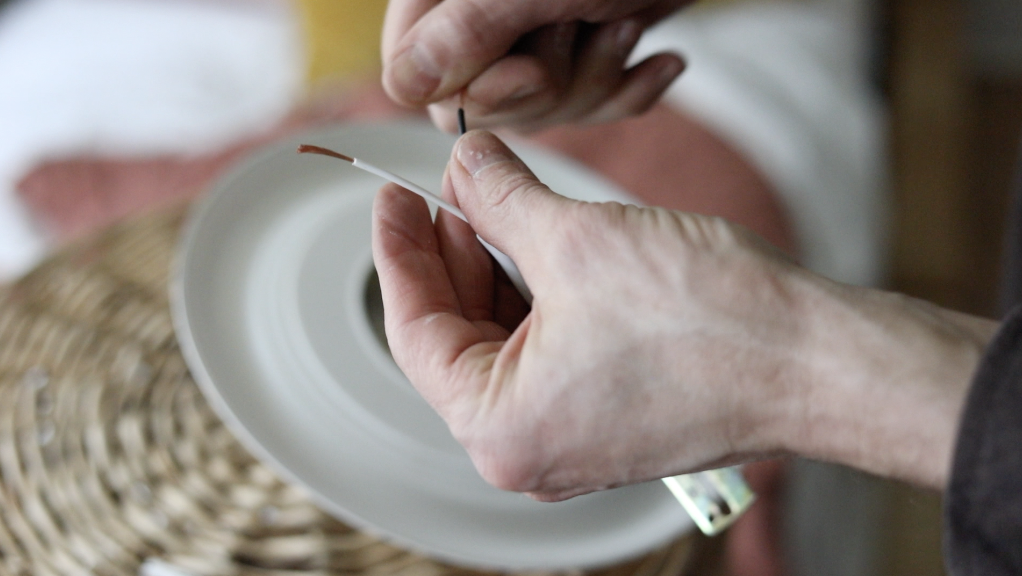
Step Number Five: Use wire strippers to expose the separate pieces of wire from the wire casing.
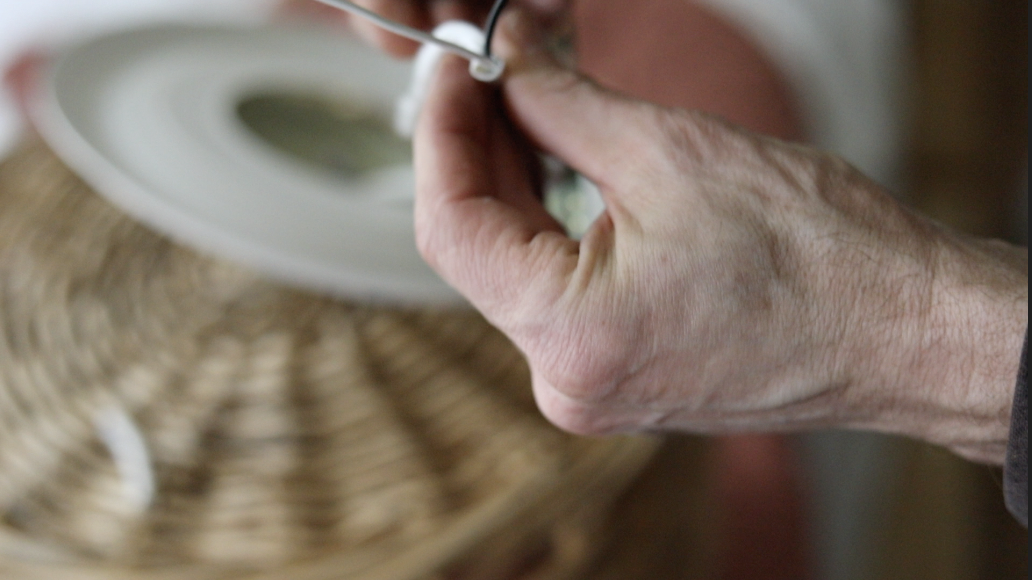
Then use the smaller hole on the wire strippers to strip about 1″ off each individual wire exposing the copper ends.
Step Number Six: Match up your new white wires with the white wires in your ceiling and secure them together with a wire nut. Then match up your black wires with the black wires in the ceiling and secure them with a wire nut.
Step Number Seven: Push your excess wire into the hole in the ceiling and mount your bracket across the opening.
Then carefully push your medallion, cover dome piece and threaded hook up to the ceiling to screw them into place.
Viola! Let there be light! You should be able to add a light bulb, turn the breaker back on and enjoy your new fixture!
How I Styled the Other Thrifted Decorations:
And now back to our other items!
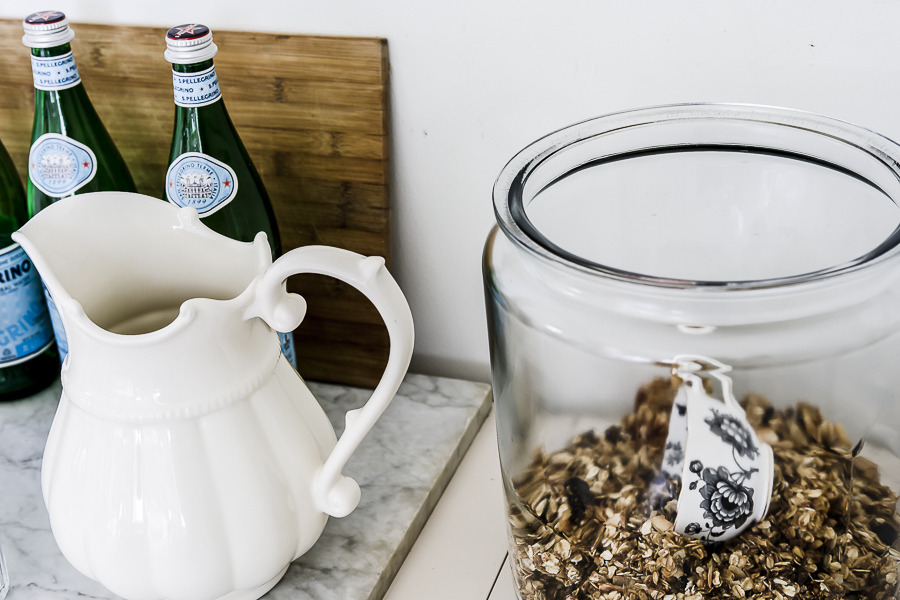
Like I showed quickly up above, I used my new glass jar to serve homemade granola for my family! I added a cute teacup that I had thrifted in another post in the series as our scoop!

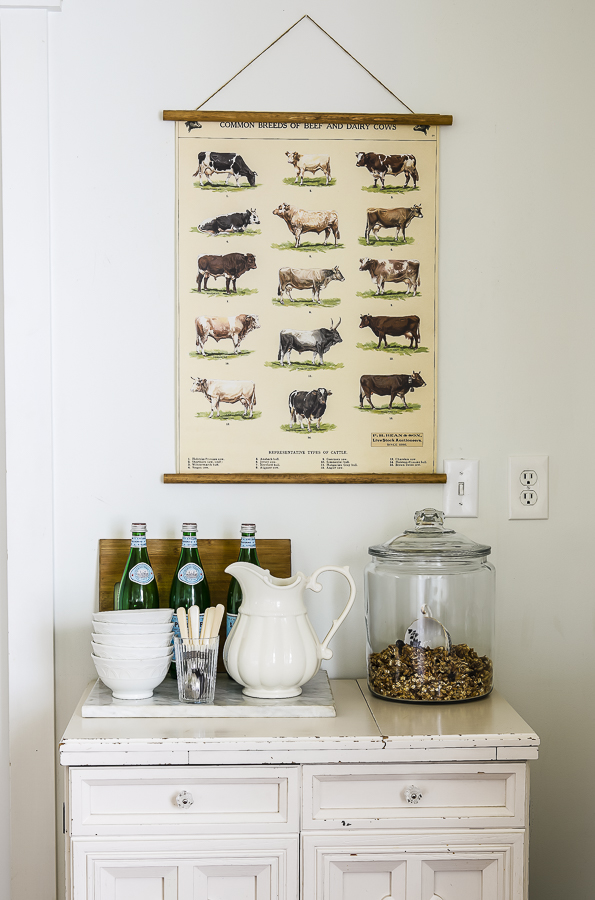
I have a tutorial on making your own vintage wall hanging if you like the look of these cute cows watching over our breakfast!
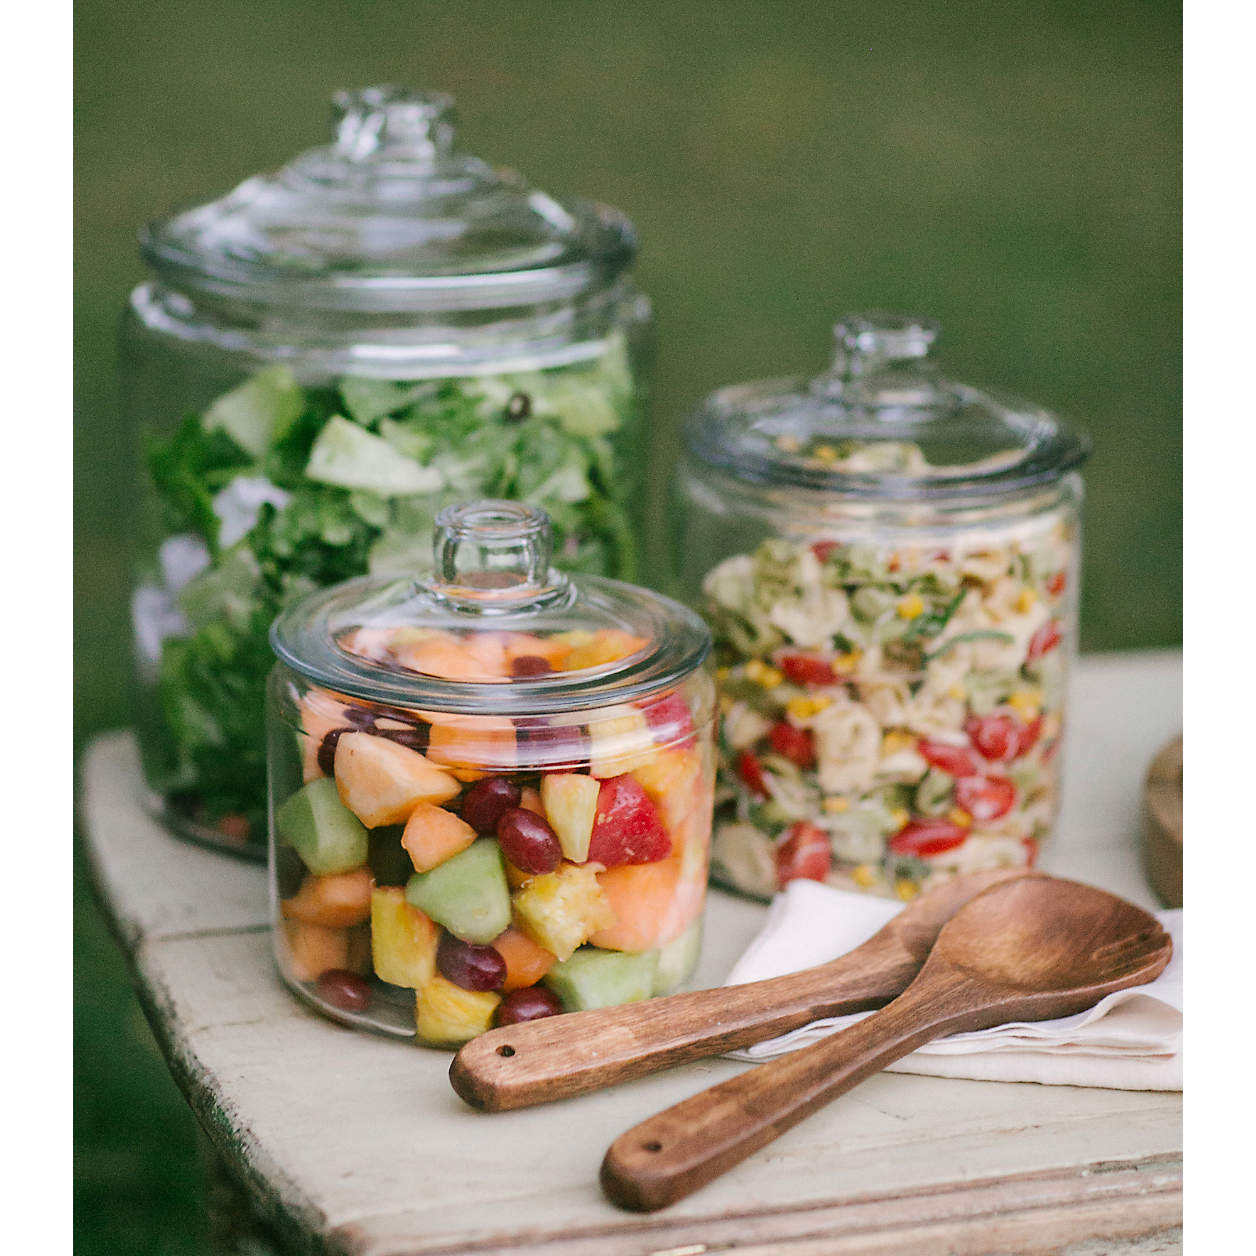
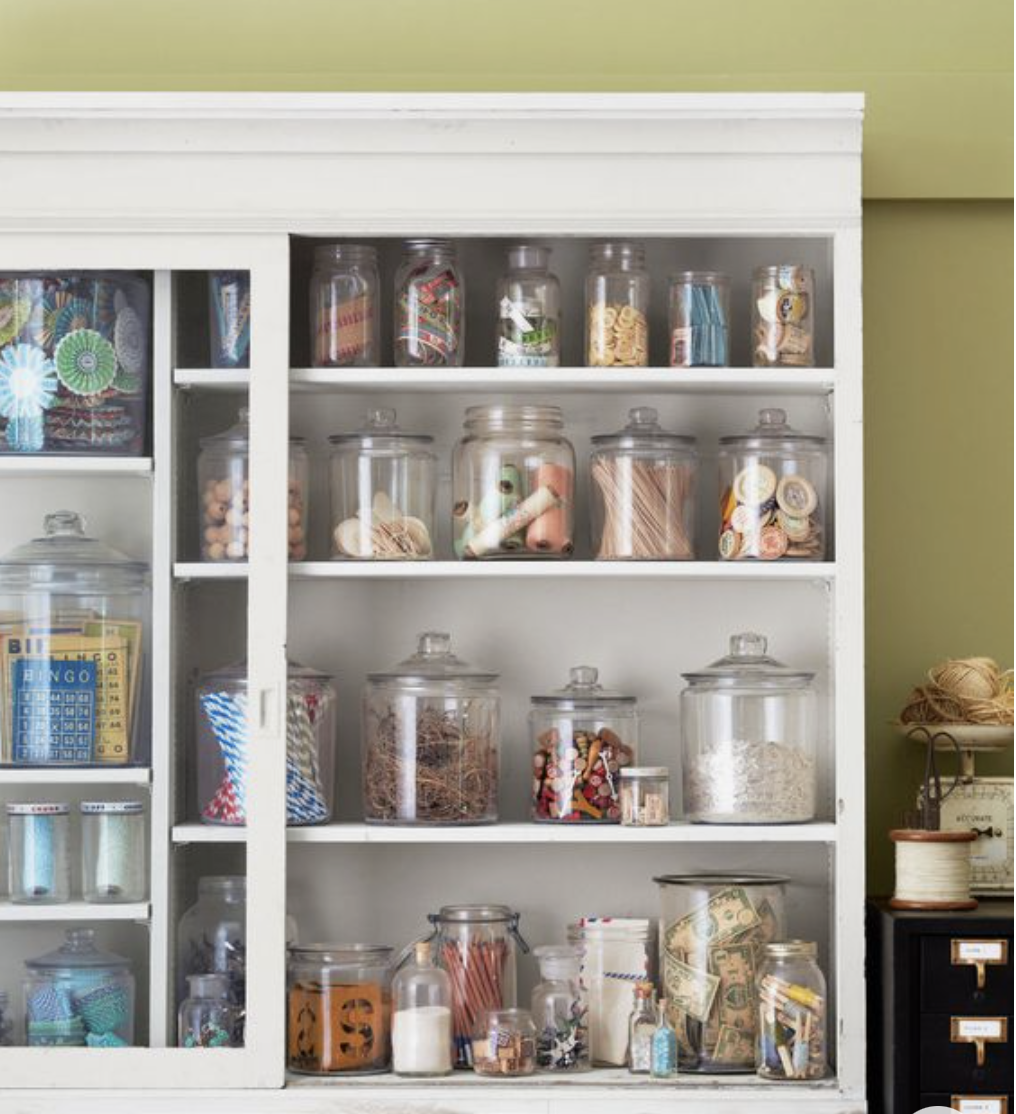
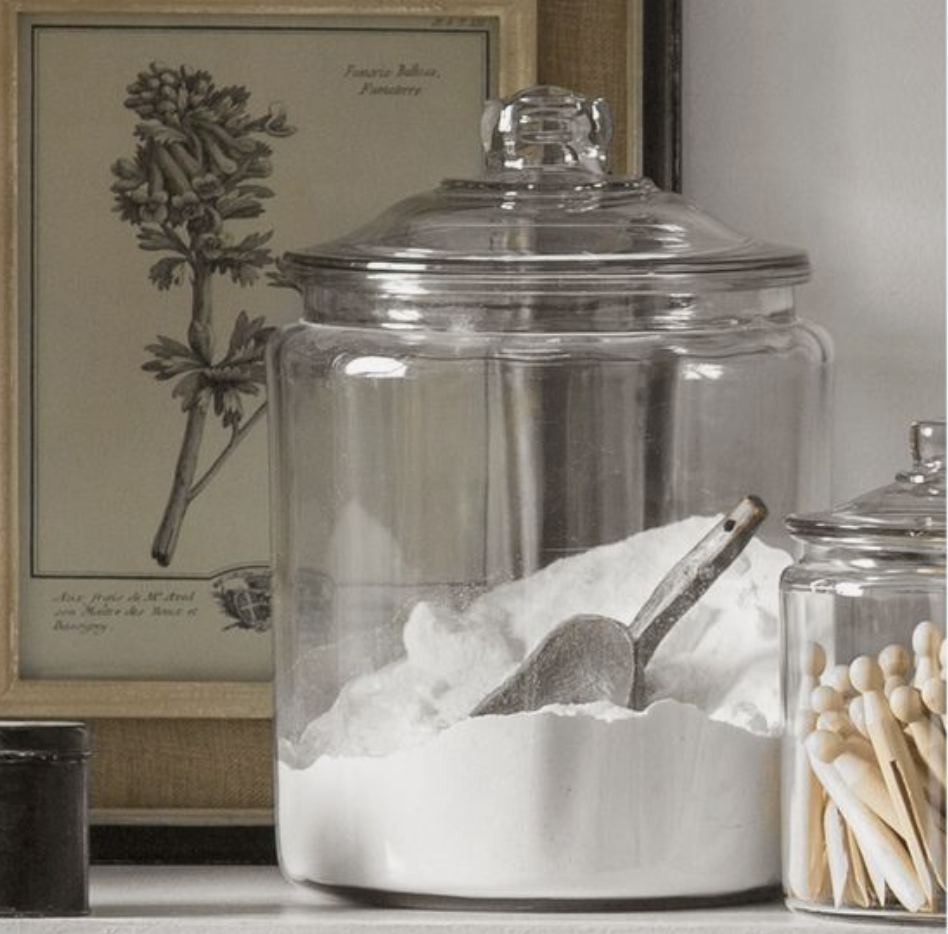
And as promised, here are some other fun ideas for using a large glass jar of your own!
Serving Fruit or Salads at a picnic or barbeque
Storing dry baking supplies

Decorations like shells for a summer vignette.

Pet Food or Treats
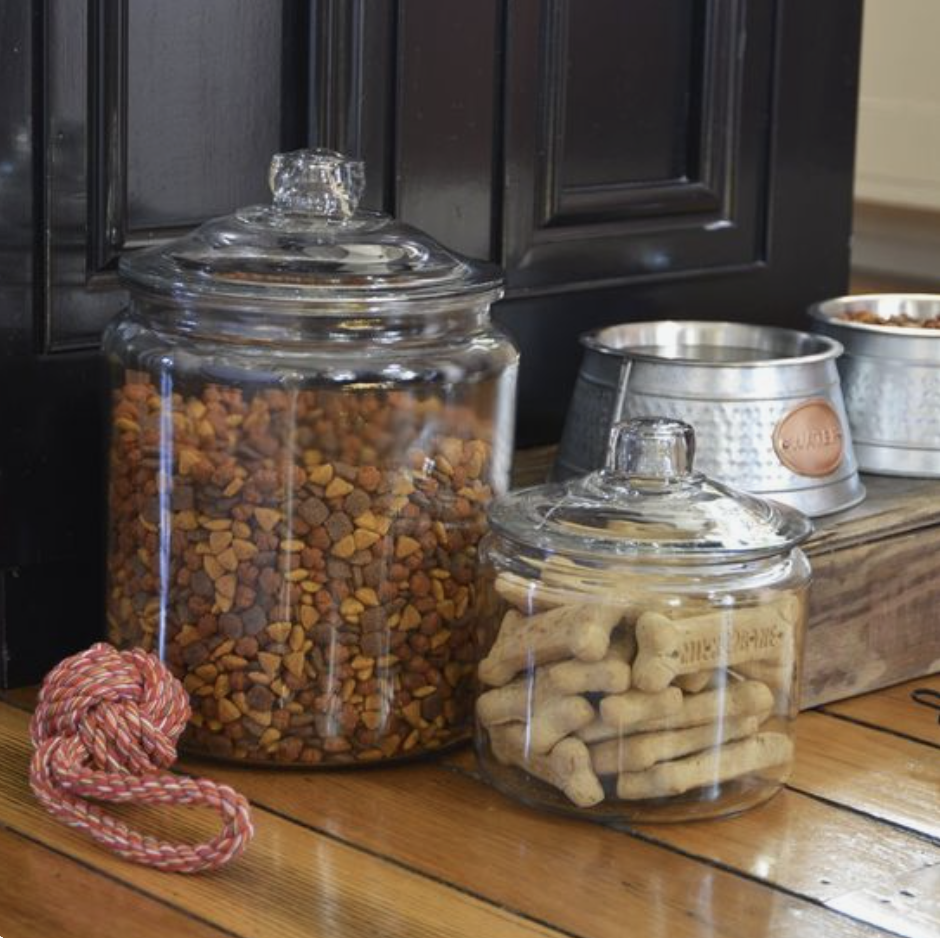
Craft Supplies
Laundry Detergent
And I shared a few pictures of our fireside room up above, but I wanted to also share some details about some changes coming for that space!
This space has been a struggle for me for years, and it’s kind of gone back and forth from a dining room to a fireside room. And it’s currently on it’s way back into being a fireside room with a more functional and practical seating arrangement.
This space is basically just a glorified hallway because of the main thoroughfares of traffic going between the kitchen and living room, and to the stairway leading upstairs. Plus our wood stove is in this room, which adds another limiting factor.
I’ve felt for a while now that the table we had in here was just a bit crowded, and that a couch would fit much better. So here’s the preview of what this space will be becoming!
Our family often congregates in this space already, so having cozy seating is going to make a big difference!
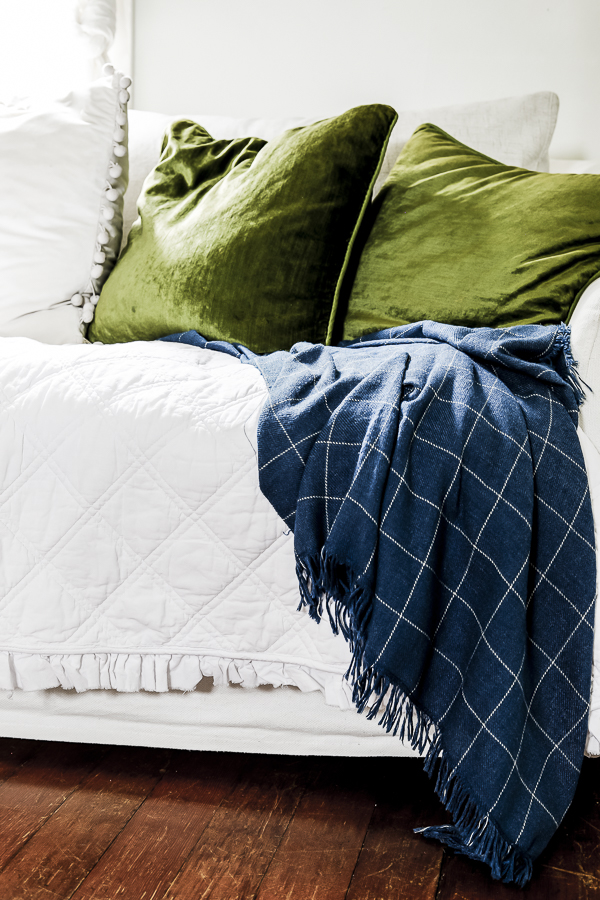
My new white quilt is the perfect addition on top of our white slip covers on the couch. I love using layers to help keep the couch itself cleaner!
I know the slipcovers can be washed and we do wash ours relatively often, BUT I’ve found it’s even easier to have a coordinating blanket layered on top for even easier laundering – like say when the dog decides to sit on the couch even though she’s not supposed to.
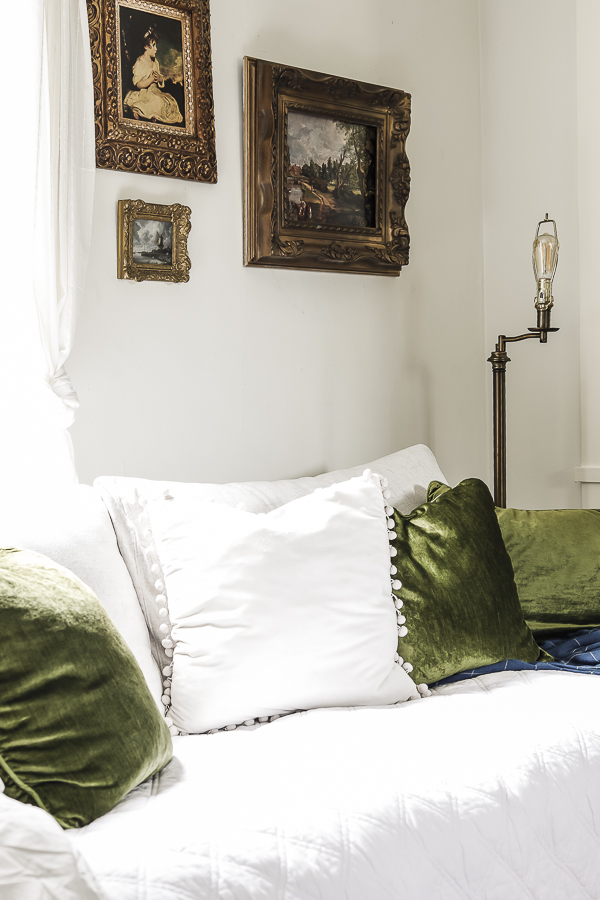
And as I work toward adding more color into our home this year, the green velvet pillows and the blue throw blanket are the perfect beginnings!

Eventually I plan to build out this gallery wall with some additional colorful art pieces, and I even have some ideas about adding some blue floral wallpaper to this fireside room…. Stay tuned!
Other Posts in the Styled Thrifted Decorations Series:
- Tips for Styling Thrifted Decor
- Styling Your Thrifted Finds, Part 2
- Styling Thrifted Decorations, Part 3
- Styling Thrifted Decorations, Part 4 (Christmas Edition)
- Styling Thrifted Decorations, Part 5
- Styling Thrifted Decorations, Part 6 (Spring Edition)
Pin These Styled Thrifted Decorations For Later:

xoxo,


