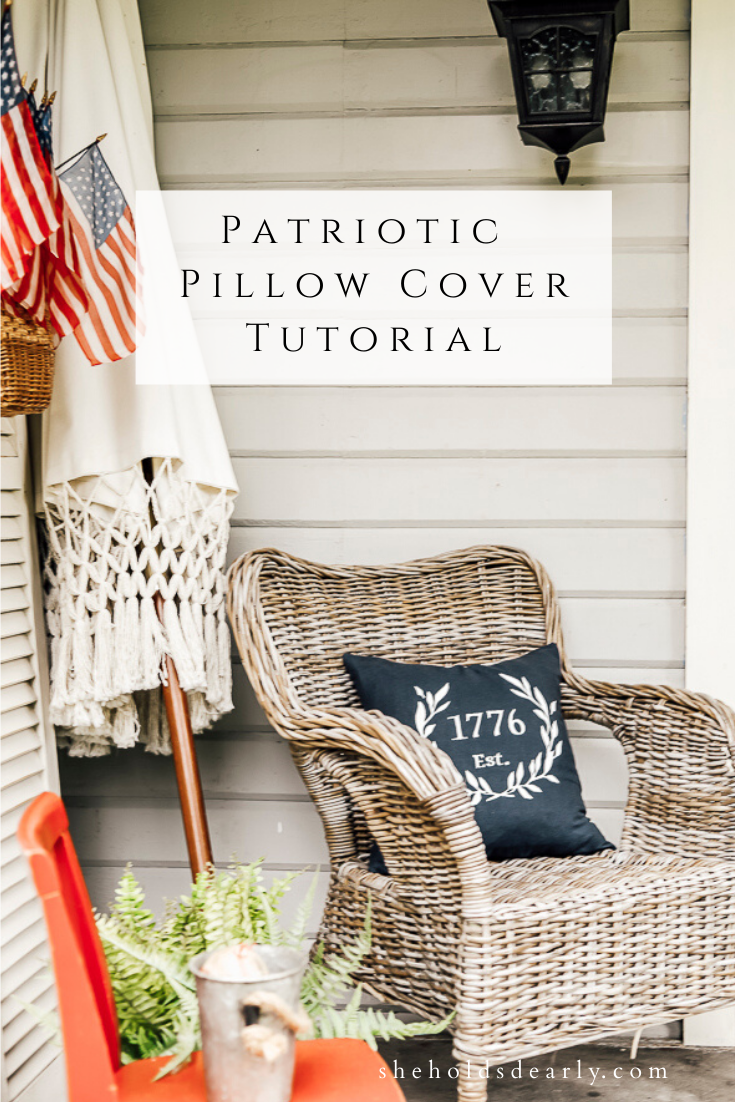
How to Make a Patriotic Pillow Cover
Looking for ideas for your summer or Fourth of July decor? Look no further than this patriotic pillow cover tutorial!
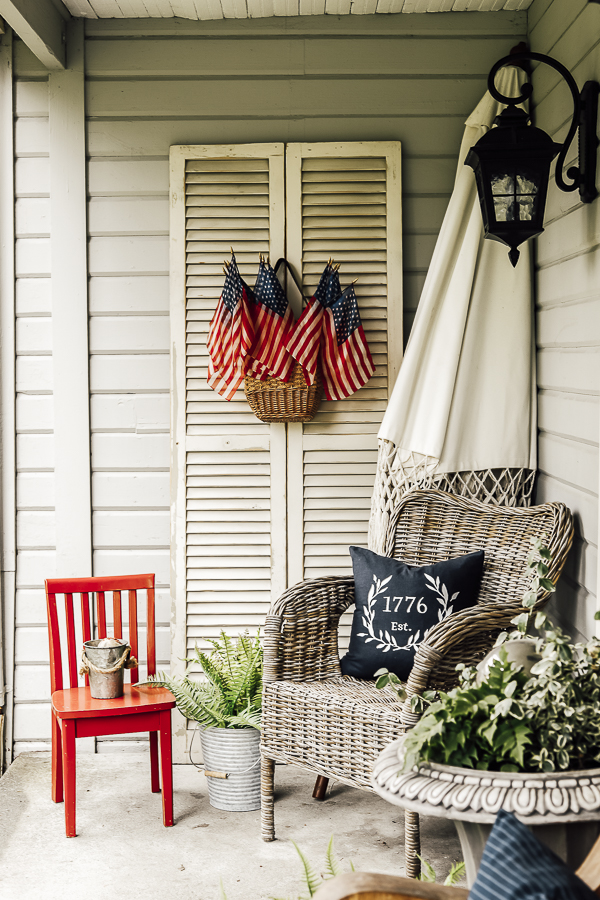
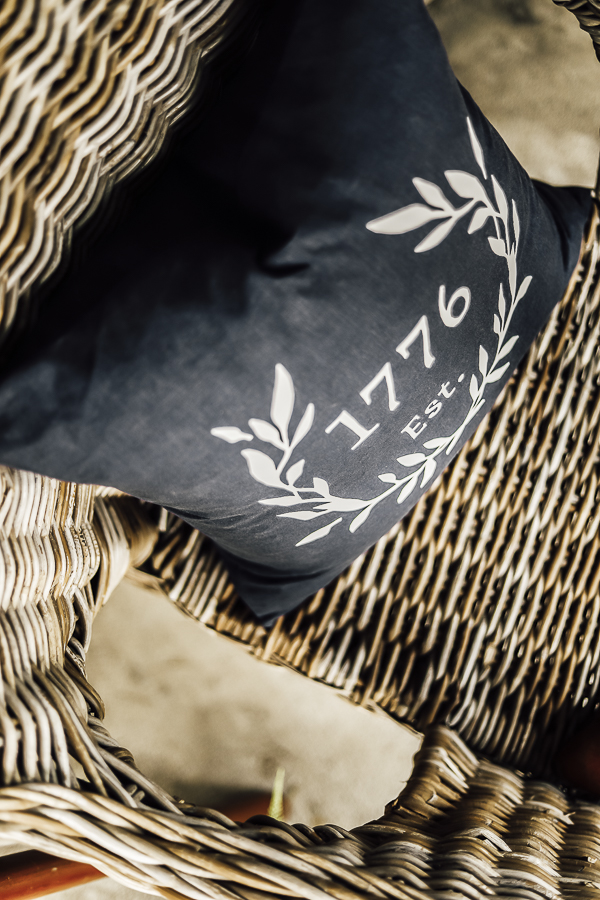
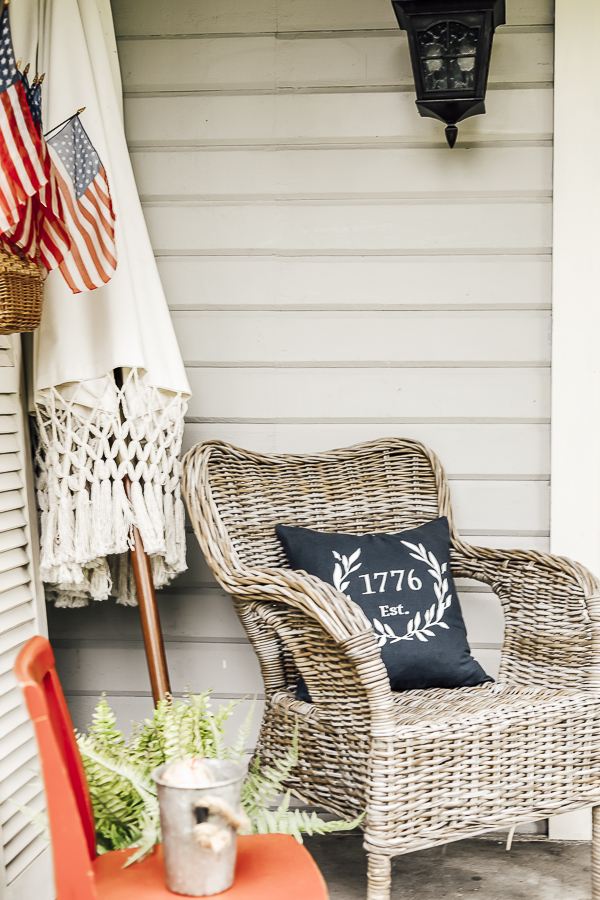
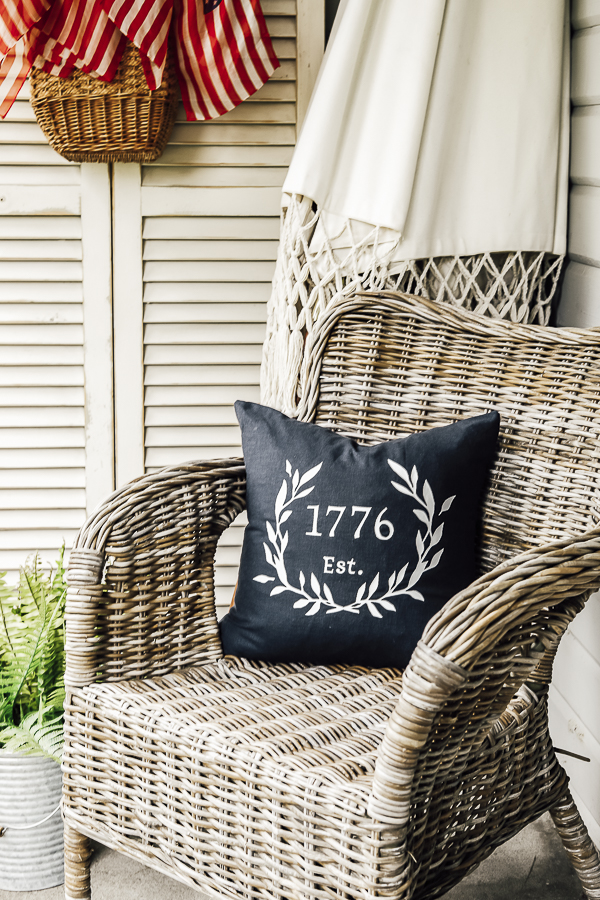
I needed that last little something to add to my patriotic front porch and figured that a pillow celebrating the establishment of the United States in 1776 would be a fun and simple creative touch!
I have a deep appreciation for pillow covers – especially those with zippers, because they are SO easy to change out seasonally, they’re easy to clean, and they’re easy to store away!
Can you imagine needing to store even just 1 pillow for every season… we’d all need dedicated she-sheds just to keep them organized!
Pillow covers on the other hand can fold and store flat easily whenever you’re ready to switch seasons or occasions.
*This post contains affiliate links to products I know &/or love.
Selecting a Pillow Form
One of the main things you’ll need for this tutorial is a pillow form.
My personal preference is to use feather pillows, and I actually often find them at thrift stores!
Now, I can hear some of you flinching at the thought! They’re really not hard to wash and dry – and I feel confident they get cleaned thoroughly!
If that idea still doesn’t excite you, my recommendation would be to get pillow forms from IKEA. They call their feather pillow inserts FJÄDRAR.
You can check your local Joanns and Hobby Lobby stores as well – especially when they’re holding a sale, or you have a coupon!
Select your Patriotic Pillow Cover Design
Once you have your pillow form ready and know the size frame you’re working within, the next big decision is picking your design!
I should mention that’s one of the beautiful things about this tutorial – you can absolutely do this same process with any number of designs for any number of pillows!
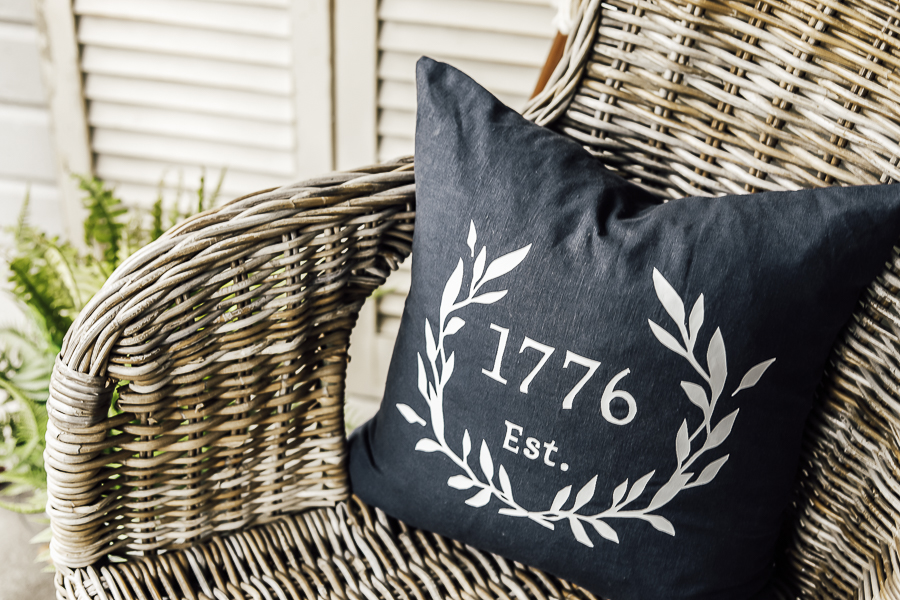
If you’d like to do the same “Est 1776” with the laurel wreath that I did on this pillow, you can get a free copy of my design by entering your email address below:
Depending on your style and your inspiration, you could also do patriotic imagery like a flag, eagle, or national monuments.
Or if you like to get even more bang for your buck you can do something more generically summer instead of focusing on the fourth of July.
The possibilities are truly endless!
Once you have your pillow and your design nailed down – you’re ready to start!
Note | If you don’t sew, and don’t plan on learning right now, you could totally buy a plain pre-made pillow cover and skip to steps 2-4 below to apply the iron on vinyl without making your own pillow cover!
Making your Own Patriotic Pillow Cover
Here are the supplies you’ll need to gather:
- Pillow Form – Can be found on Amazon or at IKEA
- Printed Design Page(s)
- Material – I used this pretty navy linen
- Coordinating Thread – Here’s the navy thread I used
- Coordinating Invisible Zipper – You want it a little wider than your pillow form. Here’s a navy 20″ zipper.
- Roll of Iron-on Vinyl – I used this roll of white vinyl.
- Sewing Machine
- Iron
- Ironing Board
- Scissors
And here’s the process:
Step One |Measure your pillow form and cut 2 pieces of material to size for the front and back of your pillow case.
When you’re sewing, you’ll use a 1/2″ seam allowance – so you need to add 1″ to your height and width measurements.
That will account for the 1/2″ for the each top and bottom seams, and 1/2″ for both your right and left side seams.
Step Two |Transfer your printed design onto your vinyl.
If you have an x-acto knife, you can set your vinyl (shiny side up) down on a protected surface and lay your printed design down on top (face up). Use your x-acto knife to carefully cut through both the paper and vinyl layers.
If you don’t have an x-acto, or aren’t comfortable using one, you can use regular scissors to cut your design out of the paper – then trace it carefully onto your vinyl and cut that out with scissors as well.
Step Three | Iron your design onto your fabric.
Lay your fabric down right side up on an ironing board or other heat-safe surface.
Line out your vinyl piece(s) with the shiny sides UP onto your material as you’d like them to look on the final product.
Iron them onto your fabric following the time and heat settings on your vinyl packaging.
I know it seems like the iron is going to melt on the plastic – but don’t worry, it really won’t!
Step Four | Remove the shiny plastic layer from the vinyl.
Once all pieces are ironed on where you’d like them, peel back and throw away the shiny top later.
Make sure to do this once ALL your pieces are ironed down to avoid the hot iron touching segments without the shiny protective layer – it changes the texture and doesn’t look great!
Of course you’ll never guess how I know that…
Step Five | Sew your zipper in to the bottom of your front and back material pieces.
I have a really good step by step 10 minute zipper tutorial if you’re new to sewing! Otherwise the general steps are to sew the RIGHT sides of the zipper to the right sides of your material.
Keep in mind that while sewing you basically do everything inside out to hide the seams.
So the “top” or front of the zipper should be face down against the pretty side of your material as you’re sewing – then repeat with the other side.
Step Six | Sew the remaining 3 sides of your pillow with a 1/2″ seam allowance.
This will effectively close up your pillow, so make sure to unzip your zipper about 4″ so that you can stick your hand in to turn it right side out after the 3 edges are sewn shut.
Step Seven | Turn your pillow case right side out and put your pillow form in – then you’re done!
I hope this tutorial inspires you, and I can’t wait to see and hear about what you make using this iron-on vinyl trick!
Feel free to leave a comment here, or tag me over on Instagram if you make your own!
Pin this for Later: