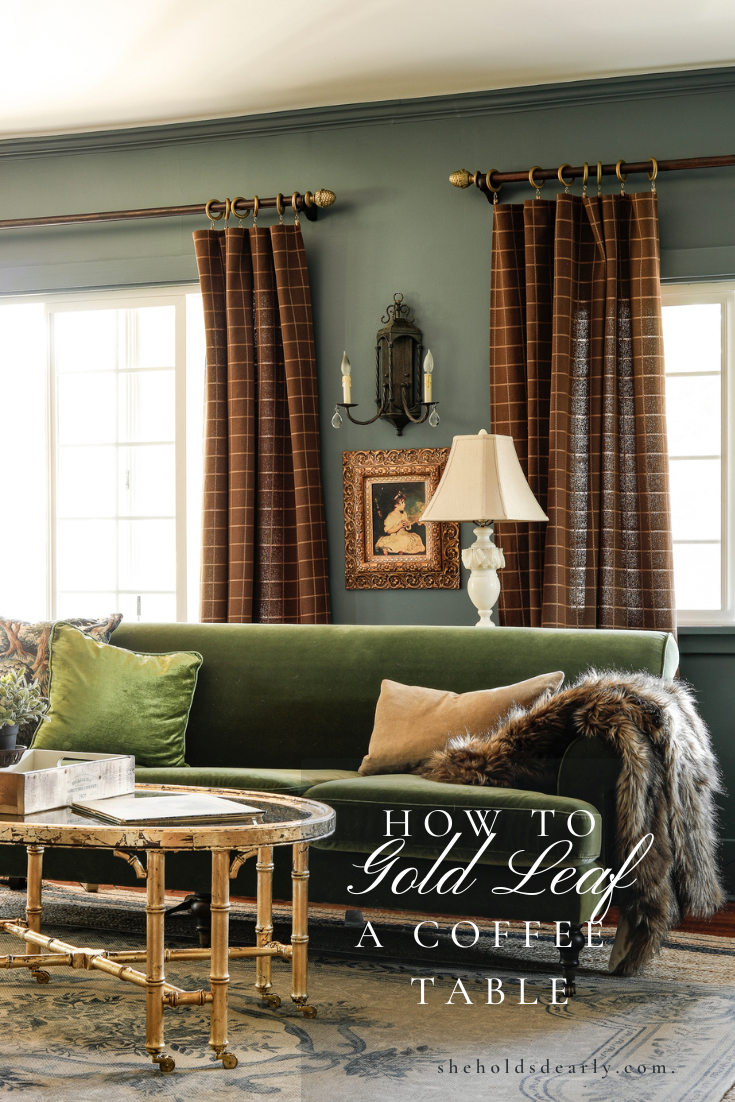
How to Gild with Gold Leaf

If you’re wanting to add a textured gold look to a furniture or decor piece, this gilding tutorial is for you!
Gilding has been around for millennia, and yet, it’s still a beautiful and practical technique for modern day uses!
I’m actually going to be teaching how to make a gilded oyster shell ring dish as one of the hands-on-workshops at my Bespoke Design Retreat coming up this fall! Registration is only open for a few more days until August 1st! Visit bespokedesignretreat.com to learn more and to save your ticket before it’s too late!
** If you’re reading this post after August 1, 2023 – Registration for the 2023 trip is already closed, but you can join the Waitlist Here to be notified for future Bespoke events! **
Now before I jump in to this gilding tutorial, I wanted to answer a few of the biggest questions I hear often about the process.
Common Gilding Questions:
*This post contains affiliate links to products I know &/or love.
What is the difference between gilding & gold leaf?
Gilding is the process of applying a “leaf” or thin sheet of metal to an object.
And while gold leaf has always been one of the most popular options, it’s not the only one! Historically, copper, aluminum and silver have all been used as leaf for their own gilding purposes as well.
Why chose to gild instead of using spray paint or Rub n Buff?
This will come down to a bit of personal preference, but my decision relies on a few things:
- The size of the item – if it’s larger, I’ll often stick with spray paint. I also use spray paint if I want a high gloss and/or very smooth glam finish.
My favorite spray paint used to be the Design Master 24-Carat Pure Gold Metallic Spray paint, but Natalie over at My Vintage Porch shared about the Rustoleum Champagne Bronze Metallic Spray paint, and I’ve really been loving it!
After being the fore-runner for the past few years, the Design Master has been officially replaced. I love that the Rustoleum a) stops rust b) is a prettier shade of gold, and c) is cheaper!
- If it’s very small or detailed, or if spray painting would require a large amount of prep (removing a light fixture or taping off a lot of small areas, I’ll usually use Rub N Buff.
My favorite shade of Rub N Buff is Antique Gold, but they have 5 different gold options, plus 2 silvers and 1 black shade if you needed those for a different project.
- If I’m doing a larger item but I want to have brush strokes for visual interest, I’ll use a product called Liquid Leaf. I just did a DIY bronze light shade with liquid leaf that you can see HERE.
- If I want texture, patina and character – I choose to gild with gold leaf!
And with that, let’s jump into the tutorial!
Easy DIY Gilding Tutorial
Supplies:
- Size | This is the specific adhesive used for gold leaf.
- Gold Leaves | This can be purchased either in imitation gold leaf, or in genuine gold leaf (which is obviously a bit more expensive.) We used about 50 sheets for this coffee table, but the amount will depend on the size of the sheet you find, and the piece you’re covering!
- Dark Wax | optional
- Wax Bush | optional
- Polishing Brush | optional
Then, you just need your piece that you’re wanting to gild!
You can chose a piece of furniture, or a smaller decor item; this gilding tutorial will work well on any of them!
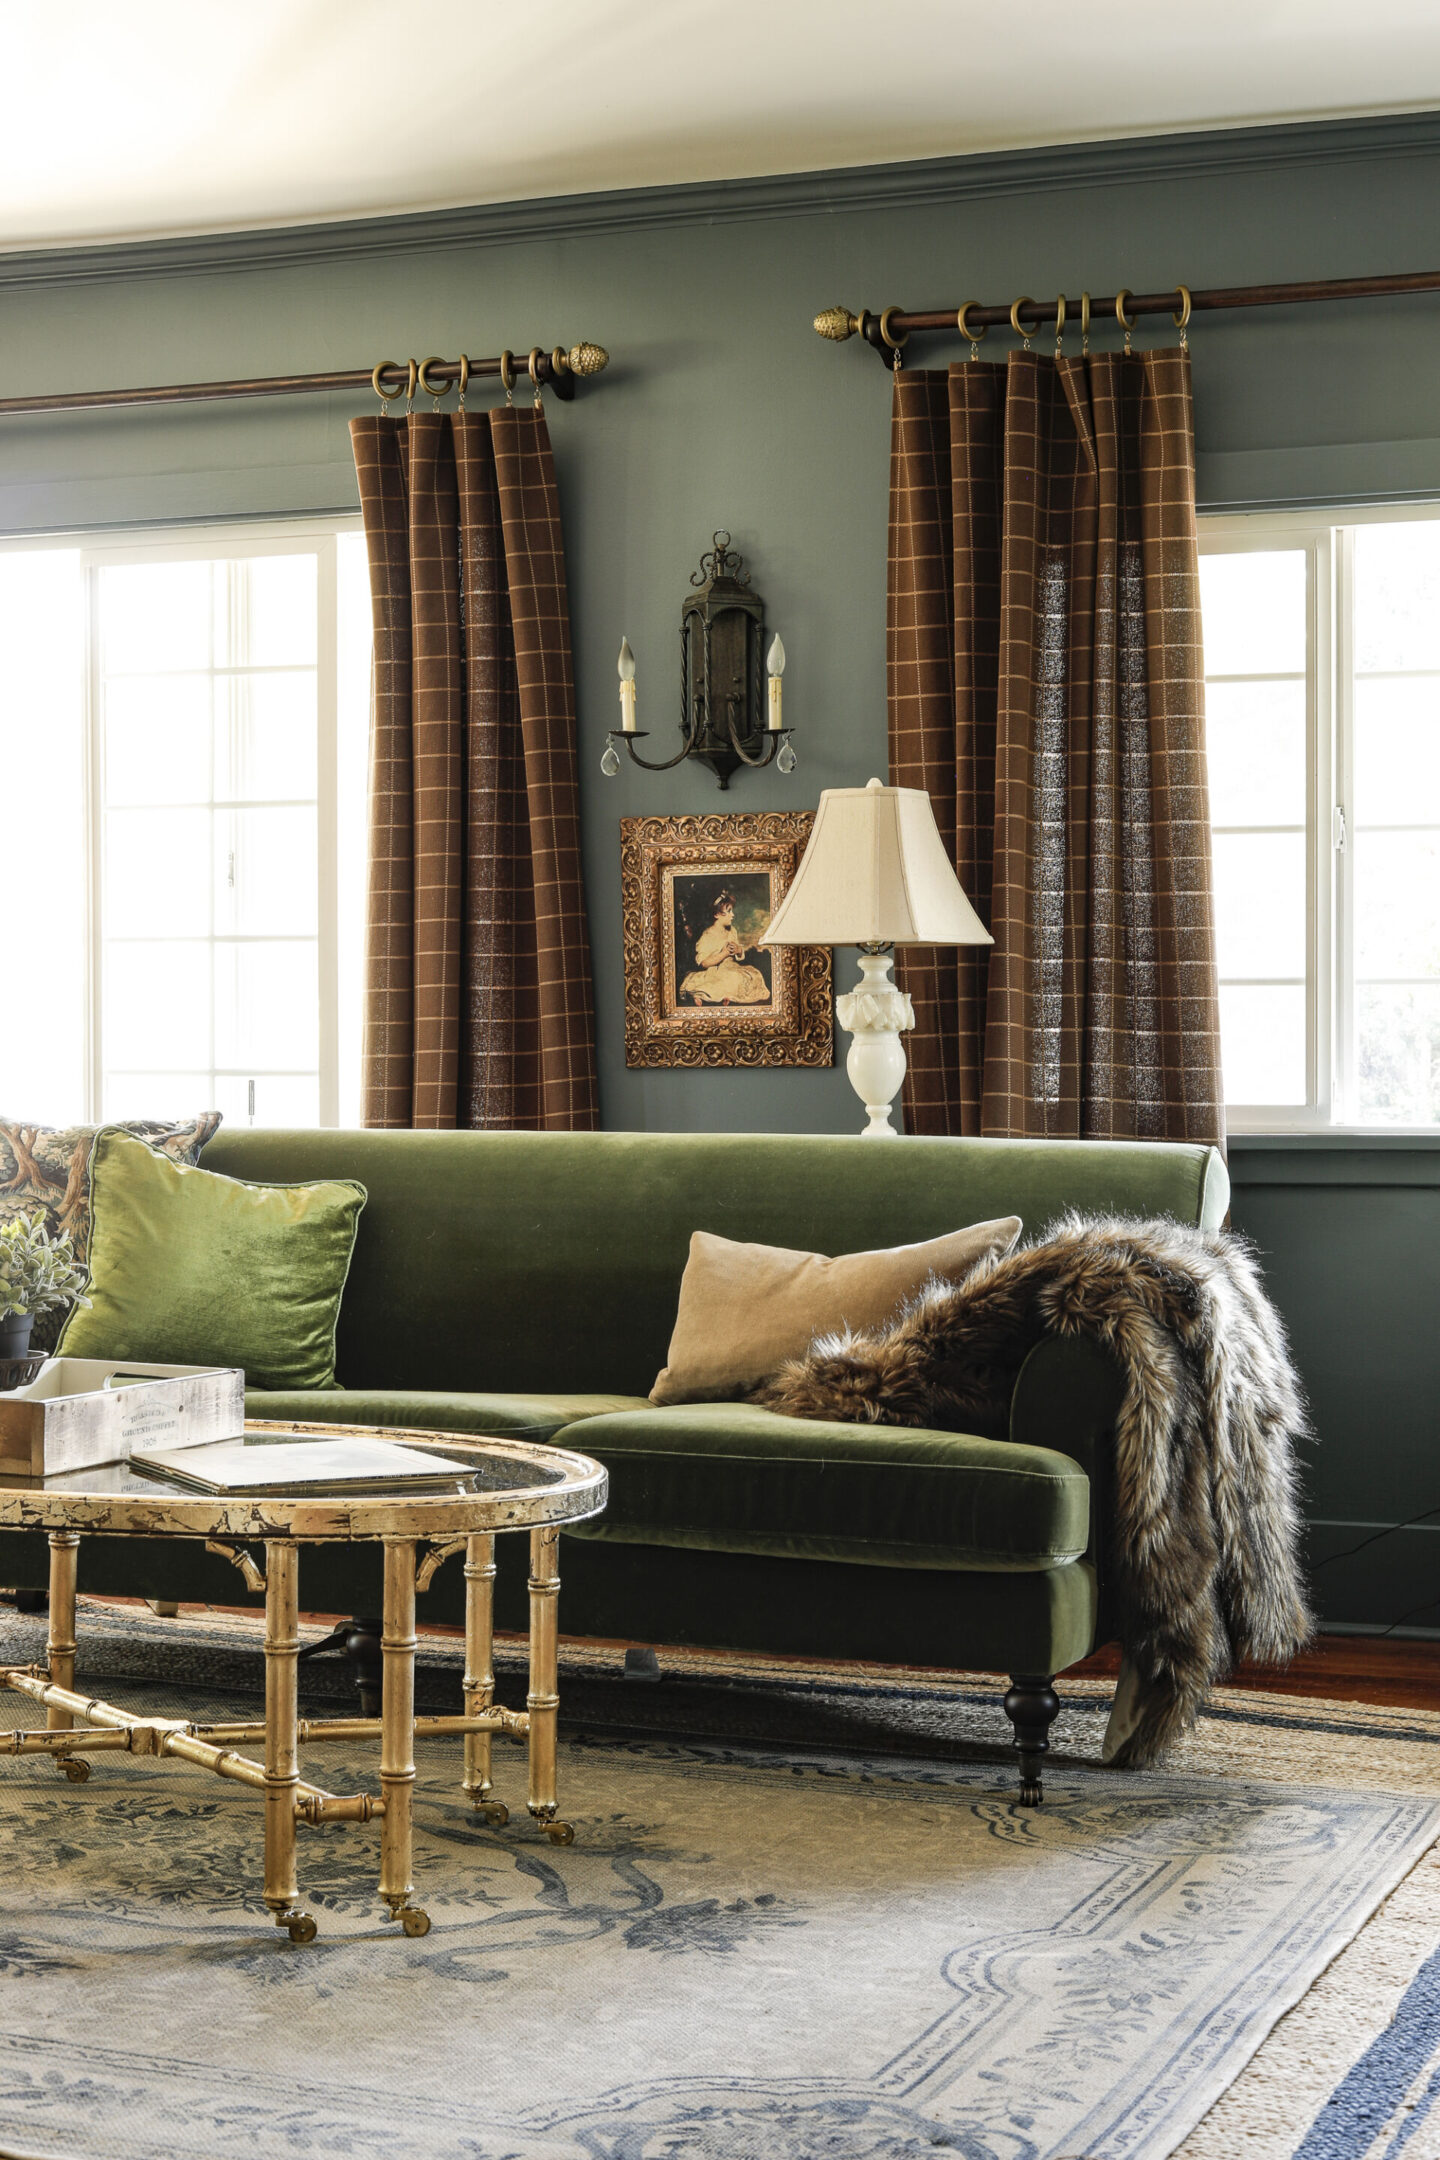
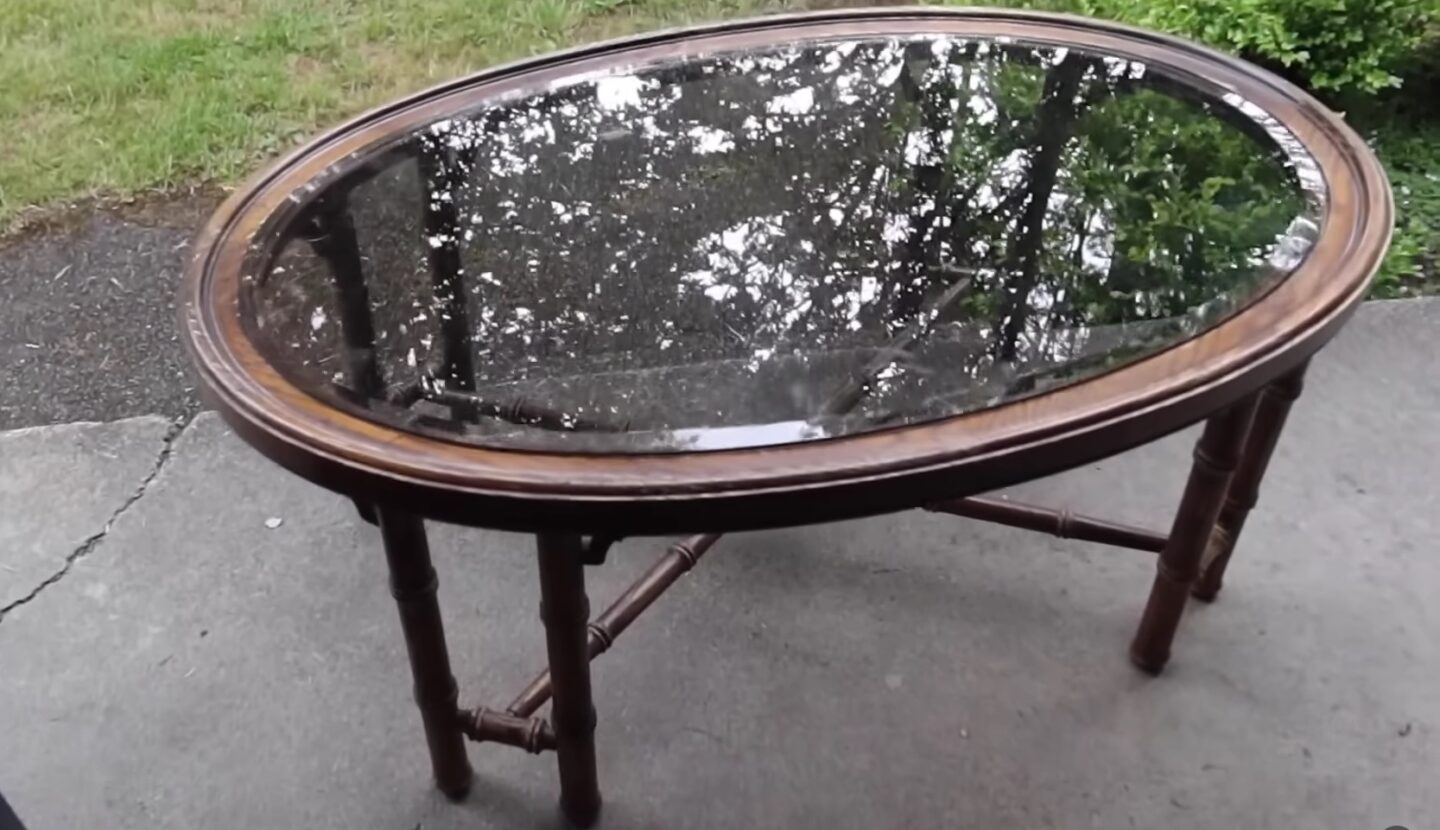
For my purposes, I chose to gild a bamboo coffee table that I found on Facebook Marketplace.
If you’re in the market for a gold bamboo table, here are a few similar options: Wayfair, Overstock, Wayfair #2, One Kings Lane, Bellacor, 1800 Lighting, Wayfair #3.
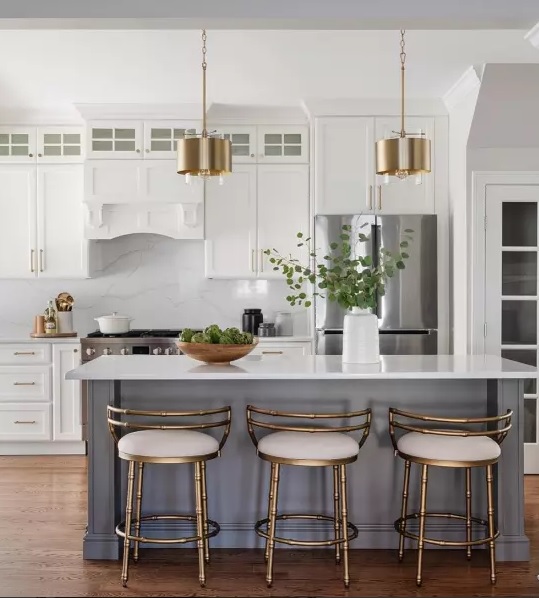
I had been very inspired by golden bamboo pieces like these bar stools shared by Ballard Designs.
Once all of your supplies are ready, you can get to work!
How to Use Gold Leaf to Guild:
Here’s the before!
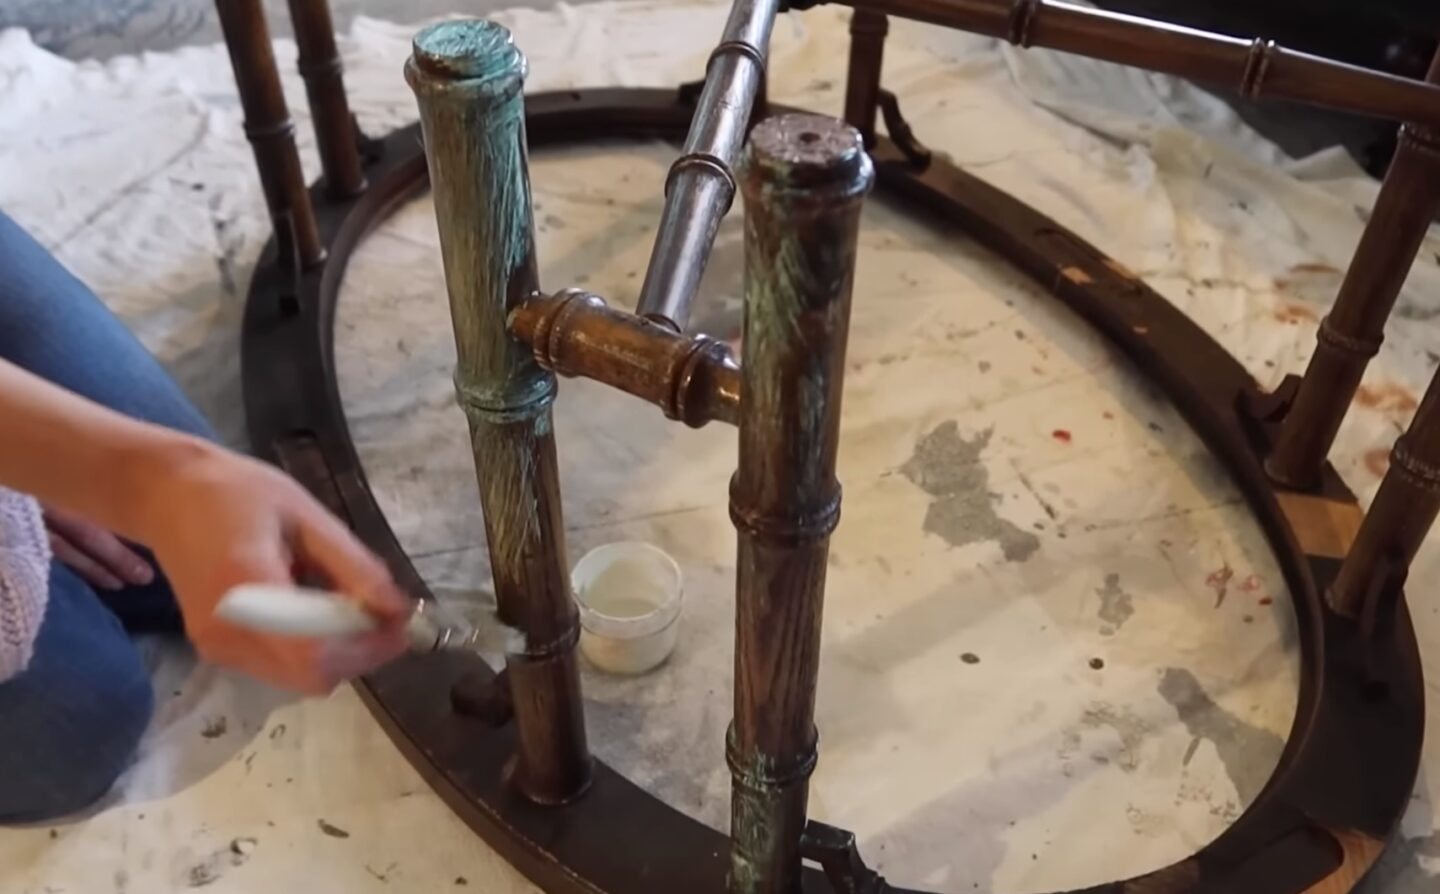
Step One: Apply your Size
Use a paintbrush to apply your size to a workable area and let it sit for about 15 minutes.
You want it to feel a bit tacky (like the back of a sticky note) but not too sticky when you start your next step.
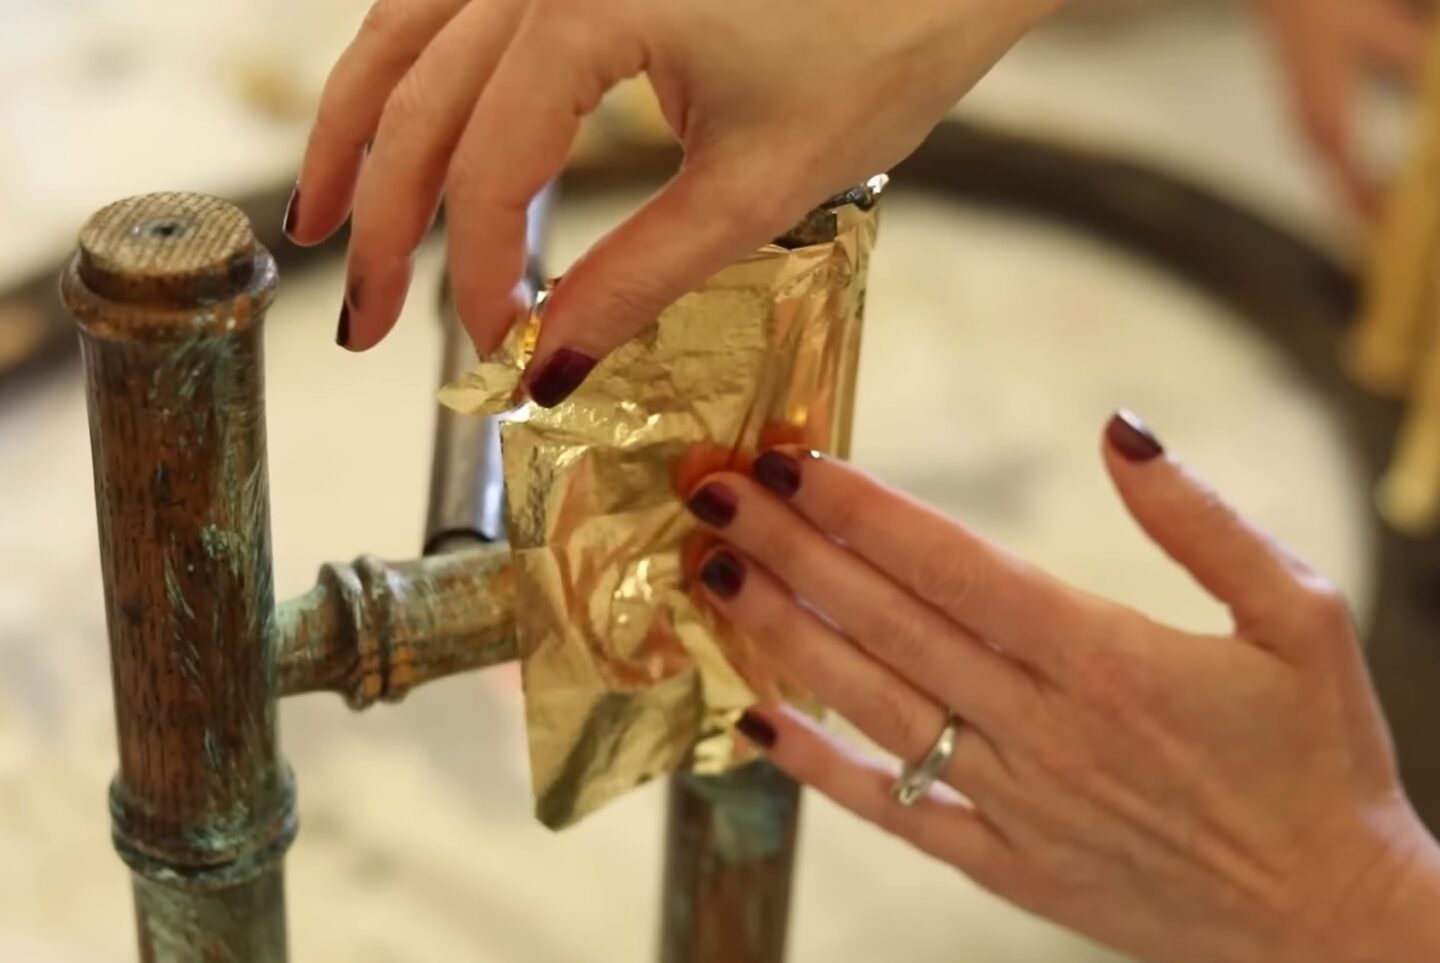
Step Two : Apply your gold leaf
Take one sheet of your gold leaf at a time and place it over the size pressing it down into the adhesive. The size will feel almost like a magnet pulling the leaf to it.
For a larger furniture piece, I found that it was easier to keep the gold leaf on the tissue paper as I placed it onto the table, and then to remove the tissue paper once I had done the initial placement and press down.
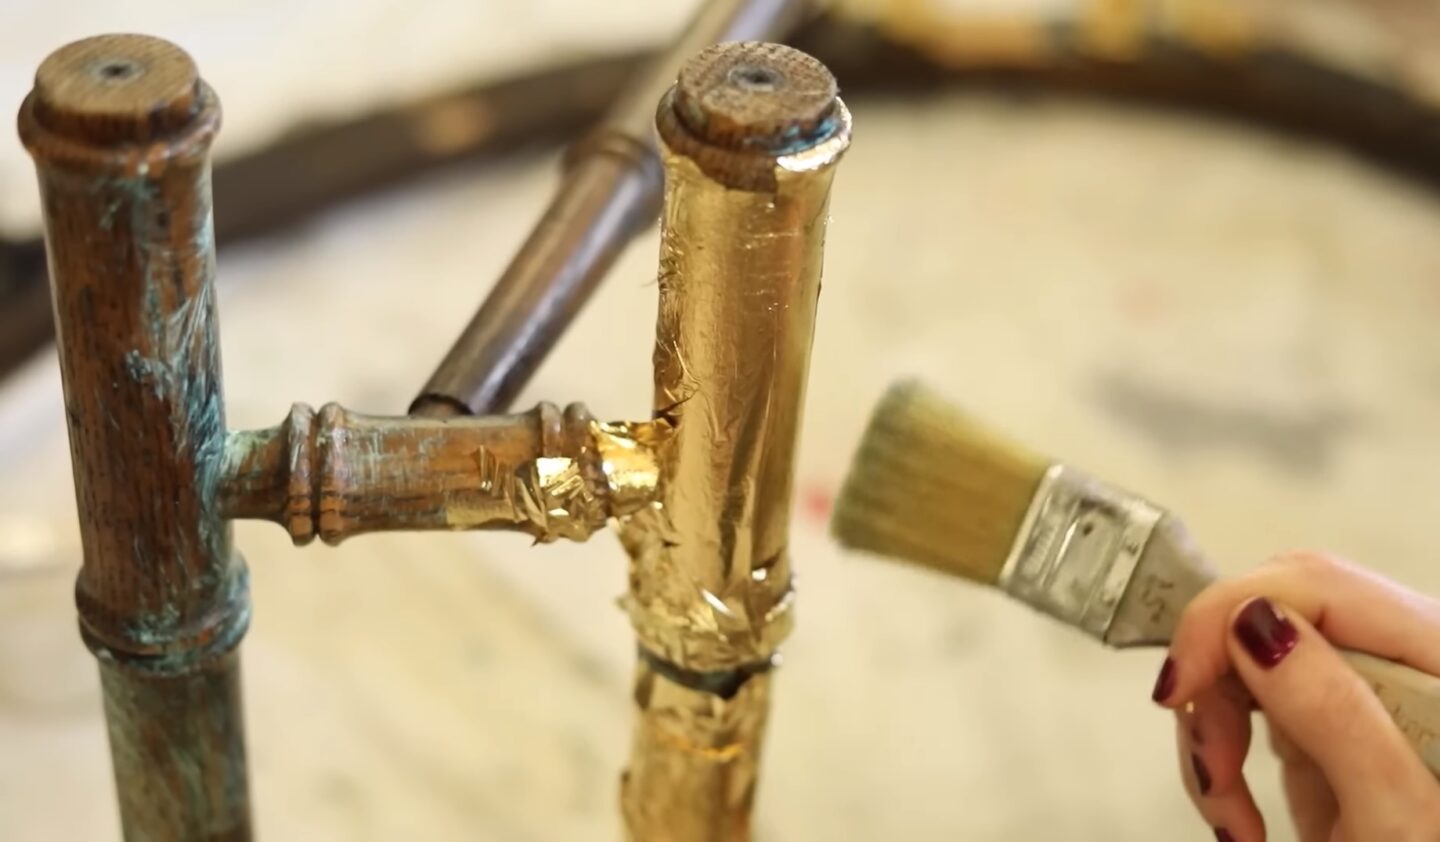
Step Three: Dry Brush Your Gold Leaf
This step will help push the gold leaf into place, and it will also flake off any pieces that aren’t secured by the size.
If you realize you’ve missed a spot, you can simply add a new piece of the gold leaf over that spot (if there is already size there), or you can add your size and wait 15 minutes to fill it in.
Optional Step Four: Add dark wax to tone down the brightness if desired.
I preferred the darker look, so I used my Annie Sloan dark wax and my Siff brush to add that deep, worn coloring.
I just love the vintage French look! I hope you’re as happy with your own gilded furniture piece as I am with mine!
Find more great inspiration below, and don’t forget to save your spot at my Bespoke Design Retreat for September 18-21!

Related Posts & Resources:
- Painting a Leather Recliner
- Hacks to Make Your Furniture Look Vintage
- 6 Garden Inspired Spring Decorations
- How to Paint French Doors
- Knock Off Brass Lamp Shade – Instagram Reel
- Rub n Buff Candlesticks – Instagram Reel
- How to Antique Brass with Rub N Buff
- DIY Frame for Samsung TV
Pin this Gold Leaf | Gilding Tutorial for Later: