Painting a Leather Recliner
Styling a Leather Recliner can get you one step closer to resolving one of the four main things I have heard couples disagreeing about when it comes to decorating… And it’s easier than you might think!
I think I could have labeled this post “How to Save your Marriage with Two Cans of Shoe Polish”, but that might have been a slight exaggeration.
I am however, excited to show you how you can make a few simple changes to a leather recliner to make it fit just the look you’re going for in the design within your home.
*This post contains affiliate links to products I know &/or love.
To Recline, or Not to Recline…
Last year I shared an entire post about the 4 things men and women seem to disagree about the most when it comes to decorating, and the recliner issue specifically has made it’s way back to the fore-front in our own home as I’ve been redesigning our living room and fireside room.
My husband confirmed that having at least one recliner was a must-have, so I set out to find one that was both comfortable, and looked great in our space.
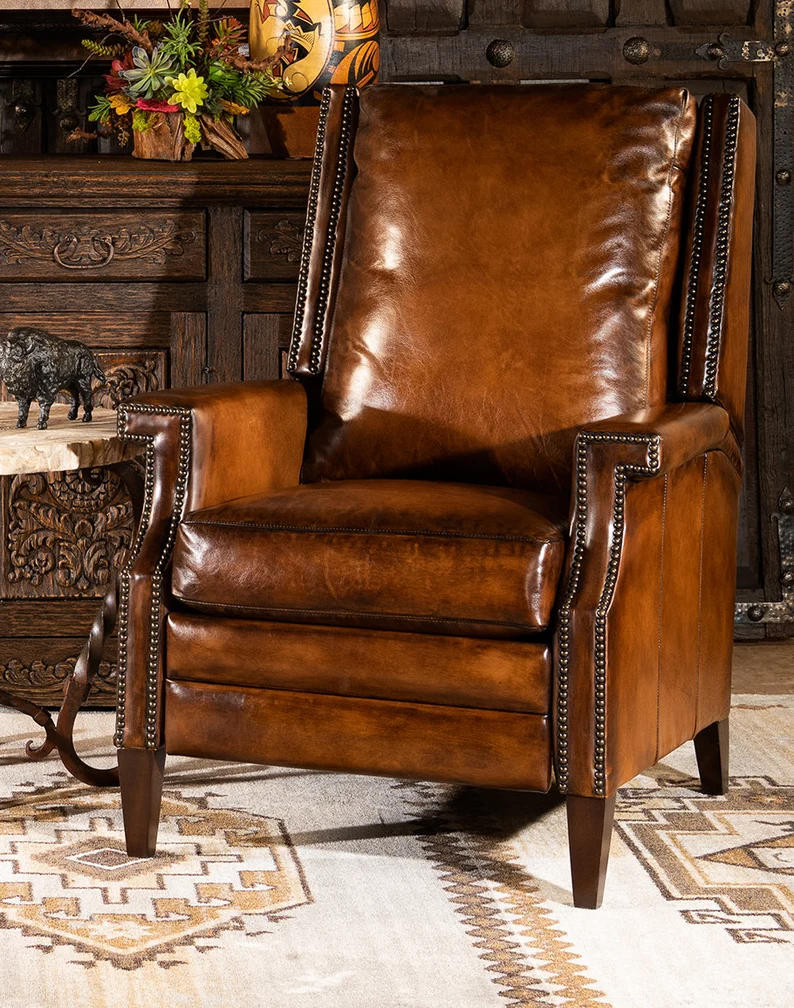
My Leather Recliner inspiration:
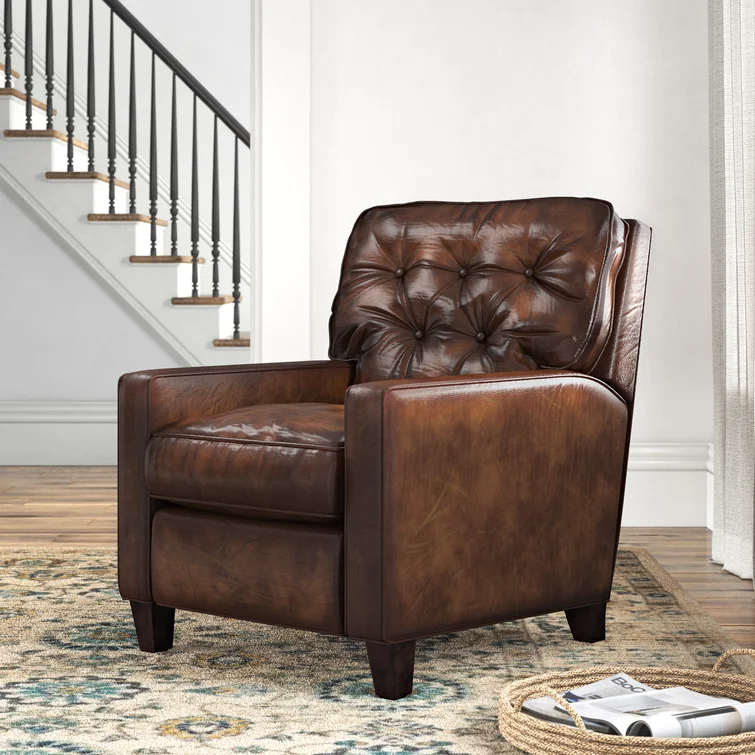
When I started searching, I knew I wanted an aged cognac look, with some tufting, brass nail heads, and casters.
I found a couple that I liked, but they were out of my price range. So instead of purchasing them, I used them as inspiration and kept looking.
Here’s one from Etsy:
And here’s another one from Etsy!
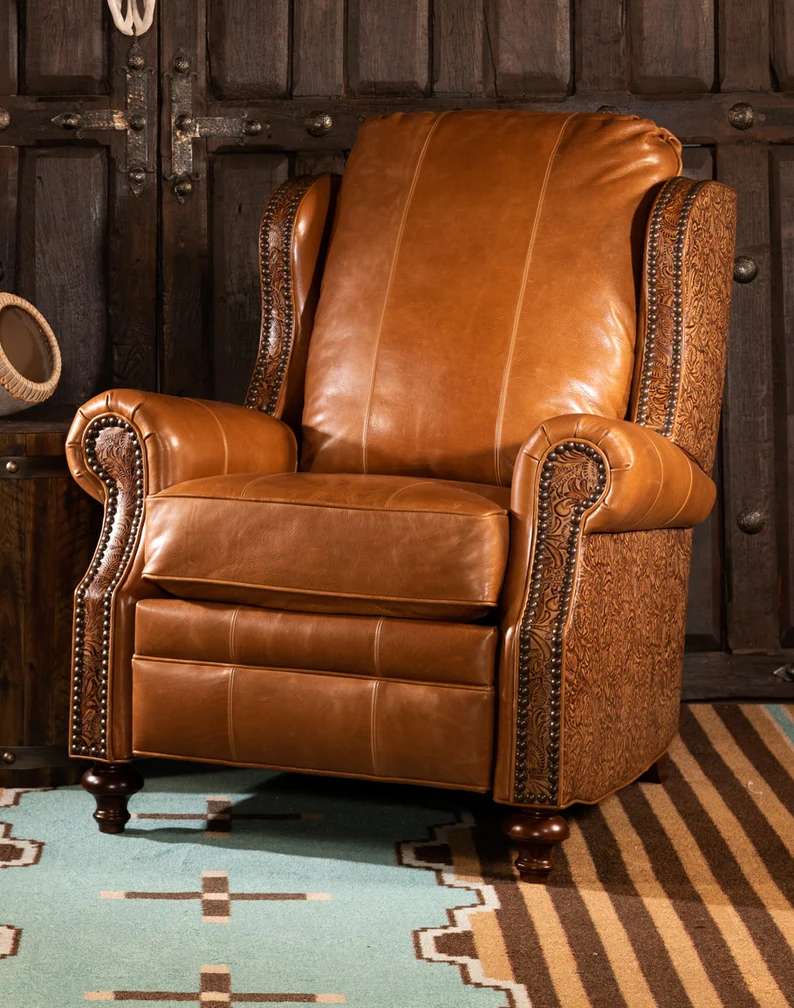
I found a few options on Wayfair that were closer to what I was looking for, but still not exactly perfect.
This one is from Red Barrel Studio:
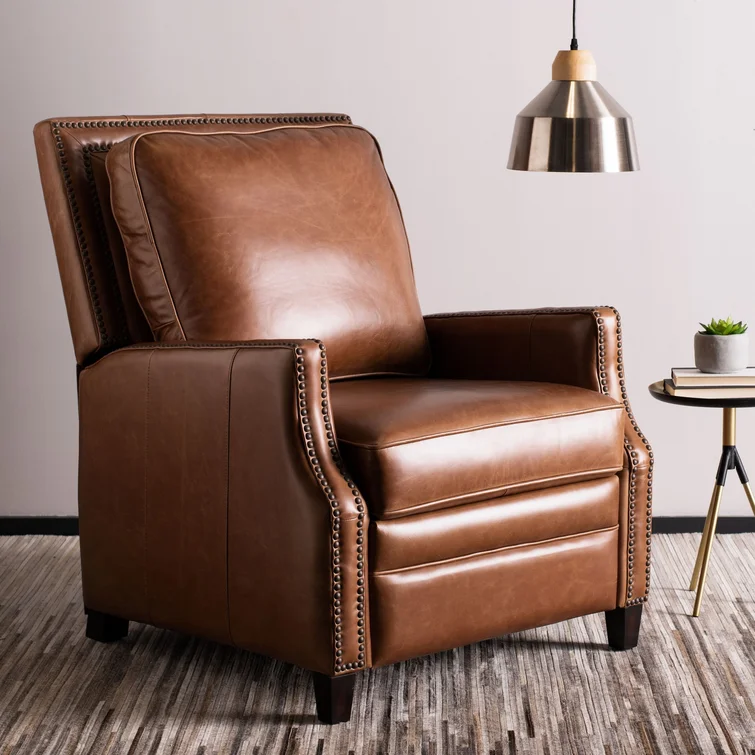
And this one by Birch Lane:
Then finally I found just the perfect set, on Overstock!
They come in a set of 2 and are perfectly priced for what we were looking for.
I also noticed that they are designed by Christopher Knight, aka Peter Brady from the Brady Bunch! I used another one of his pieces when I did our church Nursing Mother’s Room makeover! You might remember it, the cream mid-century modern theme sofa!
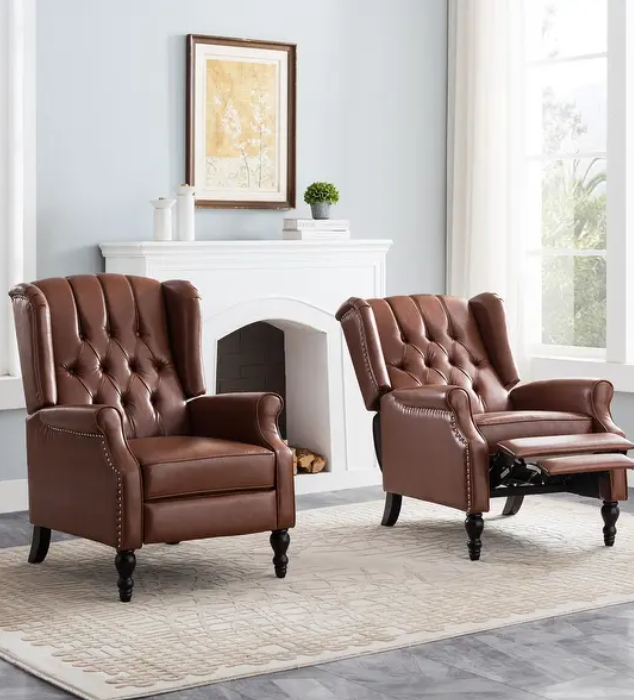
Once I had found THE chairs, I got excited and accidentally ordered 2 SETS of 2 and was surprised when 4 chairs showed up at my door. But I was equally pleased when I returned the two extras and realized that the price was even better than I had originally thought!
Next came unpacking and assembling the chairs. That part was easy.
Then came making some changes to the chairs to get them looking a bit more like my inspiration pieces…
The Process of Remaking These Leather Recliners:
If I could teach you two things in this post, other than the technical aspects of how I changed the chair, which I’ll get to next, it’s this:
- If the color is the only thing wrong with your item (whether a peice of furniture or an aspect of your home), don’t dismay! Colors are one of the easiest things to change – especially with all of the great products and techniques out there. When you’re considering something, focus more on the shape, the size and the style, and don’t forget colors can be changed.
- To be a good decorator, you need to learn how to be a button pusher. What I mean by that is that you have to be willing to try things, even if you’re not exactly sure how they’ll turn out. You might have some failures, and you might even accidentally ruin a piece or two along the way, but trying new things is how you learn! And slowly you’ll get to where I am, where my successes seem to far outweigh my failures, and I’ve grown in confidence that my ideas can work out.
Styling a Leather Recliner:
Next came the fun part! Making the changes I’d been dreaming up, thanks to my inspiration pieces.
I knew I wanted:
- The leather to appear a bit more aged
- Brass nail heads
- And Casters
To age the leather, I purchased a variety of black and brown shoe polishes from the Kelly Brand, found on Amazon. After testing a few in an inconspicuous area, I settled on two different colors, Bordeaux and Black. One small container of each was more than enough for both chairs!
I started with the bourdeaux which is a dark brown color and used a tooth brush to work it thoroughly into the crevices and details of the chair. Focusing on the seams and the tufting, and the edges of the larger spaces gives depth to all of the nooks and crannies, and creates a “vignette” look like you’ll remember from vintage photographs.
After my first round applying with the toothbrush, I used my gloved hand to work the same polish even further into the leather and evened it out as I went. And as a final step, I used an old cloth to blend and work any remaining polish in to the leather.
I repeated the same three steps (tooth brush, gloved hand & soft cloth) with the black polish on places that I wanted it to look a bit deeper and even more “shadowed”. I worked along the seams and tufts again, and along the undersides of the curved arms.
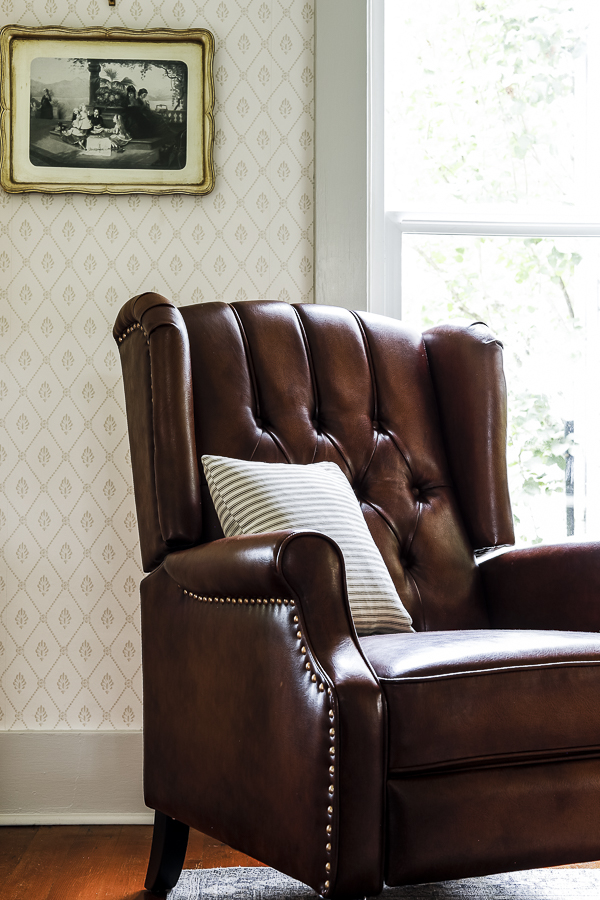
These three combined steps with both polish colors helped create a really deep aged look, which is just what I was going for.
I have had a few people asking about whether or not the polish has been transferring to our clothes, and we have not noticed it at all! I think making sure to buff the polish in well during the first step with the tooth brush, and then using the second and third steps to continue the process (rather than adding more product) provides a fine layer that changes the look without leaving residue on the surface of the leather.
Once the color of the leather was just how I wanted it, I moved on to the nail heads!
The nails that came with the Overstock leather recliner were silver, which is a small detail, but worth noting when you’re wanting the overall theme of a room to coordinate.
Luckily I knew just the product to use, and that it would be an easy change! I pulled out my trusty Antique Gold Rub N Buff and a tiny paint brush and touched up each nail head on both chairs.
Second change, completed successfully!
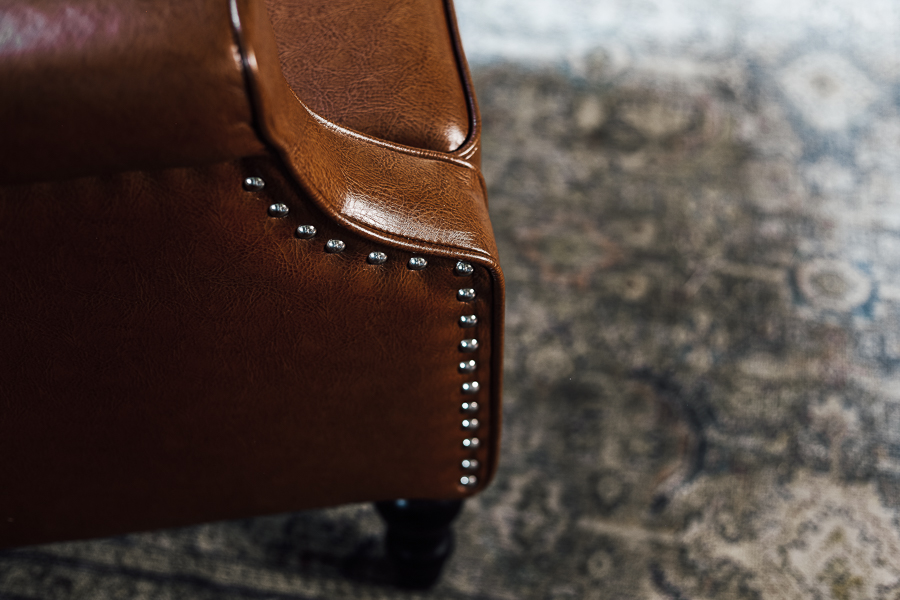
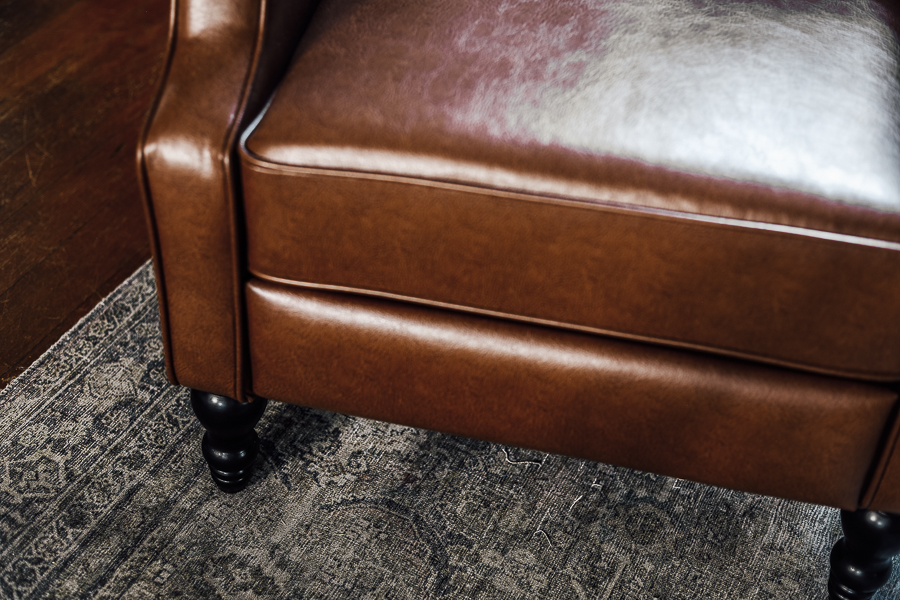
The final step was adding on the casters that we found on Etsy.
Because we didn’t want the overall height of the chair to increase, we chose to cut down the wooden legs by the height of the wheel.
This was a bit of a tricky process to keep the leg steady and aligned properly while it was being cut, so I would not recommend you trying this yourself if you aren’t already comfortable with woodworking skills.
I am fortunate that my husband has a knack for things like this and he was able to create a wooden brace and a styrofoam cushion to hold the leg in place while he cut it with his saw. Hopefully you know someone who could help you with this, too if it’s not something you are comfortable doing yourself!
Once the leg was cut, we drilled through the bottom, added in the included casing, and snapped the caster into the casing.
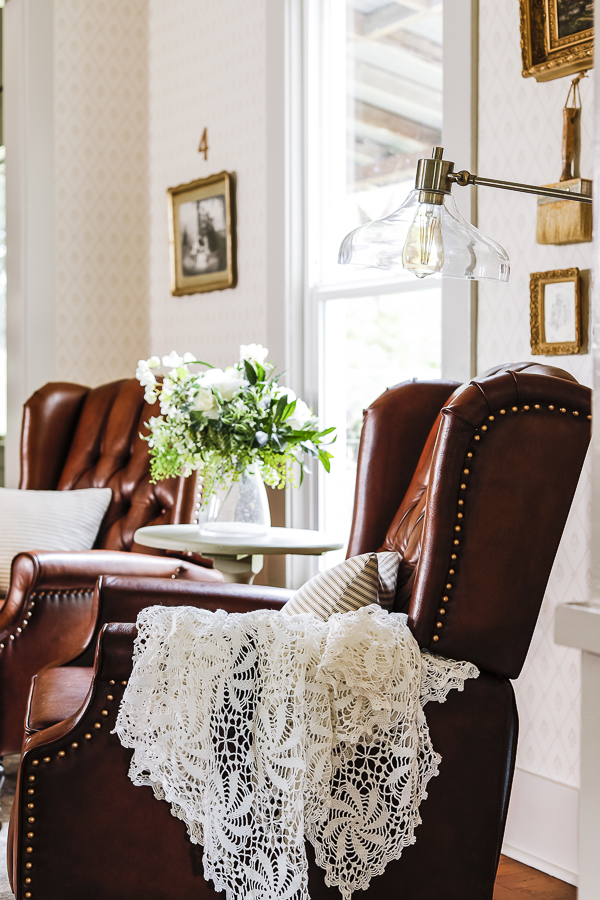
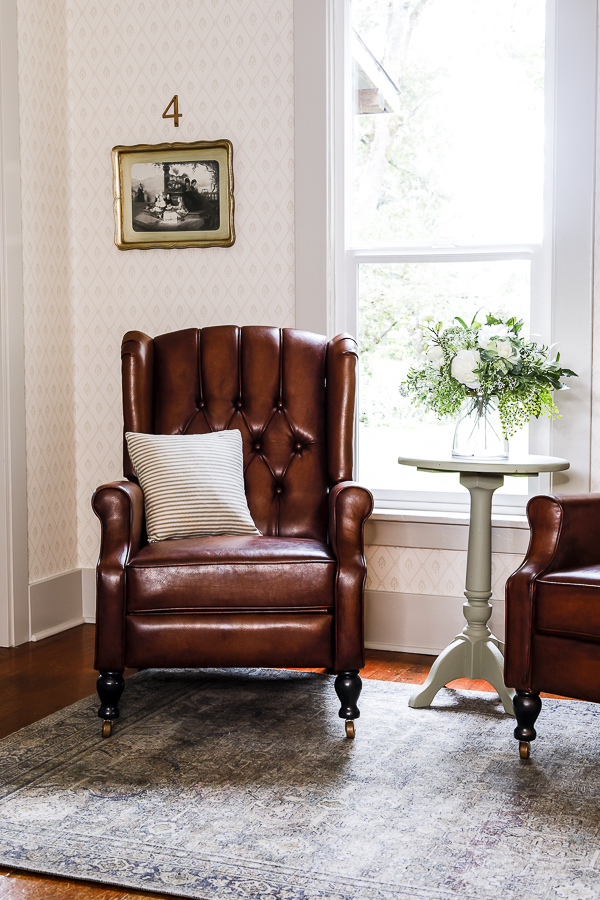
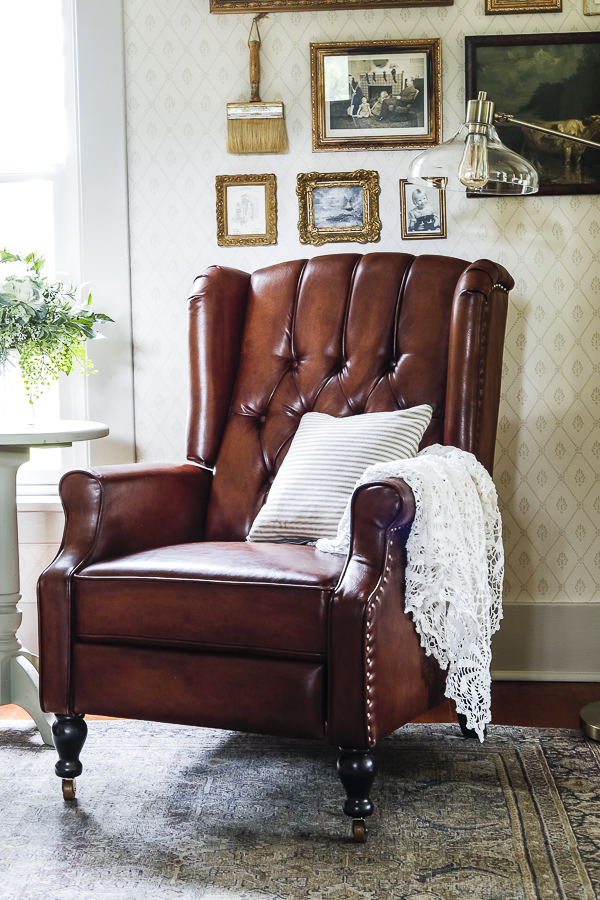
And now the final reveal:
Don’t Forget about my Free Curated Vintage Art Prints!
You can see my new gallery wall peaking out behind my new leather recliners! If you’re looking for beautiful vintage art prints of your own, click HERE to have some delivered straight to your inbox!

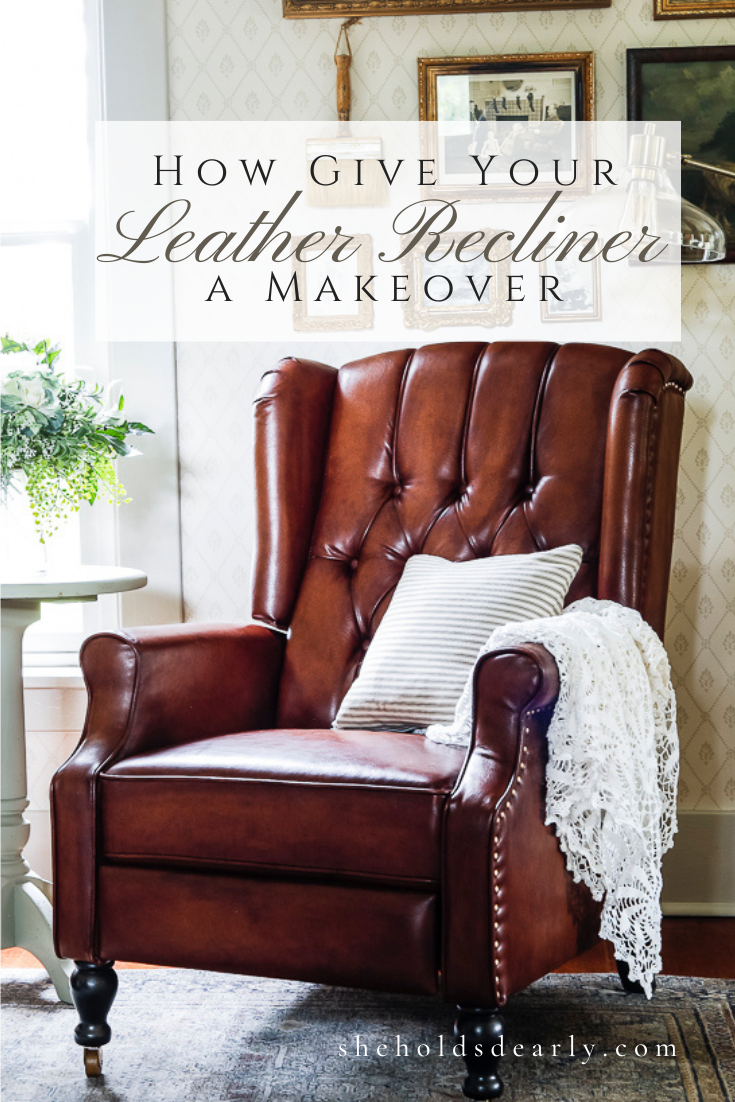
Pin This Styling a Leather Recliner Tutorial For Later:
xoxo,


