Hacks to Make Your Furniture Look Vintage, part 1
I’m excited to begin a mini series on how to make your furniture pieces look more aged & vintage! Come join me!
I’ve mentioned this before, but I have a feeling that if you’re here, you’re probably also a lover of vintage and antique charm, and like me, are probably going for a look similar to some of my inspirations:
- “I found this at a french market…”
- “Got this from a fabulous antique store…”
- “This was my Grandmother’s…”
It’s a search to constantly be creating those looks within our home.
Unfortunately, not everything we buy can come with history included, sometimes the near-perfect pieces we find are thrifted, or from regular retail stores, and we need to be able to add to them to create the aged look we’re after.
I’m really exited to dive into that today with part 1 of my mini-series, Hacks to make your Furniture look Vintage! Next week I’ll share part 2!
This Week‘s Project:
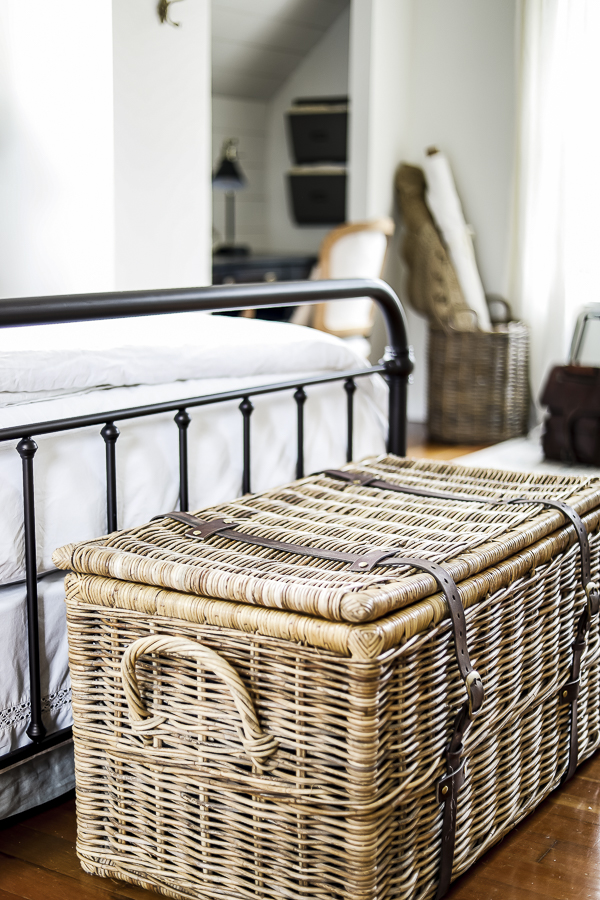
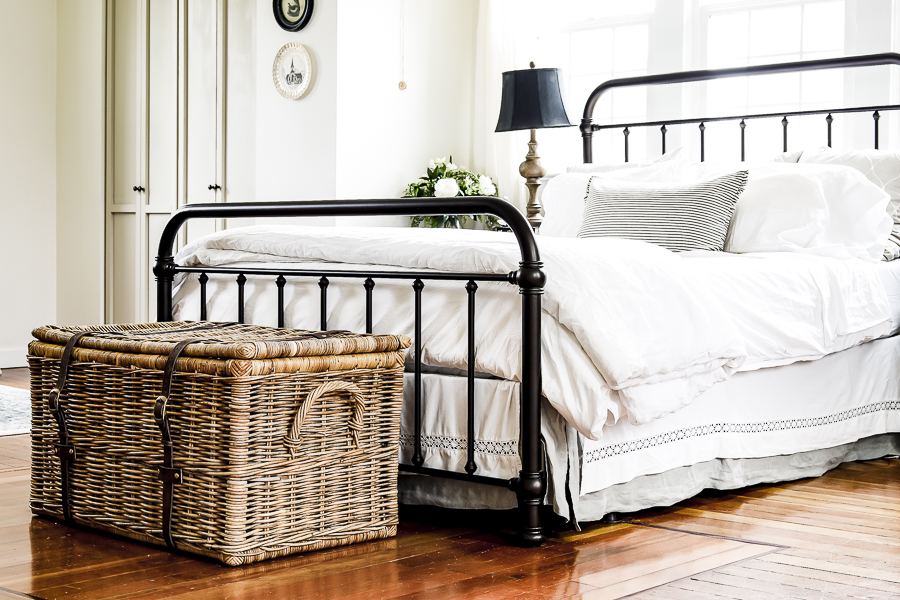
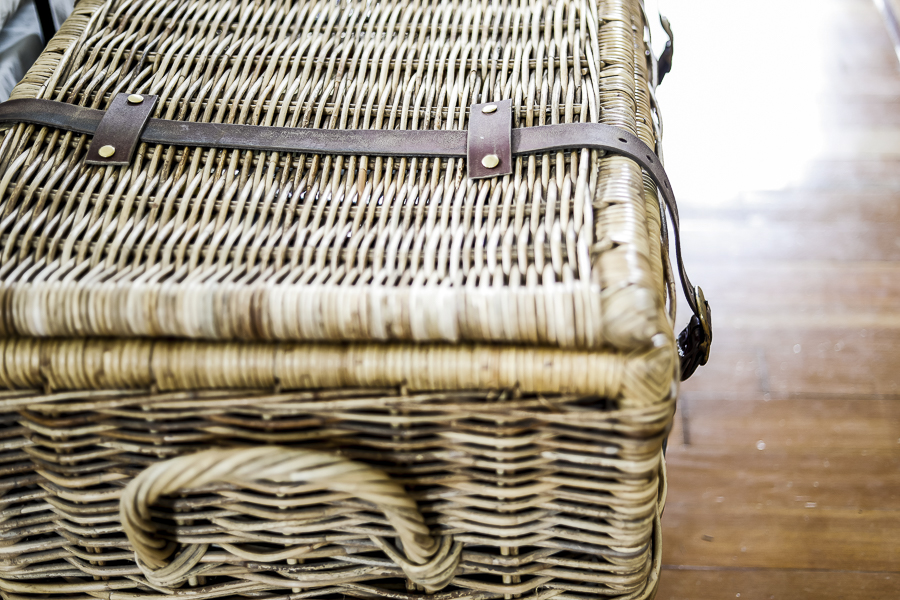
Years ago I found this great wicker trunk for only $10 at a garage sale! It had been previously owned by a Grandma to house her Grandchildren’s toys, but they had since grown older and didn’t need it anymore. I was so excited to scoop it up, and then realized it barely fit into my car to get it home!
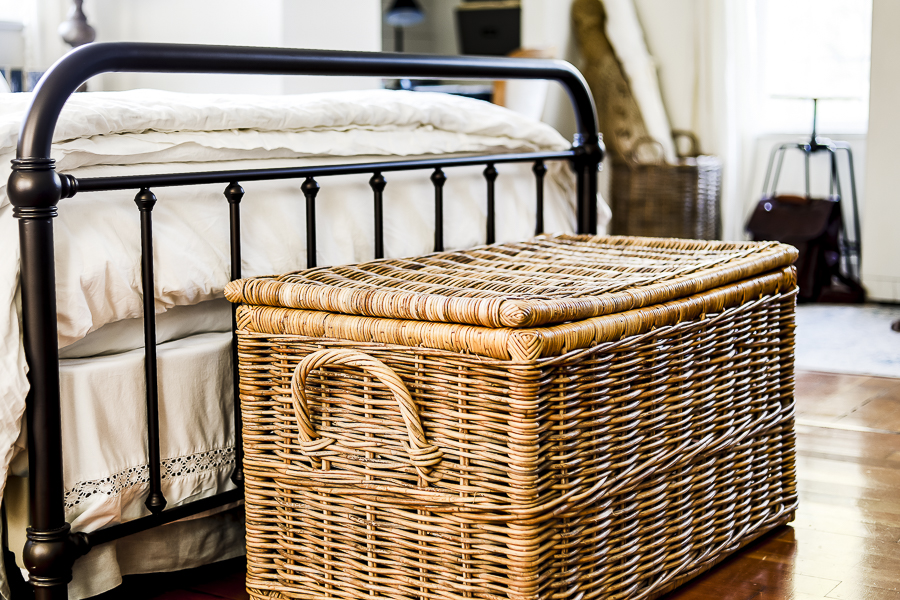
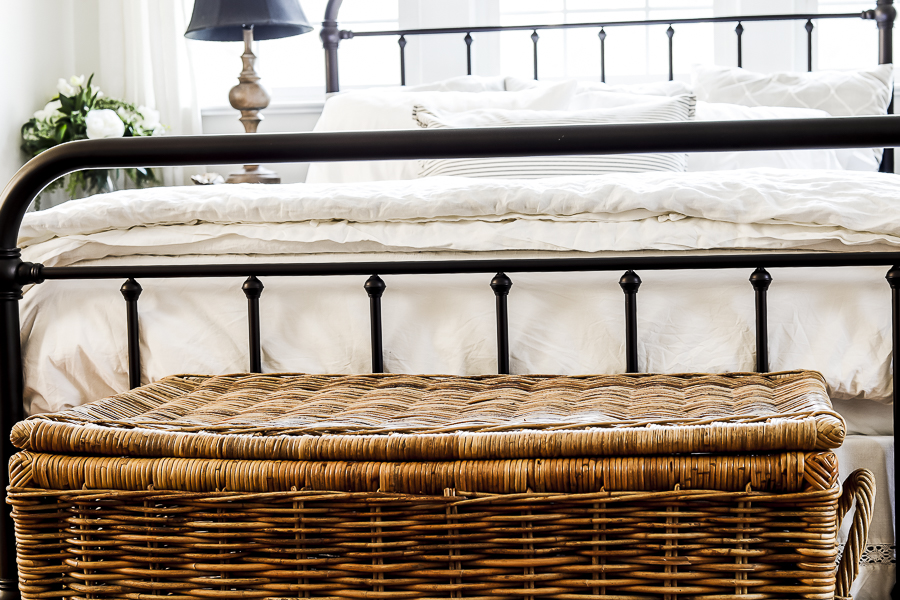
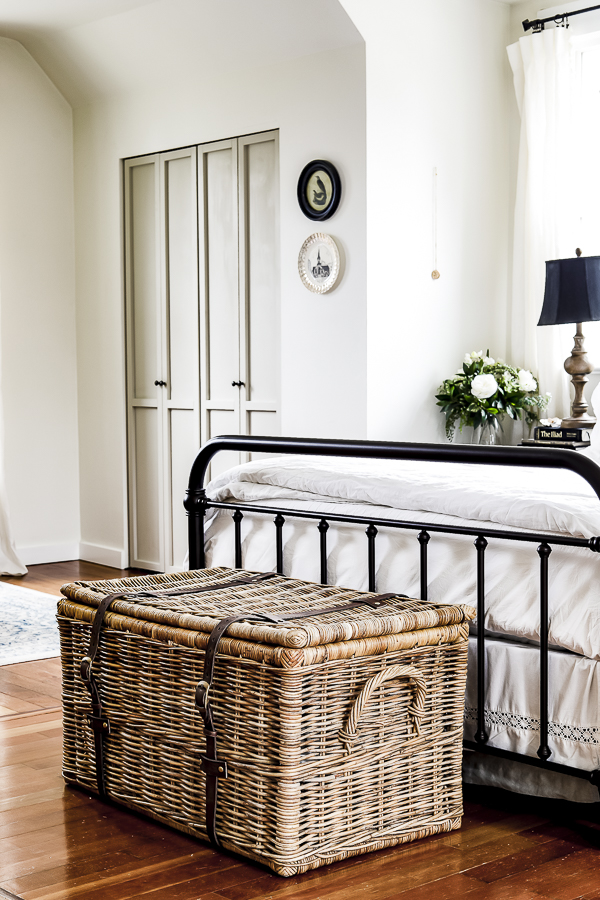
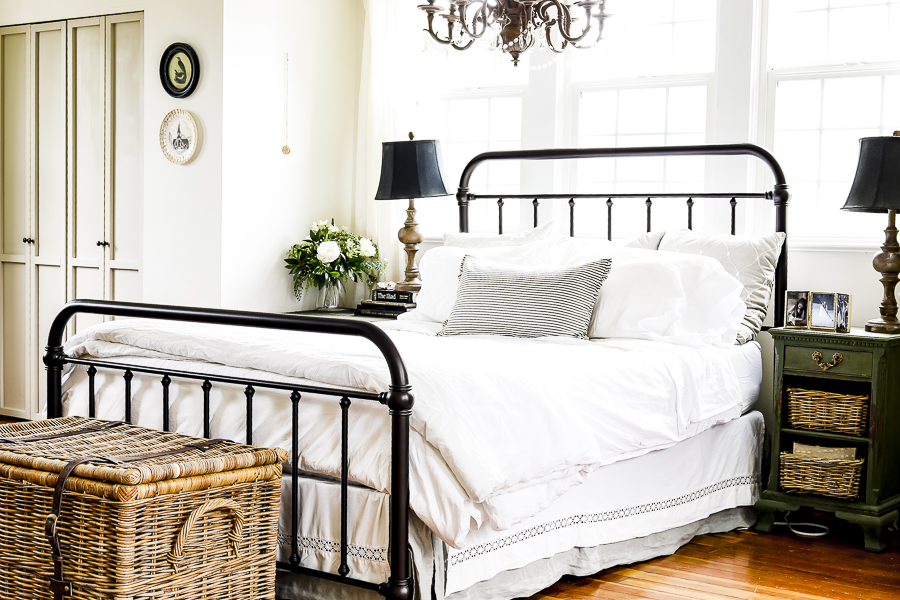
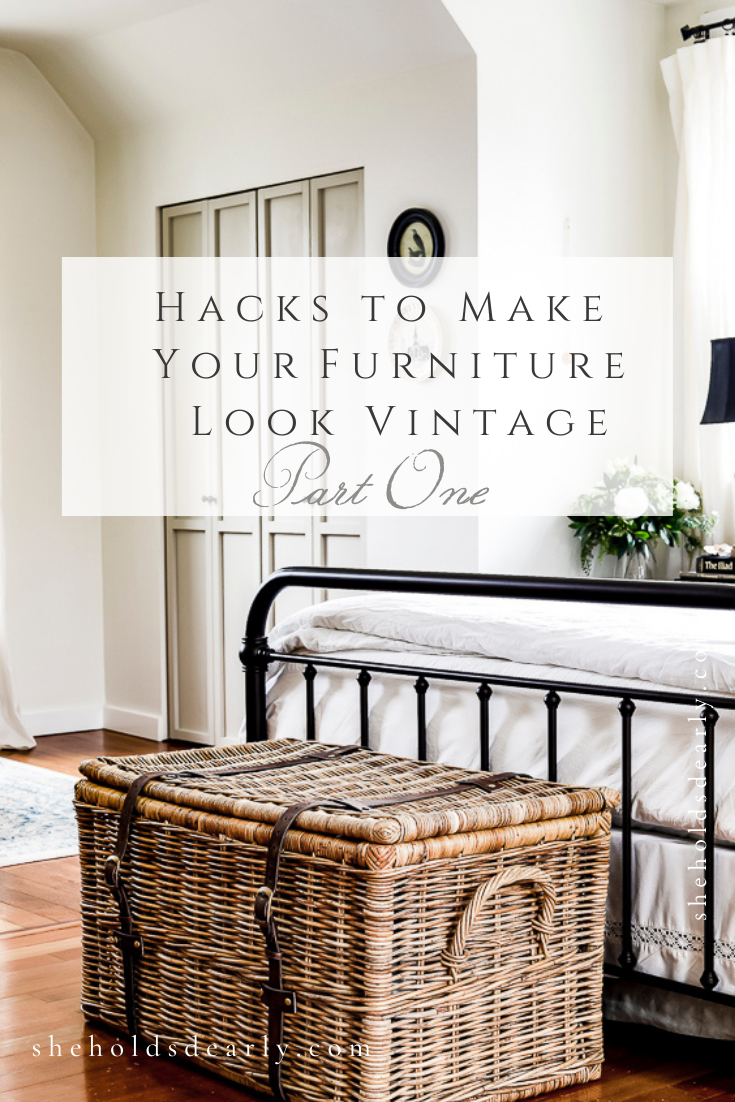
I’ve used it for several years in our master bedroom but I’ve always felt it needed a little more character.
I was inspired by these different pieces to add leather straps.
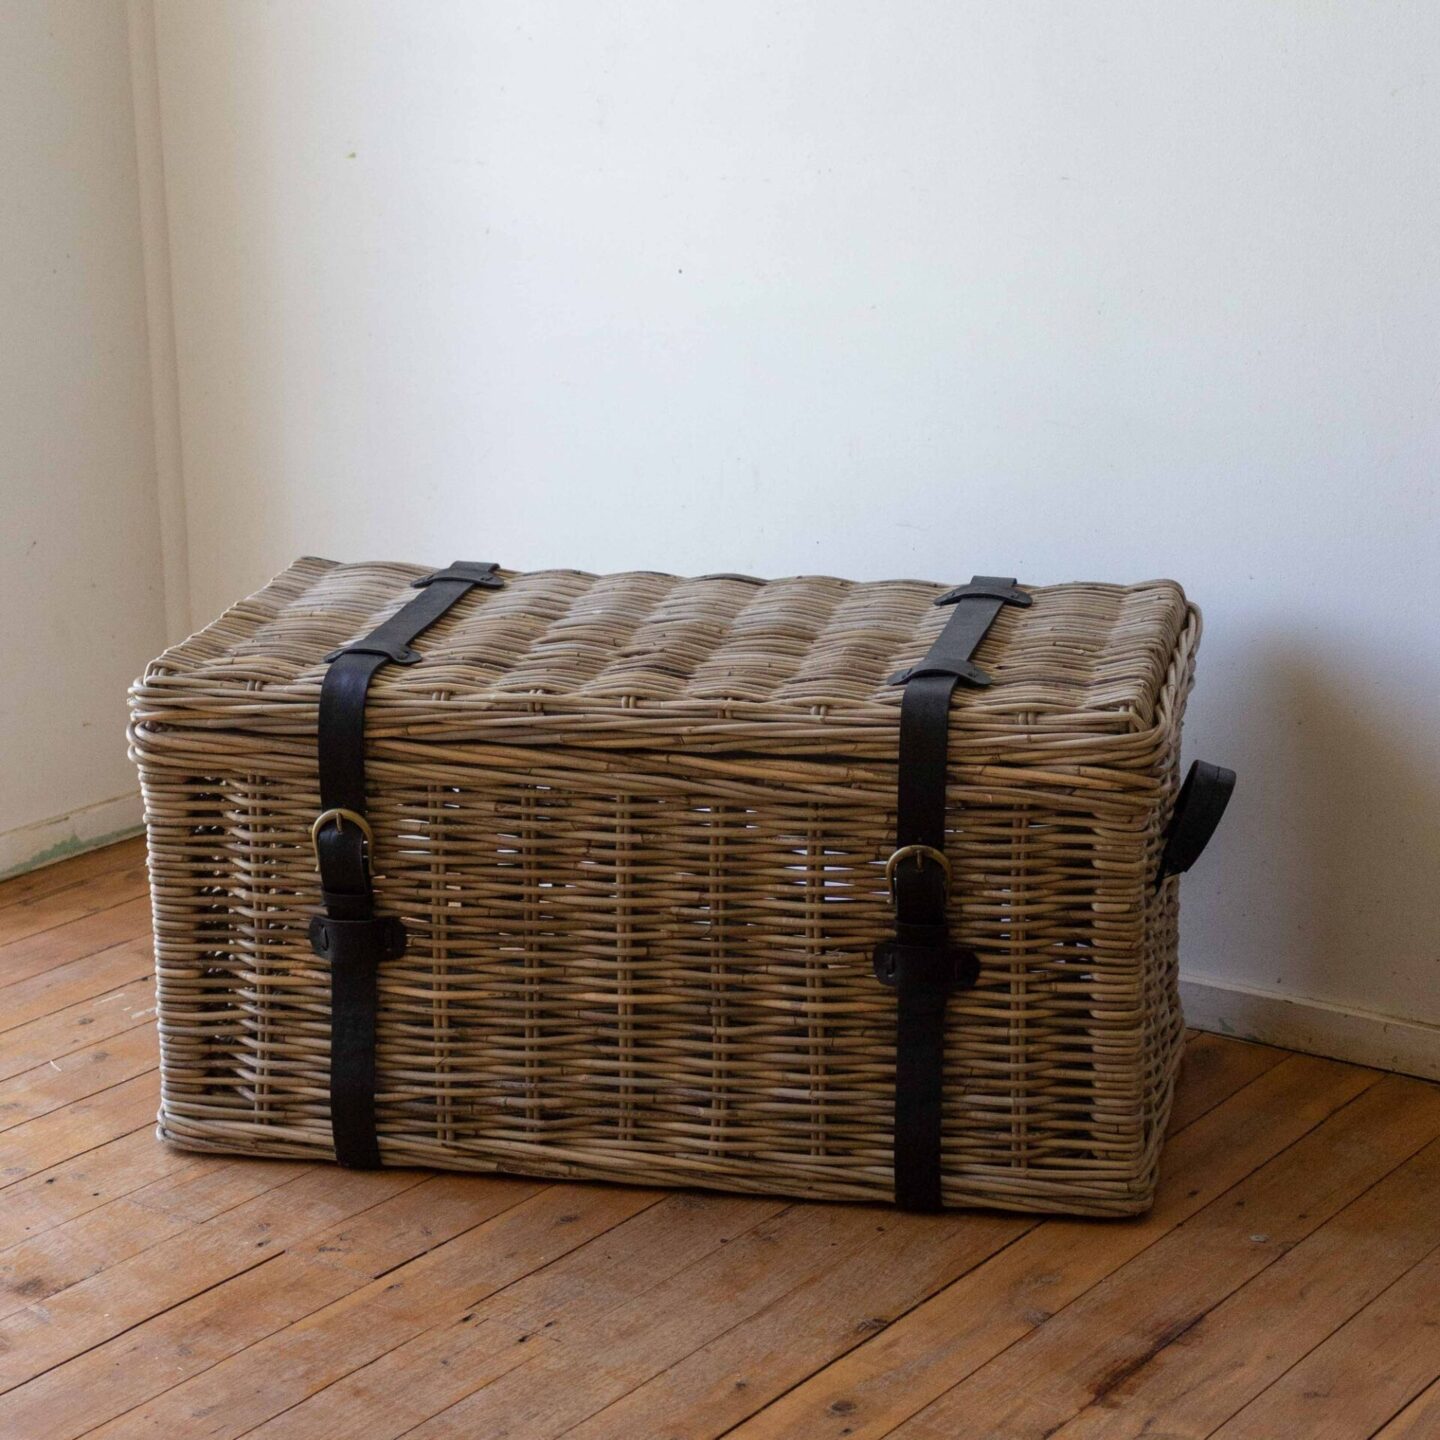
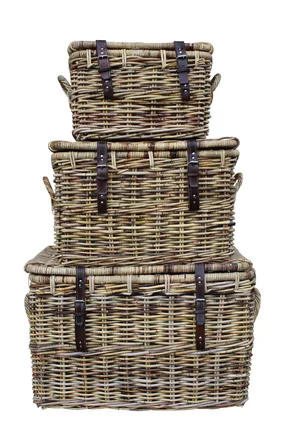
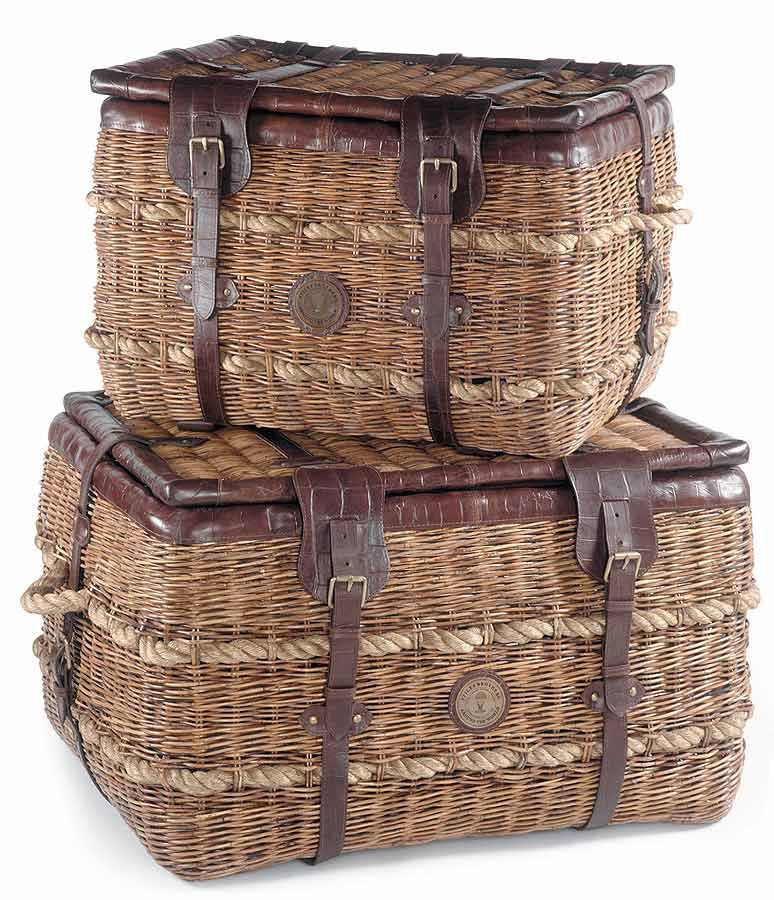
You can see exactly why I had to do this project, right?!
I’ve been wanting to do this for a while, and I’ve been keeping my eye out for true vintage belts, but then I realized that finding two matching vintage or antique belts held pretty slim chances.
I ended up purchasing the ones I use for this tutorial for Amazon. (I’ll link them below!)
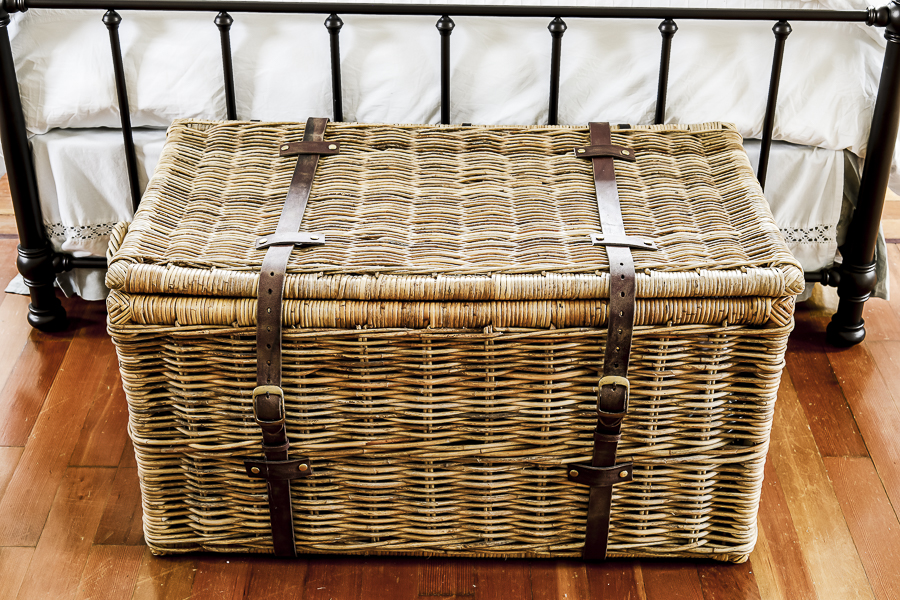
Are you ready for a sneak peak of the finished product before I jump into my process?
*This post contains affiliate links to products I know &/or love.
Aging Leather & Upcycling a Vintage Trunk Tutorial:
Supplies:
- Leather Belts
- Wicker Trunk (Here are some options if you don’t have one to upcycle. (Lowes, Walmart, & Wayfair)
- Rubbing Alcohol
- Rub n Buff (I used “Gold Leaf”)
- Large Gold Brads
- 220 Grit Sandpaper
- Dark Wax
- Siff Brush
- Leather Punch
- Hammer
- Scissors
- Measuring Tape
- Drop cloth, cardboard or waste towel to protect your work space.
The Process:
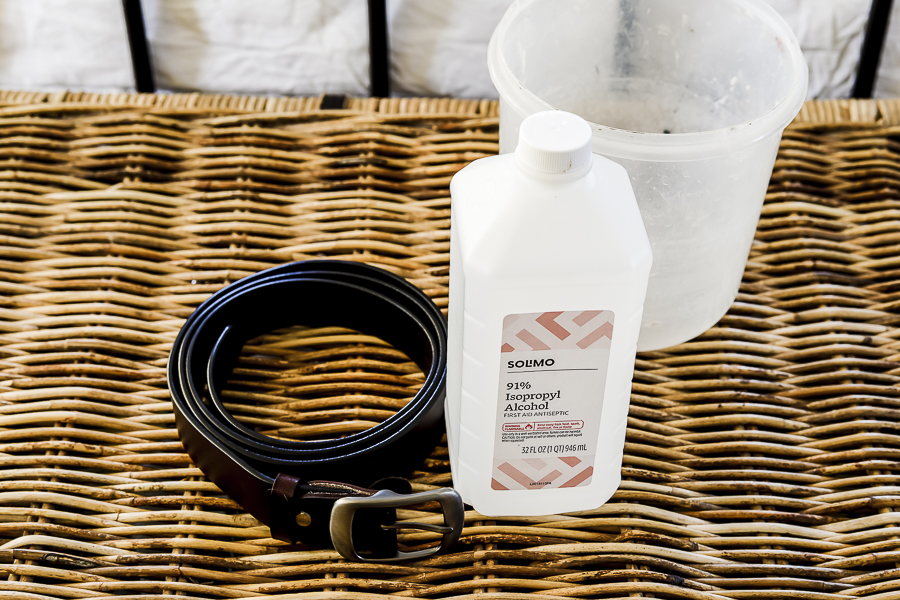
First things first, I stripped the belts in rubbing alcohol for 24 hours. I simply curled them into a small plastic jar and then covered them in the alcohol. I could see the dye starting to lift after just 1 hour.
When I took them out, they were noticeably softer, and the material along the edges wiped right off with a rag!
I started the rest of my aging process right away, I figured the sand paper would have a greater affect with them still wet.
My trusty 220 grit sand paper was just the ticket. I worked on about 3″ sections down the belt scuffing across the entire surface with varied pressure, focusing on distressing the edges, and creating “crease” marks every few sections by folding the belt and sanding at the fold.
I liked getting down in some sections to where the natural tan leather shown through.
This process left quite a bit of a mess on the surrounding area, so I was glad I had prepared and worked most of the sanding and distressing over a towel in my lap.
Next I used my beloved Annie Sloan dark wax and my Siff brush to rub in a nice layer of the dark wax over the entire surface of the leather.
It was some time mid-way through the distressing process that I realized I wanted my belt hardware to match the large gold brads I had found to attach the belts to the basket.
Luckily I had some “Gold Leaf” Rub N’ Buff on hand that was a good match! I usually use an old make up brush for my rub n’ buff application, but this time I just used rubber gloves and rubbed it in with my fingers, and it worked well for the vintage aged furniture hardware look.
It only took a drop about 1/2 the size of a pea on my finger to do the hardware – a little rub n’ buff goes a long way!
I loved that this additional detail was so quick and simple, yet it ending up giving the whole project a much more authentic look due to the matching metals.
After your straps and hardware are all set and ready to go, it’s time to attach your leather straps to your trunk.
Before you start this process, learn from my mistake (it is my job, after all to make the mistakes first so you don’t have to!) and really study your inspiration pictures and make notes of the locations and proportions of your straps!
I did not do that before I started and ended up needing to make some adjustments after my first effort. The end result came out beautifully after my changes, but I could have saved a lot of time if I would have planned it out more effectively before starting.
The biggest details I changed are that I made sure the straps were about 1/4 of the way in from the edges of the basket on either side. I originally had them spread too far out, and too close to the edges.
I also originally had just one cross support piece on the top straps, and decided they looked better with two!
How to Attach Your Straps:
Start with your buckle end along the bottom of trunk and measure the distance you need for it to wrap down to the bottom and under by about 3″. Cut the leather at your measurement and use your leather hole punch to create a hole near the end of the piece.
Use your long brads to go through the leather, and then through the basket and separate the two ends inside the basket to secure.
Create 1 cross support piece to help hold the buckle end in place. I used 1 brad on either side of the support piece which I cut at 3 3/4″ long.

Use your same measurement for the second strap.
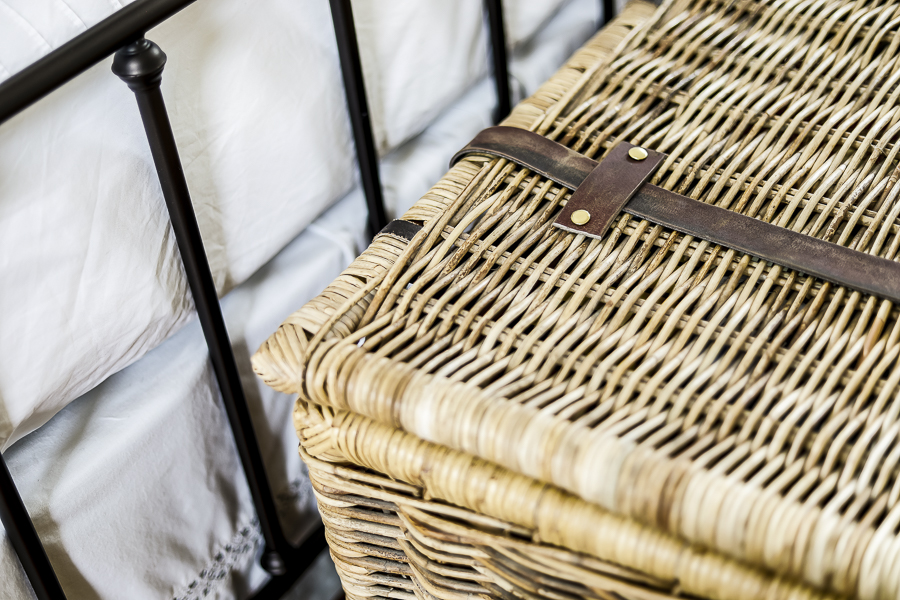
Then repeat the process along the top of the basket with the other end of your belt. I secured my belt ends together as I worked so I could get an accurate measurement.
After adding the two support pieces and securing the lose end on the back of the trunk, I was done!
There were a few parts of the leather that weren’t laying exactly how I wanted, so I used my hot glue gun to give them some extra support.
I first attempted to use super glue, and that did not work, just so you know!

Well I hope you enjoyed this new, but vintage looking furniture tutorial and I hope you’ll join me again next week as I share my piano and the way I added some very French charm to it!
In the mean time, you can use this Thrifting Checklist to help you when you are out thrifting for your own antique and thrifted treasures:
Pin This Vintage Furniture Tutorial for Later:
Until next time,


