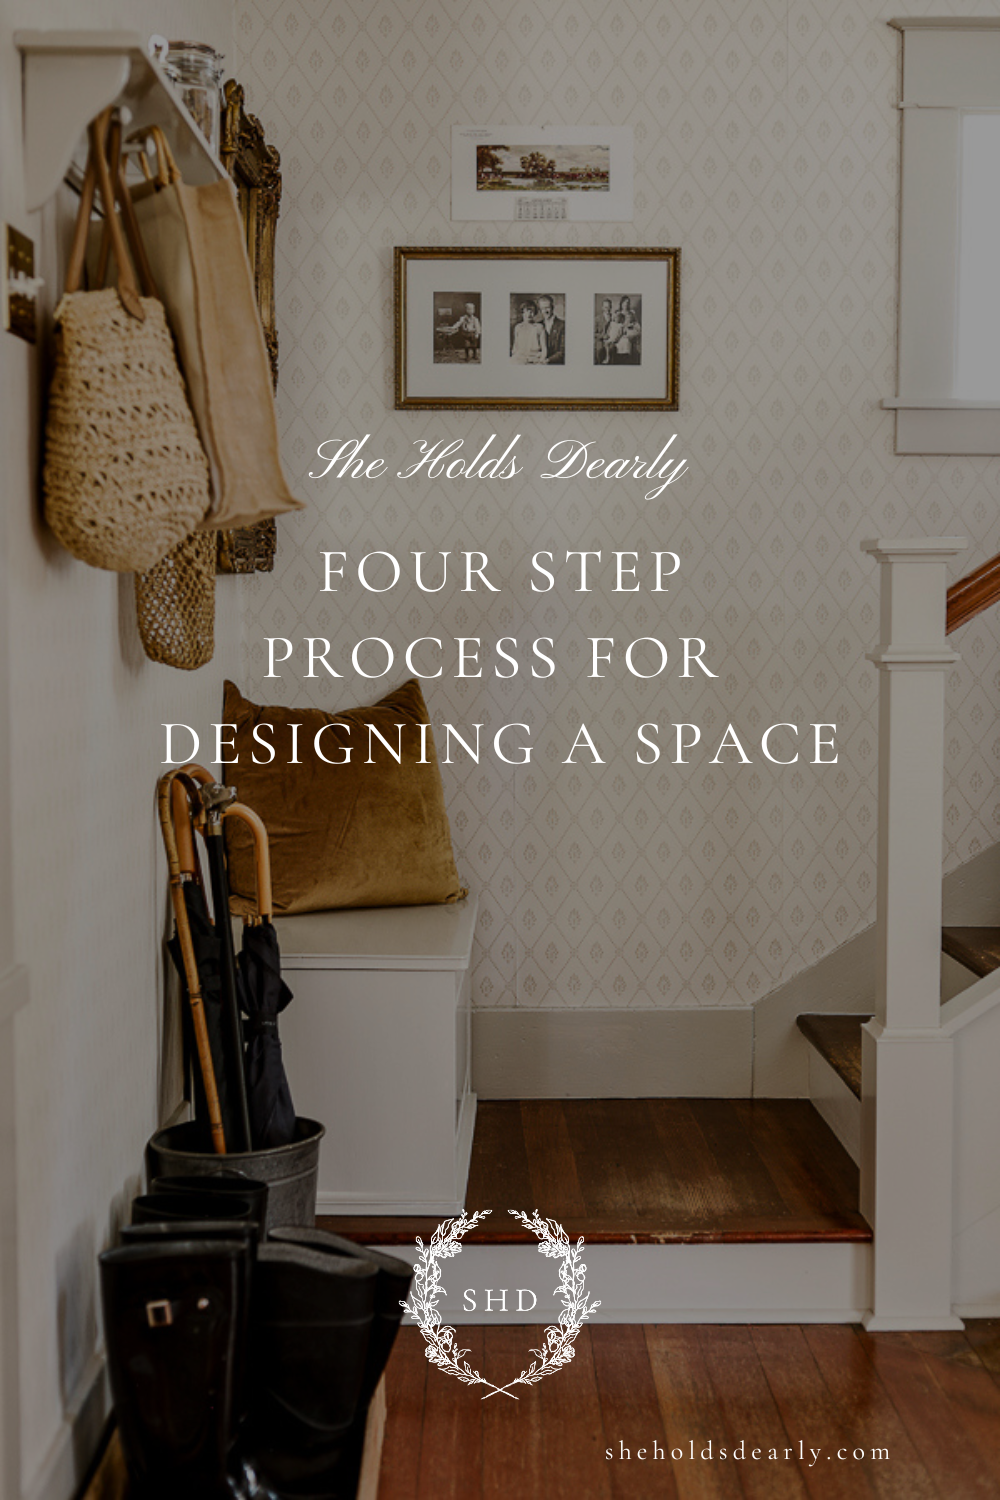
How to Design A Space – My 4-Step Design Process
If you’re beginning the design process and feeling overwhelmed wondering where to start – you’re in the right place! My 4-step process takes the guesswork out of the design process and gives you a start to finish roadmap to follow!
One of the questions I receive commonly is “How do you design a room from start to finish?”, and I get it! Understanding how to create a design plan is the backbone of building confidence as an interior designer.
Want to know more about the Interior Design Process?
If you get through all of the content I’m going to be sharing in this post and desire more design knowledge – you’re in luck! I have an entire design school called the Elite Decorating Academy where I dig even more in depth into these same ideas, plus many more!
You can sign up at elitedecoratingacademy.com.
*This post contains affiliate links to products I know &/or love.
And now let’s jump right in!
You can follow this design process formula to design and plan any space – whether it’s in your own home or a client’s space!
Step no 1. The Inspiration Stage
The first thing you’re going to want to do is to gather your inspiration. You can gather it from anywhere, but my suggestion is to organize it on Pinterest!
Coming from someone who was designing and working with clients long before Pinterest was around; it’s been a real game changer! As far as I’m concerned – it’s an imperative step!
The way I organize my inspiration on Pinterest is to create individual boards that are organized by room.
So for example, the kitchen gets it’s own board, the living room, bathrooms, bedrooms – everything has one dedicated board.
I also create boards for more generic items that might be found in multiple rooms. So you’ll find a flooring board, windows, doors, lighting, and more.
With these two sub-sets of boards, I’m well covered in being able to have a spot for just about anything that inspires me.
An important note about gathering inspiration and using Pinterest…
This process must be enjoyable!
I’m a big believer that if you’re rushed or stressed, you won’t be able to do your best work.
Stress kills creativity, and that’s the opposite of what we want to happen as you’re searching for inspiration.
This activity is best done when you’re relaxed and with a cup of tea at the ready!
Collect as many pins as you feel inspired by.
If it sparks joy, add it to the board, or boards that will be most useful for you. We’ll talk more in the upcoming steps about how we’ll put these inspirational images to work for you!
Creativity Takes Practice
This first step might feel foreign if this isn’t something you’ve been in the habit of doing.
There is a big element of both feeling and intuition with design, and while that can’t necessarily be taught in the course of a blog post – it can be nurtured and developed; it just takes time!
I’ve been an interior designer for years, and I still find myself growing and honing my skills. Each year I feel like I have a better idea of what I truly love and find new ways to incorporate those elements into our home.
Collecting these pins is like building a beautiful bank full of designs.
While you’re curating your collection, take heart in realizing that you do not have to understand all of the elements in each design, or even be able to afford to design a replica of the space.
You’re there to appreciate the beauty of good design and to find the things that you love, so that in the coming steps, you can draw on these to recreate those same feelings in your home.
Step no 2. Interview the Space
When I am designing, I like to work on one space all the way from start to finish at a time. Focusing on a specific room or space allows you to dedicate the time and energy needed to complete it well.
There are two main parts that make up any good design process : function and beauty.
These two are married in a 50/50 partnership within the space, and they both need to be honored if you want the space to look and feel the best.
You don’t want to sacrifice one for the sake of the other, otherwise you’ll end up feeling unbalanced or dissatisfied.
This is the time to make sure you’re investing (sometimes even a few hours) to sit in the room and think through the following practical questions:
- What is the room used for? What are the main functions? (Play, Gathering/Family Time, Guests, Sleeping, Dressing, Preparing Food, Storage, etc…)
- How many people are using the room regularly? What about during special occasions or for specific events? (Holidays, Having your grandchildren come visit, Hosting a bible study)
Understanding the needs of the room will better help you design a beautiful and functional space.
You also want to make sure that it’s maintainable! We’re not shooting for magazine spread rooms that are untouchable. You want a room that can be lived in, and still maintain the design that you’re investing in.
In order to do that, you’ll want to be careful to consider the following:
- Is this going to be a space that invites clutter?
- Does this space have places for all of the things that we need, and does it allow us to easily access those things?
- Will this room be easy to clean, or difficult?
Note for those of you who may be working on a larger project:
If you’re working on a new build construction – I know it’s not as possible to focus so singularly on one space – so you’ll have to tweak these instructions to fit that larger scale process. You’ll need to add lots of bigger picture thinking so that the elements of each individual rooms that we discuss below will be cohesive across the house.
Consider the Pros & Cons of your space
Often during consultations I’ll find people are hard-pressed to find pros in a space that they’re frustrated with. I’ll encourage you to do your best to view it with fresh and unbiased eyes.
Almost every single space has something going for it; it’s your task to find it! I actually love getting to help clients view their home through this lens when I get that chance!
- Maybe it’s the way the light streams through the window during specific seasons or hours of the day.
- If the structure of the space is specific to a certain era – that can give you good direction in your design decisions.
- A small room might be instead, thought of as simple and cozy.
How to handle Bullies in Your Design Process:
I talk about this a lot more in my Elite Decorating Academy – but bullies are the pieces in a space that you might not be able to change.
They come in all types:
- A structural aspect like the shape or style of a fireplace.
- Paint colors or fixtures that you can’t change in a rental
- Hard fixtures that you might not have the budget or time to replace (I’m looking at you, TILE!)
The thing about bullies is that you only have 2 choices:
Either you change them enough to disguise them and find that they work with your design, OR you accept them, incorporate them into your design plan, and make the rest of your plan work with them.
Next come the even more fun parts, where you get to start picking out materials and putting things together!
Remember that as you start these next steps, you always want to keep in the back of your mind that you’re design plan needs to respect both the beautiful things you’re inspired by, AND the practical needs within your space.
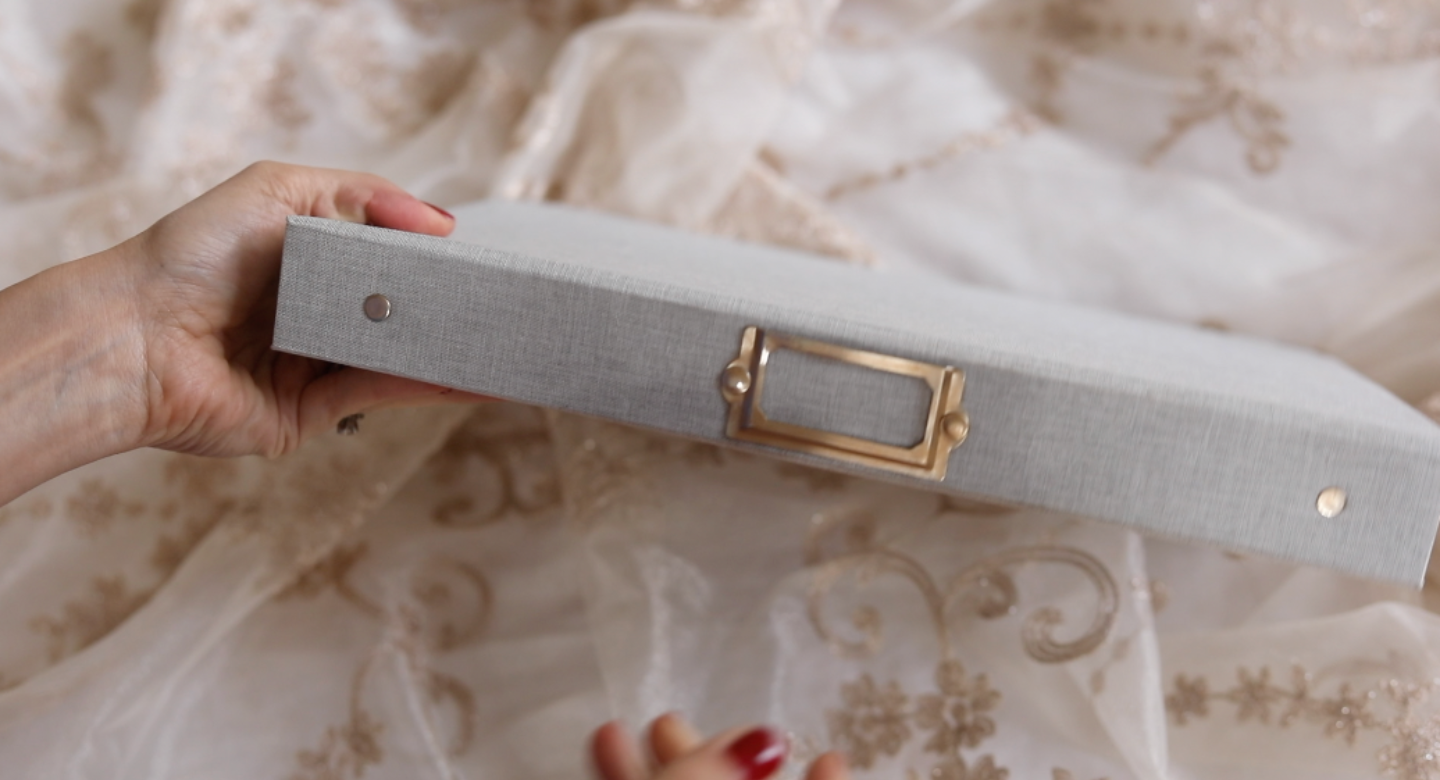
Step no 3. Start Adding to your Design Binder
At this point, I recommend taking your design plan from online (Pinterest) and creating a more honed in, physical collection of your design decisions.
For me, this is a design binder that holds all of the pieces of information relating to each room’s design.
I loved the idea of this design binder so much that I created a She Holds Dearly version to offer for sale! This heirloom linen binder is an amazing supplement to all of my design courses and classes, and to any home projects you’re tackling.
**Picture(s) of design binder**
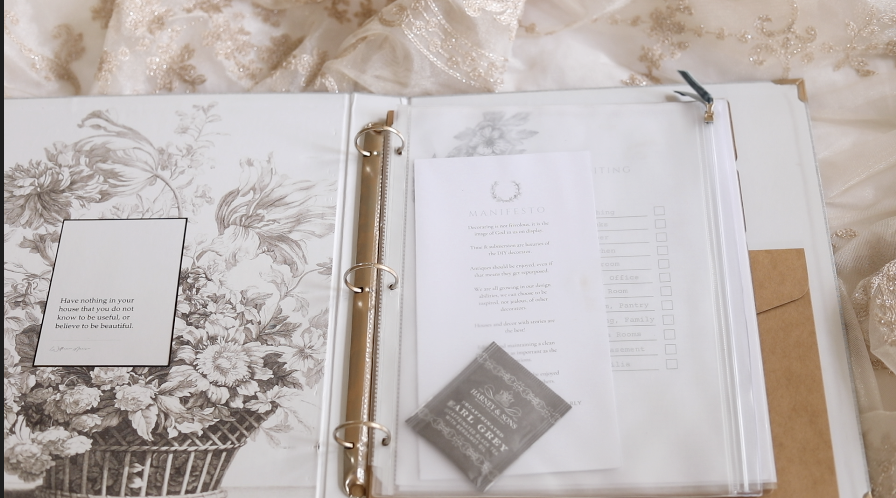
The binders I sell come with some of these pieces that I’ll mention below included, but if you’re starting from scratch with materials you already have on hand, here’s what you’ll want to consider.
- You’ll want a place for samples and swatches – for me, I like a small zippered pouch.
- I like to have tabbed and labeled dividers – one for each room
- Sections for the cohesive pieces that are found within more than one room (flooring, paint colors, etc.)
- Within each section I like to have pockets for storing items like receipts.
- I also keep page protectors in each section so that I can slip in pages that I don’t want to hole punch, or that I’m worried about spilling paint on.
- A place to store contact information – I like to use a baseball card holder for business cards.
Step no 4. Build your Shopping List – Layer by Layer
Once you have your inspiration and your binder for collecting everything into once place, you’re ready to start shopping!
This is when your Pinterest boards will come back into play. As I reference each specific “layer” of your room’s design below, you’ll go through your Pinterest boards for that space and you’ll carefully study just that element of all of your saved pins.
You want to look for repetition and commonalities among the images you’ve pinned – those things will be very telling about what you love! You’ll even be surprised sometimes to see what comes out at this stage, because as you’re pinning, often you’ll sub-consciously gravitate toward specific elements without even realizing it.
At this step in your design process, your goal is to find those things and make notes of them.
You’re also going to start actually sampling or purchasing things so that you can see them in your space and make more final decisions.
You’ll want to plan on getting the 2-3 best options that come out within each of these following layers with the understanding that you’ll return the ones that do not work.
To do this process well:
- Pay close attention to the return policies from everywhere you’re purchasing from (whether or not they accept returns, and what their return window is)
- Keep good track of your receipts/order details
- Save your packaging material (both the exterior shipping boxes and internal product boxes)
- Treat everything carefully and respectfully so that anything returned is still in new condition
The 7 Layer Design Process
Before I give you the layers, I need to remind you that none of these layers stand alone – they all rely on each other to work together for a cohesive finished look.
Even though you’re picking your flooring and fabric first, you should keep in mind some of the inspiration you’ve pinned for the paint colors and lighting in the room.
And when you’re making your final decisions about colors and fixtures, you’re referring back to the flooring, fabrics, and wall treatments you’ve already decided on.
Everything works together in a circular fashion to ensure the best final results.
Layer 1 | Flooring
Depending on the extent of the remodel or refresh – you may or may not need to invest too much time into this step. If your floors aren’t needing to be replaced or made over, you can move on to layer number two while simply keeping details of your existing floor in mind.
For example, if you have orange tone wood floors that you’re keeping, you’ll want to make sure that color plays in well with your remaining design decisions.
Layer 2 | Fabrics
Depending on the type of room you’re working on, the fabric needs will vary!
A bathroom might have a shower curtain, window treatments, and rugs. A bedroom will have curtains and bedding and maybe lamp shades. A kitchen will have rugs and towels.
Review your Pinterest boards with those specific elements in mind, one by one. So for bathrooms, you’ll peruse your bathroom board looking first at all of the shower curtains you pinned, noting which elements are reoccurring. It might be specific colors, textures or styles.
Then you’ll move on to bathroom rugs. Then the window treatments.
Layer 3 | Walls
Next you’ll focus on the walls. This can include paint colors, and other wall treatments like board and batten, shiplap, picture molding or wallpaper.
See which of these things jump out at you while you’re reviewing your board for the space. Make note of the common and repetitive features, and then start to order and sample them in your room.
The beauty of picking your paint after you’ve chosen your fabric is that the decision becomes REALLY easy – you can choose your paint colors directly from your fabrics and even take a sample of the fabric to the paint store to have it custom matched.
Because there are quite literally millions of variations of paint colors, it’s always easier to match a color to a fabric you’ve chosen than to try and find a perfect fabric for a specific color you’ve already selected.
Your Pinterest board and the paint colors you notice showing up often can be used to help influence your fabric selection, however!
Layer 4 | Furniture
Furniture is another aspect that will vary by room. Bedrooms and living rooms are pretty self-explanatory, but for something like a kitchen, I’d consider the appliances, countertops and cabinets the “furniture”. For a bathroom, it would be the vanity, the toilet, the tub, and maybe additional storage/shelving.
Layer 5 | Lighting
This is where you’ll pick out your light fixtures, making sure to pay attention to your lighting needs for the space, and your 3 different types of lighting (Ambient, Task & Accent).
I have whole classes that I spend teaching on these elements of lighting, both in my Behind the Scenes Decor Group, and my Elite Decorating Academy if you’d like to learn more about the specifics!
Layer 6 | Wall Decorations
Not to be confused with walls from before that focused more on hard finishes – these are the non-permanent, decorative items that you add as one of your last steps. Gallery walls and other art work, as an example.
Layer 7 | “Smalls”
Smalls are the final step because they are the decorations used on top of your horizontal surfaces – things like collections and vignettes and how you style the shelves.
These are truly the cherry on top of the design process! They’re also the pieces that are more likely to be replaced as trends change or to be swapped out seasonally.
I hope you’ve enjoyed this Interior design lesson all about the design process from start to finish!
Join me at my Elite Decorating Academy if this has inspired you to want to learn and grow even more in your knowledge of interior Design!
Related Journal Posts:
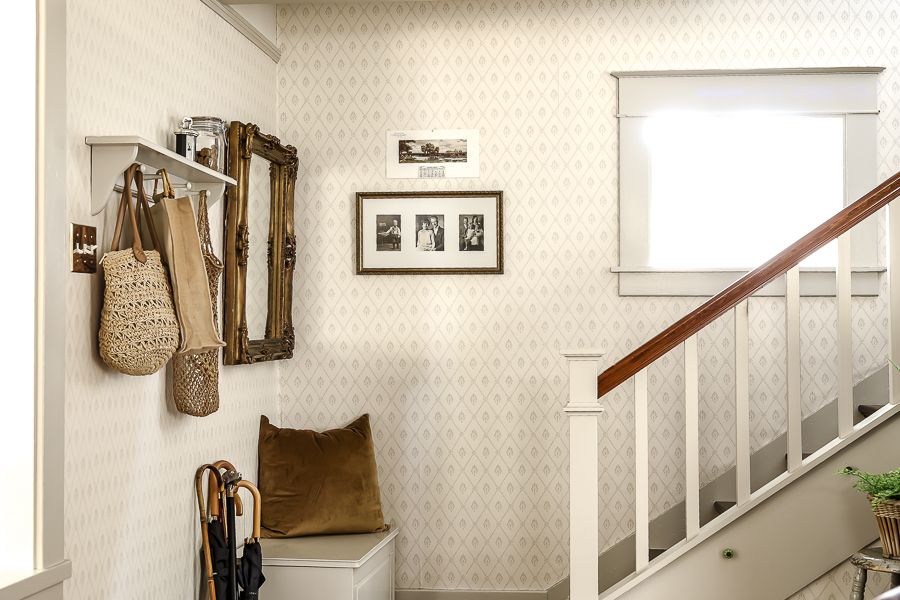
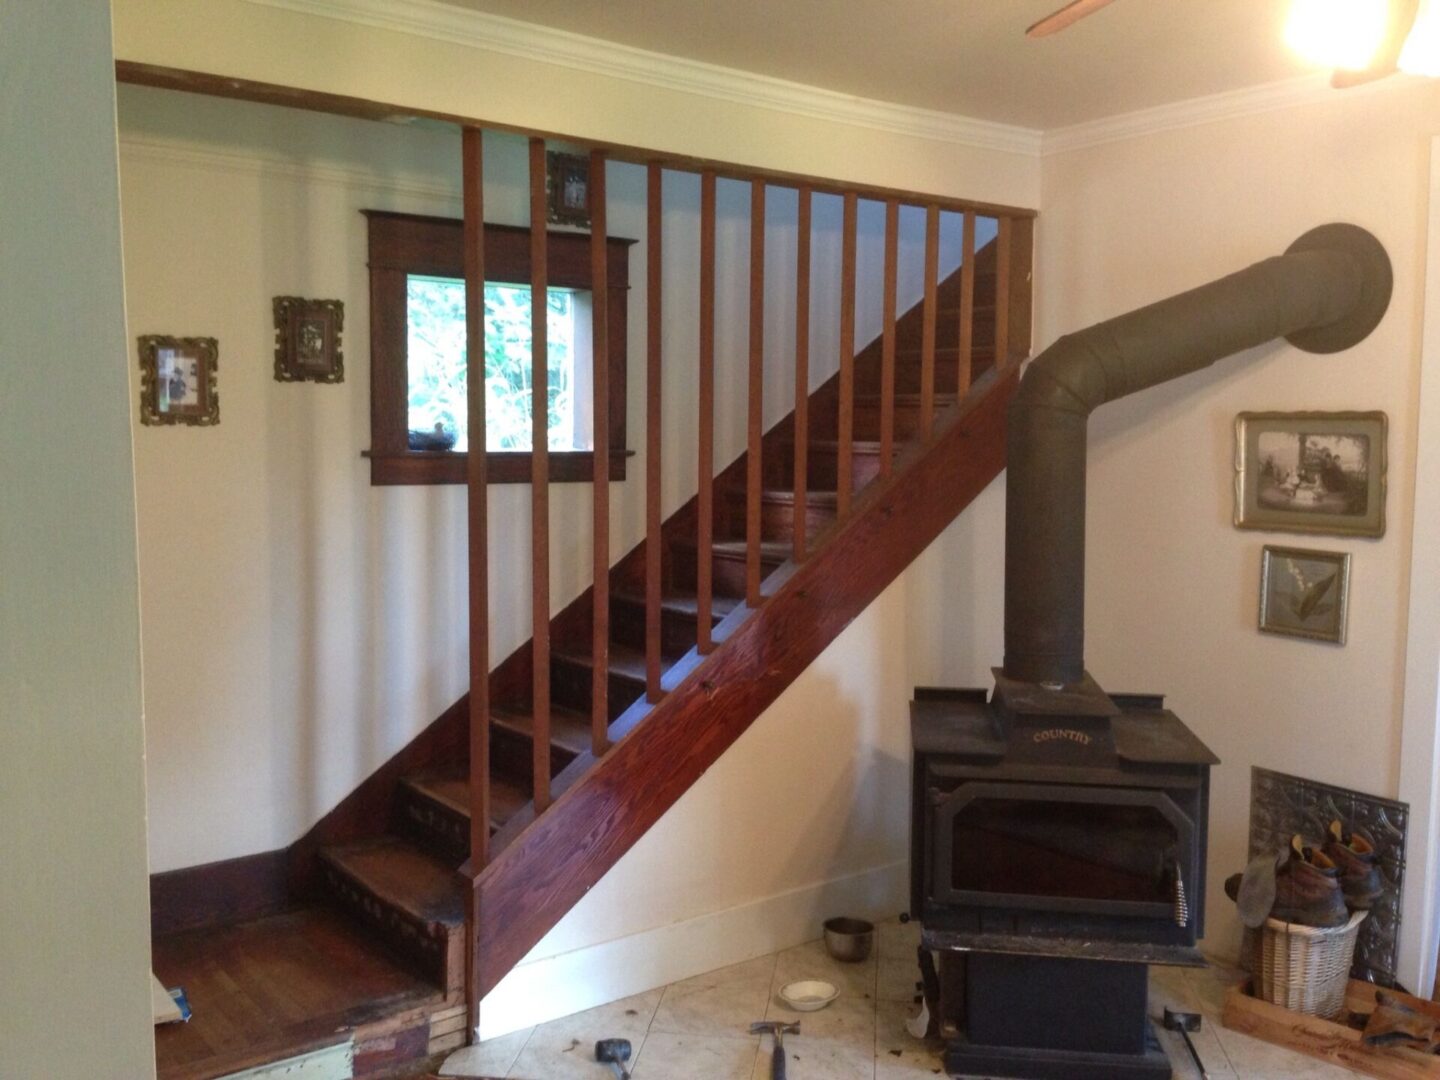
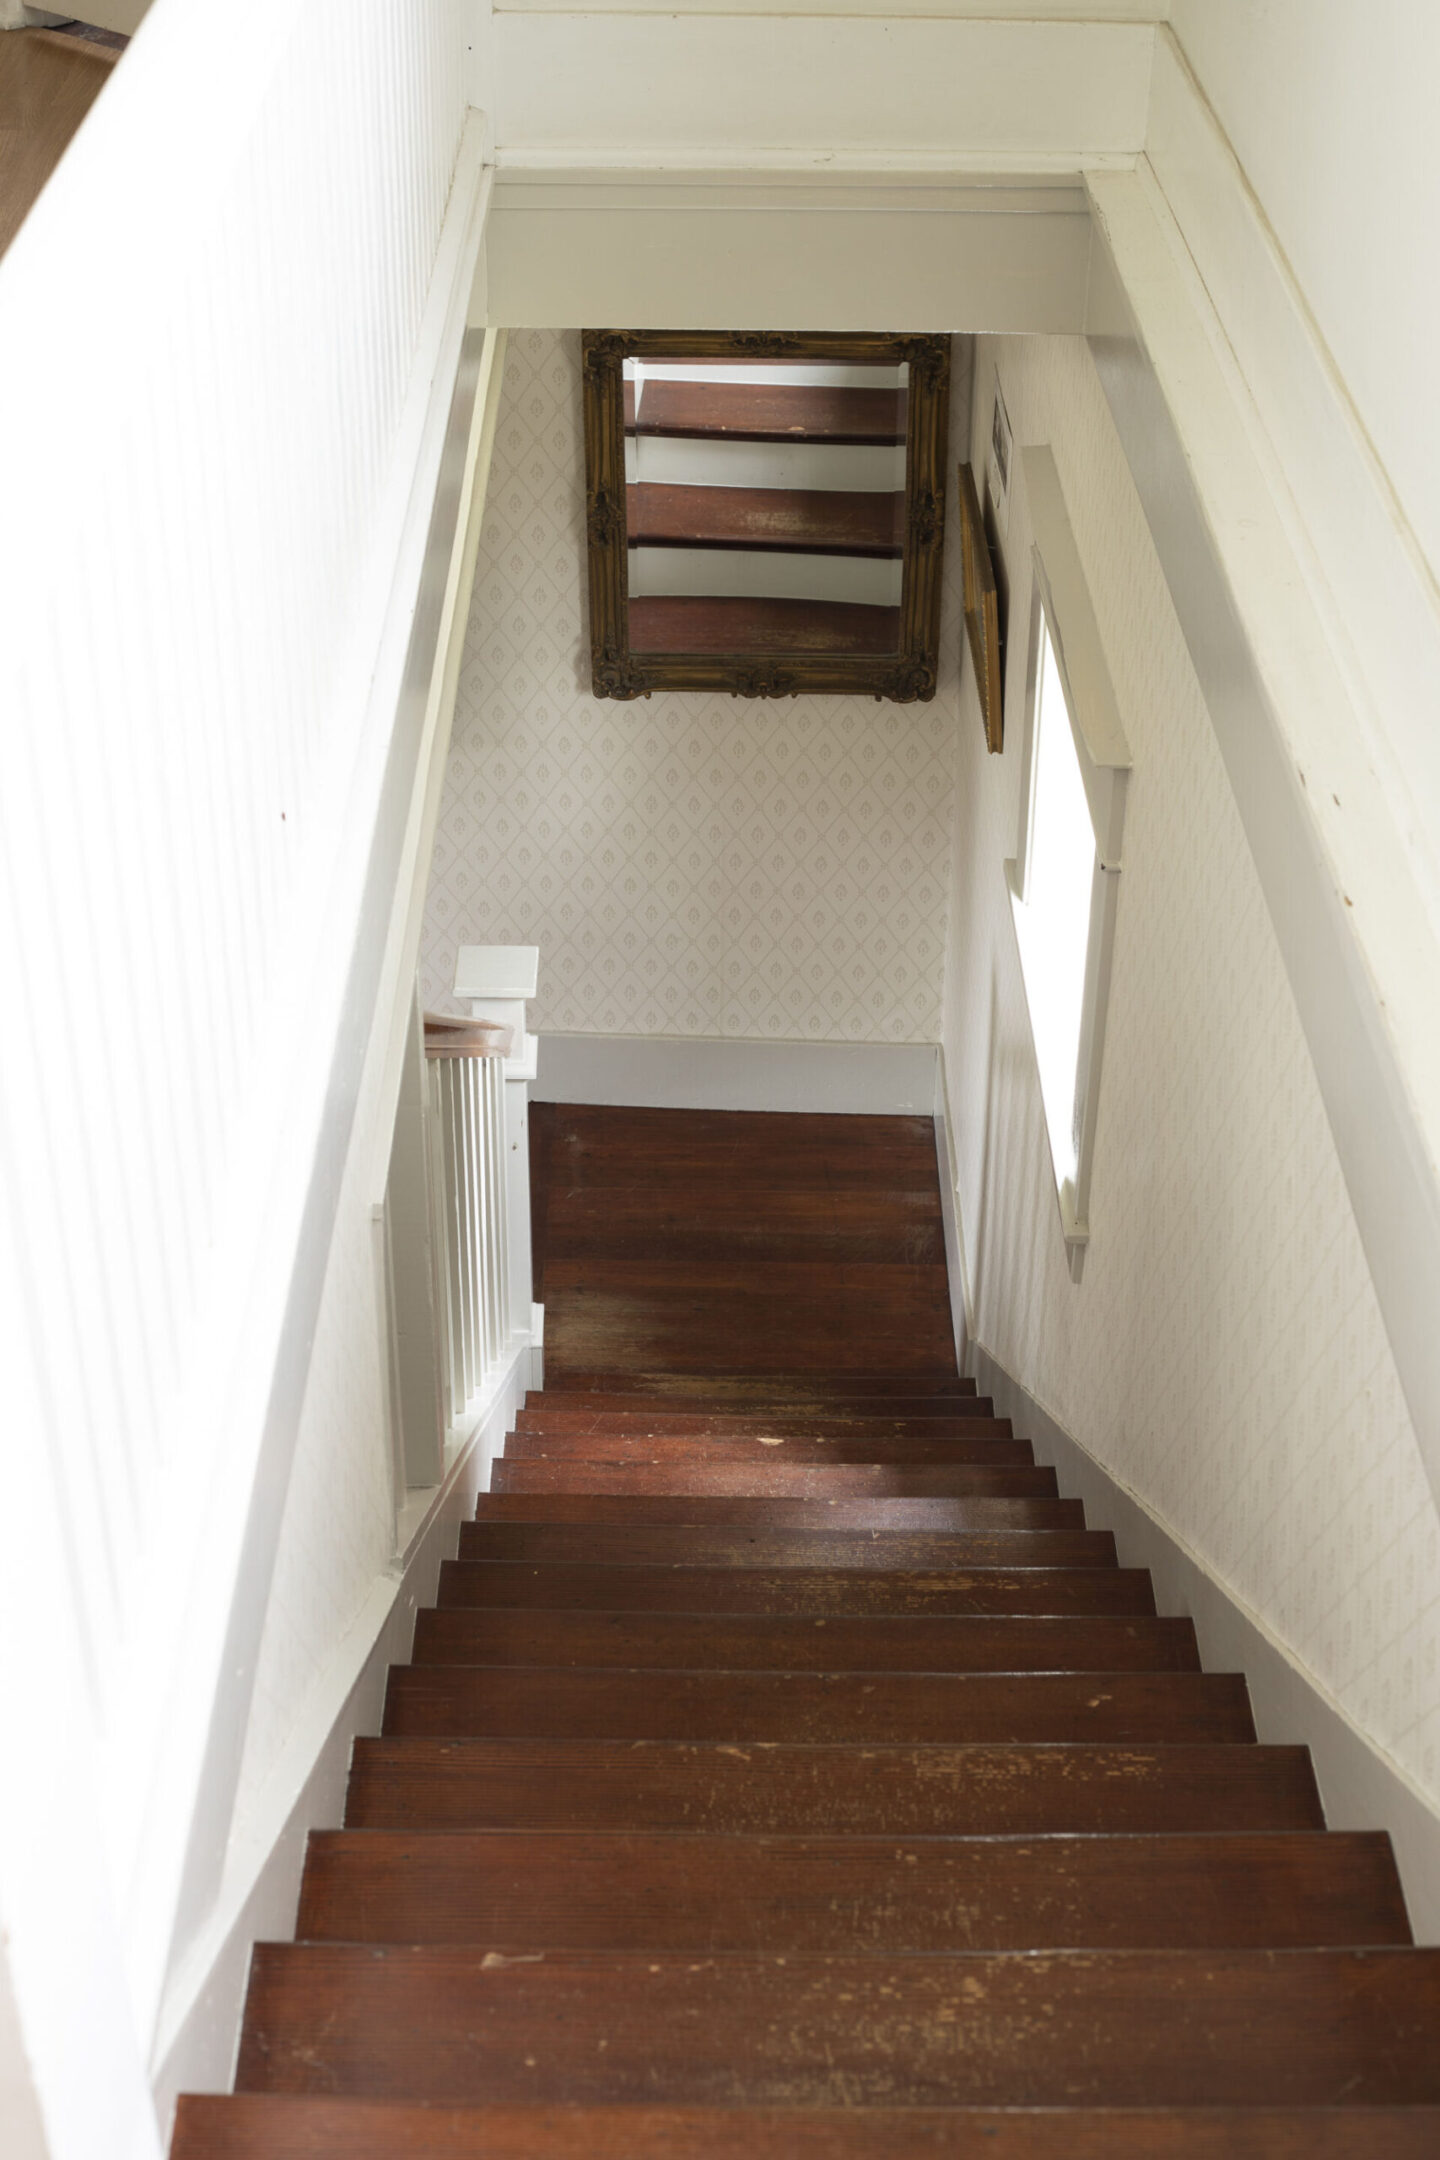
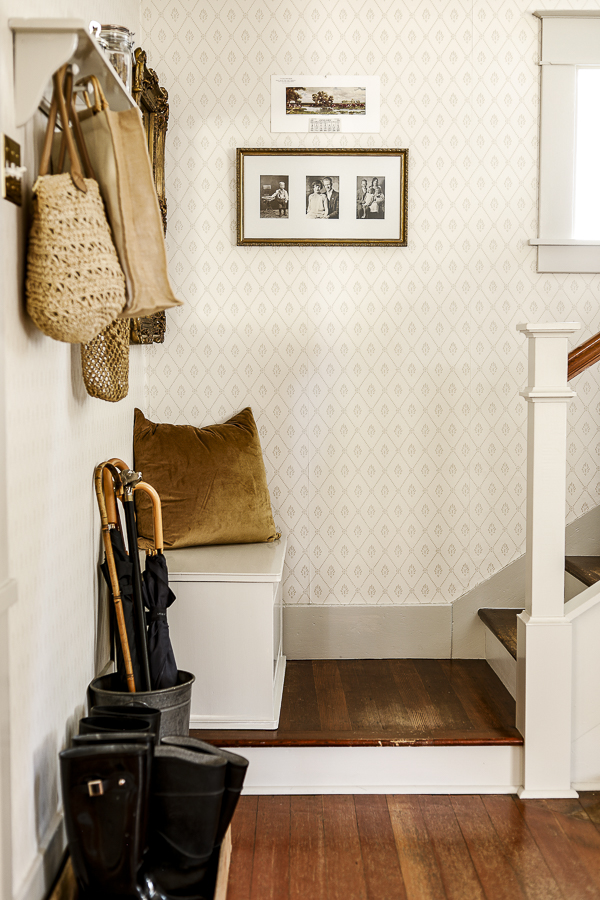
The images used for this blog post are of my “fire-side” room, which if you’ve been following the blog for a while, you might recognize! I thought it would be interesting to add in some of the posts sharing what I’ve learned and how the design of this room has evolved over the years:
- Arranging & Styling a High Traffic Room
- Fireside Room Reveal
- DIY Washable Stair Runner
- Styling Thrifted Wall Decorations
- Painting a Leather Recliner
- How to Install a Rustic Brick Accent Wall
Save this 4-Step Design Process for Later: