How to Paint French Doors, the Quick and Easy Way
Do you have some French doors that need new paint and feel like it’s going to be too much work? Well read on, I’m sharing a great time-saving product for this exact job!
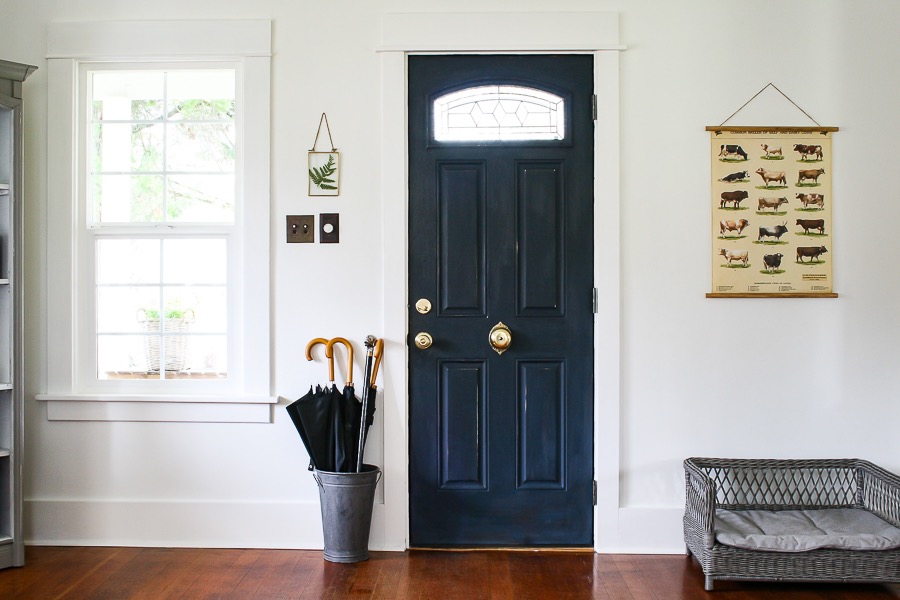
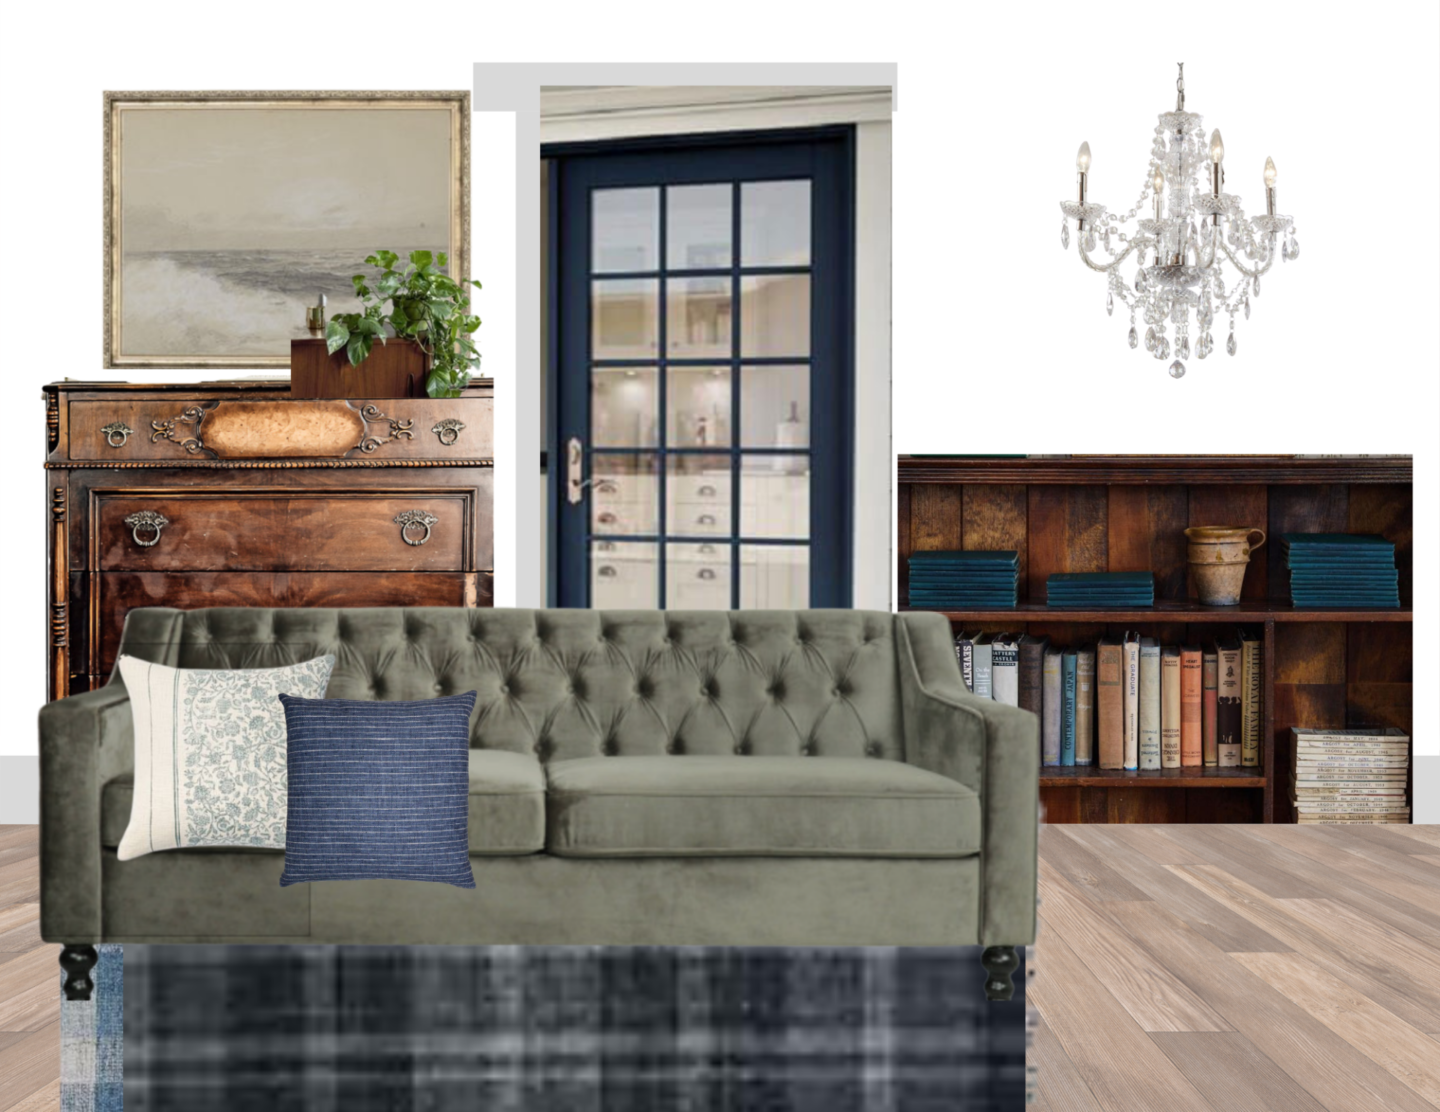
In my styling thrifted decorations post earlier this month I shared some sneak peaks into my plans to make some changes in our living room, and one of them is to pull in some more navy blue to coordinate with our front door that I love so much!
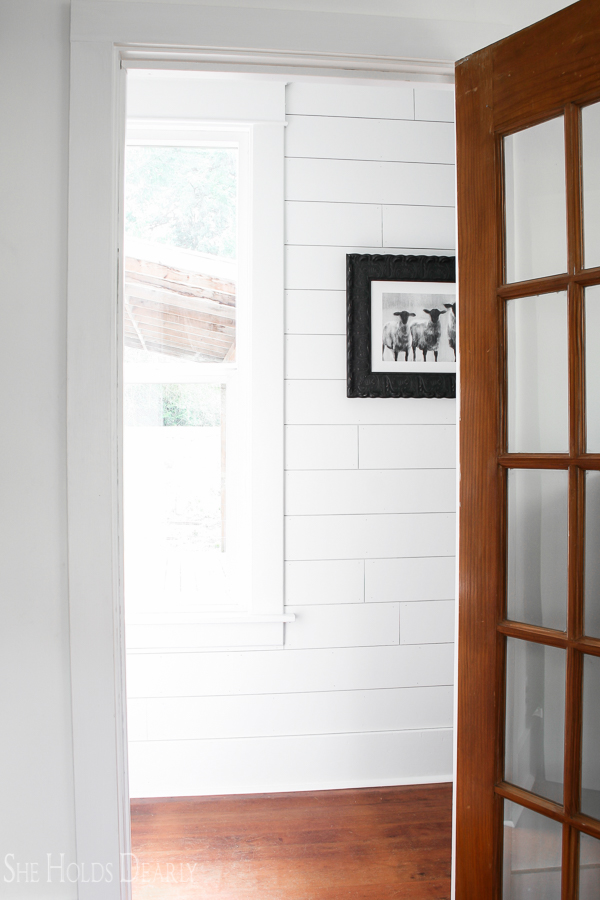
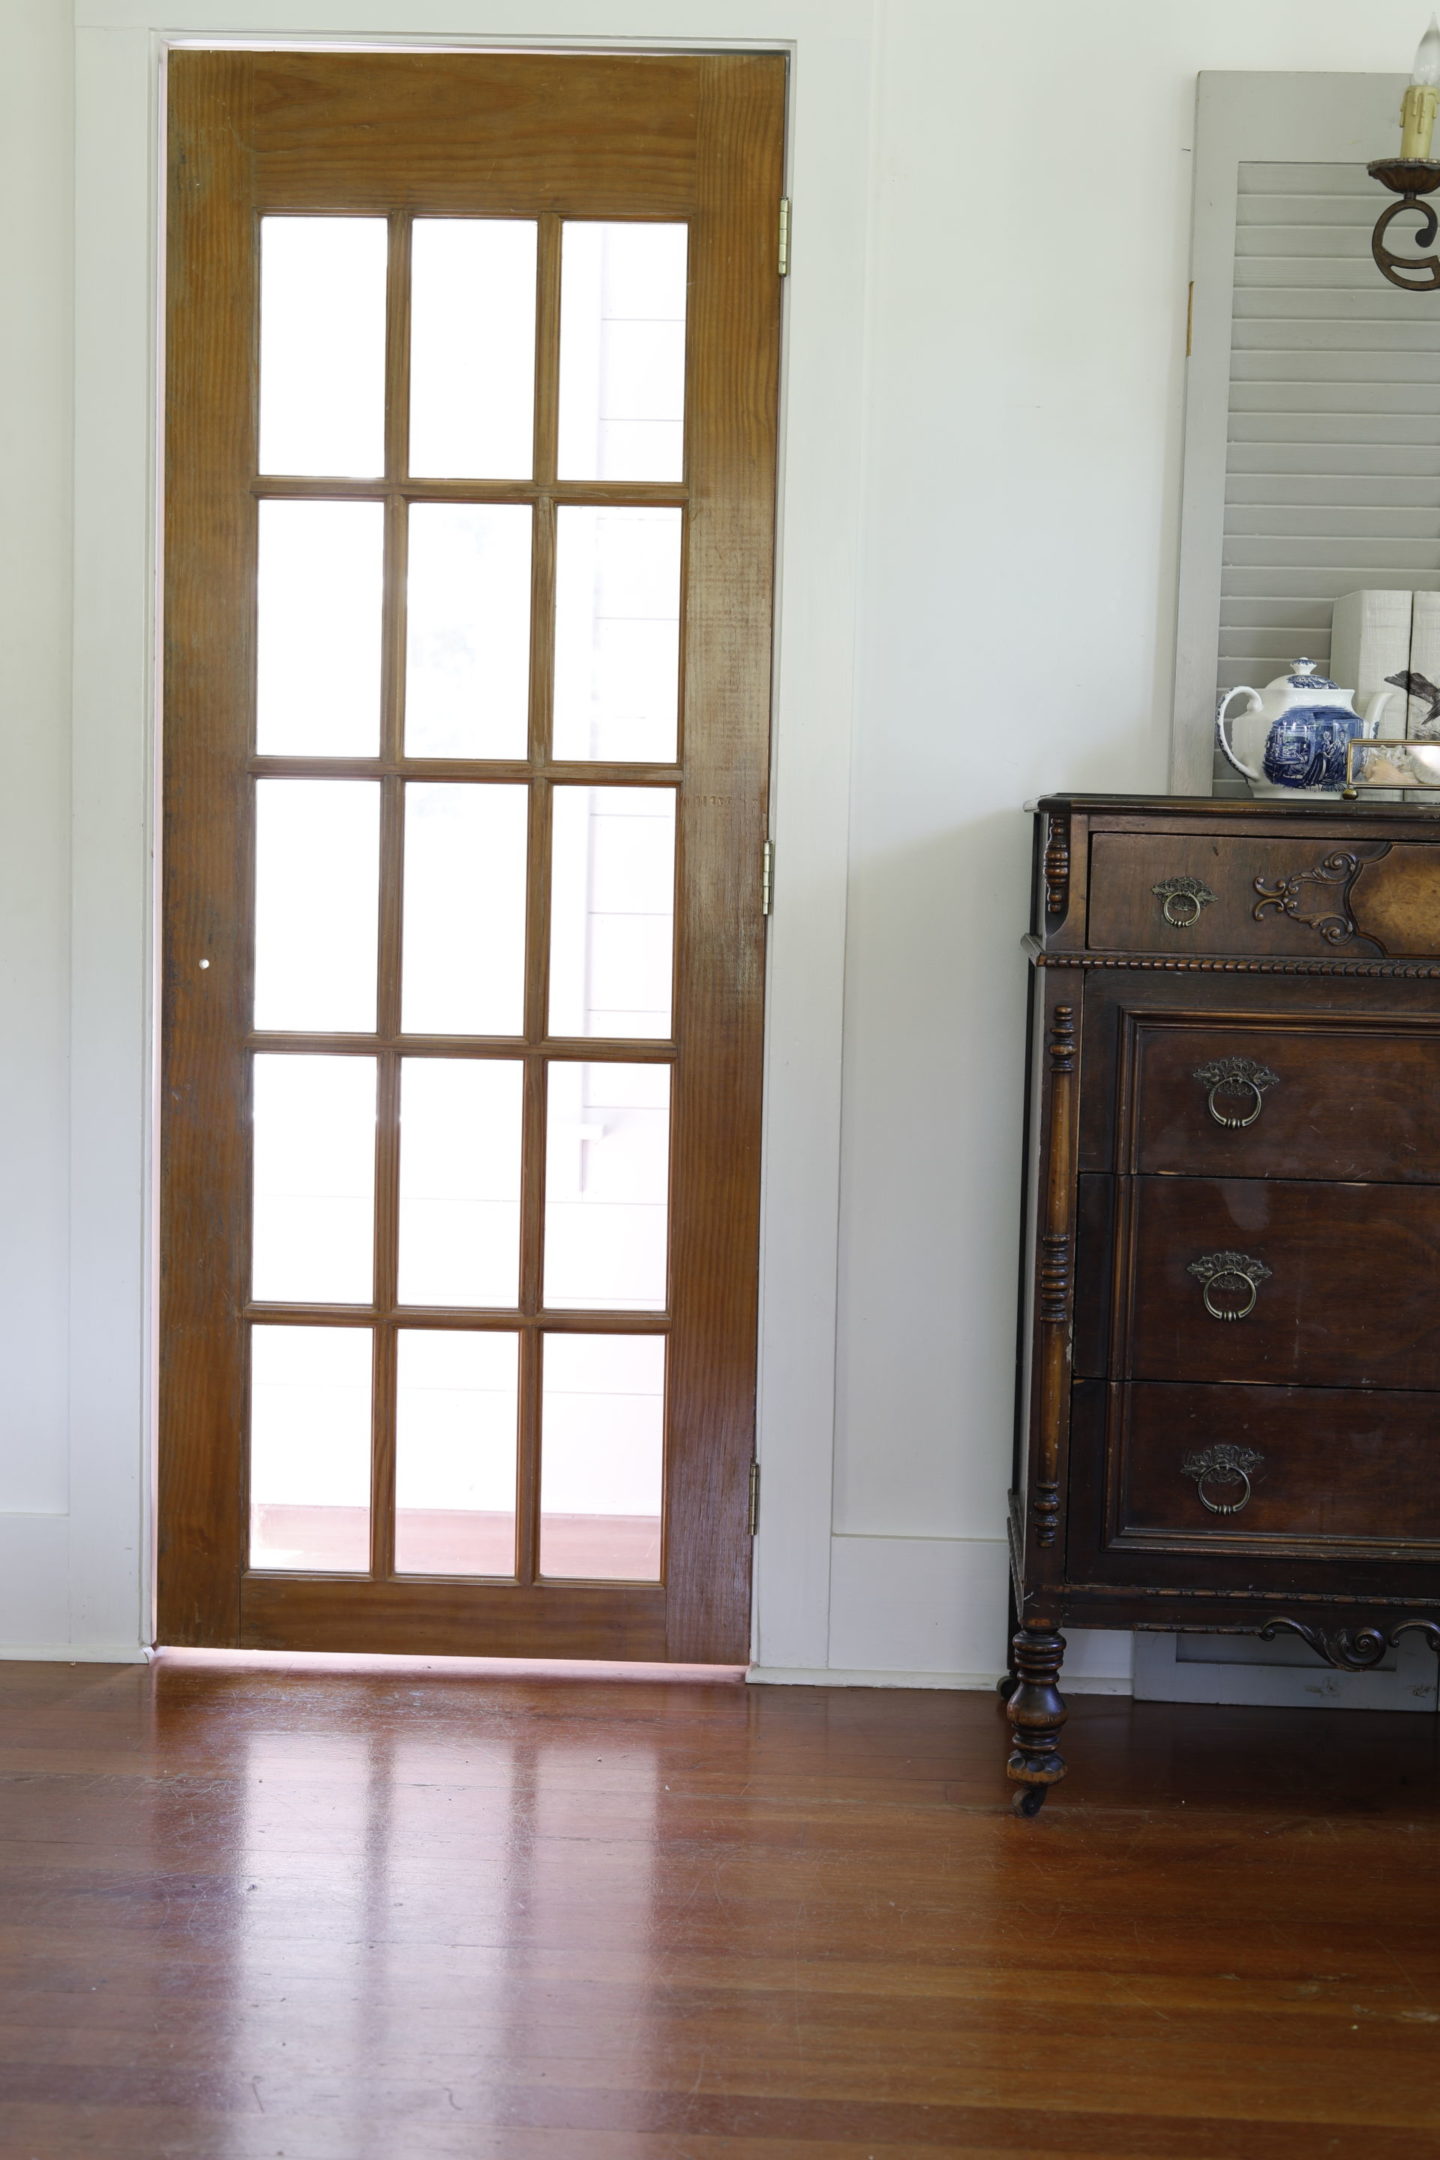
It was a no-brainer that I should also paint the other door in this same space, our French door leading into our walk in closet.
*This post contains affiliate links to products I know &/or love.
History of this Closet:
This closet was previously called the “toy closet”, but we’ve been thinking we’ll need a new name for it now that my children are grown up and don’t use it for that anymore.
It’s currently used for storing bulk food, cleaning supplies and some of my out-of-season decorations and is more like a pantry at this point!
Here are related blog posts that share some of the details of the past and present projects and usage of this space.

All that being said, this closet is still used often as part of our house, and is right off one of our main gathering areas, so I wanted it to have a great look that didn’t detract from the rest of the room.
If you’re like me, when you think about painting a French door or a multi-paned window, all you can think about is all that taping. *sigh
I knew I didn’t want to have to go through that process on both sides of the doors for a total of 30 panes of glass, so I was really excited to try out a liquid masking alternative, and it has quickly become my favorite hack for these types of painting projects!
Some History About This Door:
We found this door on Craigslist when we were remodeling our house, and I think it was about $100. We went through the process of measuring, etching out the wood to make sure the hinges lay flush and got it hung all to discover we hung it upside down.
Whoops.
It didn’t make sense to go through all the work again and try to re-cut out the pieces for the hinges, so we’ve just lived with it this way!
I like to think of it as one of those quirks about our house that helps make it unique.
If there are fun quirks about your house that you think are pretty unique, I’d love to hear about them in the comments below!
My Plans for the Door:
I knew I wanted the door painted in the same shade of blue as our front door. It’s called “Ink Blue” (formerly Artissimo )and it’s a milk paint by Miss Mustard Seed.
I also knew I wanted it to look a bit aged rather than freshly painted, but I also wanted it to stand up to family use, so I added the Miss Mustard Seed bonding agent which removes some of the naturally flakey and heavily distressed disposition of the milk paint.
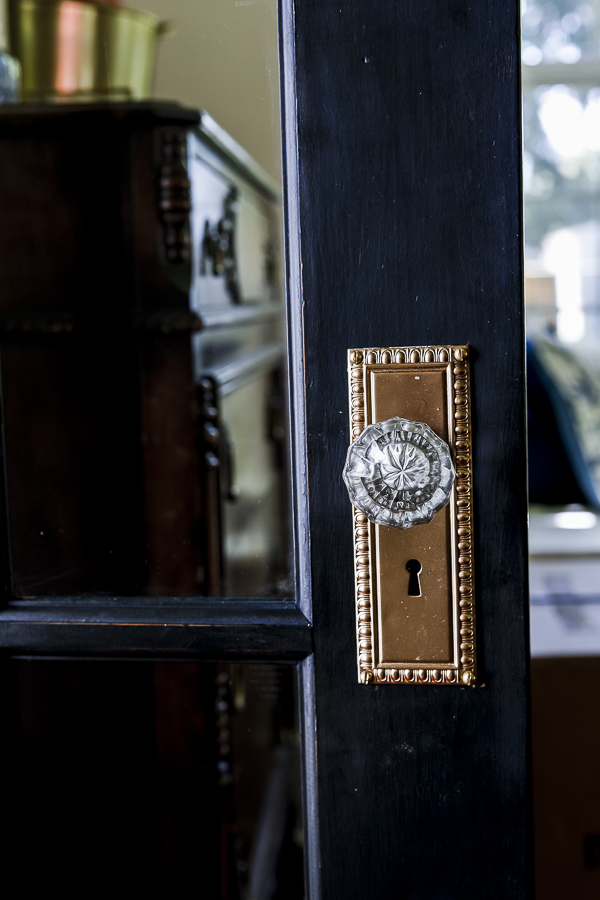
I also wanted it to have a really pretty knob – because I’ve said it before and I’ll say it again, doorknobs are the jewelry of a vintage home.
I LOVE searching on Ebay and Etsy for vintage door knobs. It’s the happiest of rabbit trails. You’d never believe how many different style and colors are available. It’s easy to get swept away in looking at them all.
The one I ended up using for this door was actually a $5 garage sale find! It’s a more-recent glass reproduction of the true vintage crystal knobs, but for only $5, I say well worth it! I ordered the back plate behind the knob for another $10 or so online.
A second quirk about this door is that it has never had any actual mechanism added, so we’ve only ever used it as just a swinging door with no latch.
The good thing about that is that adding a knob & backing plate is even more simple when you don’t have to make sure to align it with an existing lock set!
The Main Event – How to Paint French Doors:
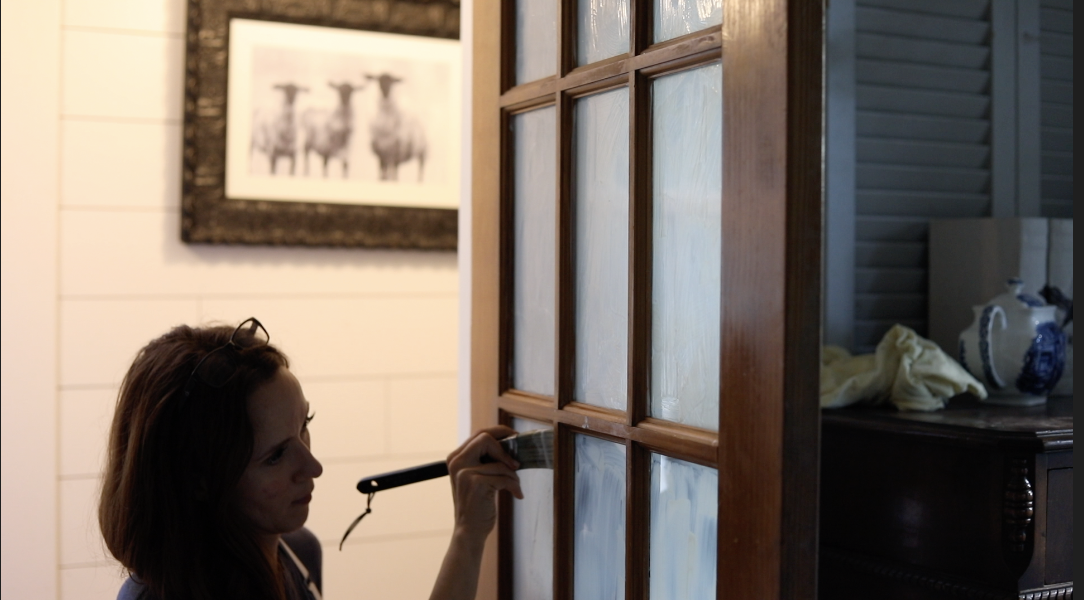
Now, the part you’ve all been waiting for! The product I used is called Liquid Masking H20 and just wait until you see how well it works!
It’s a paintable liquid that kind of reminds me of runny elmers glue. You paint it directly onto the window panes, let it dry, paint your door or window, and then peel away the film leaving your glass paint-free!
The instructions say that you can use a sprayer, brush or roller to apply. I chose my trusty 1 1/2″ angle sash brush and got to work. Also within the instructions it says to “apply 2-4 mils thick”, which actually wasn’t a very helpful reference.
I ended up applying it as thick as I could with a single coat and seeing how that would work out.
You should cover the entire window surface, rather than just a frame around the edge, because you want the film to come off in one solid piece. I even painted a bit onto the wooden frames to make sure I was getting all the way to the edge of the glass. I knew I could cut away the film with a razor blade to get a fresh crisp straight line once it was all said and done.
I painted it later in the evening and left it to dry overnight, though it says it should only need about 30 minutes. (I think the exact time will depend on how thick you layer it on!)
The next morning it had dried on in a pretty glaze and I couldn’t wait to get to work.
I mixed my Artissimo milk paint with water (per the instructions on the bag) using my trusty old plastic measuring spoons, plastic solo cup and mini whisk, and then added in the bonding agent with about a 1:1 ratio.
Once you mix it for a few minutes, you let it rest for 10 more minutes, and then you’re ready to paint!
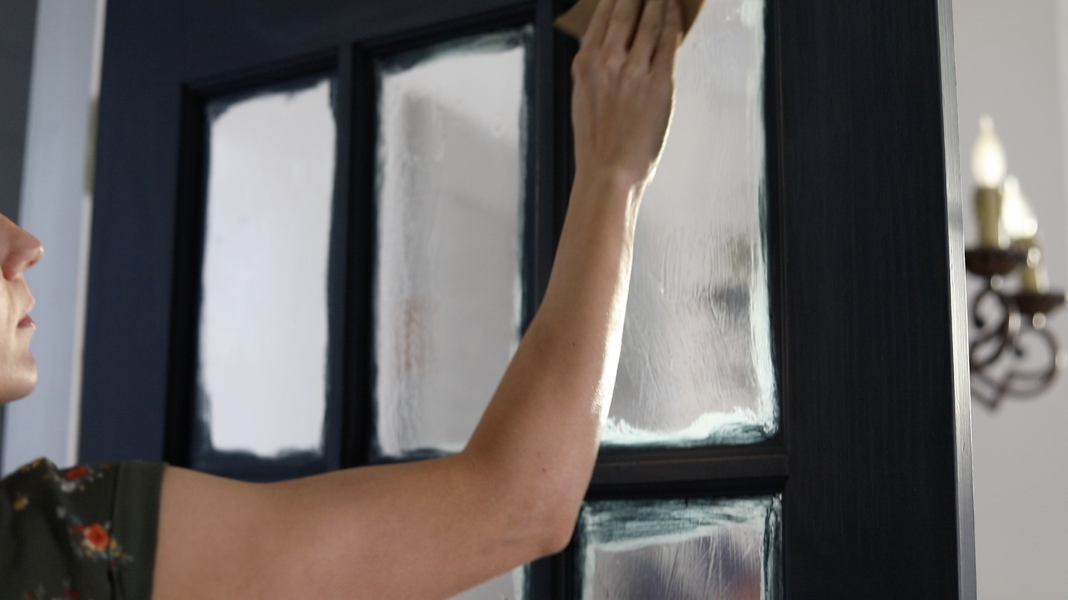
I painted two coats on both sides of the door, and then once it was dry, went back over and sanded it lightly with 220 grit sandpaper to add the distressing. I intentionally went over the raised areas to scuff them up a bit more than the flat door surfaces to give it a more natural aged look.
One of my very favorite things about using milk paint is how the pigments show up when you distress with sand paper. They’re almost iridescent and I always think it’s so lovely!
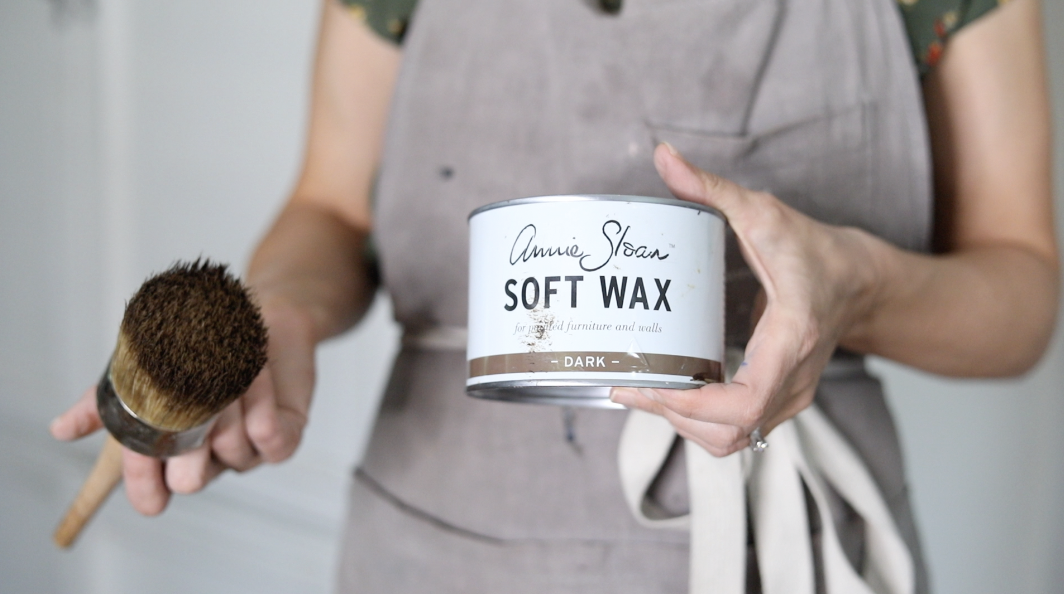
As my last steps for the painting process, I used Annie Sloan dark wax to protect the surface and to add the last layer of dimension, and then buffed the wax.
I applied it with my Siff wax brush, and I once again remembered why these are considered some of the best brushes. It’s really really lovely to use, and the bristles do not shed.
If you paint at all, you know how much of a pain it can be when you find a stray bristle in the middle of an otherwise pristine project – that wasn’t the case with this brush AT ALL. I highly recommend them!
Shortly after finishing the waxing process I went back over all of the wax with a buffing brush for the final touch.
I just LOVE how the dark wax adds to the natural aged look.
Removing the Liquid Masking & What I Learned About How to Paint French doors:
Once all the painting and waxing and buffing was finished it was time to cut and peel away the liquid masking film!
I used a razor blade to trim the film around each window pane and then peeled it away.
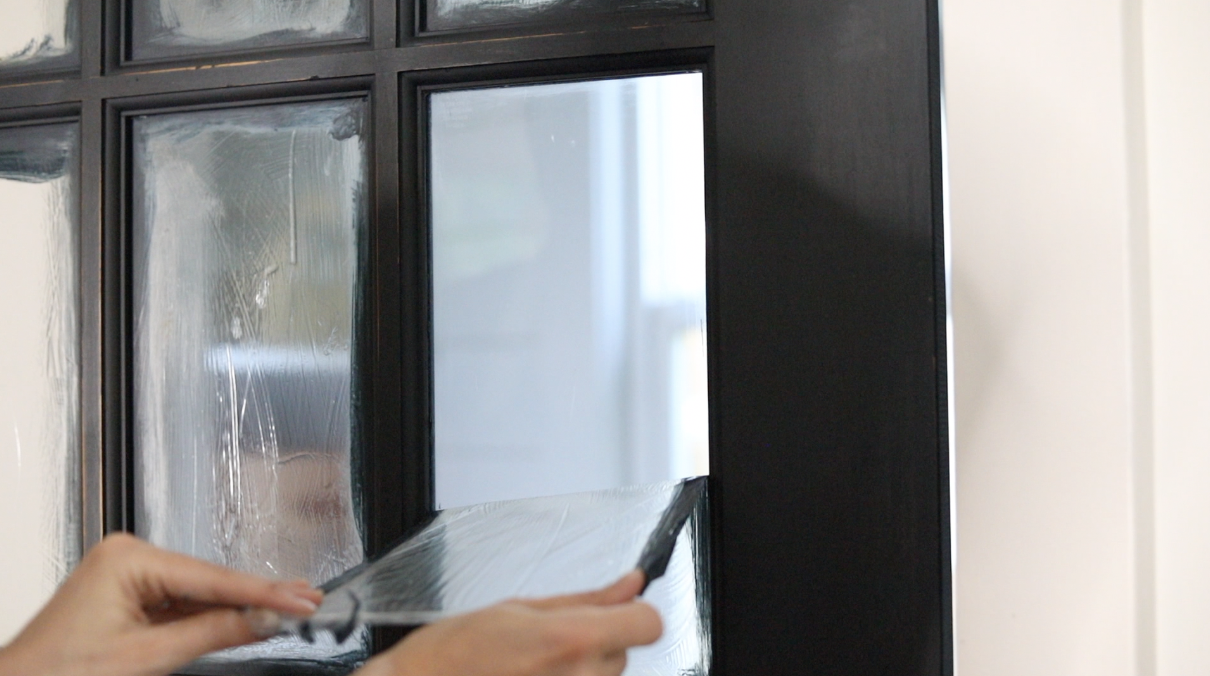
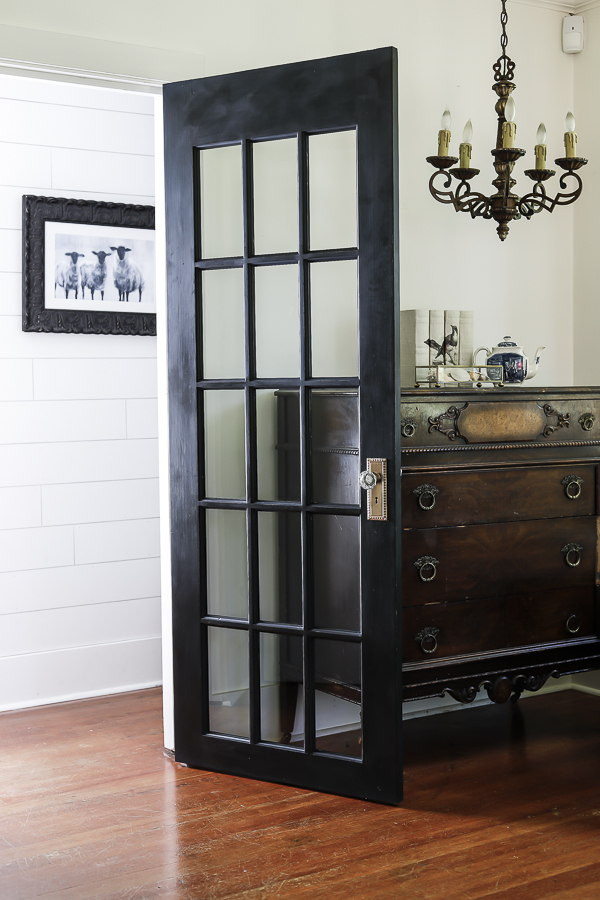
It’s really satisfying when the film comes off in one big piece revealing crisp straight lines!
I noticed though, that the film felt very thin when I was peeling it away, almost like a plastic saran wrap.
In the future, I’d certainly do a second coat of the liquid masking to add to the final weight of the product for removal, AND I would be even more diligent to press the product into the edges well with my brush.
Adding the Jewelry:
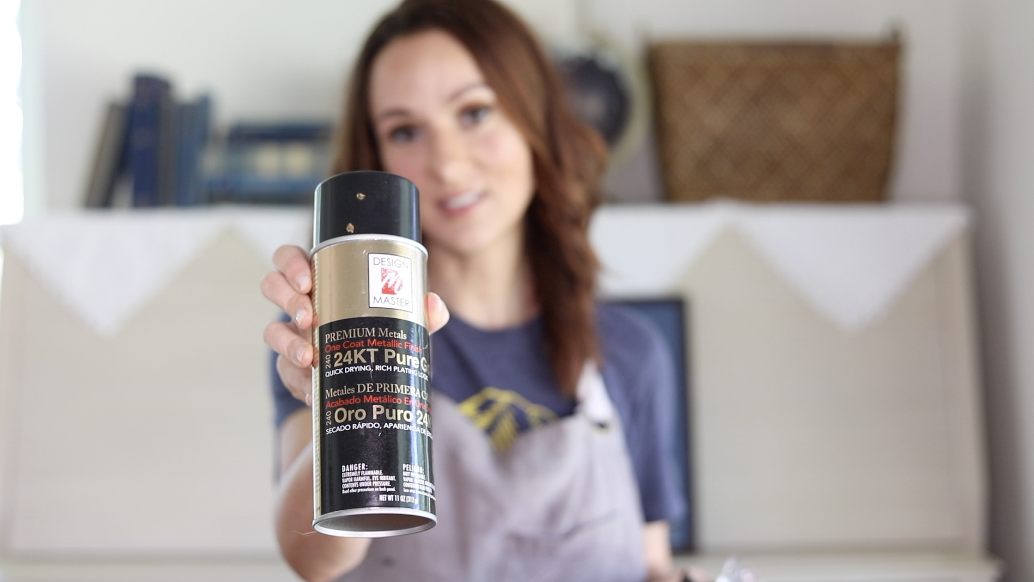
Once the door was all painted it was time to add the final finishing touch – the jewels! I used my favorite gold spray paint give the backing plate a little update to the shade I was wanting for this space, and then we installed the plates and the knob!
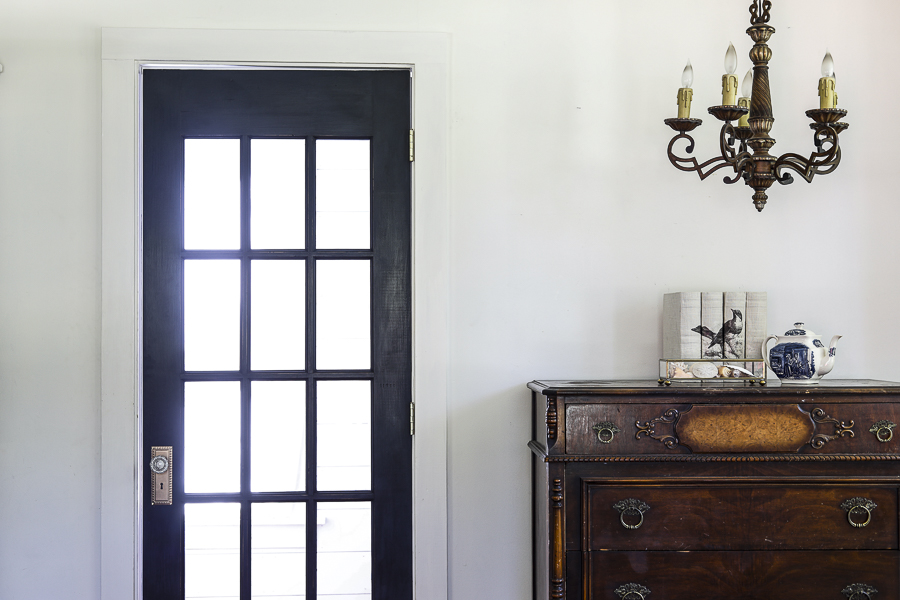
Isn’t it just a thing of beauty?!
I’m so happy with this additional pop of color in this room, and I can’t wait to show you more as I keep working on our updated space!
I hope you find this helpful! I haven’t shared many DIY projects in the last few months, so I’d love to hear in the comments if these types of tutorials are helpful, or if you’re loving the design teaching content more. Hearing from you helps me know which direction to take these posts for your benefit and enjoyment!
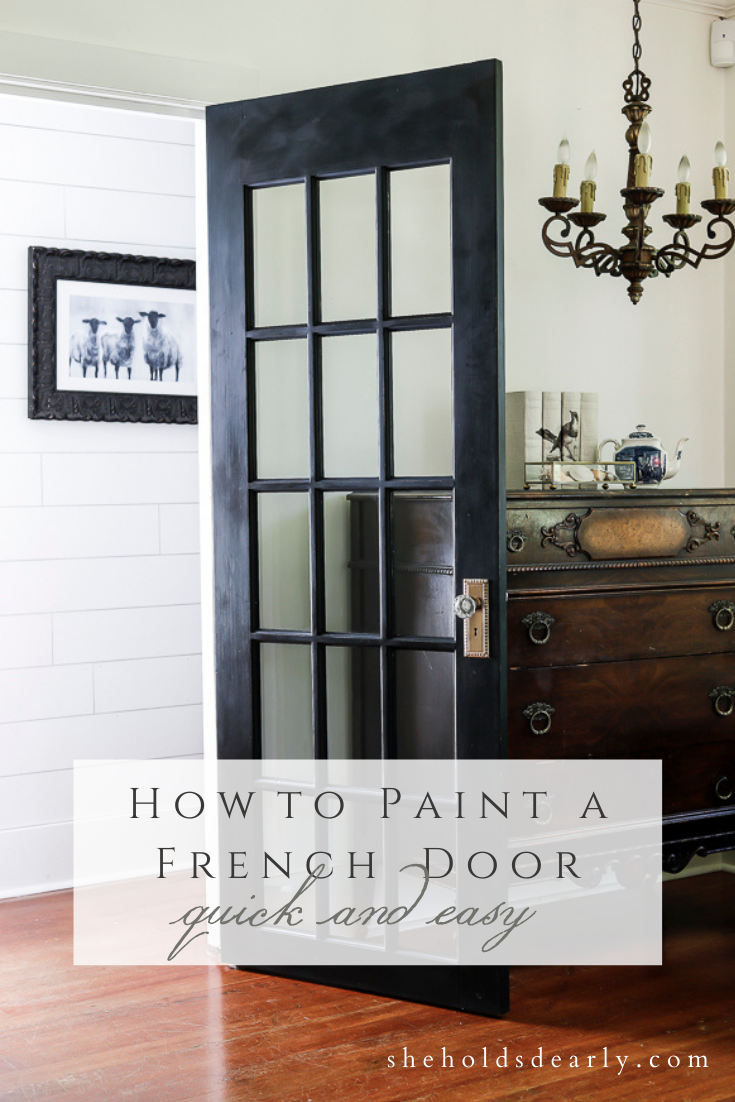
Pin these Tips to Paint French Doors For Later:
Until next time,


