Easy DIY Tutorial for a Samsung TV Frame
If you have a Samsung Frame TV and are wondering if you can DIY a less expensive version of the frames you’ve seen online… the simple answer is YES!
TVs sure have gone through some changes since their inception! If you’re up for answering, I’d love to hear in the comments below what the TVs were like when you were born. I certainly remember my child hood set!
To get from the first TVs to where we are now, there have been a handful of BIG leaps, like from black and white to color, from tube TVs to flat screens, and I don’t know if it was just me, but then it felt like we had kind of stalled out at that point for a while.
There hadn’t been any new developments in recent years that felt new or truly revolutionary.

*This post contains affiliate links to products I know &/or love.
Enter: the Samsung Frame TV.
Ever since first hearing about this Samsung Frame TV, I was excited about the idea; A TV that looked just like a piece of art!
As a designer, not only does this feel like a big leap forward in innovation, BUT it also helps solve a big problem a lot of designers have when working with families on their shared living spaces.
The nature of TV as an entertainment device means that it really needs to be kind of front and center in a room as a focal point to be seen comfortably from the best seats in the house.
But when you’re designing, having to center a room around a big black rectangle is less than ideal. I even have an entire blog post from last year dedicated to the 10 best ways to hide a TV.
Having a large TV front and center also came up most often when I asked on social media what design issues we ran into conflict with our husbands about most often.
Hiding and compromising aren’t necessarily the favorite words of interior designers (but we do what we need to when we need to, right?), but I do love that this TV helps solve both those problems at once – at least in my household!
Investment Piece
Because these have been top-of-the-line, cutting technology the past few years, they’ve also been, you guessed it: VERY expensive.
I knew we’d ultimately like to get one, but I wanted to wait until the prices had come down a bit further.
This year, we were able to get our own 43″ Samsung Frame TV for $800 on Amazon Prime Day! Hooray!
One thing to note is though, that’s the price of just the TV. To buy a ready-made frame, you’ll easily spend another $400-600!
I knew I wanted a frame for my frame TV (it gets a little confusing, right?) to truly disguise it as a piece of art, but I also knew I did not want to spend that much money on one on top of the cost of the TV itself.
I knew we’d be able to DIY a frame for a fraction of the price, and that’s just what we did!
Keep on reading to answer these common questions & comments:
- Can you DIY a budget Samsung Frame TV frame?
- How can I make a Frame for my Samsung Frame TV?
- Where can I find a cheap Frame for my Samsung Frame TV?
- How can I find TV Frames for my Samsung?
- I need tips for framing a TV!
Prep Work:
If you’ve been following along, you’ll remember we’re in the process of taking our living room (and the rest of the downstairs area) in a new direction! I’ve shared some sneak peeks in these blog posts here:
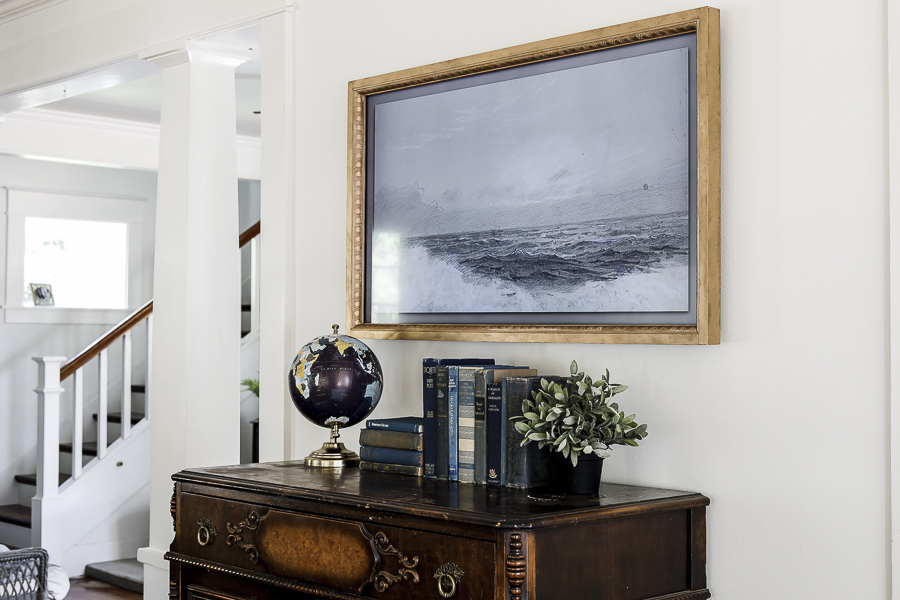
And we’re still steadily moving along! I knew that if we went ahead and got a frame TV, that I would want it hung on the center wall with our “Lego dresser” underneath it.
That dresser had previously stood on the other side of our closet near our window seat because we had a large armoire that used to house our TV on the wall in the center of the living room.
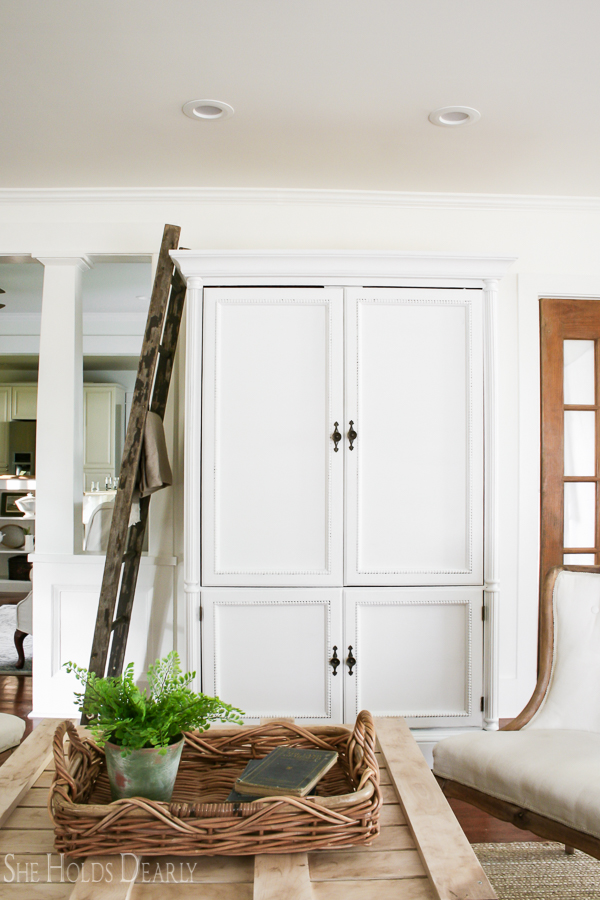
With the Frame TV now home and ready to be installed, we moved the armoire out to the shop in preparation for it to be sold. (See this post on how to sell furniture online.)
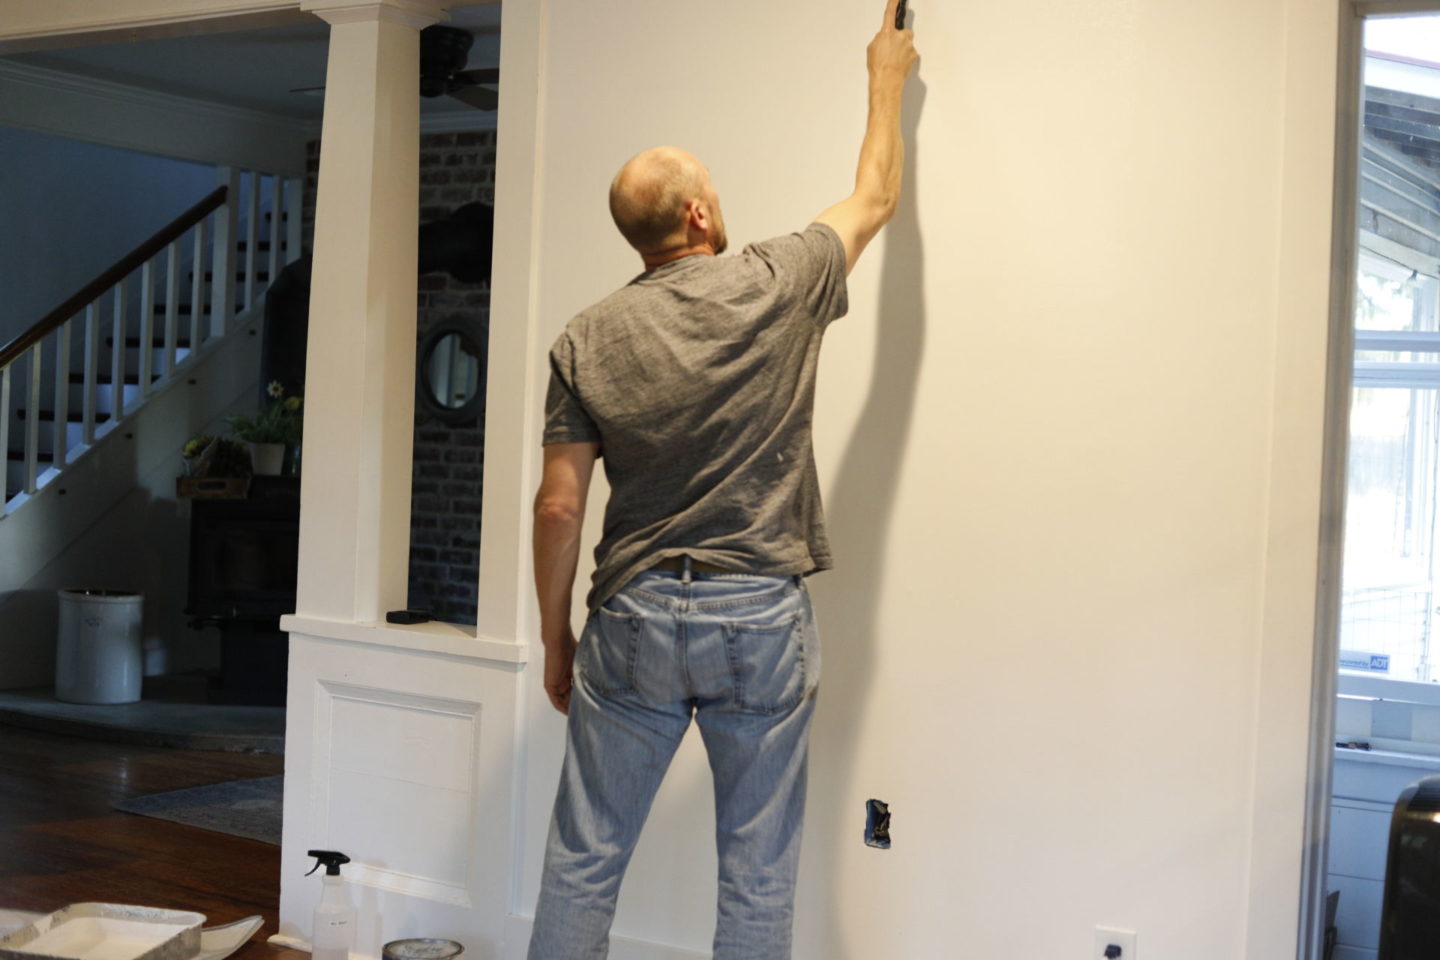
Because we had not moved this armoire when we repainted this room previously, it still had blue paint on the wall behind it! My husband helped add a fresh coat of Benjamin Moore Simply White paint to that last section of wall that is no longer covered up!
Next, we moved the Lego dresser over to its new home and got to work assembling the DIY frame for our Samsung Frame.
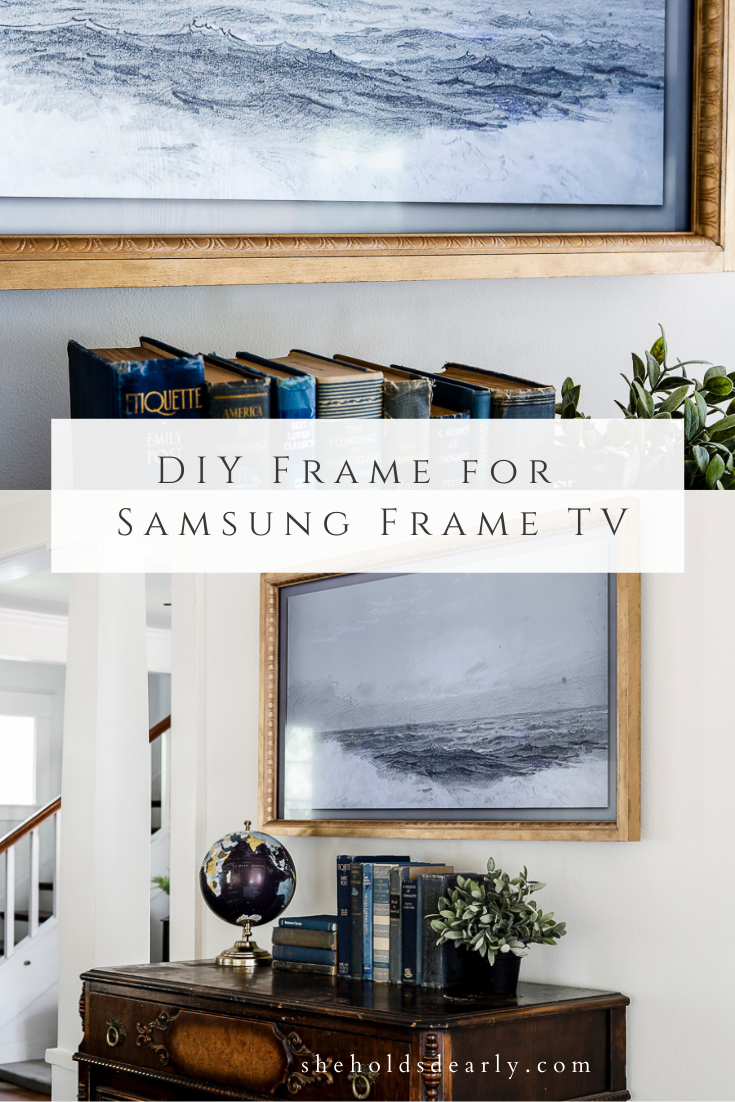
How to Make a DIY Frame for your Samsung Frame TV
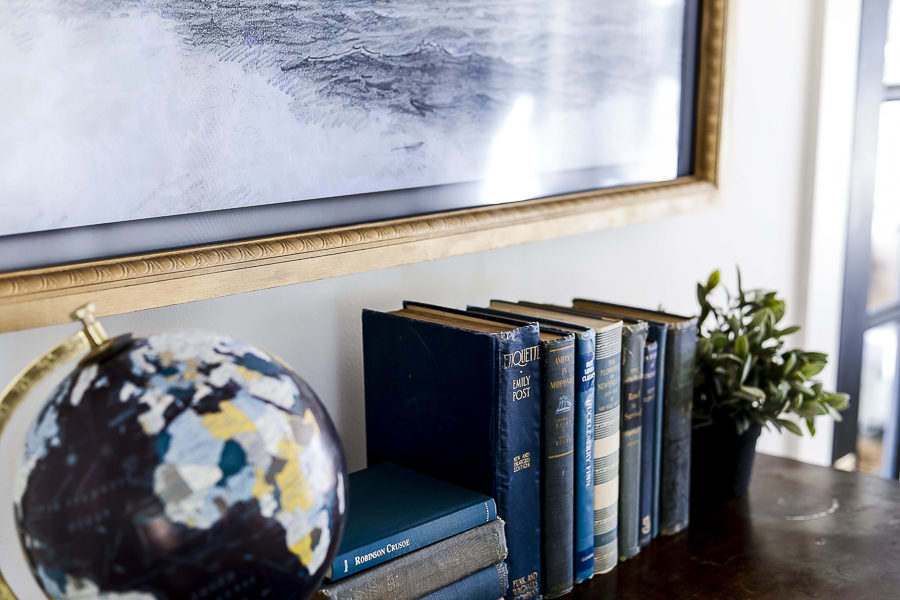
We chose to go with a really simple build for our frame, but depending on your woodworking skill, you could easily make it more ornate if you chose to. Our original plan was to use simple 1×3″ pieces, but then when the project was almost complete we decided to add some additional trim pieces with a bit more design on them.
Because the shelf right below the TV has a lot of detail, and because I knew I would be changing out the decor there often, I didn’t want the frame to overpower the area, but it seemed too plain without the trim piece.
This was my inspiration picture from McGee & Co:
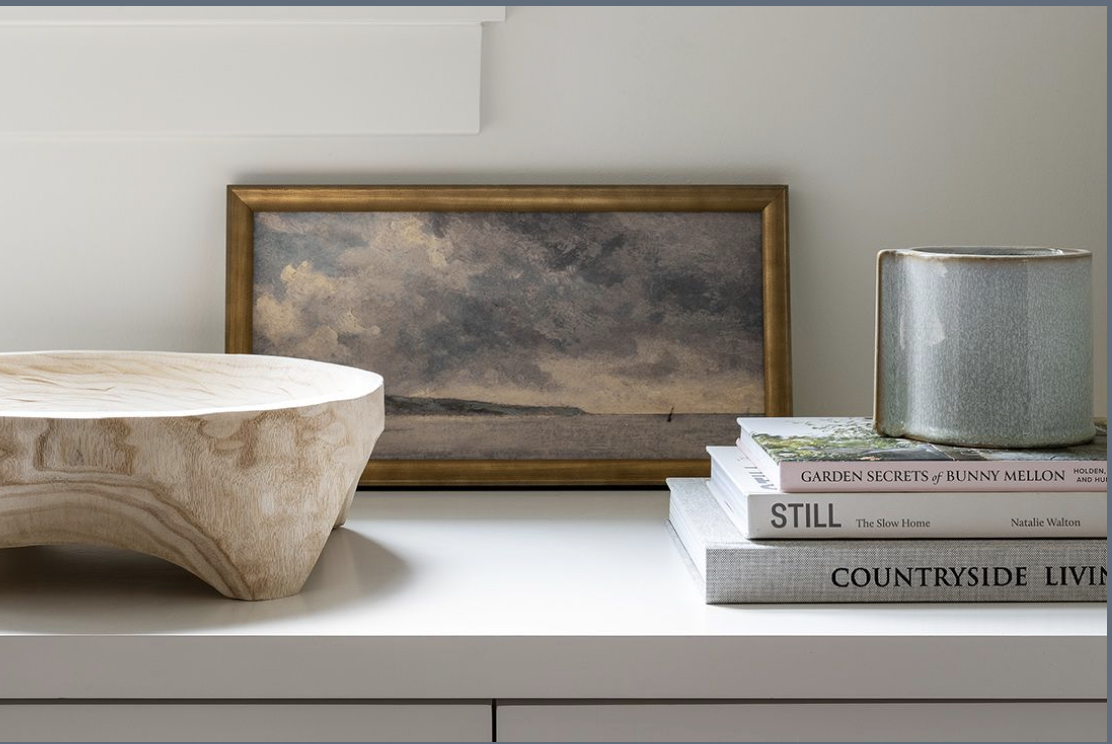
I loved the gold and the mottled texture on an otherwise pretty simple frame design.
The DIY Process:
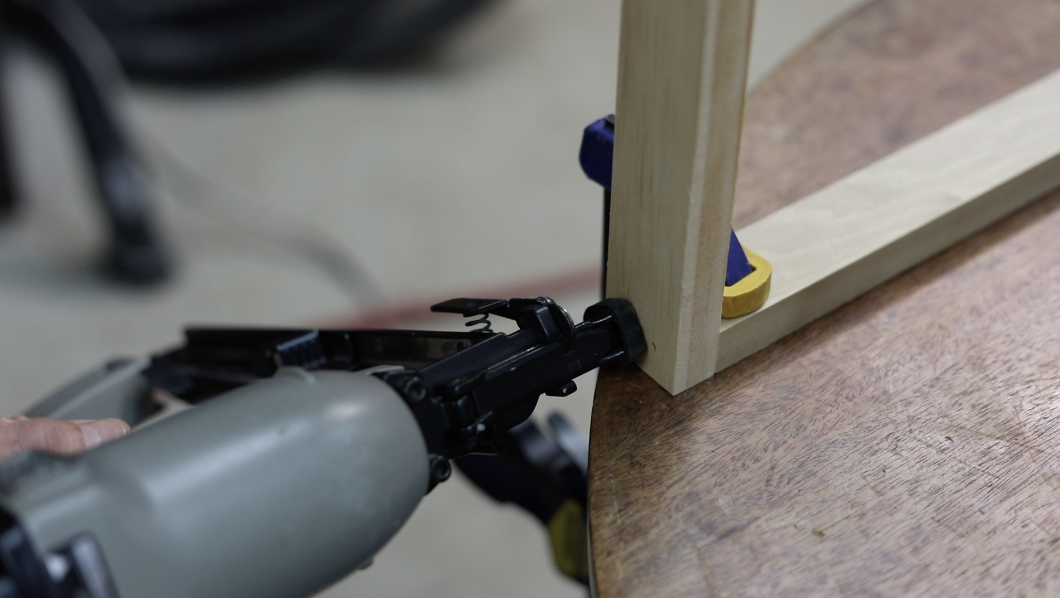
We went ahead and started the project with (2) 8ft long 1×3 boards from the home improvement store. We measured and cut them to size with our skill saw. We were precise on our measurements, and I think honestly, maybe too precise, because the boards almost didn’t want to fit on the TV when we were ready to put it on.
(We also didn’t account for a small sensor on the bottom of the screen that we almost broke off when we were trying to push the frame back further toward the wall. Whoops!)
My husband had gotten his measurements down to the 1/16″ in some instances, and I think it would have been easier to install if we had rounded to the nearest 1/8″.
After cutting our pieces we sanded everything down with 220 grit sand paper to knock off any rough edges.

We chose to go with a simple butt joint instead of a miter, and looking back I think I probably would have taken more care to putty and sand down the nails from the brad nailer before painting for a more clean look.
Enjoying this DIY Tutorial?
If you love DIY, I’m going to guess you might also love thrifting… am I right? I knew you & I might be kindred spirits. In that same vein, I wanted to create a resource that gathered up all of my 20 years of thrifting knowledge and expertise and put them in one place for YOU to access and learn from. With the end goal, that’s right, you guessed it, of saving you money!
Introducing – my Thrift Like A Pro Workshop! 90 minutes FILLED with my best Thrifting content.
I have proven these methods as tried & true through the course of the past two decades, and they did save our family thousands a year. I hope they do the same for you!
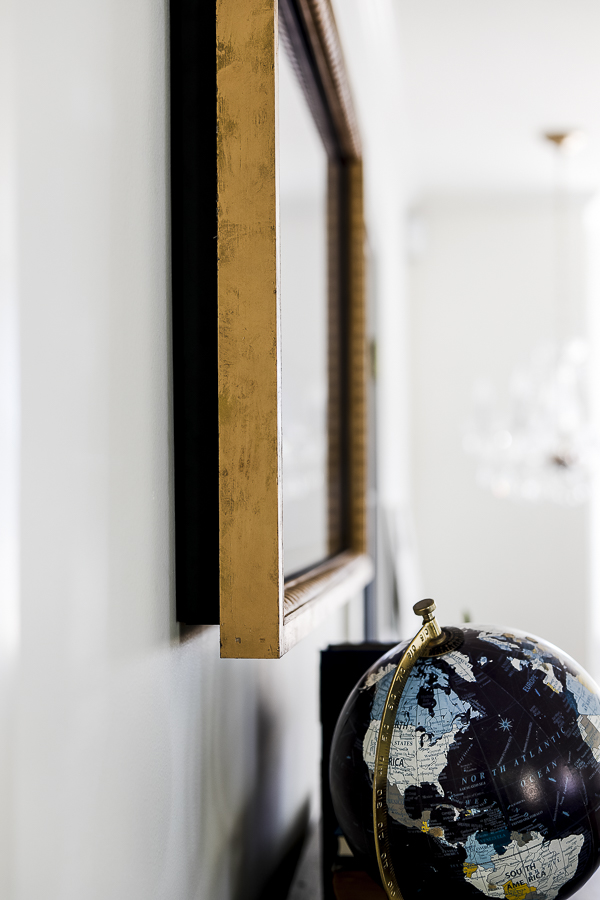
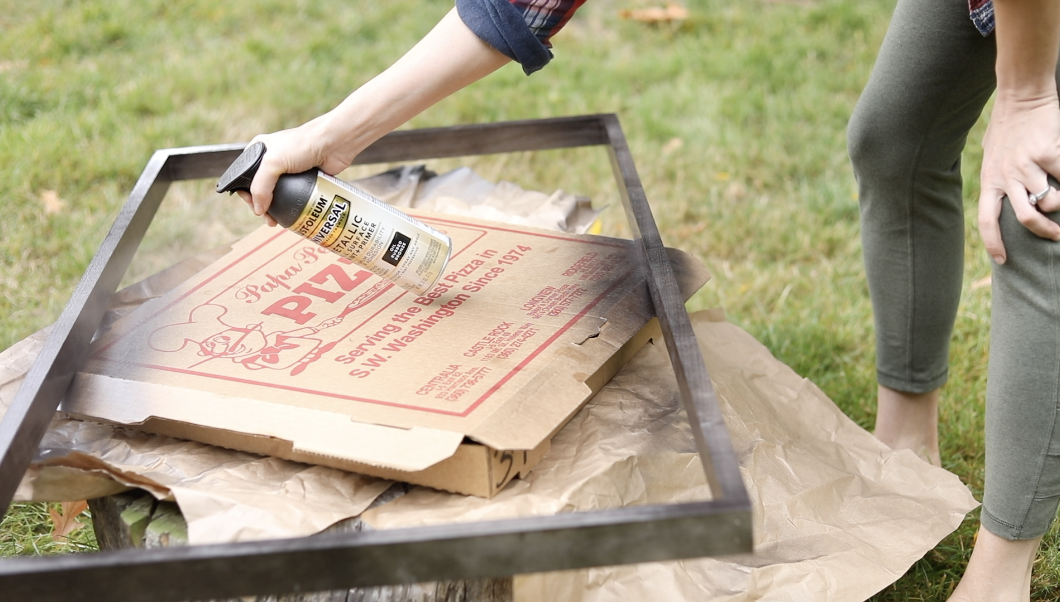
After we assembled the four sides of the frame, I took it outside and covered it with a coat of my favorite black spray paint by Rustoleum. The Oil Rubbed Bronze has beautiful gold flecks in it that give it so much dimension!
After that dried, I added a coat of gold rub-n-buff with my favorite tool – an old makeup brush.
I used about a pea-size drop of the rub-n-buff, and was able to spread that over about 12″ of the frame – so remember, a little bit goes a long way!
The secondary trim pieces we added at the last minute were also from Home Depot and they were simply cut to size (with 45-degree mitered corners) and then nailed to the inside of the frame once they were painted in the same way as the outside boards.
When all the paint was dry we carefully reattached the frame to the TV, being careful not to knock the sensor this time around!
We’ve been asked often in the comments if the sensor is blocked by the frame, and we haven’t had any issues with it receiving the signal from the remote! So don’t worry about that!
The Last Step for a Frame TV: Pick Your Art!
Once we got our frame all situated, the last thing to do was to pick our art and get it set up on our frame TV for when it wasn’t in use.
There are some options that are included with the TV, you can upload your own pictures, or you can find just about anything via digital art online!
I found this beautiful moody grey seascape on Etsy from the shop “In Love with a House” for just over $6!

Once you’ve chosen your art you can also adjust the settings to include a mat around your print if desired (which I loved) and you can adjust the colors if needed.
I quickly realized that if we did not adjust the brightness on our screen, it looked more like a TV screensaver and less like a real piece of art. Turning down the brightness when it was not in use helped alleviate that issue, though!
And there you have it! Our Custom DIY Frame and our new Samsung Frame TV!
I hope you’ll share your thoughts below, and stick around as we move forward on the living room and prepare to reveal the final look!
Elite Decorating Academy | Now Accepting New Students!
Head over to elitedecoratingacademy.com to learn more about this comprehensive design course!

Pin This for Later: DIY Frame for Samsung Frame TV

xoxo,


