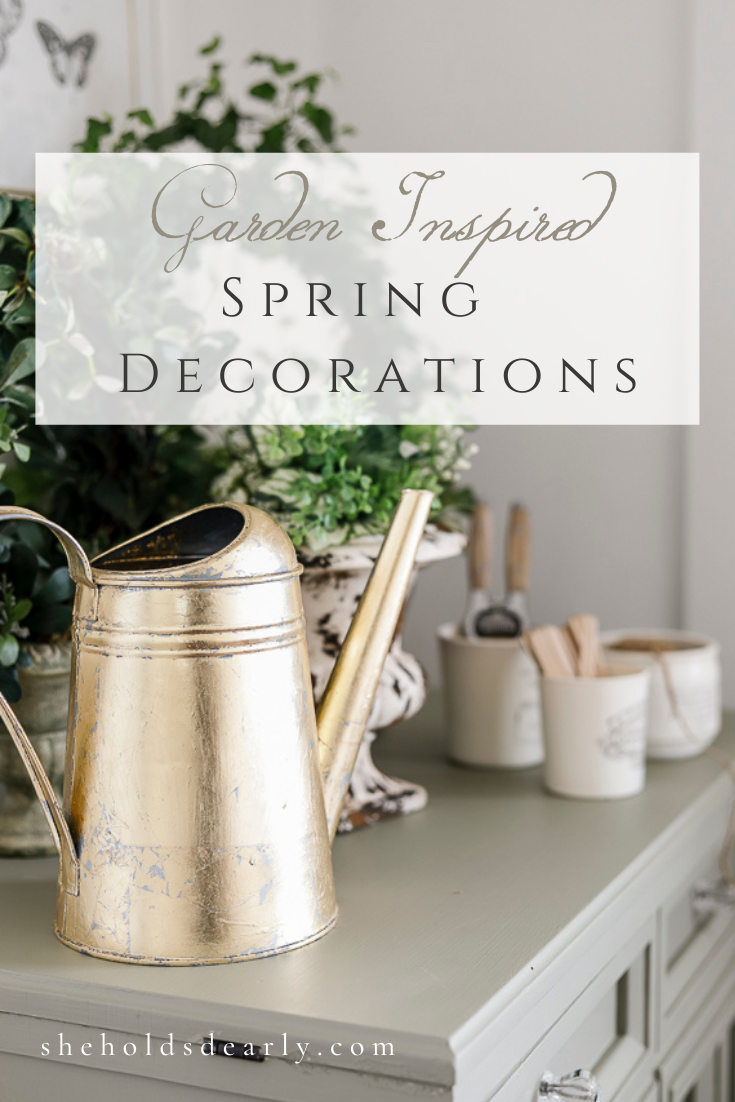
Easy Garden Inspired Spring Decorations For Your Home
It’s time to start thinking about Spring decorations again – hooray!
This week I’m excited to show you 6 simple and elegant Spring decorations that can elevate your home and Spring decor this year!
There’s no better time than a somewhat dreary February to start thrifting for these pieces or putting together your own DIYs to have garden inspired spring decorations of your own.
6 Spring Decorations to Thrift or DIY:
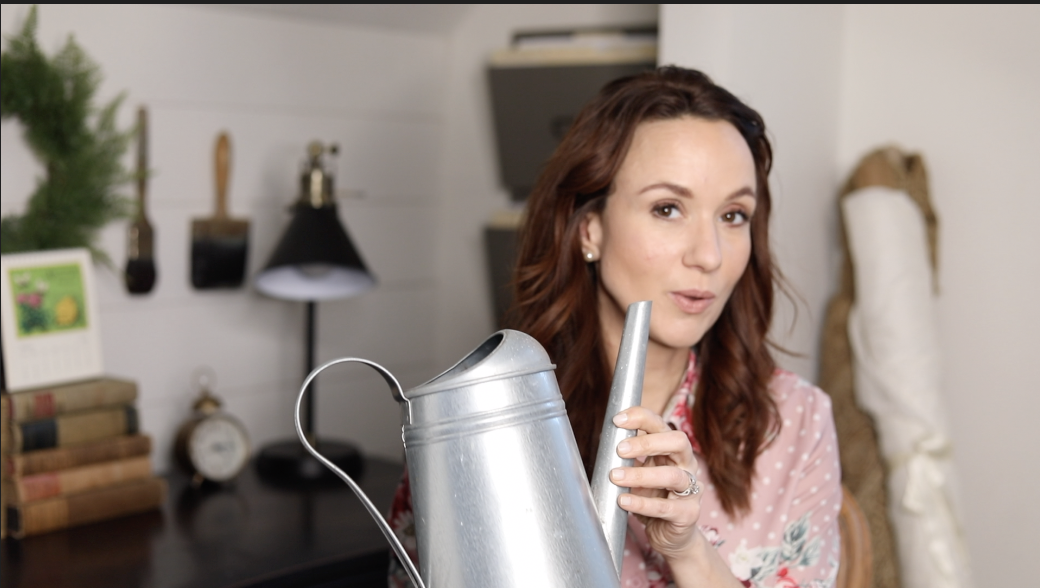
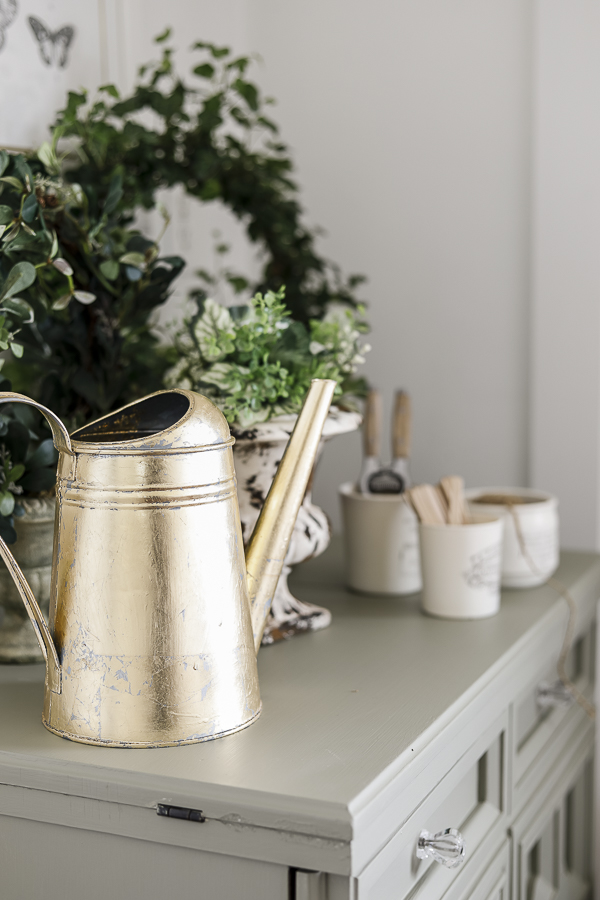
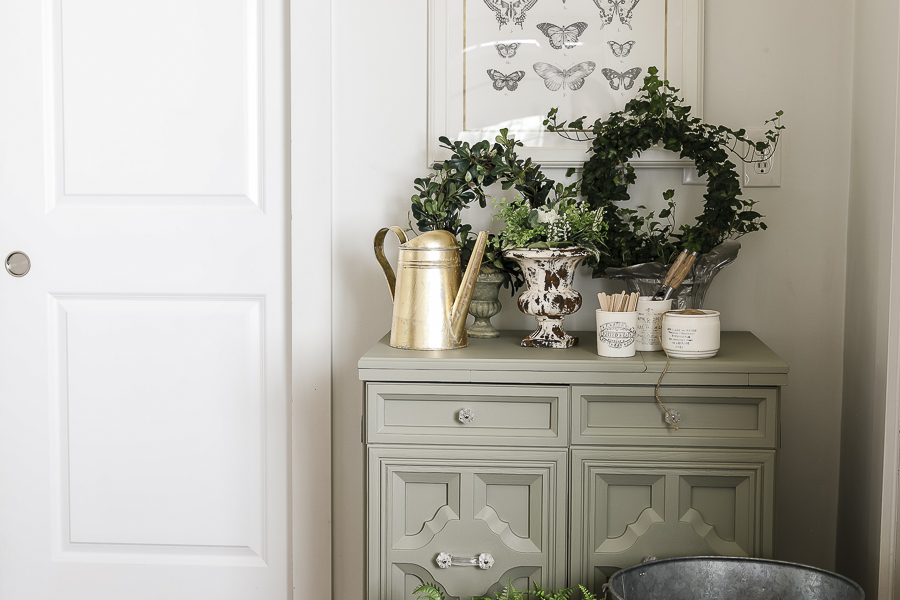
Number One | Watering can
Nothing says spring like tiny plants that need tending to!
This watering can from IKEA has always felt a little plain to me, so my plan is to gild it in gold!
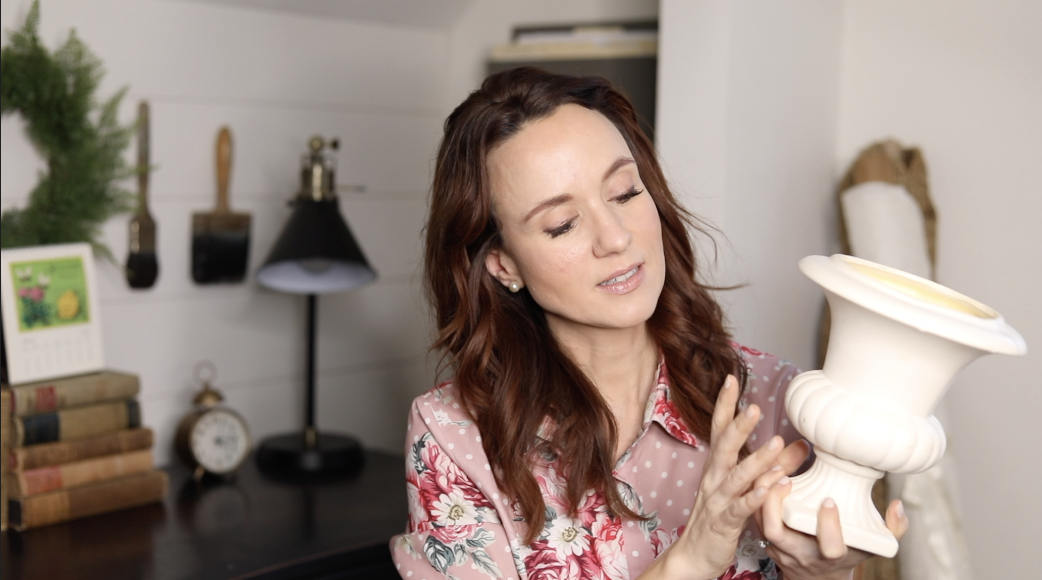
Number Two | Urn
I found this urn at an antique show and have used it for a while, but this year I’m wanting to try a new technique to add a vintage rusty detailing.
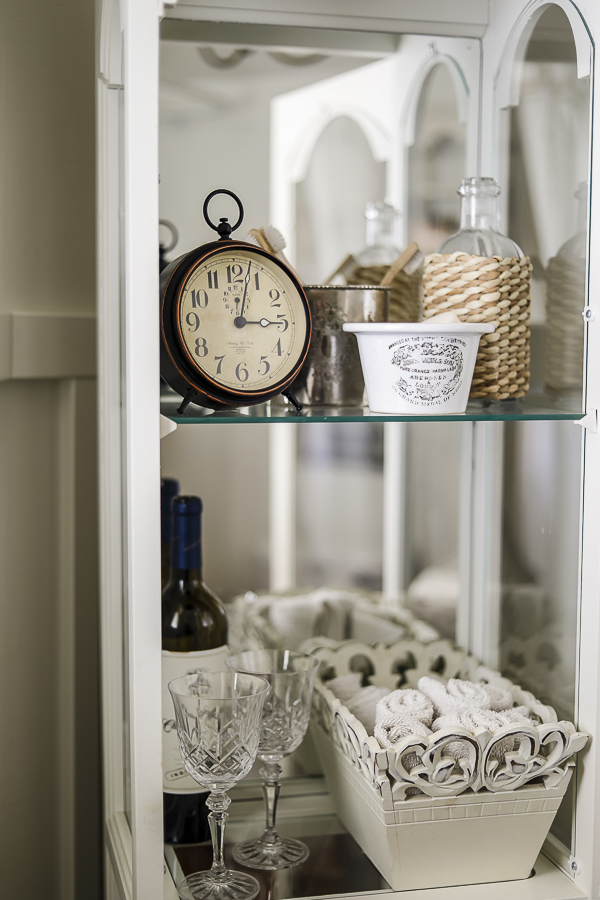
Number Three | Round Baskets
Whenever I see round baskets, no matter the size, I always snatch them right up. They make great planters!

Number Four | Topiaries
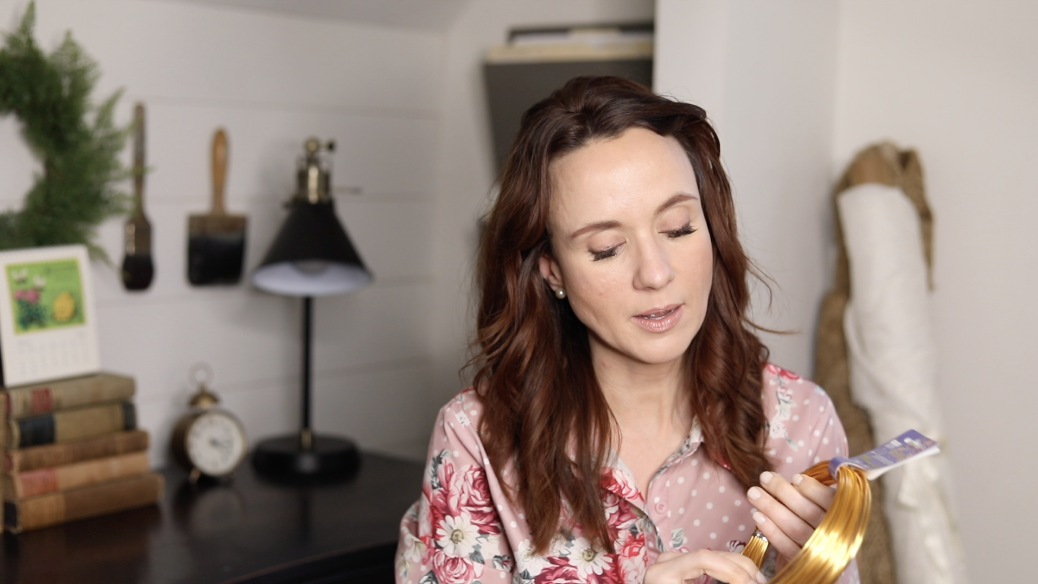
I love the look of ivy topiaries, so I’m going to DIY a trellis with some aluminum wire I have on hand.
Number Five | Vintage Crocks
I have been on the search for vintage European crocks for years after seeing them throughout both Liz Marie Galvan and Marian Parson’s homes, but I’ve never actually found one myself. They’re like unicorns!
So this year, I’ve decided to DIY them. I found some plain glass cups and containers at the thrift store and I’ll use those as my base!
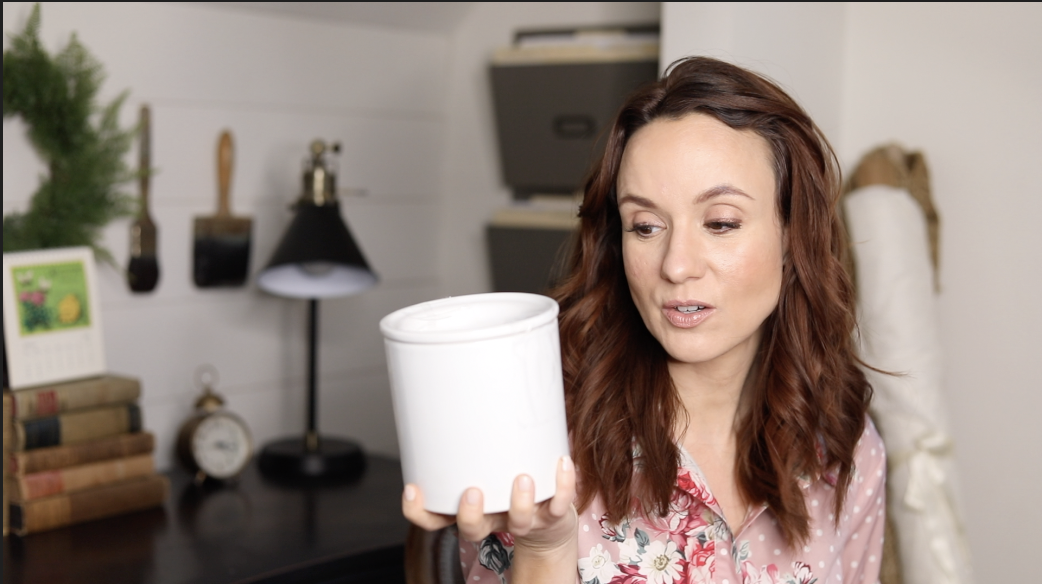
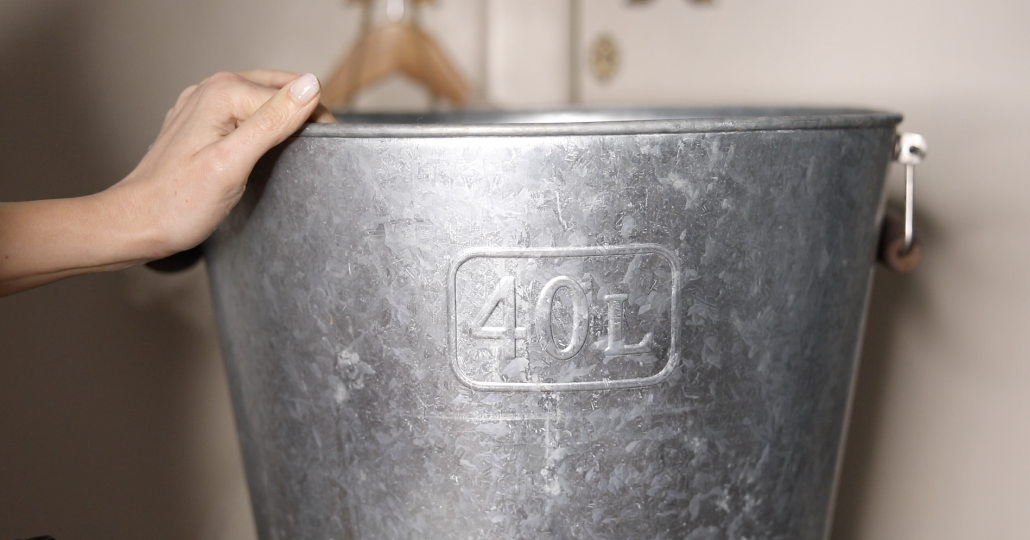
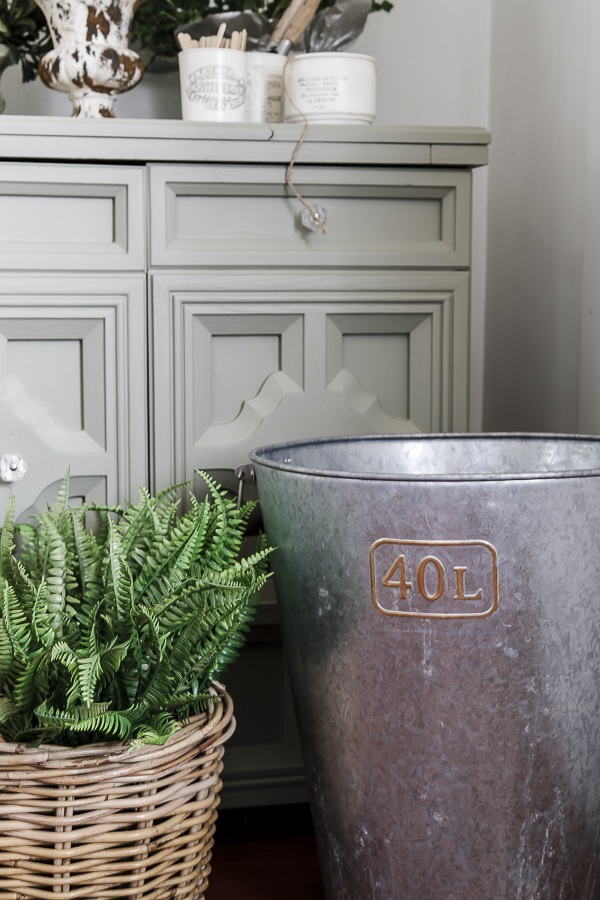
Number Six | Galvanized Containers
This large galvanized container is from IKEA, and I plan on using it this year for my potting soil, but I want to dress it up a little with some gold gilding as well.
*This post contains affiliate links to products I know &/or love.
Let’s Get to our DIY Projects!
First things first: Gold Gilding!
I used my favorite Mrs. Meyers all-purpose cleaner to prepare the 40L label portion of my large galvanized bucket and my watering can.
Then I used my gilding size (special gilding glue) to cover the areas that I wanted to guild.
On my large bucket I only wanted to emphasize the lettering. Because it was a more detailed area, I used a small makeup brush.
On my watering can, I covered the entire surface using a larger paint brush.
The size needs to sit for 15 minutes once it’s painted on.
Then I carefully placed the gold sheets over the prepared size and lightly pressed them down. Once I was happy with the coverage, I used a clean dry paint brush to brush away the excess pieces.
As a final step, I rubbed in some clear wax. I often use Annie Sloan wax, but this time I used the clear wax from the Magnolia Home line.
You can also see how I was able to use the circular basket with my faux fern stems.
Antiquing my Urn:
Next up was my urn that I wanted to age. I’ve used this urn as-is for a few years, but I had inspiration in mind from the old worn urns that have been weathered outside for years, and I was excited to try (and pass along) a new technique.
My much quicker solution: black paint & cinnamon!
I used some black fusion mineral paint (in the color “Ash”) I already had on hand and regular cinnamon from Costco.
(Use this link to receive a 10% discount off your Fusion Mineral purchase!)
The idea is to create the base of the rust spots with the black, which also gives the cinnamon something to adhere to.
I worked carefully with my brush and painted the black paint on lightly, picking where to “antique” carefully focusing mostly on areas that would be worn naturally from years of use. After I painted a small area, I shook on the cinnamon and used my fingers to carefully work it down into the paint a little.
The end result: a cute rustic aged urn that smells delicious!
I added some faux stems for some additional color.
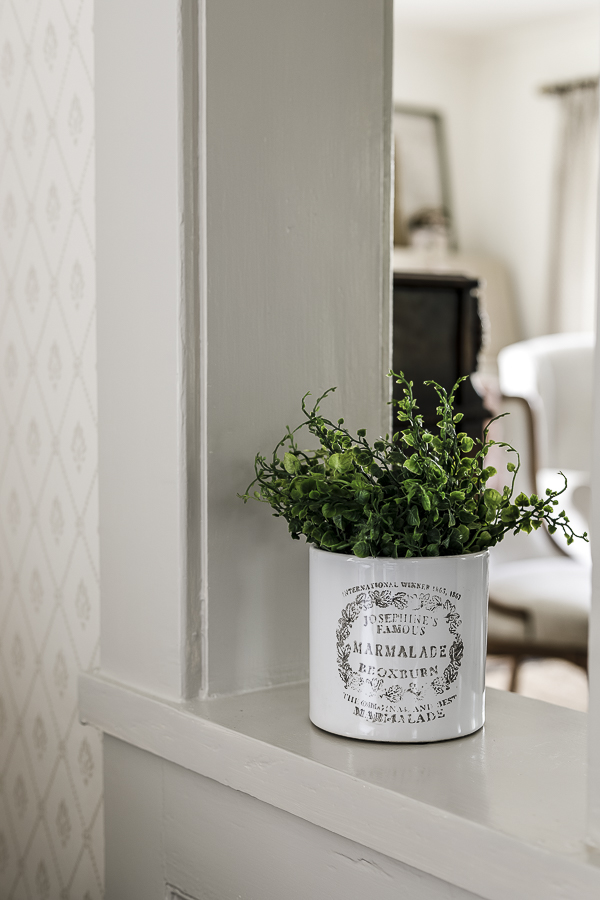
Making Vintage European Crocks:
Now onto the unicorns, the vintage European crocks. These were used to hold a large number of household goods back in Europe in their day, storing meat, marmalades, and even body creams and pastes.
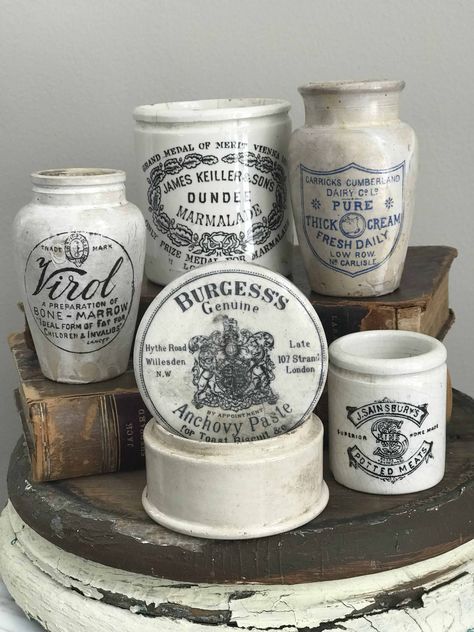
Two of the containers I found were already white and in good shape, so I didn’t need to paint them.
The three glass containers I purchased at the thrift store needed a nice vintage white base, so of course, I prepared them with 2 coats of my favorite Heirloom White spray paint from Rustoleum.
I realized after the paint had dried that all 5 crocks could no longer be displayed together because their whites were too different. The thrifted crocks looked very European, and the slightly creamier white spray painted glass “crocks” looked more French.
I decided to keep them as they were, and just to display them in multiple areas in my house so that the creamier whites didn’t look “dirty” in comparison to the brighter white.
Next came the main event, the European crock stamps I found online from Iron Orchid Designs.
This was my first time using these stamps from IOD, and I was happy with how they turned out!
They require a little bit of preparation when you first use them, mainly scuffing up the surface of the rubber slightly to allow the ink to adhere better. I carefully scuffed the bottoms of the stamps with fine 400 grit sandpaper in one direction, and then turned them and repeated the process perpendicular to how I had done it the first time.
The ink that I used is also from IOD and is a specialty home decor ink that works on things like these crocks, furniture, and even icing stamps for sugar cookies. It comes in a bottle and you load it onto the stamp ink pad yourself.
When I laid the stamps on the crocks I worked slowly with both hands to place it in the center, and then I carefully switched to holding the stamp down in place with just my left hand, so that my right hand was freed up to carefully apply pressure across the entire face of the stamp so that no sections were missed.
Then I went back to my 2 handed hold to carefully lift the stamp away at the end.
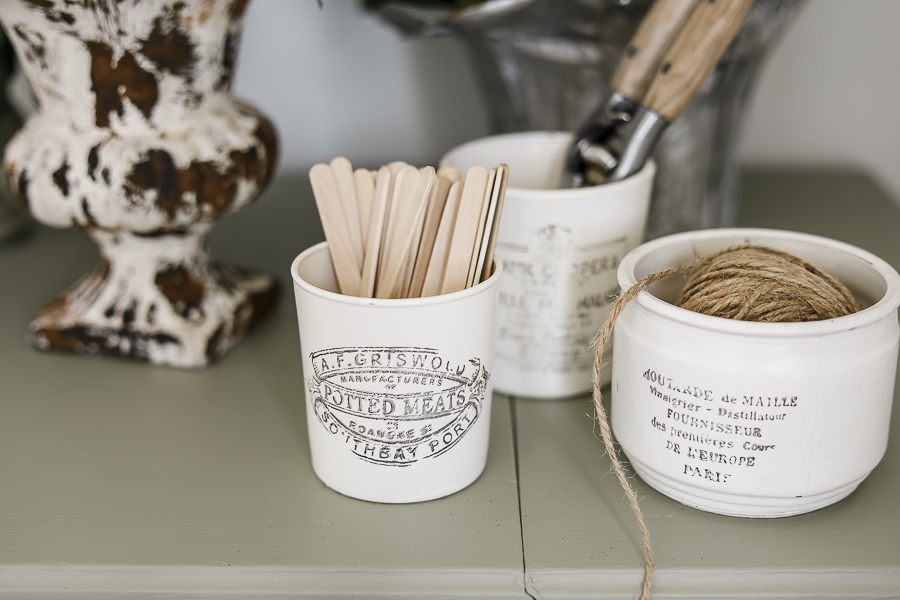
Potted meats have never looked so cute!
My Topiary:
Lastly, I created my topiary trellis for some ivy!
I chose to create a simple circle and used one of our dinner plates as my template for sizing. Cut your piece of wire longer than you need and twist the two ends together at the base of the plate to create your spike for securing your trellis in the soil.

And just like that, you’ve got 6 garden inspired Spring decorations to use in your home!
Other Related Spring Decoration Posts:
- 3 Spring Decorations You Can Easily DIY
- Creating a Beautiful French Garden Inspired Front Porch for Spring
- Styling Thrifted Spring Decorations
- Spring Dining Room Tour
- Spring Living Room Tour
- Spring Porch Tour
- Simple Spring Chalkboard
- 5 Easy Spring Decorations
- Spring Inspired Porch Decor
- 3 Must Haves for the Spring Farmhouse
You can also pin with me on Pinterest:
Vintage Spring Inspiration | Vintage Plant Decorations | DIY Projects | Easter Decorating Ideas | Vintage Garden | Thrifting Tips & Inspiration
And don’t forget to join the waitlist for my Spring 2025 Seasonal Collection HERE!
Pin these Six Spring Decorations for Later: