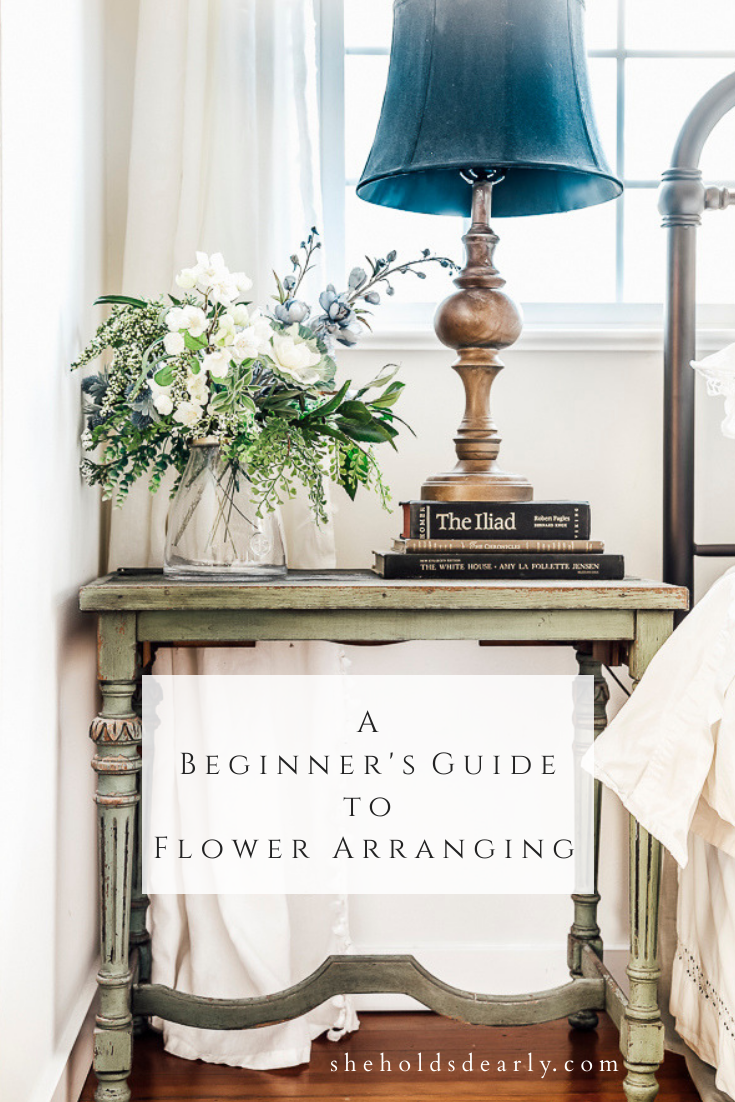
A Beginner’s Guide to Flower Arranging
Flower arranging, as a skill it can seem intimidating – but it doesn’t have to be!
Even someone who is new to the art, and not formally trained can create beautiful pieces that perfectly compliment their homes.
You read that right! You don’t need formal training to create lovely bouquets for your decor.
I don’t say that to discount the many talented florists and floral designers who create magnificent displays, BUT I also don’t want you to look at their designs and worry that yours won’t stack up.
The joy of designing for our own homes and parties is that we really get to personalize our projects to what we love. And at the end of the day, if we’re pleased with what we’ve created and the process it took to get there – it’s a success!
I like to think of decorating my home as my art form – with little skills and tricks like the ones I’ll share here to help round out my repertoire!
Before I jump more into my actual process for my flower arranging projects, I’ll share my three best tips for starting out!
My Top Three Tips for a beginner wanting to start flower arranging:
I’ll list these here, then dig into them each a bit in more detail!
- Use a vase with a “frog” (Don’t worry, I promise no amphibians are harmed during this process! Read on!)
- Add water
- Use faux plants, when possible
*This post contains affiliate links to products I know &/or love.
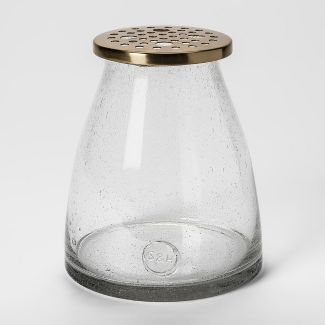
Tip Number One – Use a vase with a “Frog”.
Rest assured, Kermit and his friends are all safe! A frog in this context is a lid that has holes or slots along the top to help keep stems evenly spaced.
Some vintage frogs looked quite a bit different, but maintained the same purpose: to hold and organize flowers!
One modern example I really like is this Smith and Hawken Vase from Target that includes a frog as a lid.
Something I personally love about frogs is that they help hold and anchor the stems, even at slightly different angles and just straight up and down.
For example, they would help hold a trailing piece that I want to have cascading down the side of the vase.
If you don’t have a frog already, you can often find them at estate sales, or antique stores, but you can also make your own!
Joanns sells 4″ rolls of “chicken wire wrap” that you can buy for less than $5. Using wire cutters you can trim this down to the size of something like a regular or wide-mouth mason jar, and then tighten the band down over the top!
Tip Number Two – Add Water
Now this might seem funny, especially when you’re discussing faux plants (read more about that below), but it adds to the realism of the bouquet as a whole!
I have been doing this for years, and haven’t ever noticed any issues from the faux stems being in water.
Tip Number Three – Use Faux Plants for flower arranging when possible.
Now, fresh flowers and living plants certainly have their time for the spotlight! For certain events and projects, I do choose fresh, usually from Costco or Trader Joe’s!
But when you’re considering something that you want to be long-lasting for your home decor, pick faux!
Faux flowers do come at a slightly higher price as an upfront investment, but they practically pay for themselves over the course of their longevity and versatility in your home.
Ready to start arranging your flowers?
Now that I’ve shared my general tips – here’s my process for selecting items to go in my bouquets.
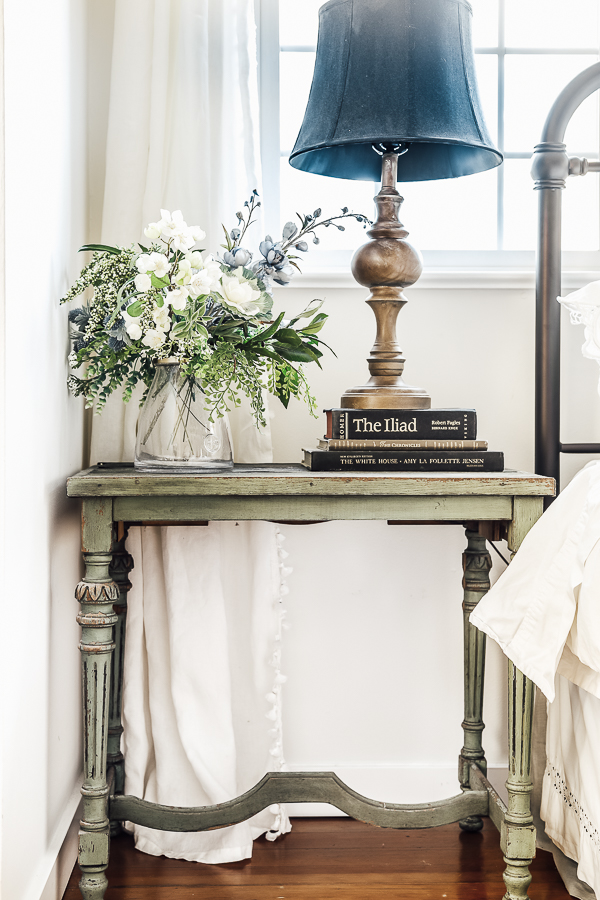
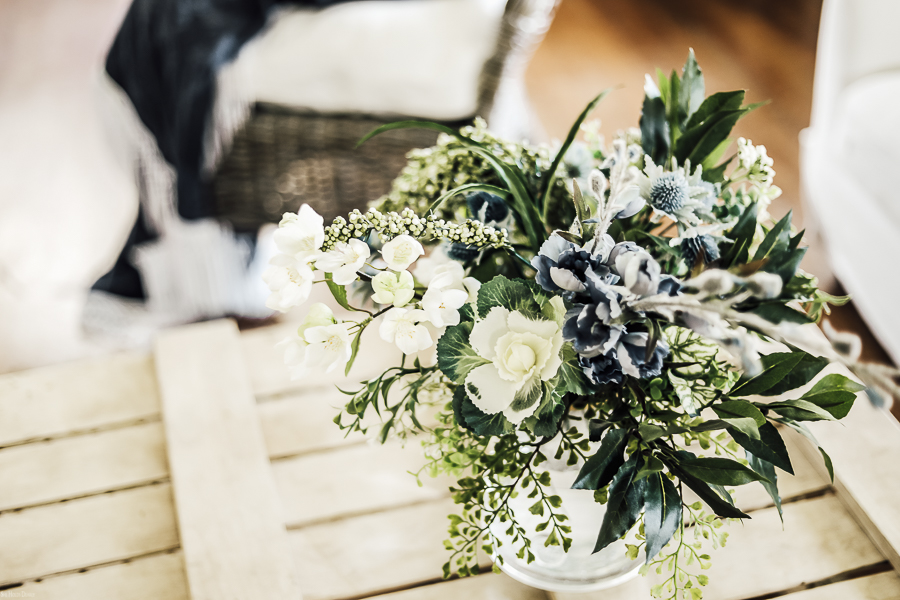
Personally, I’m more of a fan of loose, wildflower bouquets over the look of perfectly placed and spaced formal bouquets. That’s a preference that you’ll discover one way or the other as you’re trying out new arrangements.
I look for the following:
Focal Point/Statement Pieces
These can be the focal point either due to the size, type, or color. (or some combination of those things.)
When I’m creating a bouquet, I select the 1-2 complementary colors I want to use as my focus, and then I do the rest of the bouquet in shades of green and white.
Oftentimes I like for my focal point pieces to be a little “out there” adding bold height or some other pizazz. But sometimes subtle can be just what a project needs.
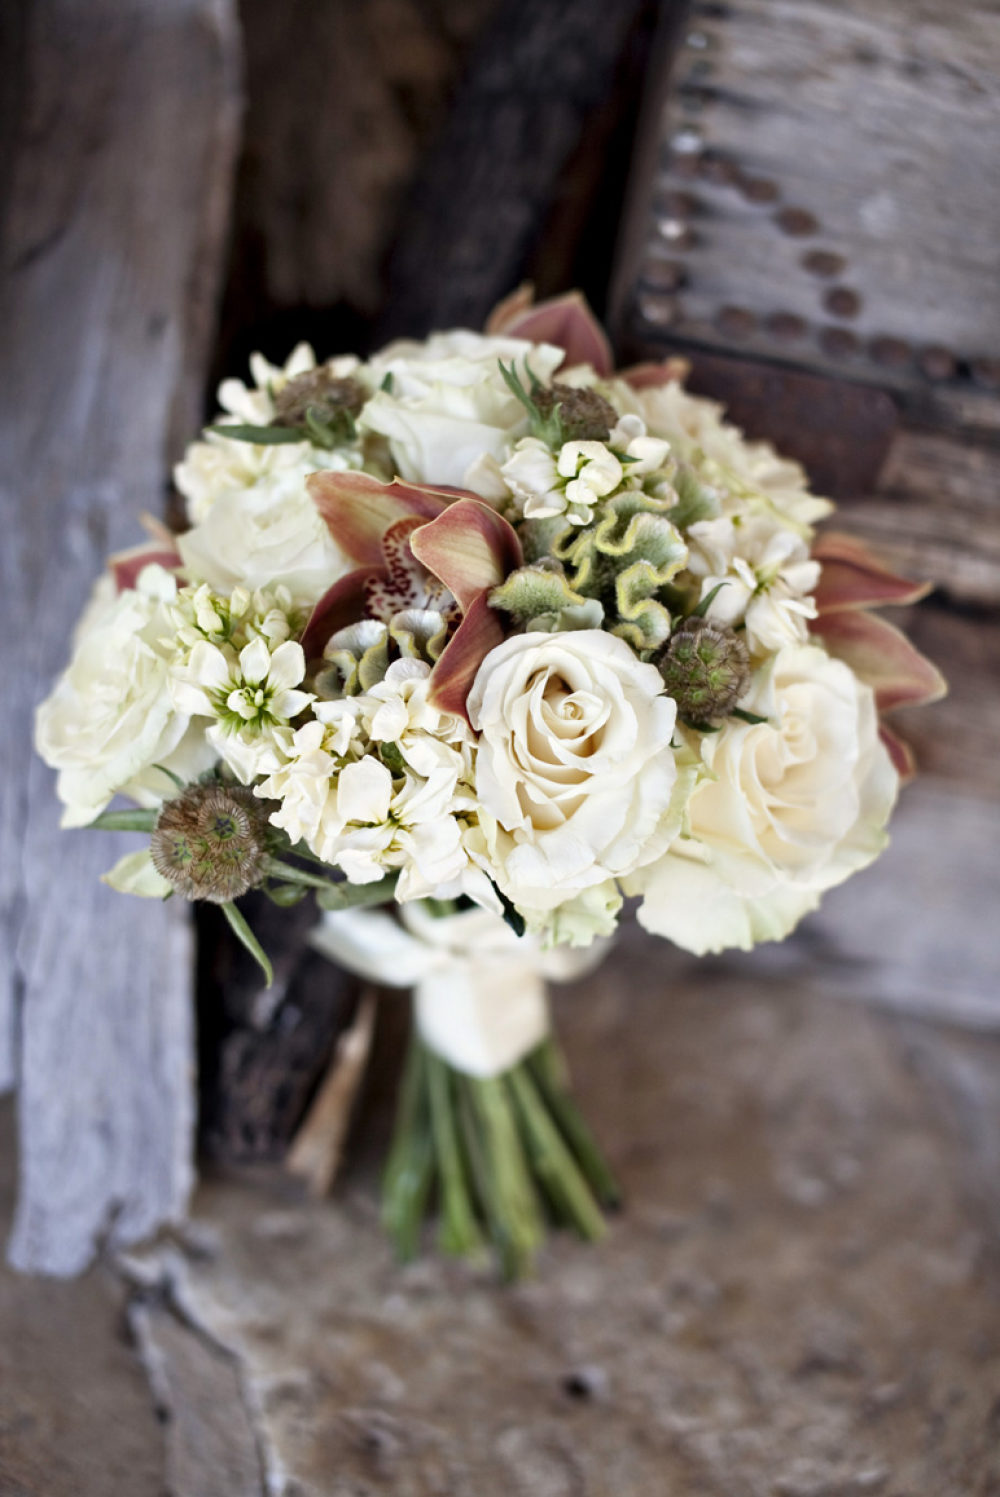
This lovely bouquet from Style Me Pretty uses burgundy irises as their focal point among a sea of white with wonderful variety and texture!
Filler Pieces
Next I look for filler pieces – these make up the bulk of most of my arrangements.
I love finding tiny details in lots of different shades of green and with lots of different textures.
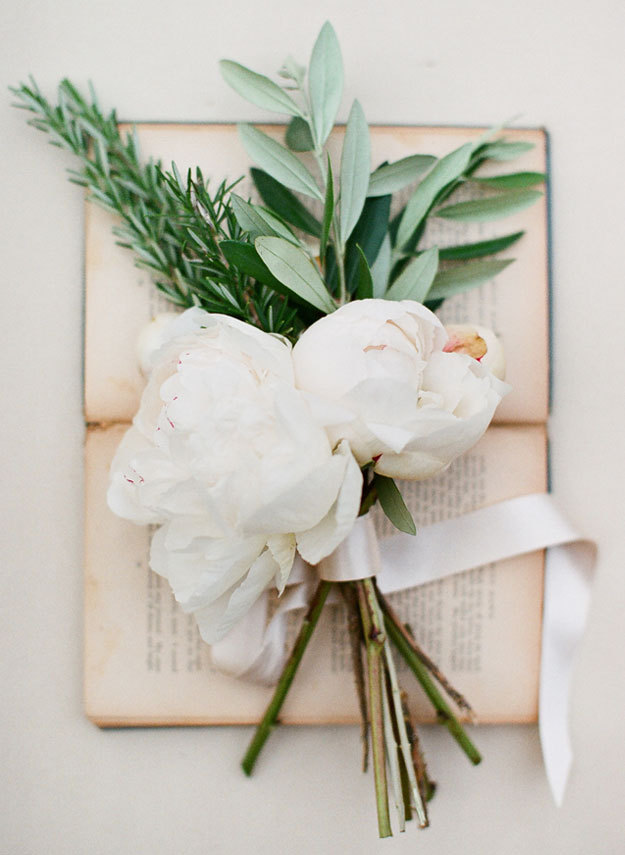
This small bouquet by La Belle Vie from Tumblr uses beautiful herbs as their “filler” behind these peonies – how pretty!
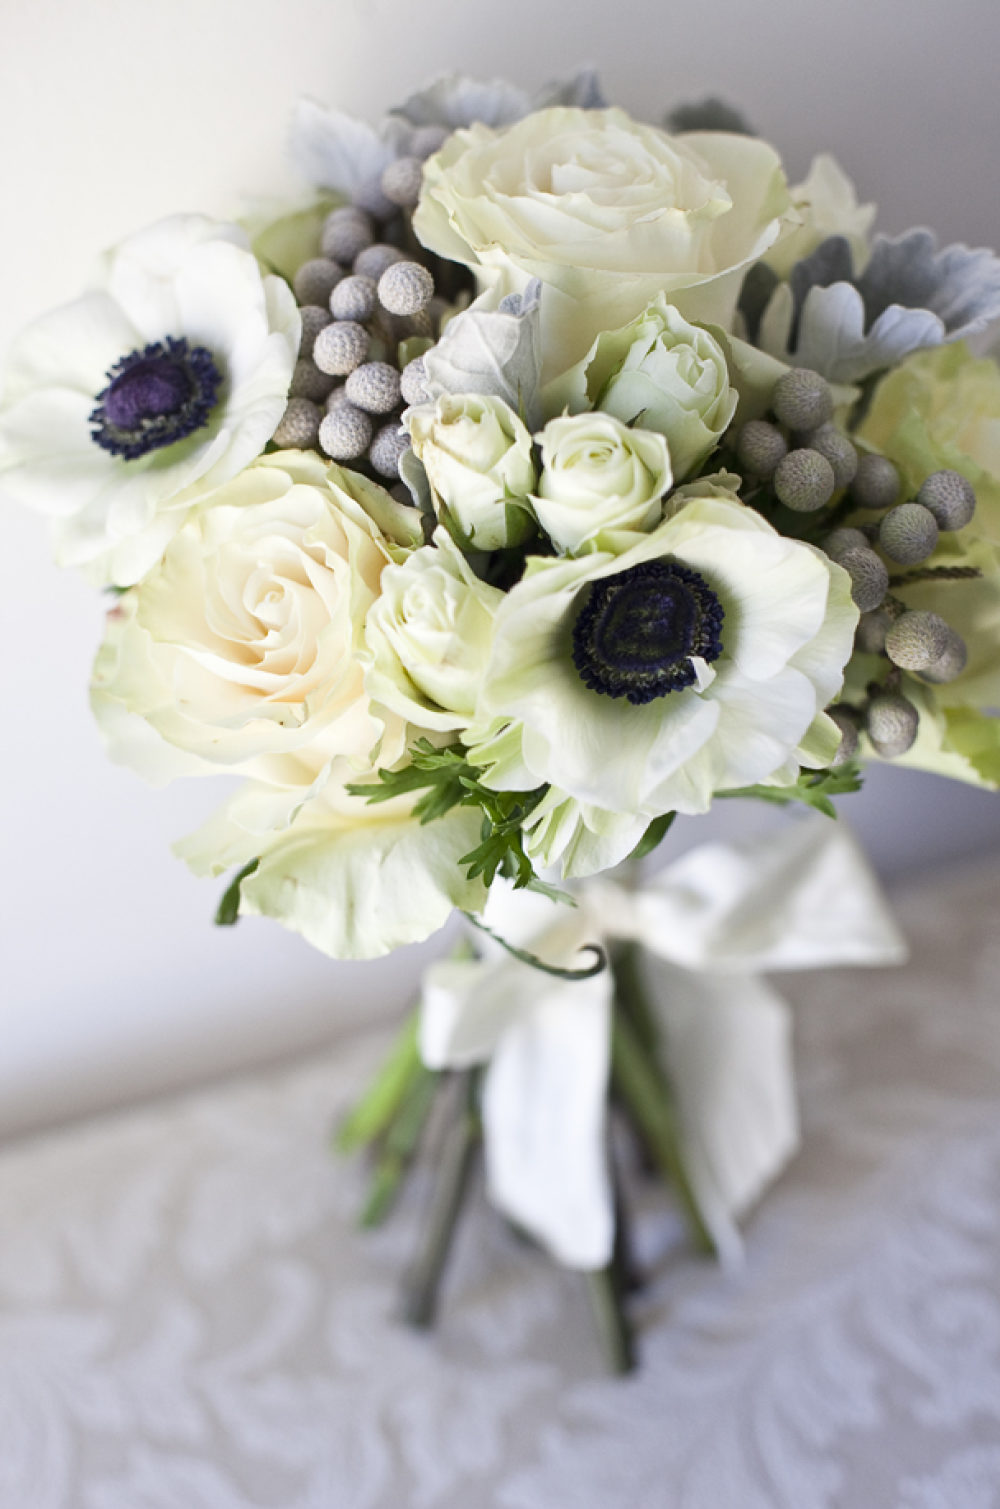
Don’t think that your filler HAS to only be green. Take this bouquet by Style Me Pretty, as an example.
They found these fuzzy little light purple stems to use as filler that are a lovely accent to deep purple in the center of their focal point.
Trailing/Draping Pieces
The last pieces I look for are pieces that can hang and drape off the side of the vase for a full and lush look.
I love things like ferns and weeping willow stems for this very reason!
Arranging Your Finds Into Your Perfect Bouquet.
Once you’ve selected all of your pieces, it’s time to get to work!
Remove all the price tags and keep a pair of wire cutters or needle nose pliers handy! You can use these to cut down larger bunches into smaller segments when needed!
Start filling your vase by inserting your filler into the frog. Don’t be shy about bending and moving things to suit the look you’re hoping to achieve. The flexibility in the wire of most faux plants gives you some freedom that you wouldn’t otherwise have with fresh flowers that need a more gentle touch!
After you’ve got a good base of filler, add in your statement pieces!
As those are settled in, you can also add in your draping and trailing stems.
Once you’ve got your three main items in, it’s best to take a few steps back to change your perspective and get a more bird’s eye view to see where there might be holes or shapes that you’d like to adjust.
Make sure to turn the vase a full 360-degree turn when doing these big-picture checks to find any spots that are lacking. Then use your remaining filler to round out any spots that need a little pick-me-up.
Keep in mind, however, that flower arranging doesn’t have to be an exact science! If once you’re done, it’s a bouquet you love – then it’s a great bouquet!
Shop This Look
[show_shopthepost_widget id=”3938972″]
Pin for Later