Favorite Painting Supplies and How to Store Them
Today I’m sharing about my favorite painting supplies, and how I store them!
If you’re like me (and I like to think that if you’re here reading this, you probably ARE quite a bit like me), you might do a fair amount of DIY projects (or have other hobbies that this might apply to), and you might have accumulated quite a bit of supplies for that hobby.
It’s certainly true for me as it relates to painting supplies and other items needed for refinishing furniture, and I’ve recently organized them in a better way that has made every project since more simple and less stressful!
I’m hoping that by sharing about some of my favorite supplies, and how I organize them, that I might give you some inspiration for your own spaces!
My first and best trick: Find decorative pieces that function as storage!
This makes the process such a win-win!
You get to keep things close at hand with easy access, but no one else who comes to your home knows what’s there.
Two famous examples in my house are my sewing cabinet which sits off the kitchen near the door to our laundry room and our kitchen porch and our Lego dresser in the living room.
Would you ever guess my sewing machine & supplies are all tucked away in that little white cabinet in the back right under the chalk board?
And this notorious “Lego dresser” which has been included in just about every living room post I’ve ever made – but without even a peek of bright red or blue rectangular blocks making an appearance.
Here are a few of the Living Room Posts if you’d like to see just how many times this dresser shows up:
- Living Room Christmas Tour 2020
- Summer Living Room Tour 2020
- Spring Living Room Tour 2019
- Christmas Farmhouse Living Room Tour 2018
- DIY Chicken Crate Coffee Table 2018
- How to Milk Paint a Metal Door 2018
- Farmhouse Living Room Reveal 2017
- Farmhouse Living Room Plans 2017
- Painting a Piano with Milk Paint 2017
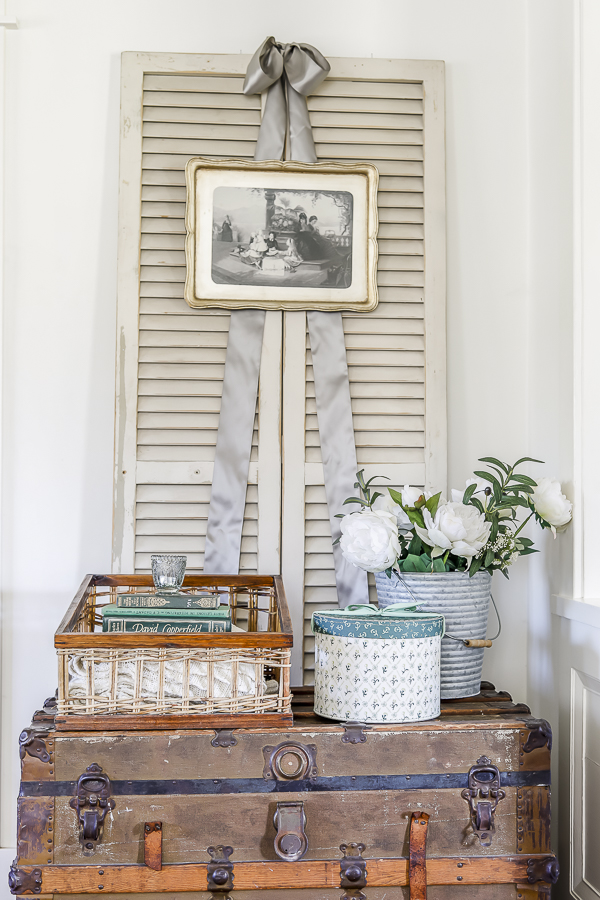
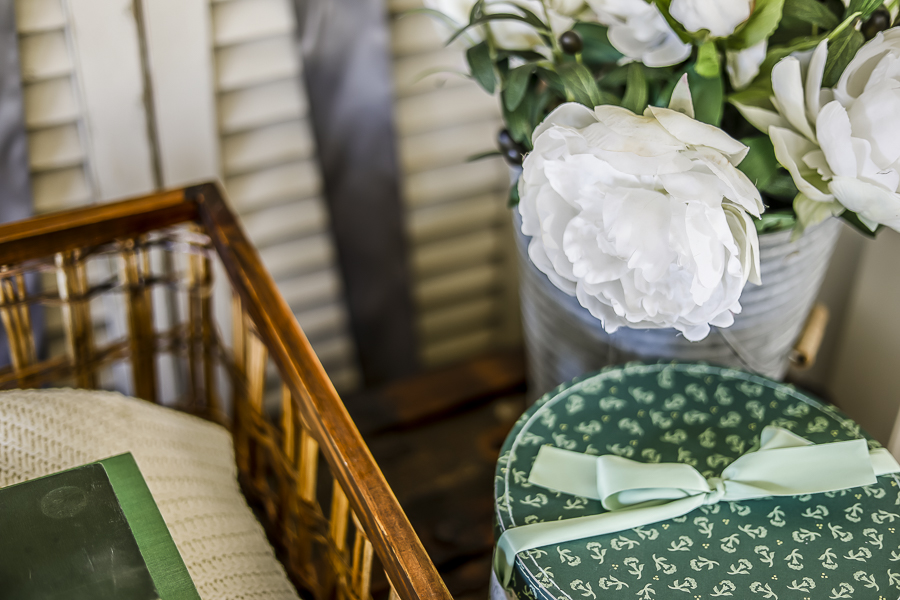
And now, my third and most recent decorative piece of furniture that is now used to keep all my favorite painting and project supplies: My Steamer Trunk!
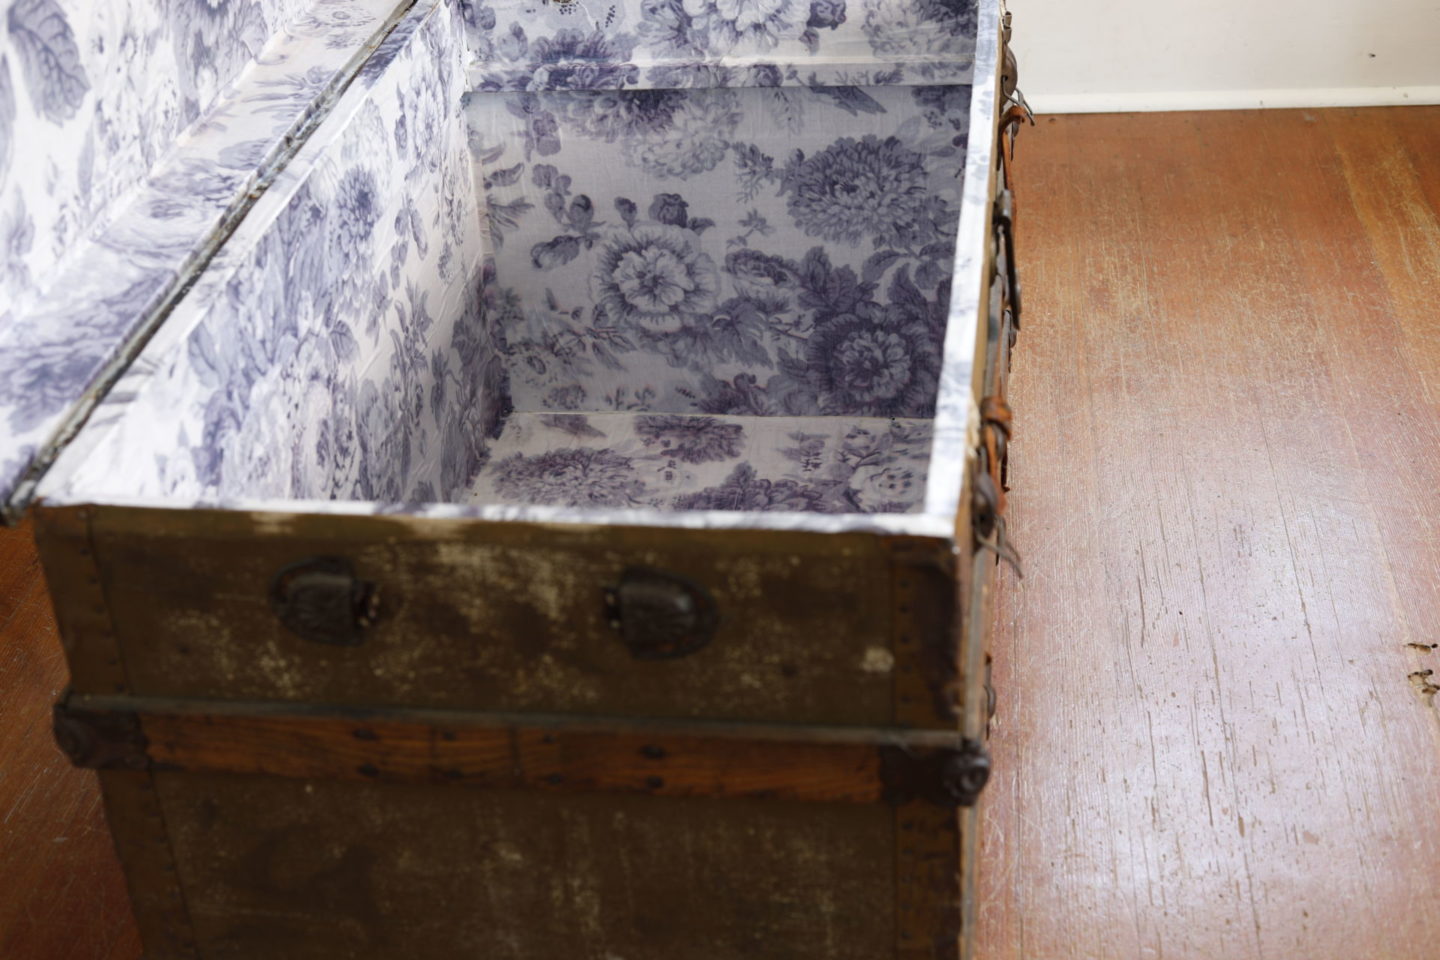
If you’ve been here for a bit, you might remember quite a while back I asked for ideas to help remove a really really terrible mildew smell from inside this trunk. I tried about 7 different more natural remedies and none of them worked.
Eventually I figured it out and was able to remove the musty smell, hooray! Here’s the post where I shared how: Get Rid of the Musty Smell In Old Furniture.
Then I decided it needed just a little bit extra, a layer of wrapping paper decoupage!
Up until this point I hadn’t been able to store much in the trunk because it smelled so bad. But fixing the problem, and making it cute inside changed the game!
Now this trunk houses all of my favorite paint and projects supplies, and I’ll show you how I organize them all inside!

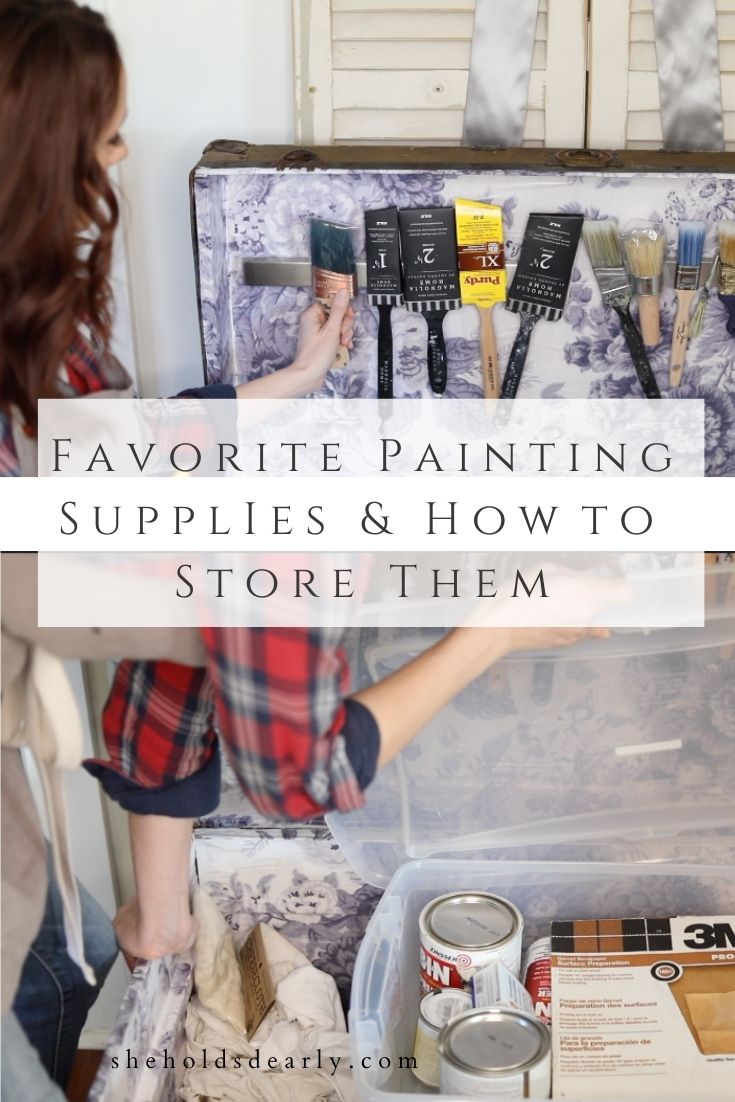
Inside the Trunk | Under The Lid:
First things first, inside the trunk lid I affixed two long magnets (like you’d usually see in a kitchen to hold knives) to hold all of my paint brushes!
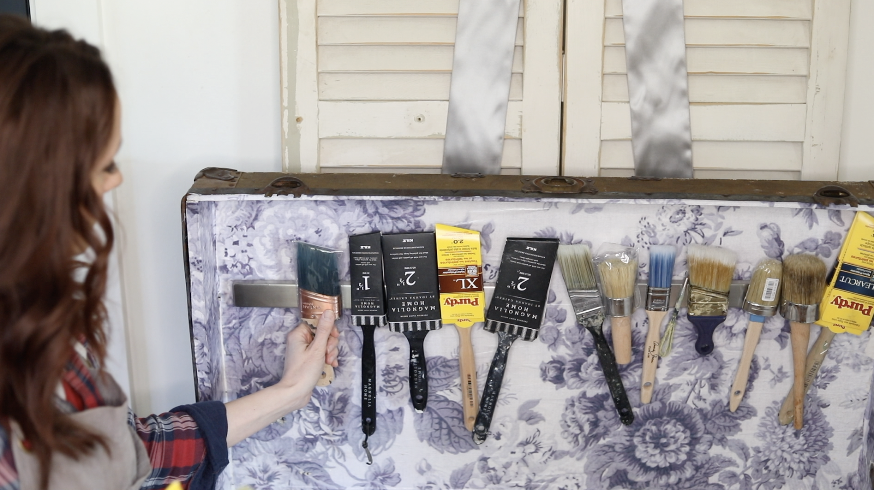
Some of my favorite brushes:
I really like Purdy brushes and the Magnolia Kilz brand for basic every day projects. Especially the 1 1/2″ angle brush – this is hands down my most used brush.
When I use mineral paint, I like using the brush that Fusion put out specifically for their paint. I also enjoy using Annie Sloan brushes, and have heard that this one specifically holds a TON of paint. I can’t wait to try it out.
The Wooster short handle brush is fantastic for projects with an inside compartment, like when I refinished our nightstand. Having the short handle with the soft rubber grip makes jobs like that a cinch.
For wax projects, the Siff wax brush cannot be beaten. I invested in two, one for clear wax, and one for dark, and I love them!
(If you’re not quite ready for the more expensive wax brushes, have no fear- you can also just use an old shirt or other no-lint soft fabric for applying wax. A brush like these is a great investment, but it’s not absolutely necessary!)
Siff also has a polishing buffing brush (like what you’d use to polish shoes or boots) that I love as a finishing touch on my waxed projects. It definitely brings out the shine and luster.
My last brushes that I always keep on hand are simple foam brushes and chip brushes. These are great for small projects and for things that are harder to clean off a nice brush. I simply throw these away when finished instead of cleaning them.
And that reminds me, I’m thinking of maybe putting together a post all about how I care for my brushes including cleaning and conditioning. If that would be something that would interest you, will you let me know in the comments below?
Inside the Trunk:
Down in the main area of the trunk off to the right side, I have three plastic bins with lids that I’ve organized the bulk of my supplies into.
They’re each labeled and contain:
- Prep Supplies
- Paints
- Project Supplies
I store them in that same order because it keeps the things I need most often at the top, and is also kind of sequentially how I’ll run through a project when I’m doing something bigger.
Prep Supplies:
In my first bin I keep:
- Sandpaper in both 400 and 220 grit.
- Citristrip
- Primers (Some of my favorite are from Zinsser like their Cover Stain Primer & Shellac Stain Blocker Primer.
- Shellac
- Steel Wool
- Disposable Gloves
- Grandma’s Pure 100% Lye Soap (this is a sneak peak at one of the things I use on my brushes!)
- Stir Sticks
- Paint Scraper
To the left of this first bin I also have some canvas drop cloths for protecting an area underneath where I’m working or painting.
The next level down is Paints:
I usually stick with quart size and smaller for furniture painting projects because they really don’t require a ton of paint!
I’ve got chalk paints, milk paint, mineral paint, Annie Sloan paints, and even calcium carbonate for making my own DIY chalk paint.
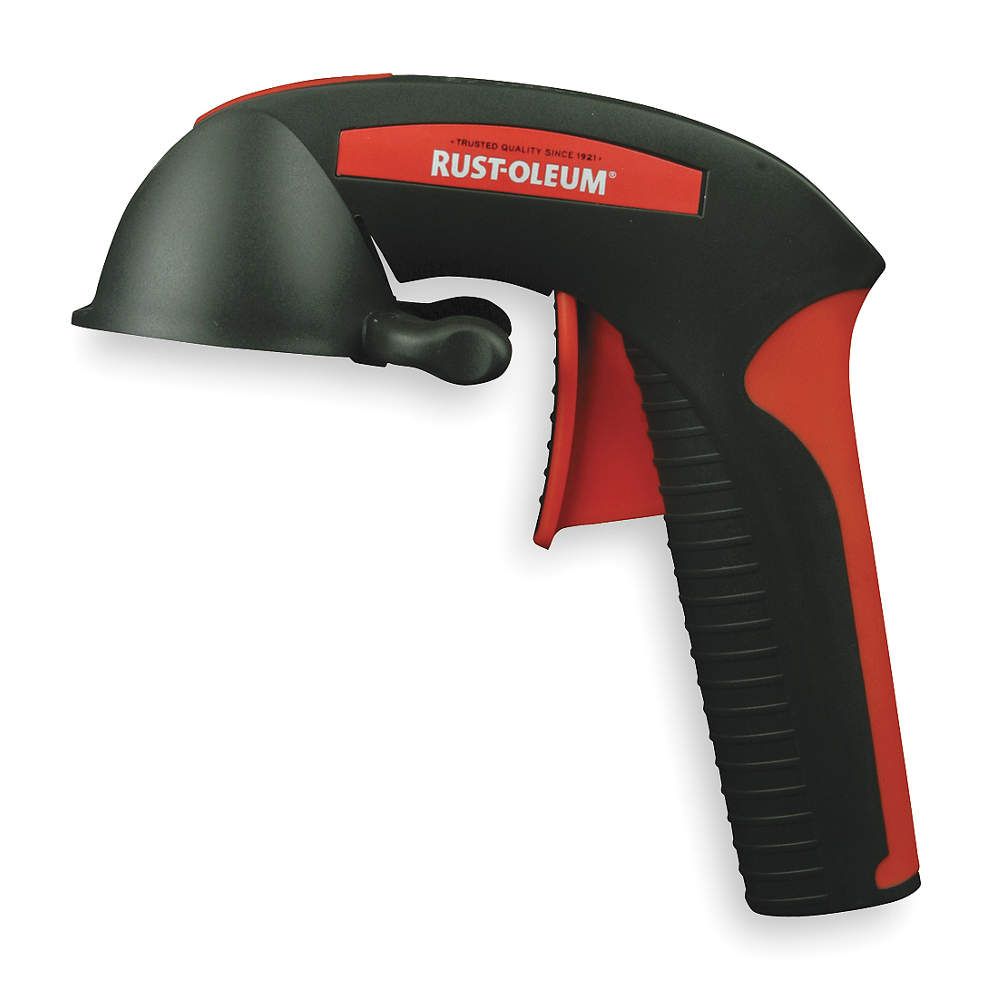
I also keep a few of these Rustoleum Hand Grips on hand at all times because they have revolutionized the spray-paint game!
You don’t get overspray on your finger or hands and your finger will thank you for not forcing it to hold down that tiny spray paint top for an entire project. The spray handle makes it feel almost like a true paint sprayer as you work. I highly recommend it!
Lastly my lowest and least used bin is my Projects Bin:
This one contains kind of a miscellaneous assortment of items I use for various projects! (Lots of which you’ve seen here!)
I have mod podge for decoupaging projects. Ardex Feather Finish which I’ve used to create faux concrete a few times before, gilding leaves for gold work, and my upholstery stapler and staples.
Other Items Inside the Trunk:
Between the front inner edge of the trunk and my storage bins, there is just enough room for me to store my spray paint cans!
These are my three favorite spray paints:
- Heirloom White Rustoleum Spray Paint (A really pretty cream! I buy it buy the case!)
- Design Masters 24 Kt Gold Spray Paint (For any time you need gold) (*2023 Update – I’ve changed to a new favorite gold spray paint! Rustoleum Champagne Bronze!)
- Oil Rubbed Bronze Rustoleum Spray Paint (Beautiful black with a metallic, almost sparkle finish.)
Then a few more miscellaneous items sit to the left of the bins under the drop cloth:
Cheese Cloth, Old T-shirts for cleaning and or applying wax, my waxes and topcoats, and some oils for finishing wood.
I also always like to have a roll of Viva Paper Towels on hand because they truly feel more like fabric than paper! They’re really nice to have around for cleaning up projects.
I hope this gives you some ideas to incorporate if you have a group of supplies that you feel are currently more stressful than helpful!
I love talking about tips like this even more in depth in my Behind the Scenes Decor Group, and I open my doors twice a year, in Spring & Fall!
If you’ve been hearing about it and want to find out more, you can add your name to the waitlist:
I’m looking forward to having some more of YOU joining me in our future Behind the Scenes classes!
Pin this For Later:
Until next time,


