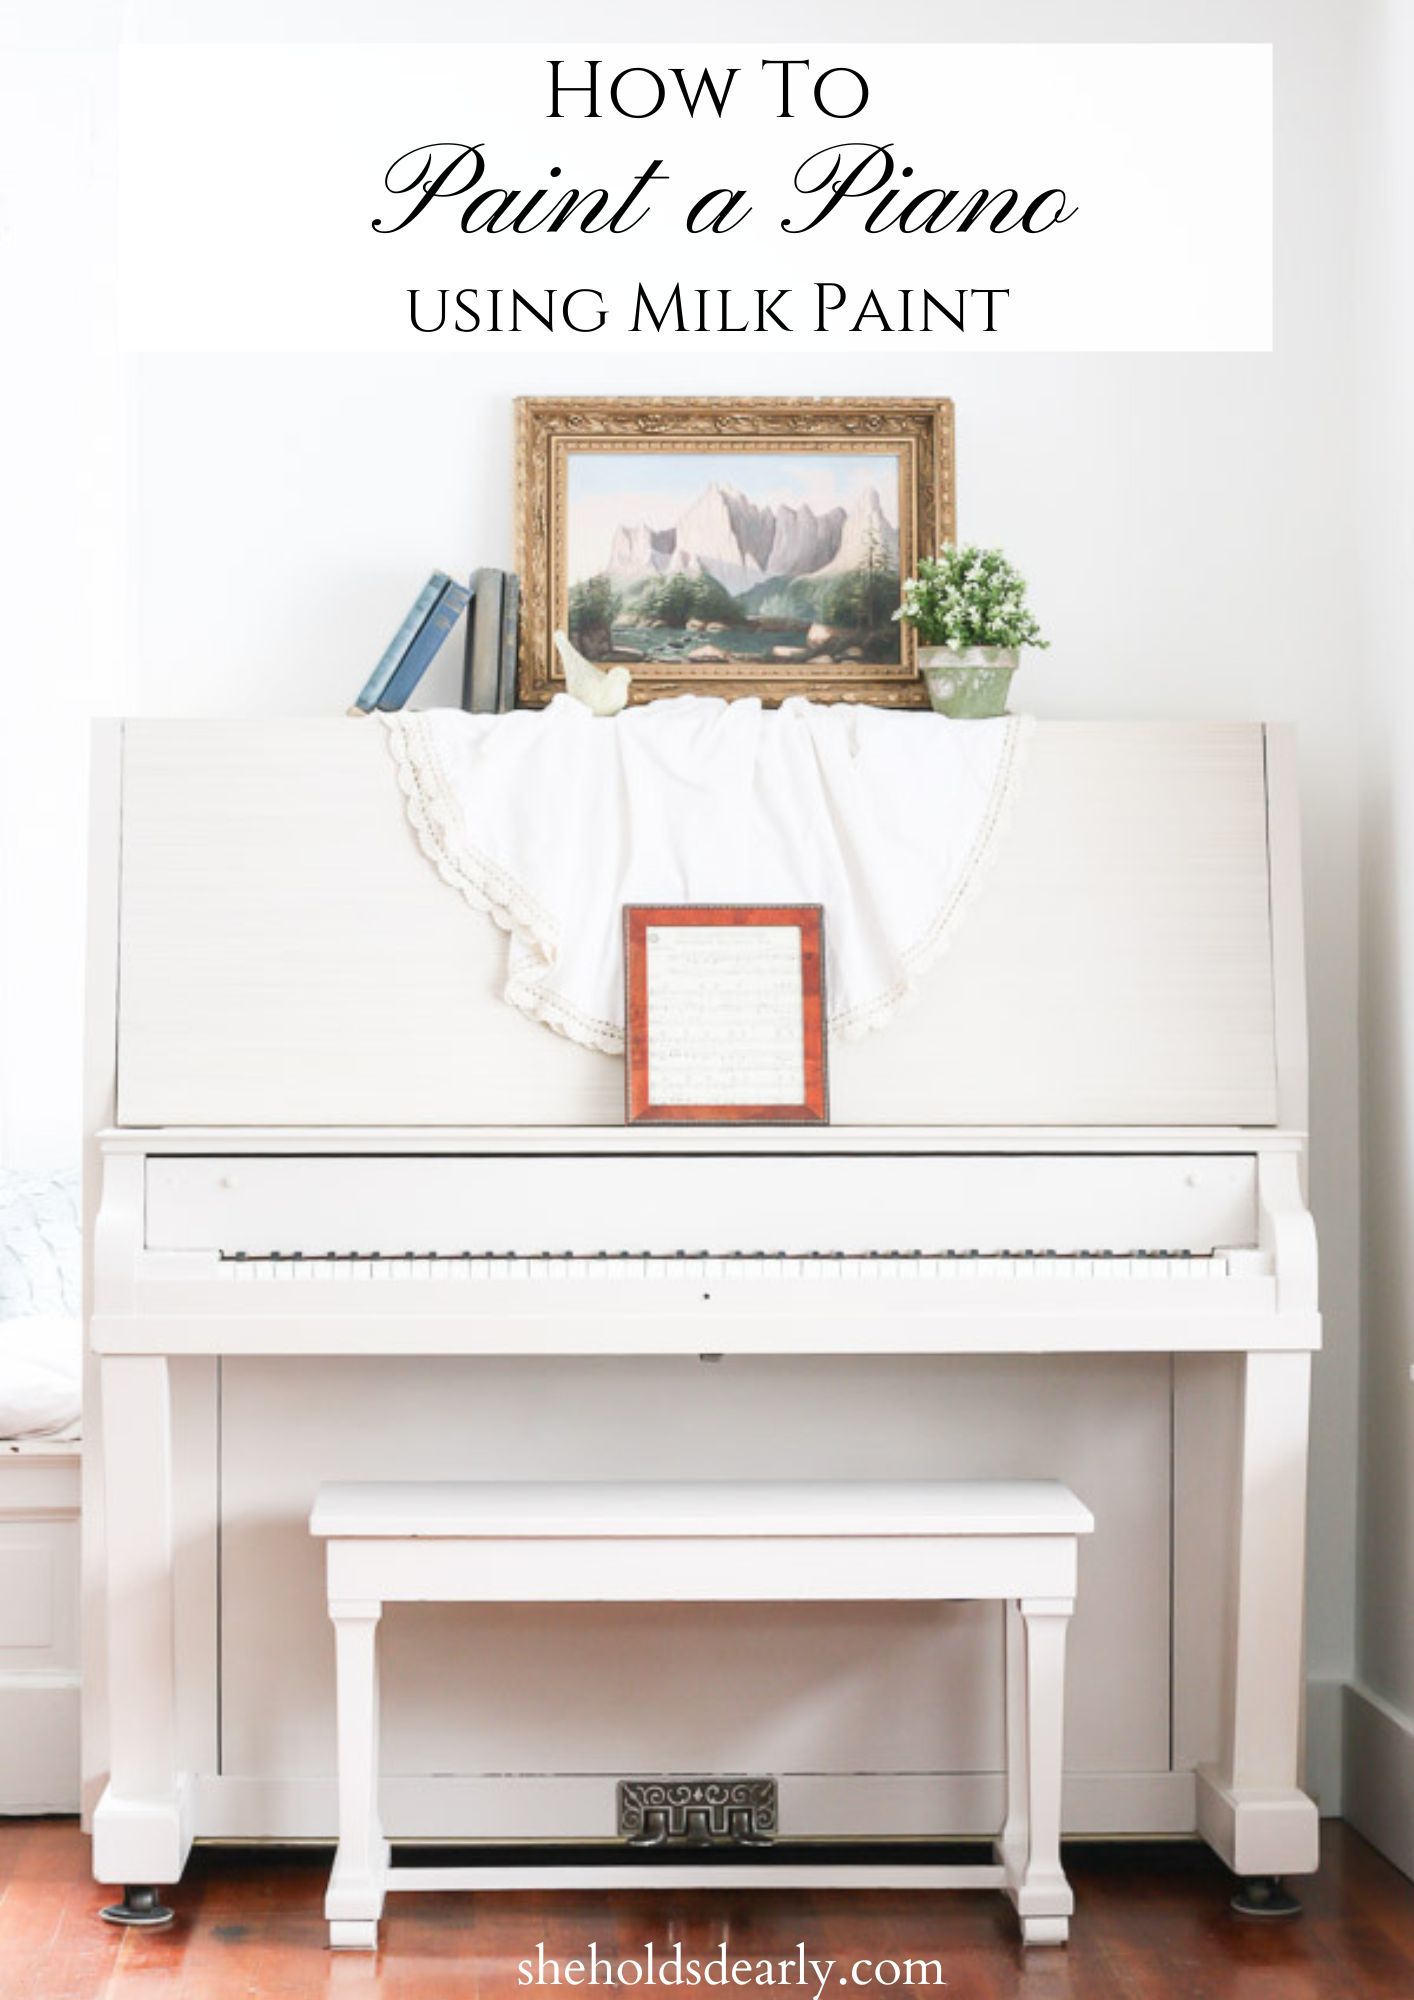
Painting a Piano with Milk Paint
Today I’m answering the following questions: “Can you Paint a Piano?” “Should I paint my Piano?” AND “How do I go about Painting a Piano?“
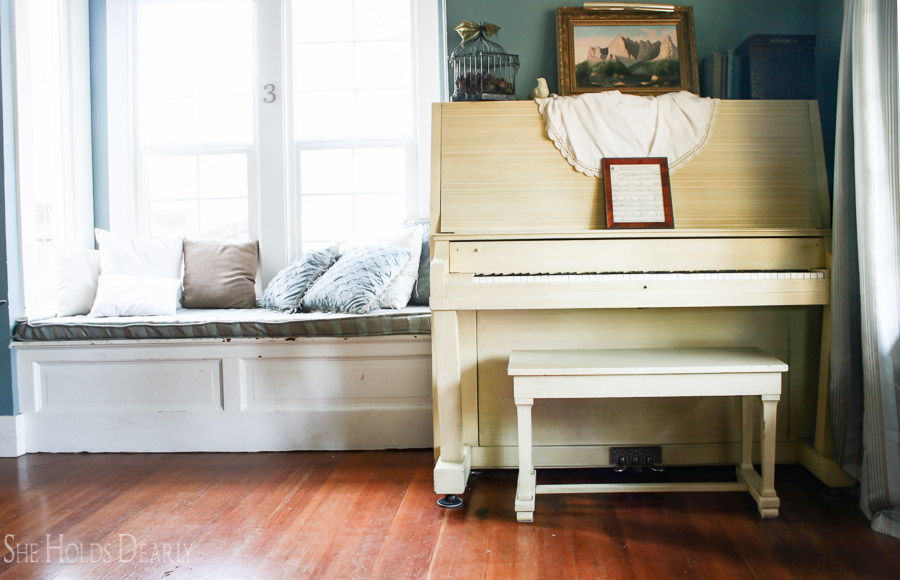
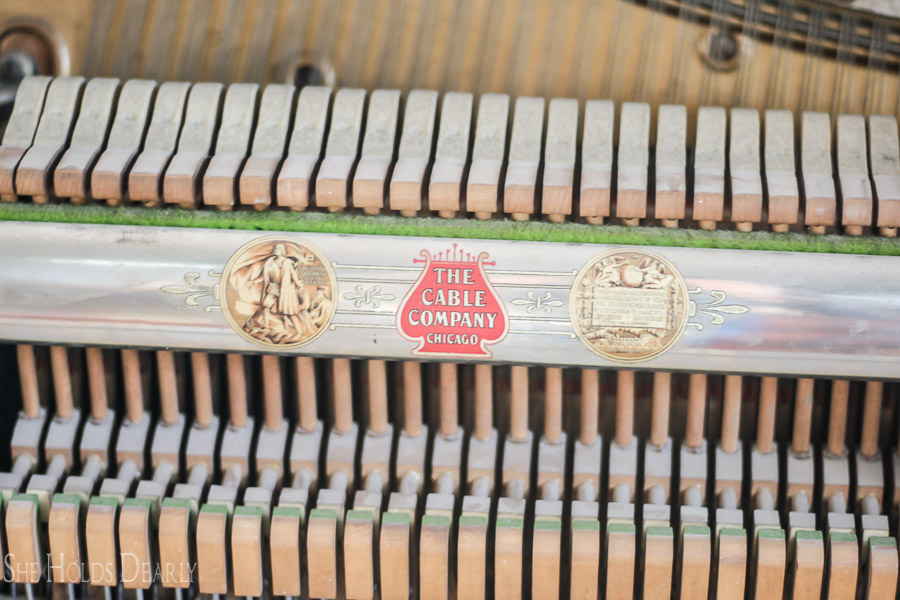
This piano used to belong to my grandparents.
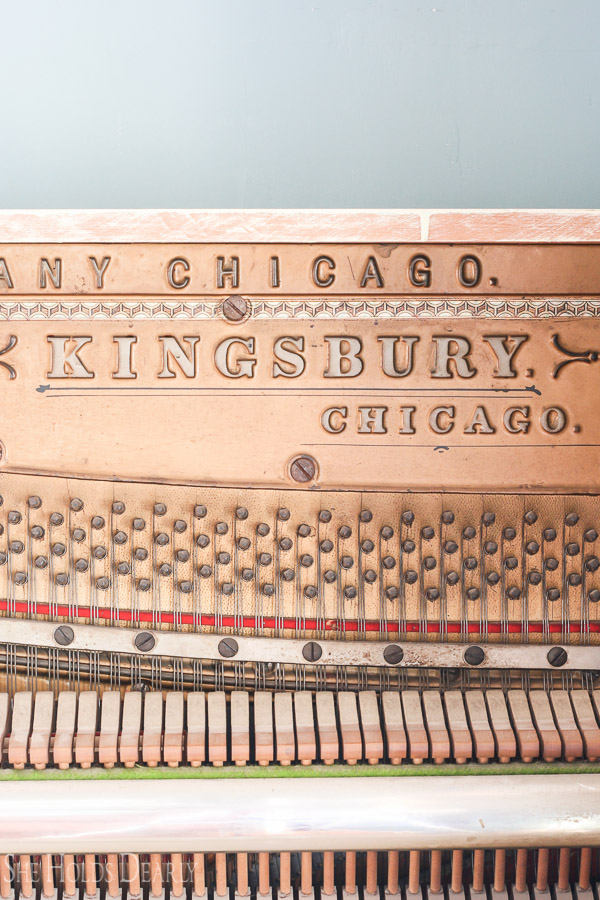
When we last had it tuned, the piano tuner said it was made in 1903, which made me clap my hands with glee. Somewhere along the line, someone decided to cut the front off and give it a slanted front cover and I can tell it has been painted three different times. Once mint green, then a butter yellow and finally a gold glaze.
I am guessing painted pianos where kind of living on the edge back then, so I’m thinking Grandma and Grandpa were trend setters! I’m not doing really any yellow (see before) in my house right now, so I decided to change things up.
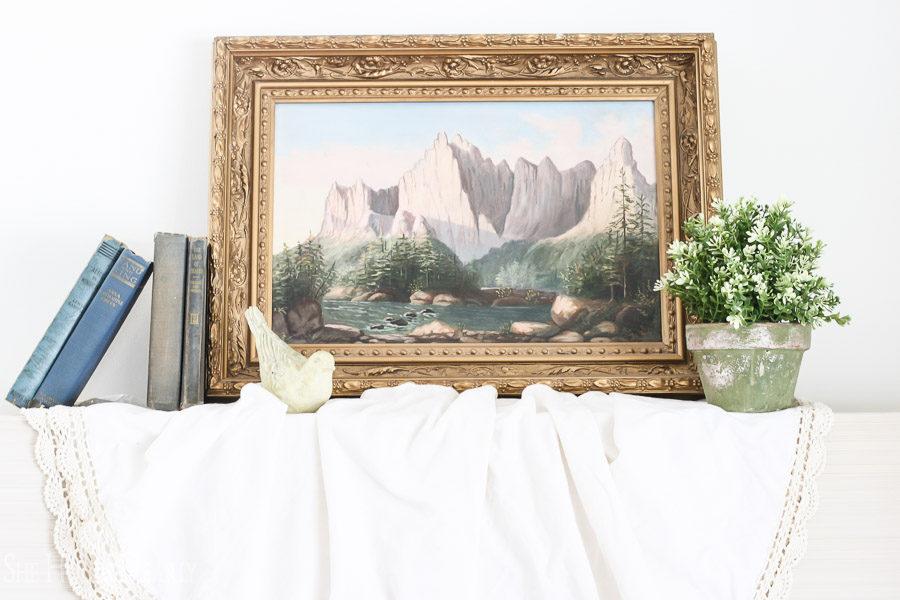
Here is one of my inspiration pics from Vintage Whites Blog:
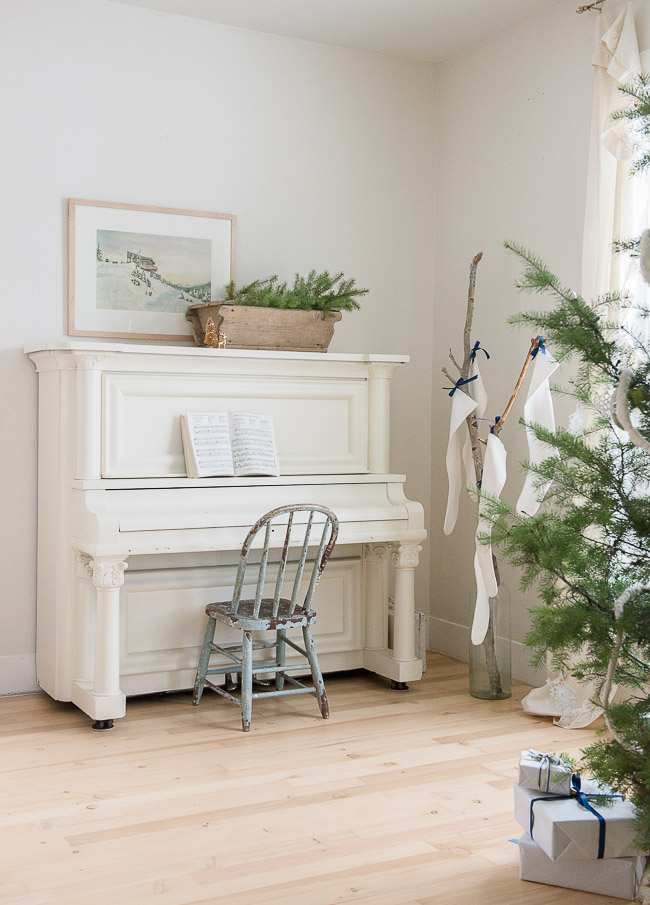
There are more painted pianos on one of my Pinterest boards.
Before:
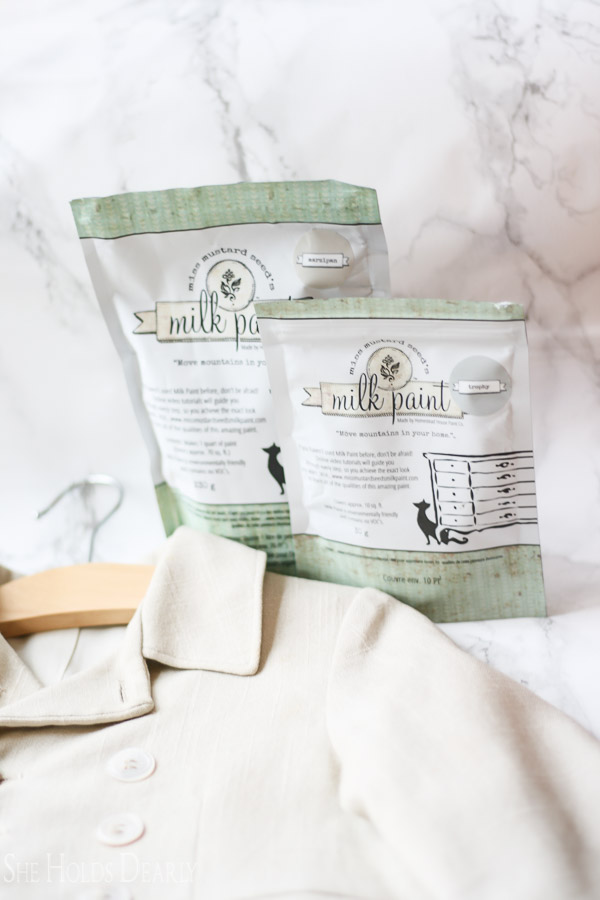
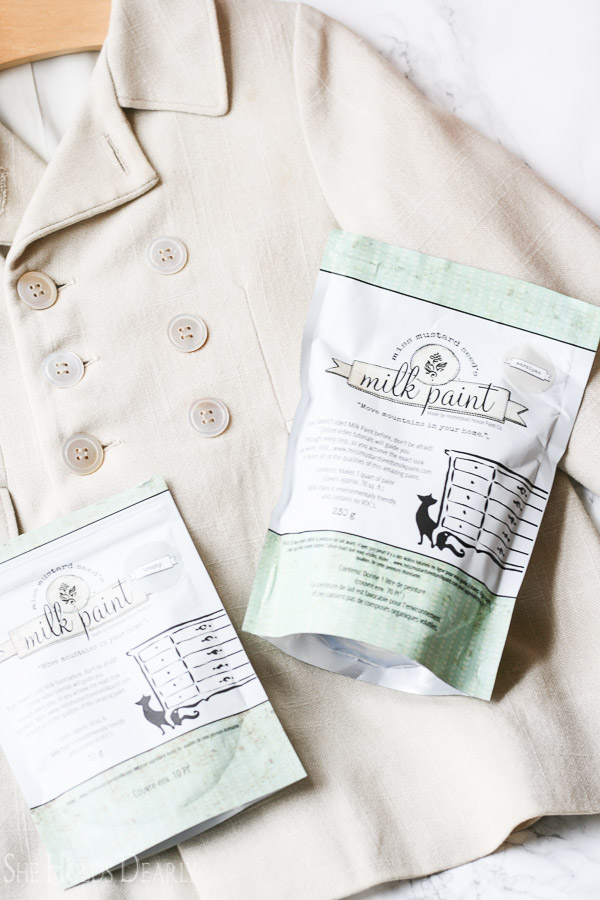
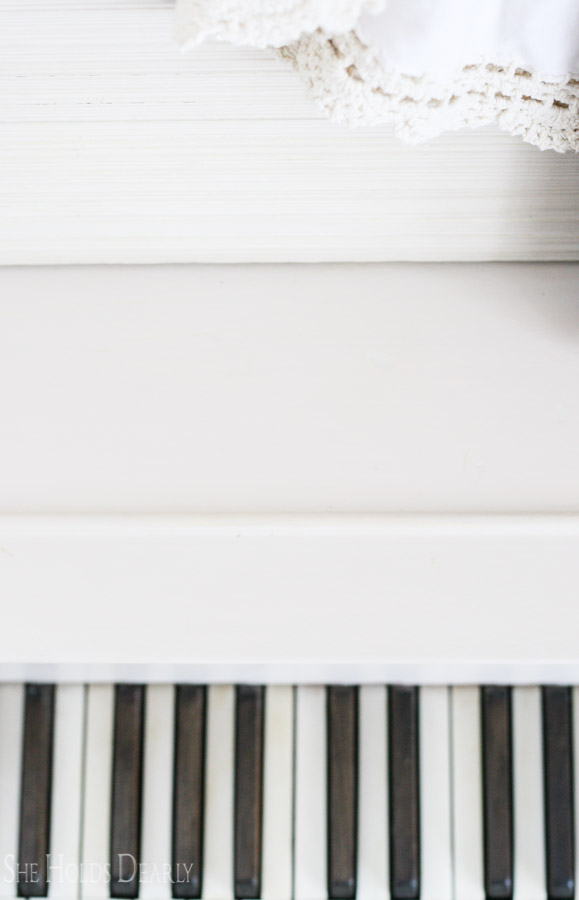
I have a thing for milk paint and I wanted a custom color to match this little vintage coat. I ended up having to mix a couple of colors to get it.
This post contains affiliate links to products I know and love. Click here to read a full disclosure.
Today, I want to share with you my step by step process for transforming a piano with milk paint or any paint, for that matter.
And now on to the tutorial. . .
Materials Needed:
- Mrs. Meyers all purpose cleaner
- I buy the concentrate and mix a tsp of it with a spray bottle of water.
- 220 Grit Sand Paper
- Rags
- Tack Cloth
- Drop cloth for floor
- Miss Mustard Seed’s Milk Paint
- I used a mixture of Marzipan (3/4 cup) and Trophy (1/4 tsp)
- Bonding Agent (if you don’t want any chipping)
- 2″ Paint Brush
- 400 Grit Sand Paper
- Furniture Wax
- I used clear, but there are different colors
- Lint-Free Rag for applying wax, an old white t-shirt works great
Tutorial:
This process from start to finish takes about 15 hours.
- Clean all of the surfaces to be painted with a gentle degreaser like Mrs. Meyers or something similar.
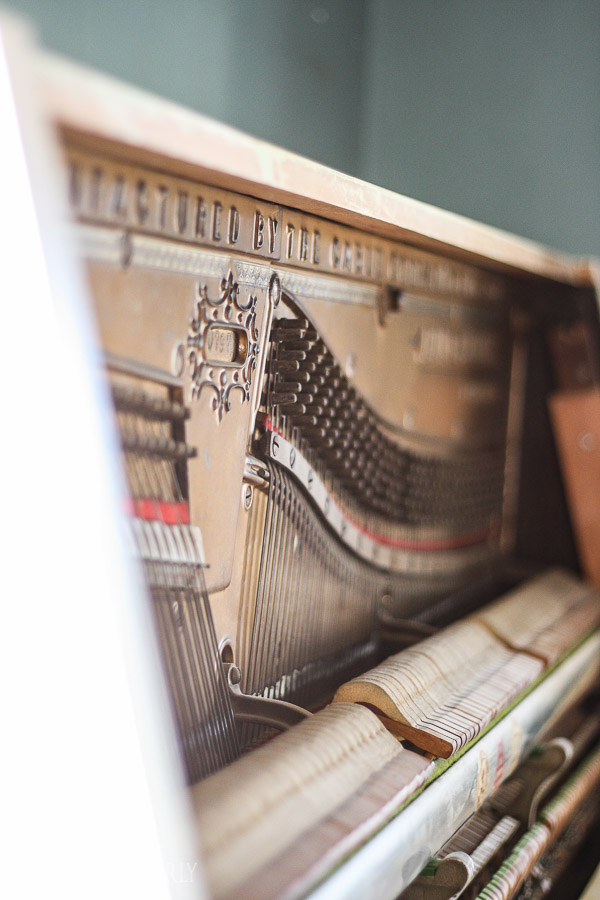
- Disassemble piano, if possible.
- I took the front top and bottom covers off.
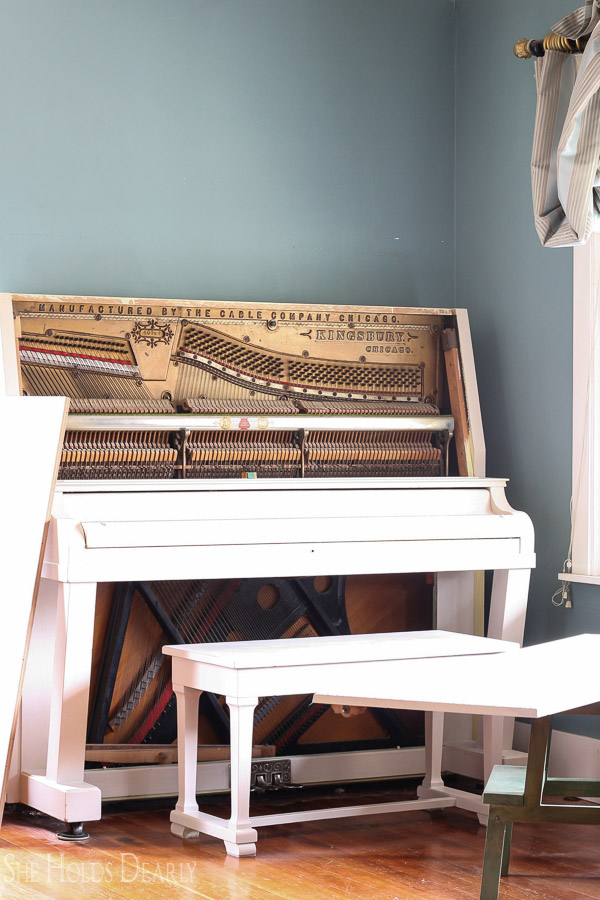
This caused 45 mins of fascination and piano playing from the kids!
And a very interesting piano lesson when the teacher arrived.
- Quickly sand with 220 grit sand paper.
- Wipe off all the dust with a rag and then a tack cloth.
- Follow directions to mix paint (if using milk paint).
- Remember to add in the bonding agent and subtract this amount from the water requirements.
- Paint your first coat and let it dry.
- I saved the key area for last, I really didn’t need to tape them off because I went slow, but I did put some paper down to keep the dust out of the keys when I was sanding.
- Sand with 220 grit sand paper, remove the dust, paint and dry again.
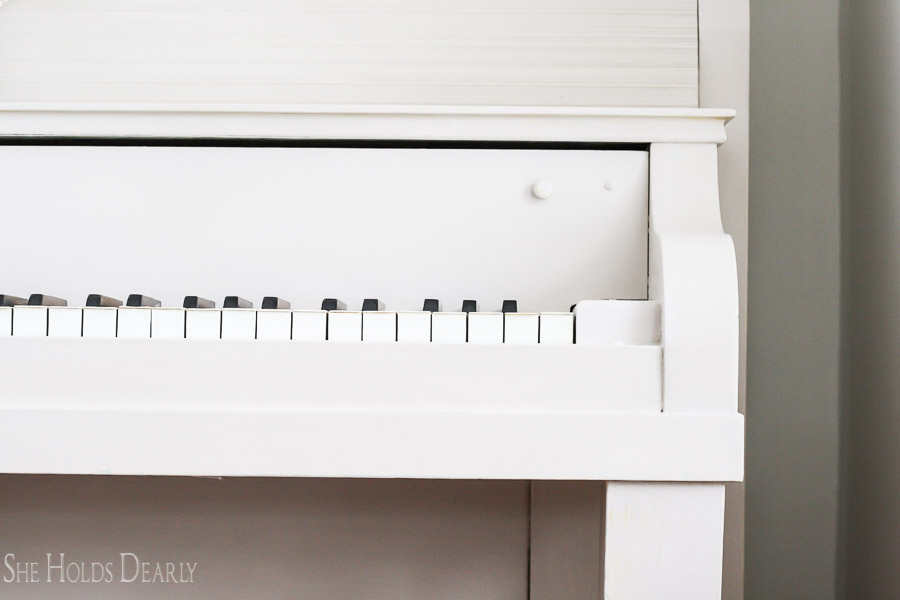
- When you are satisfied with the coverage, sand down one more time with 400 grit sand paper.
- Finish with a finishing wax
- Work in small sections and really work the wax into the paint until it is satiny smooth.
- I like to let it cure for a day and then buff it with a soft rag to make it really shine.
Milk paint has pigments in it that become almost iridescent when you sand it.
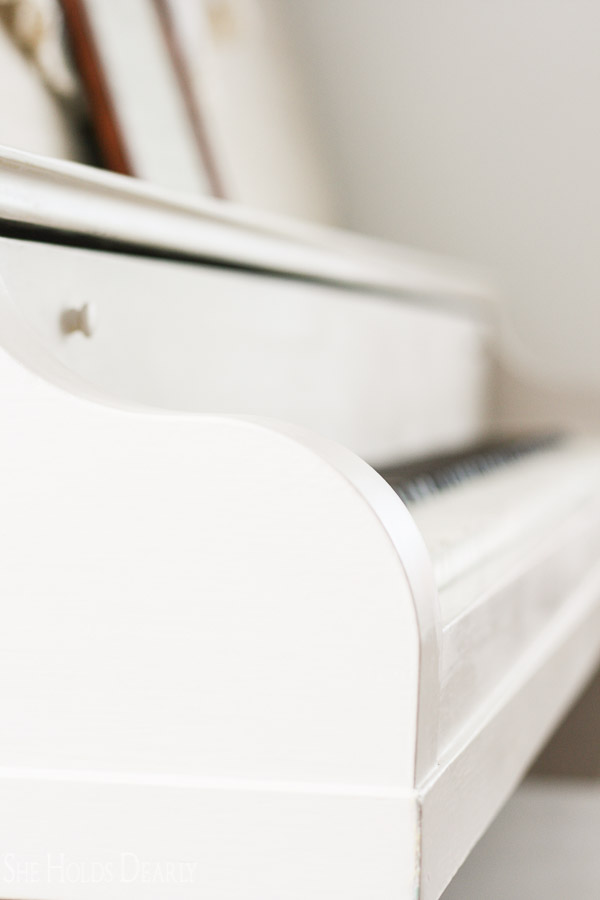
That and the combination of the finishing wax make for the most beautiful, velvety finish.
I wish you could see it for yourself, the pictures don’t quite do justice!
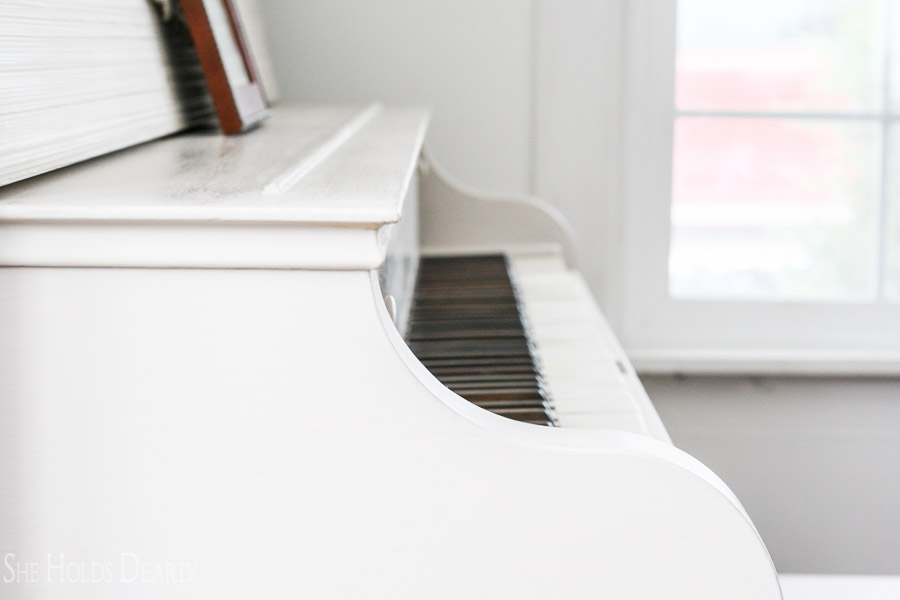
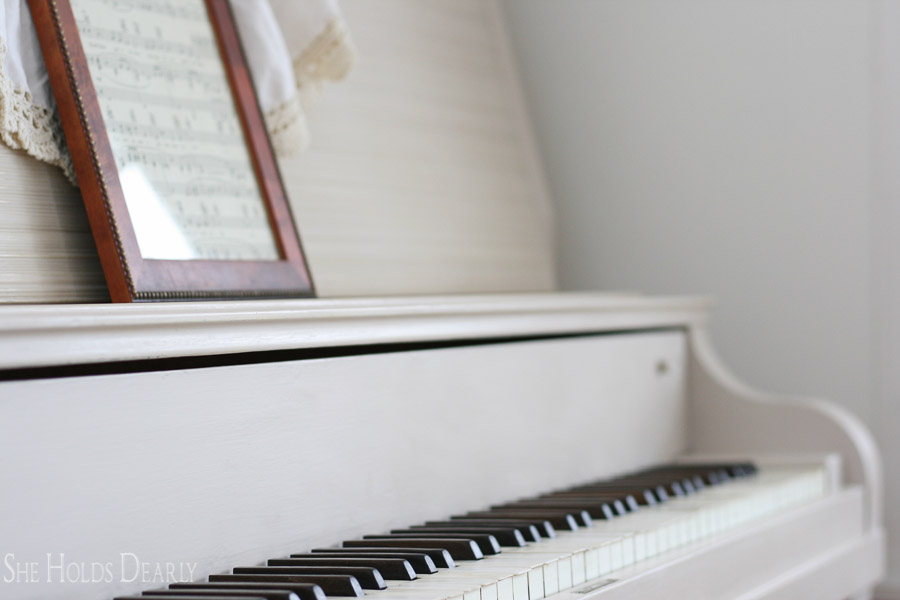
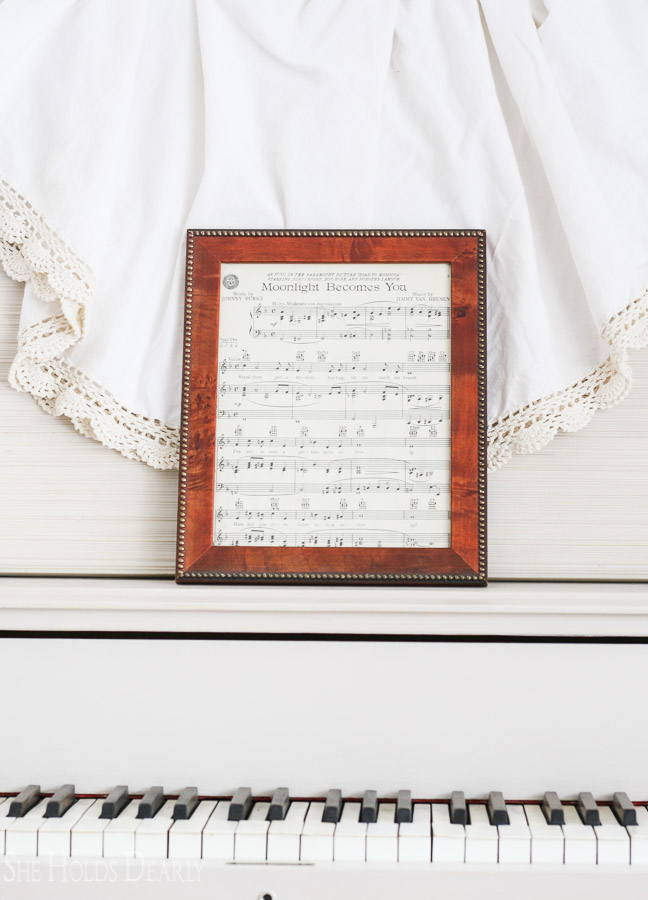
I framed a song from one of my Grandpa’s piano books.
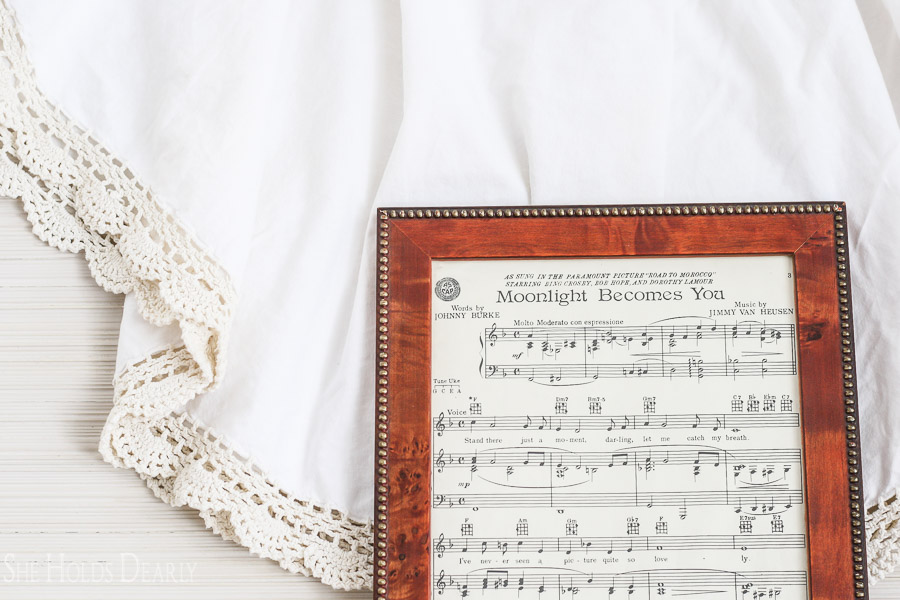
I imagine him playing it for my Grandma.
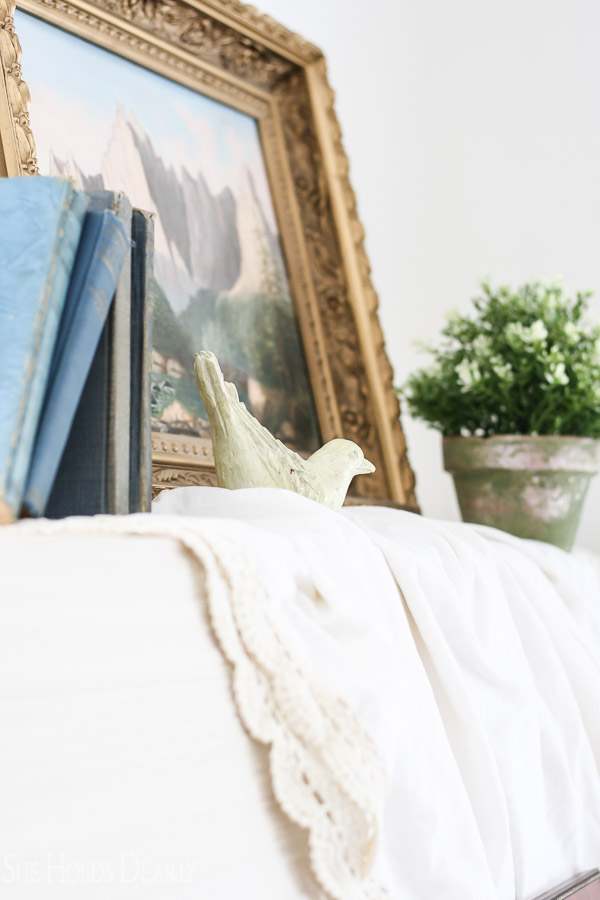

For those of you following along on my living room makeover we are moving right along and have the walls done now.
Related Blog Posts:
- Here’s an update on the finished room: Farmhouse Living Room Reveal
- And how to add some additional embellishment to an existing piano: Piano Makeover Hack
Pin This Tutorial for Later | Painting a Piano using Milk Paint: