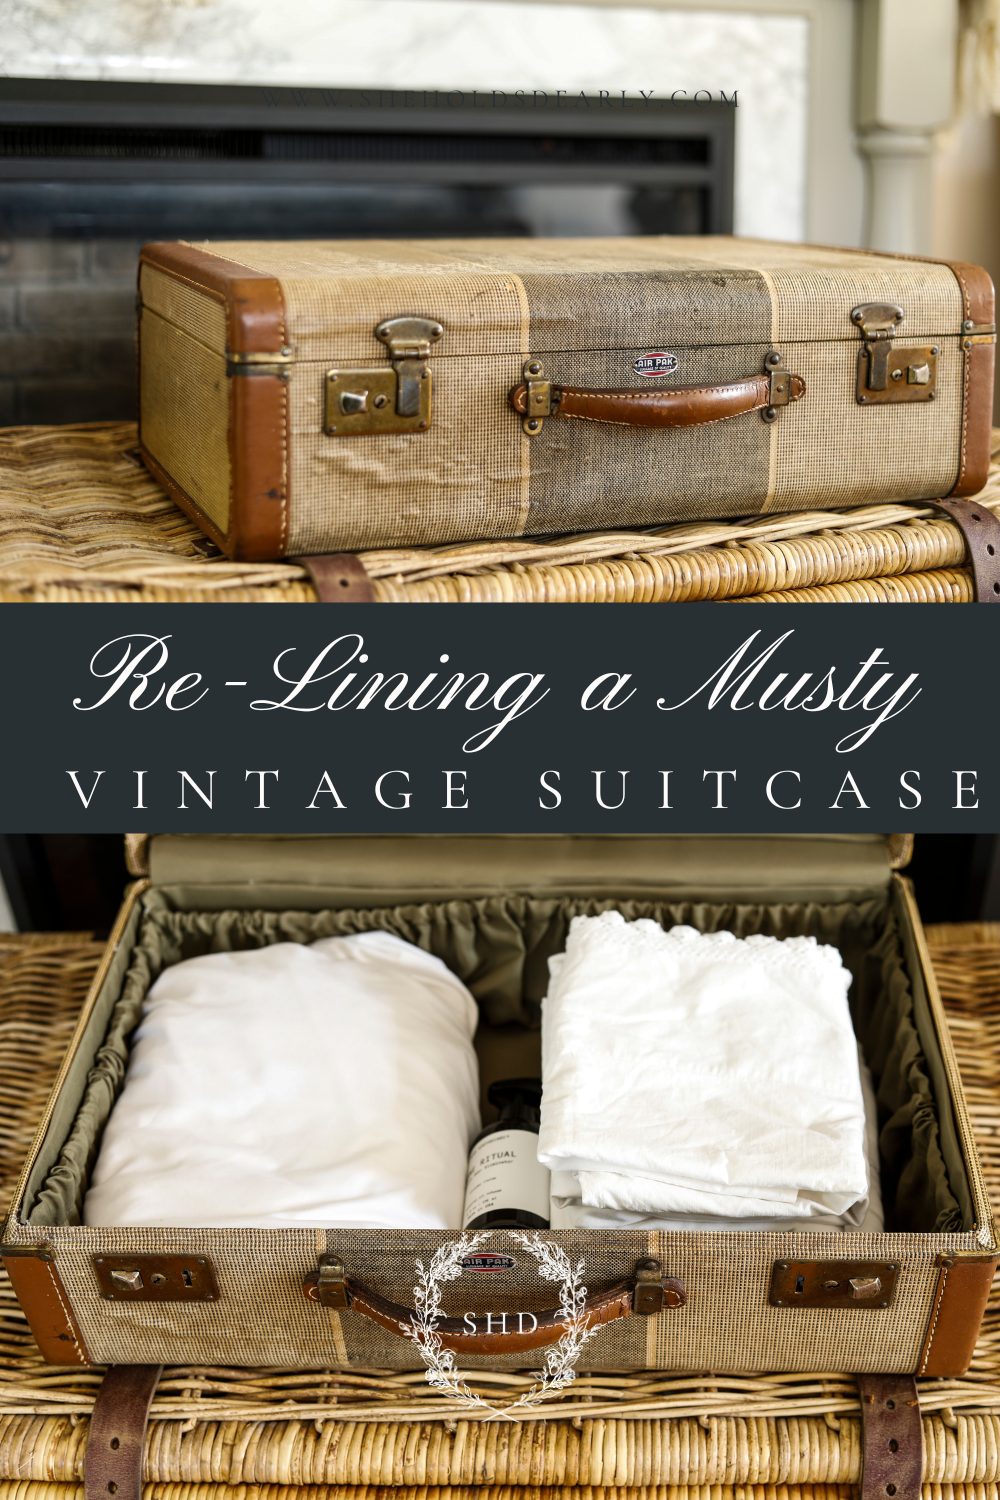
How to Replace The Lining In A Vintage Suitcase
I had owned vintage suitcase for two years and had been wanting to replacing the lining… It’s actually easier than you might think! Come see the results!
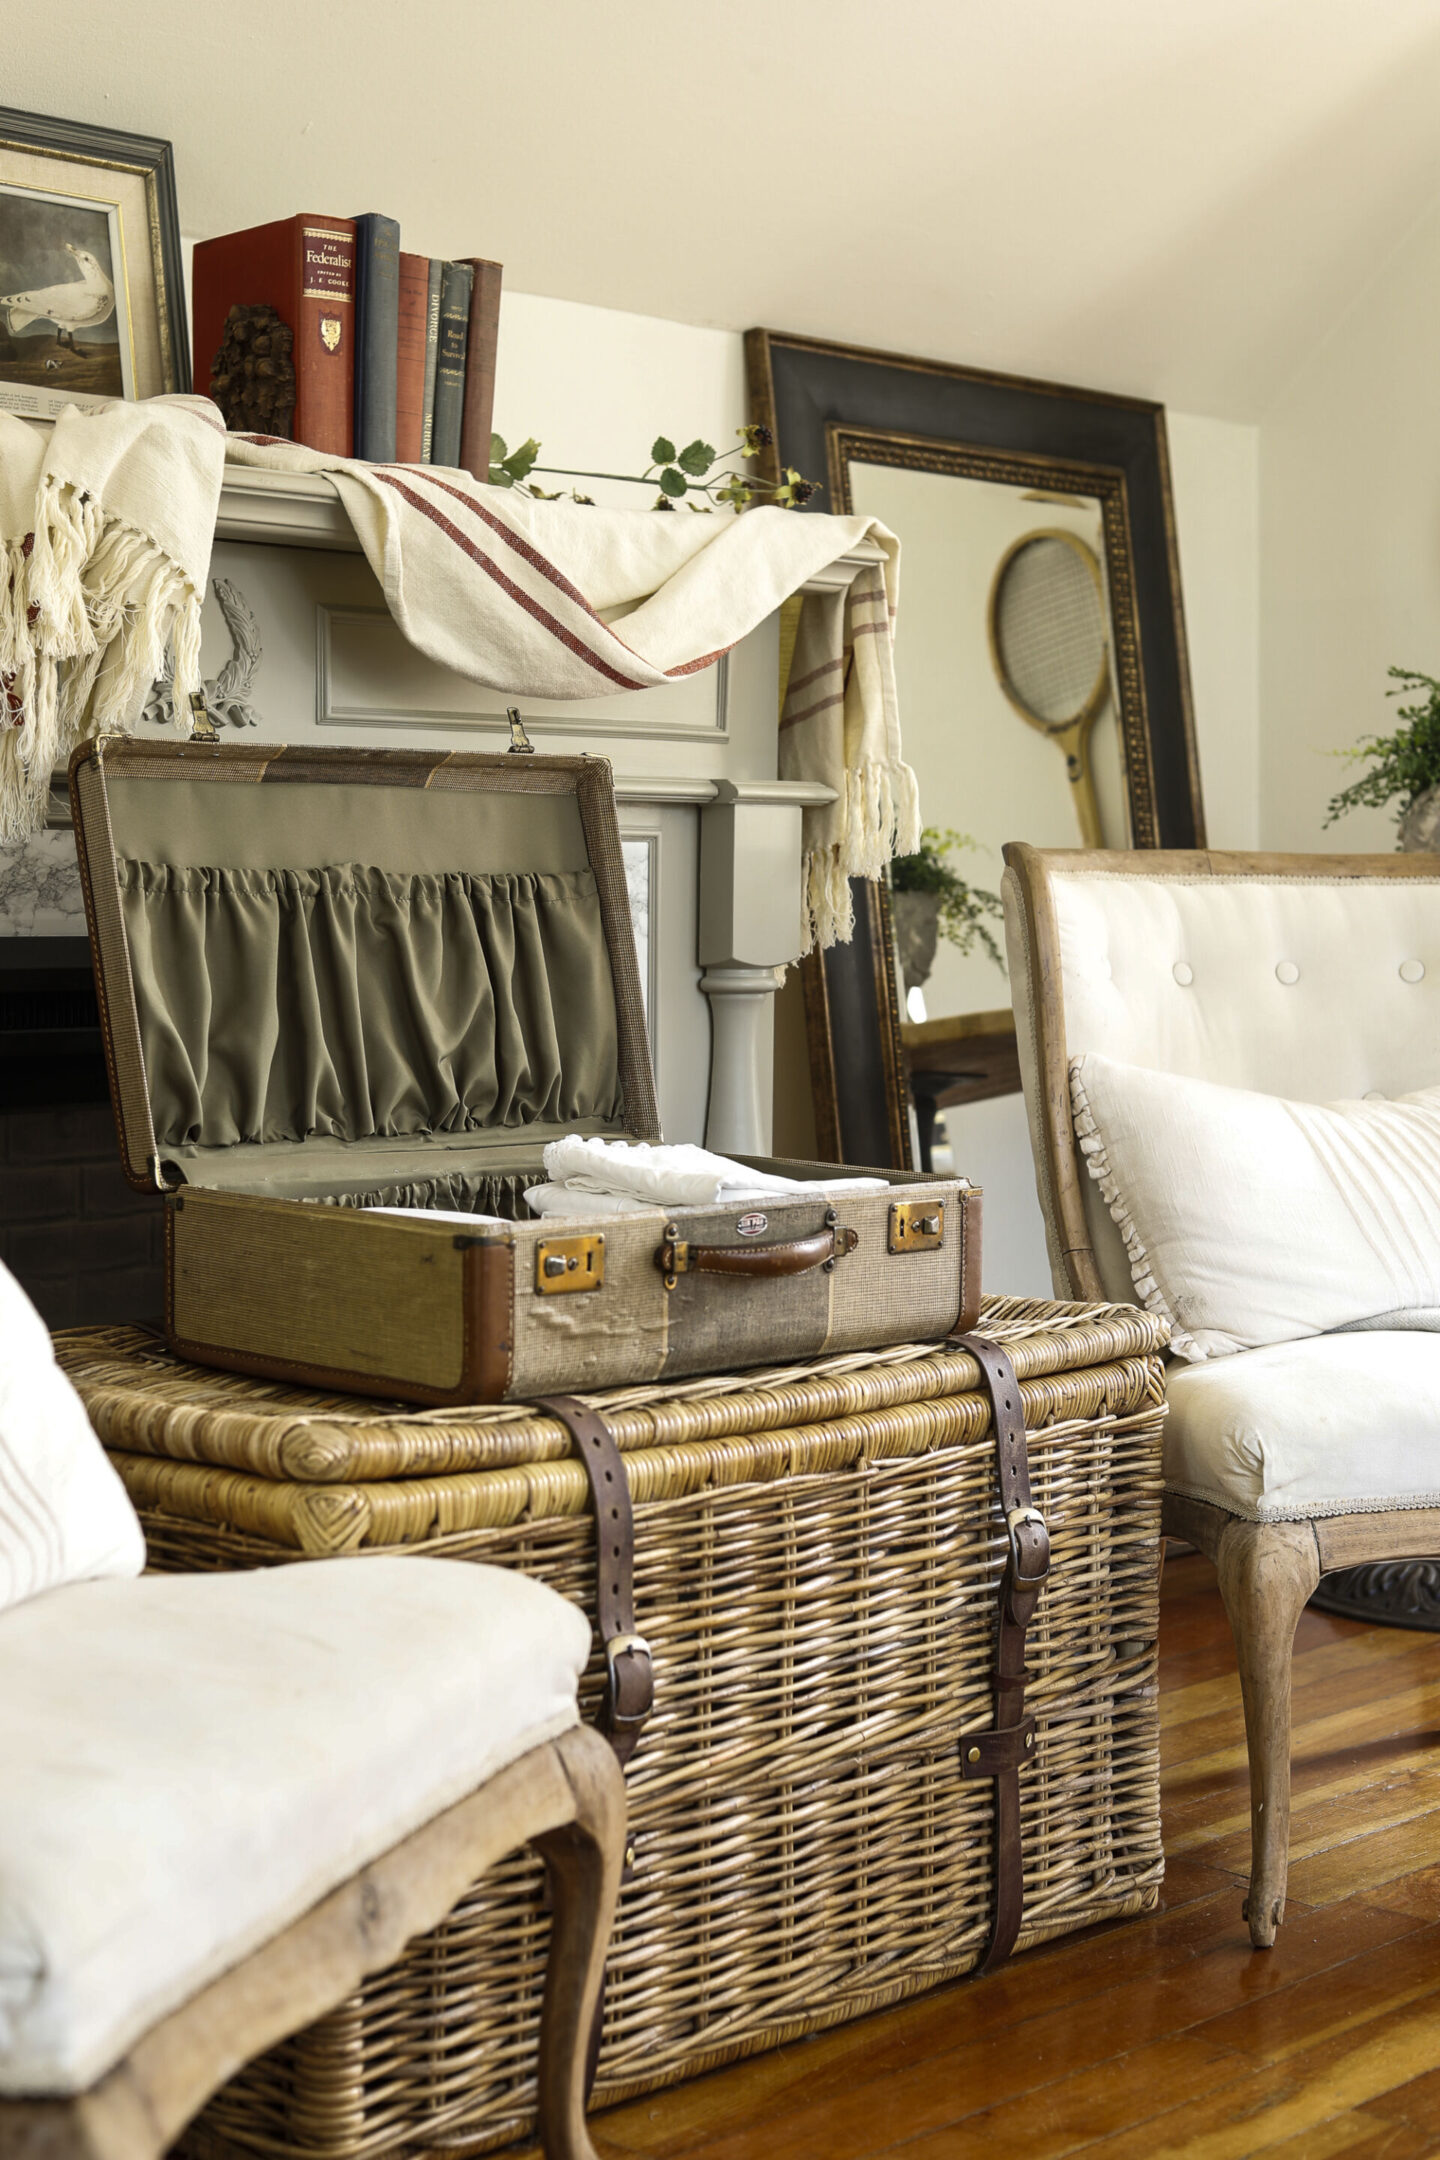
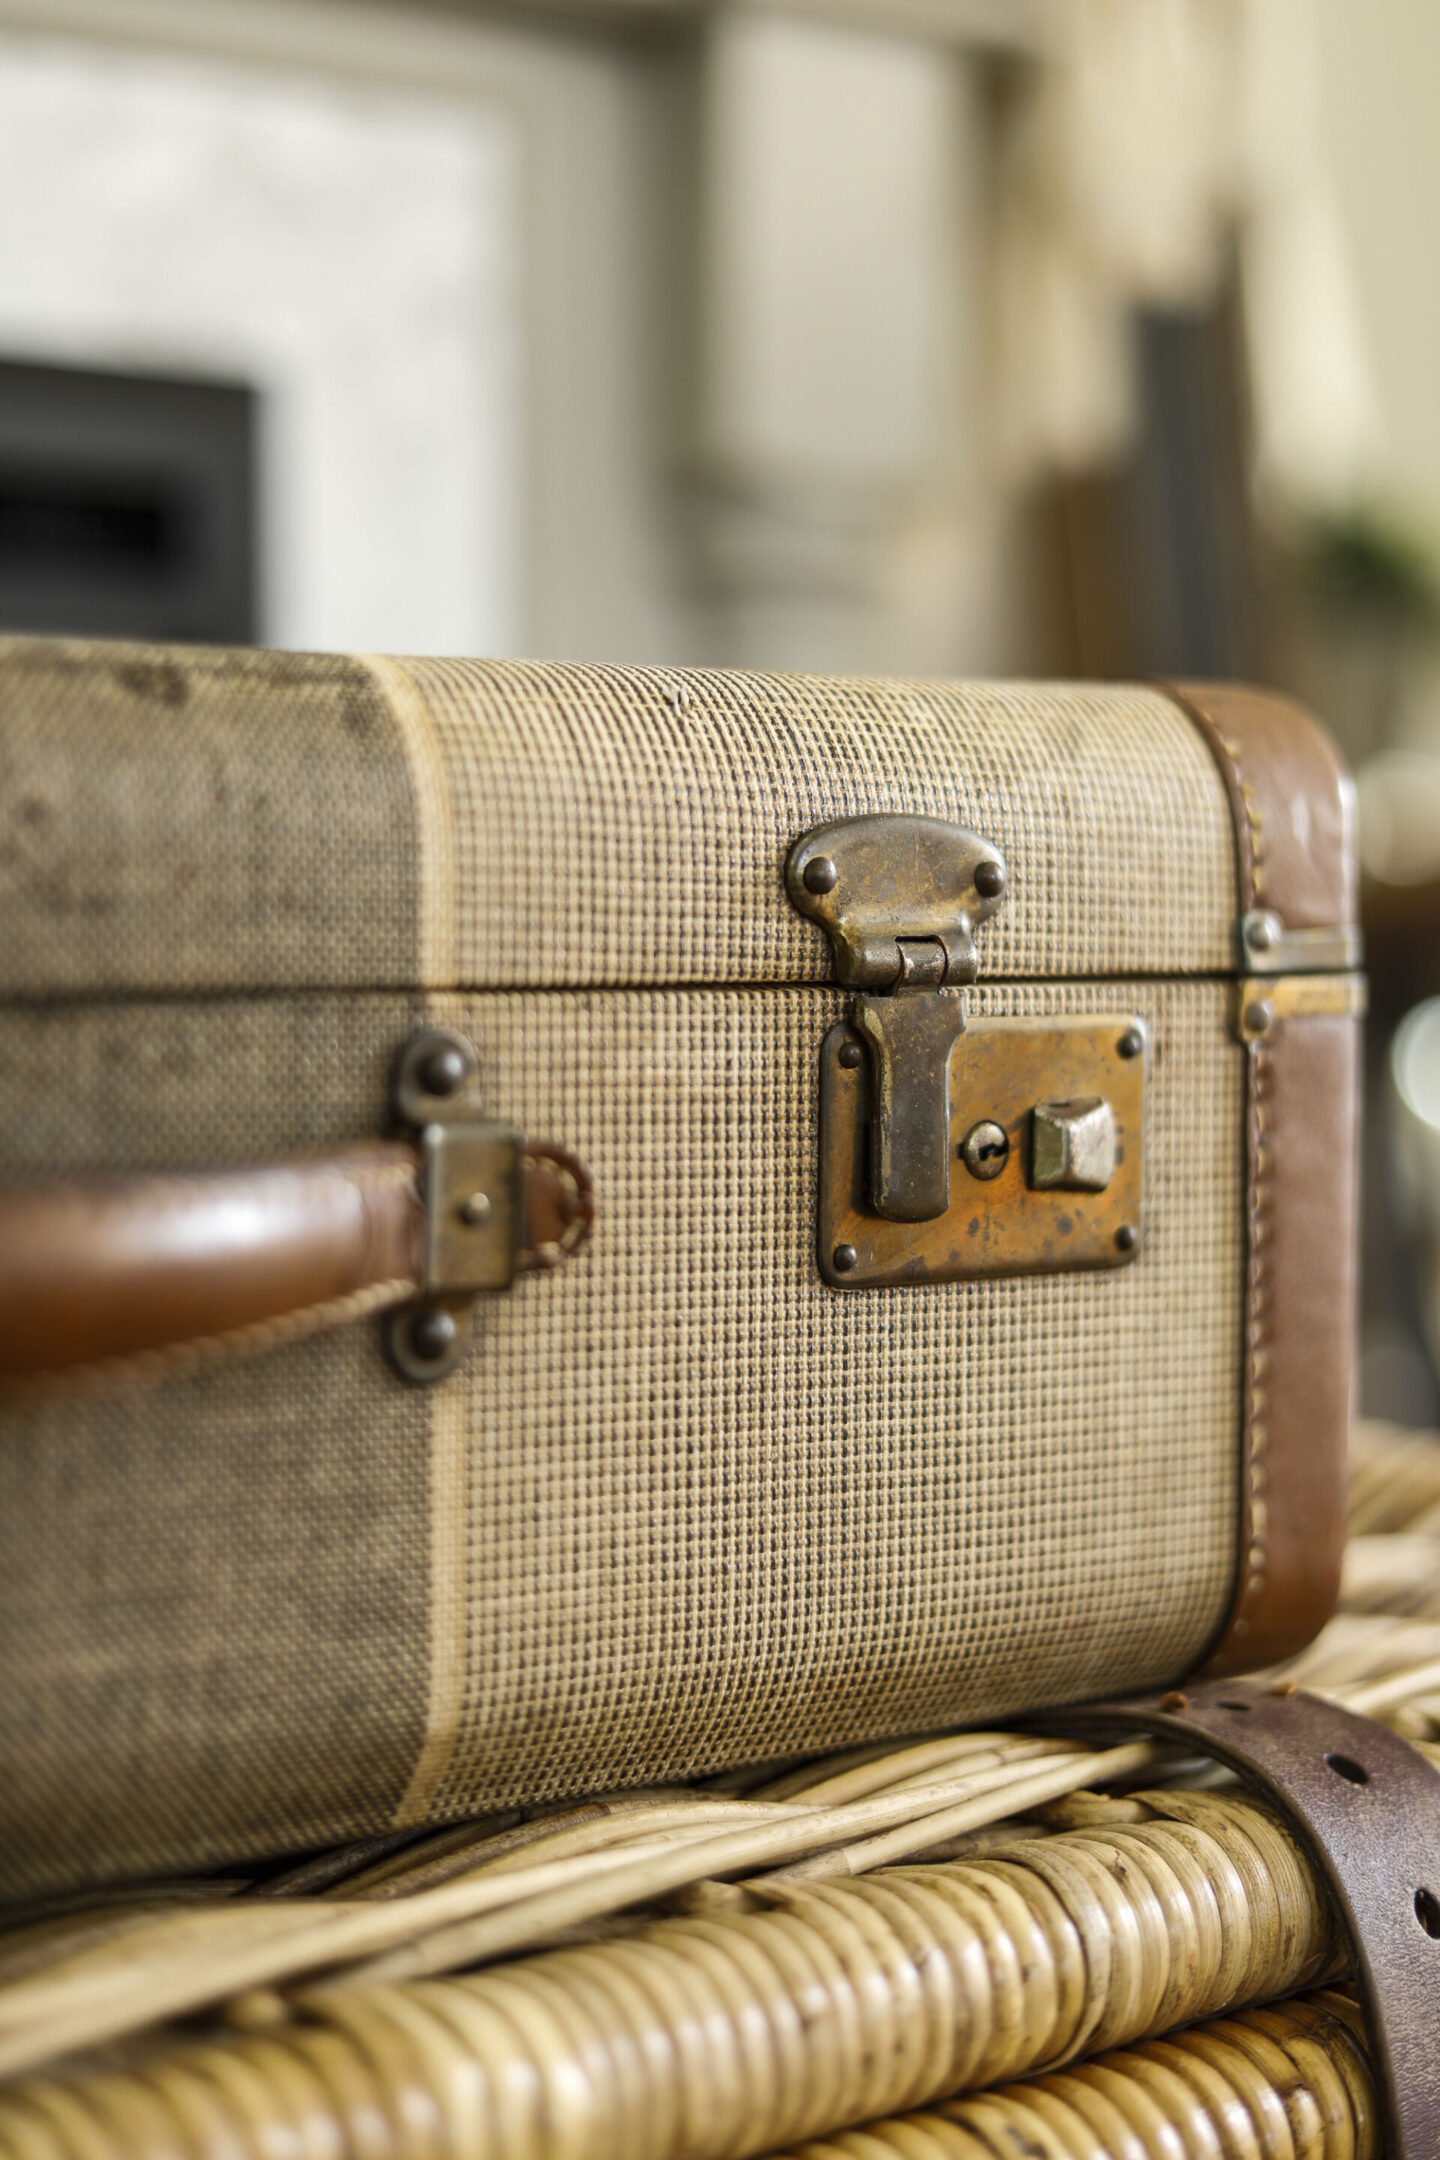
I originally got this suitcase while thrifting at the Brimfield Antique Show in Massachusetts a few years ago.
That trip was so much fun meeting up with gals from my Behind the Scenes Decor Group – and I love having this vintage suitcase as a reminder – it’s even better now that I was able to get rid of the musty smell and replace the lining!
*This post contains affiliate links to products I know &/or love.
How Do You Know it Will Work?
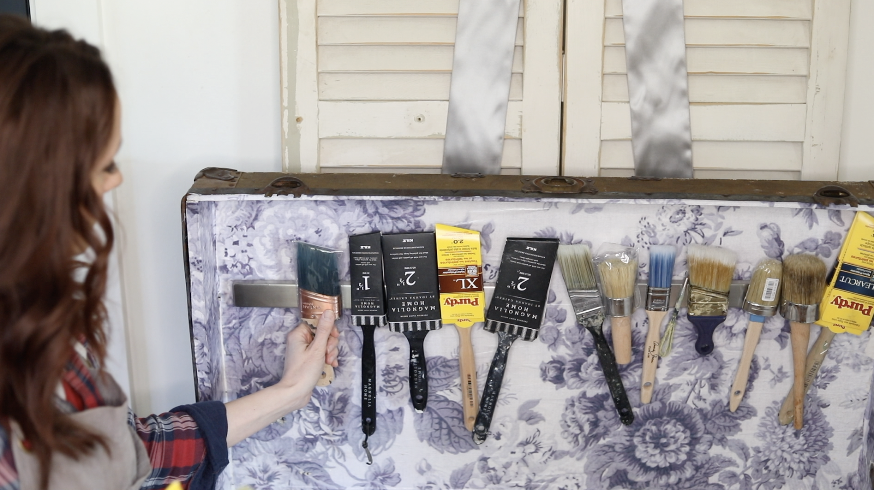
The good news is that I had done a similar process before, with my old steamer trunk that I was given by a friend. For a long time we could only use it for very specific things that weren’t affected by the smell, but since upgrading it – it’s become my beautiful and functional paint supply storage solution!
After going through that process I would say you have three good options for removing the musty smell from an enclosed container like a trunk or suitcase:
Option 1 | Strip the Lining and paint with shellac primer.
I share my first experience doing just this, with my original trunk HERE. I would call this option the necessary one. You can choose IF you move forward with covering the primed surface with decoupage or fabric for the cosmetic finishes; but I have found that stripping the lining and using a good primer have been the best solutions for dealing with the actual musty smell.
My running theory is that the breakdown of the glue is what causes the worst smell, and that it will usually persist until the glue is removed. (This is why sometimes things that you’ll see online like using coffee grounds doesn’t work for every situation.)
Option 2 | Decoupage over the primed surface.
Here’s my trunk that has been decoupaged. The fun thing about this idea is that there are endless options as far as paper that could look really lovely inside a trunk. You can get wallpaper, contact paper, even fabric can be decoupaged!
Option 3 | Replace the Lining with fabric over the primed surface.
Lastly, if you, like me, want to retain the functionality of the inside of the trunk or suitcase – like the pockets; you might want to try this third option, which I’ll be sharing more about now!
Step One | How to Remove the Musty Smell
Supplies:
- Steamer
- Paint Scraper
- Razor Scraper
- Soap | Mrs. Meyers
- Zinsser BIN Primer | Ultimate Stain Blocker
- Cheap chip Paint Brush
Instructions:
- Carefully pull away the existing lining and backing from the sides of the trunk.
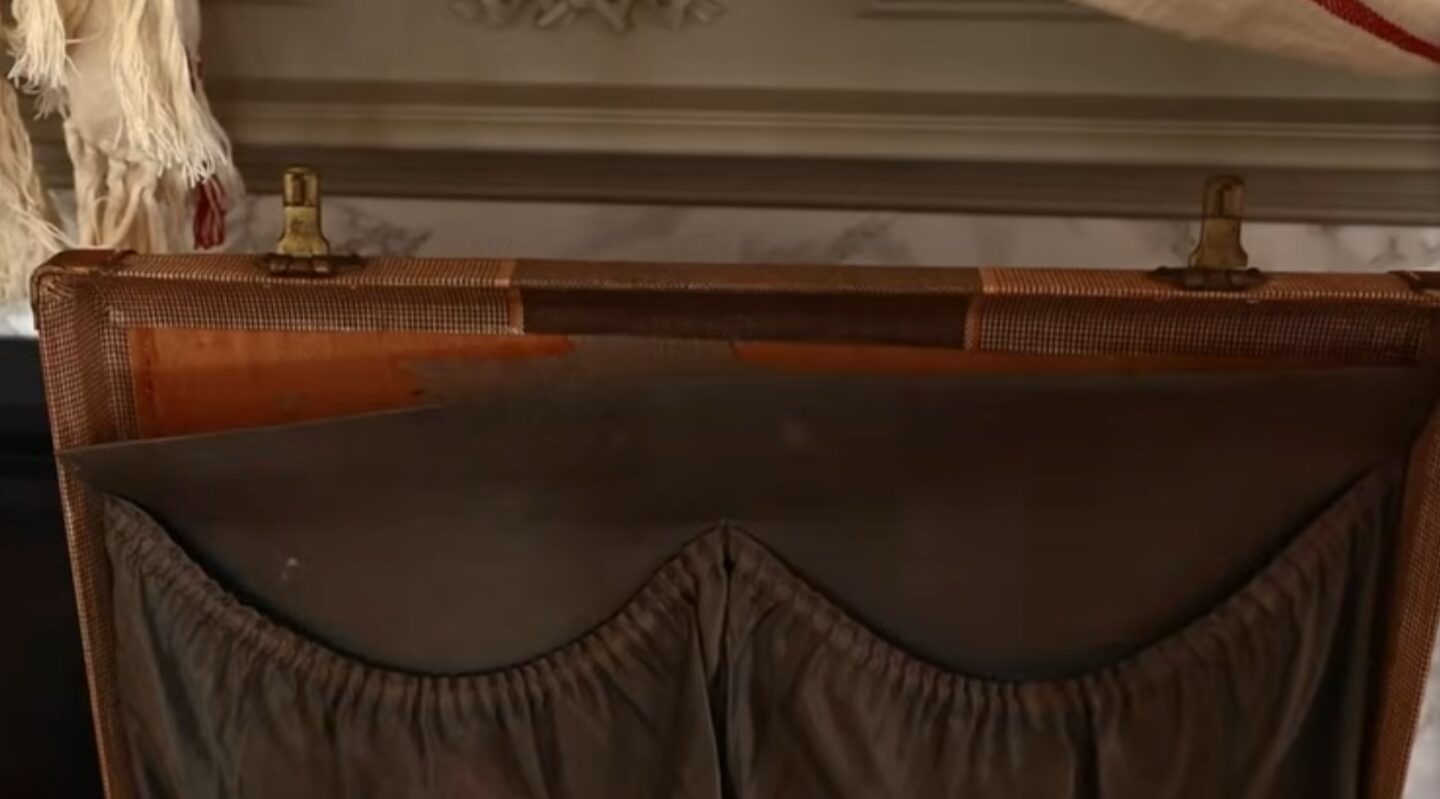
Do this step carefully, because while your first inclination might be to take the old lining and cardboard straight to the trash – don’t do it! We need to use them to make pattern pieces first!
Set them aside and we’ll come back to them in the next step when we replace the lining.
- Depending on the age and condition of the glue, some of it might come right off with the lining and backing, and some might be retained and will need a bit more work to remove. I have found that a steamer and scraper seem to work best. I use the steamer to soften the glue and then scrape with either my plastic paint scraper, or a razor blade scraper if the glue is really stubborn.
- After scraping I washed the inside of the suitcase down with soap and water and let it dry fully. (I like Mrs. Meyers as my soap for cleaning antiques.)
- The next morning after everything was dry, I applied two coats of Zinsser BIN Primer. This is the step that really helps remove any remaining smell trapped inside the suitcase.

- Once the primer is dry, you can choose if you like it the way it is, or if you’d like to move on with option 2 or 3 to add a decoupage or fabric lining back into your vintage suitcase.
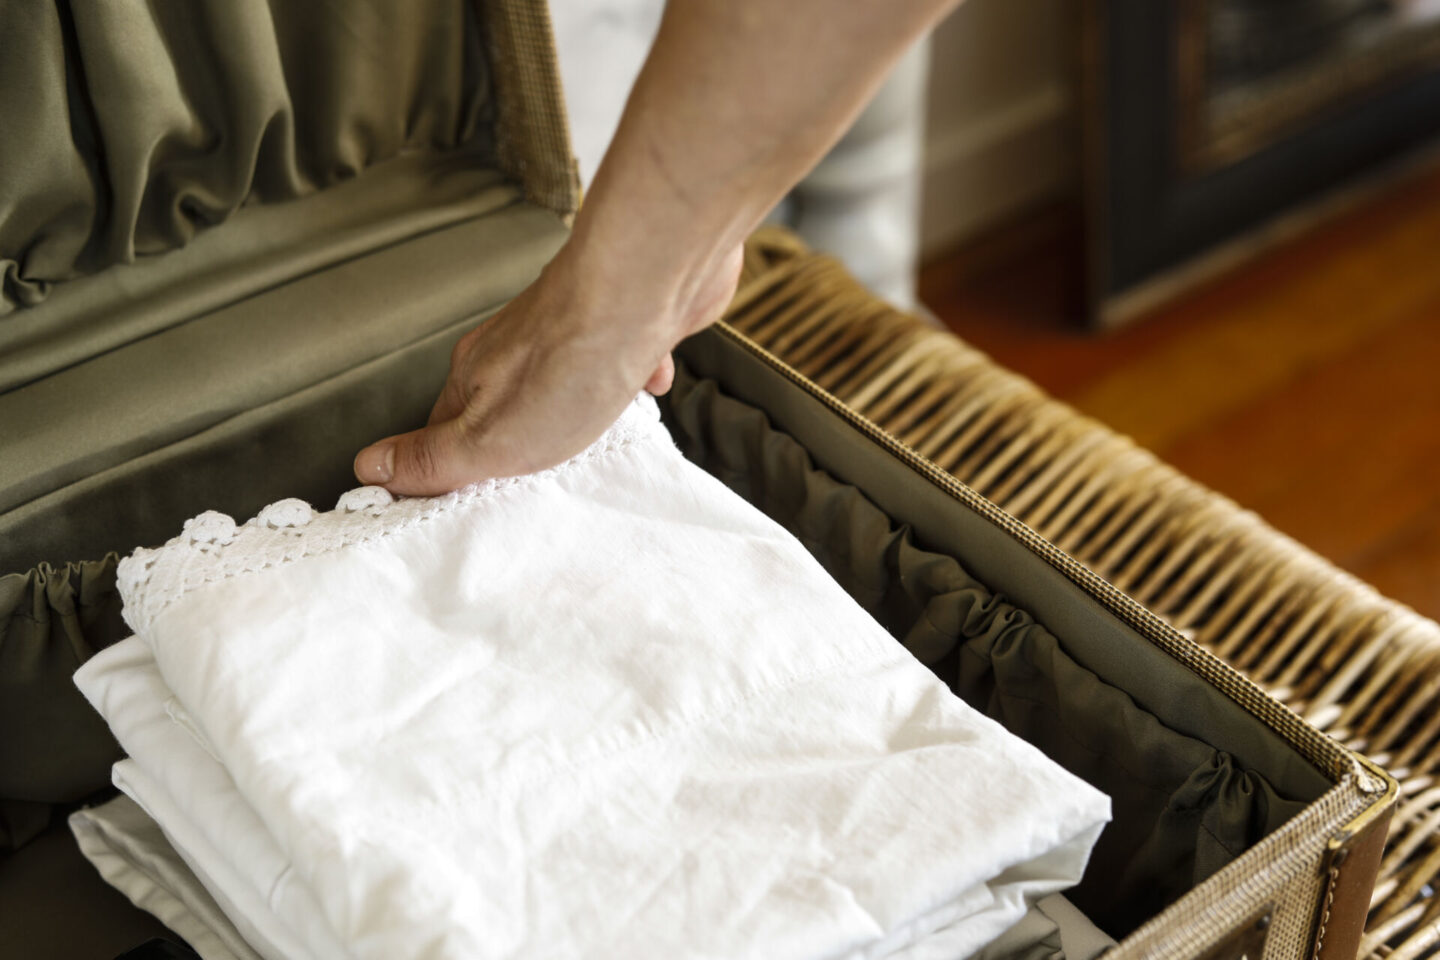
Since I’d already done the decoupage idea, I really wanted to try replacing the lining this time – especially because I wanted to keep the functionality and look of the pockets inside. I probably won’t use this suitcase functionally, except as storage, but I love that it will look genuine once it’s opened.
Step Two | How To Replace the Lining in a Vintage Suitcase
Supplies You’ll Need:
- Suitcase of your choosing – you might already have one, or you can often find them at thrift and antique stores. You can also find some lovely ones on Etsy.
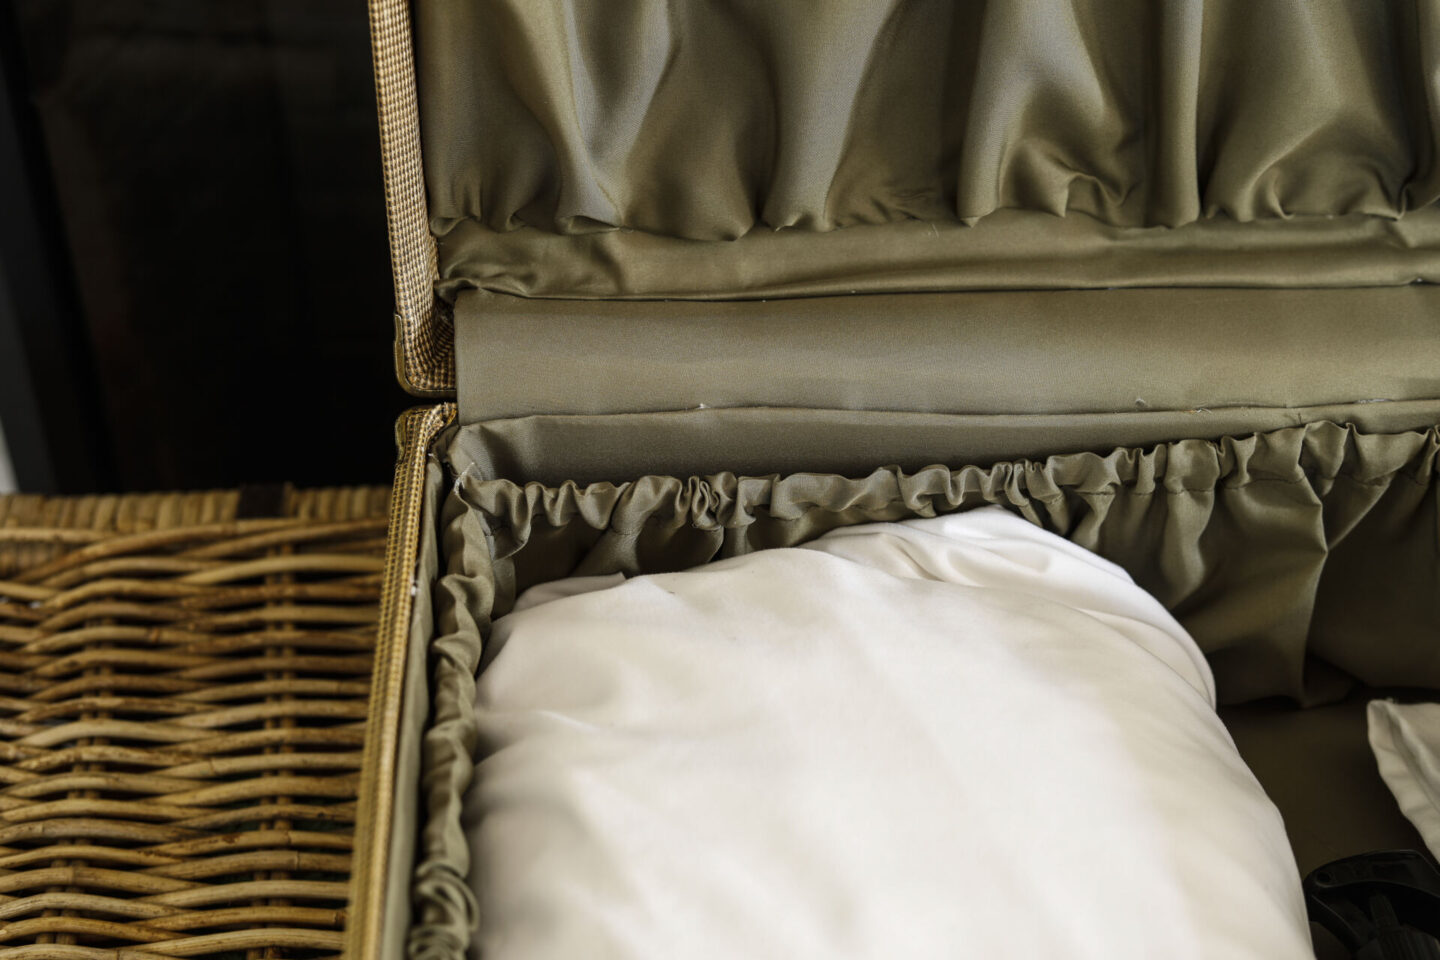
- Fabric – I chose an olive green charmeuse from Joann Fabric & Craft.
- Elastic – I got mine from JoAnns – you can use a variety of widths, just keep the width in mind when you make your casing during the tutorial. I used 1/4″.
- Scissors – These are my favorite gold scissors that I use when I’m working on sewing projects.
- Hot Glue Gun & Spare Glue
Instructions:
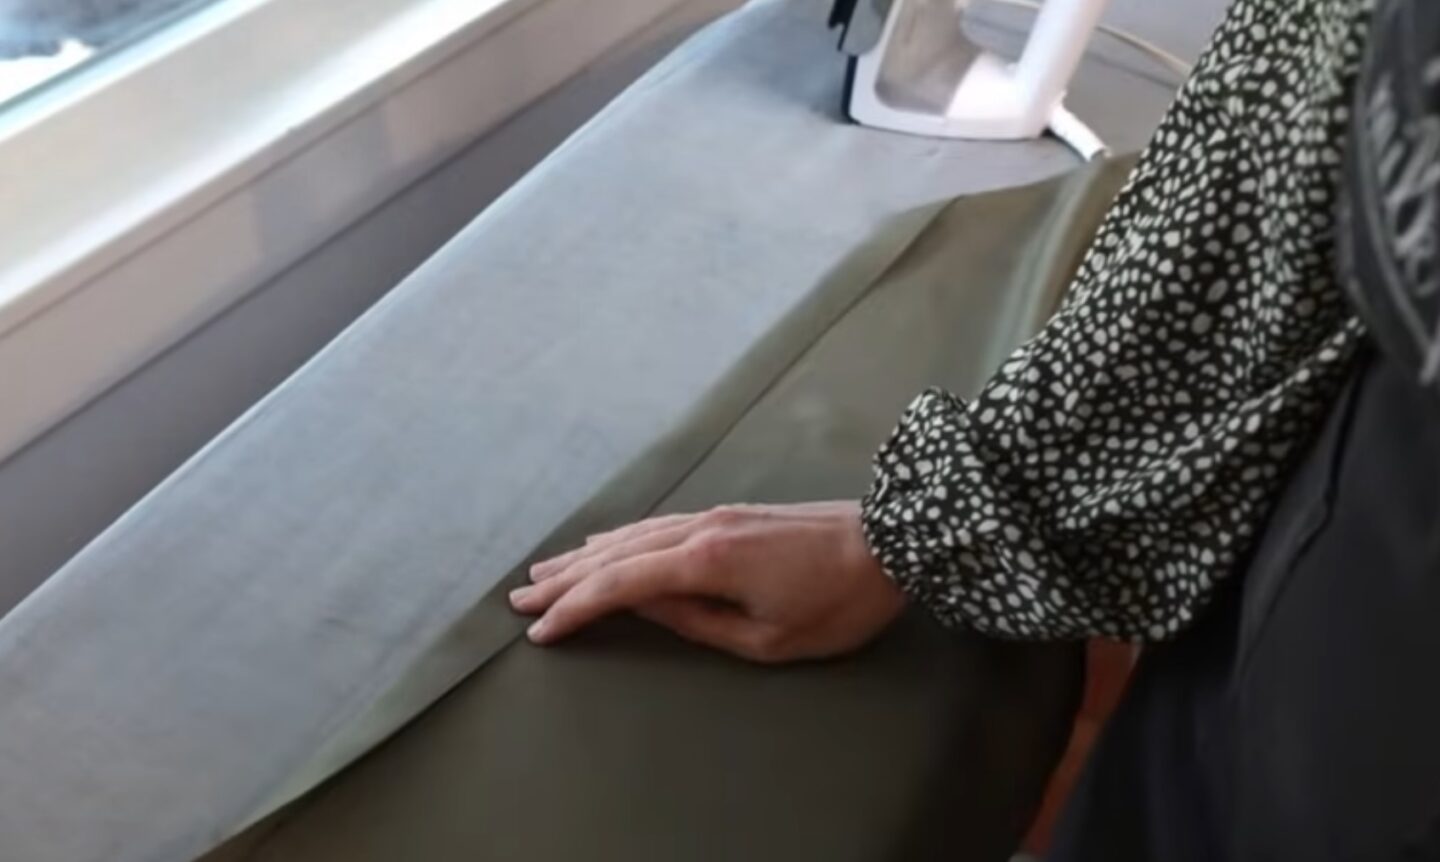
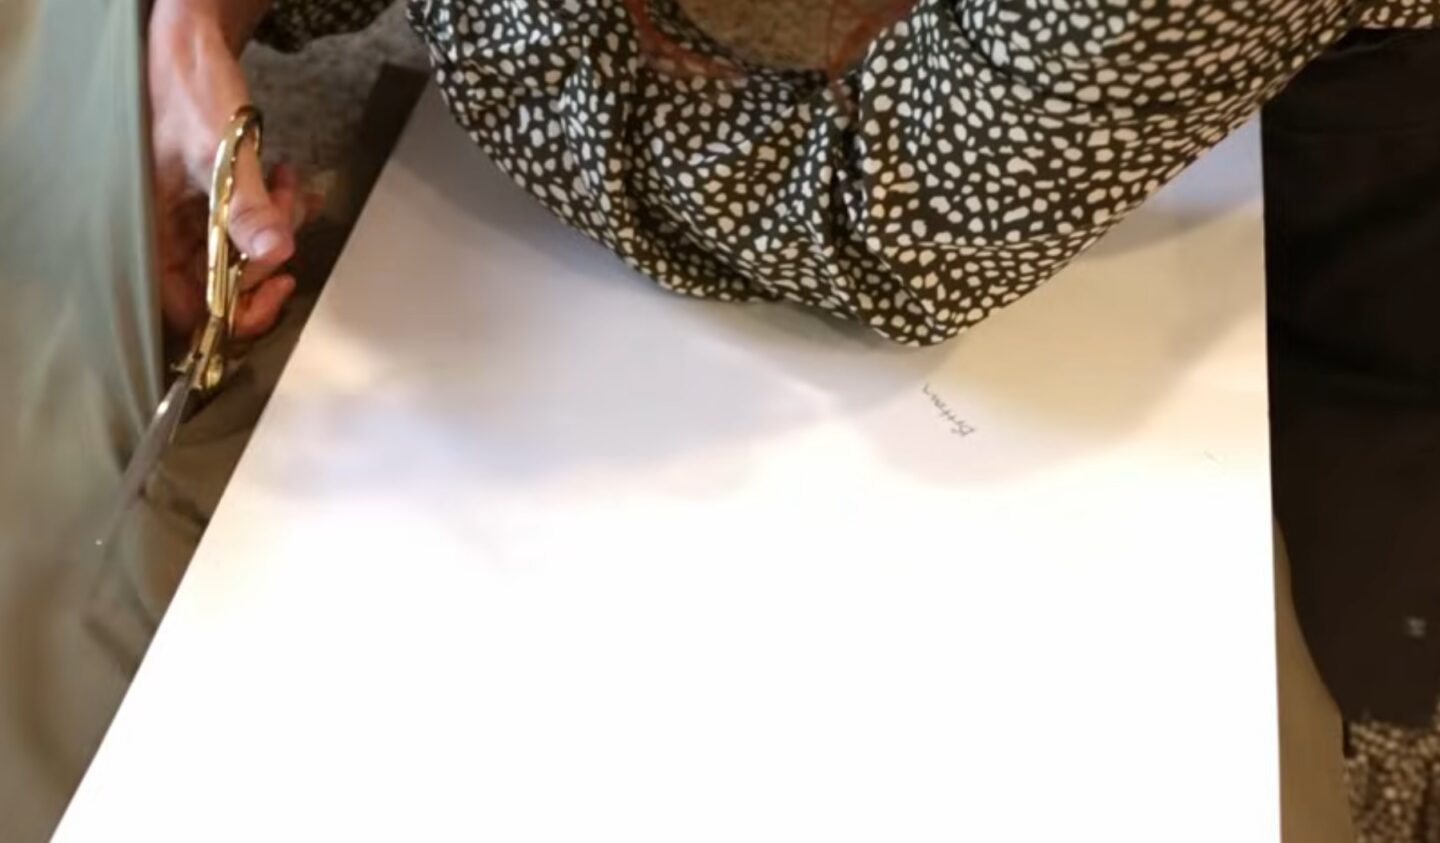
- Disassemble your pattern pieces from the original lining and lay them flat on top of your new fabric.
- Trace around the shapes, giving yourself a generous seam allowance – at least 1″. More for the top of the pocket where you’re going to need to make a casing for the elastic.
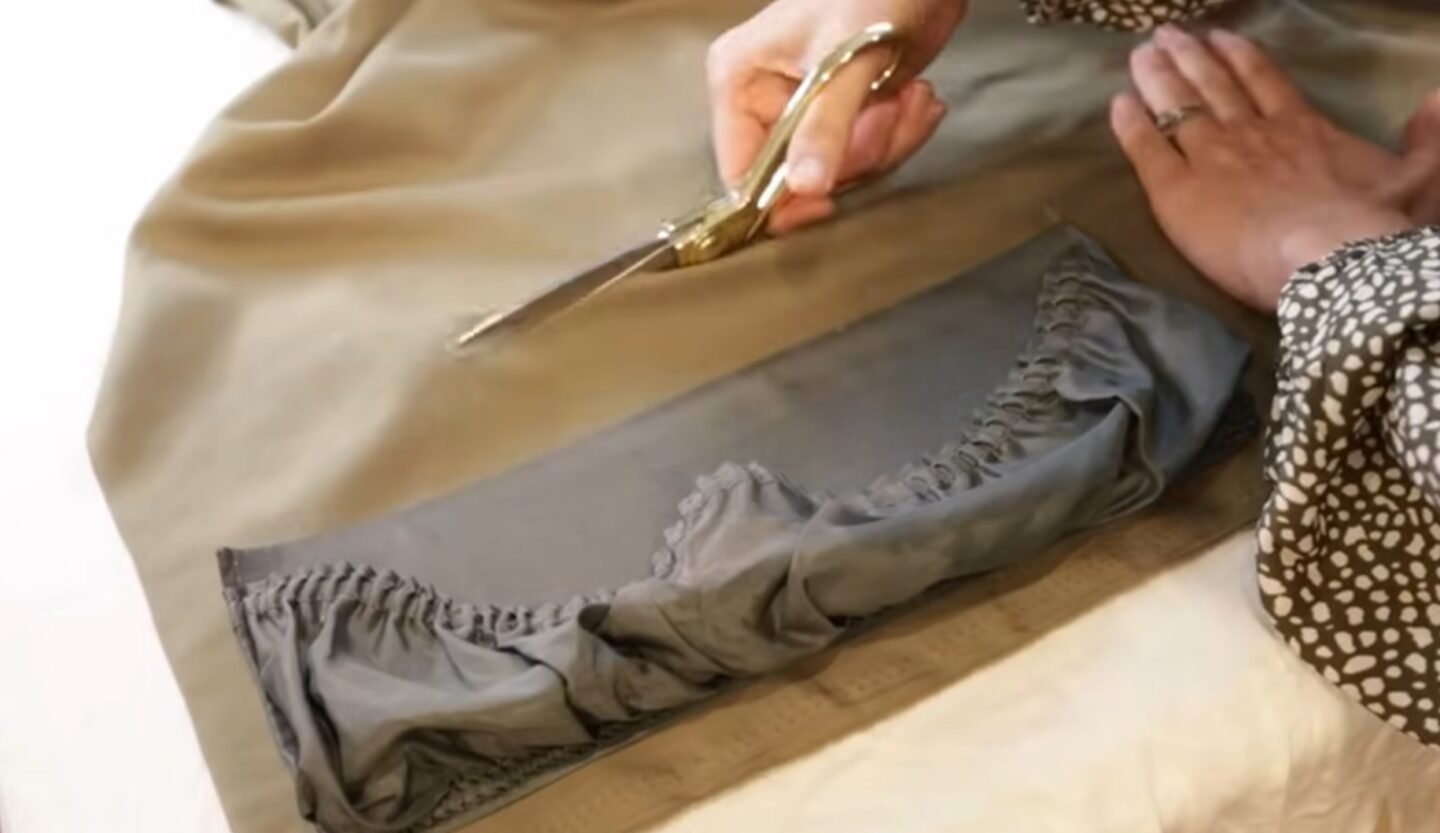
- Fold & iron the seam allowance down and sew it to make a casing for the elastic to thread through.
- I cut my elastic length to about 75% of the width of the finished piece so that it gathers nicely, and I use a safety pin on the end of the elastic to help thread it through the casing. Go slowly and inch the pin through.
- Once you’re nearing the end of the elastic, tack it down to your material with a few stitches on your sewing machine to make sure it doesn’t follow through into the casing.
- Once the other end of the elastic reaches the other side of the casing, you’ll also tack that down to the edge – this will pull the fabric into a permanent gather so you don’t have to worry about threading it through again.
- Use your original backing pieces to trace and cut new pieces on thick cardstock. I used 1 layer for the bottom of the suitcase, and 2 stacked pieces for anywhere that I was adding a pocket and wanted more durability.
- Use about 1″ of seam allowance to allow yourself room to fold the fabric over to hot glue it to the back of the backing piece.
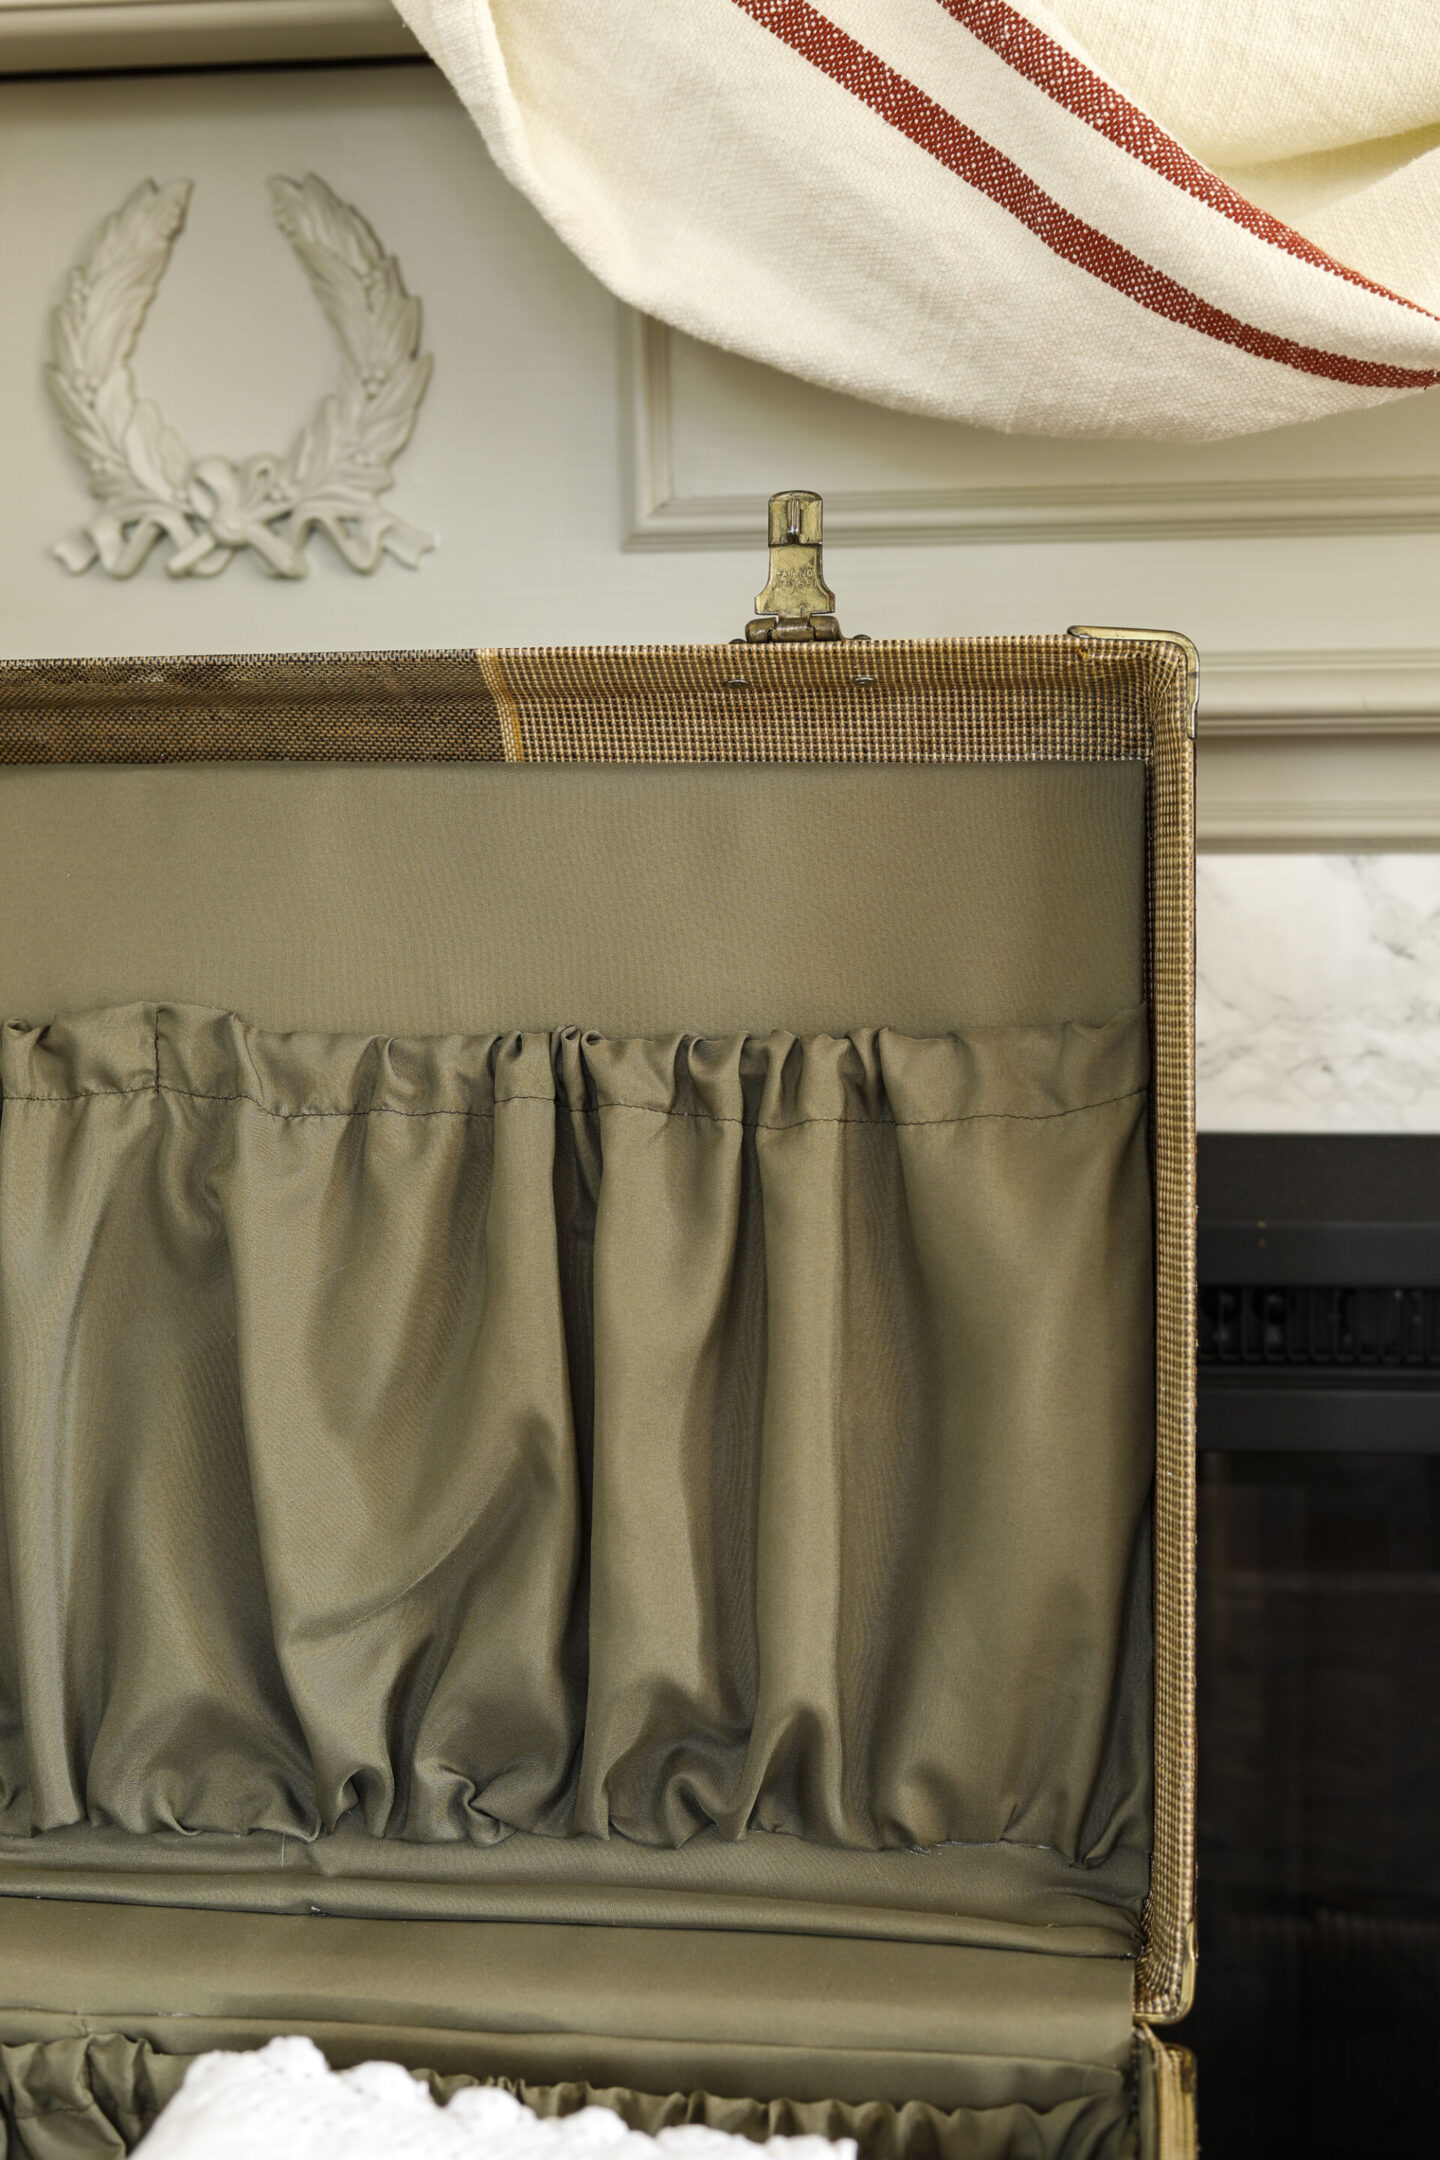
- Once all of your pieces are cut, sew the pocket fronts to the larger pieces of fabric that make up the back of the pocket at the sides, and then fold and glue them over the back of their backing pieces.
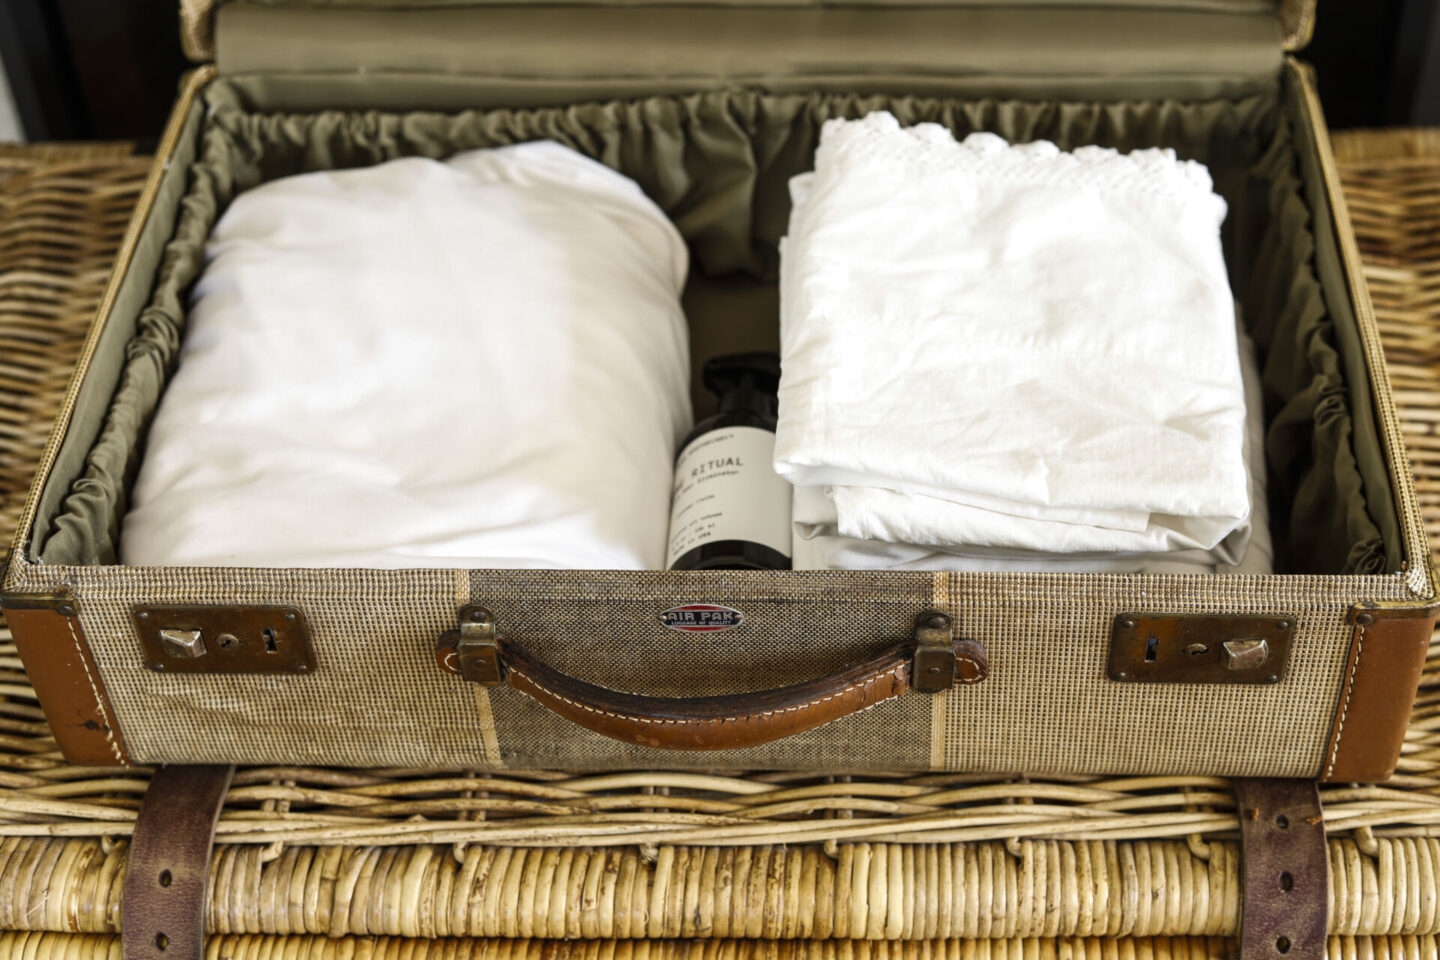
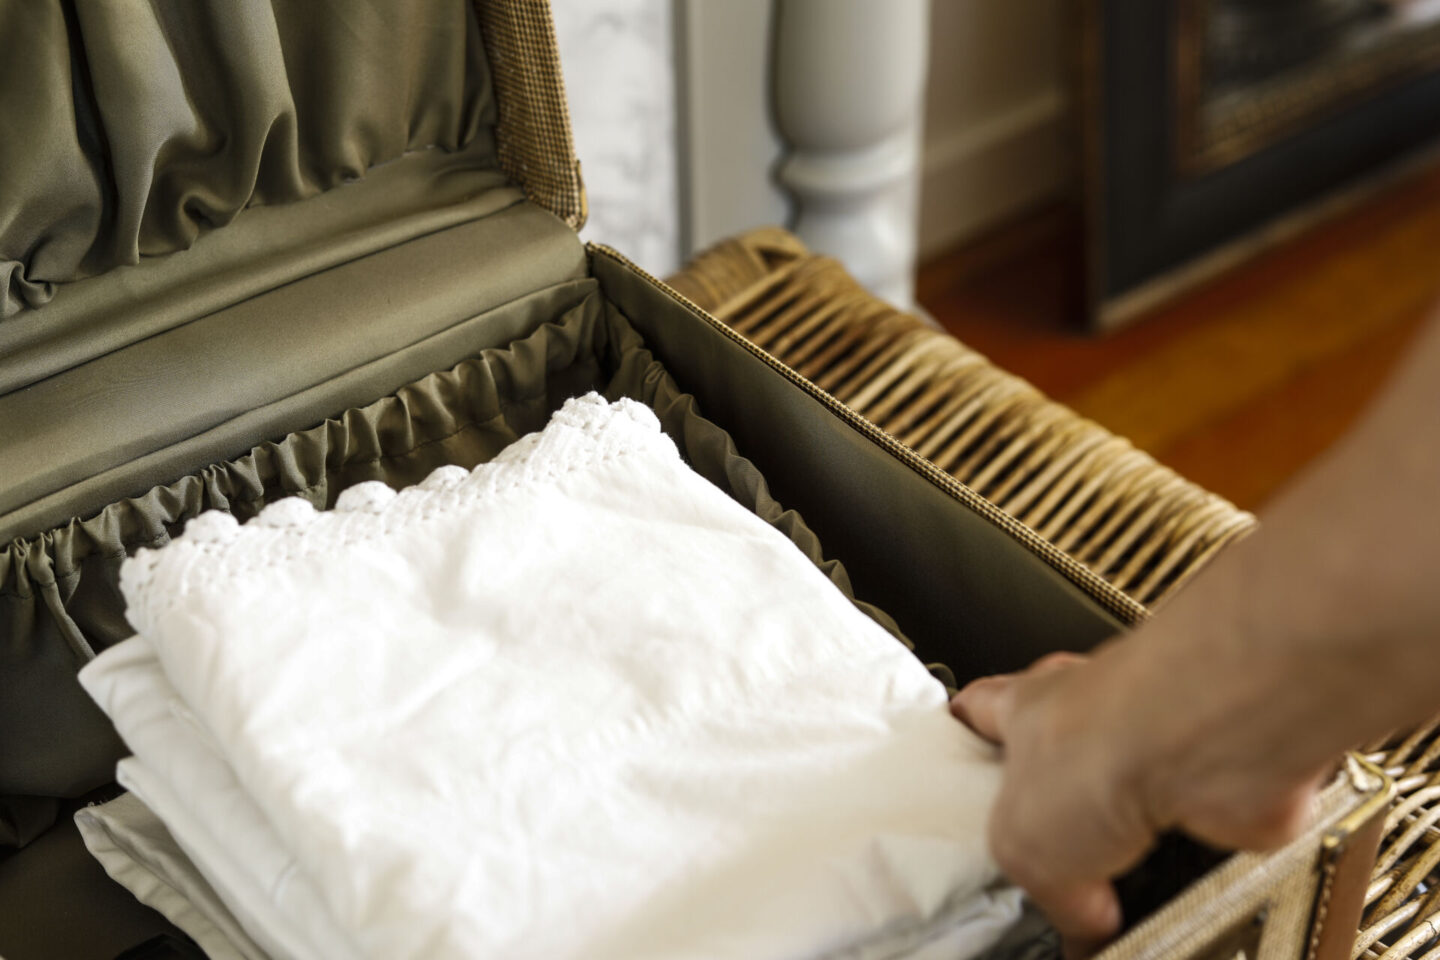
- After all of the pieces are attached to their backing, you can reassemble them back into the suitcase!
This whole process is sort of like an unofficial upholstering project – just on a smaller scale and with hot glue instead of staples!
I’m so pleased with how it turned out! I hope you do this on a vintage suitcase of your own – and that you love yours as much as I love mine!
Related Journal Posts:
- Recliner Foot Rest | Slipcover & Upholstery Series
- DIY Recliner Slipcover | Slipcover & Upholstery Series
- DIY Slipcover with Piping | Slipcover & Upholstery Series
- Replacing Old Foam in a Recliner | Slipcover & Upholstery Series
- Hacks to Make Your Furniture Look Vintage
- Favorite Painting Supplies & How to Store Them in a Vintage Trunk
Pin this Vintage Suitcase Upgrade For Later: