How to Make A Gingerbread House Wall Hanging
Looking for something unexpected in your decor this season? How about a gingerbread house doormat turned wall hanging?
Yep, you read that right. We’re making an adorable wall hanging that looks like a giant gingerbread house, and we’re doing it out of a doormat!
I’ve been having fun with these coconut husk doormats the past year, and this is the third project I’ve shared using them!
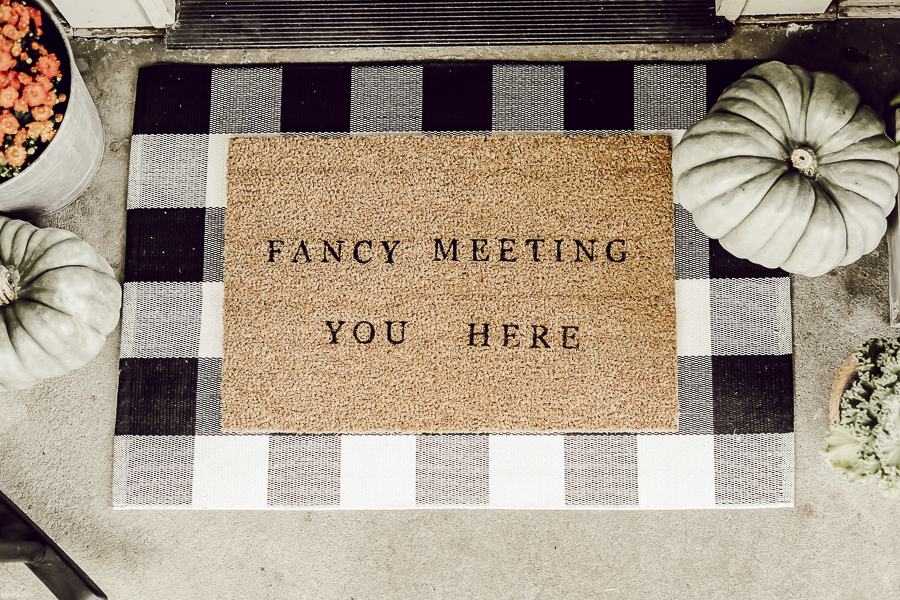
The first was a more traditional porch mat with a cute custom quote that you can make for any season or occasion.
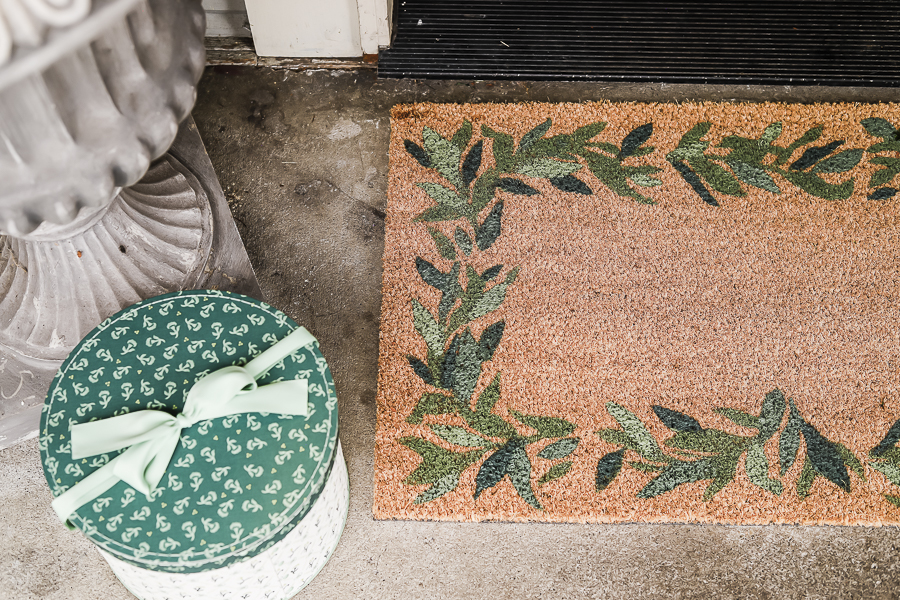
Then just recently I completed one with a leaf garland border to use for my winter front porch (you can view the full Christmas porch tour here) .
Inspiration:
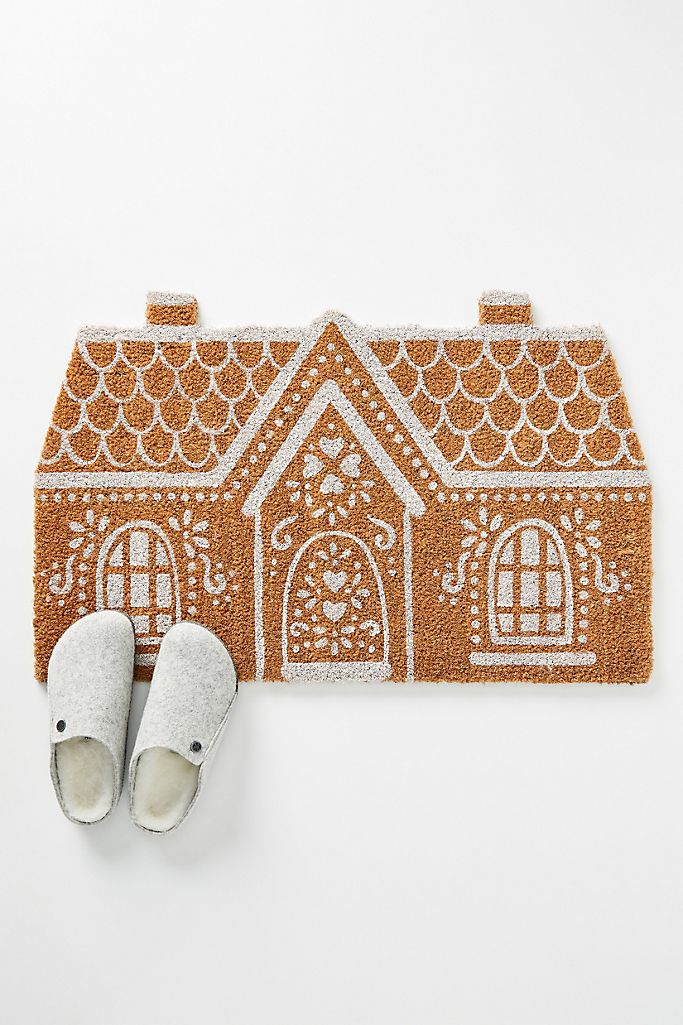
The inspiration for this post did start out as a doormat from Anthropologie, (It was from 2019 and is now sold out) but I think the shape is a little odd for a usable doormat, so I’m using mine as wall decor instead.
You can certainly choose to use yours as a doormat if you prefer!
*This post contains affiliate links to products I know &/or love.
Supplies You’ll Need For your Gingerbread House Doormat:
- Coconut Husk Mat (I got mine for $10 from Target – it’s 18×30″. IKEA also has them, and in two different sizes.)
- Your Design (I took a screenshot of the Anthropologie mat and had it printed at poster size from Office Depot for about $3. Make sure the size will fit with the mat size you choose!)
- Frog Tape (I used masking tape when I did this one, and realized that frog tape really is better at giving crisp lines! I’ll only use frog tape the next time I use this same process.)
- Razor Blade Knife (an x-acto or something similar!)
- Plate Hangers
- Sharpie
- White Paint
- Chip Paint Brush

The Process:
Note: If you’re a more visual learner, you’ll probably also enjoy the YouTube video tutorial for this post, and you can also reference the post I did with the leaf garland that has great detailed pictures for each step!
Step Number One | Turn your mat over and use your house template (cut your design out before starting) to mark the outside shape of the house with your sharpie.
Use your razor knife to carefully cut the shape of your house out. You only need to cut through the thin black rubber backing, since the coconut husk layer can simply pull apart. (This means you shouldn’t have to worry about cutting anything on your work surface below as long as you’re careful!)
Step Number Two | Flip your mat back right side up and cover the entire surface with your frog tape.
Step Number Three | Tape your template down on top of your taped off mat. Make sure your pointed roof top and chimneys are lined up straight!
Step Number Four | Use your razor knife to carefully cut out all of the white sections in your house (all of the “frosting”). We did not cut out the tiny circles, because we knew we could add those in easily after.
Use a sawing/jabbing motion to cut through both the paper and the tape – creating your stencil!
Step Number Five | Once your stencil is complete, use a cheap chip brush to paint all of the exposed sections of the mat with your white paint.
When we were doing this step the first time, we accidentally sent our paint can flying and it spilled all over one of my newly reupholstered green chairs! Nooooo! It was a bit of a fiasco, but eventually we got it resolved.
You’ll see more about that as part of our end of the year blooper real that we’re going to share in the coming weeks.
Step Number Six | Once you’re finished painting, you can pull all your tape up – the big reveal! I like to do mine while the paint is still wet.
Step Number Seven |Use a q-tip to add the tiny circle details around the windows and door.
Step Number Eight | If you’re going to use this as an exterior doormat, I recommend sealing it with a clear coat sealer.
If you do this, please let me know how it withstands use! Both the cut out shape and the white paint!
I was realizing that because the middle of the doormat is the most used area – that section of the paint seems to take the most beating. That’s one of the reasons I did the leaf garland doormat with just an edge design! I’m hoping it will look better even longer since most people will wipe their feet off in the middle of the design, not over the top of it!
Step Number Nine | Add your Plate Hangers
If you’re going to hang it on the wall like I did, I suggest using these Plate Hangers I found on Amazon. They’re the best I’ve found for hanging heavier items with a flat back. I did two of the larger size on the back of my doormat and they’ve been holding well.
And that’s that! You’re finished!
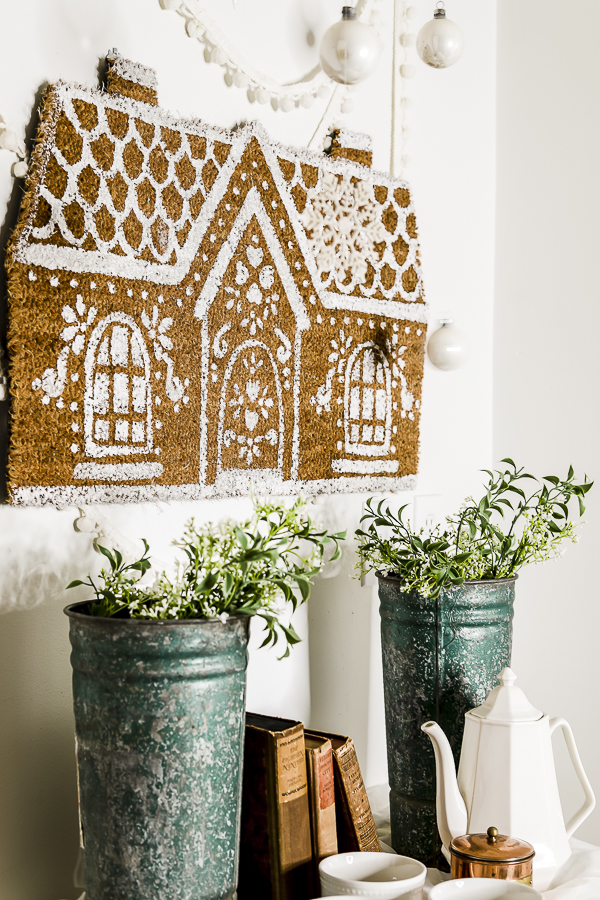
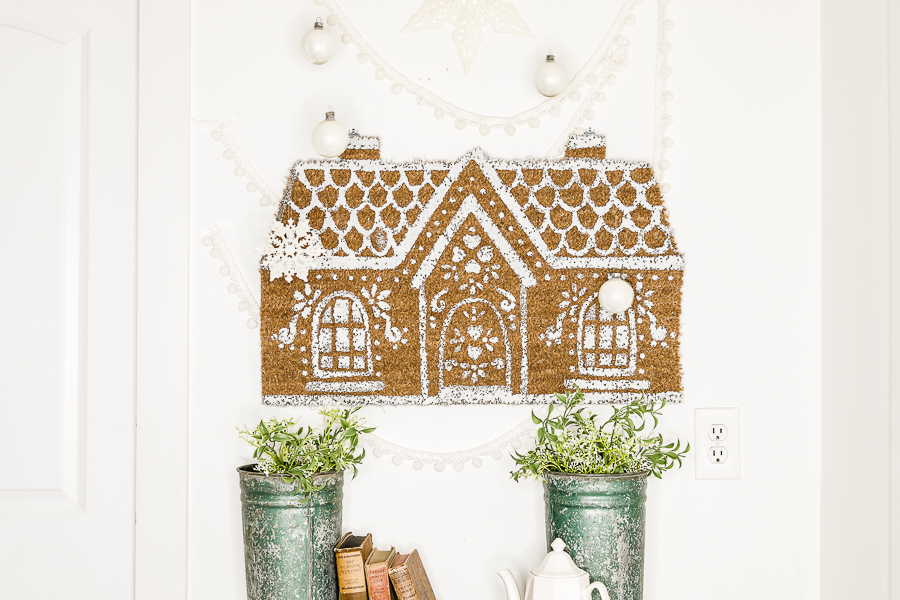
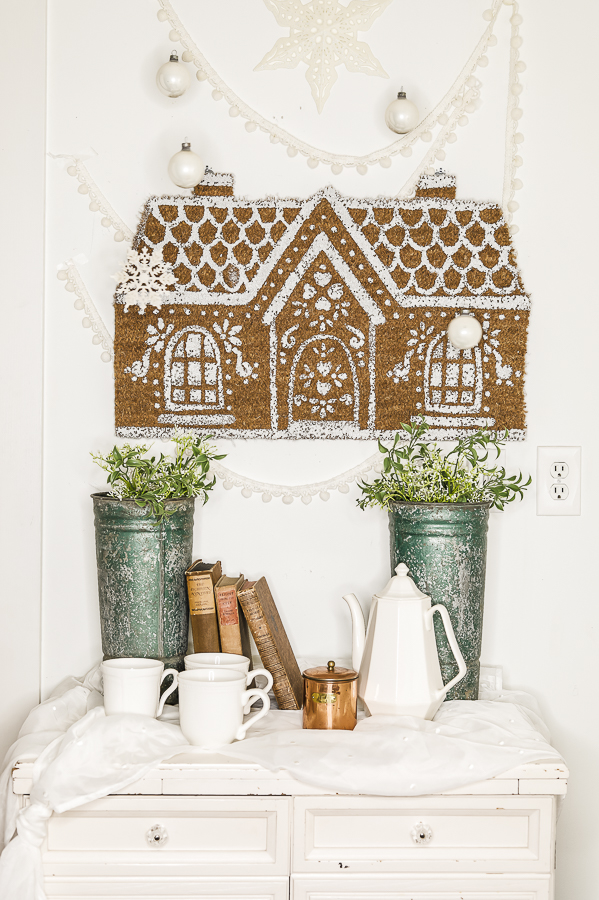
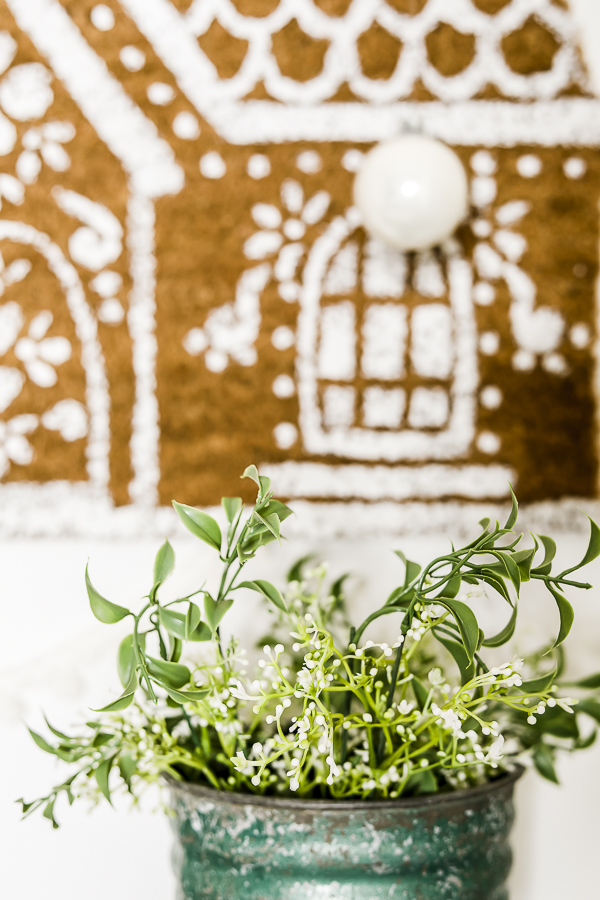
I added mine on the wall in our kitchen above my sewing cabinet. I just recently finished adding this snow scene made entirely from thrifted ornaments and repainted plastic stars!
I think the gingerbread house is the perfect addition for the rest of the season!
If you’re interested in more of my 2020 Christmas designs, here’s where to find them:
- Front Porch Christmas Tour – aka our “Kitchen Porch”
- Farmhouse Christmas Porch
- Christmas Farmhouse Bedroom
- Styling Thrifted Decorations | Christmas Edition
- Plus more from previous years are available if you search on the blog!
And we’ll be adding more in the weeks to come! In addition to the blooper reel I mentioned above, I’m also planning to share our Christmas living room, dining room and kitchen! Plus gift wrapping ideas, and an entire post about how I store my seasonal items!
What Christmas post are you most excited to see? Any thing else not on this list that you’d really enjoy seeing?
Christmas Resource:
As we’re now officially in December, it’s a great time to check out my 10 Steps for a Peaceful Christmas e-book. I share my 10 favorite ways to streamline the season and make sure that we’re spending our time and money on the things that bring us joy as a family, not just because “it’s tradition” or because we’re expected to do it.
I hope this can give your families some inspiration and encouragement as well!
Update for 2023 – I currently have a Handmade Holidays Email going out weekly to prepare your home for the holiday season! Click HERE to add your name to the list!
Pin this Gingerbread House Doormat for Later:
