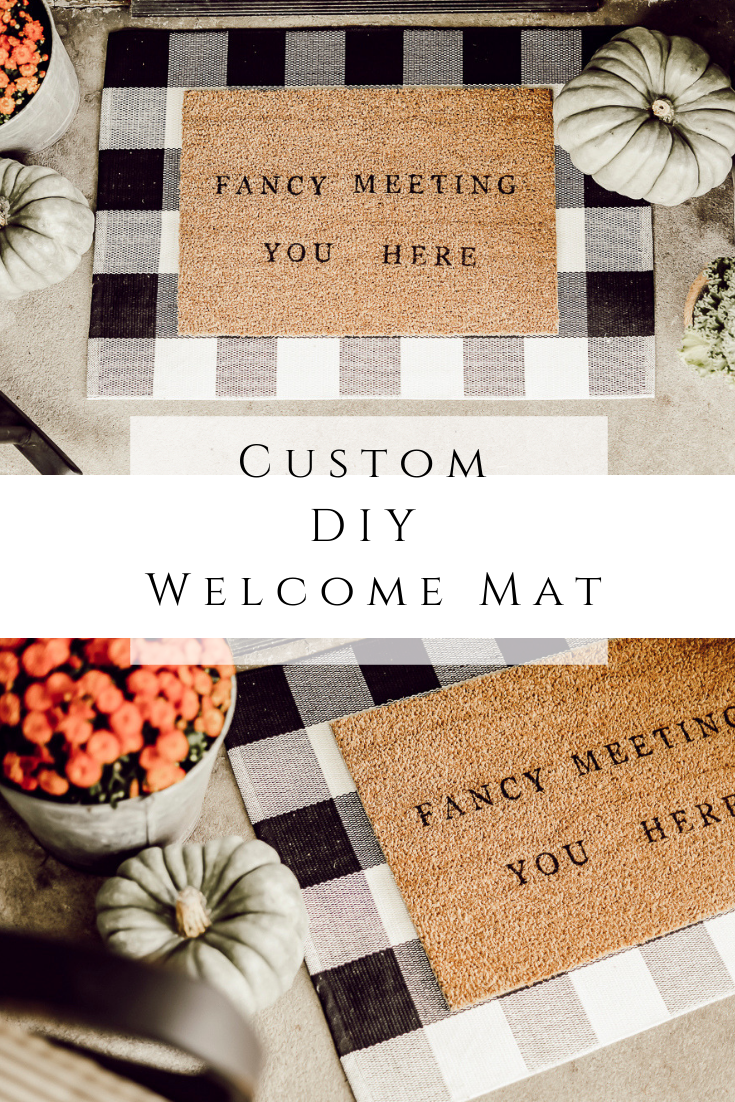
Custom DIY Welcome Mat
Did you know you can create a custom welcome mat for very little money??
Door mats are really kind of spendy, usually. I have kind of reconciled myself to spending $20-$40 for a standard mat.
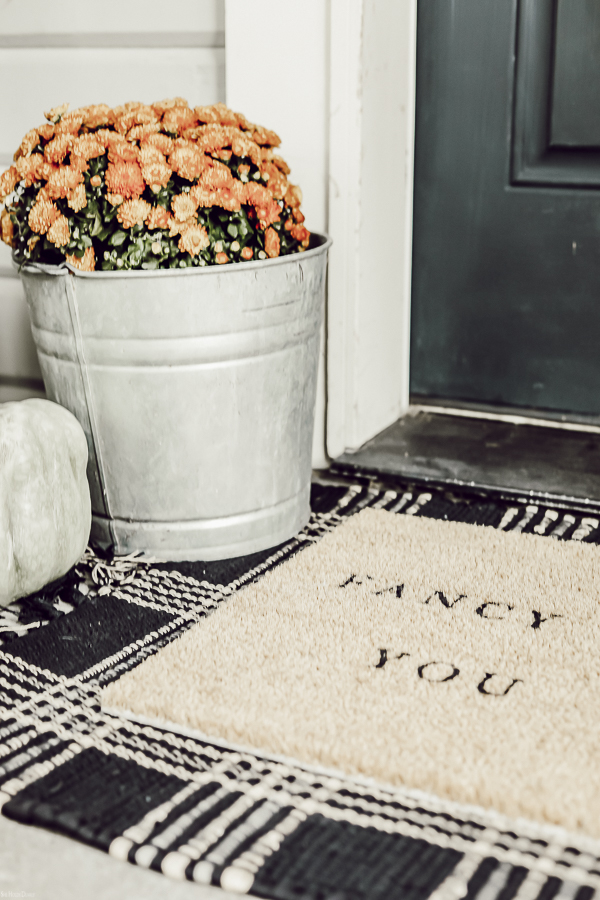
Then, there’s the lack of selection you can run into. I like to think beyond the generic “WELCOME”, if I can.
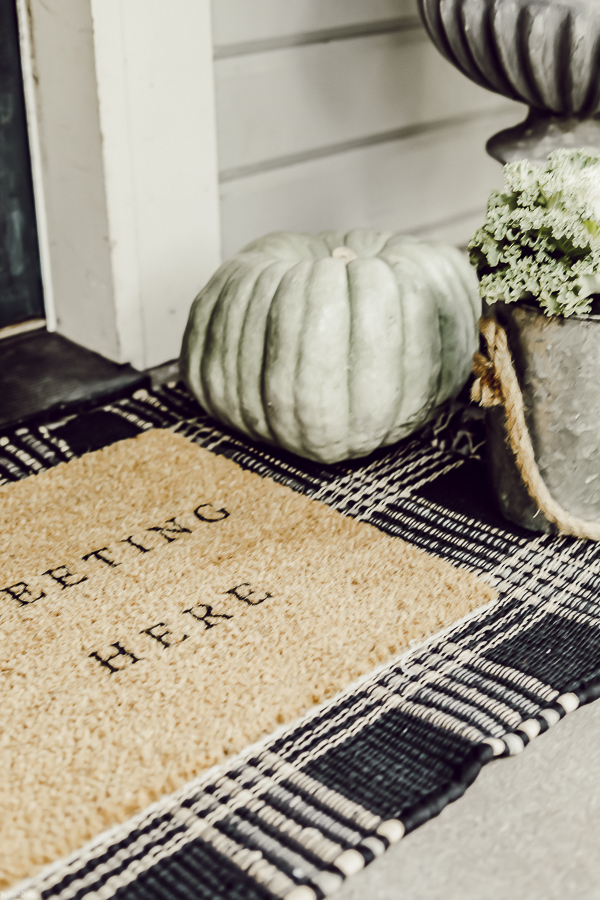
That’s where this tutorial comes in! Go ahead, hit Pinterest and dream big! I got ya covered, check out this welcome mat board for more ideas.
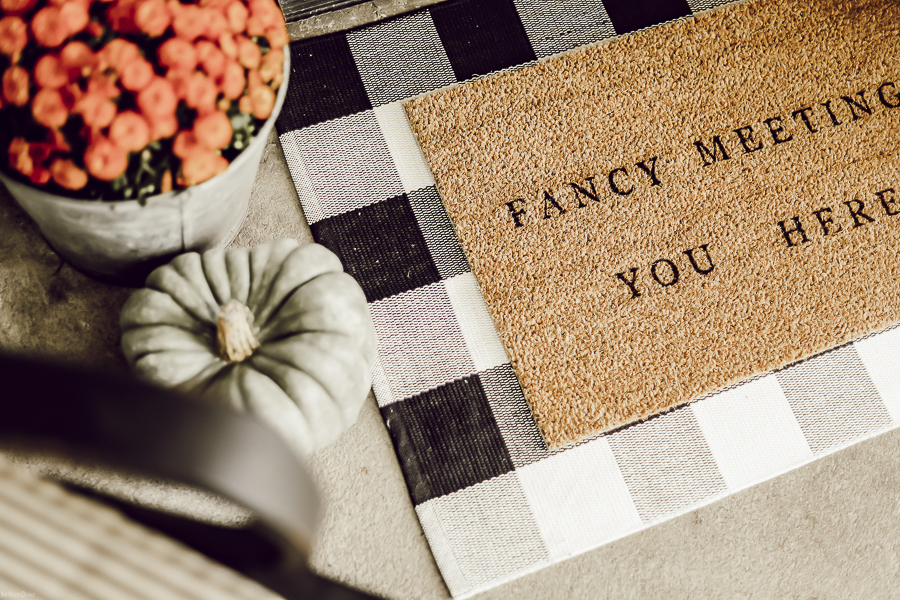
Once you have your vision in place, you are ready to begin!
Custom DIY Welcome Mat
*This post contains affiliate links to products I know &/or love.
Materials
- Coconut Husk Mat
- Masking or Painters Tape
- Design of your choice printed on regular printer paper (you can print your copy of the one I used below)
- Exacto Knife
- Small, stiff Paint Brush
- Black Paint, anything you have is fine
- Clear Sealer
Tutorial
- First, you will need to create your template in either Word or Pages. Choose the font and size that will fit correctly on your mat.
- Next, add strips of tape all across the area where you will be painting.
- Then position your words where you want them on your mat. You will probably need to cut down the paper surrounding the words.
- Tape the words in place.
- Next, take your Exacto knife and using a sawing motion, carefully cut out all of the words. You will need to cut through the paper and the tape.
- Remove the cut tape and paper as you go.
- Once all the letters are cut out, you will be left with your very own custom stencil.
- Dab the black paint onto the mat and really work it down into the fibers.
- You can remove the tape right away, which is the best part!
- Let it dry and spray a coat of clear coat sealer over the whole thing.
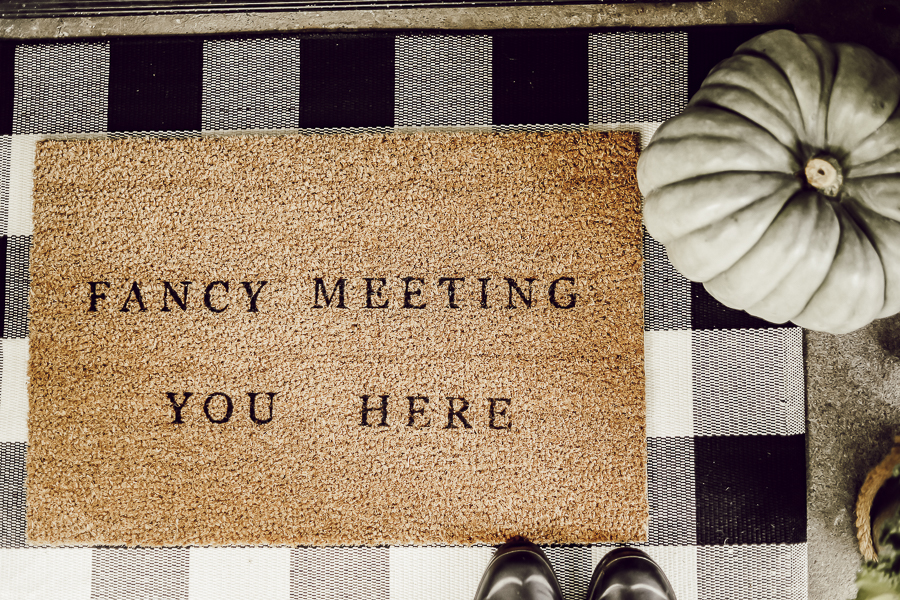
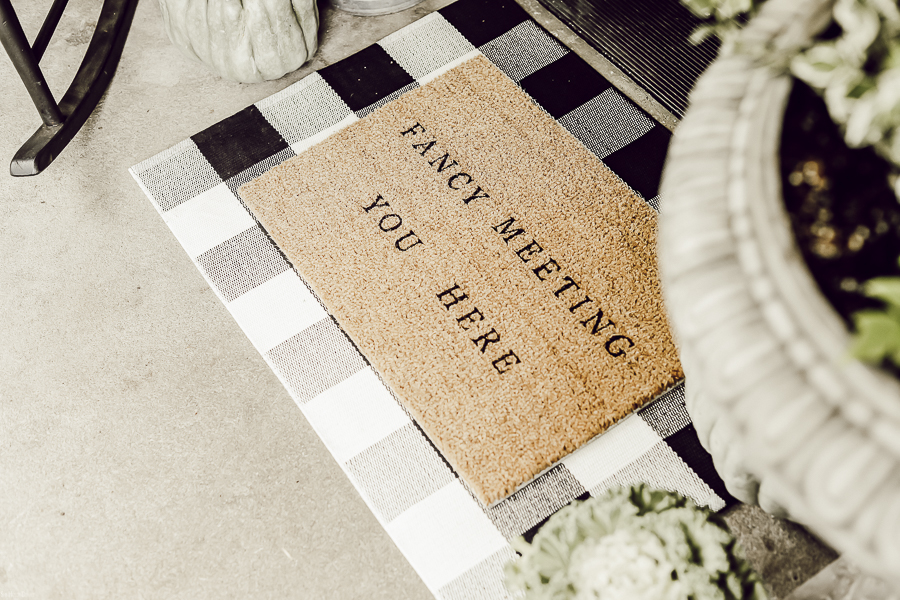
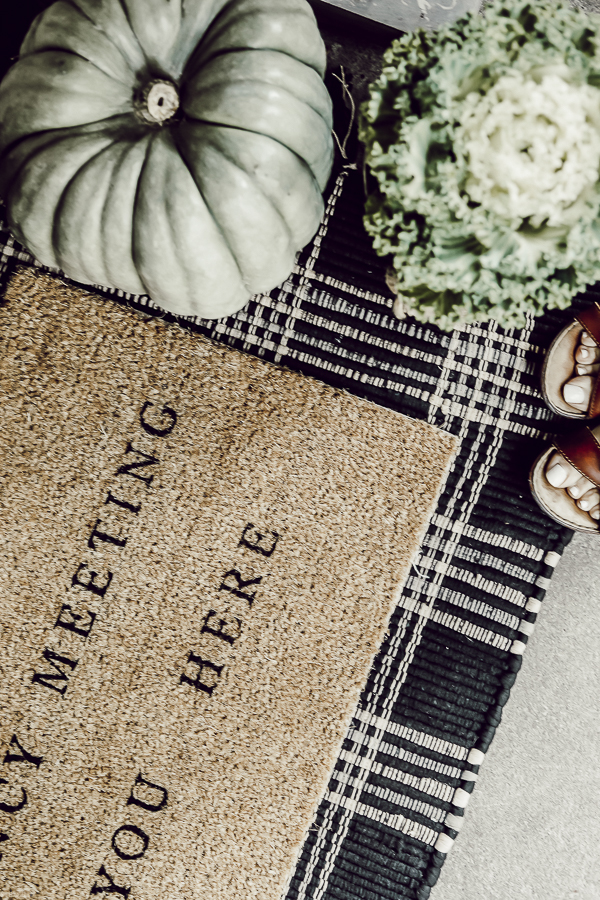
- Now you are ready to display your handiwork! I’m currently loving the layered look I am seeing all over Pinterest. I tried two different rugs under my mat and cannot. for. the. life. of me figure out which one is best. Let me know in the comments which one is your favorite!
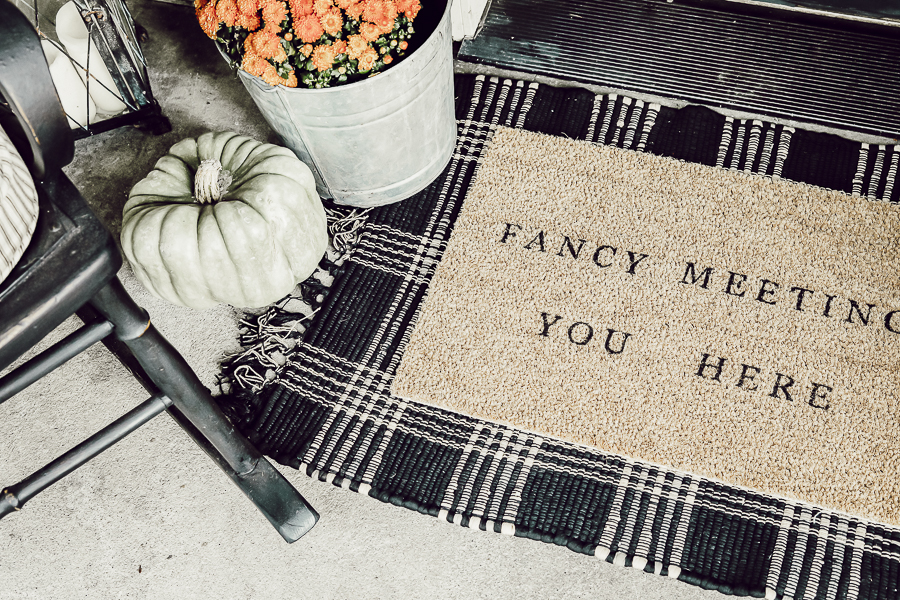
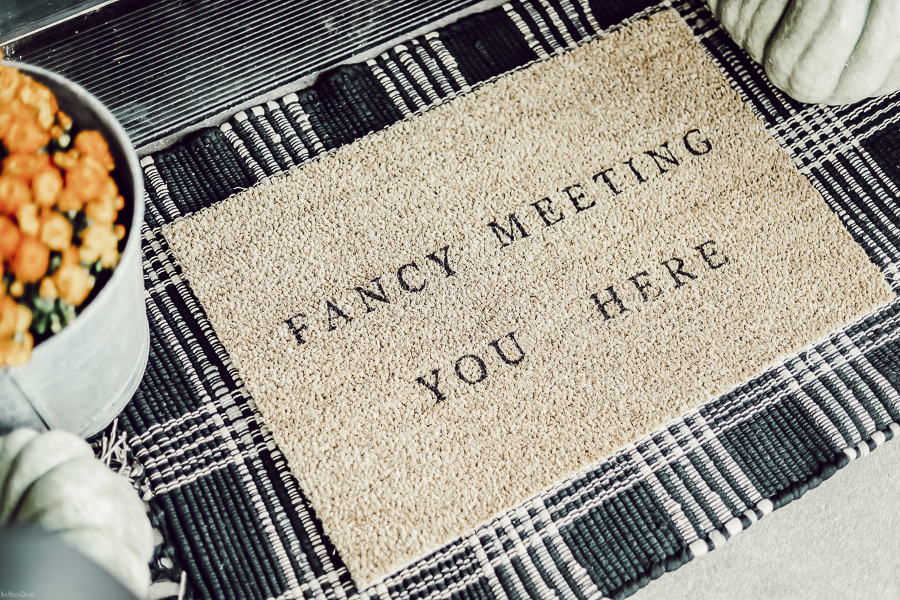
P.S. These would make darling wedding gifts and housewarming gifts, as well. So fun!
Pin for Later!
