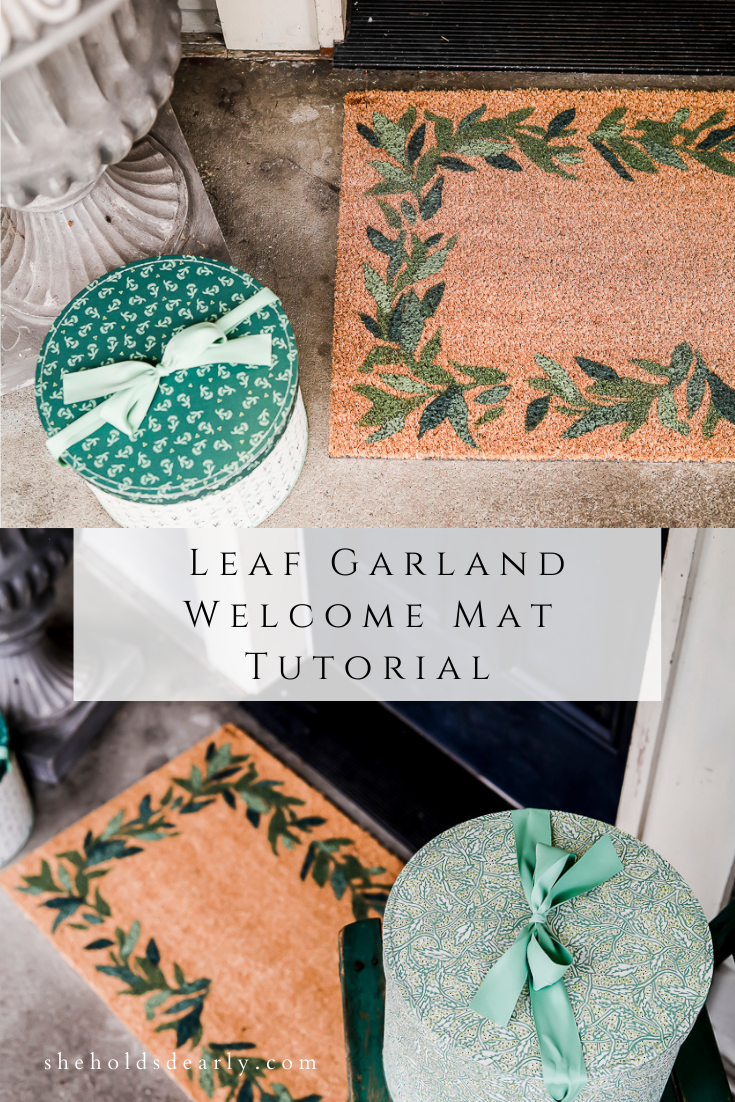
DIY Leaf Garland Welcome Mat
Is your welcome mat in need of an update for winter? I’ll show you how to make a DIY leaf garland welcome mat in this post!
Having a new welcome mat for a new season is one of life’s little joys! We’ve had many different mats on our front porch, but I was looking for something new for this winter.
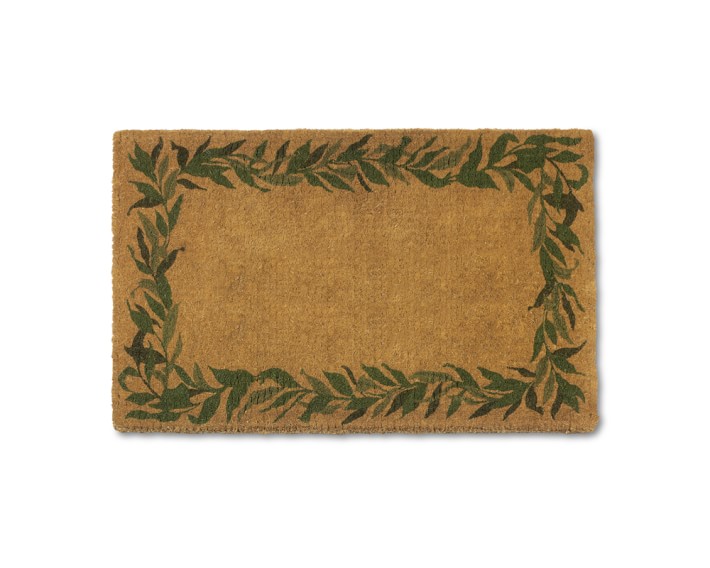
I saw this pretty inspiration mat at Williams Sonoma – but it was $50! I knew I could do better than that price with a DIY.
Last year I did my first version of a Custom DIY Welcome Mat for Fall. It was really easy and fun (I got to make these mats with a bunch of ladies from my church at a Women’s retreat), and I knew I could use that same process again for this new design.

*This post contains affiliate links to products I know &/or love.
Supplies You’ll Need:
- Coconut Husk Fiber Mat |
- Your printed design (scaled to the size you desire for your specific mat and style), HERE is the leafy garland I’m using
- Frog Tape or Masking Tape
- x-acto knife
- Paint | I used Celery Seed by Magnolia
- Paint Brush | I used a cheap chip brush
- Clear Coat Sealer
In my previous tutorial I had mentioned I got my mats at IKEA. I was having difficulty sourcing them online this time around, so I ended up finding this mat for $10 at Target! It’s a bit bigger than my previous one, at 18″ x 30″ – but I don’t mind that, since I’m not planning on layering this one.
My design is actually from a screenshot of the William Sonoma design. I blew it up 500% and printed it off.
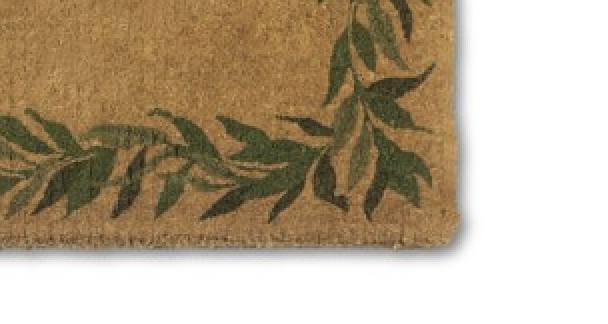
I flipped the image horizontally and printed that one as well so that I had some variety to work with when I was laying them out.
If you’re doing a repeating design, plan on printing out a few copies of your template if you’re using regular paper. Once they’re cut out, they’re hard to reuse.
Tip | I have learned that people often use the middle of the rug most for wiping their feet, so I’m thinking that a rug with a border pattern only might allow for a longer shelf life without the painted sections getting dingy and ruined with continued use.
The Process to create your own Welcome Mat:
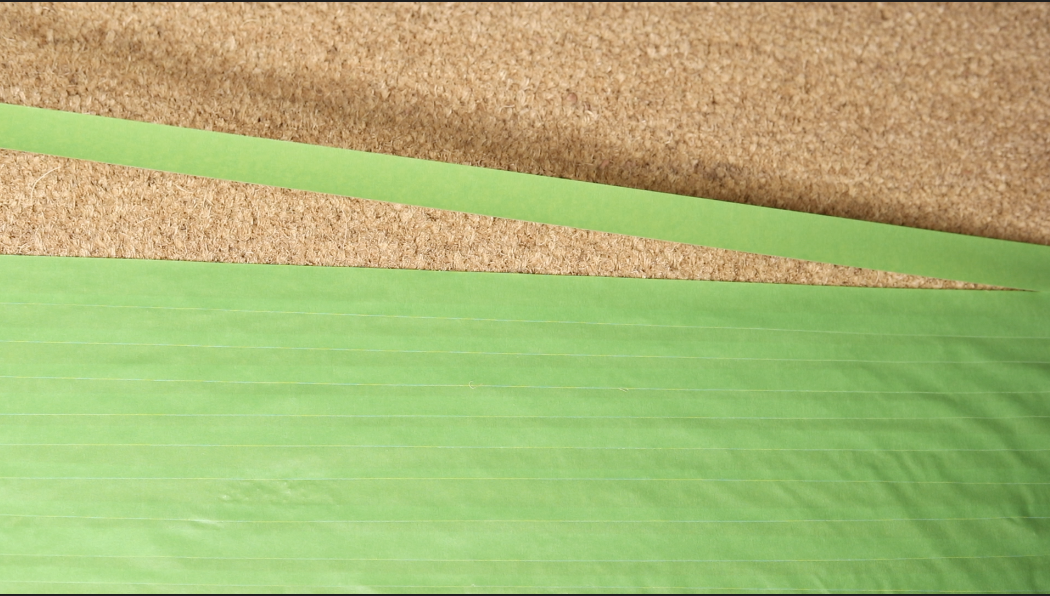
Step Number One | Cover the mat in your frog tape or masking tape.
You can either cover the entire mat if your design calls for it – or just the area you know you’ll need around your design as a buffer.
The tape will be both your stencil & protection from the paint.
Step Number Two | Lay out your design & tape it down
Tape your design down over the masking tape so it doesn’t shift while you’re cutting.
You can use my exact design here.
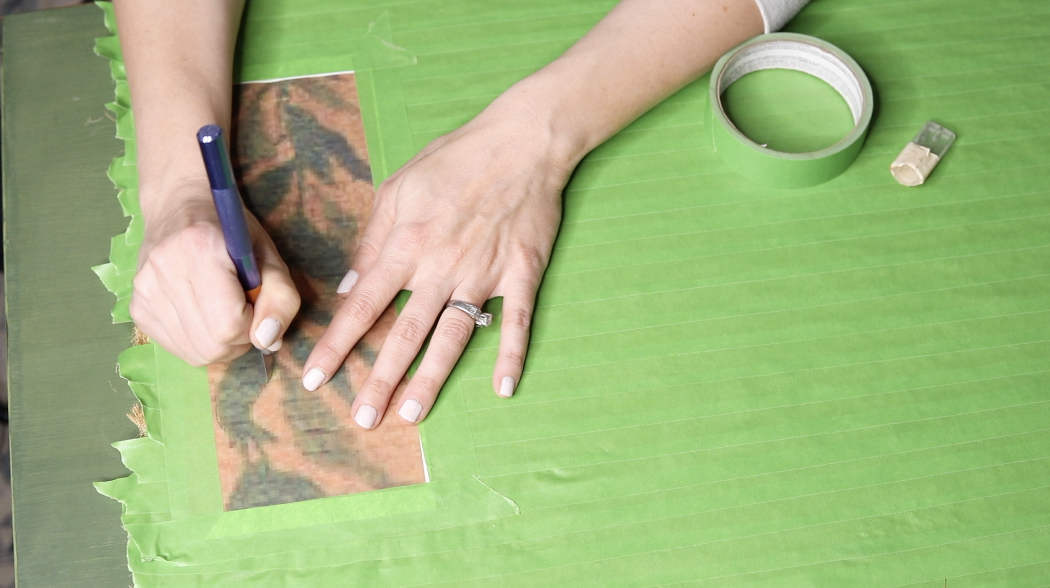
Step Number Three | Cut out your design & Remove pieces
Use your x-acto knife or other sharp utility knife with a sawing/punching cut motion to cut through the paper and the layer of tape.
It’s OK if you cut down into the coconut husk, because it’s pretty hearty and shouldn’t sustain much damage at all.
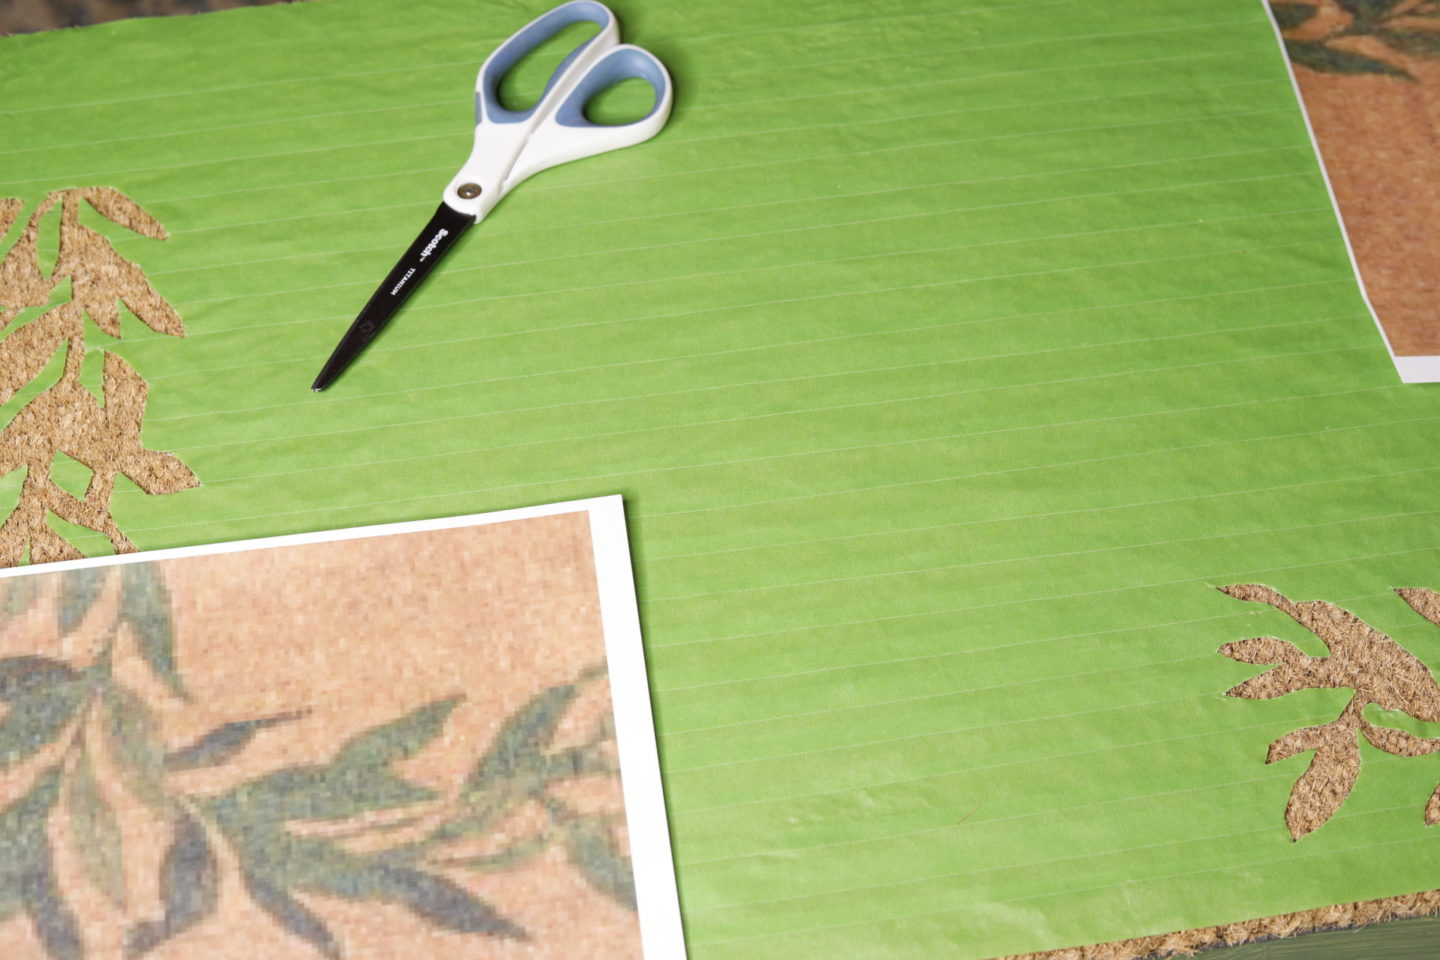
Remove all of the pieces of your design taking care to leave any pieces that are supposed to be negative space/part of your stencil.
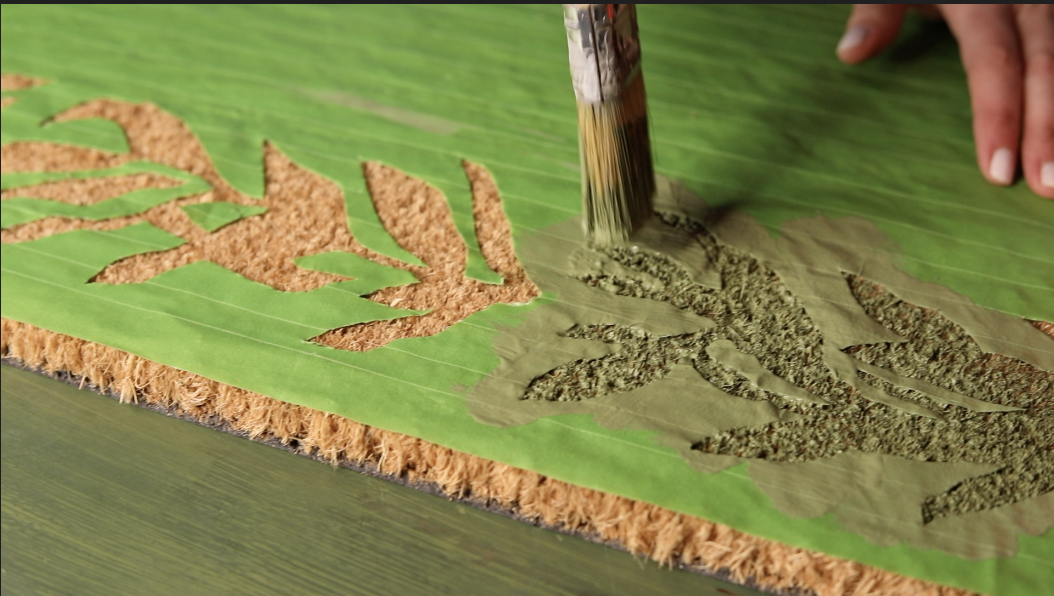
Step Number Four | Paint!
I wanted some nice dimension in my final leave wreath, so I ended up doing four different colors.
My first was a full layer of Celery Seed by Magnolia paint line – it’s a pretty sage shade.
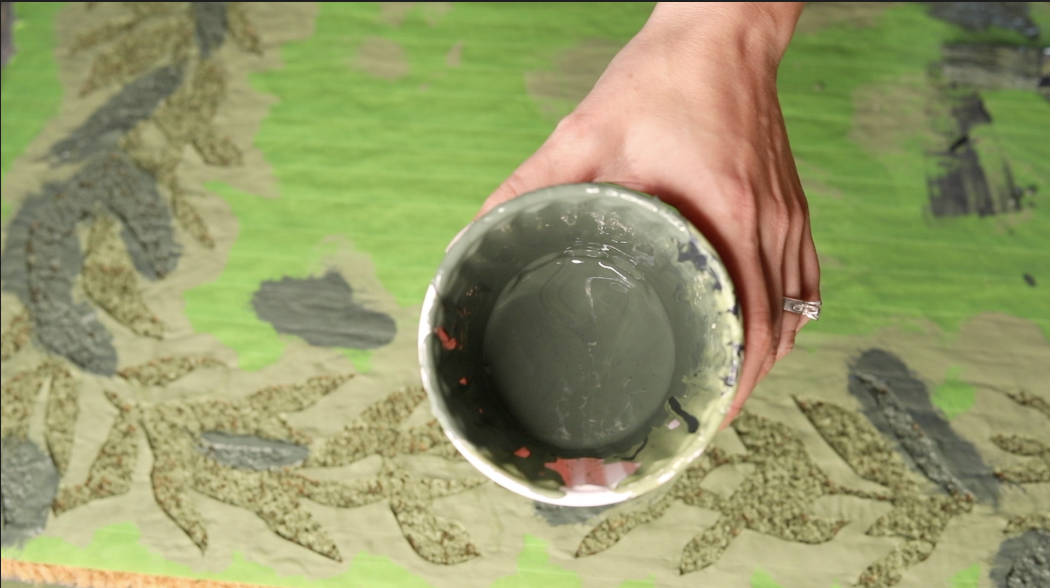
|Tip : To avoid contaminating the paint inside the can, I always pour paint into something like a plastic cup or other container and paint from there instead of dipping my brush directly into the can. |
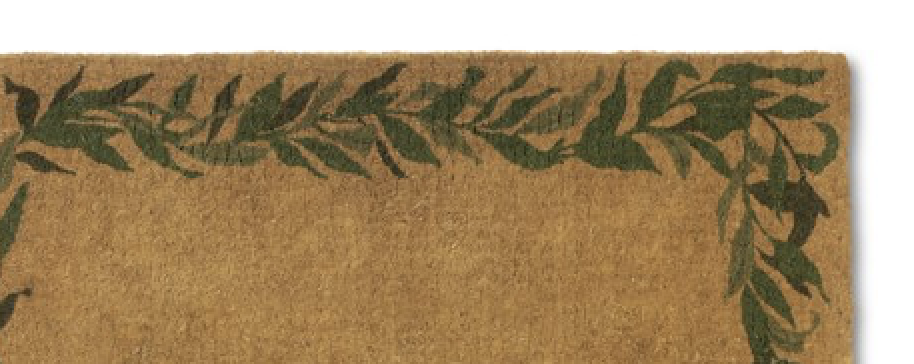
After I did all the leaves in that green, I added some black paint to the cup to create more of an olive green shade. I did just a few leaves (7 on each side, 8 on the bottom and the top) with the darker color.
Then I added some white paint to the original celery seed to create a lighter shade and repeated the pattern (7 on the sides, 8 on top and bottom) with that color.
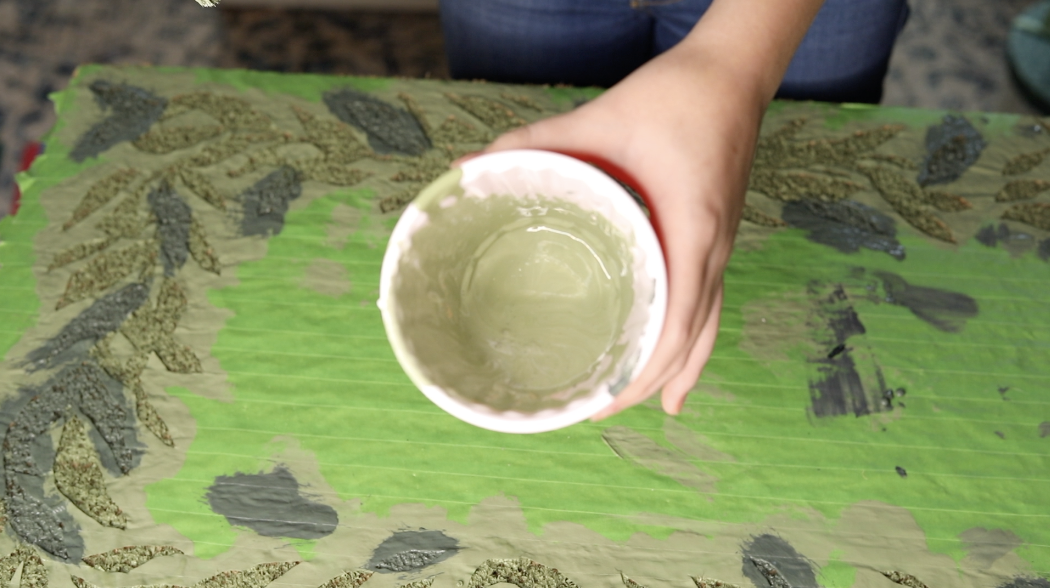
Last we mixed the remainder of the darker shade and the lighter shade together to create a fourth color and did a couple of leaves in that as well.
Painting Tips:
- Use a chip brush with pretty rough bristles, that will help you as you’re painting since you really want the paint to settle down into the fibers.
- Use a dabbing, up and down motion instead of typical painting strokes, because you don’t want to upset your tape stencil lines! The tape should hold on pretty well to having the paint dabbed on, but won’t stand up well against being brushed back and forth on the edges.
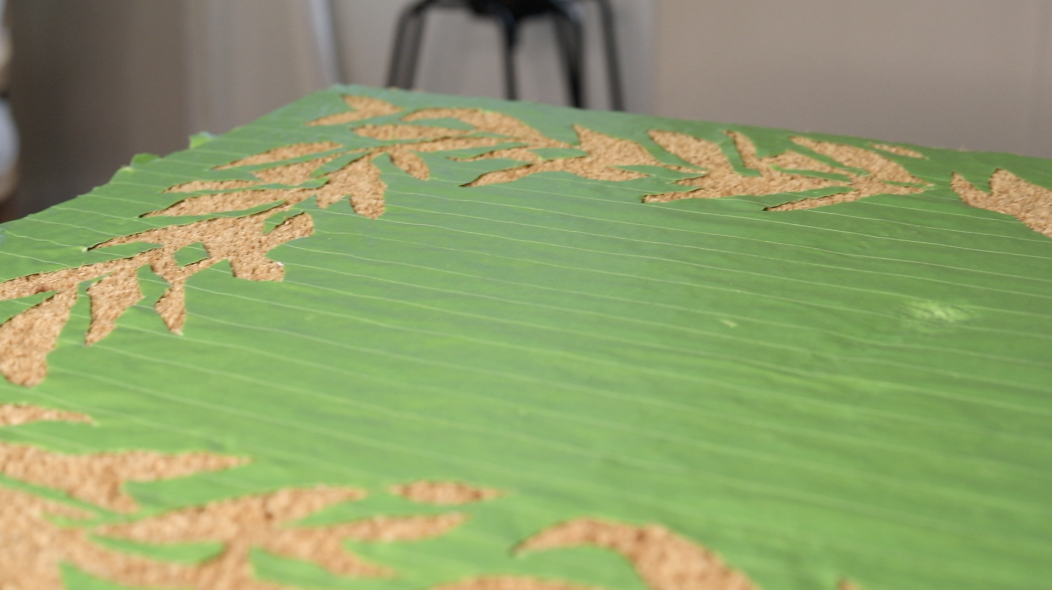
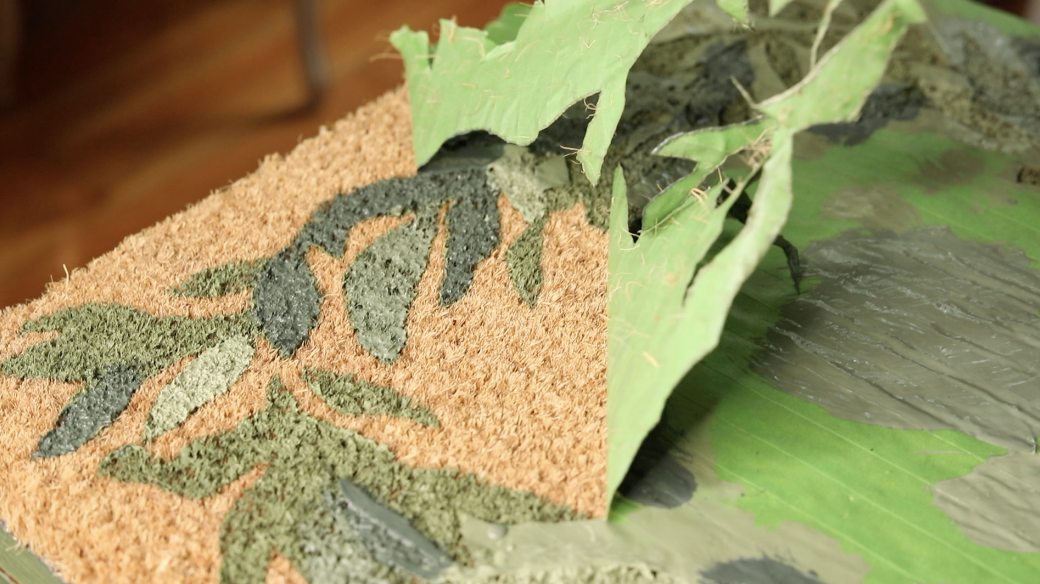
Step Number Five | Remove the tape stencil
I like to remove my painting tape when my project is still wet. Partially because I think it allows the paint to dry better without dry spots coming up with the pulled tape, and partially because I’m just excited to see the finished product!
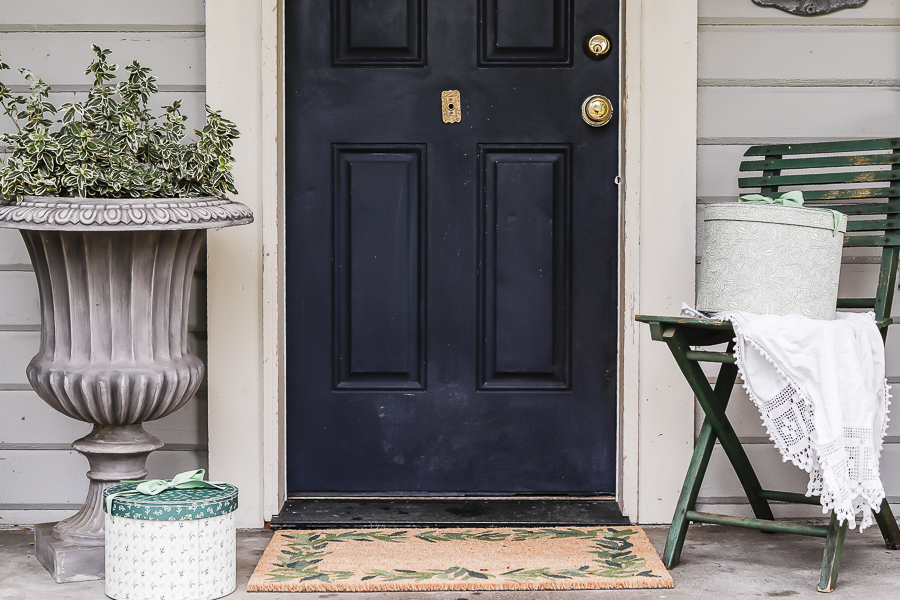
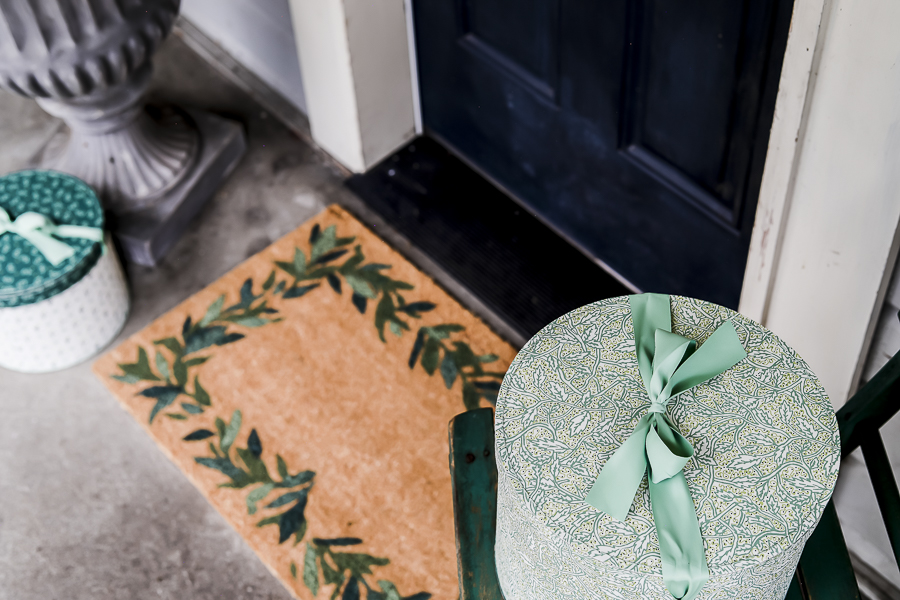
And this one does not disappoint! I love how crisp the paint lines around the leaves turned out!
Step Number Six | Spray on your clear coat sealer
I use a basic Rustoleum 2x Matte clear coat sealer spray paint, and that seems to hold up pretty well.
Then you’re done!
Shop This Look
[show_shopthepost_widget id=”4253907″]
Great Gift Idea:
Can you just imagine what a cute gift idea these would be?
I know the Williams Sonoma versions are personalized with last names, and you could definitely use this same process to customize and personalize these even further!
Who doesn’t love a personalized Christmas gift?
And at $10 cost, but a $50 value – talk about a great deal!
I have a Pinterest board with some fun doormat inspiration to get you started if you’re wanting to try this out for yourself.
If you’d rather buy than DIY this time around:
Target Door Mats:
Williams Sonoma:
IKEA:
- Leafy Door Mat 16″ x 24″
- 16″ x 24 “ – Plain
- 24″ x 35″ – Plain
Pottery Barn Door Mats:
- Family Home Personalized Mat
- Welcome – Holly Door Mat
- Noel Door Mat
Pin this for Later: