How to Reupholster Chair Seats
Do you know how to reupholster chair seats? It’s really quite simple! Follow along today as I refinish and reupholster two dining room chairs!
I’ve shared a few posts on different upholstery projects before, but I feel like this is such a good skill to have as a designer – there’s always room for one more!
My hope would be that after reading these posts and watching the associated videos on YouTube that you’ll feel confident tackling your own upholstery projects!
Before we begin today’s chairs, I’ll wanted to share my post that I like to think of as Upholstery 101! It has even more in-depth pictures and descriptions to share how I go about reupholstering a simple piece like a bench, stool, or in this case – dining room chair seats.
It will be a great reference point for someone tackling something like this for their first time.
I’ll share an even more in-depth list of my previous upholstery blog posts at the end of this post!
Today’s Project:
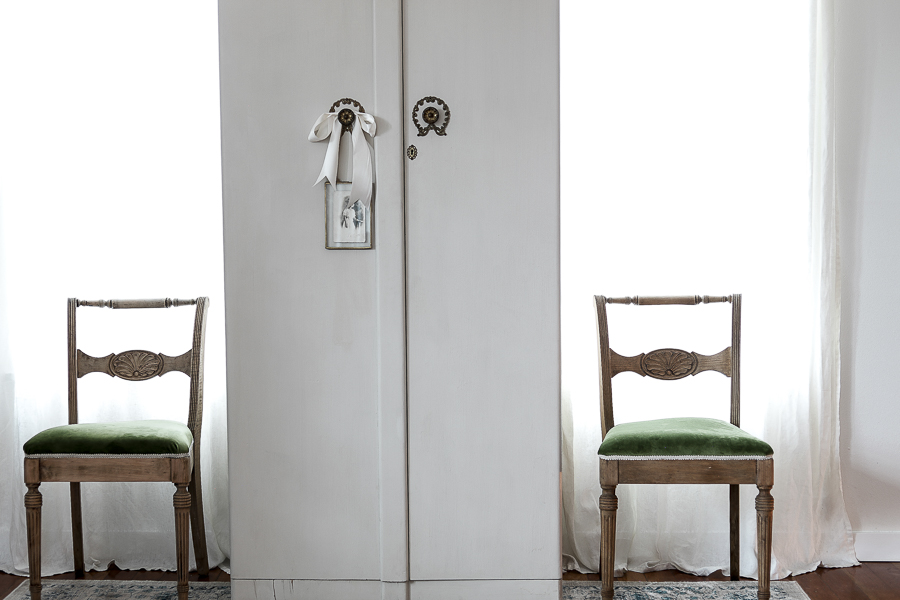
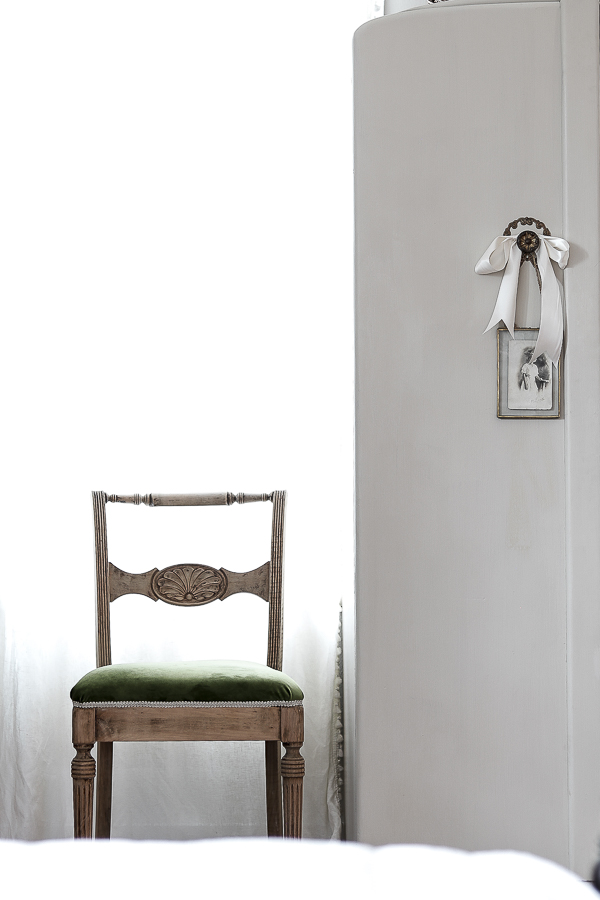
Today I’m going to refinish two chair frames and reupholster two chair seats.
I got these two wooden dining room chairs for free from a friend, and always knew I wanted to do something fun with them.
I actually posted on my Instagram stories a little while back asking for opinions about whether I should do a chippy white paint look for the frames of the chairs, or if I should go with raw wood.
You all overwhelmingly voted for the raw wood – and I agreed!
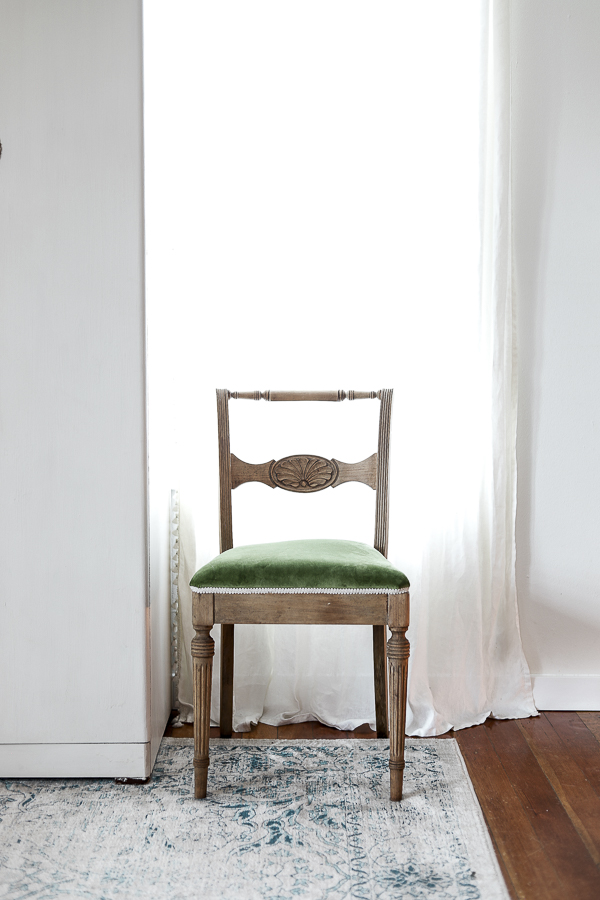
Then I had the idea to use a beautiful green velvet on the seat cushions – Yeah. Exactly. They’re going to be perfect for Christmas, especially!
*This post contains affiliate links to products I know &/or love.
Supplies:
- Citristrip
- Steel Wool
- 220 Grit Sand Paper
- Clear Wax
- Green Velvet
- Cream Gimp Trim
- 1 inch Upholstery Foam
Preparing the Chair Frames:
First things first, I took care of the frames!
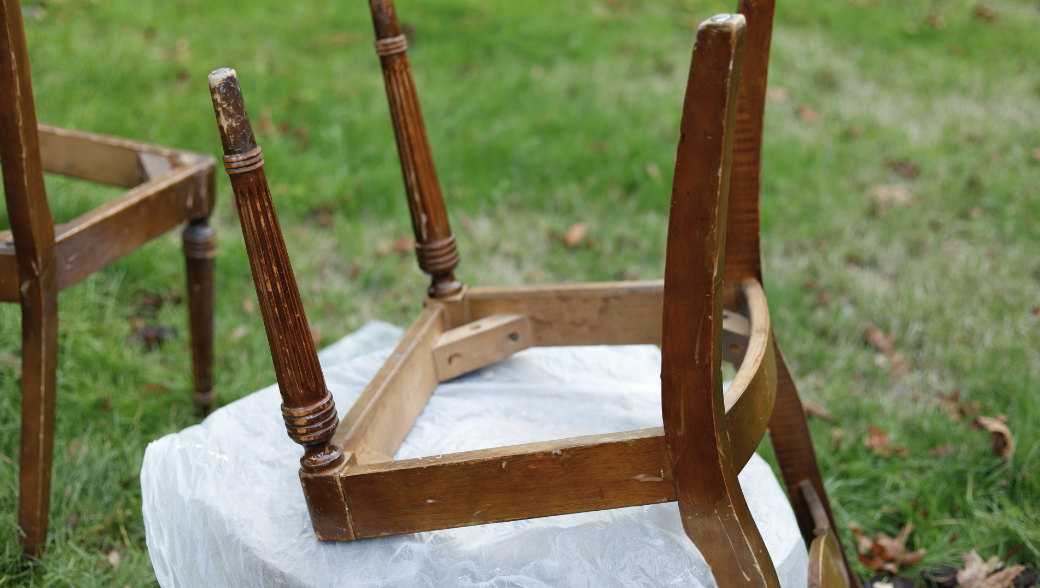
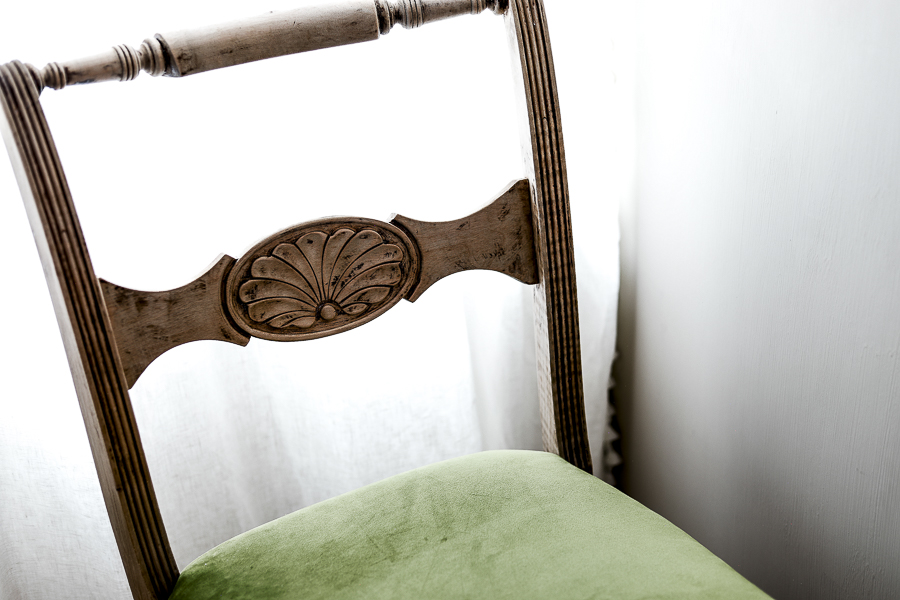
Here’s the before picture:
| Tip : And seeing this chair upside down reminded me that I wanted to share a chair refinishing tip with you! When you’re staining/sanding/painting, anything, really, I always recommend flipping the chair upside down and doing the bottom first.
Then once it’s done you can flip it over back onto it’s legs and get to work on the top section without having to bend down and worry about the legs while dealing with wet paint on the top. |
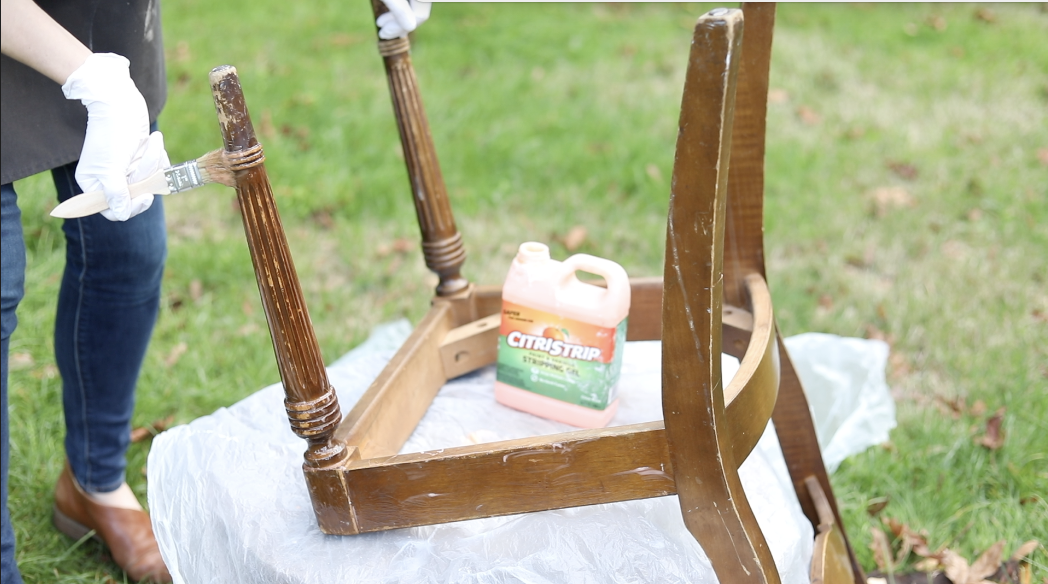
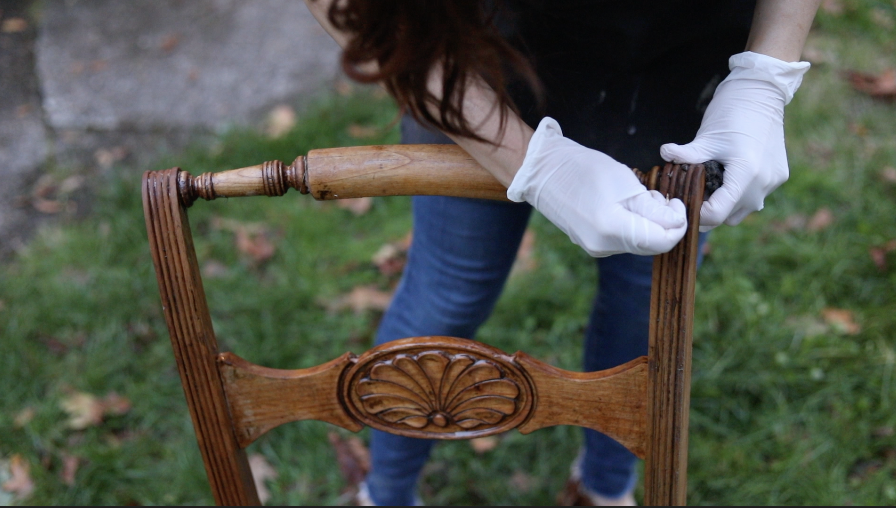
In order to remove the previous stain off the chairs, I used one of my favorite products, Citristrip.
I’ll often use an electric sander for any flat areas – but this stuff works especially well on pieces that are curved and detailed (both of which can be found on these chairs).
I use an old chip brush to slather on a decent coat of the Citristrip and let it sit for at least 30 minutes.
As it works, you can often see the paint or stain starting to bubble up as it releases from the wood. (Very satisfying, if you ask me!)
Then you can use a paint scraper and/or steel wool to work away the loosened and softened paint.
Similar to when I mentioned the sander before, the paint scraper works best on flat surfaces, and the steel wool works best for detailed or rounded edges.
I found this go around that even using a tooth pick to dig into some trickier areas was really helpful!
When you’re scraping with the steel wool, you can also rinse it off into water periodically if it starts to get too gummed up.
I also keep an old cup or disposable vessel nearby when I’m scraping so that I can catch up the excess Citristrip sludge and old paint to be thrown away.
Sometimes it will fall down onto the ground of your work area – so you should always be really careful not to get it on your shoes and track it into your house – especially if you have treated wood floors! Yikes.
And with this Citristrip process, I’ve found that sometimes it needs to be repeated 3 times before I’m happy with the final result!
If you’re still wanting more of the paint or stain cleared away, slather on some more product and wait another 30 minutes.
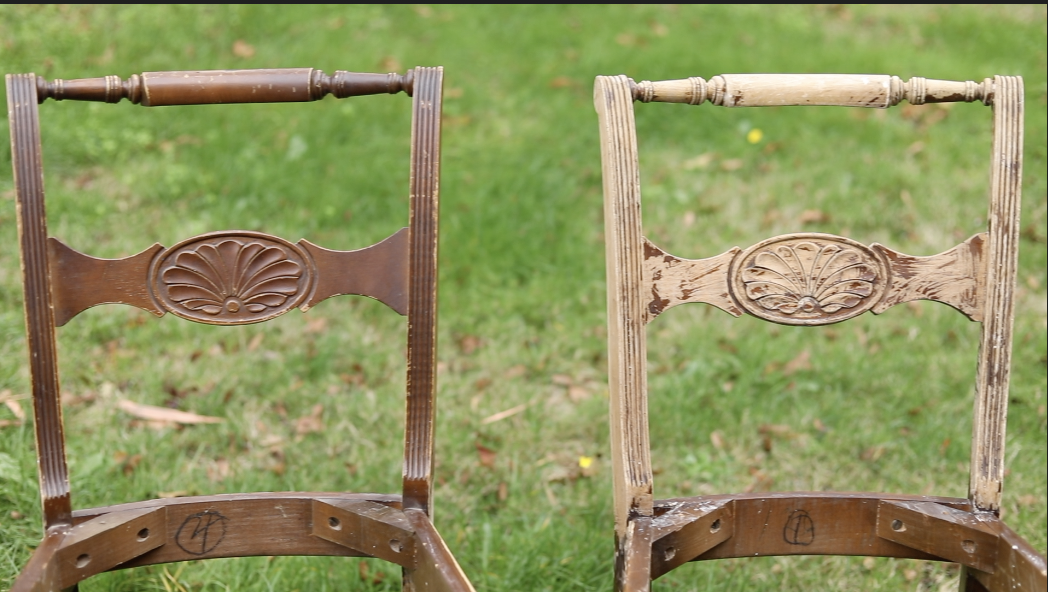
Once you get to the look you’re after, you’ll want to give the whole item a good rinse with water (I’ll usually just spray it with the hose), and then put it somewhere to dry thoroughly.
In the summer, my sunny yard suffices – now in the middle of Fall, I brought them inside my house and let them spend the night in our fireside room near the wood stove.
Once they were completely dry I went over them with a quick sanding with 220 grit sandpaper to make sure they were smooth and ready for a clear coat!
I had a few options I was considering for the finish:
- Clear Wax
- Hemp Oil
- Linseed Oil
- Clear Coat/Top Coat
But ultimately I decided to go with the clear wax.
I think sometimes the best way to choose your finish is to do a sample just like you would when choosing a wood stain.
Find an inconspicuous area on your actual piece and finish a small section with your different options.
Finishes don’t change the look of your wood as much as a true stain would, but they do give the wood their own specific touch – so make sure you pick the one that looks the best and the most like what you’re going for!
Next, Time to Reupholster the Chair Seats:
The first step in reupholstery is always to take apart the existing seat and use that as your template for your new items!
In this case, once we took the seats off, they weren’t in that terrible of shape, so I decided to just cover over the top of the existing board + old foam + old fabric.
If it were really torn or dirty I would have removed them and started over completely.
I had found some 2″ pieces of upholstery foam at a garage sale this winter and was planning to use those – but they were too tall and too rigid! So I ended up cutting them in half through the middle to create 2 1″ foam pieces.
It didn’t look very pretty when I was done, but I think it will do the job wonderfully. If you’re doing a project like this, I’d recommend just starting out with the 1″ foam to save the trouble of cutting it in half, unless you get it for a great value!
I used my old chair seat as a template and literally just traced around it using a sharpie onto my new foam to draw my cut line. My piece was a little differently shaped than the rectangles I had, so I used some scrap pieces as filler foam to finish the shape.
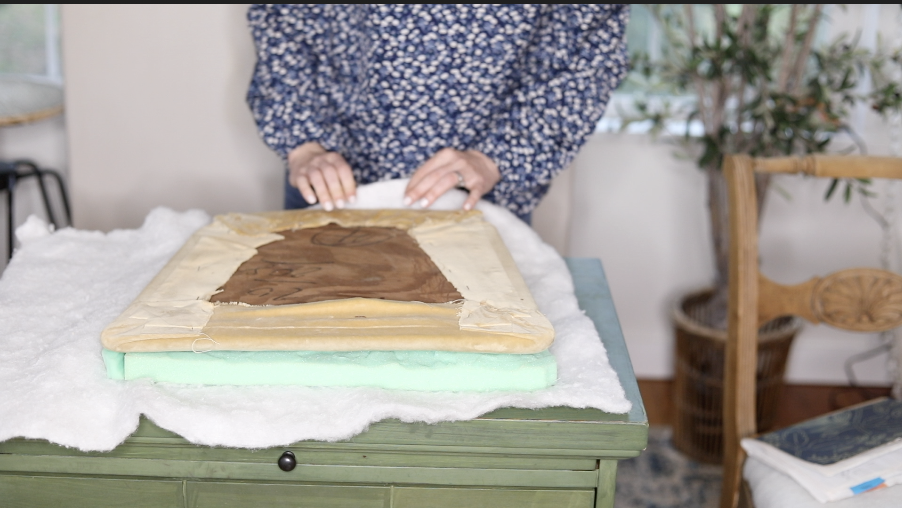
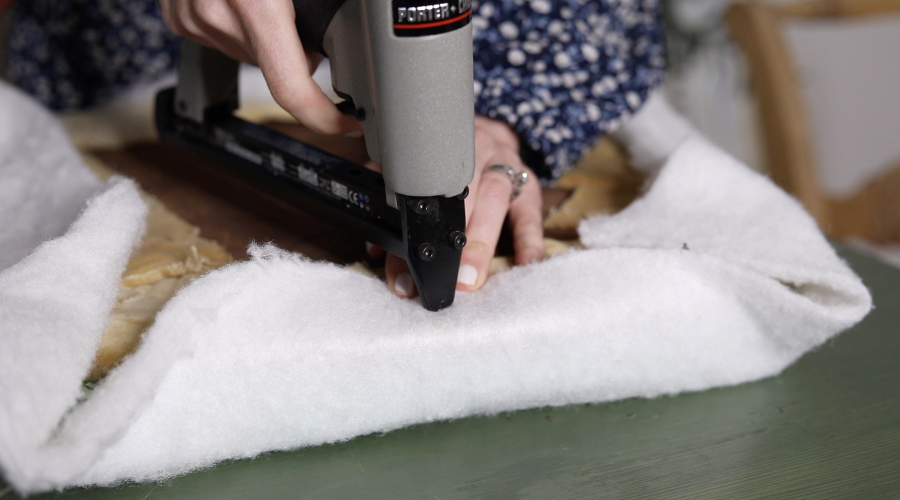
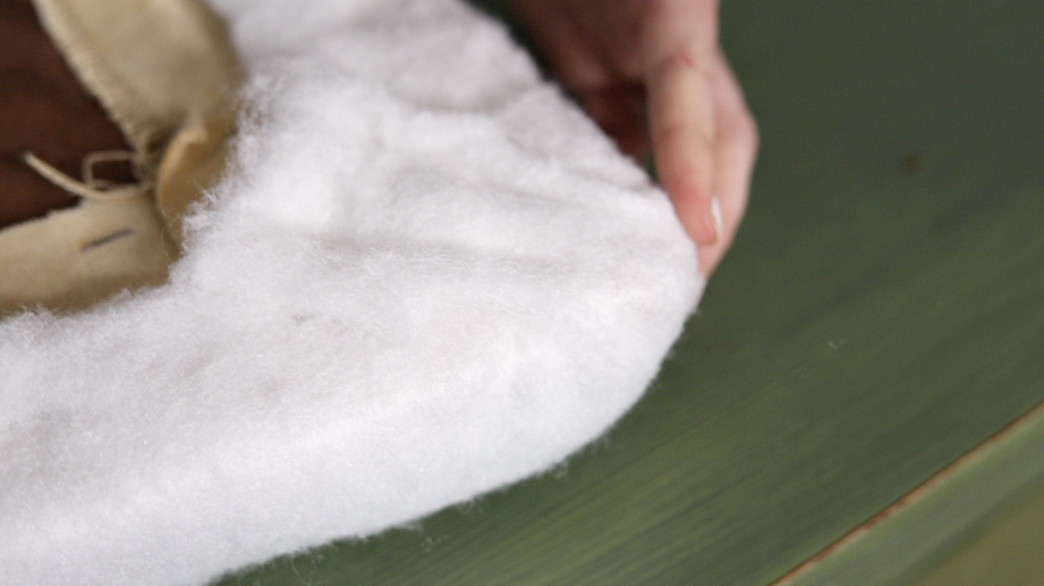
Then on my work space I laid out a piece of batting, my new foam, and the old chair base (in that order). I cut the batting out with about a 2-3″ allowance on all four sides, and then used my pneumatic stapler to attach the batting to the chair board once I had smoothed and tightened it.
I always start with the middle of one of the sides, tack that down, then go to the opposite side and tack the middle of that side down.
Then I do the reverse two sides opposite each other.
Doing it in this way ensures that you have even tension across your fabric once you’re finished. If you did all of one side and then just continued around in a circle, you’re bound to have bunches and difficulty with your tension by the end.
I do all four straight sides, leaving my corners for last.
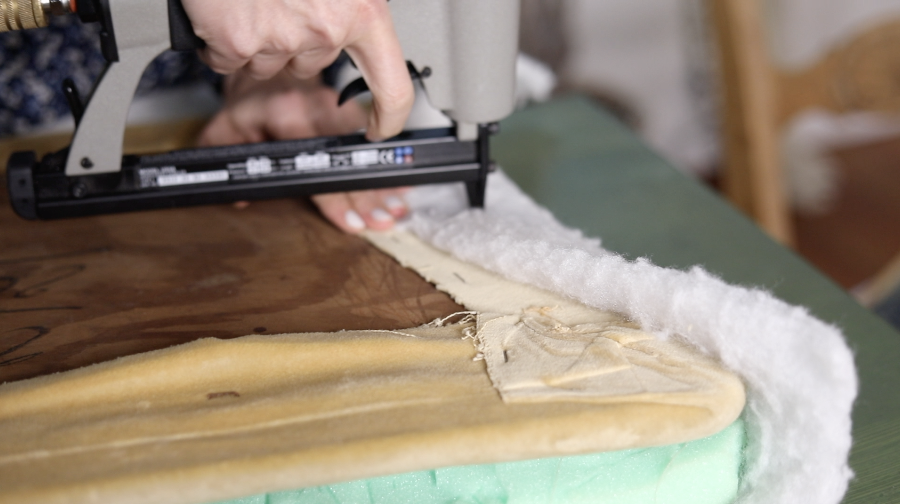
Then for the corners, your two biggest considerations are getting it as smooth as possible, and keeping the bulk to a minimum.
You want to be sure to pull and lay the corner as flat as possible and then staple it along an imaginary 45 degree line from the tip of the corner in toward the middle of the seat – where the two sides meet together.
Then I use my scissors to cut away some of the bulk of the leftover tab piece. I usually cut out a rectangle so that I have less bulk while still having a decent size tab to pull smooth and plenty of space to staple.
(There are more detailed pictures of this step in the Upholstery 101 blog post, OR if you watch either that YouTube video, or the one associated with this post!)
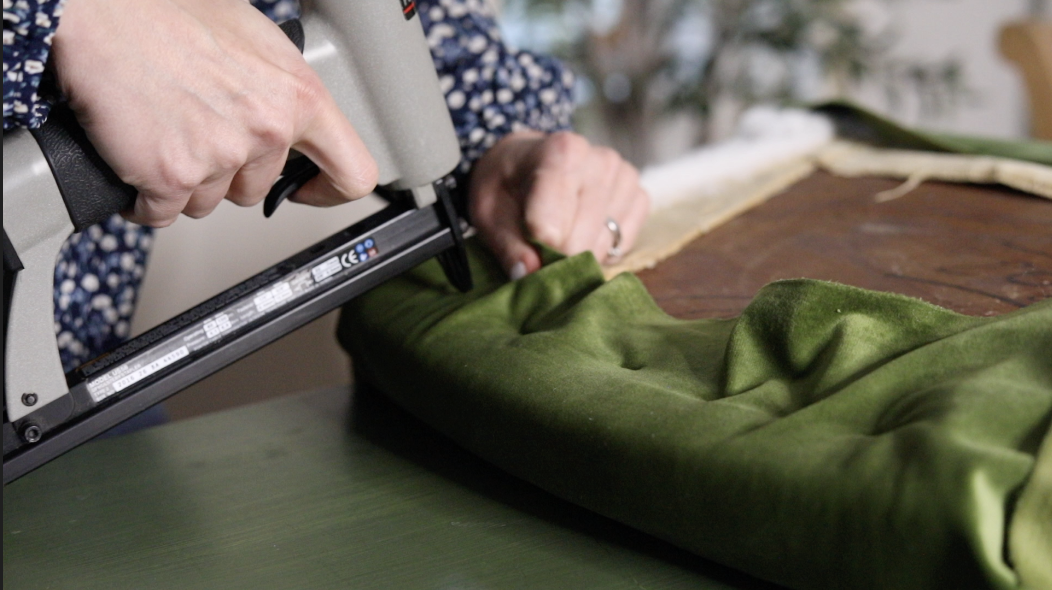
Once you finish this step, you just need to repeat once more with your final fabric!
The process is exactly the same.
When I finished the velvet and we reattached the seats to the chair frames, I realized that I hadn’t stripped away the old stain on the top of the frame seat, and it was visible because of some added bulk from the new upholstery.
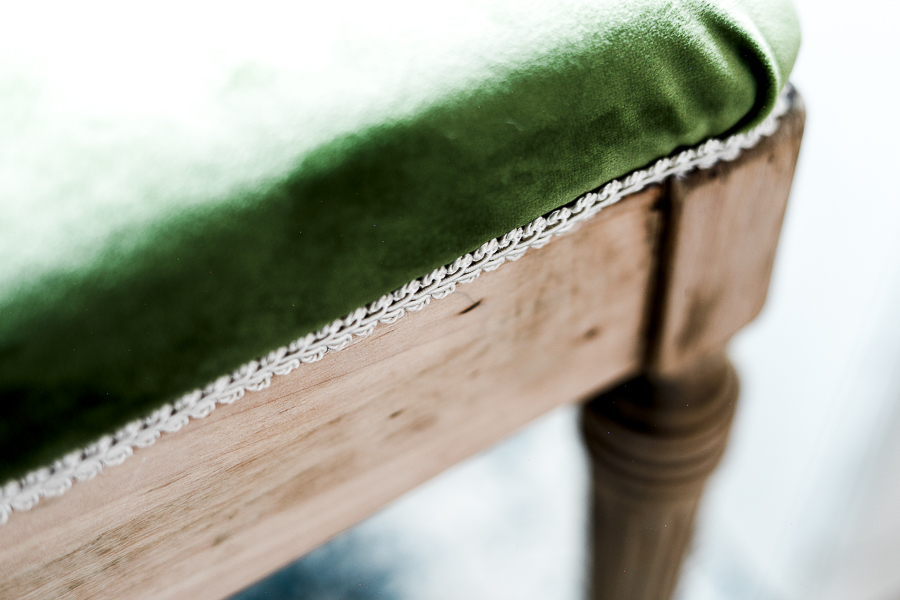
But that was an easy fix! My favorite cream gimp trim to the rescue!
I simply used my hot glue gun to attach it all along the edge. Cute!
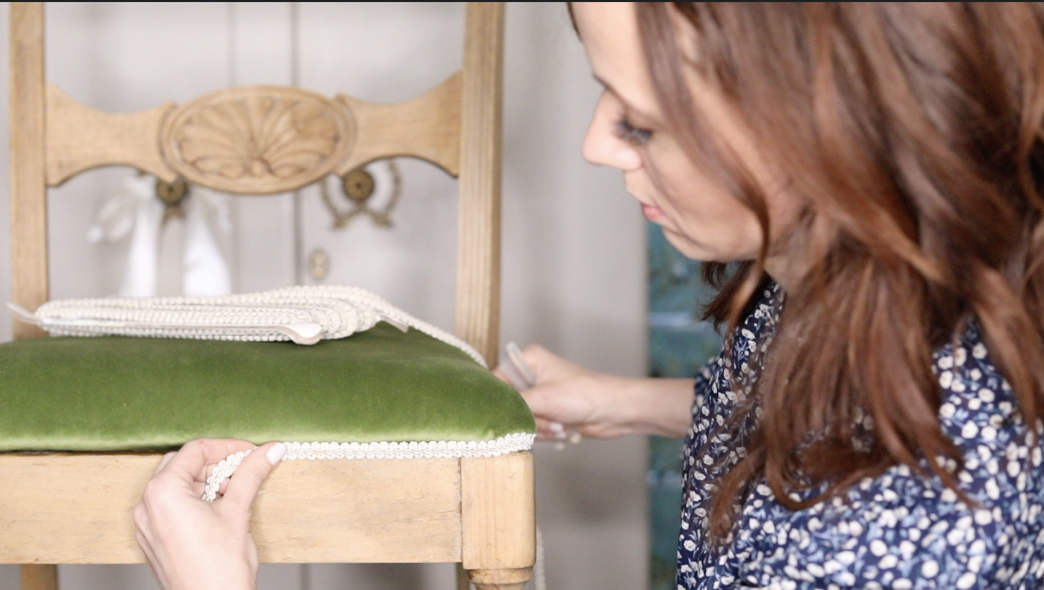
And that’s it! They’re done!
Posts Related to Reupholstering Chair Seats:
- Create Custom Piping
- How to Replace the Foam in a Recliner
- Recliner Foot Rest / Upholstery 101
- DIY Slipcovers with Piping
Pin This For Later: