Creating A Beautiful French Garden Front Porch for Spring
Let’s create a Spring Front Porch look inspired by a French Kitchen Garden with a functional herb planter!
Often my front porch will be the first space I decorate at the beginning of each season. I’ve found this is a fool-proof way to have a sweet, welcoming space ready for family and friends – even if things get away from me and I’m not able to refresh more of the rooms within our house.
This year, I spent a little bit of time first updating our bedroom and doing some charming Spring DIY projects, so now I’m circling back to the porch to perk it up for the remainder of the season!
*This post contains affiliate links to products I know &/or love.
Now that we’re almost halfway through the year, how do you feel like your 2024 design goals are progressing?
If you feel stuck at all making progress on your design goals for this year… maybe I can help! I offer a routine 1-hour long, FREE workshop called “10 Design Mistakes & How to Fix Them” that can hopefully help answer some questions and bring clarity to spaces that feel “off” and you’re not sure why.
If you’d like to join me the next time I hold this workshop – please register below! I look forward to seeing you there and answering whatever questions you might have for me during & after the webinar!
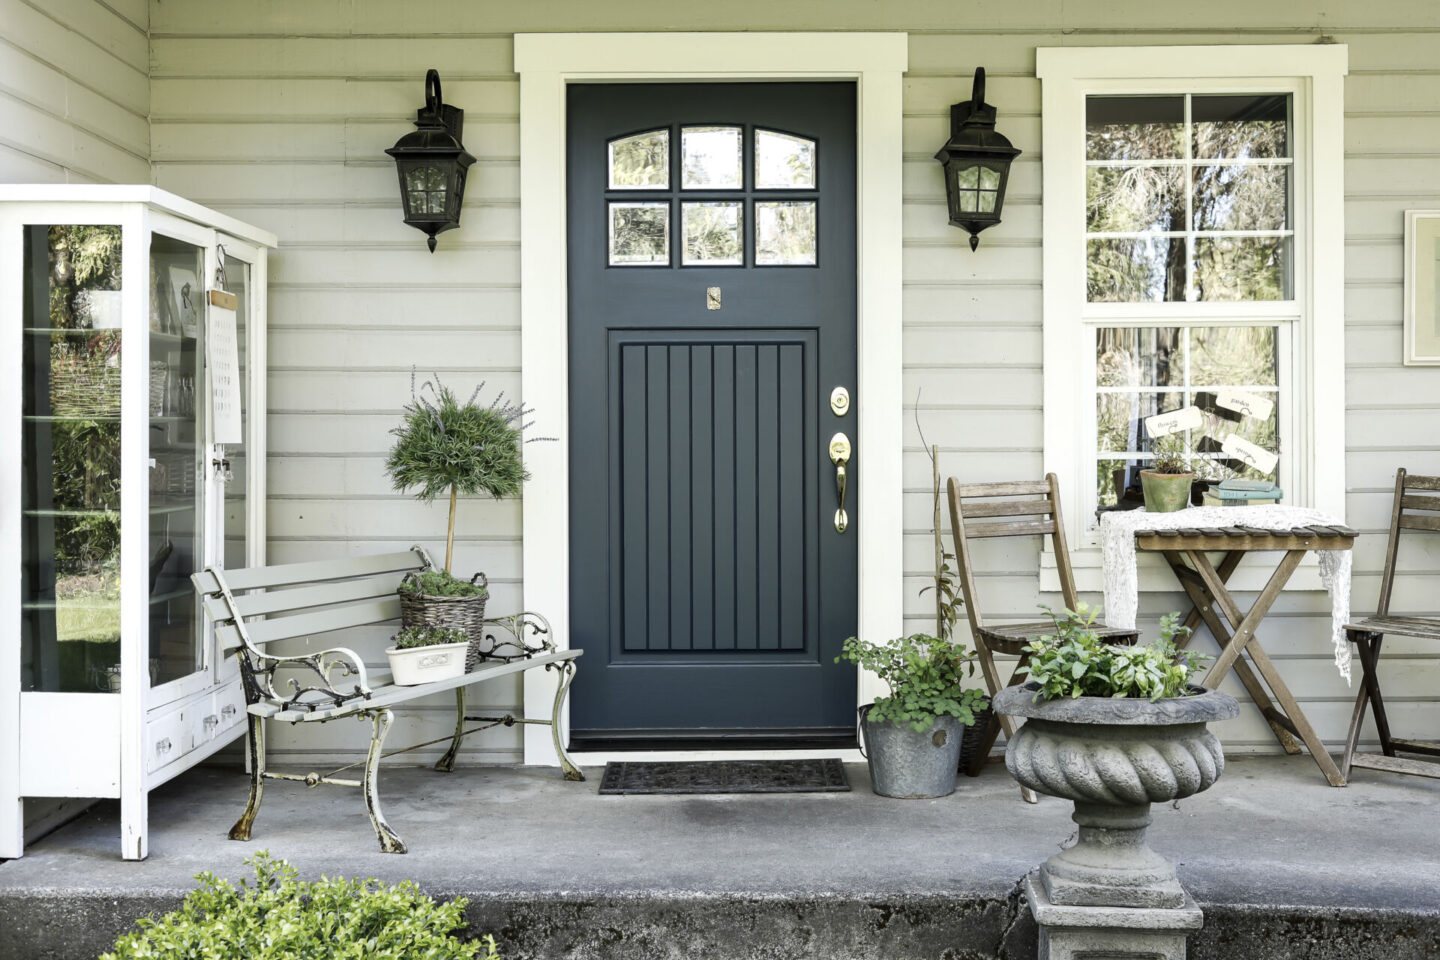
My Spring Porch Inspiration – A Thrifted Bench
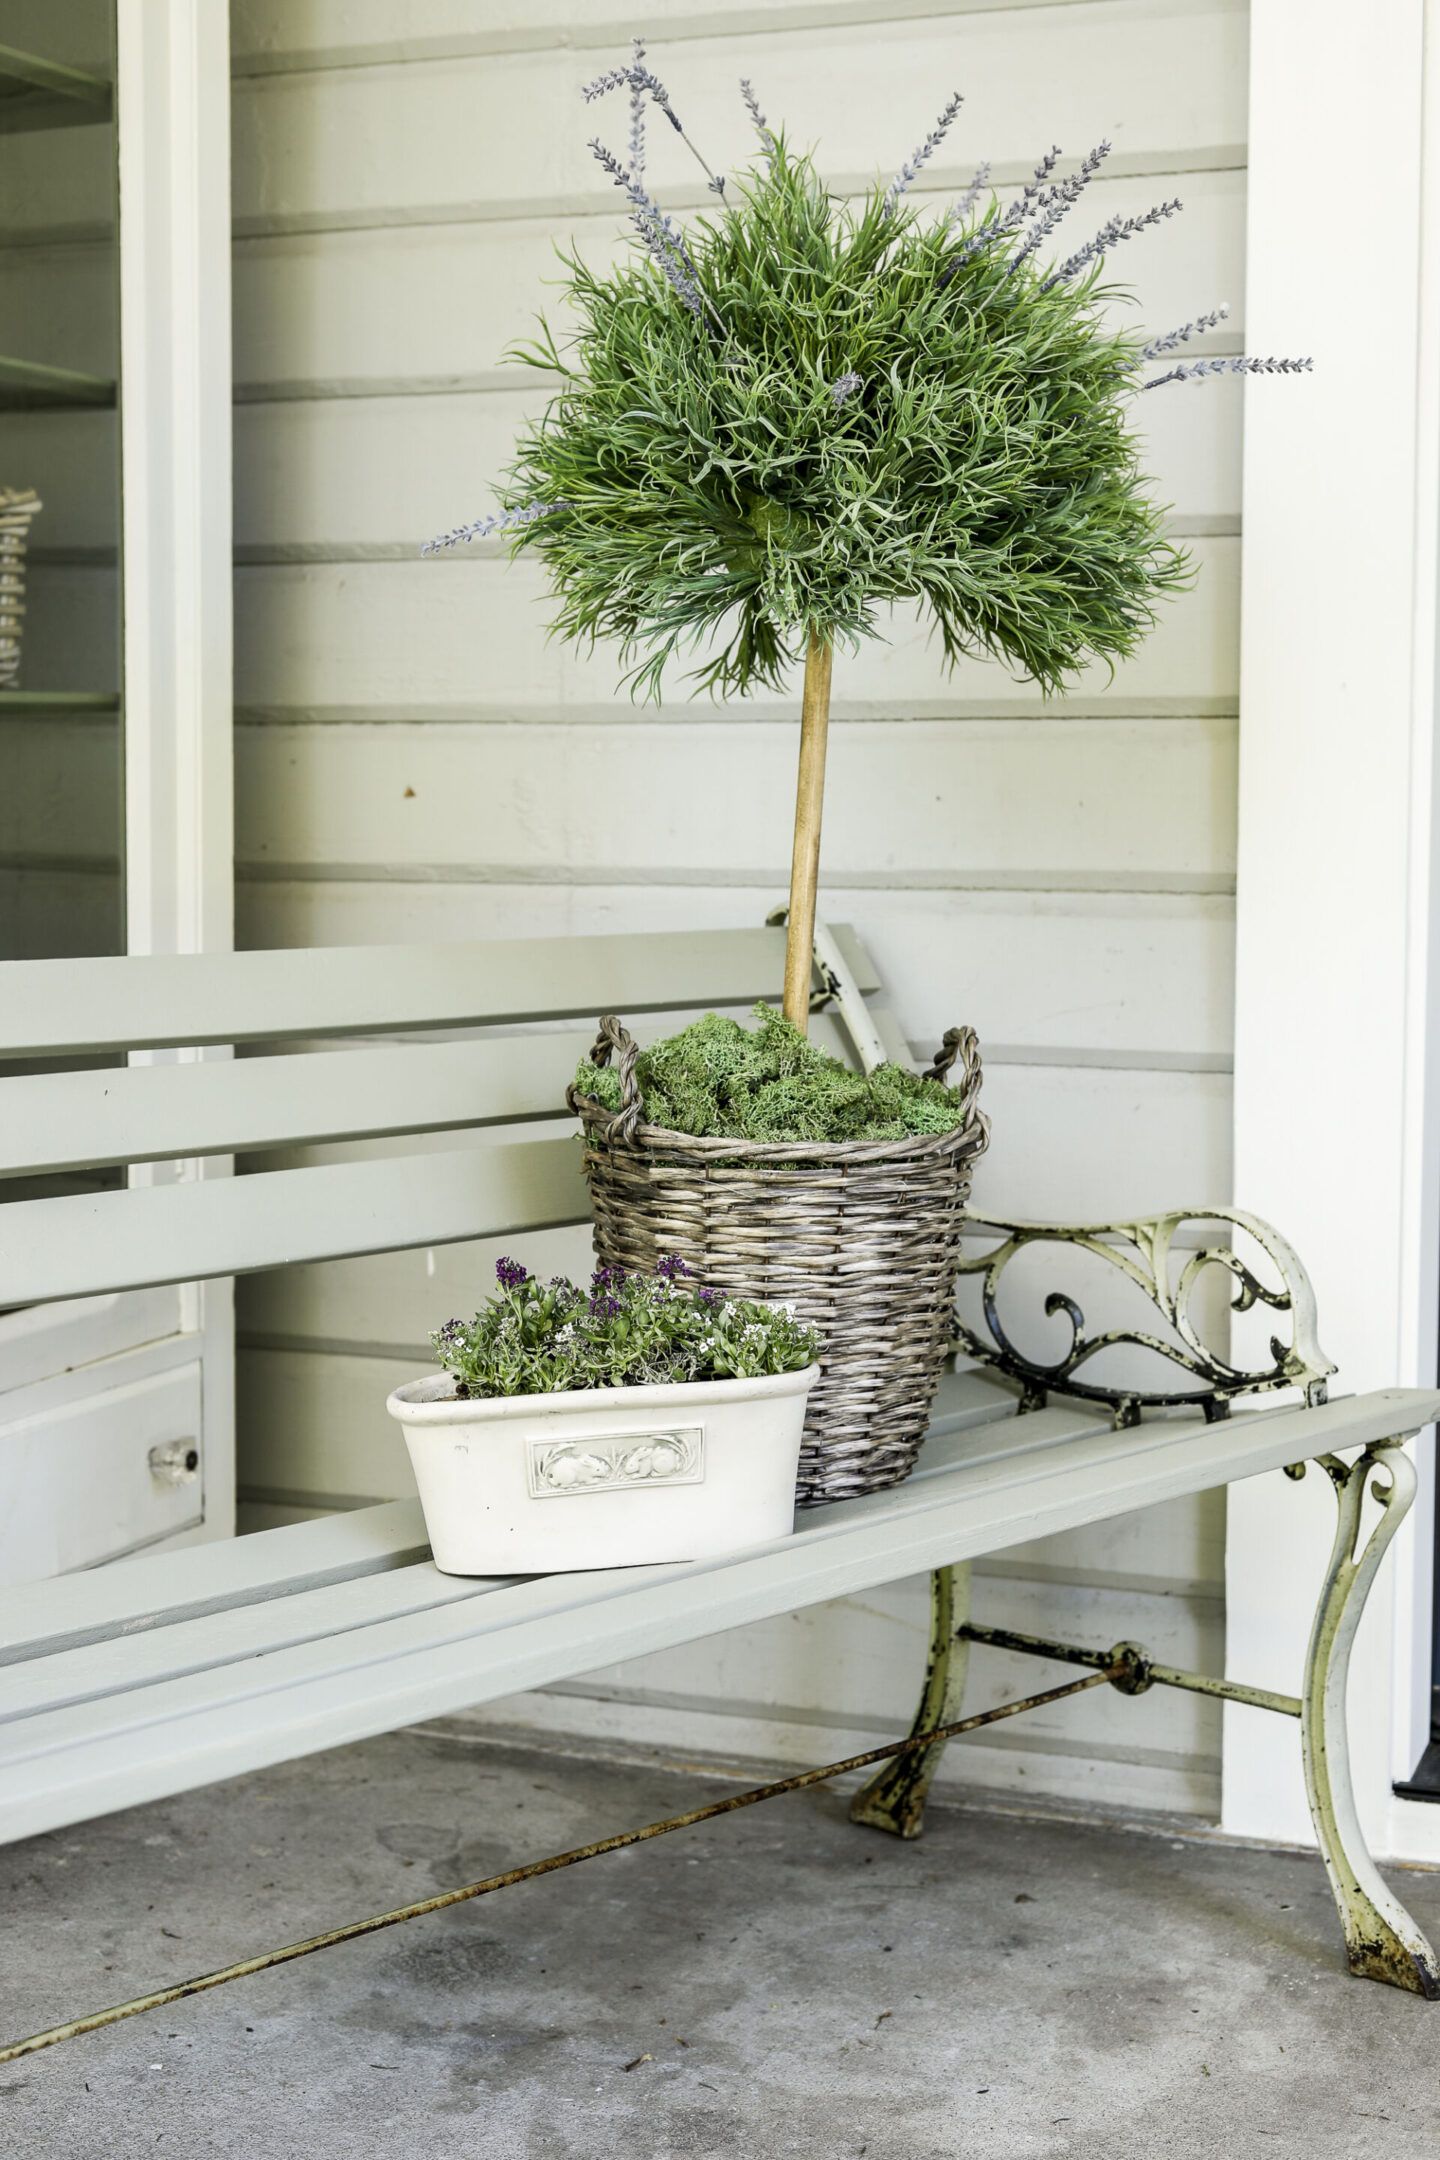
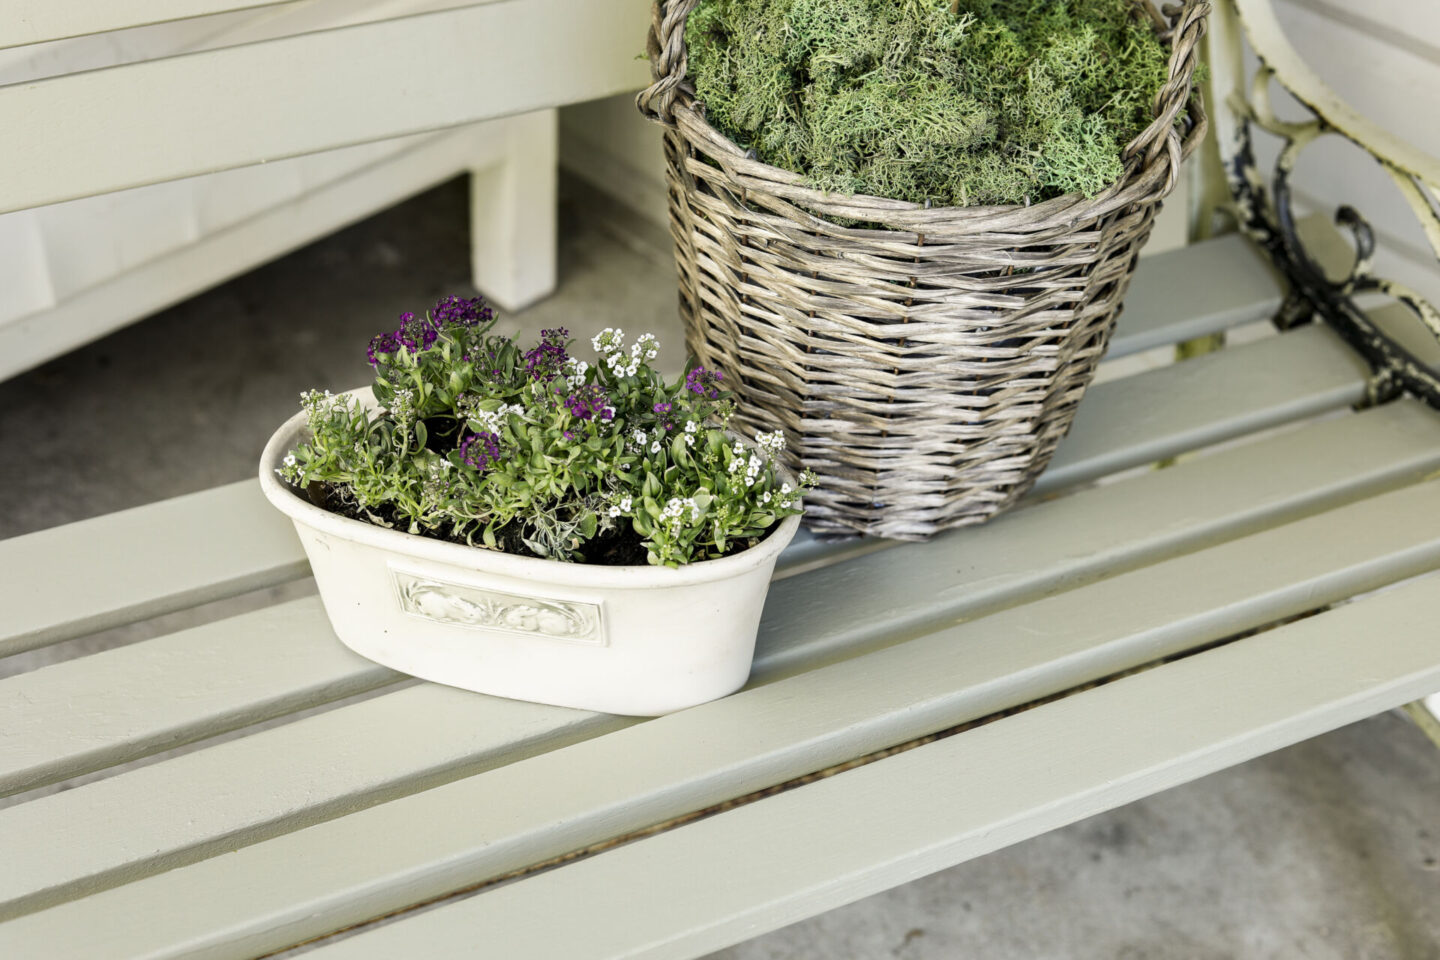
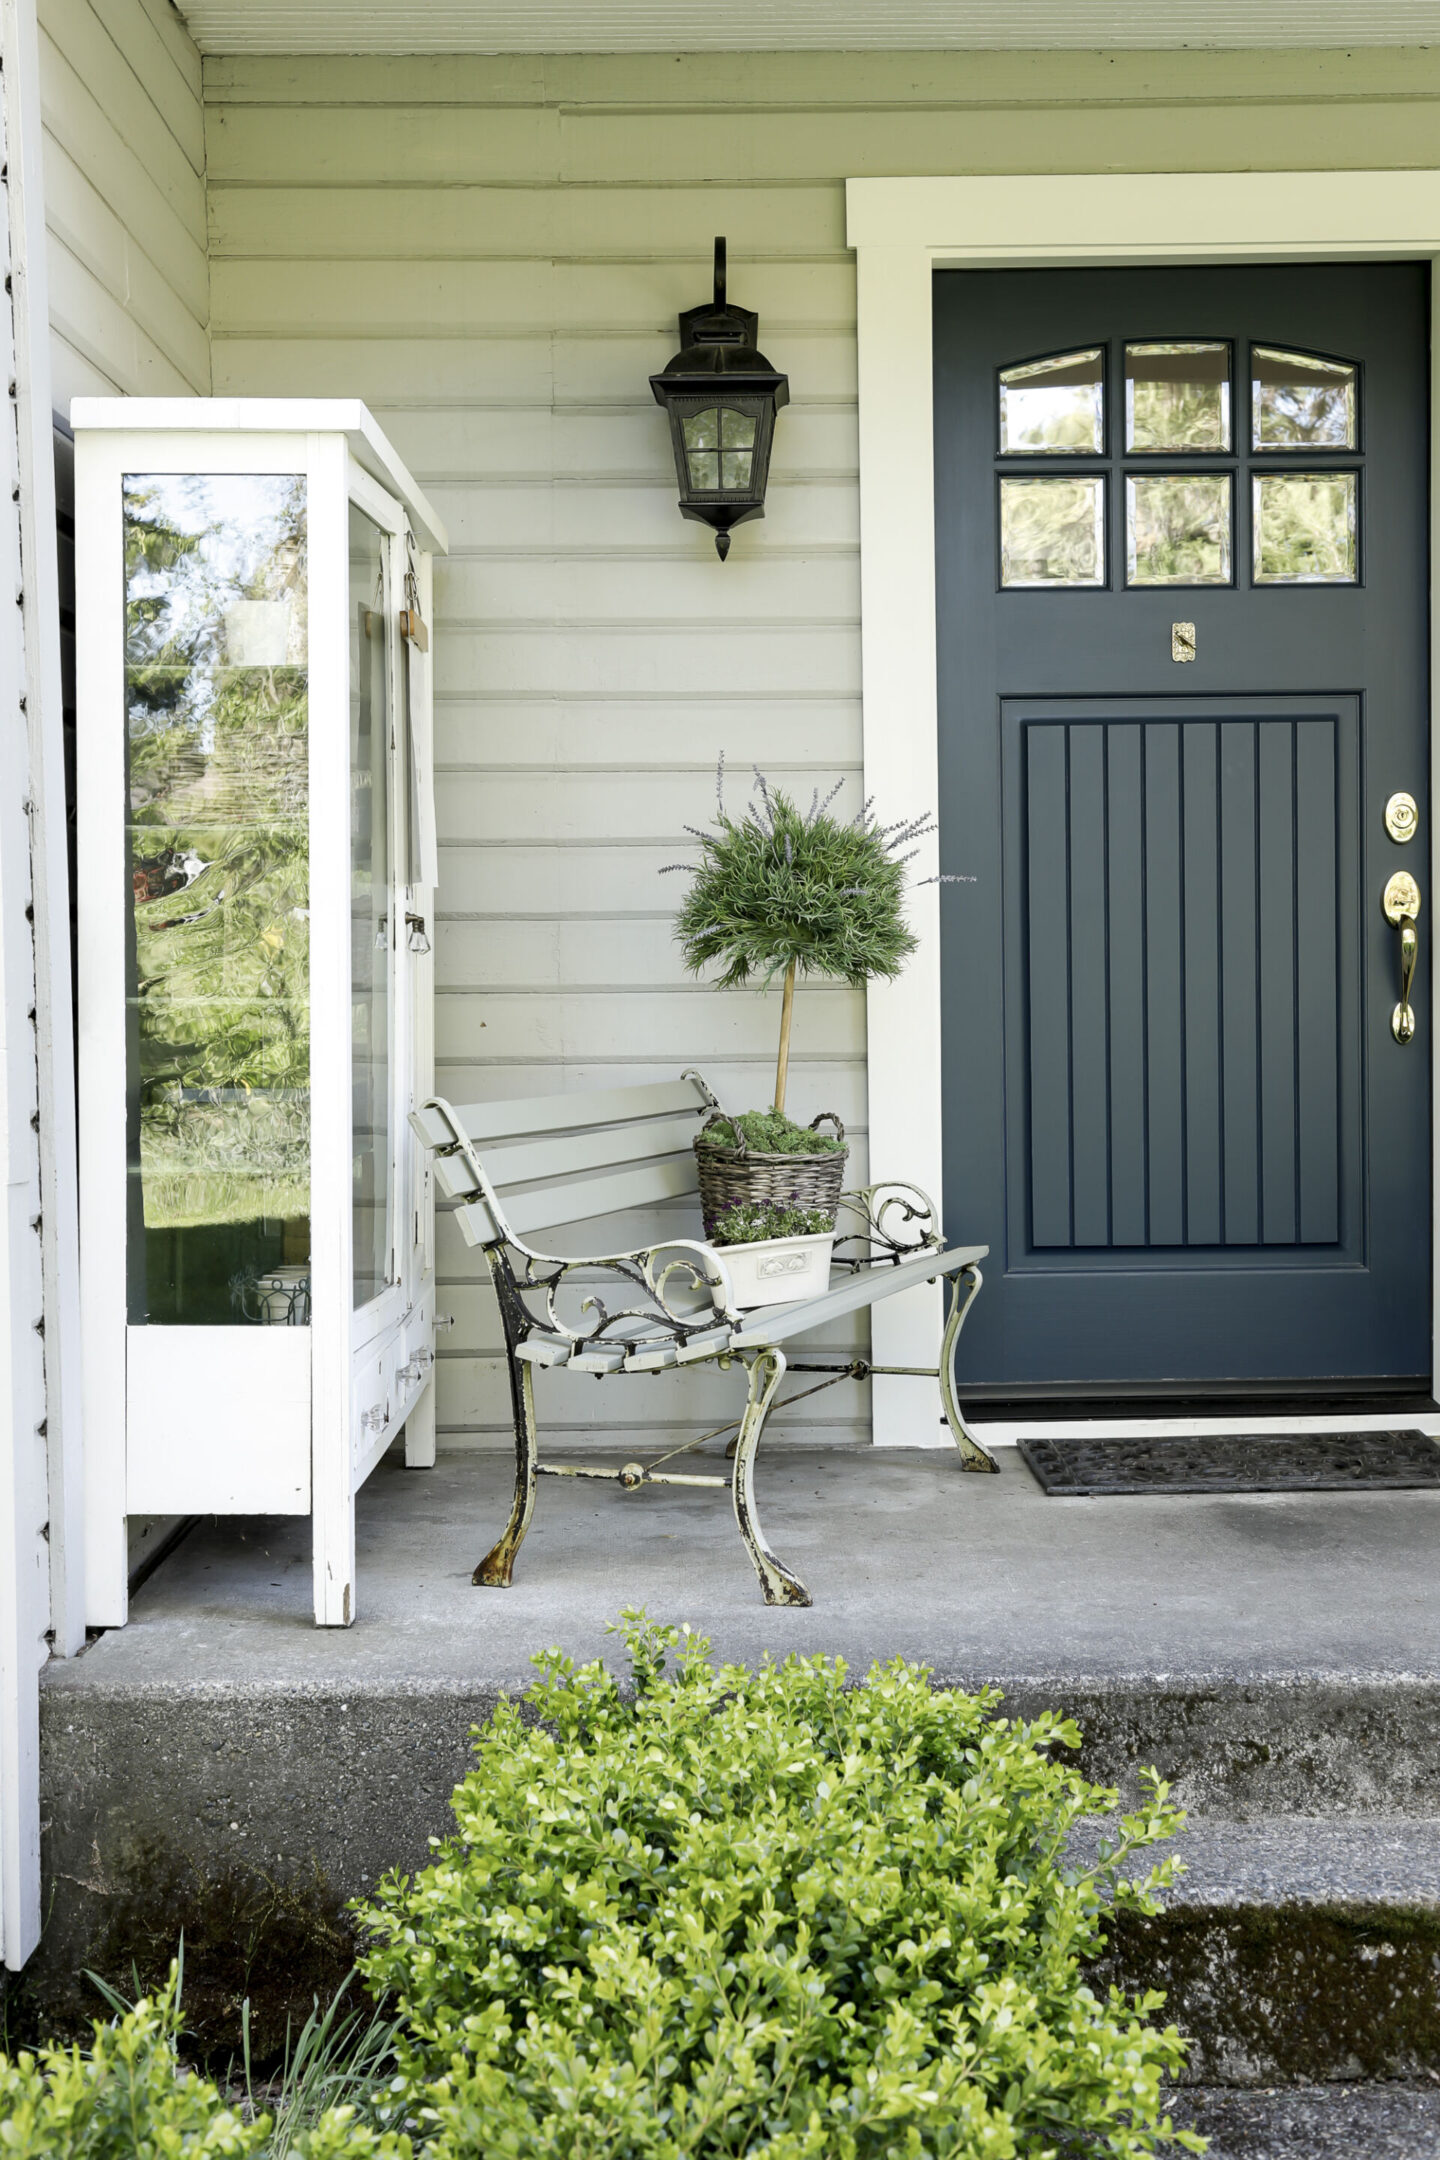
My daughters found and bought this adorable bench for just $5 at a garage sale! I was so proud of them, and it ended up being the inspiration piece for my whole porch style this year.
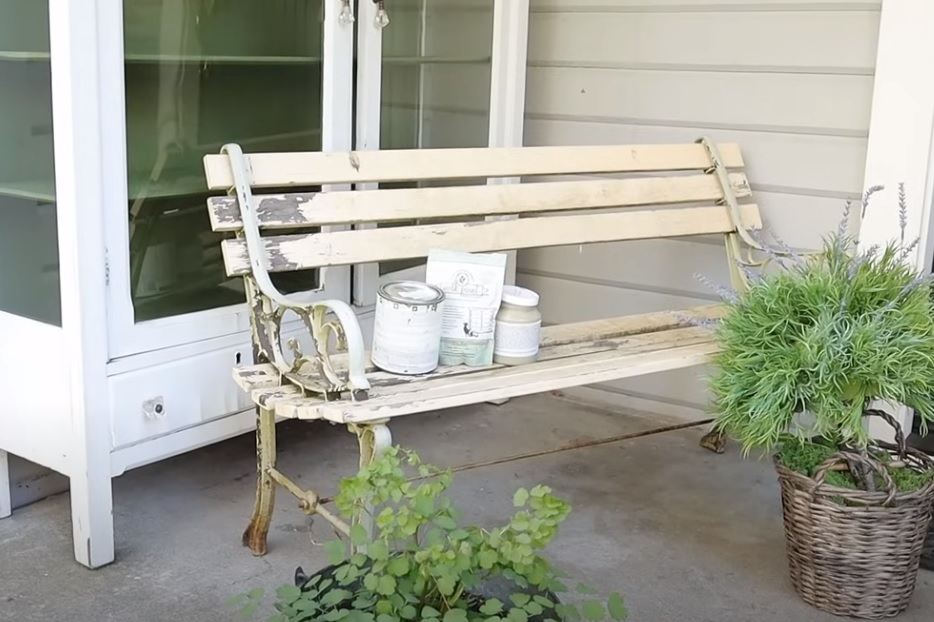
I knew I needed to clean it up a bit, so I looked on Pinterest for some inspiration and was very drawn to these two looks.

Photo Credit: Goulaine Garden Bench
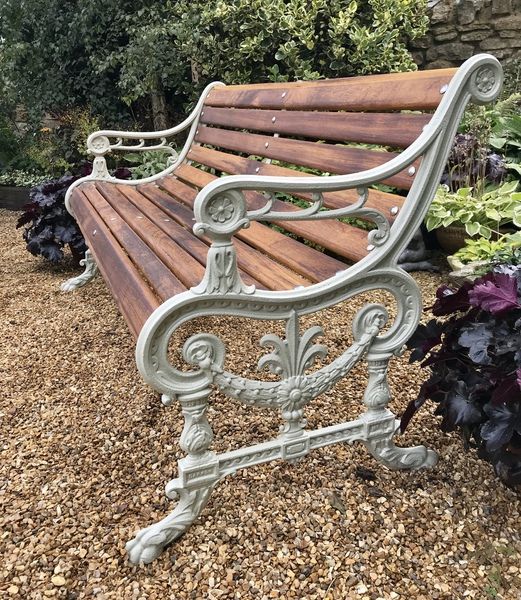
Photo Credit: Thompson’s Garden Emporium
I sanded the slats down with 150 grit sand paper, and then decided on paint!
I tried a few shades of green, Celery Seed from Magnolia and Mora by Miss Mustard Seed Milk Paint, and Lichen by Fusion Mineral. Lichen was the clear winner in my book!
(Use This Link to get 10% off your purchase at Fusion Mineral!)
I had some left over from a Spring Porch project from a previous year – and it turned out to be exactly enough to paint all of the wooden slats. I was reminded and very appreciative of the fantastic coverage that this mineral paint offers. I dipped my paint brush one time and was able to cover the entire length of a slat!
And the whole project only needed one coat – perfect!
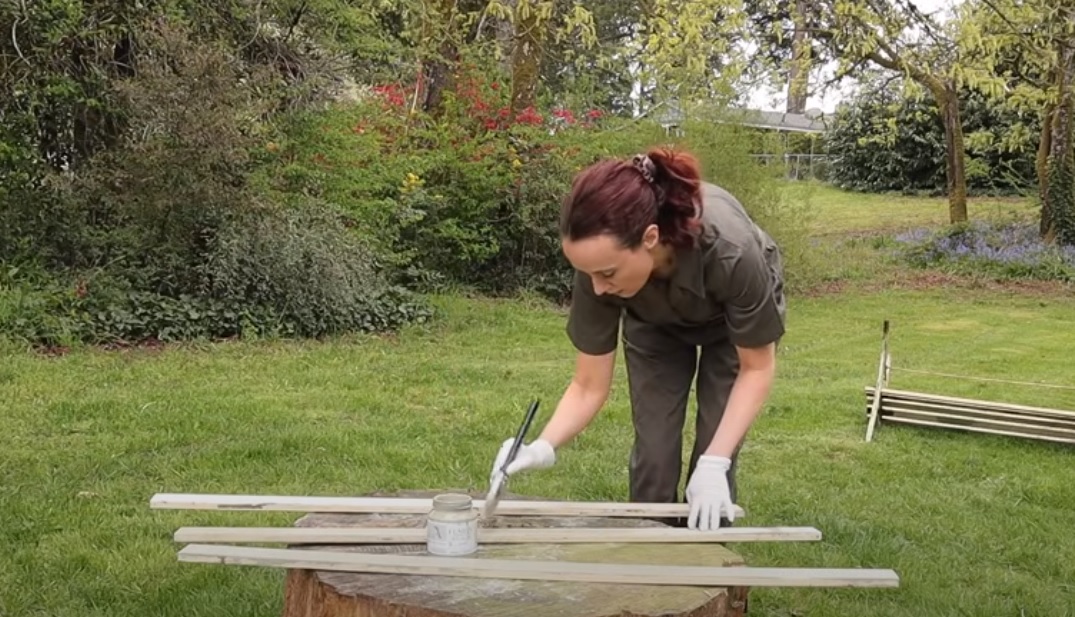
Note: I’ve recently switched to wearing these coveralls from Amazon as my painting outfit and I can’t rave about them enough! They’re very comfortable and they give me peace of mind knowing I won’t accidentally spill anything on any of my other favorite clothing pieces. (Ask me sometime why that’s fresh in my mind…)
For the metal arms, I brushed away any loose bits and pieces and then sprayed them with Rustoluem clear coat enamel to retain some of the “chippyness” that gives it such great character.
I was VERY pleased with the result and it made pulling the rest of the Spring Front Porch together so simple!
Elements of A French Inspired Spring Front Porch
The best way to start refreshing any space is to give it a nice deep clean! For my porch that means sweeping off the cobwebs, and even pressure washing if needed. I also use my tried & true Mrs. Meyers cleaner on all my larger furniture pieces to remove any dust or built up grime from being outside or sitting out in our storage.
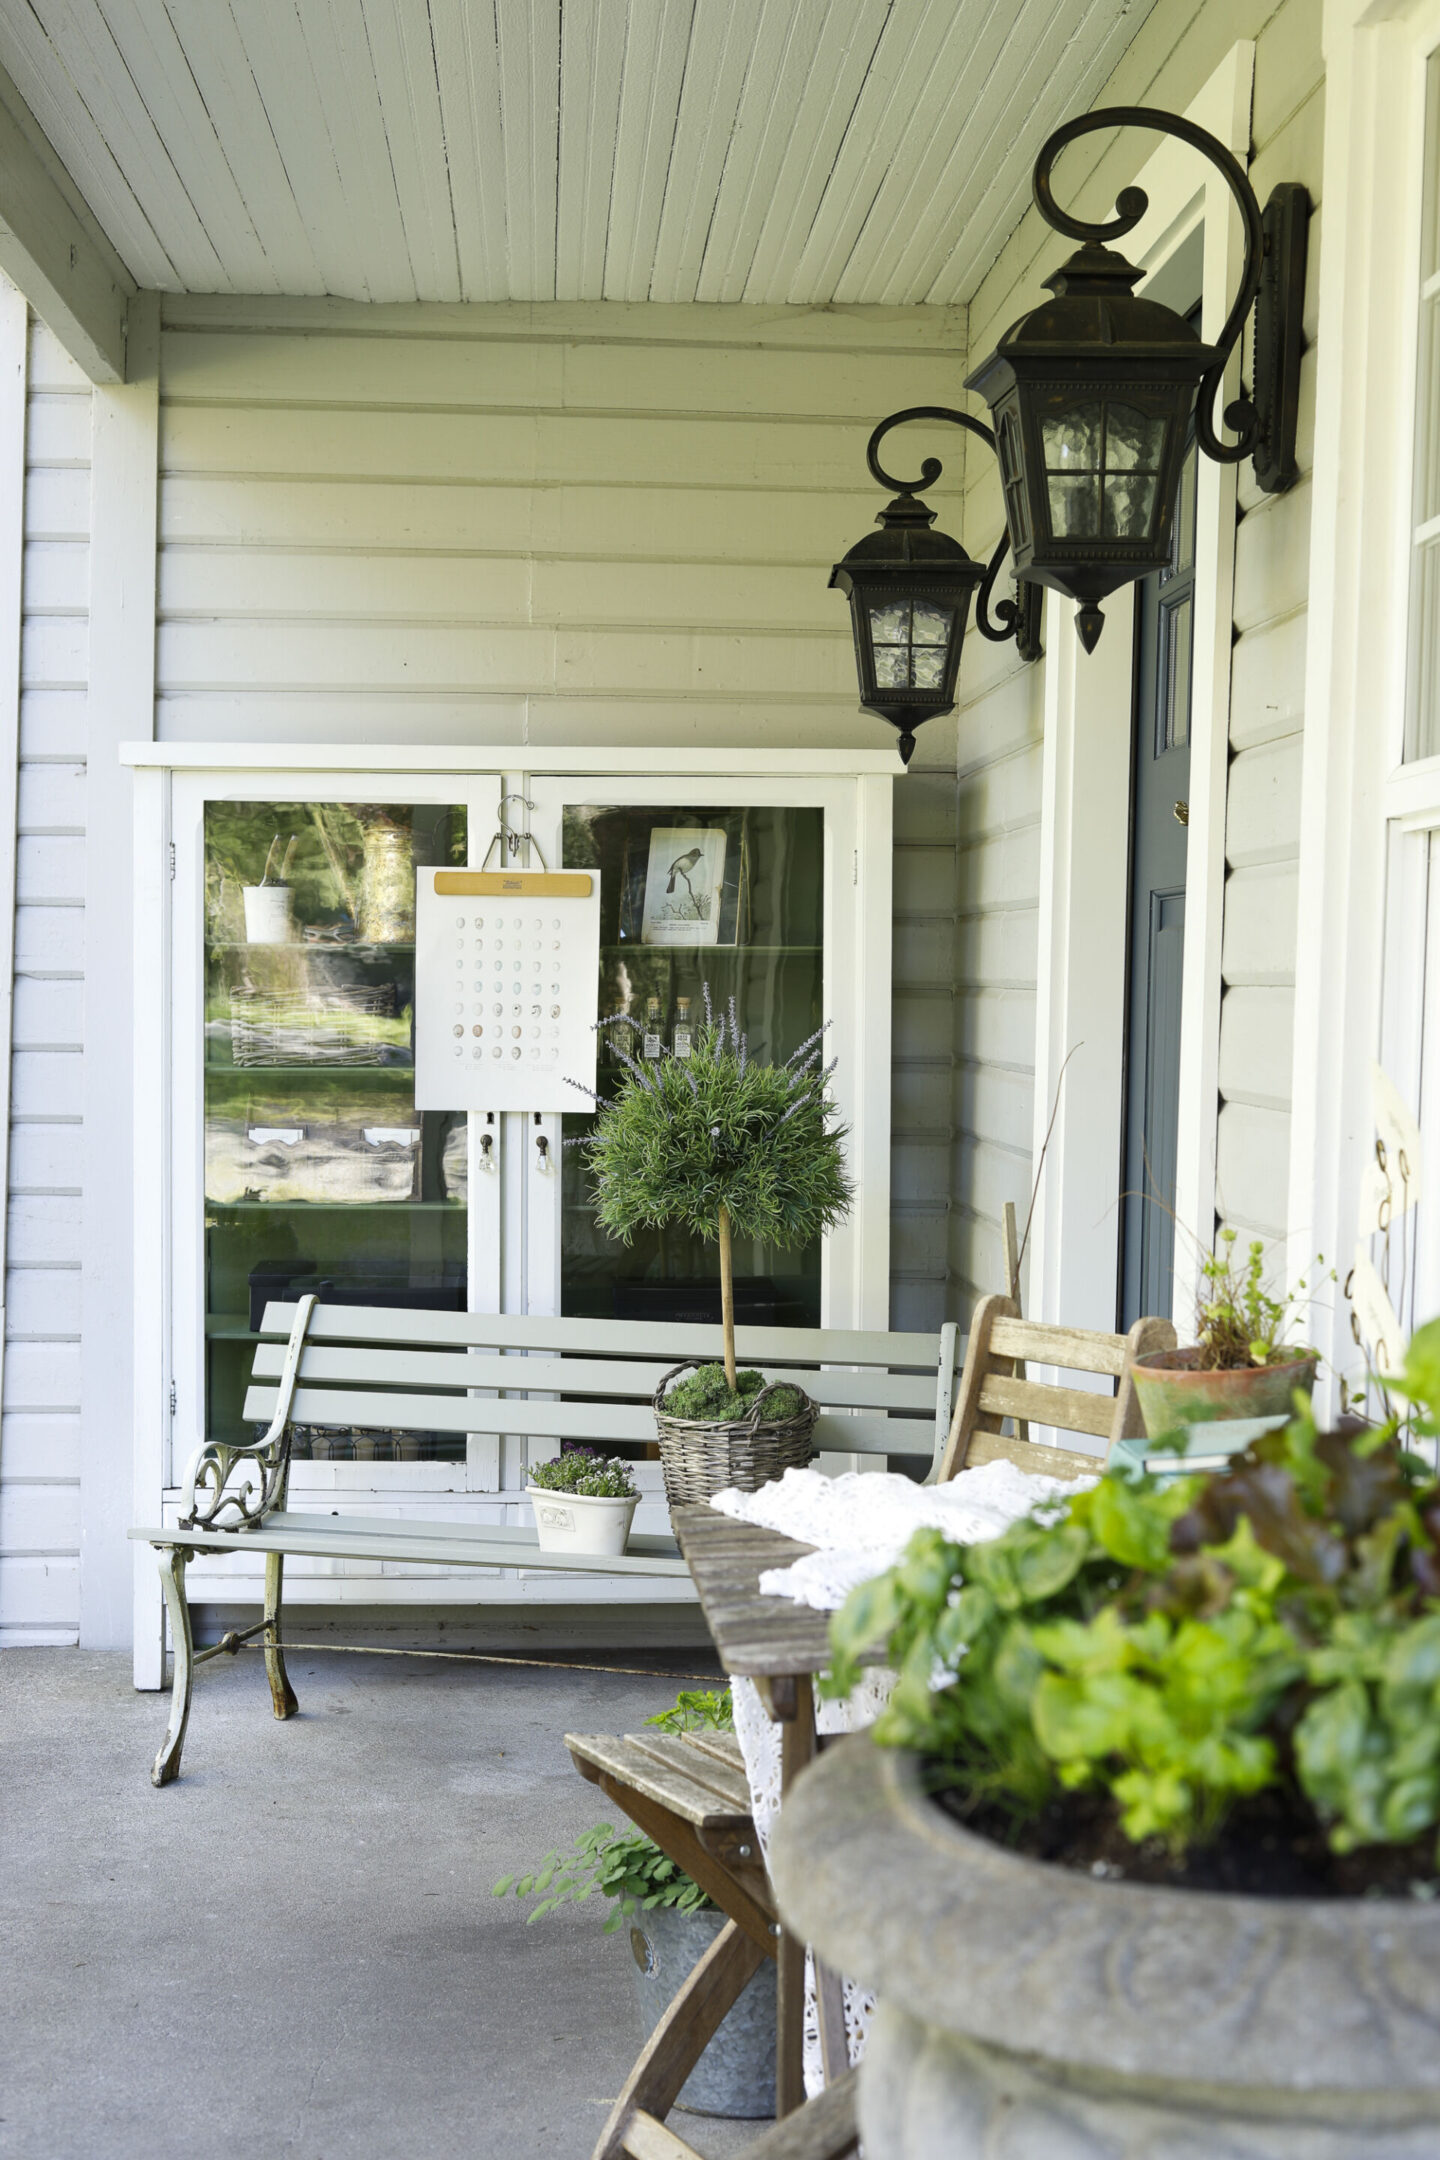
One of the large pieces that was brought out of storage after winter was my lovely inherited antique shelf.

This piece was a highly contested project of mine – there were quite a few people in the comments who were upset that I had painted an antique – BUT I knew it would bring me more joy being painted and loved on my front porch than to be kept pristine and untouched elsewhere.
If you’re ever not sure whether or not you should paint your antique, I have a helpful journal post HERE that you may like!
I ended up painting the outside with Cover Stain by Zinsser, and the inside “Celery Seed Green” by Magnolia home years ago, and I’ve never regretted it.

For this Spring, I styled the inside with the following items:
- Popsicle sticks in a jar with a sharpie (helpful for labeling seeds and starts in the garden)
- My watering can
- Pruning clippers
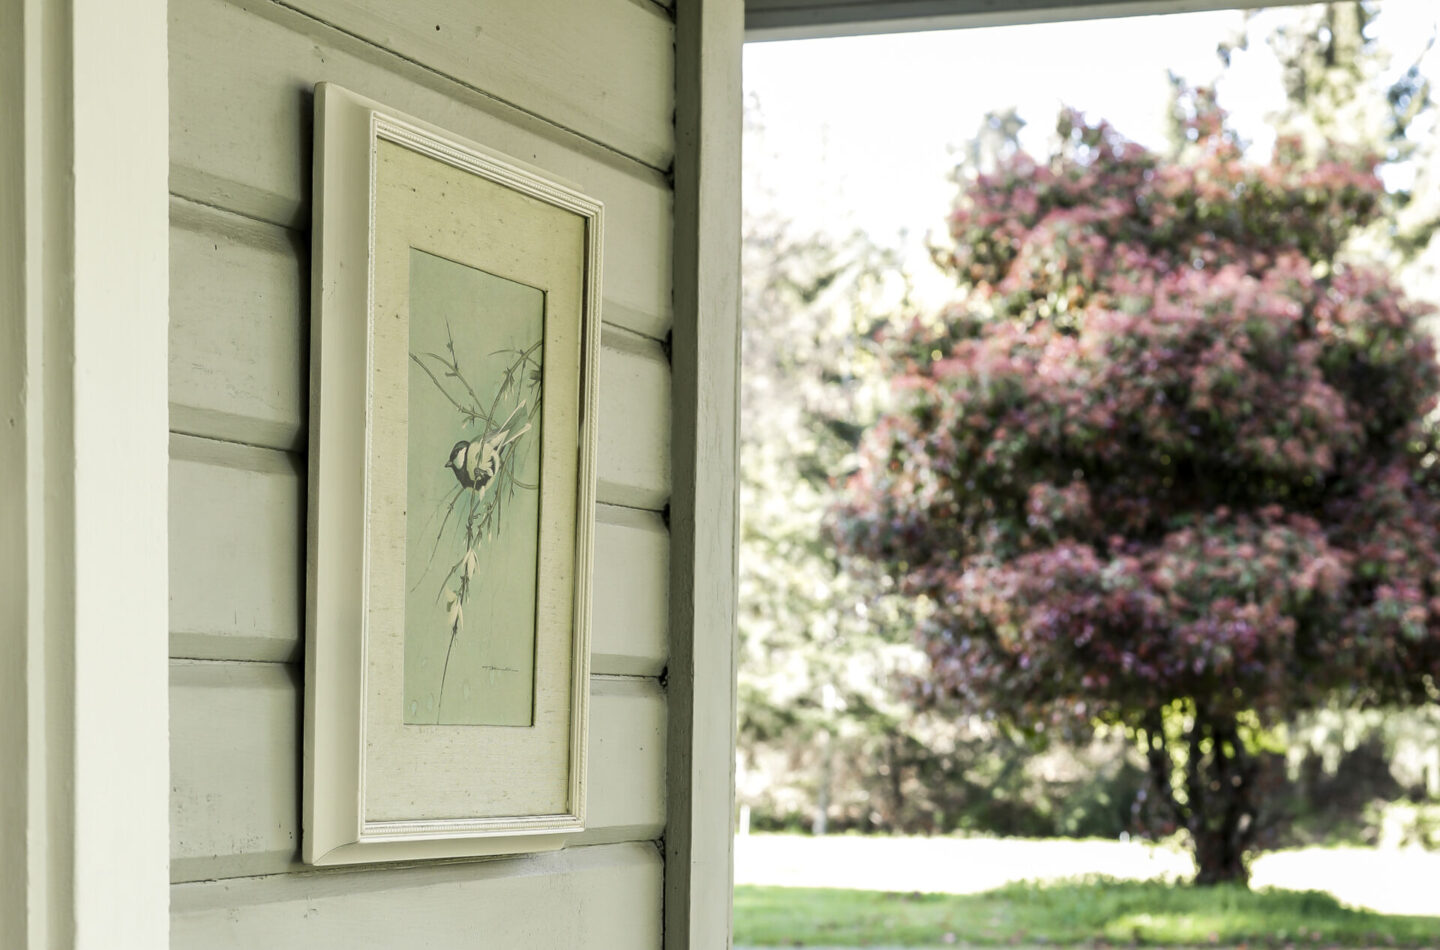
- A golden frame from my trip to Brimfield with a sweet bird print
- IKEA baskets holding my gardening gloves and some lengths of twine
- A sweet set of honey jars that a friend gifted me
- Halden garden seed packets tucked inside a 1970s faux wood desk organizer
- 2 Black boxes that I picked up from Magnolia during my trip to Waco
- A dainty set of pots that I picked up from a garage sale
- A wooden recipe holder that I use to hold the rest of my seed packets
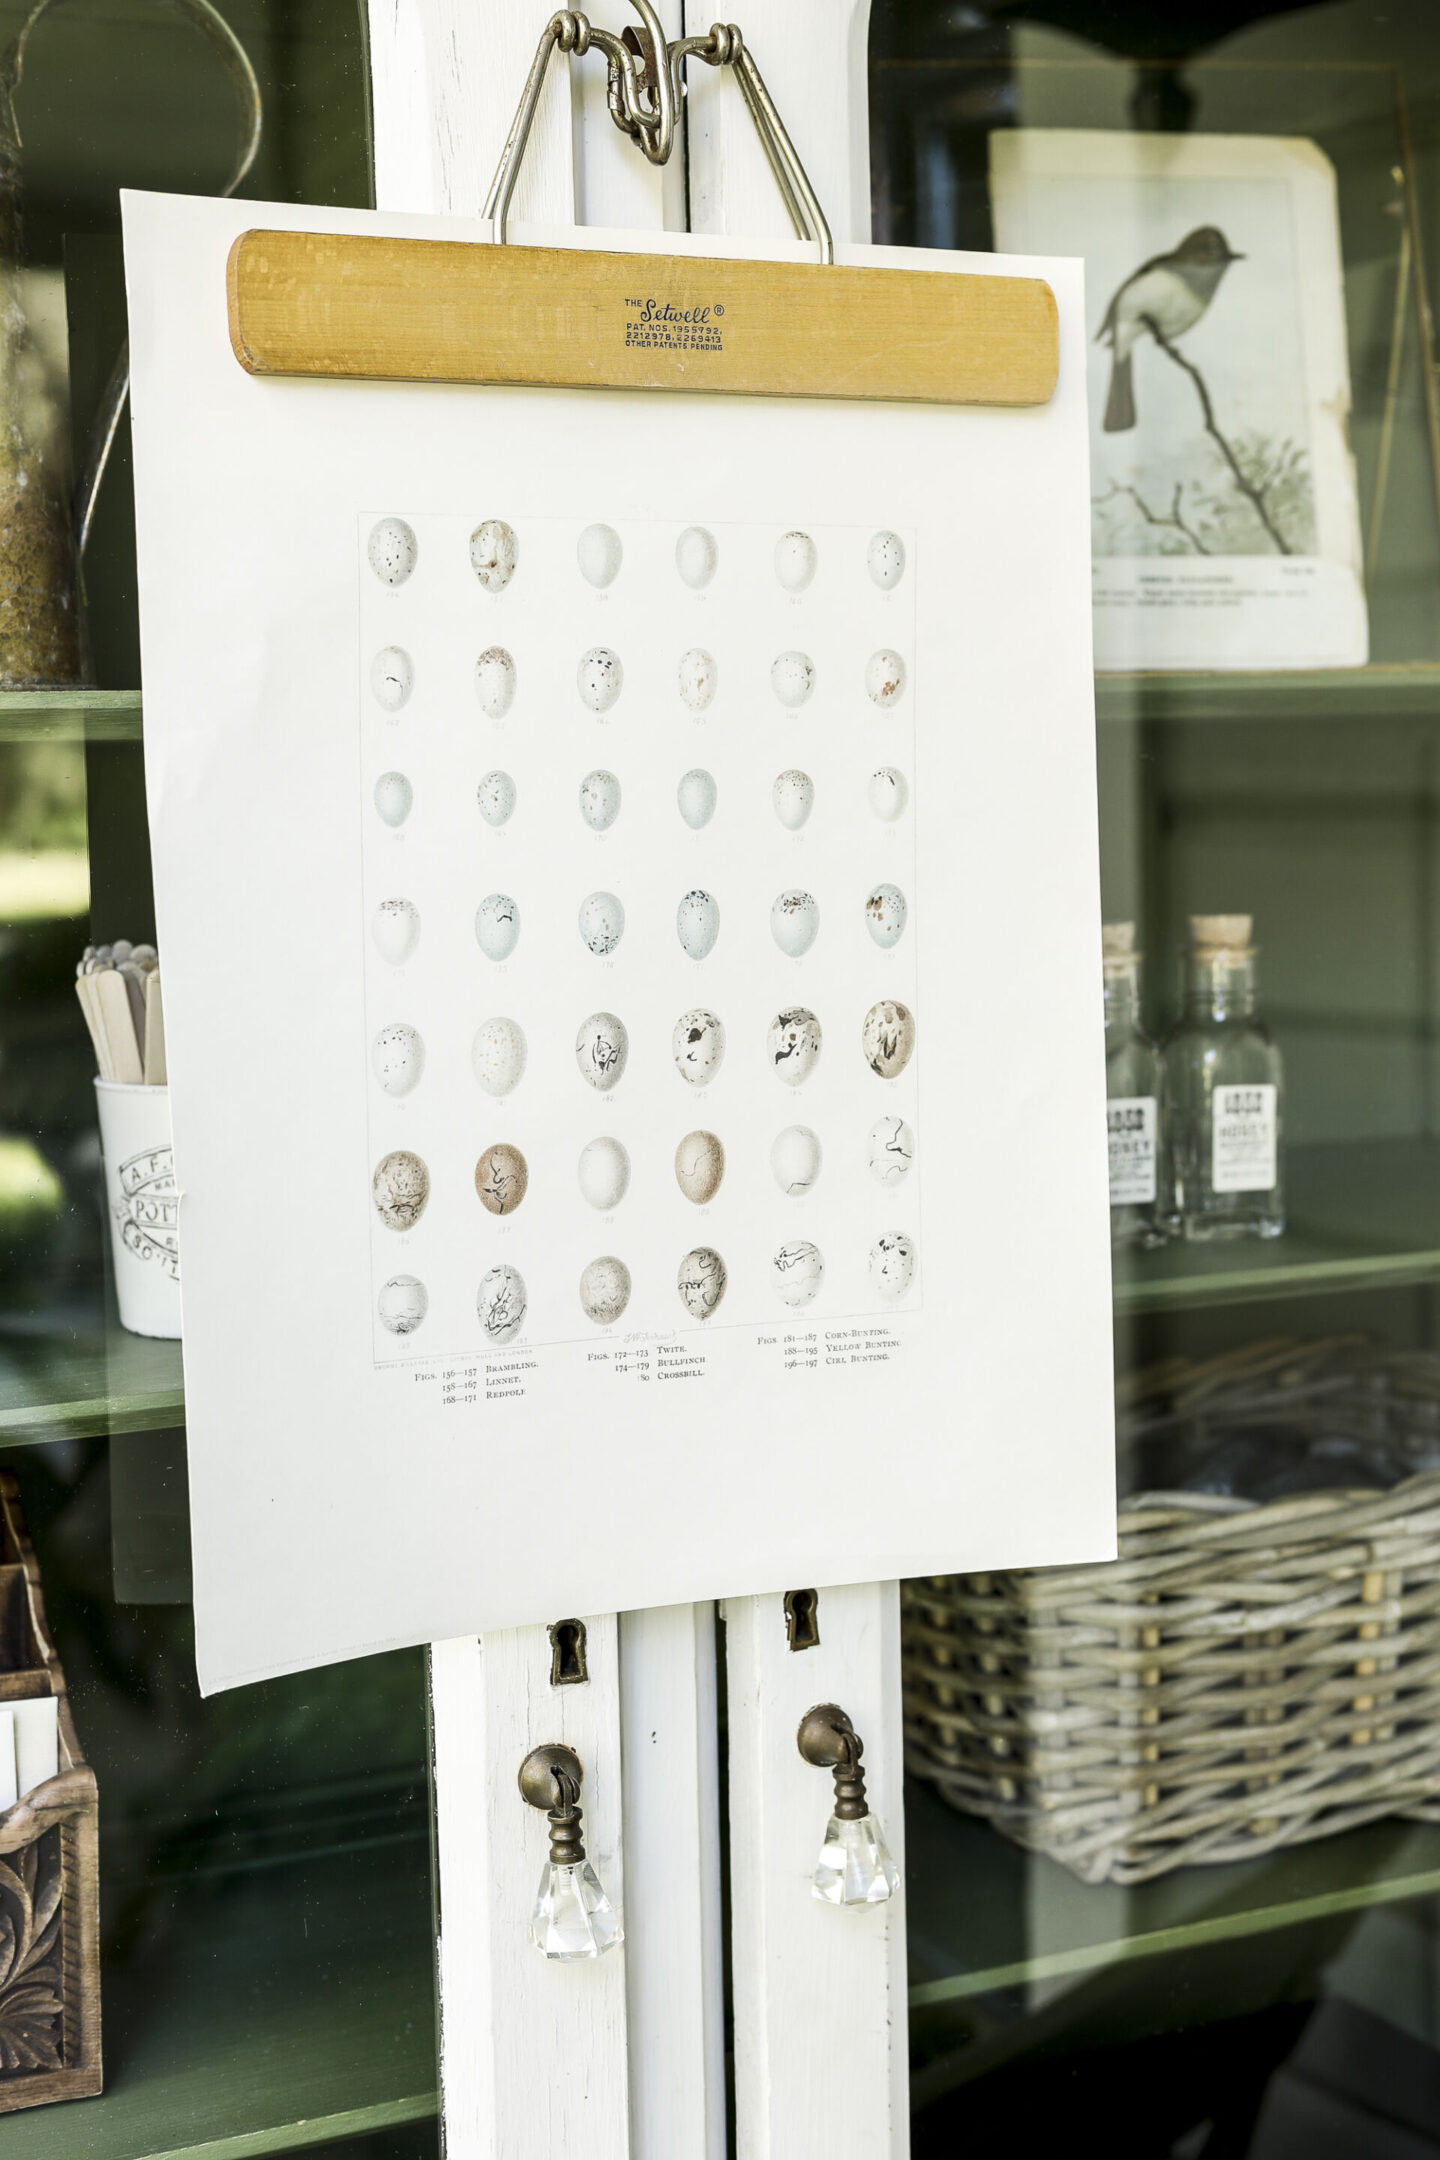
On the front of the cabinet across the two doors I hung an IKEA art print with a variety of soft blue, green and brown colored eggs. I thought it tied in well with a print I wanted to use on the other side of the porch of a sweet bird.
I hung it on a nail using a thrifted wooden pants hanger!
Functional Herb Planters for your French Garden Front Porch
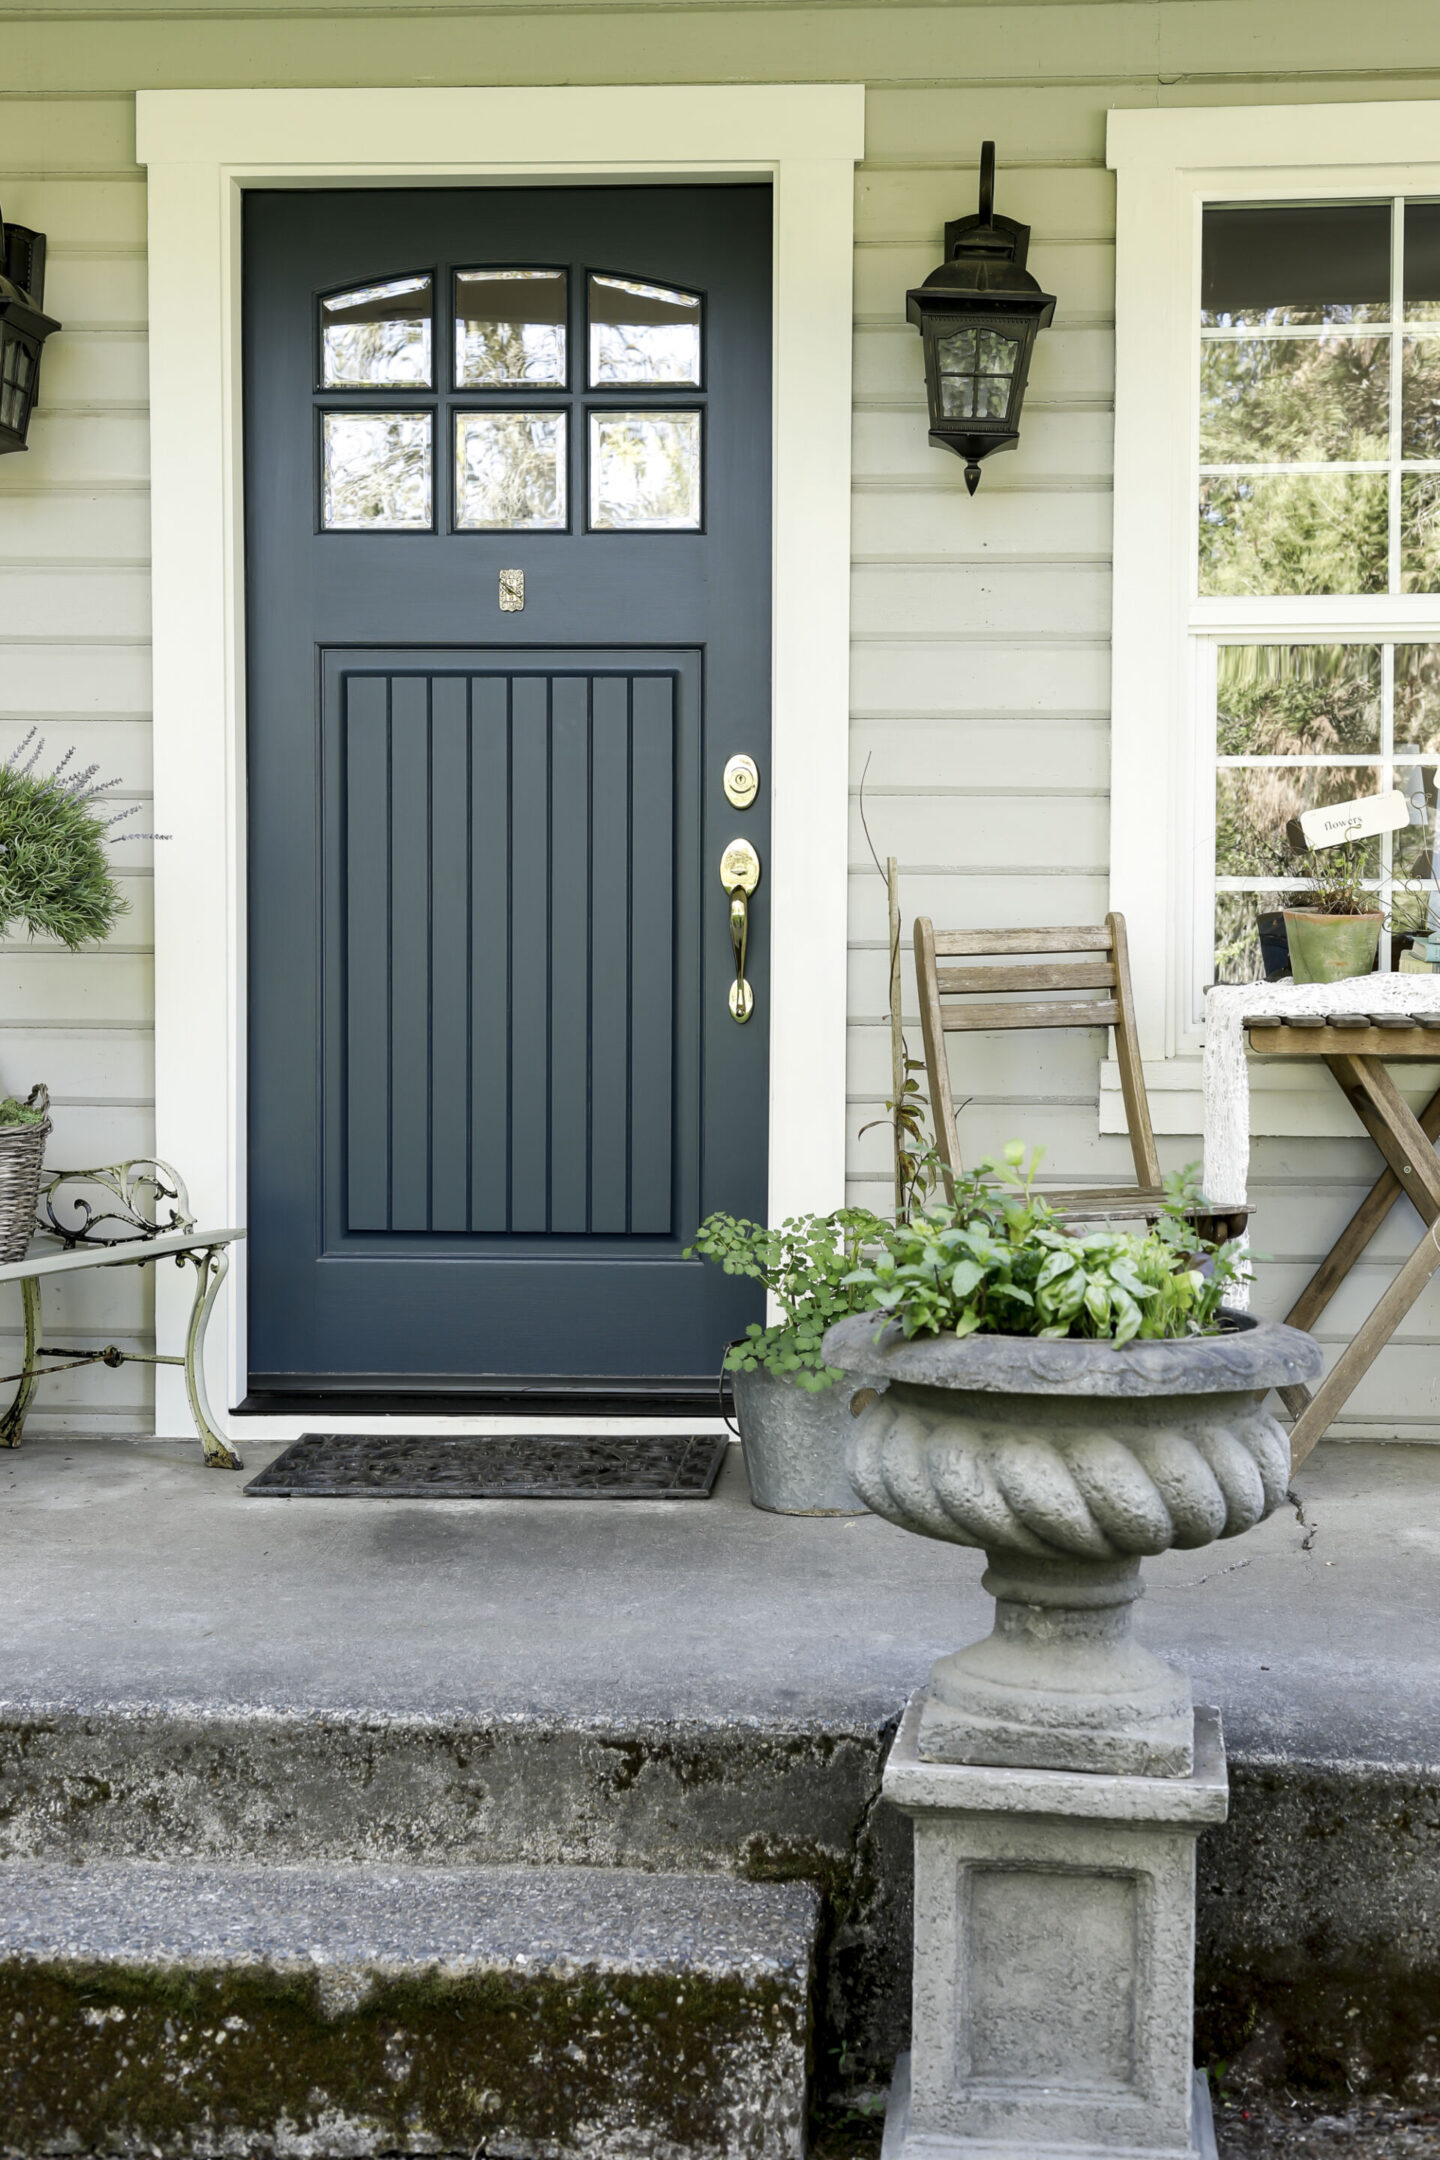
Next I made a trip to Home Depot to find some herbs to plant in our two large urns that we brought down from our driveway.
I get questions about these urns all the time – they’re actually faux concrete, made out of fiberglass which makes them MUCH lighter than they look. We picked ours up from our local industrial salvage yard, but you can find similar ones on Wayfair.
I was a bit worried that I had overdid it on how many herbs I picked up, but once I got them home and laid them out inside my urns in preparation to transplant, it turned out to be the exact perfect amount!
I’ve already been having such a great time harvesting small bits of herbs to use fresh as I’ve been cooking ever since getting this project finished. I highly recommend it!
I chose a variety of lettuce and herbs that I knew I would want to use. Specifically Thai and sweet basil, chives, cilantro and mint!

Next up, a French Green House Inspired Sitting Area
I love having a sitting area included in my porch designs – it’s wonderful to have a functional space to enjoy the beautiful spring weather, and it provides a really welcoming element when guests come over.
For this year, I pulled out my IKEA bistro table & chair set. Mine is the “ASKHOLMEN”, but they have a few other style and shape options that you can also choose from!
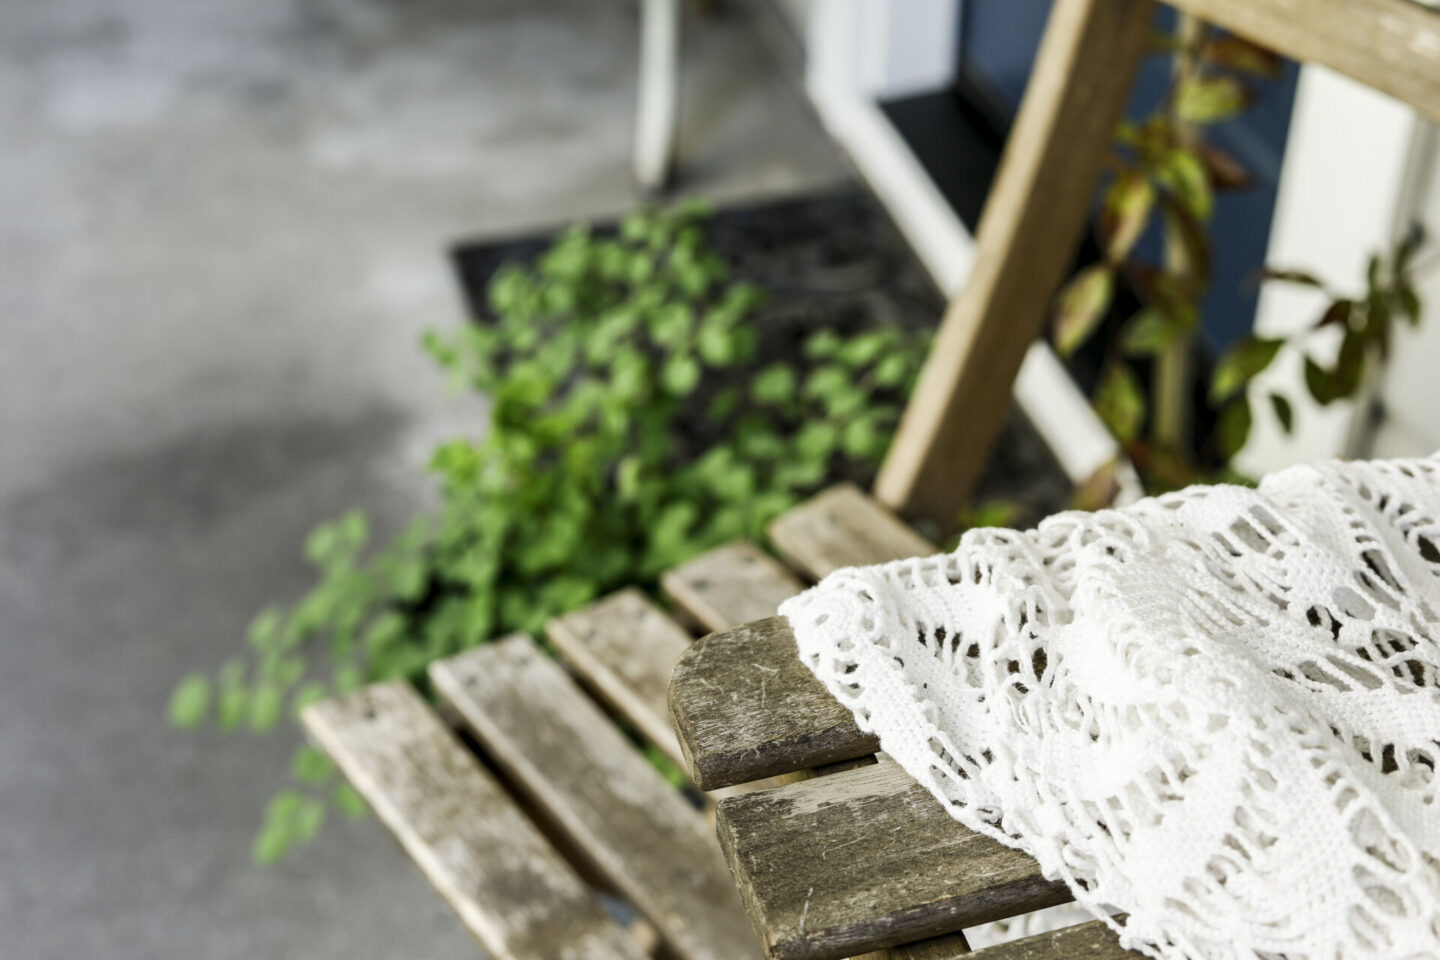
On top of the table I added a lace table cloth down the middle like a runner and added in an old DIY aged terra cotta pot with an over wintered plant. Next to that I added a stack of blue and green books to match my bird art print that I hung on the wall.
Lastly I added in a metal picture stand holder that I used to display a set of vintage garden flash cards that I had thrifted for $3 each.
As I was setting them out I realized they would actually be very easy to DIY and so I created a FREE printable for you! Please click HERE or fill out the form below if you’d like to print a set for your own garden and spring front porch decorating!
I recommend printing on an off-white cardstock to get the best replication of the vintage feel.

Saying Goodbye to This Porch
My final piece of news is that this might be the last post I share with this exact porch!
Don’t panic – we’re not moving! But this porch needs some serious TLC and we’re hopeful to work on that this summer. It’s going to involve demo of the existing porch and rebuilding it in a much more secure and even more beautiful way. I’m so excited to share the transition with you once it’s done!
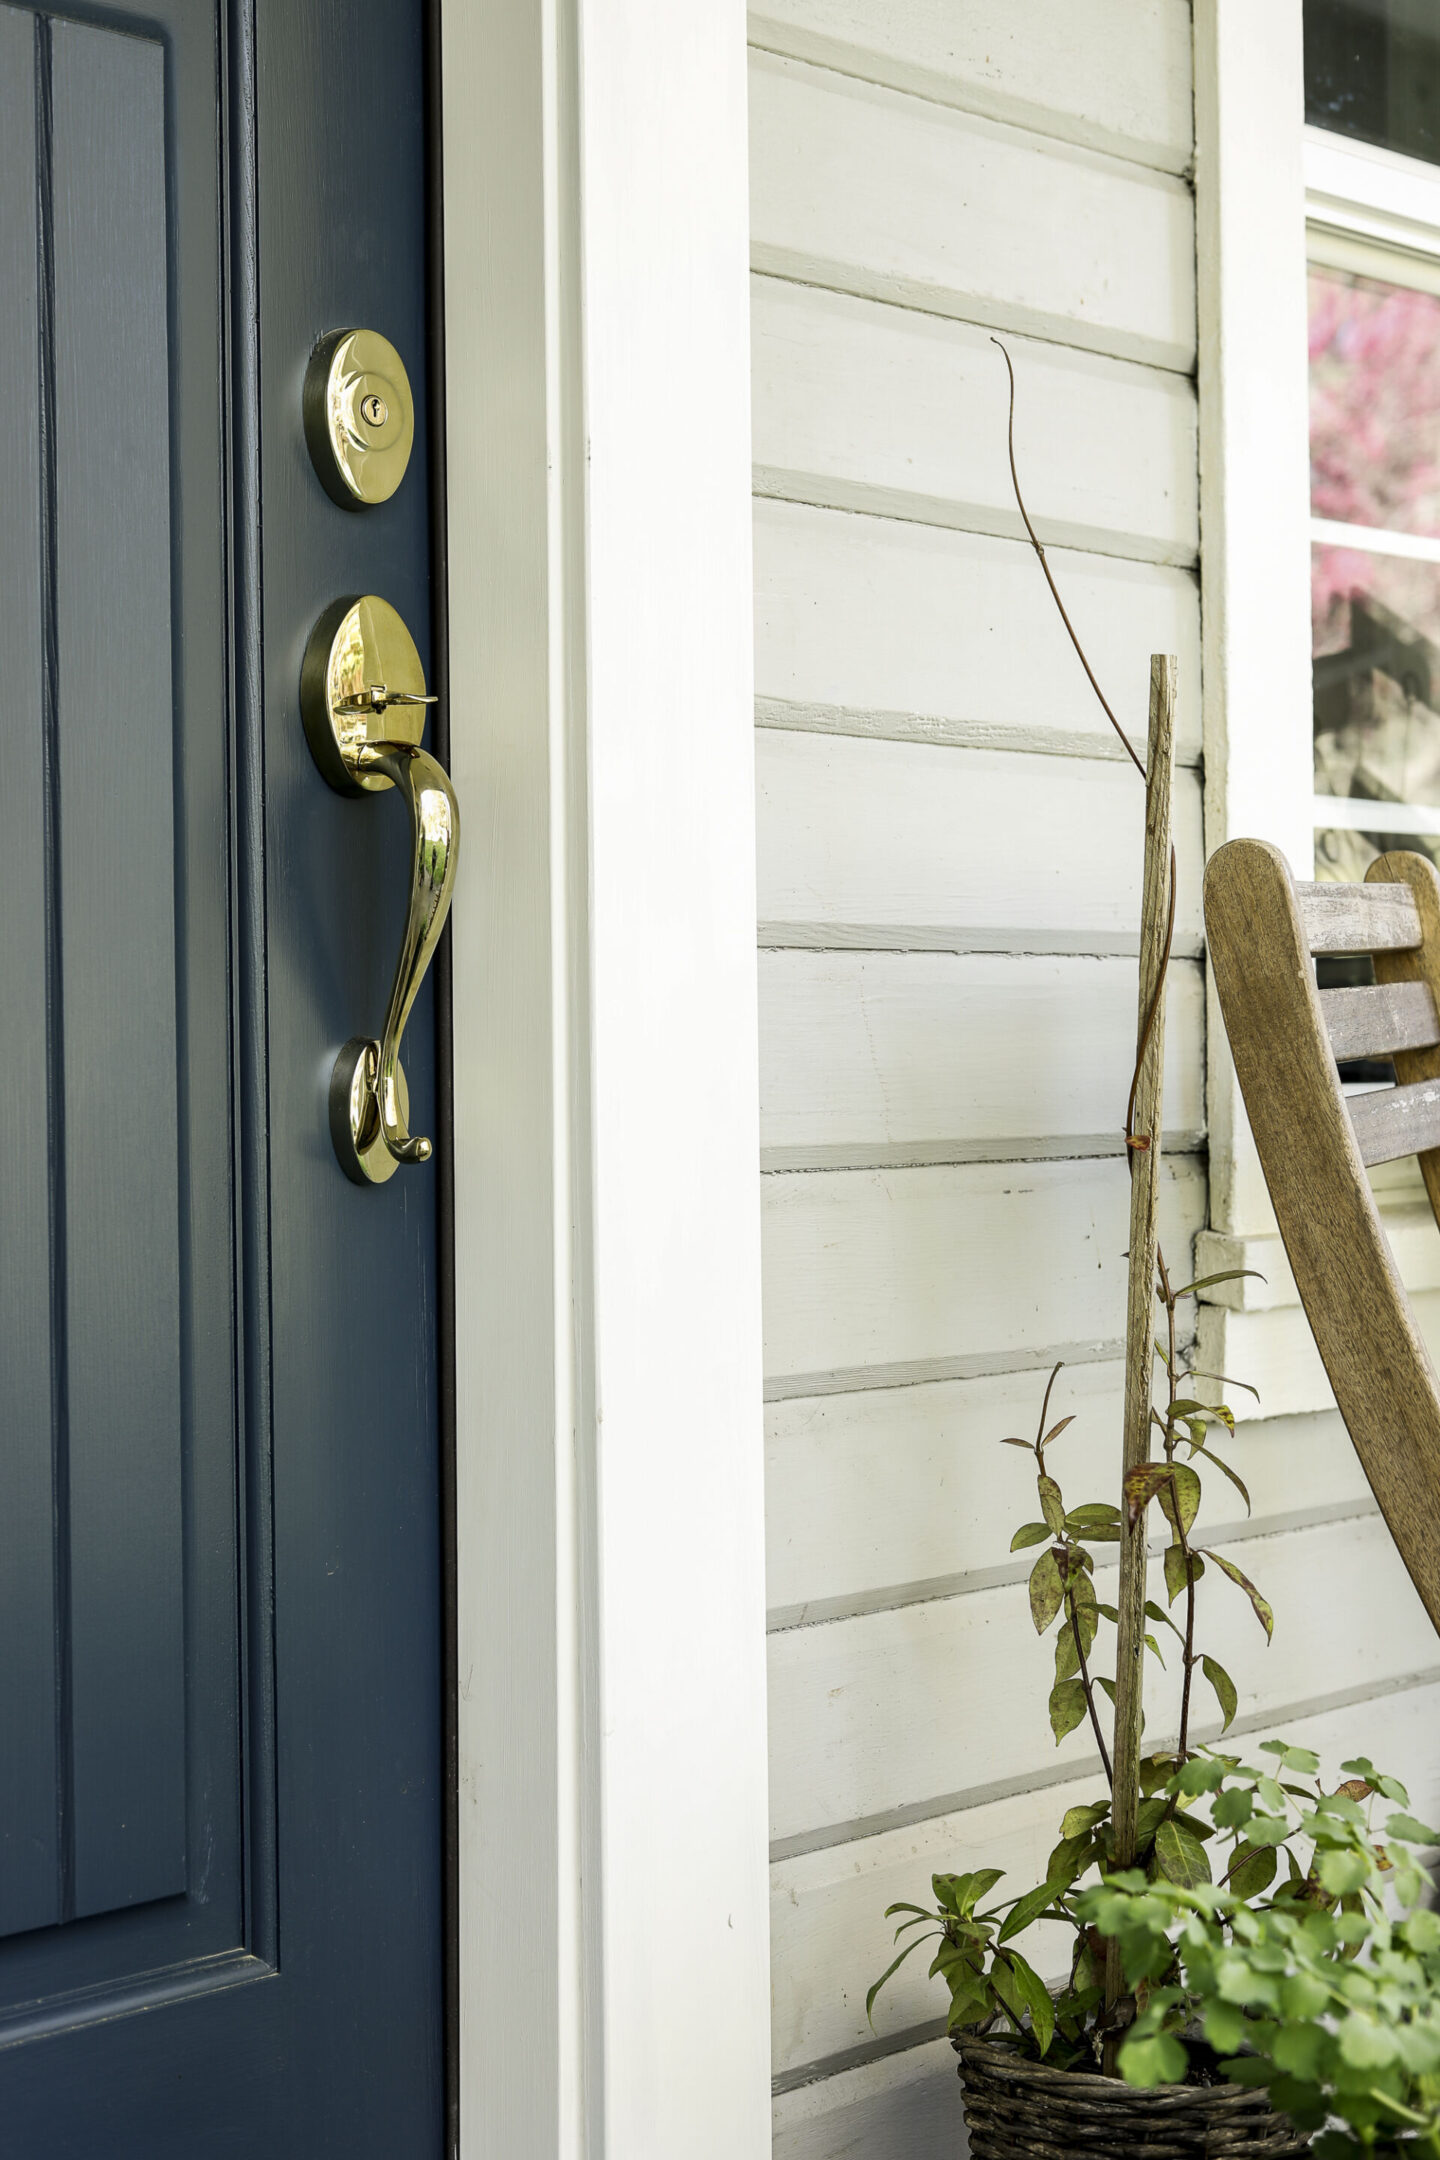
In the mean time, here are some more shots – for old time’s sake!
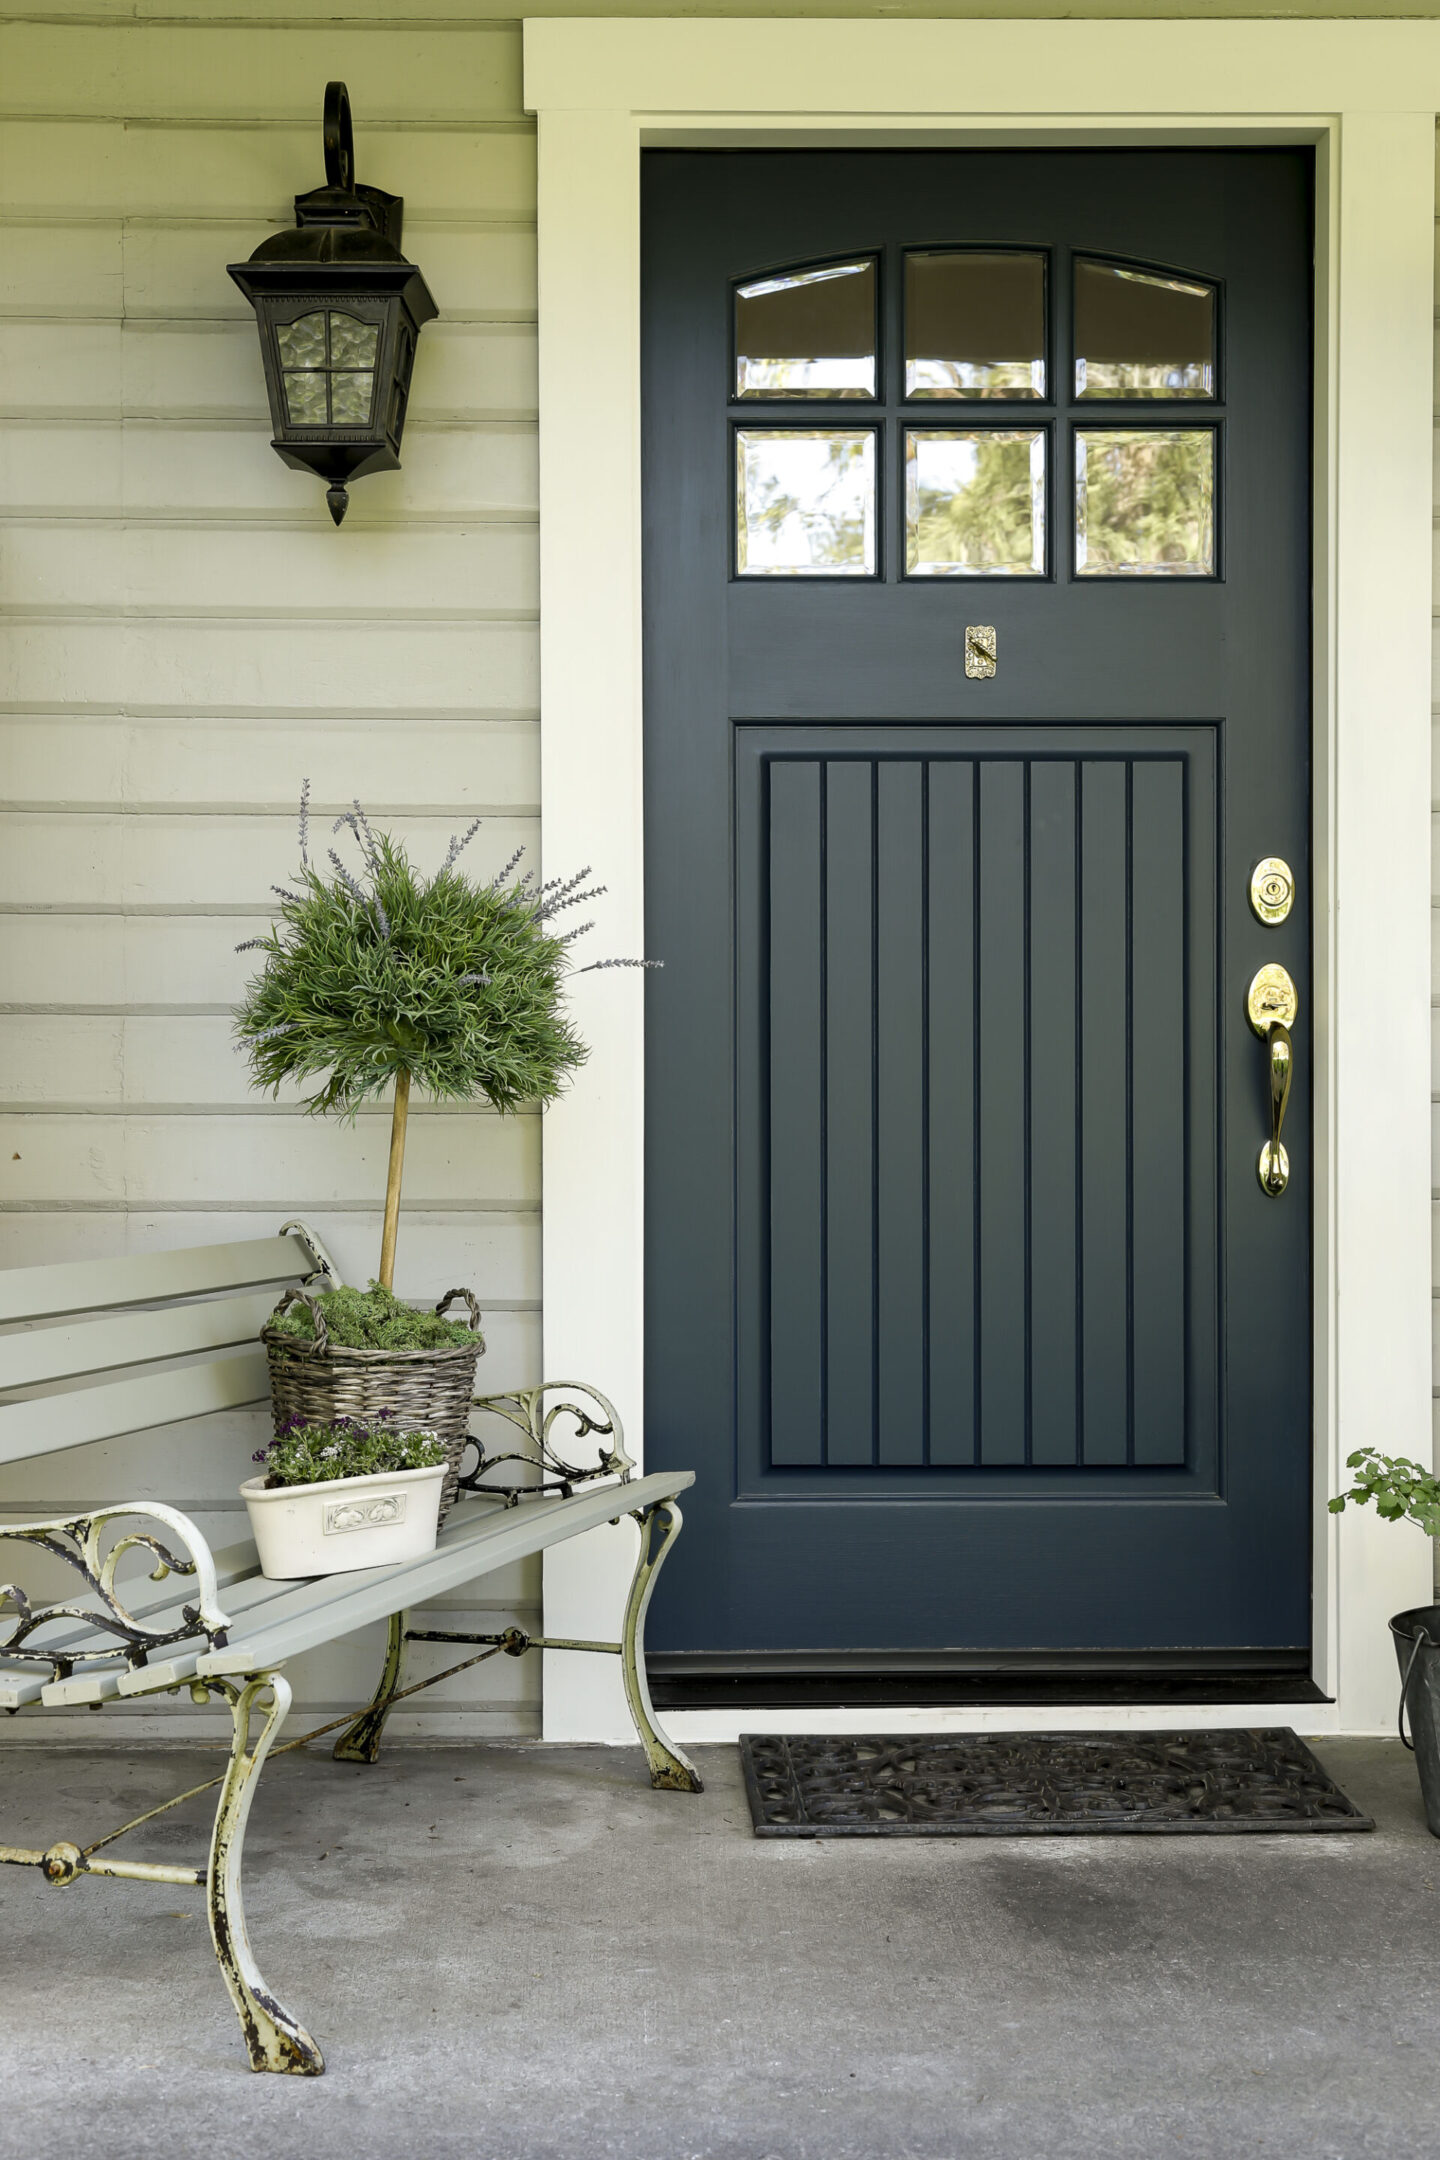
I get asked often about this door mat. It’s actually metal, and functionally has done an amazing job keeping up with many pairs of wet and muddy Pacific Northwest shoes and boots.
Don’t Forget about your Invitation to my Free Workshop!
Pin These French Garden Front Porch Elements for Inspiration:
