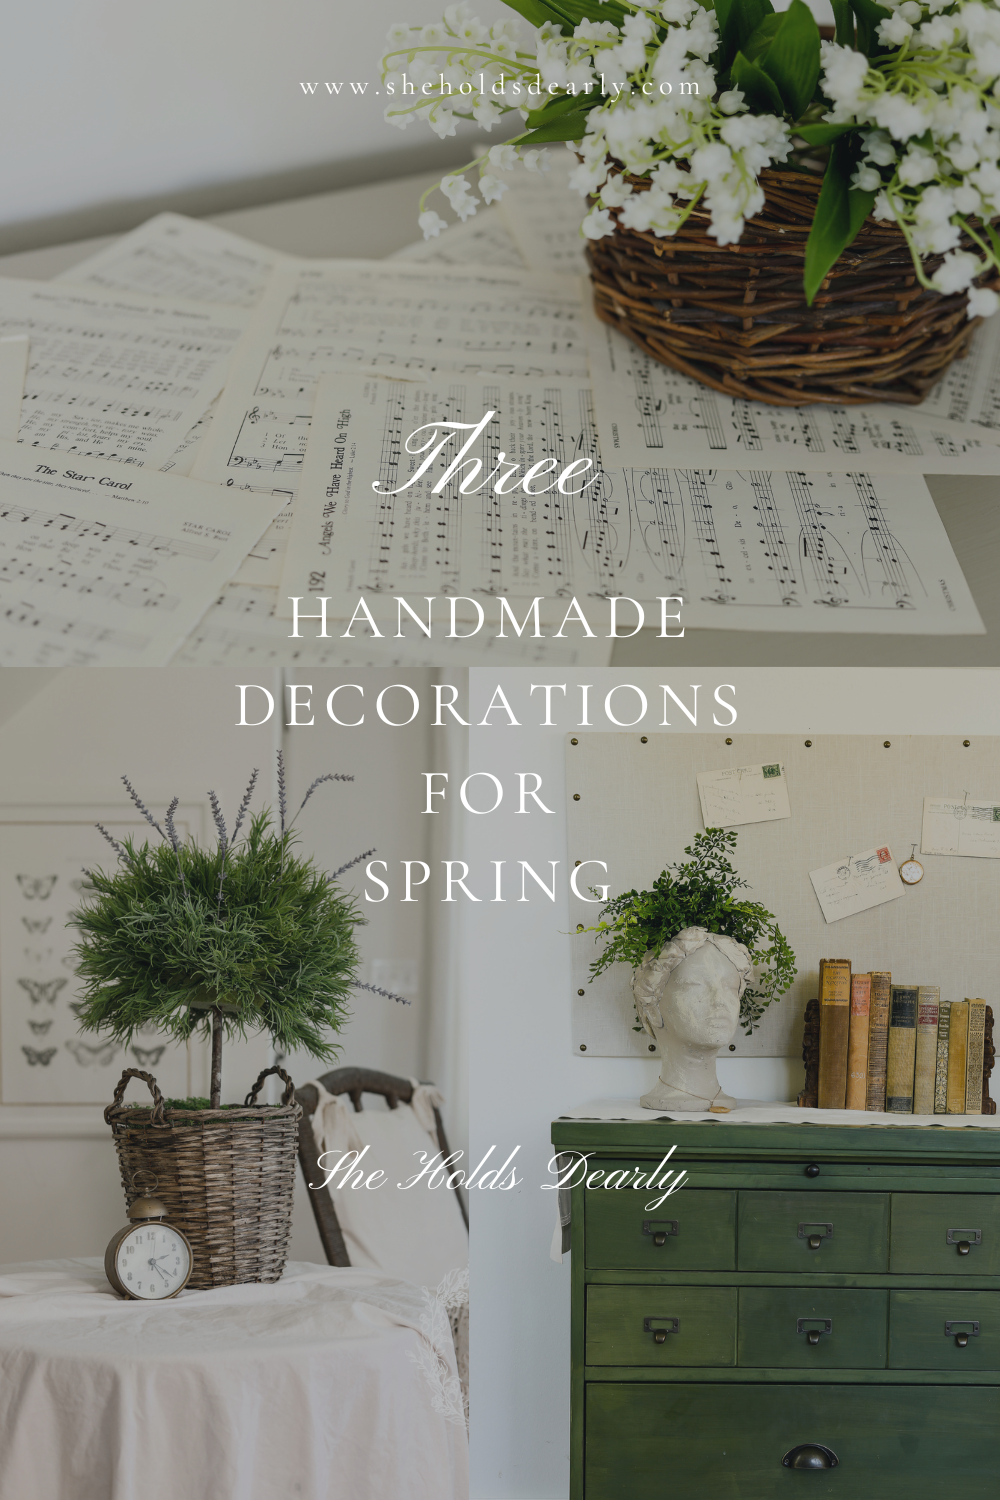
3 Spring Decorations You Can Easily DIY!
I love decorating for the seasons – and these 3 spring decorations have been on my mind to DIY for a little while! I hope you love them as much as I do!
These would be great options when you decorate for Easter, but would also look great throughout the rest of the season.
Read on for the simple DIY tutorials.
*This post contains affiliate links to products I know &/or love.
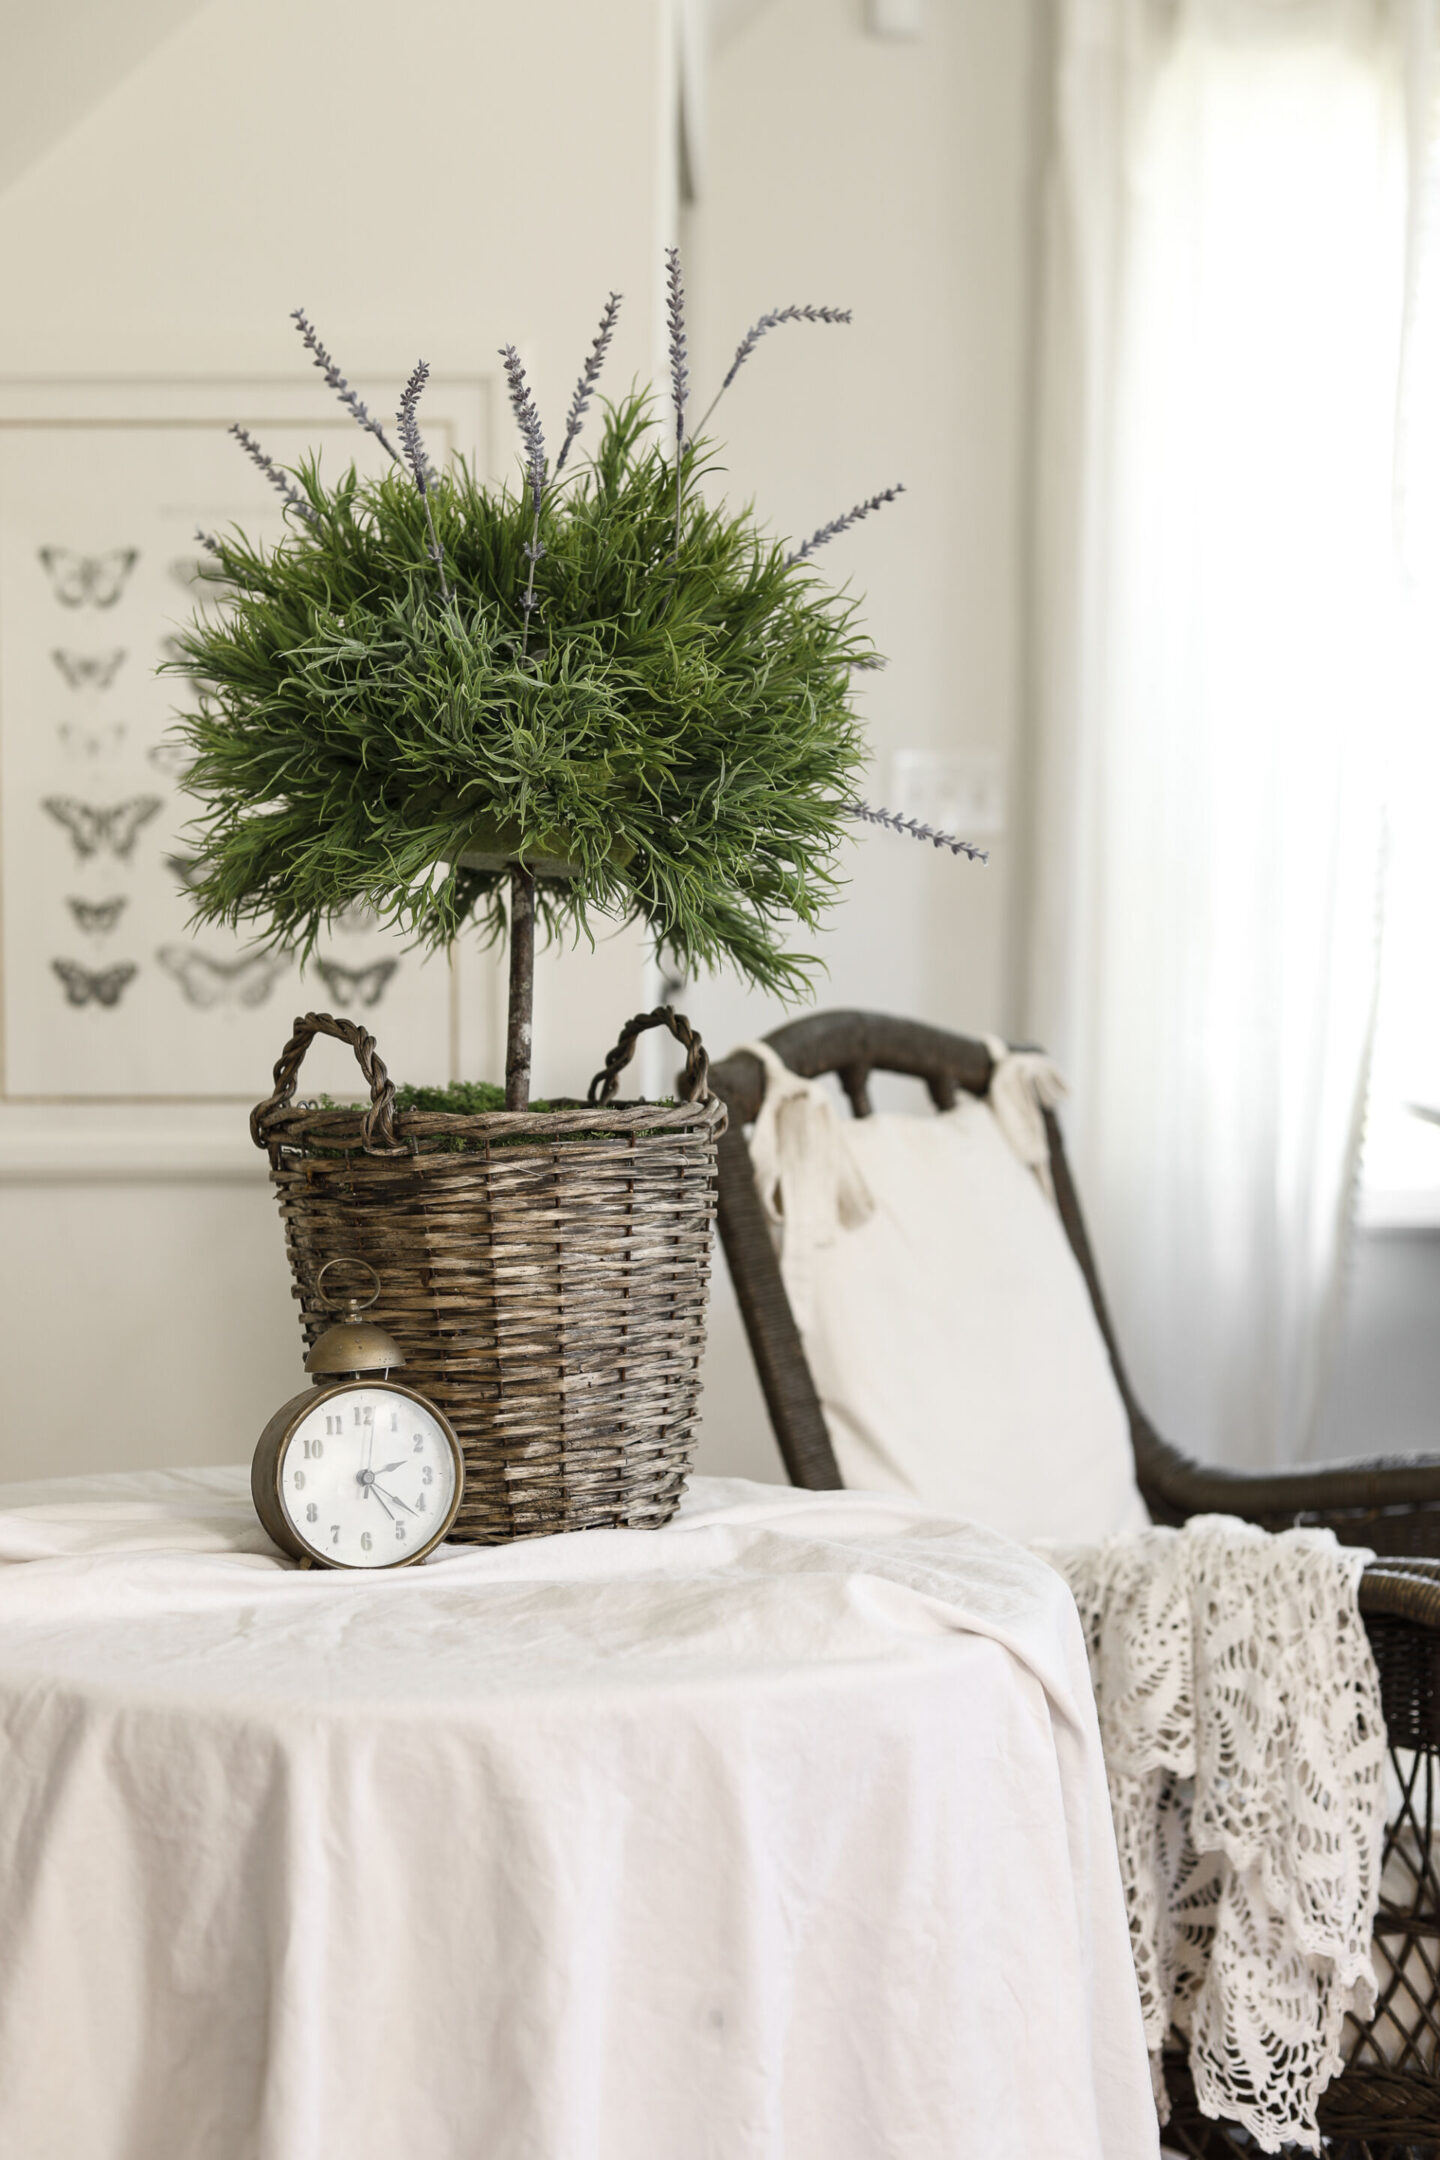
No 1. | Lavender Topiary
This lavender topiary was inspired by the ones that Costco sells around this same time of the year. I’ve purchased a few, but they’re $30 each, and I cannot keep them alive where I live – therefore, a faux topiary was the obvious solution!
Here’s what you need:
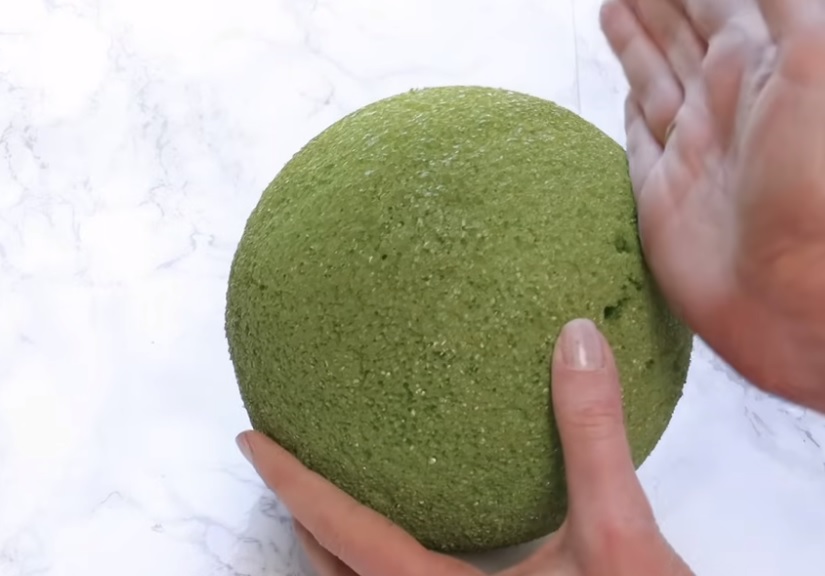
- Floral Foam Ball | I used the 5.6″ one from Hobby Lobby.
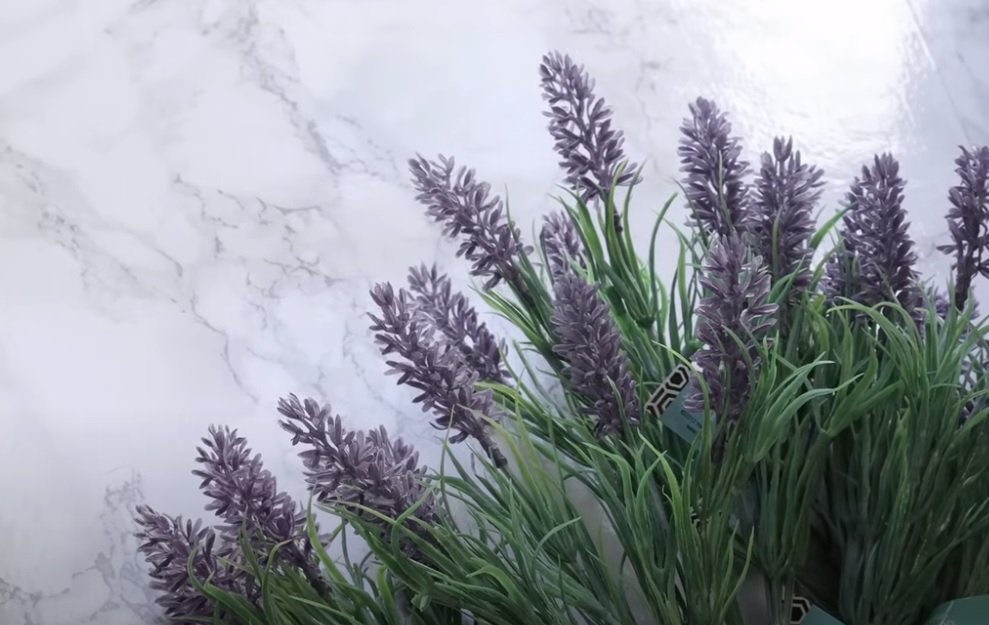
- Lavender Floral Picks | These from Hobby Lobby. You want to make sure they are wired so they’re easier to shape. I used about 43 total.
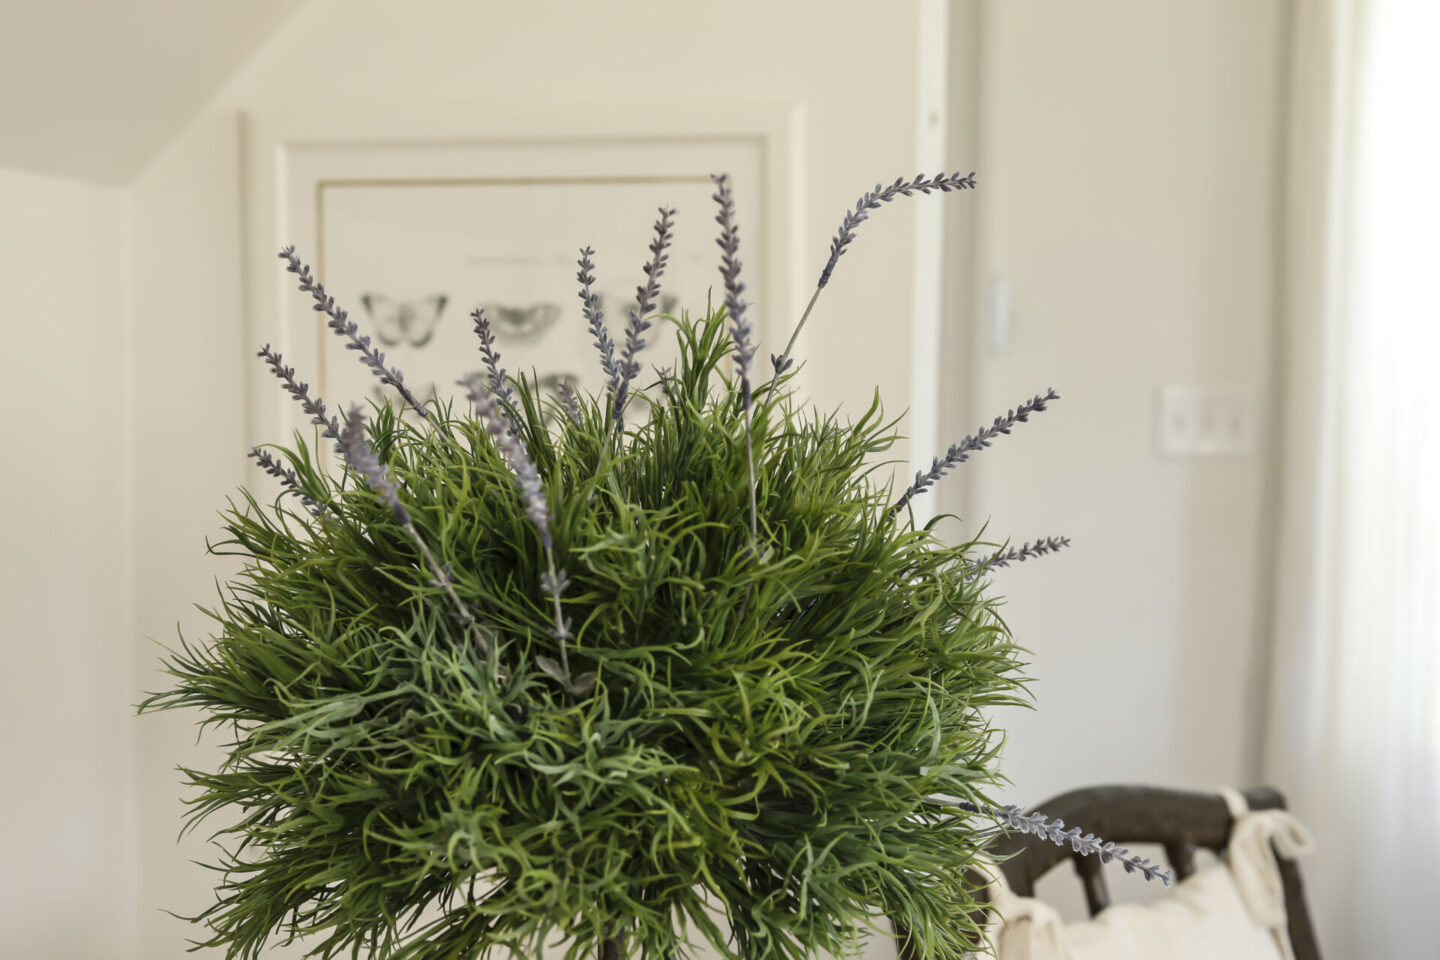
- Lavender Buds | I preferred the look of the buds on this flocked lavender.
- Rustoleum Spray | In the color “Eden“.
- Faux Moss | Optional, this is one I love.
And here’s how to put it together:
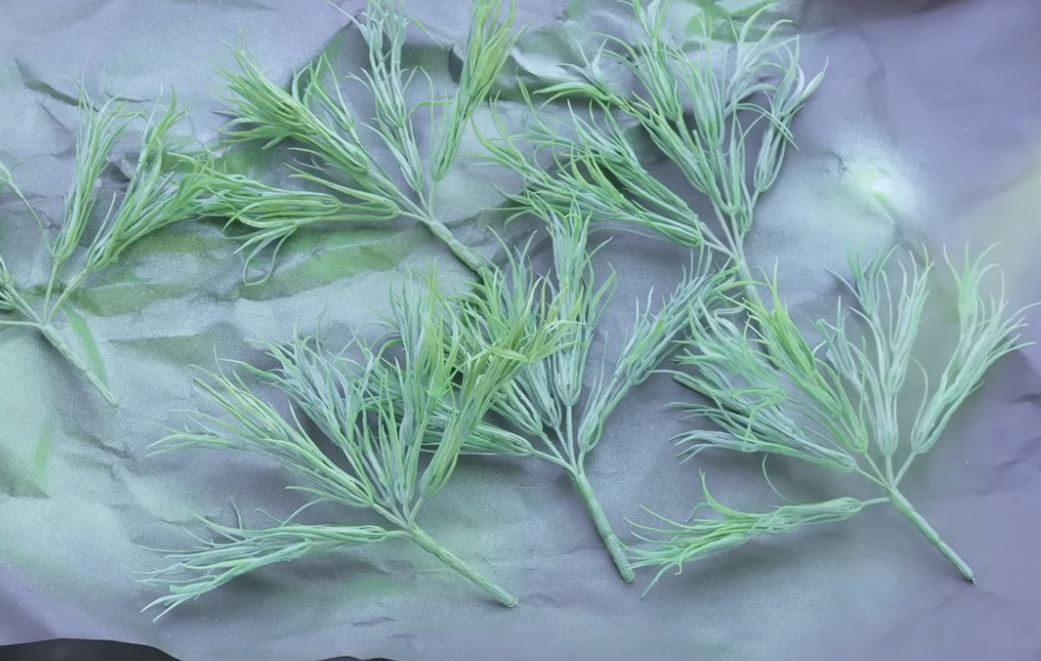
The first thing I did to prepare was to remove the lavender tops from the picks that I had purchased. I liked the leaves on the picks, but felt that the buds of the flocked lavender looked much more authentic.
I also removed the buds from the flocked lavender to have ready for the final step.
Then I spray-painted the leaves and the foam ball base with my “Eden” spray paint by Rustoleum. The colors were too bright straight from the store, and the Eden gives a more natural look.
I really like this shade of green and it’s one of the spray paints that I always keep some on hand to use on faux greenery.
I purposely did a light coat so that there was still some variation in the color on each piece.
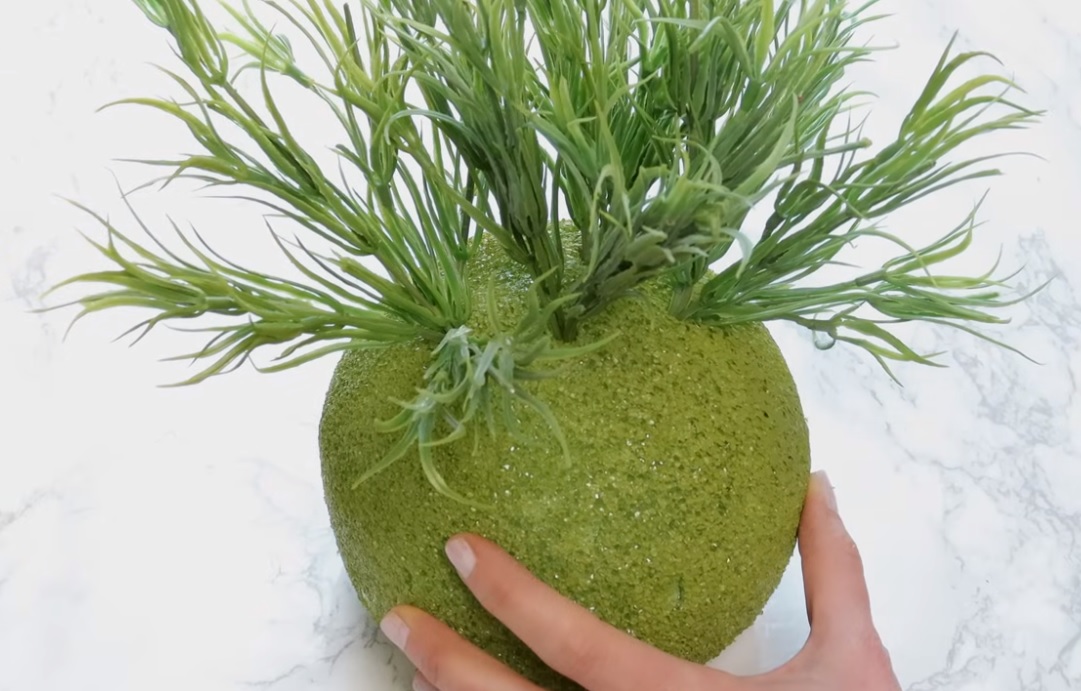
Then I took a serrated knife and cut about 1 1/2 inches off of one section of the floral foam ball to create a stable base to stand it on.
Next, you just stick the stem & leaf pieces in! I spaced them about 1″ apart over the entire surface of the rounded part of the foam ball.
For anything I stuck into the sides, I bent and angled them to face straight up – as if they were a real plant, reaching for the sun.
Once you have all of your stems and leaves placed, you’re ready to add in the buds. I cut the buds off with some extra length on the stems so that they could be securely pressed into the foam while still sticking out above the leaves.
The last step is assembling your topiary! I used a basket that I had on hand with another piece of floral foam in the bottom. Found a stick from our yard and hot glued that into the bottom of my round floral foam.
Then I covered around the base of the stem with moss for a more realistic topiary look.
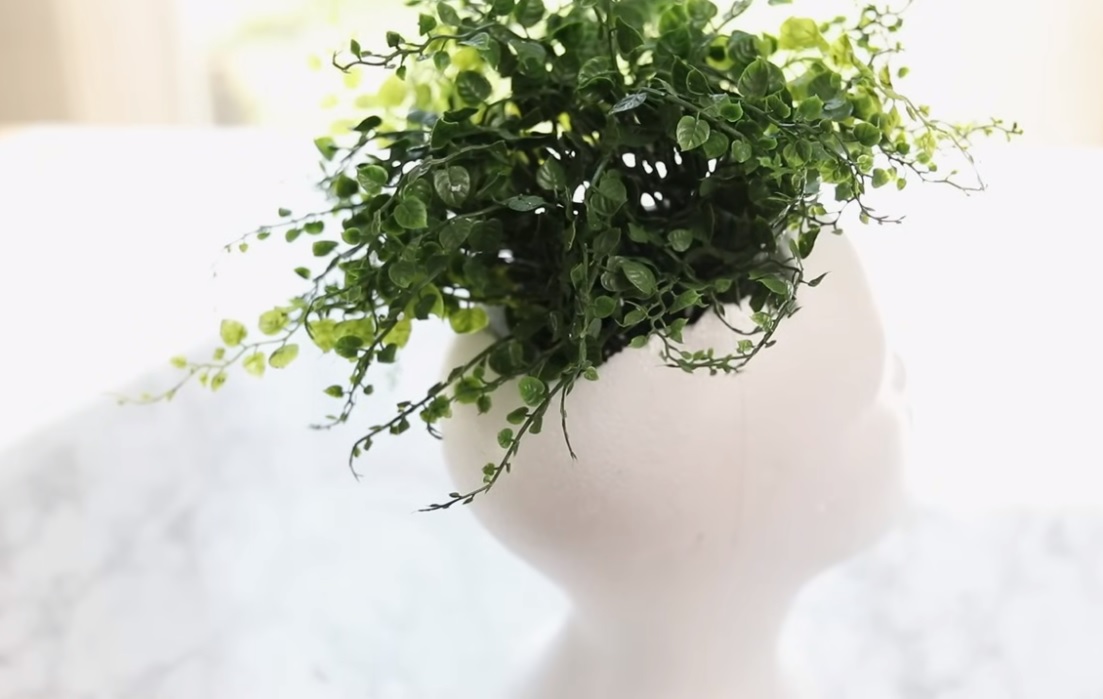
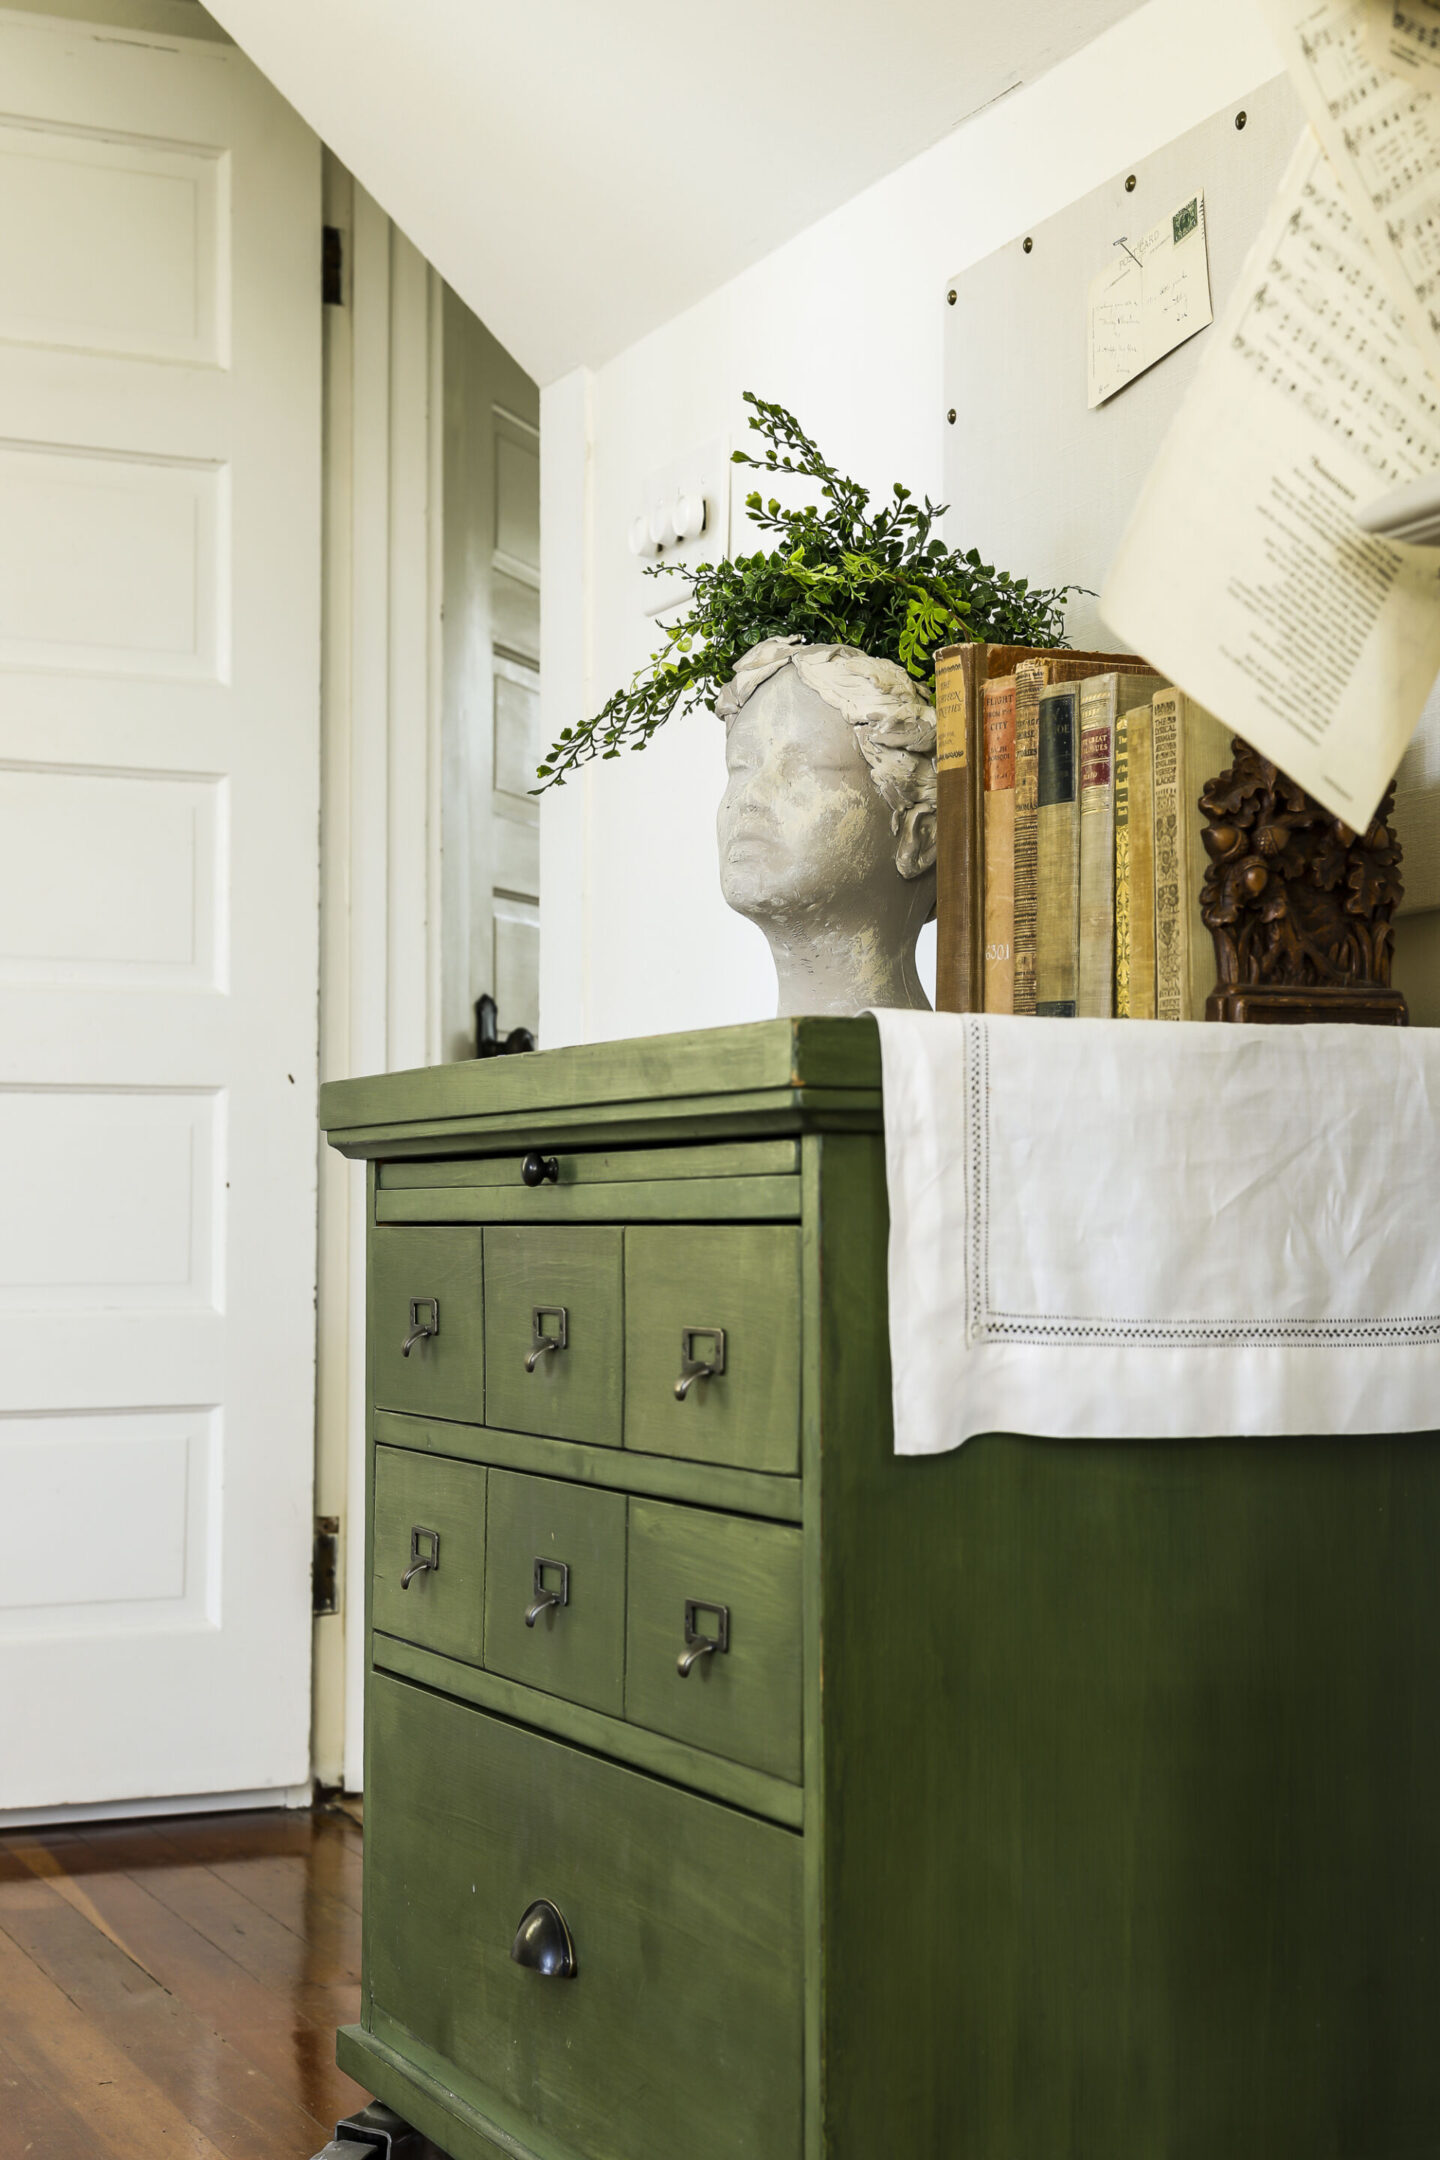
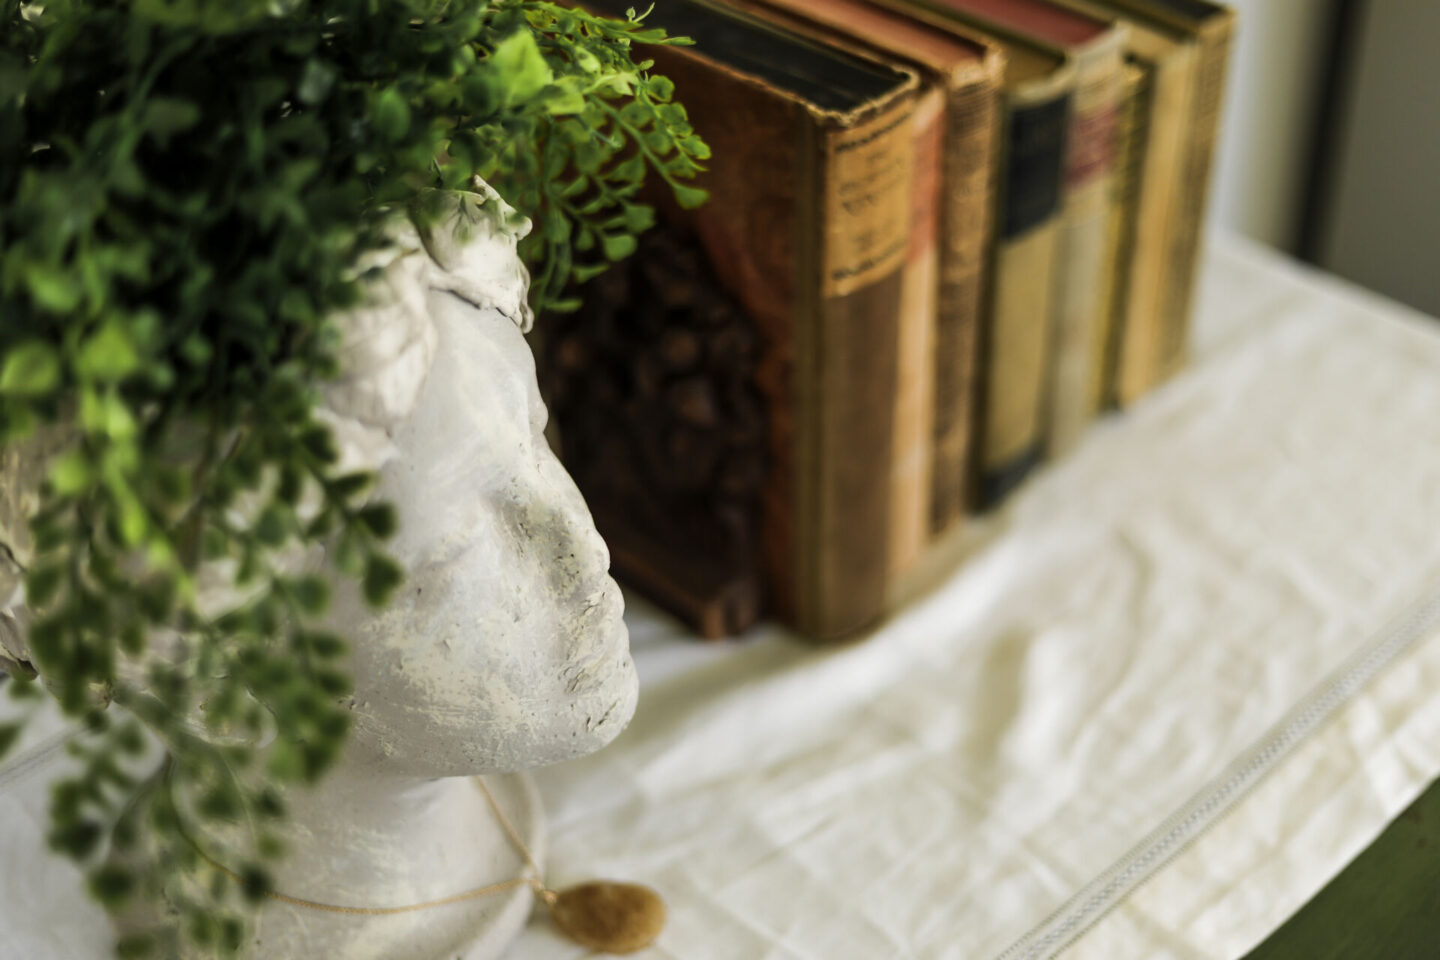
No 2. | Planter Bust
For this planter, I was inspired by this small cement bust planter from Amazon. I love the way she looks, but at $25 and only standing 6 1/2″ tall, it wasn’t a very practical option. I wanted something larger, but without spending $80.
Again, the solution: DIY!
What you need:
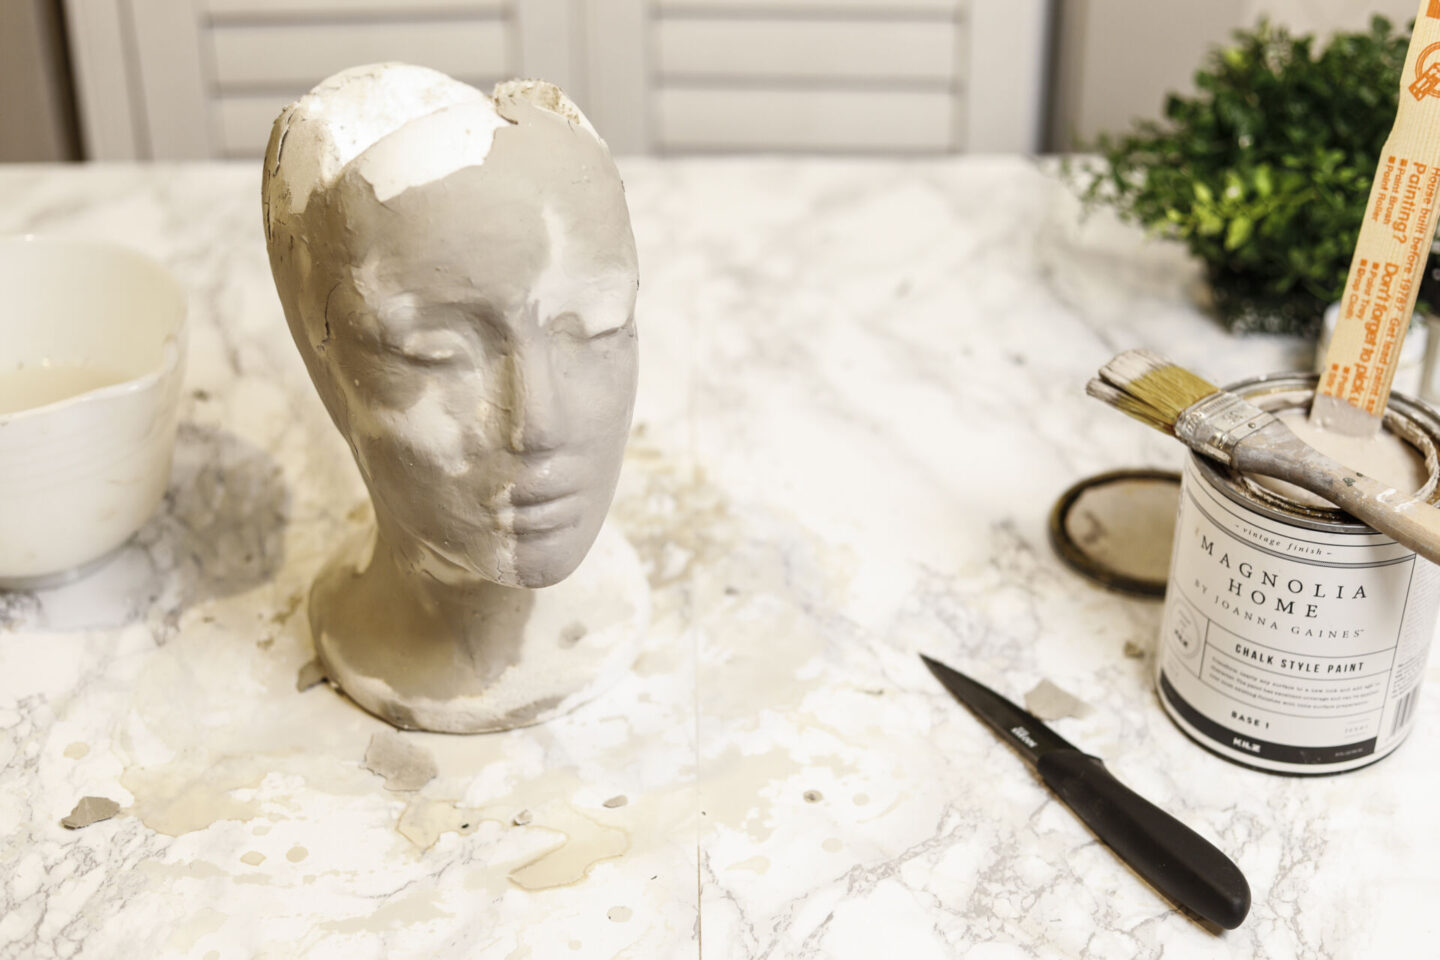
- Foam Head
- Modeling Clay
- White Air Dry Clay
- Chalk Paint in a Neutral Tone | I used Magnolia Home Paints in the color “Antiquing“.
How to Put it Together:
I had a mini faux “ivy” plant that I knew I wanted to style in the planter, so I measured and cut a block out of the back of the head form that would fit the plant inside. If you were wanting to make one with permanent “hair” and were using individual faux stems, you could simply place them into the foam like we did above for the lavender topiary.
Next, I tried using some modeling clay to make the base layer feel a bit more authentic. Unfortunately, as it dried, the clay just flaked off. So I removed all the large flakes and instead, found a nice neutral “cement” shade paint from my stash and used that for a nice base coat. It was Magnolia Home chalk paint in the color “Antiquing”.
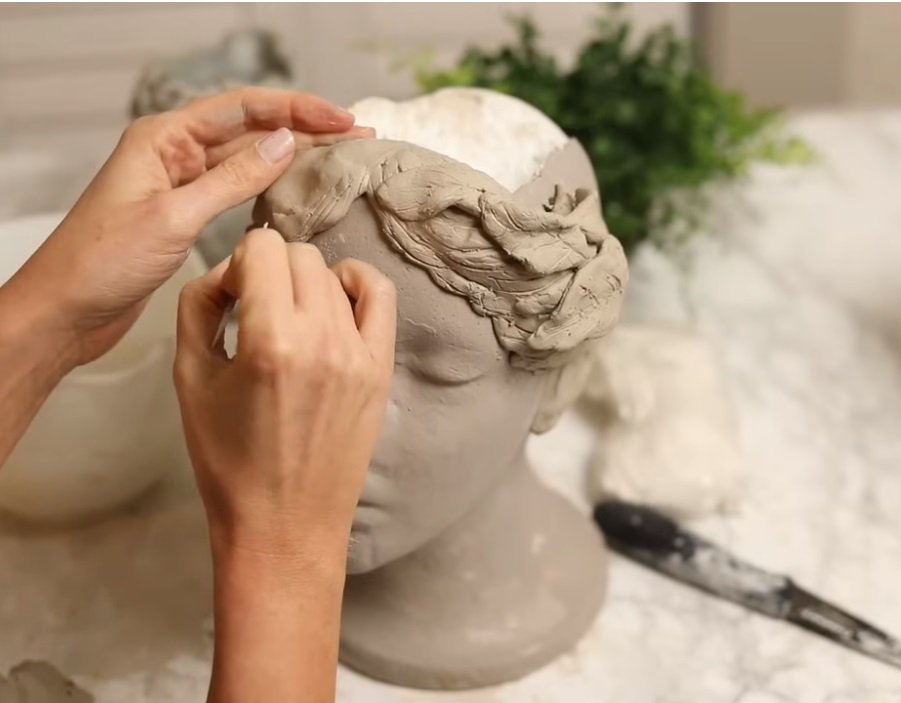
Then I started shaping the clay into hair and a laurel leaf wreath for her head. I used the mini bust on Amazon as my inspiration and shaped the pieces with wet hands to smooth edges and make it easier to manage.
After I had a pieces in place and I liked the shape, I went back in with a tooth pick to add detail and textures for both the hair and leaves.
After letting it dry overnight, there were a few cracks in the clay. I used a second product, Nara Air Dry clay to fill in those gaps and left it to dry.

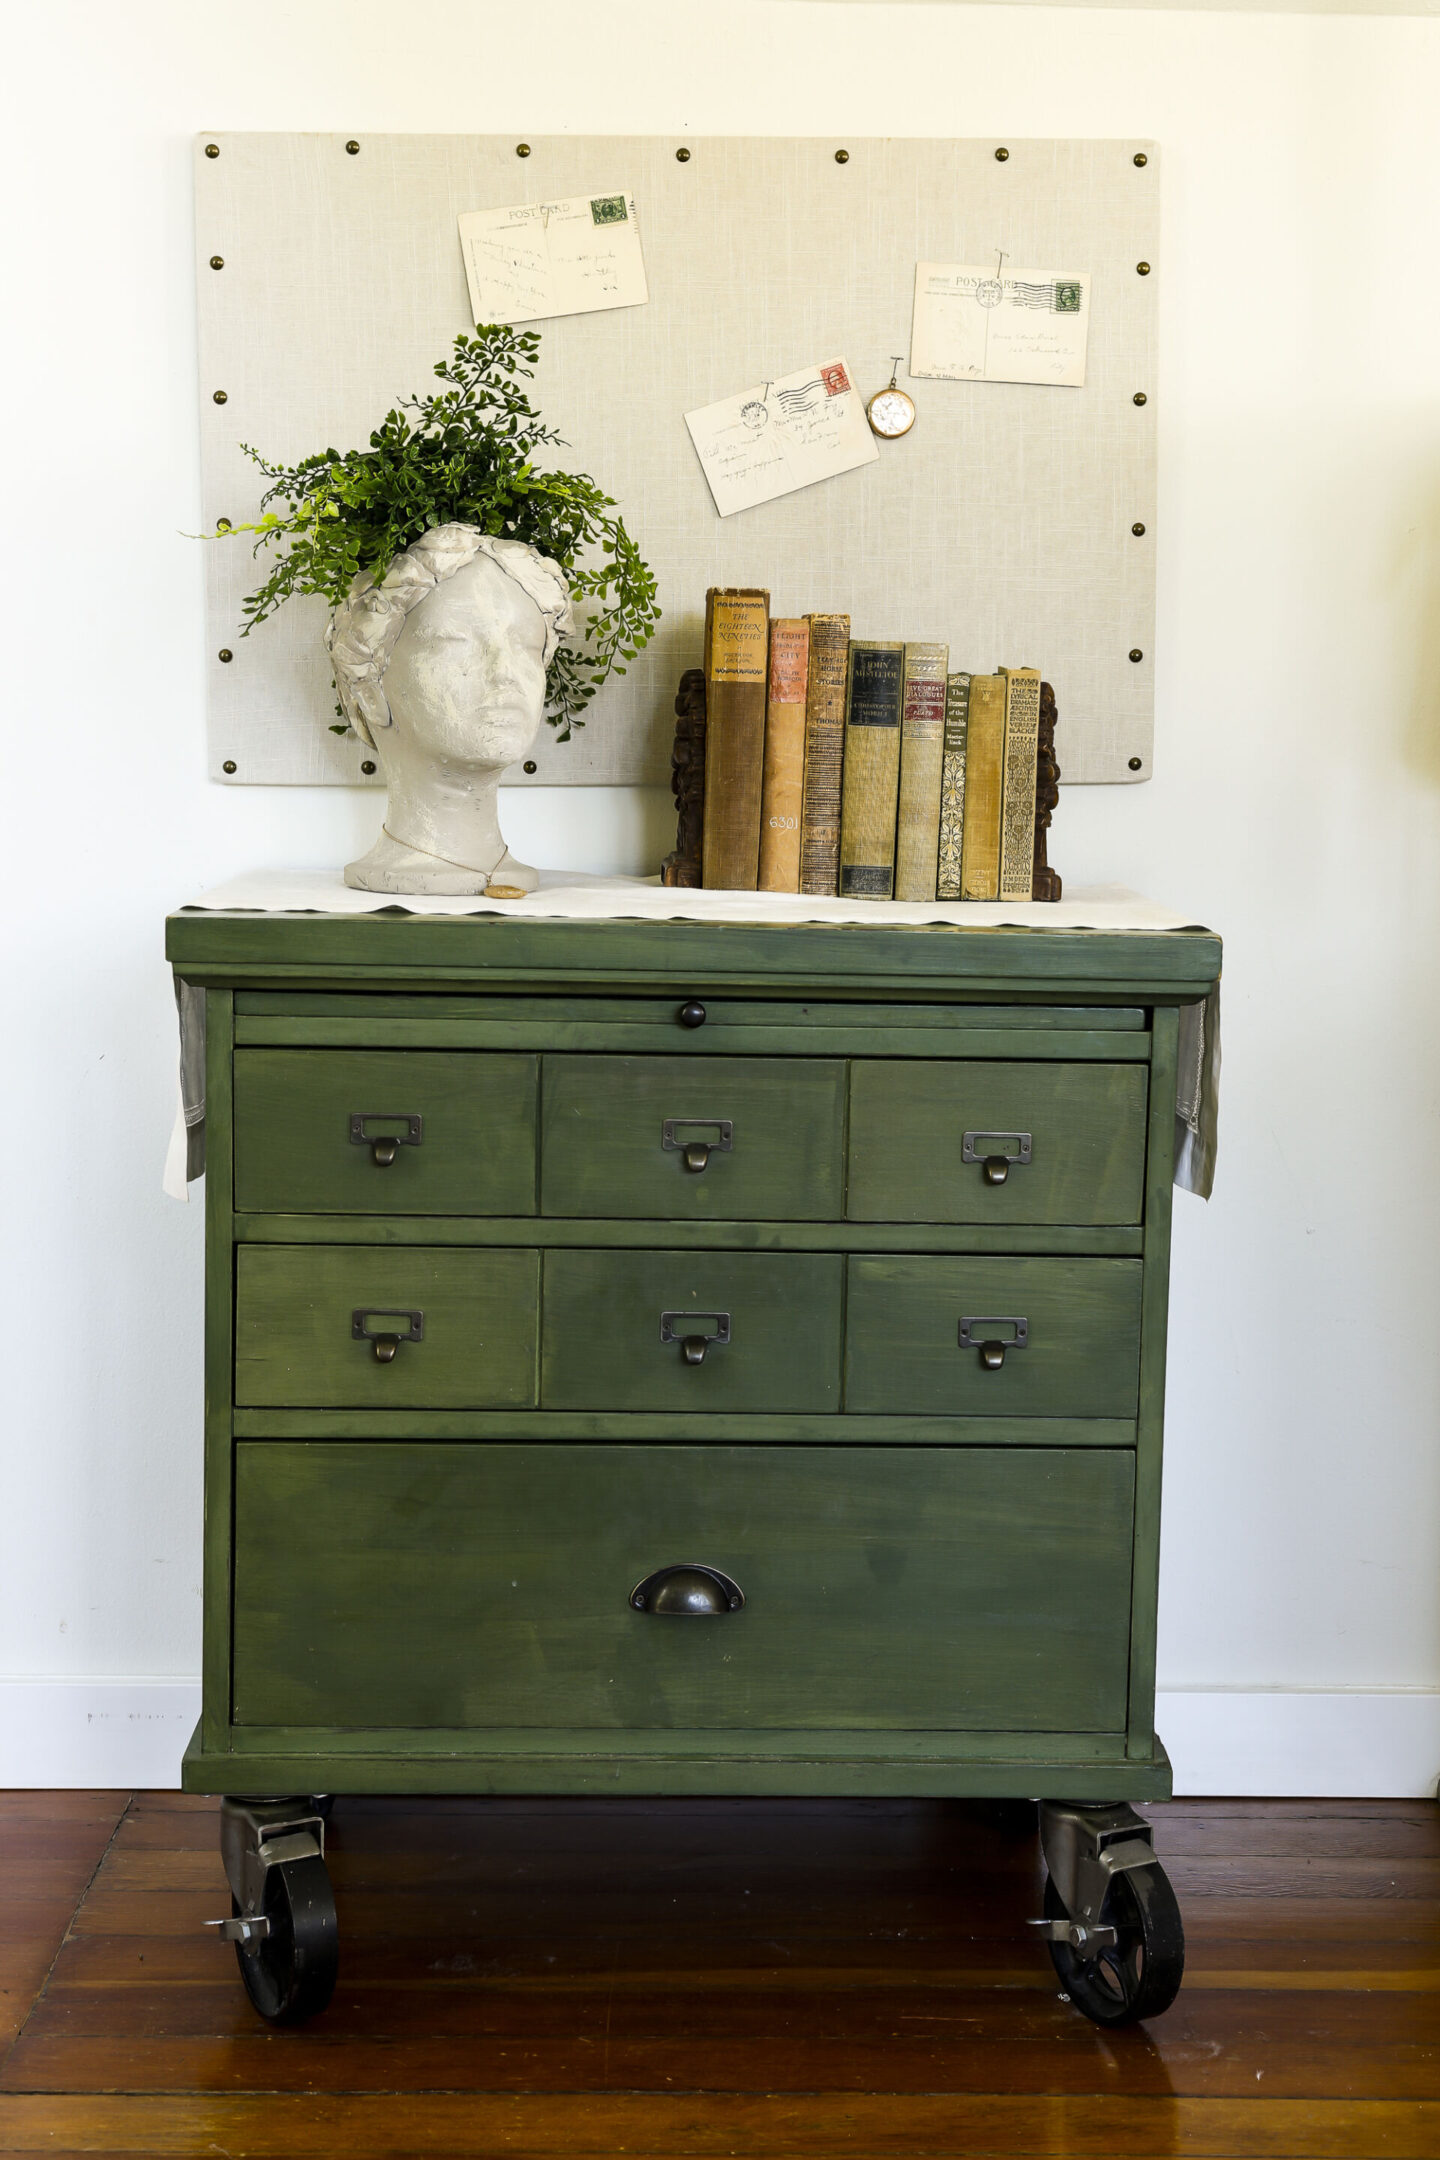
The final step was another coat of the “Antiquing” chalk paint and then placing the plant inside!
If you wanted to, you could add some dark antiquing wax to create additional dimension and shading, but I chose not to on mine, because I felt like there was enough variation in the different clay & painting coats!
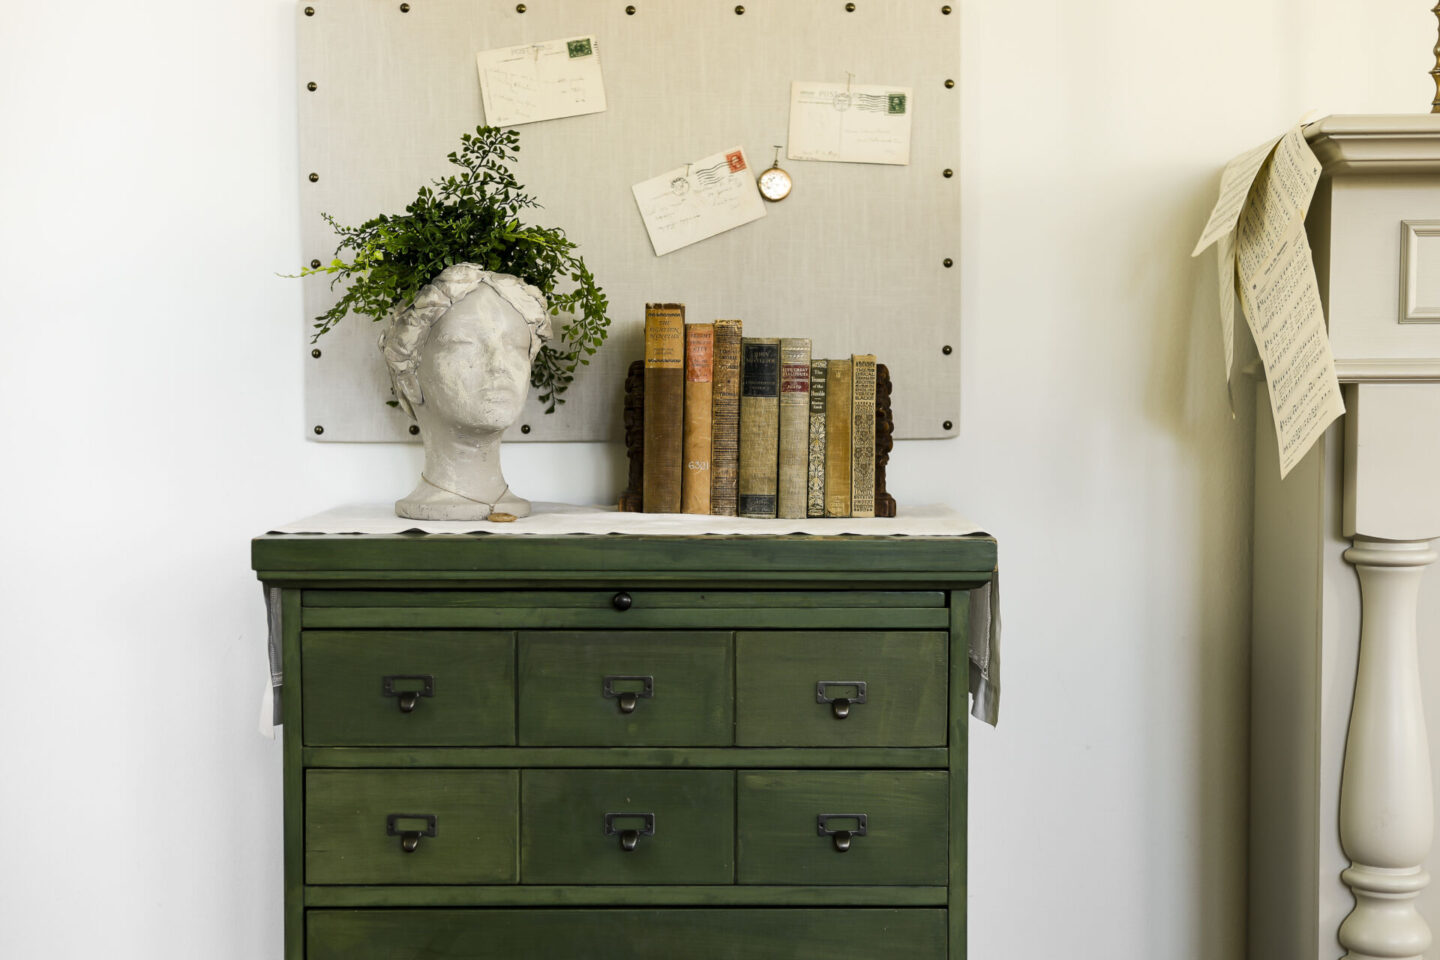
I’m so pleased with how she turned out, and I can just about guarantee you’ll see her styled in different ways throughout my home in the coming years!
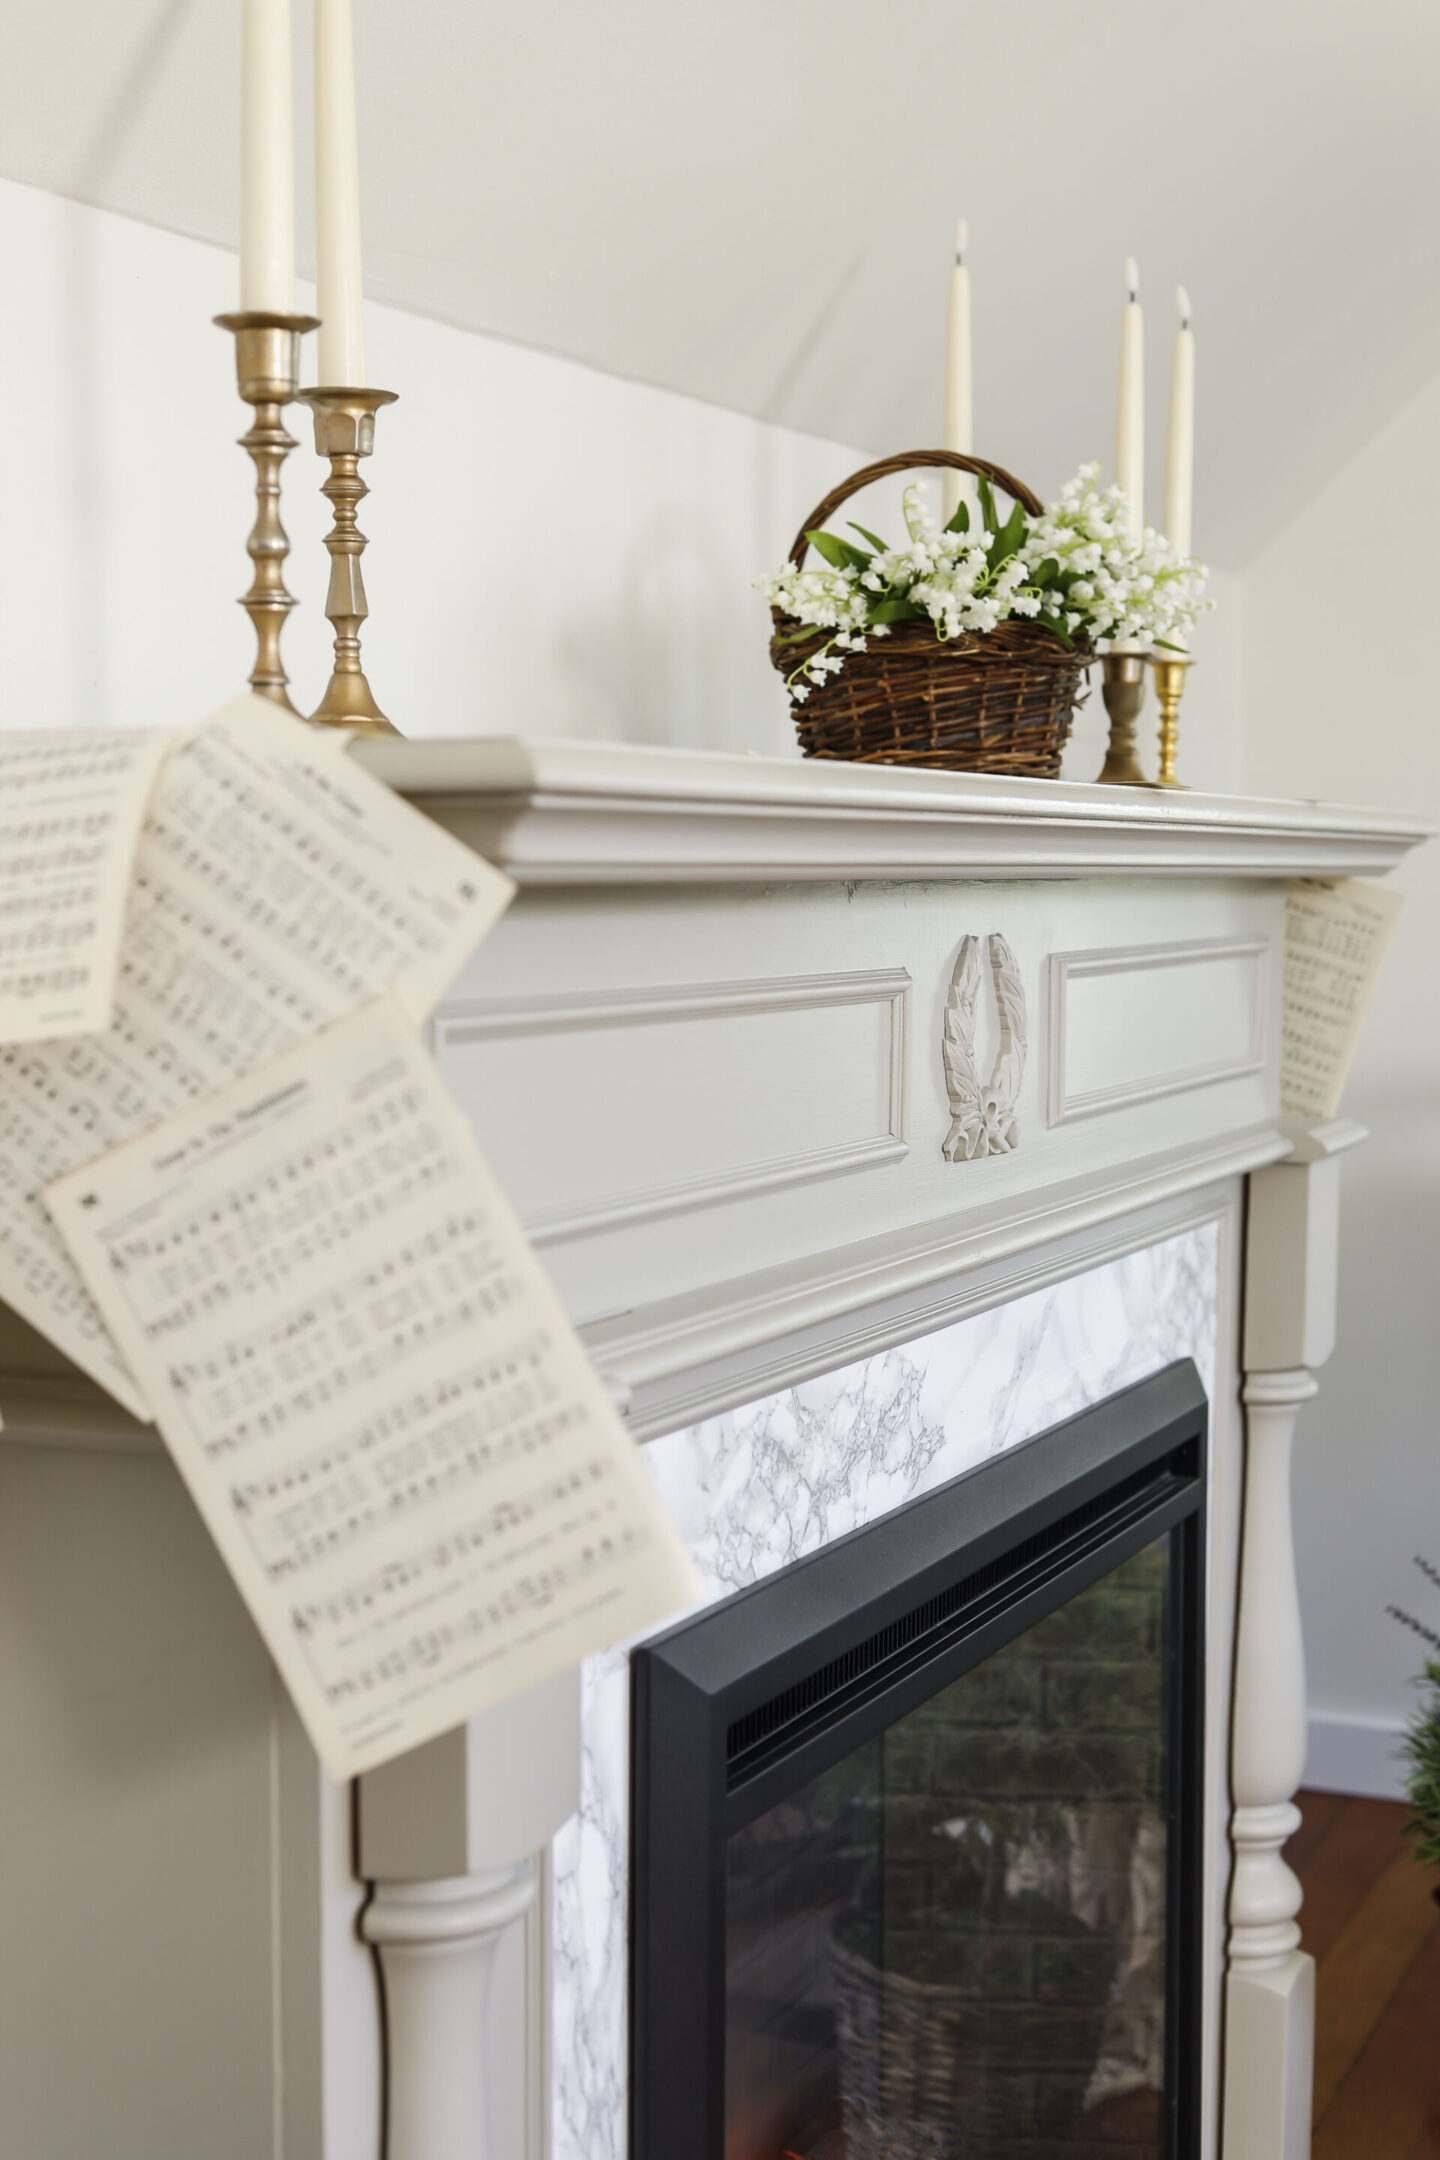
No 3. | Book page Table Runner
I’ve used this idea before, most notably during my daughter’s Pride & Prejudice birthday party, but that time I did it with actual book pages. This time, I had an old hymn book that was starting to fall apart, so I decided to use that – it felt like the perfect option for both Easter & spring decorating.
What you Need:
- Book or Hymn Pages | I found my hymnal thrifting, but you can also find them on Etsy!
- Clear Tape
- Hot Glue Gun & Glue

If you’re doing this inside, away from the elements, it’s a super simple process! And it’s only slightly more tricky if you’re working outdoors and worried about wind! ‘
When I did this for my daughter’s party, I made a runner down the center of a 12′ long table, and used about 200 pages – if that gives you an idea of how many you’ll need.
The idea is simple, just start laying them along your desired space. I make sure to flip and spin the pages and to alternate between titles being seen and the bottom of the pages – to make it feel more authentically “strewn”.

I didn’t tape down any of the central pages across my mantle, but I did tape a few near the ends to achor down the pieces that I wanted to cascade over the edge and down the side. The ones that are hanging vertically are attached to each other with hot glue.
Someone commented on the YouTube video that they had done something similar, but they had used a long piece of paper underneath and had anchored the pages to it so that they could simply roll it up when they were finished and use it again and again – isn’t that genius?
I just love how inexpensive this is as a spring decoration, while still being incredibly impactful visually – and being a great conversation starter!


I hope you’ve enjoyed these easy DIY Spring Decorations!


Related Posts:
- 5 Elegant & Creative Uses for Spring Flowers
- Spring Bedroom | Room Refresh
- 6 Spring Inspired Porch Decorations
- Decorating for Spring Inspired by A Garden
- Styling Thrifted Decorations | Spring Edition
Also, if you like to Pin on Pinterest, I’ve got some great inspiration there: Easter Decorating Ideas & Vintage Spring Inspiration.
Pin these Spring Decorations for Later: