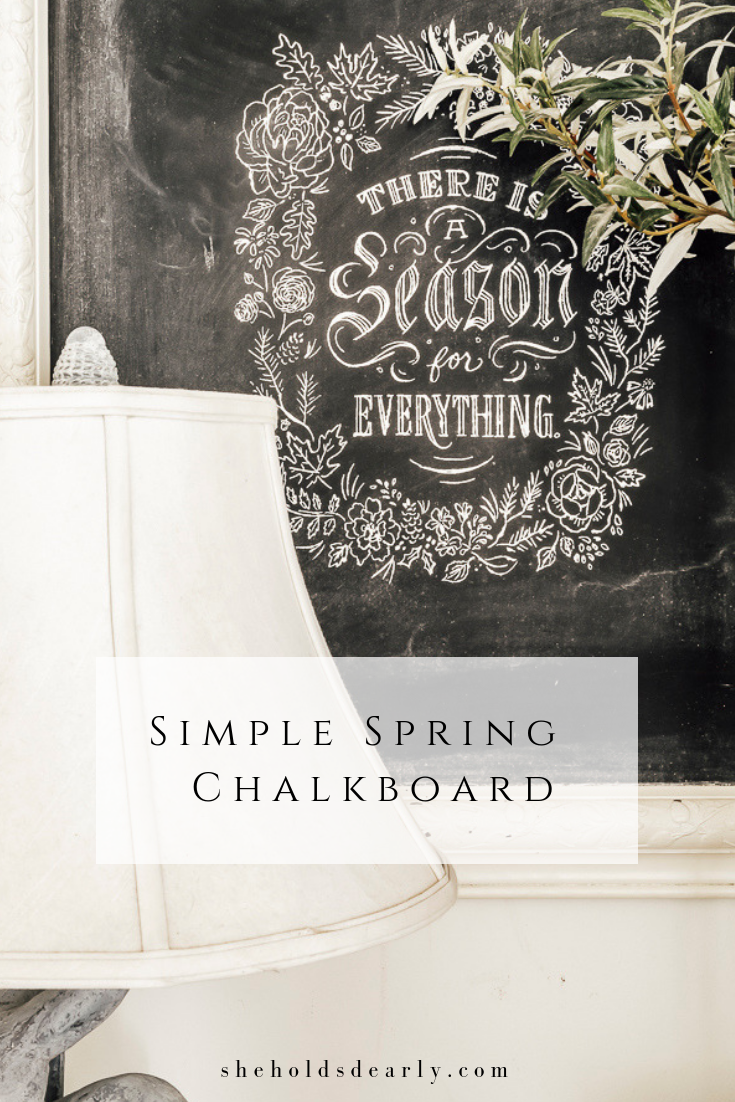
Designing a Simple Spring Chalkboard
Before we get started, I want to thank my friend, Jen from Noting Grace for hosting this “I DIY’d That” blog hop and welcome you if you are visiting from The Homemaking Mama!
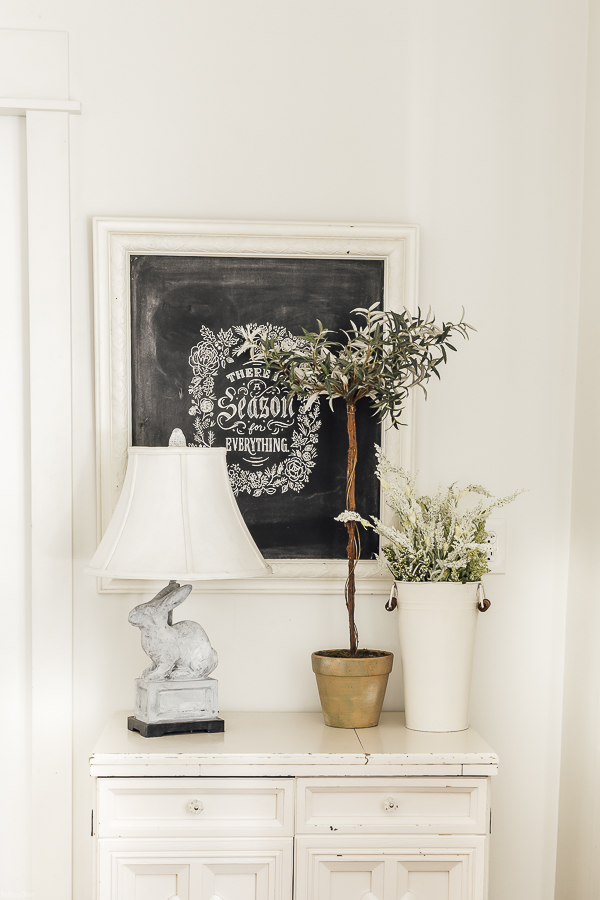
One of the best ways to update your home for the seasons is to change out the wall decor. And since changing out said wall decor could easily be a quarterly project, I’m all for inexpensive solutions!
Enter the chalkboard. For as trendy as it has been this last decade, I see it still playing a lead roll in classic farmhouse home decor and for good reason.
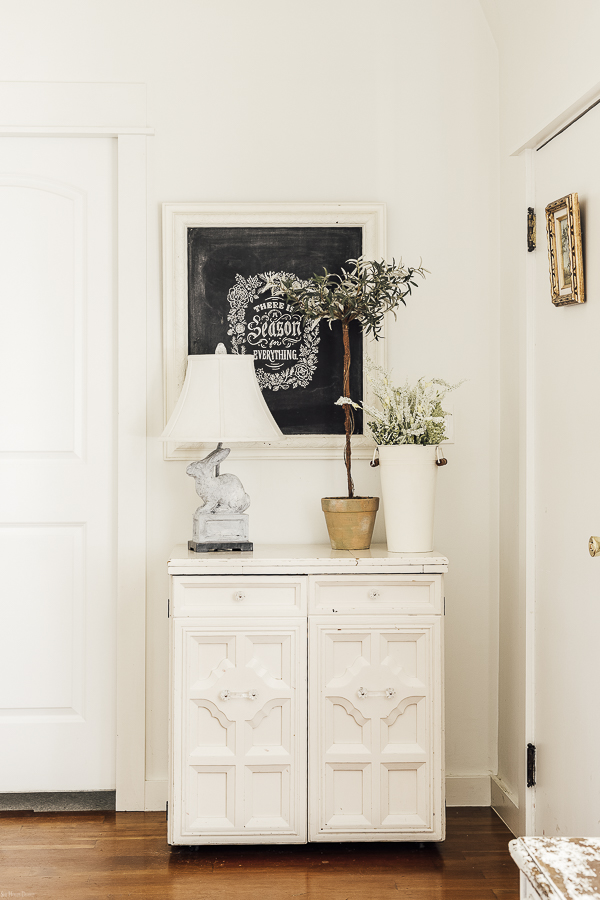
The pop of black and infinite versatility make it a favorite among diy decorators.
Now comes the hard part, though, how to make the art look amazing and not like a second grader did it. (No offense second graders!)
Some of us are blessed with a steady hand and an artistic flair, sadly, I do not count myself among this talented group.
For me, it better be crazy simple or I am going to need to form of help.
Side note! One of the very first blog posts I wrote on She Holds Dearly was entitled “How to Write Anything on a Chalkboard” and I share a transfer method trick that works well. Oh wow, the photography is a tad bit embarrassing now.
Anyhoooo, I since have discovered an even better method for creating flawless chalkboard art, providing you like the designs.
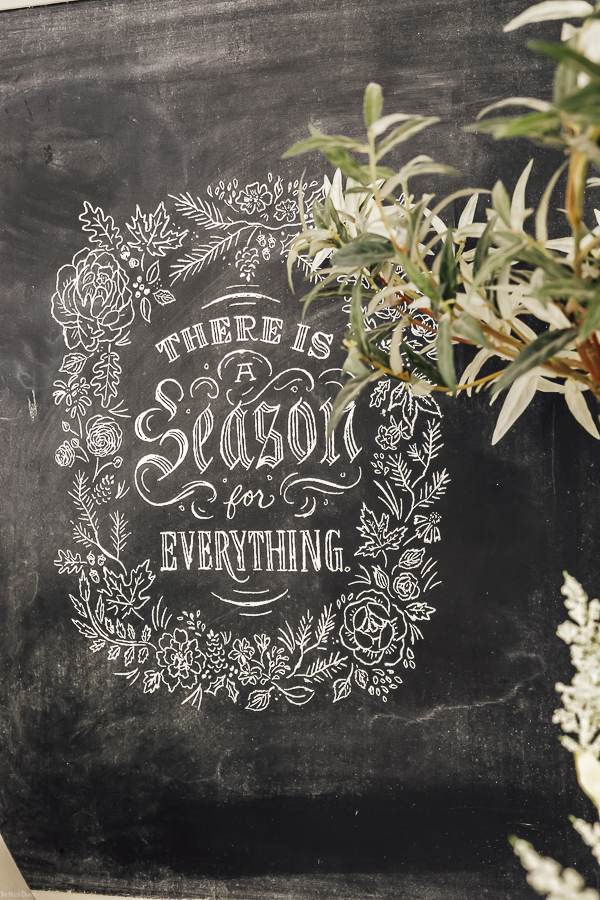
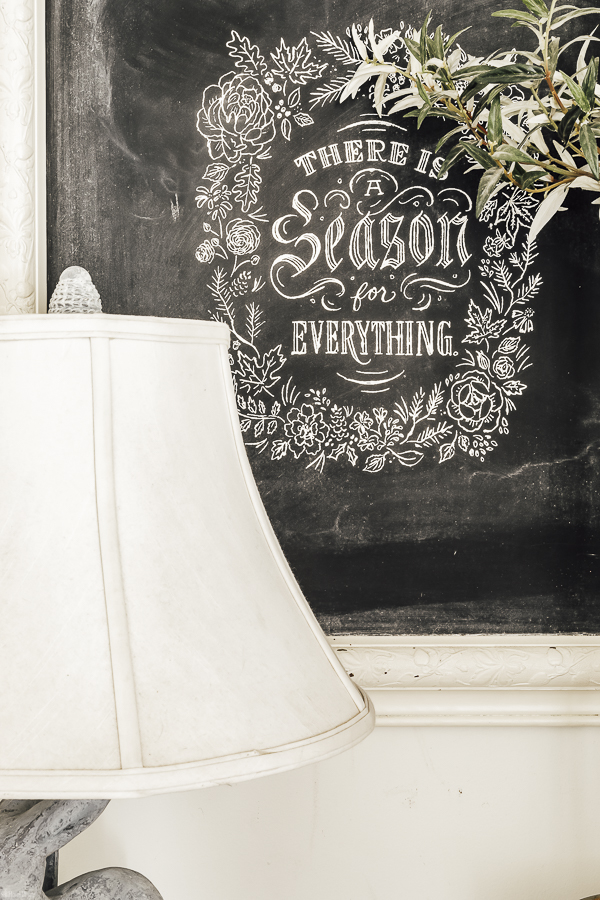
Amy Howard created a line of re-useable mesh stencils that create incredible smudge- proof, highly detailed designs every time.
Simple Spring Chalkboard
*This post contains affiliate links to products I know &/or love.
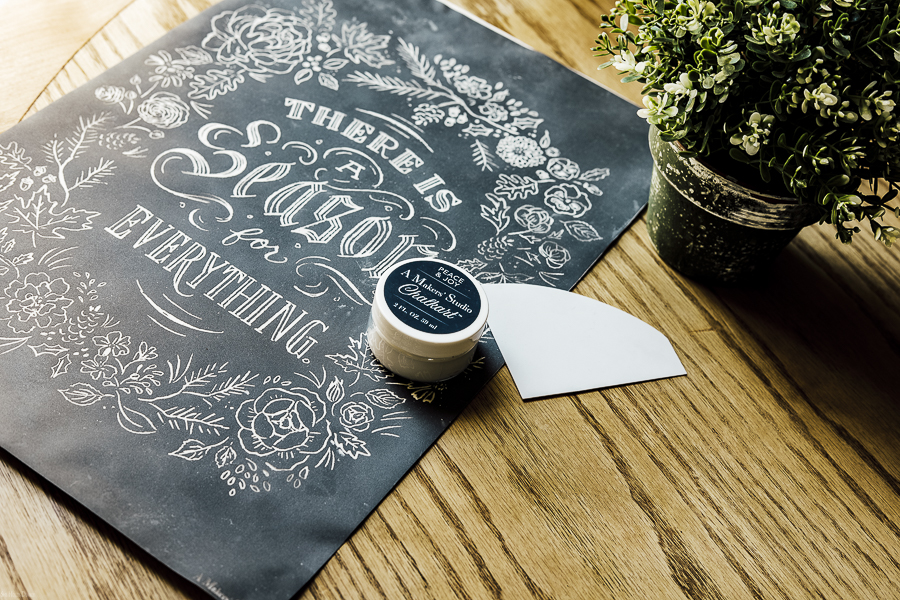
All you need is the stencil of your choice, a tiny pot of chalkart paint and a little scraper tool.
- Here are some cute chalkboards if you don’t have one on hand. Farmhouse sliding door, antique style, magnetic monthly style, vintage green.
- Now for the stenciling. Once you peel off the backing to your stencil you can position it exactly where you want it on your chalkboard.
- Next, you scoop up a little bit of the chalk paint and scrape it evenly over all the openings in the stencil. It has the consistency of cream cheese, so basically, if you can butter a bagel, you can do this project!
- If you get any of the ChalkArt paint anywhere that you don’t want it, just wipe it off with a damp rag.
- When you are all done adding the paint, just slowly peel back the stencil and let dry.
- You can wash off the stencil and re-use it many times over.
- Once you are tired of you current chalkboard design, simply remove with a damp cloth.
- You can watch an old Facebook Live I did to see the process in action.
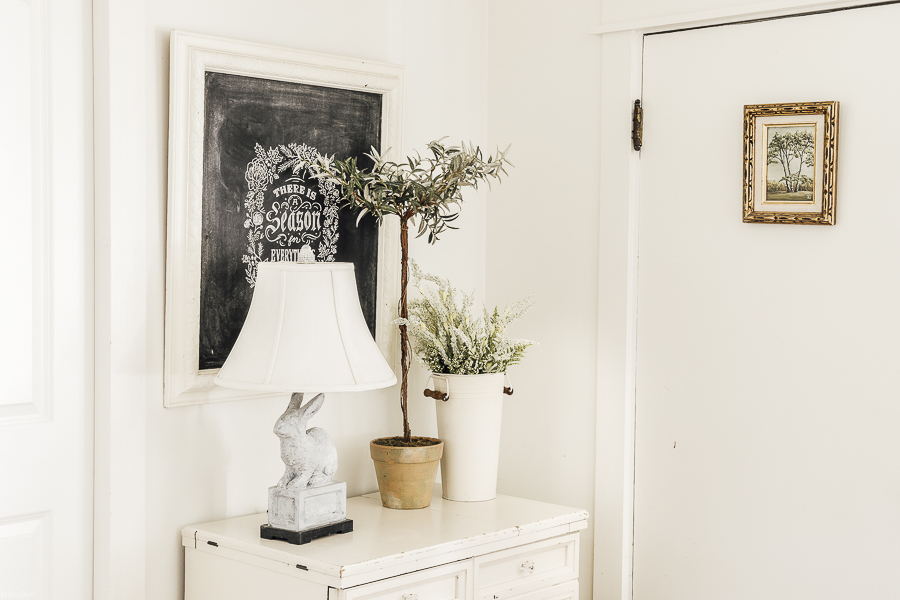
I hope you are encouraged by this simple project for your spring home decor and please, take a moment to stop by my beautiful friend, Deb’s blog, Seeking Lavender Lane for another spring decor idea. I know you won’t be disappointed!!
Pin This Simple Spring Chalkboard Tutorial for Later: