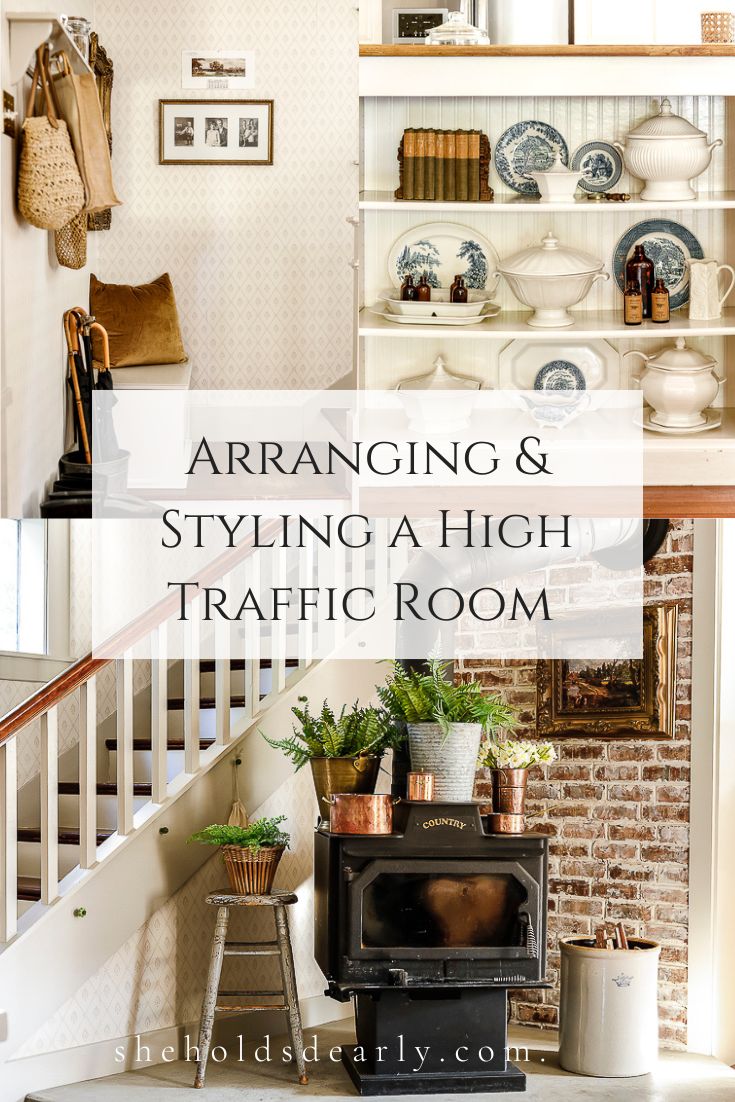
Arranging and Styling a High Traffic Room
If you have a high traffic/pass-through/walk-through room, or what I like to call a “glorified hallway”, you know how hard it can be to arrange furniture in a way that is both eye-catching, AND functional. Well fret no more, today I’m sharing my best tips for not only arranging, but also styling a high-traffic room with multiple entries.
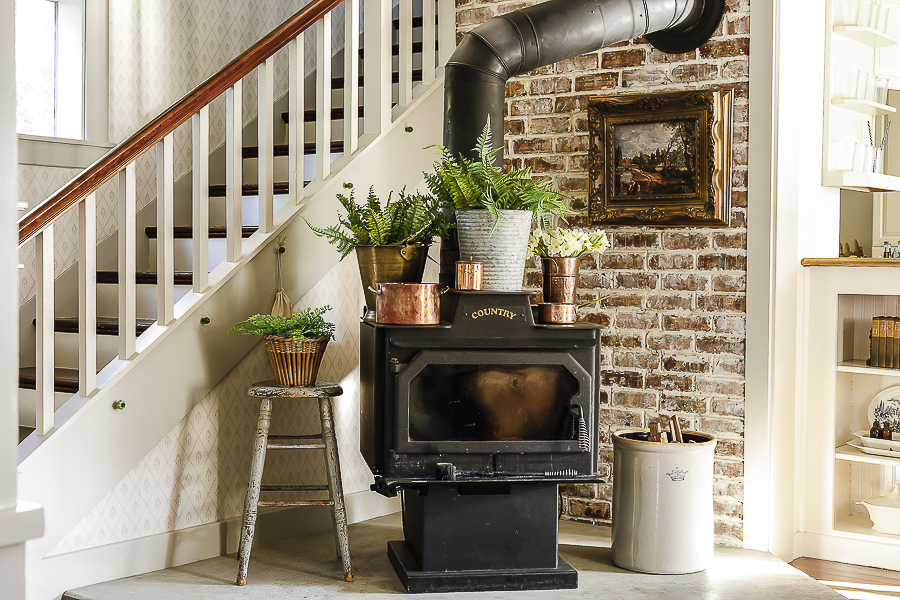
Today I’m so excited to share with you a project that has been a long-time coming! This space in our home is our “Fireside Room” because it’s where our wood stove is that we use to heat our 1906 home in the colder months.
*This post contains affiliate links to products I know &/or love.
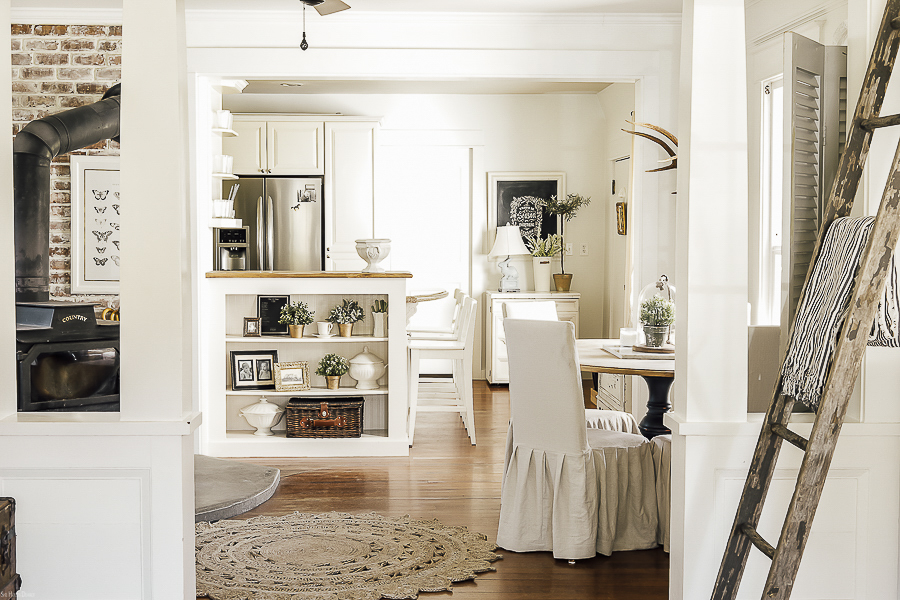
It also happens to be in the middle of our house, and is the sole route between the living room and the kitchen, and the single path to our stairway to take you upstairs.
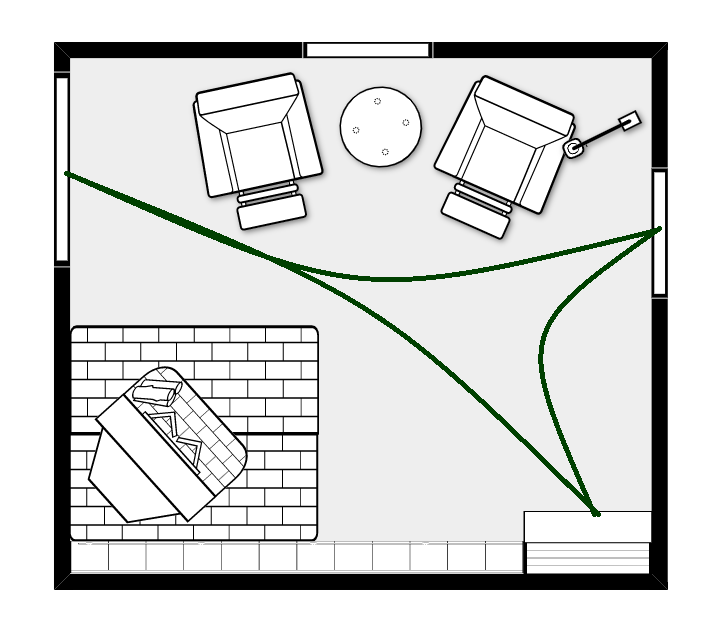
I whipped up this rough (not to scale) bird’s eye view floorplan of the room to show you just the kind of high-traffic area we’re dealing with.
(I use Ballard Design’s free floor plan creator for projects like this, it’s a great resource!)
So over the years we’ve made changes to this room and tried a handful of different configurations including attempts to use this space for a dining room since we do not have a separate room for that currently.
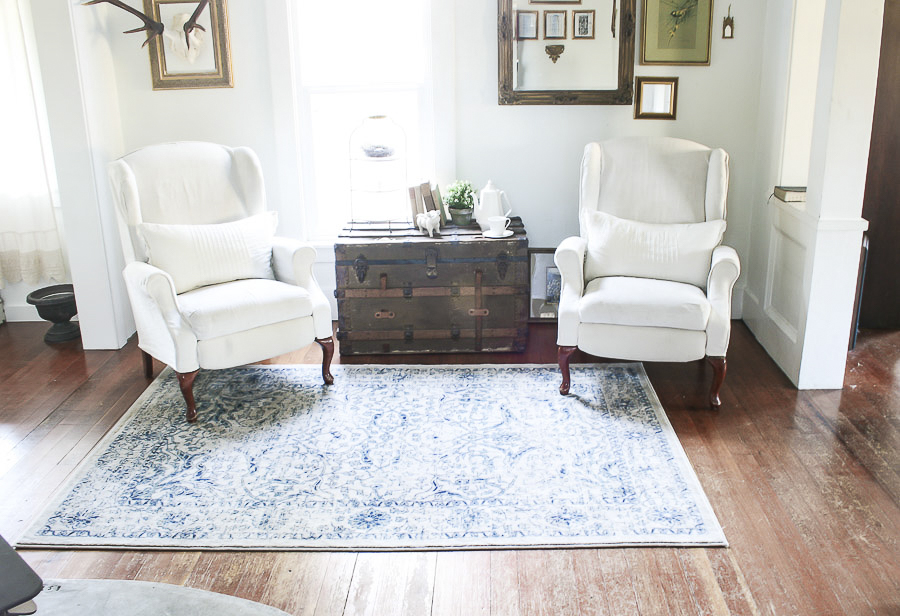
One of the first layouts we did was with these larger recliners that I slipcovered and my antique steamer trunk as an end table between them.
Then for a while we had a round wooden pedestal table that we used as our dining room table.
Then a large oval dining room table…
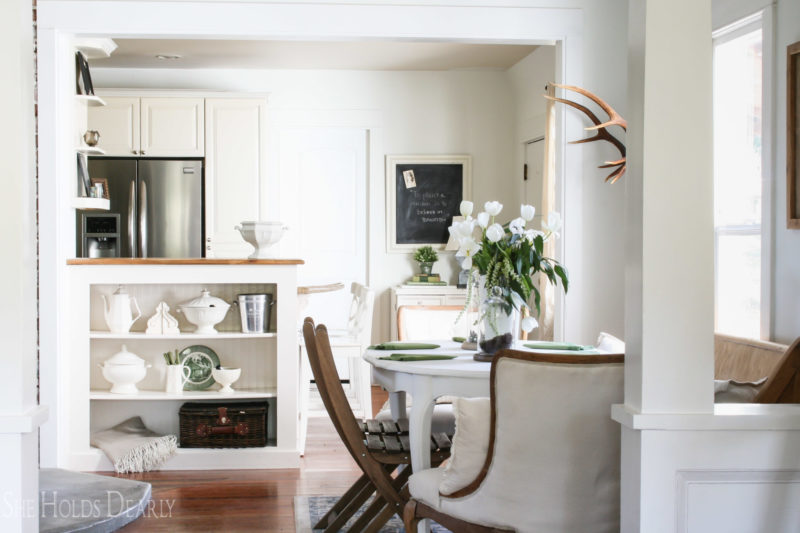
Then after realizing that just wasn’t working, I went back to the idea of using this room as more of a sitting area, and we tried placing our IKEA Farlov couch there.
But none of these arrangements quite hit the spot.
We had liked the space best with the recliners, but as I’ve mentioned in previous posts, recliners aren’t always the easiest things to style well in a space. (It’s one of the 4 most disagreed on design decisions I’ve come across between couples, actually!)
So earlier this year that put me on the hunt for recliners that my husband would love sitting in, and that I would love looking at.
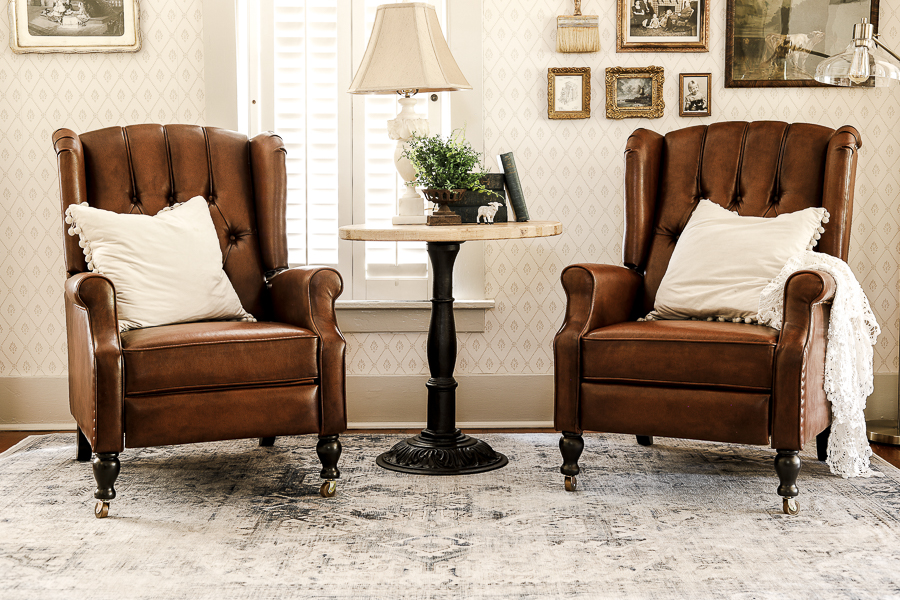
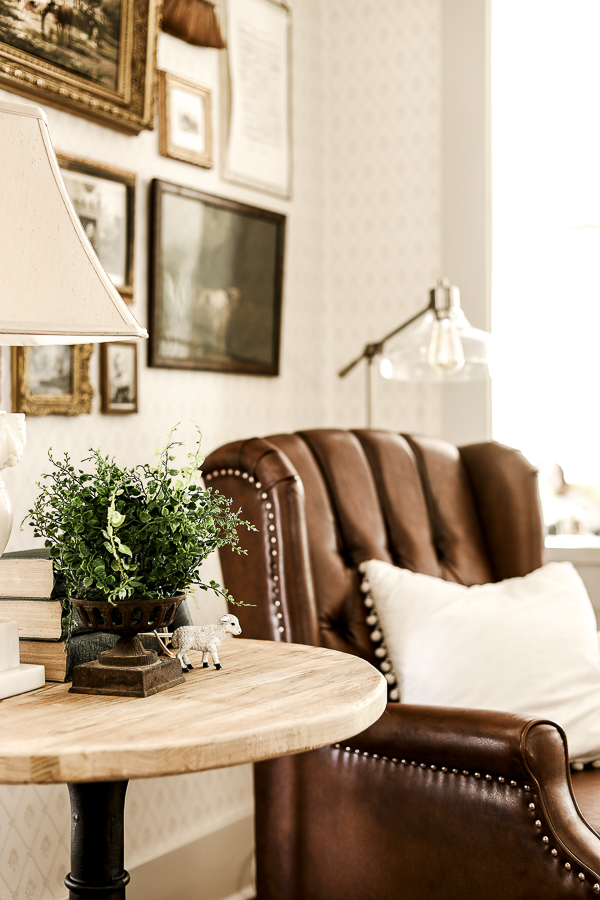
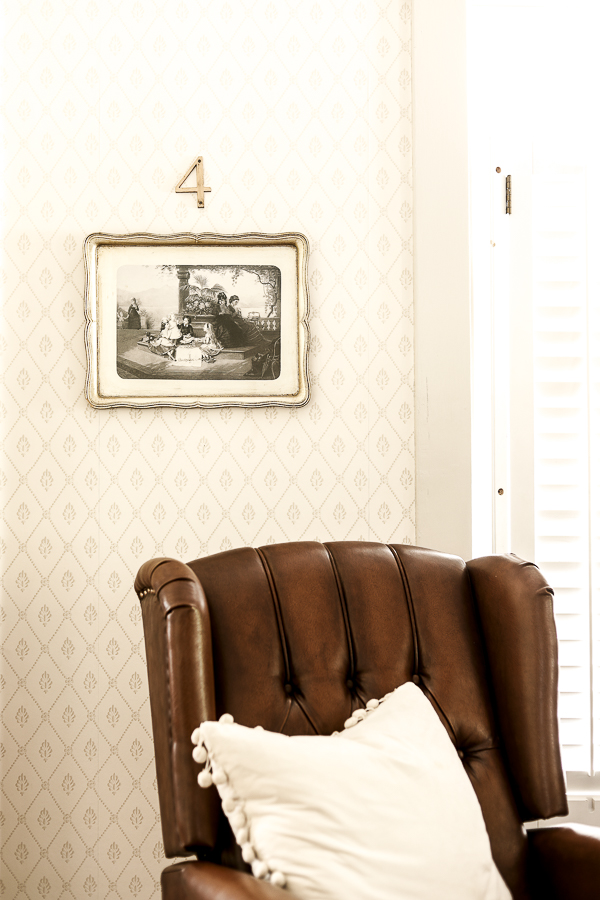
I found that in these recliners from Overstock, and with just a little bit of updating, they fit both those qualifications, and added perfect vintage English Cottage character.
But before I get too far ahead of myself and jump into styling, I want to answer your questions about how to arrange your furniture in a high-traffic area like this one.
Tips for Arranging a High Traffic Room
Number One | Section off your Pathways and keep them functional!
This kind of goes without saying, but after trying a few different arrangements that didn’t do this step well, I am reminded that this needs to come first!
My recommendation is to keep a walkway (between 36″ – 42″ wide) clear from each of your doorways. For this space that meant following the paths in the rough drawing I included above.
If you are a visual person, use a room planner like you find at Ballard Designs, or use painters tape to section the area off on your floor temporarily while you plan.
Keep that space set apart and don’t let things encroach!
Number Two | Consider the space and what it’s used for
In our Fireside Room, the first and most functional use is as a walk-through between the 3 very important parts of our house. Secondary to that, we wanted it to be a place where we could comfortably spend time together as a family.
Knowing that we wanted seating, that my husband was really desiring a recliner again, and that having two chairs in the area was the most comfortable fit – it lead to an easy decision for us to search for new recliners and a table to go in between.
Number Three | Place your largest Objects
For me this was the two recliners and the table, and then in the space on the landing at the base of the stairs we have a white trunk that holds our fire-starting supplies.
I found the table while antiquing, and actually had to go back for it a second time because I didn’t snag it the first time. I loved the heavy black cast-iron base and wanted that to repeat the black from the wood stove on the other side of the room. I shared a bit in my YouTube vlog about the struggle to get it clean and rust-free, but received a lot of great tips in the comments there for next time!
My son is taking a shop class and was able to cut the original square table top down to a circle for me! I stripped it from it’s original finish and left the sanded raw wood for an English Cottage look.
Number Four | Style your Remaining Spaces
Then comes one of the best parts! Once you know your walkways are protected and sectioned off, and you have your large functional furniture pieces placed, you can get to work really bulking up the design and decor in the remaining areas.
For me, that meant the spaces I had to work with were:
- The Wall Behind the Seating Area
- The Wall space at the beginning of the stairs & on the walls surrounding the landing
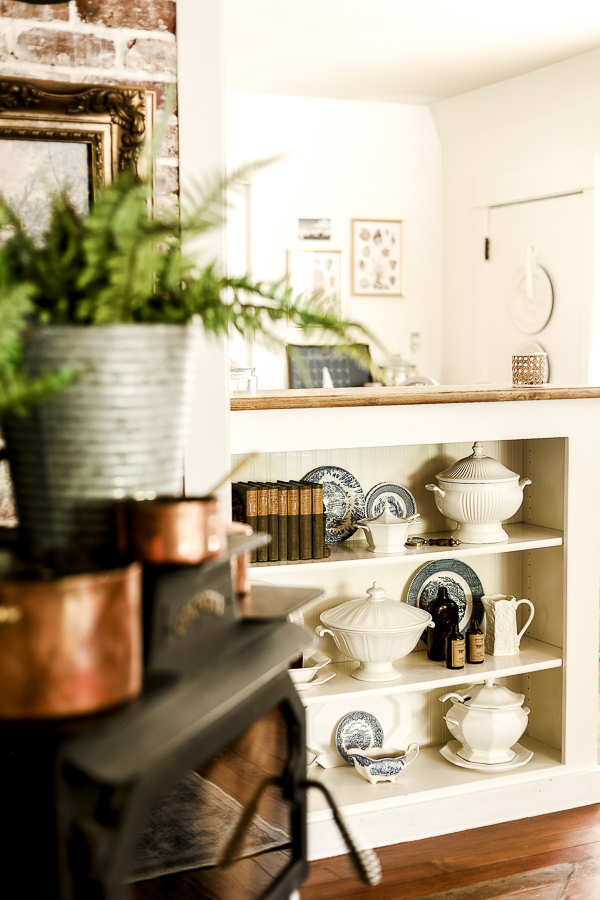
- Our built in bookshelf
- On/around the stove – for as long as the warm season lasts and we don’t need it turned on
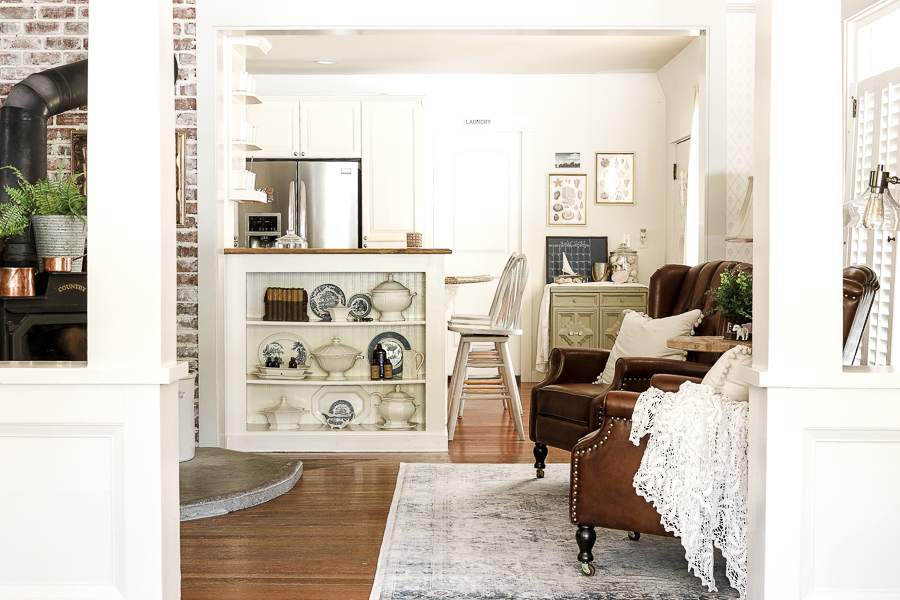
As part of the makeover for this room this year, we (my husband was a GREAT help) wallpapered the entire room with “Alma” paper from Wallpaper Direct. We also repainted all of the trim to the color Revere Pewter by Benjamin Moore.
We also got a new rug from Ruggable. We love our hardwood floors, but having a rug really enhances the coziness of this room, and helps reduce the echo from all the feet passing through.
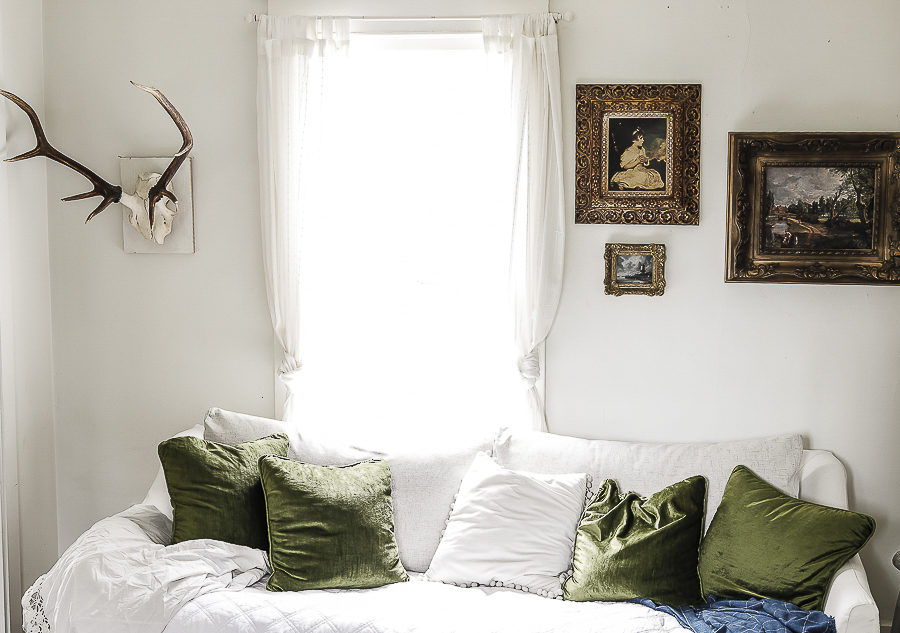
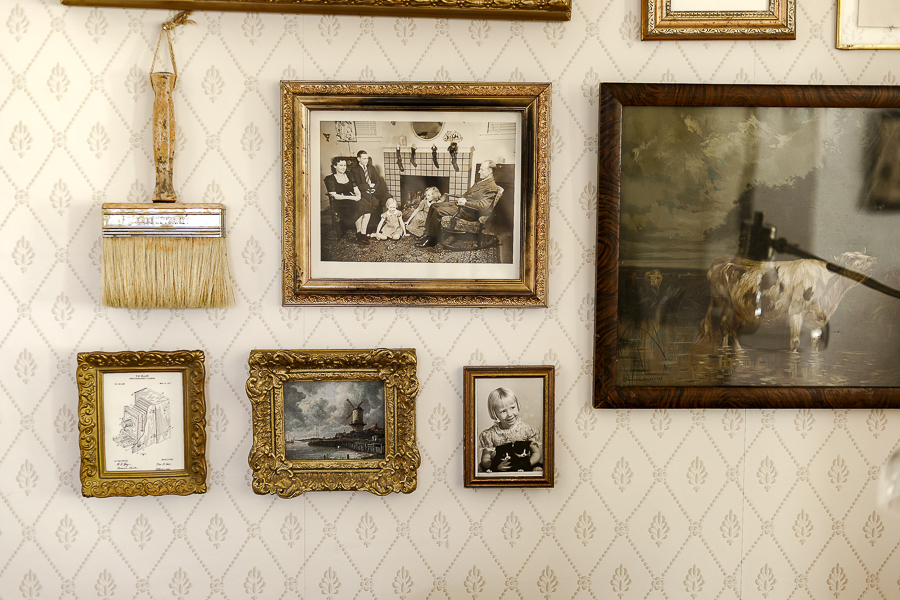
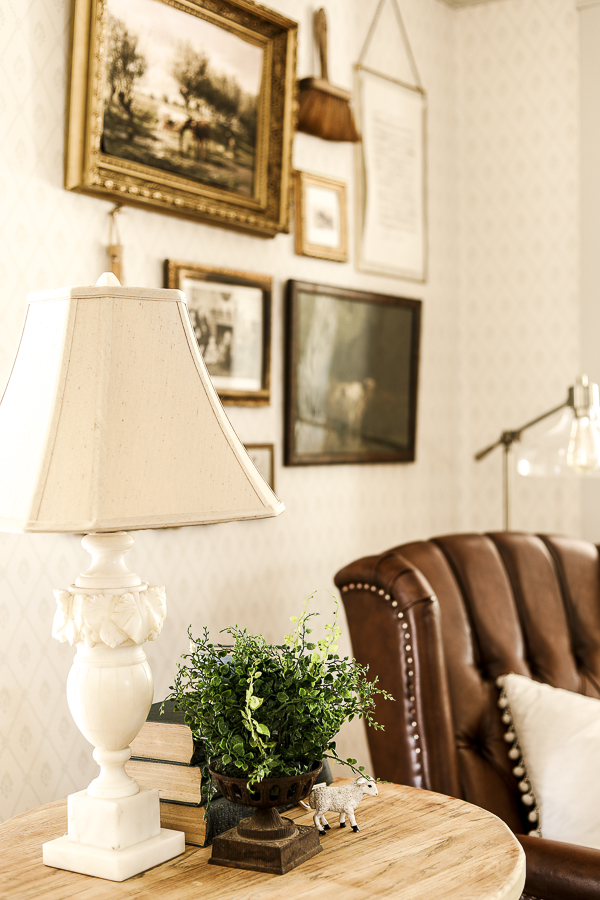
Then I created a gallery wall on the walls on both sides of the window behind the recliners using meaningful artwork with rich contrast and thrifted golden & brown frames.
I also love adding unexpected 3D elements like this old paintbrush to gallery walls for visual interest.
If you want to learn more about creating beautiful gallery walls with thrifted decorations, I’ve got a blog post about it HERE, and I also have 12 Free Vintage Art Prints that I curated for your use that you can find HERE. Once you enter your email address they’ll arrive directly in your inbox!
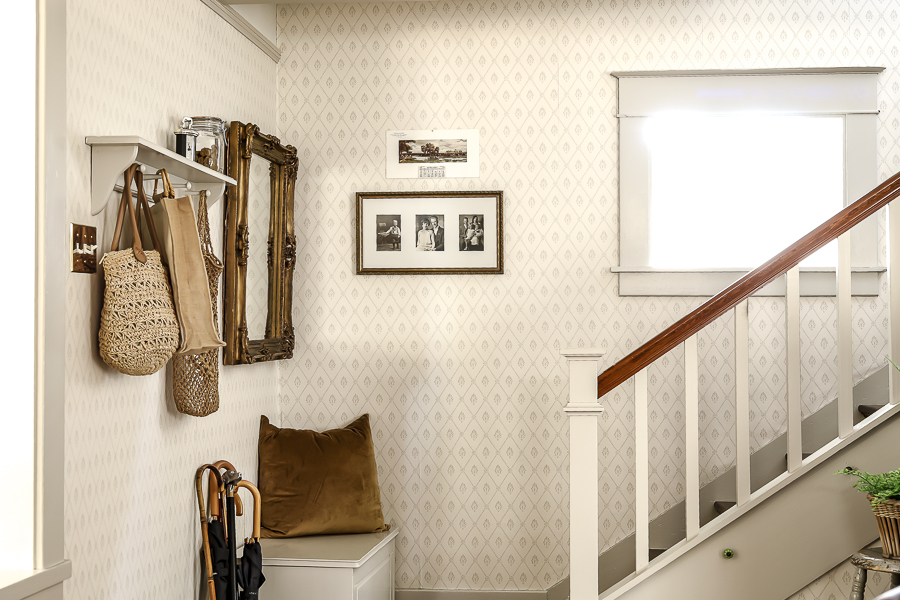
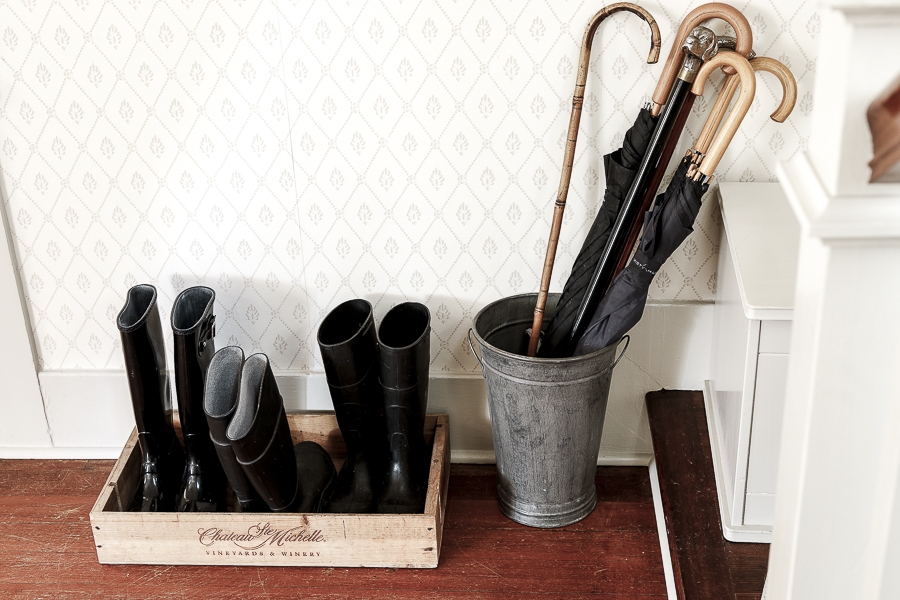
Near the stairs and on the landing I added a wine crate to hold boots and a tall metal bucket for holding umbrellas and vintage canes.
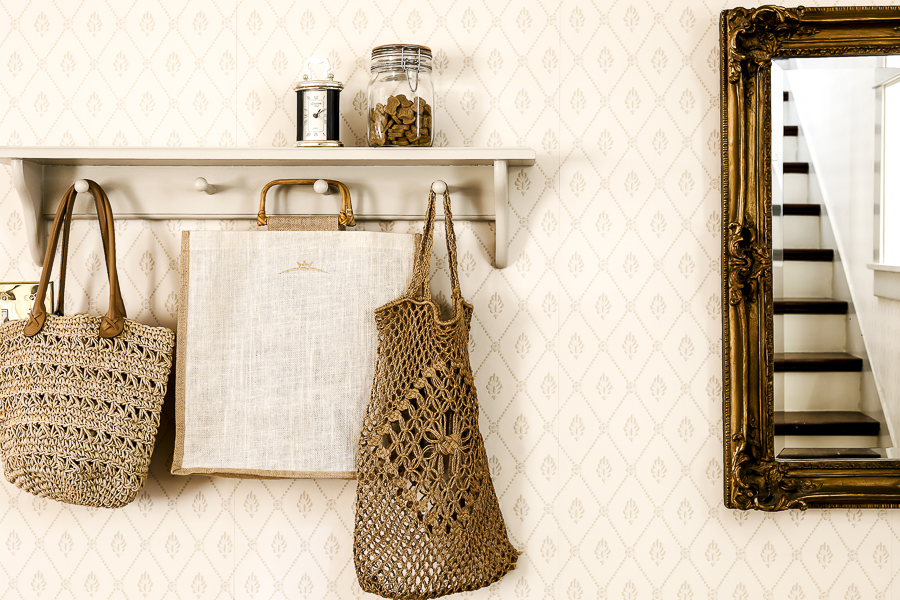
On the wall next to our mirror, I painted our existing shelf to match the new trim color and hung up some of my natural woven and canvas bags with a little glass jar of dog treats on top.
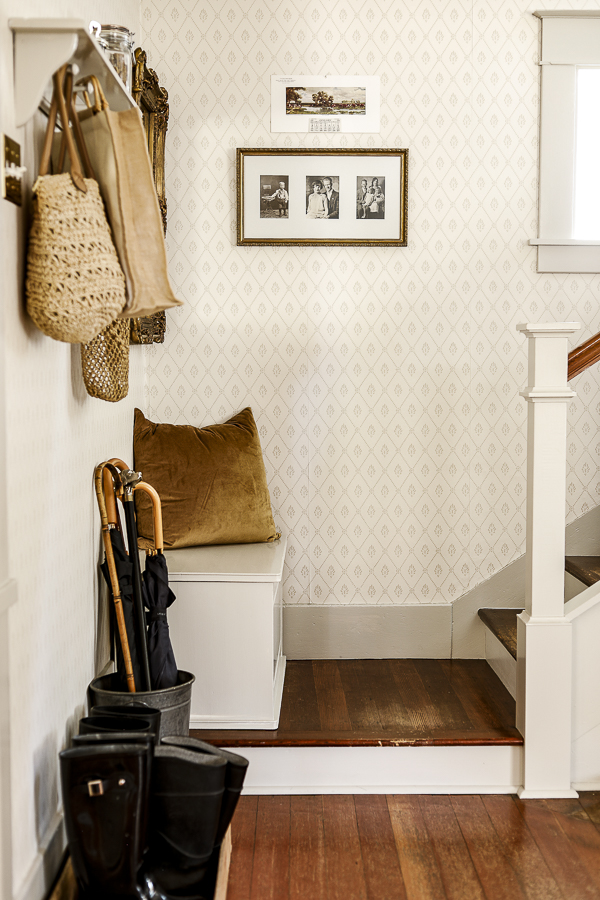
A pretty vintage calendar frame and a 3 panel picture frame finish off the second landing wall.
And I styled the fire starting supplies white bench with a pretty golden velvet pillow that I found this Spring during my trip to Roundtop!
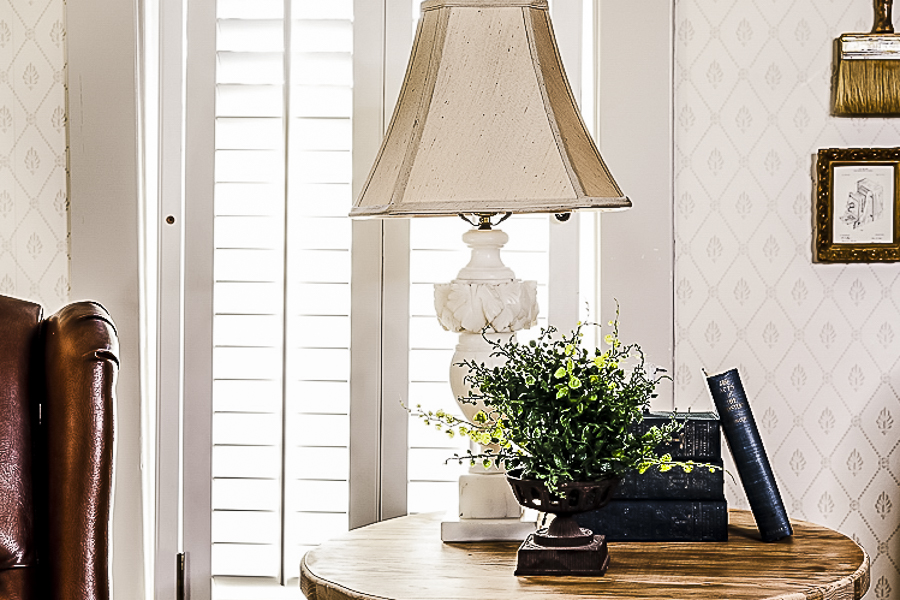
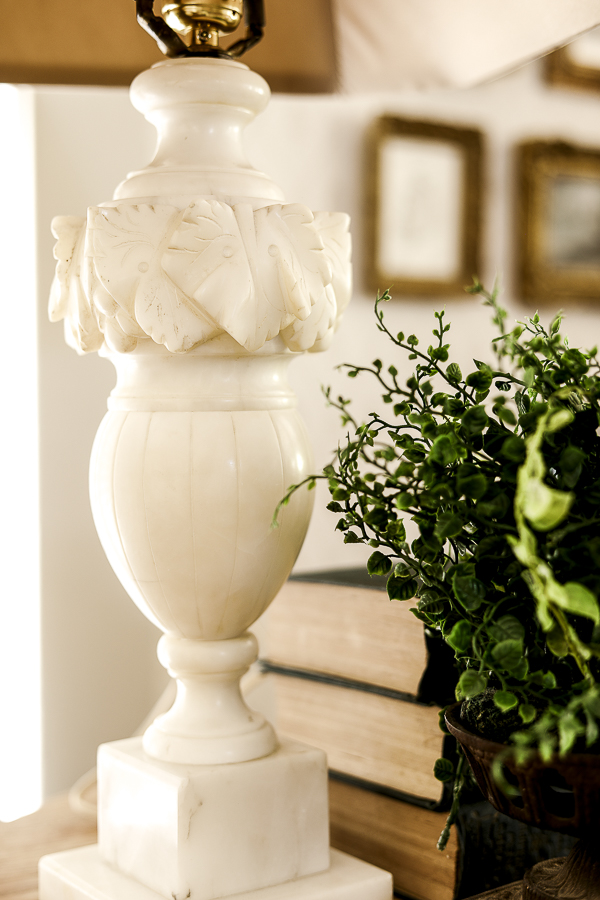
On the table between the recliners I stacked some blue books and placed a small urn with faux greenery next to the new beautiful alabaster lamp I found online!
I also found some plantation shutters at our local architectural salvage yard that fit our window and helped block some of the light that comes through here.
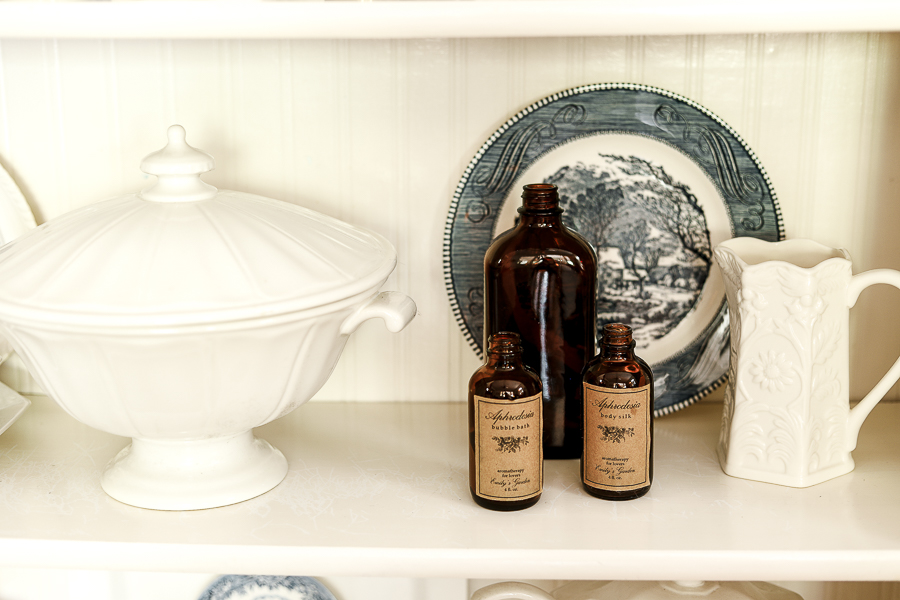
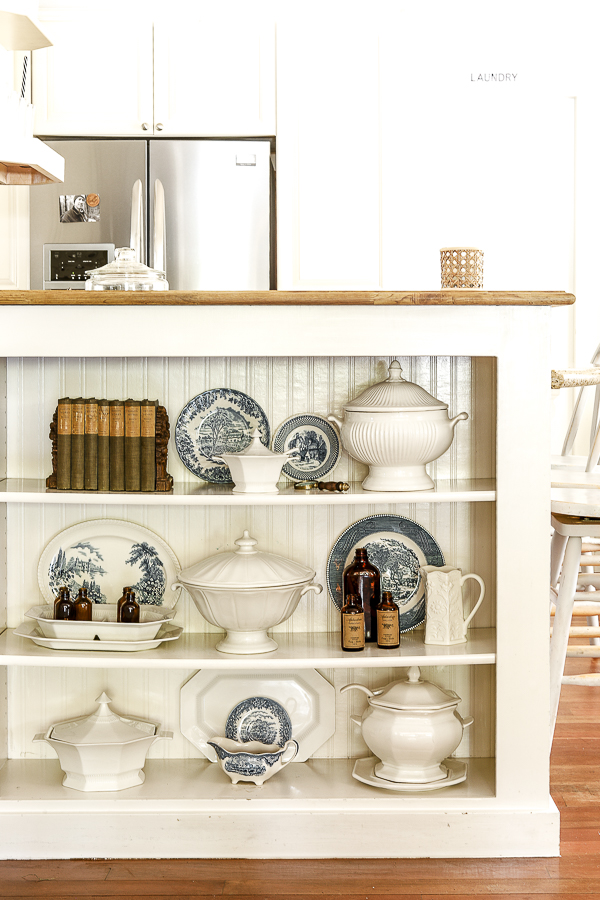
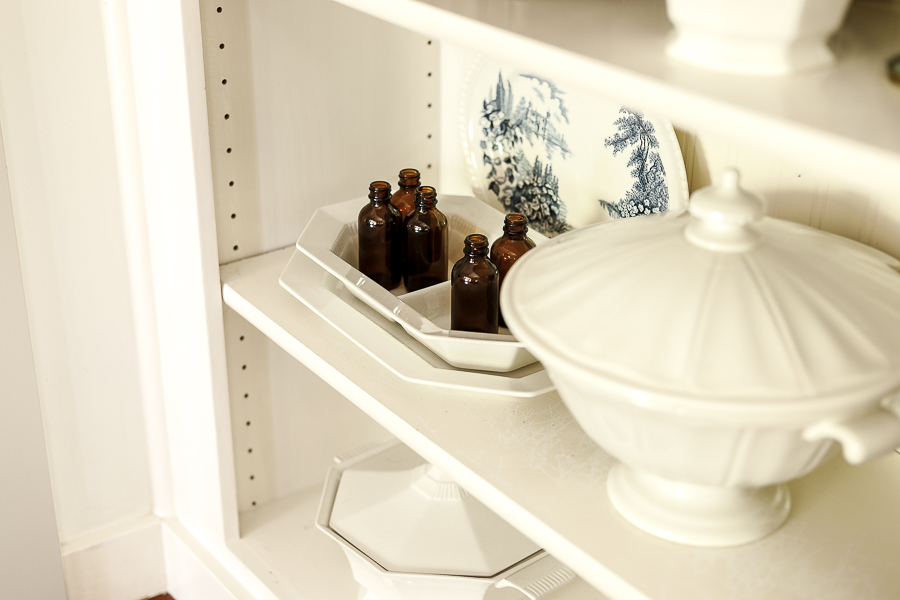
I re-styled our built in book case with my collections of white ceramic dishes and amber bottles, and added a few pops of color with blue transferware plates and green linen books.
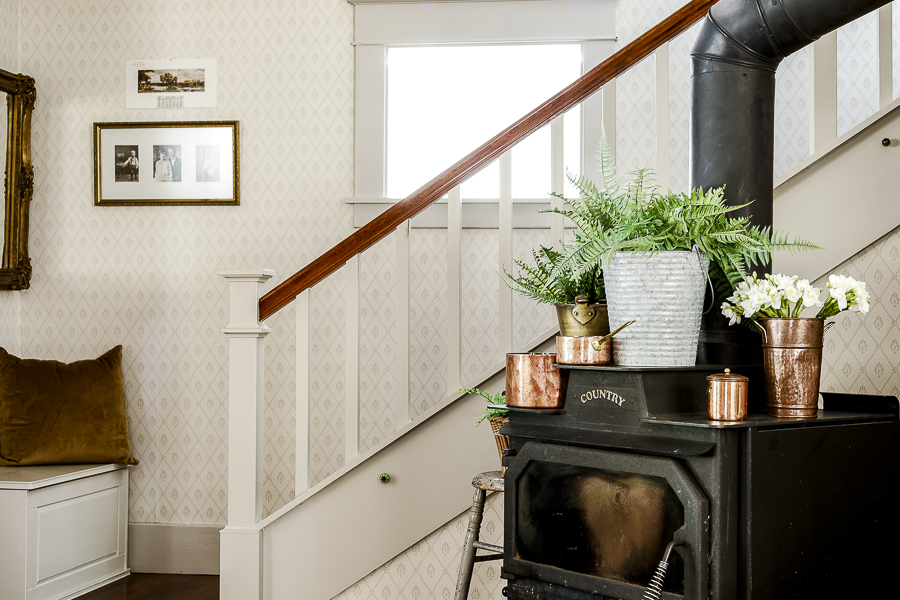
And last but not least, I styled the woodstove, which we can enjoy for a little bit longer before it returns back to high-function and less design!
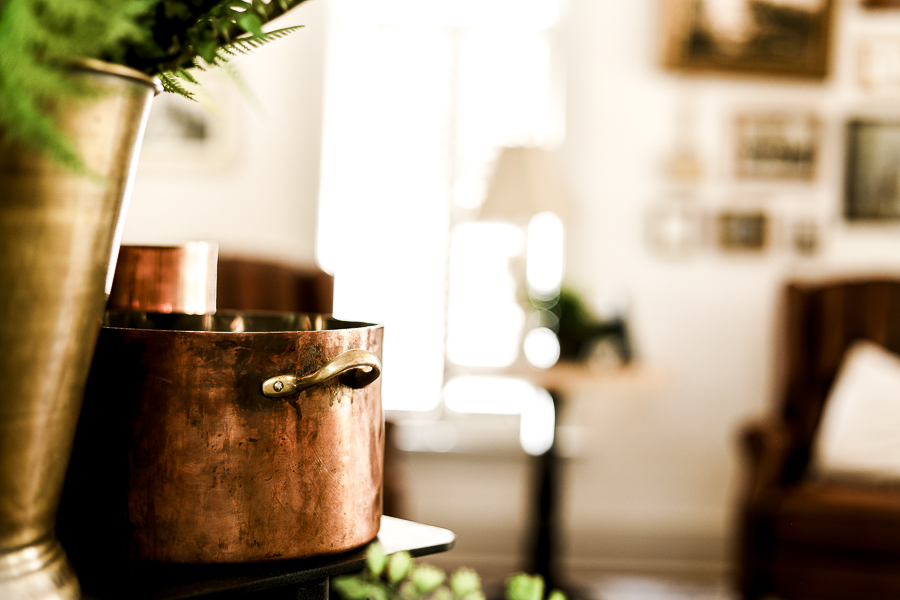
I wanted to add lots of copper accents to repeat the cognac leather color from the recliners across the room, and faux fern stems are one of my favorite types of greenery – they’re a work horse no matter the season or style!
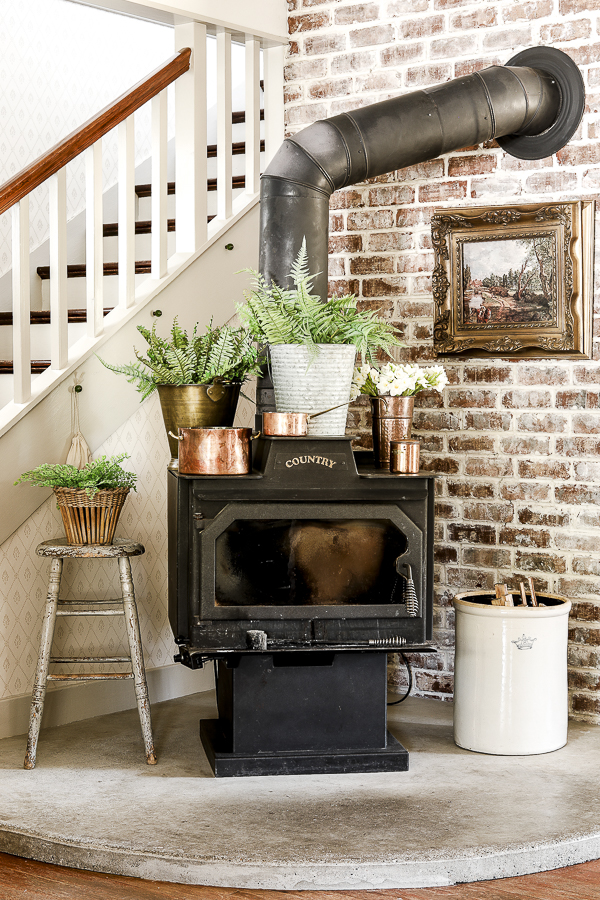
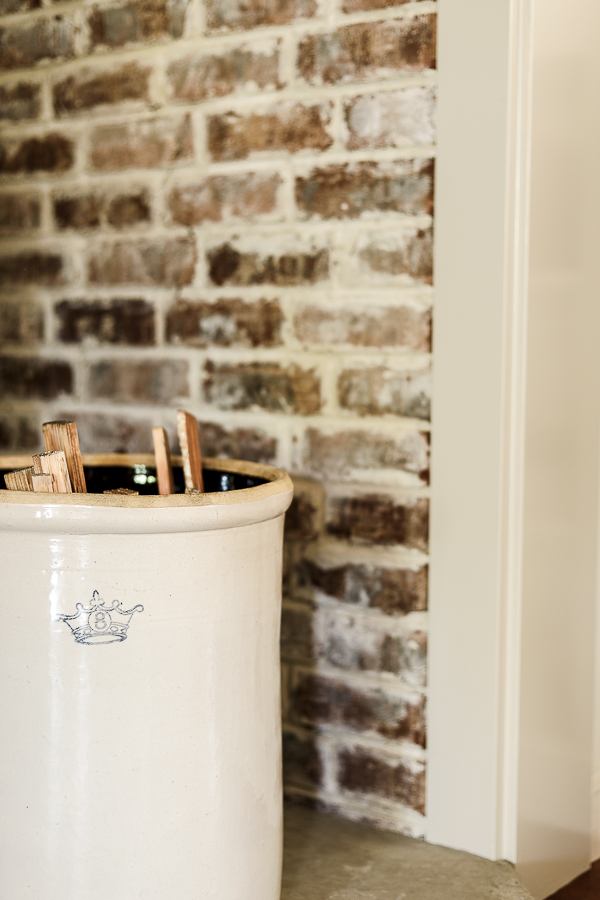
I used my largest vintage 8 gallon crock that I found while antiquing for holding cut kindling pieces.
I hope you’ve enjoyed both these tips about arranging furniture in a high traffic room, and styling them in a cozy English Cottage fashion!
Pin These Tips for Later:
Until next time,


