Styling Thrifted Wall Decorations
Let’s Style Some Thrifted Wall Decorations In My Fireside Room Today!
It’s been a while since we’ve taken a look inside my house and caught up on the updates I’ve been working on, so today I’m going to give you a quick peak inside our fireside room as I make some decisions about styling thrifted wall decor to complete my gallery wall.
This room has gone through a lot of transition over the course of me having this blog, and last year I shared some of my ideas about changing the look and function once again! There were some sneak peaks of how the room was coming together earlier this year when I shared about how I aged my wooden stools to use as end tables, but not much else yet!
You’ll have to wait a bit more for the full reveal, but I think eagle-eyed readers will notice a few changes already!
*This post containsaffiliate links to products I know &/or love.
The Space:
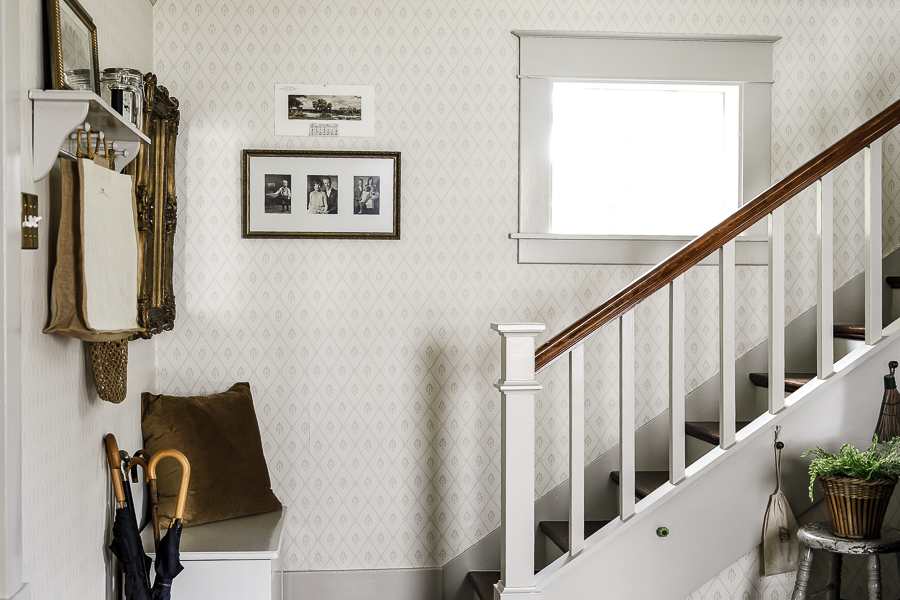
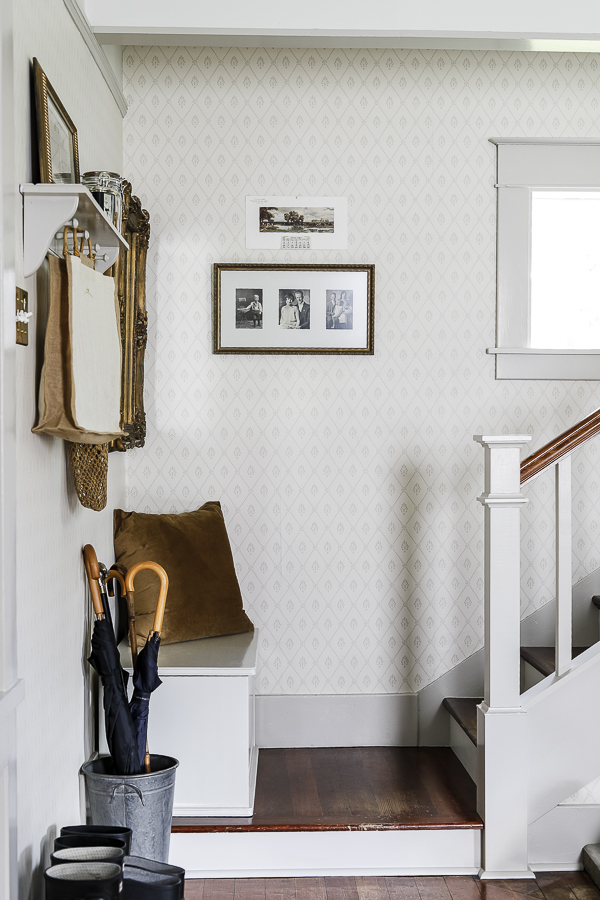
This room is situated between our living room and our kitchen, and also houses our one staircase to reach our bedrooms upstairs.
Because of these three different necessary access points, this room presents some decorating challenges, since it is basically a glorified hallway!
When you have a space like this, the first thing to focus on is keeping it functional as a walkway. That means leaving a 36″ wide path between any of the necessary doorways/rooms.
THEN you get to have fun creating in the “pockets” of useful space leftover. Often these are little corners and other small spaces, but when you use them carefully, you can still get a lot of bang for your buck.
In my case, that means also taking full advantage of the wall space for decorating!
The Pieces:
This week I went to my favorite local antique store to look for a few additional pieces to add to my growing collection for this space.
I’ve been thrifting for over the past year, as well as gathering together some sentimental family pictures that I wanted to incorporate.
You can get some footage of me shopping through the hundreds of vendors in the YouTube video associated with this post. This time I decided to focus on just a few specific items I wanted to keep my eye out for, and I was able to zoom through there in only 90 minutes!
Is that a world record? Possibly!… But I digress.
Speaking of 90 minutes…
If you’d like to spend an hour and a half investing in your future finances – how about attending my Thrift Like A Pro workshop?! I created this online workshop to share my 20 years of thrifting knowledge and experience to help save you thousands!
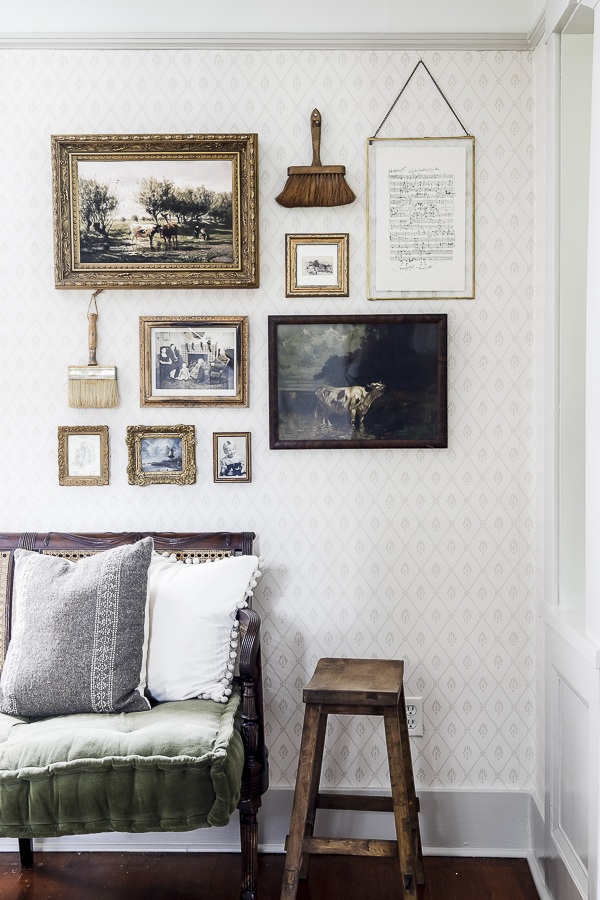
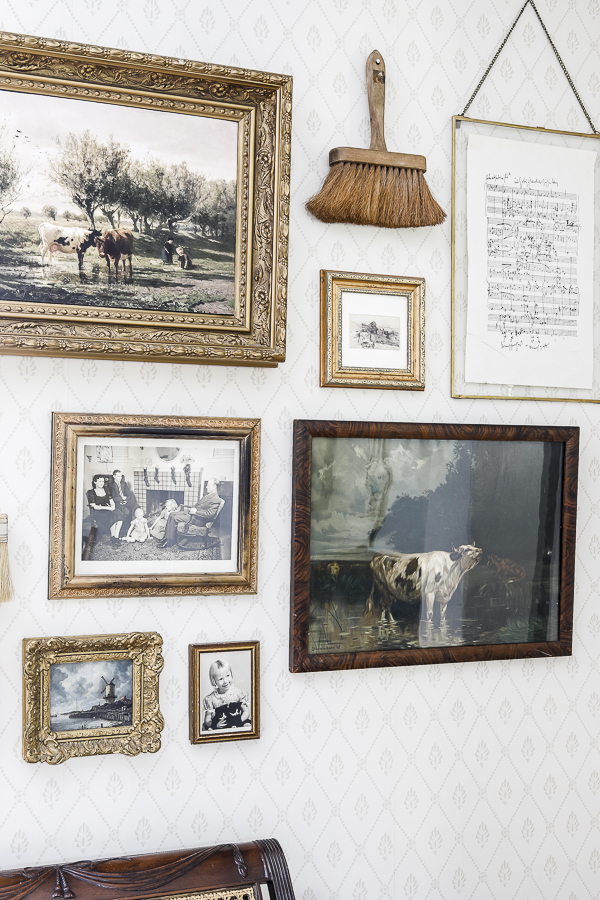
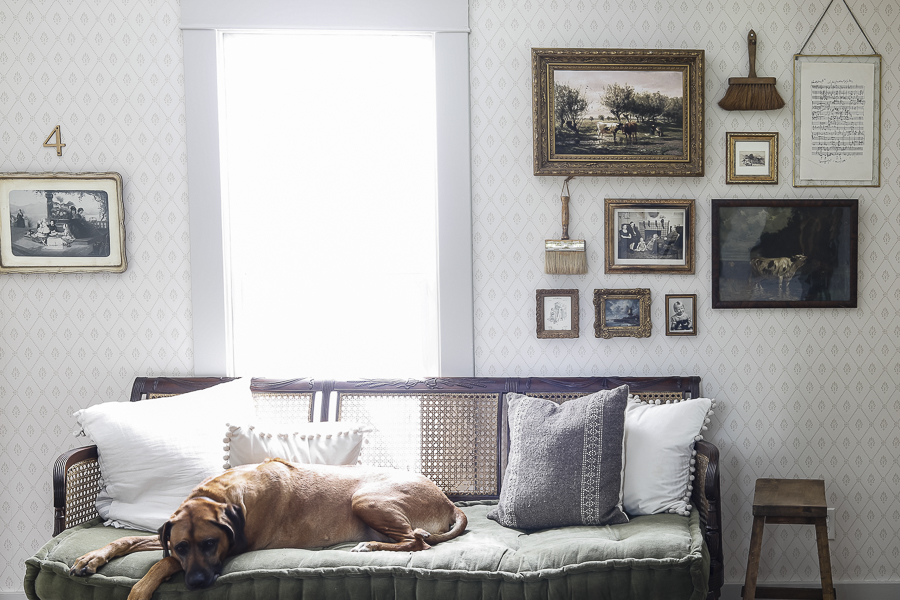
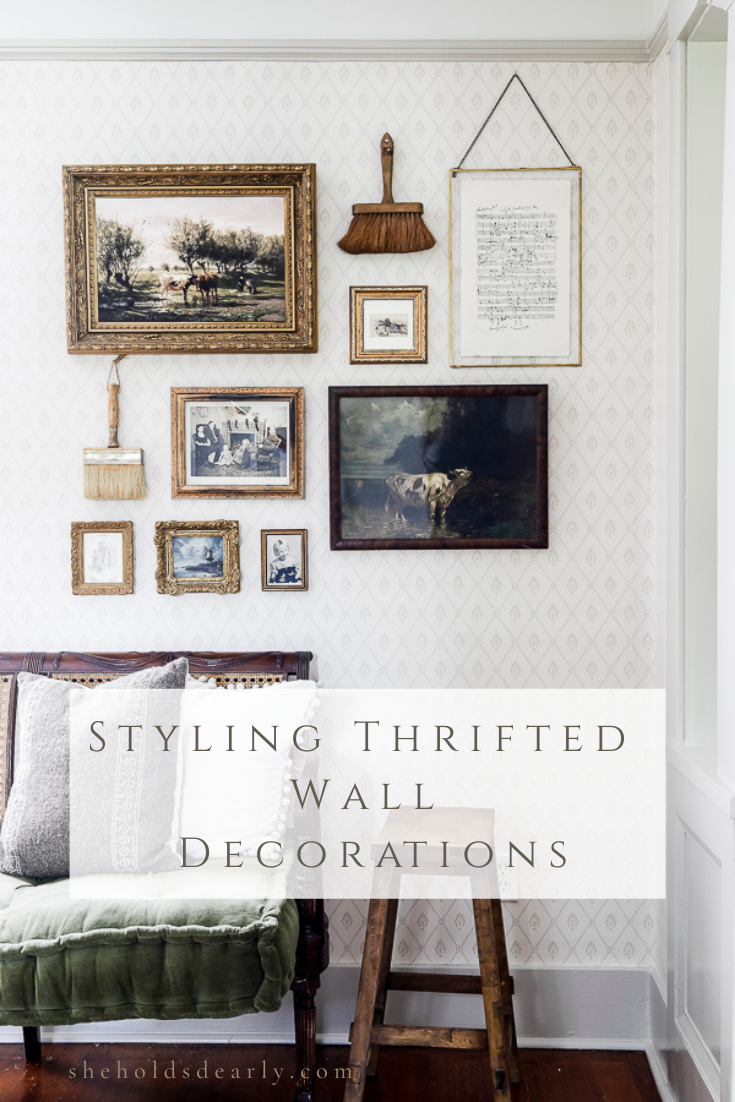
My Collection of Newly Thrifted Decorations:
I was raised on a cattle ranch because my dad was, among other things, an organic beef farmer. I had a herd of my own, which actually helped pay for college, so I have a soft spot for cows!
When I see a pretty painting of cows, I’m all in.
You can see that showing through some of the other wall decorations I’ve used in my home, as well, like this cute DIY vintage wall hanging I shared a few years ago.
While I was thrifting this week I found this beautiful moody painting with a dark wood frame and lots of blues and greens in the background, and a sweet cream cow that I knew would look great against our wall paper and the other cream accents in the room.
I added that picture to another I had found with more precious cows last year on Etsy.
The Etsy printable was about $6, plus a small cost to have it printed locally. The newer picture was $90, but too beautiful to pass up.
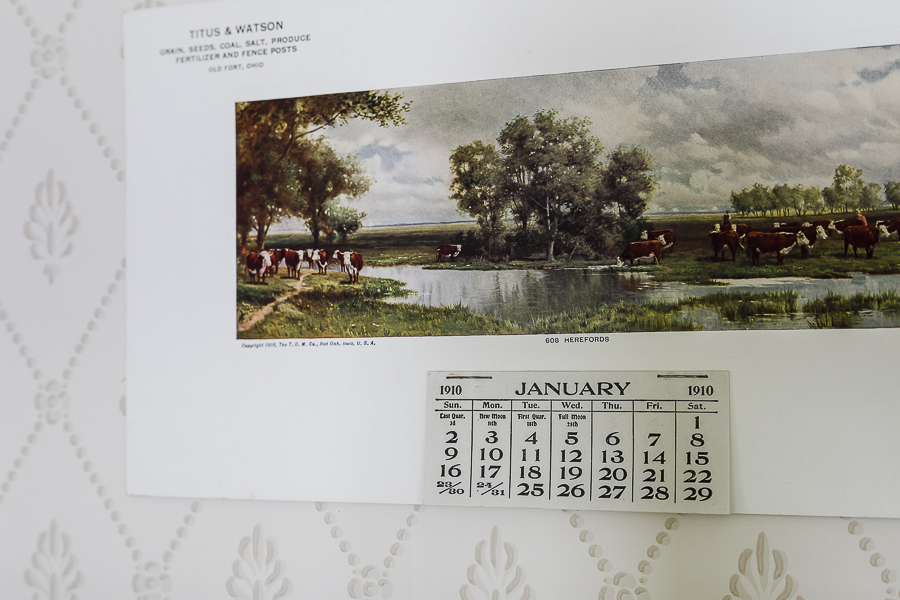
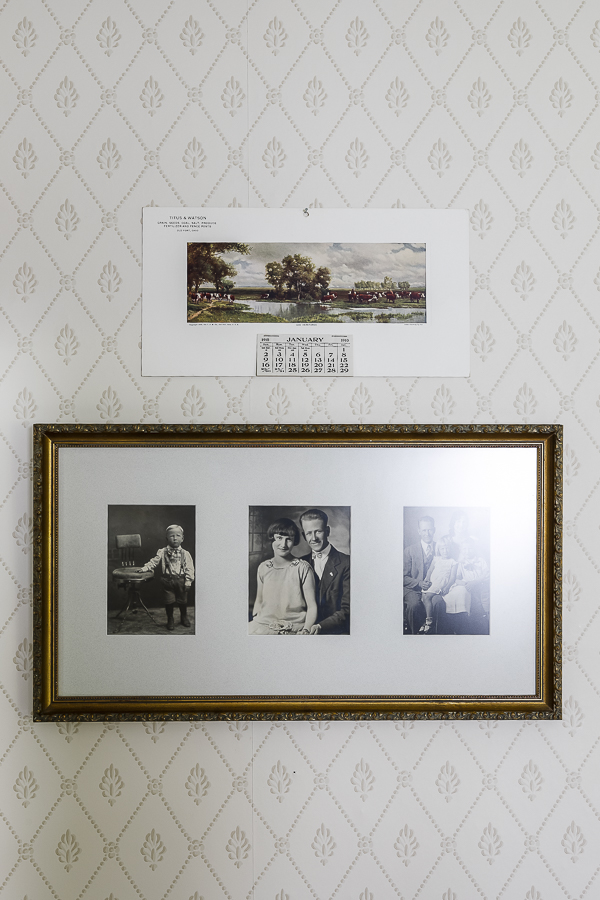
Across the room I hung up another sweet cow find, a calendar from 1910.
This one also has great colors that fit perfectly in our room, and I love the cows, the water, and that it’s from the early 1900’s, because our house was built in 1906! This one was $10.
Also during this week’s thrift shopping trip I found a little collection of 3 gold frames for $10. I grabbed them up because their size makes them the perfect pieces for using as filler!
And because it’s so easy now to find great vintage art printables, you can customize them to fit any frame you have available!
If you’re looking for more beautiful art, I have curated 12 of my favorite art prints and have them available for you to download for free HERE! They’ll be delivered straight to your inbox within minutes.
Other Pieces I had on Hand:
When you’re building a gallery wall, it can be helpful to pull together your new items and things you already have on hand that might work so you can see them together and use what works best for your layout.
Some of the items I had on hand that I pulled in to consider were:
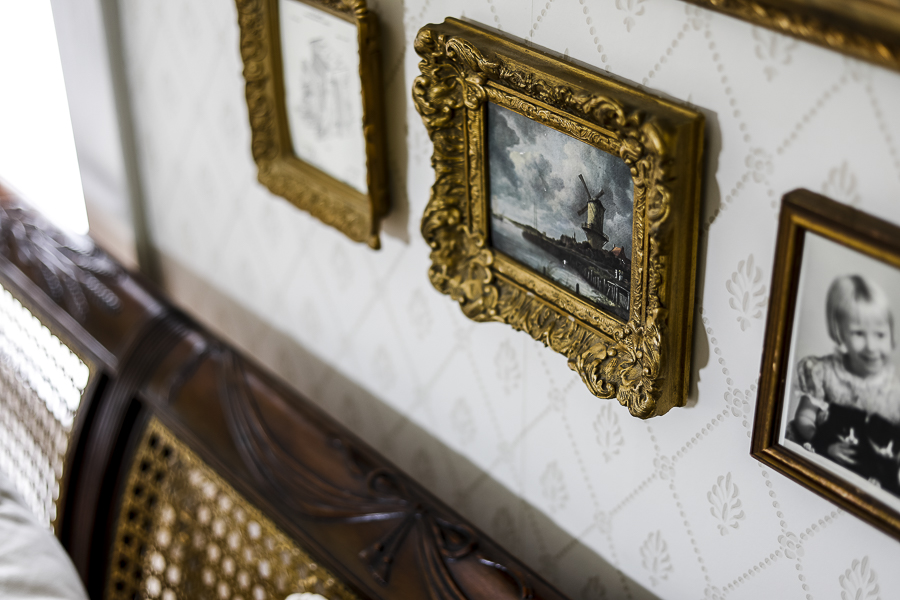
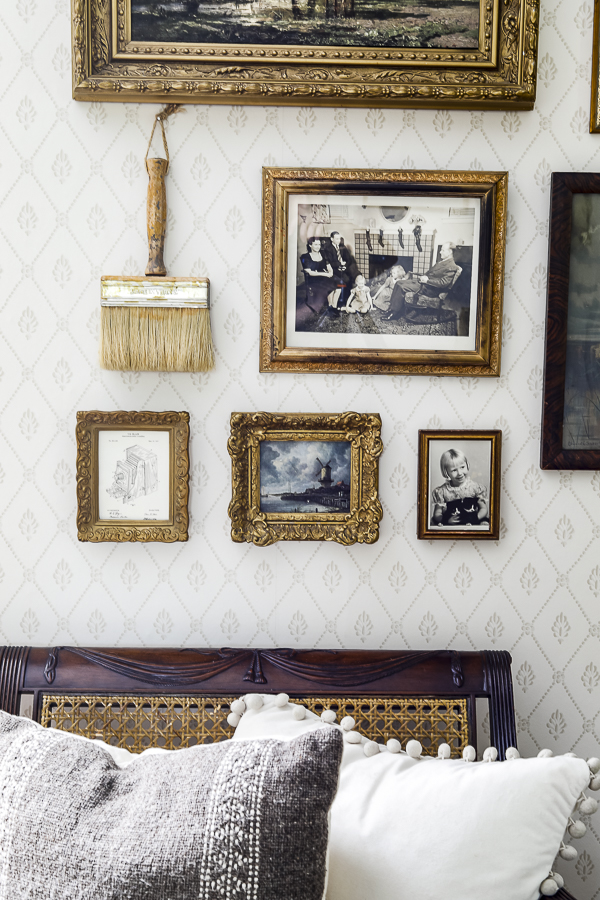
A $3 goodwill frame with a pretty windmill picture.
Three gold frames with loose book pages from an old Nancy Drew book that I’ve had on my wall for the past few years.
A couple of my own vintage family pictures. (It’s so sweet to be able to incorporate relatives and heirlooms in your decor!)
And some 3D items to give the gallery extra depth and character:
- A blue and white transfer ware plate.
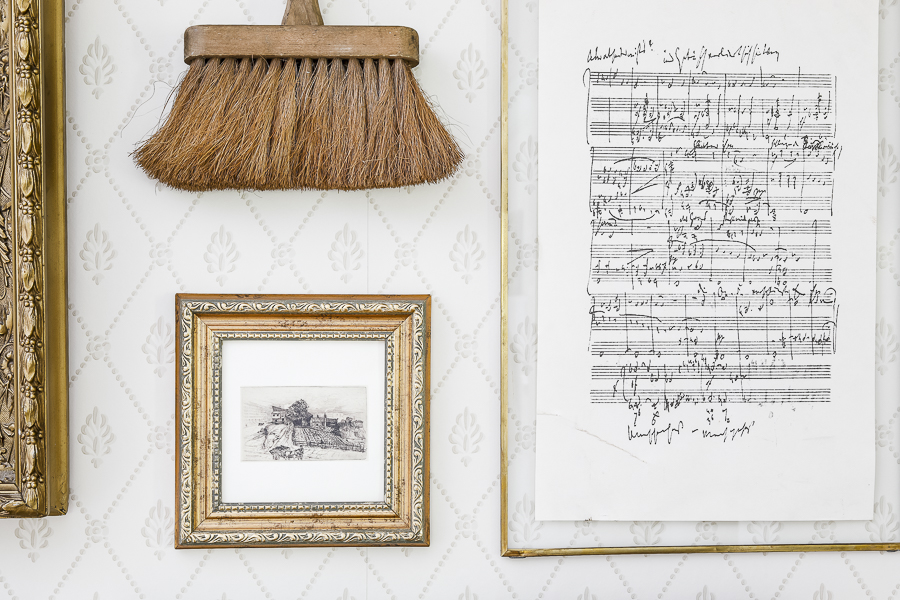
- Two vintage brushes
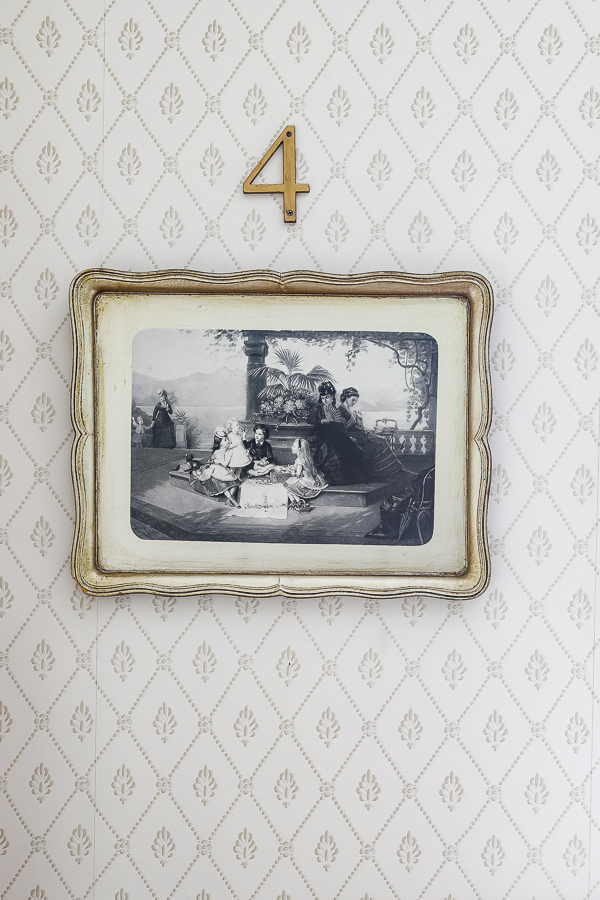
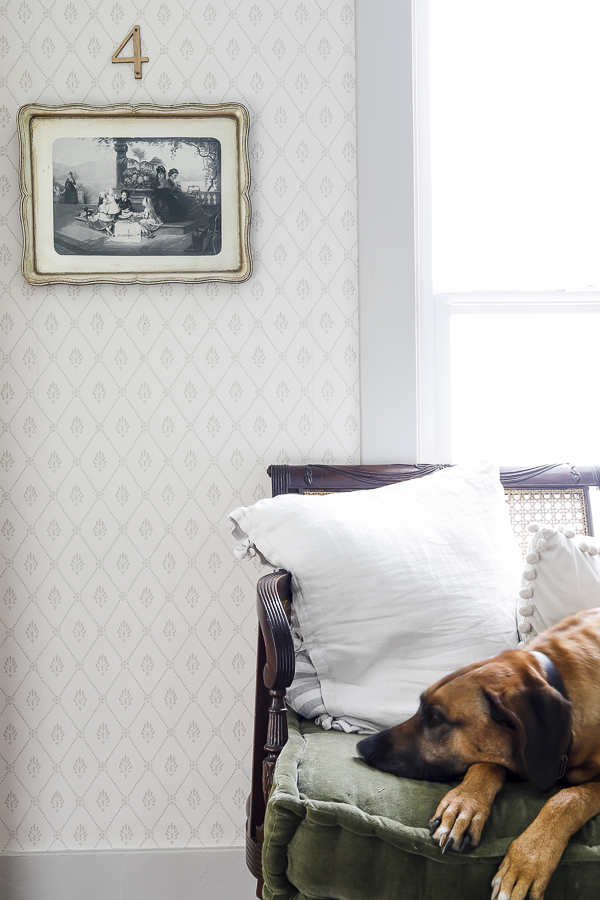
- A simple “4” from the address numbers in Home Depot that I applied rub n buff to. (I have a tutorial on how to use this great product HERE.)
- Vintage tray with a black and white Victorian scene on it.
- Hanging glass frame with piano music that reminds me of my Mom.
Decorating is always a process, but that’s certainly true when you’re compiling and then subsequently editing through pieces to create the perfect gallery wall.
When I was all said and done I had scrapped the idea of using certain pieces, and had gone looking in my collection for even more options than I had originally planned to finish off the space.
But stepping back now, I just love how it turned out!
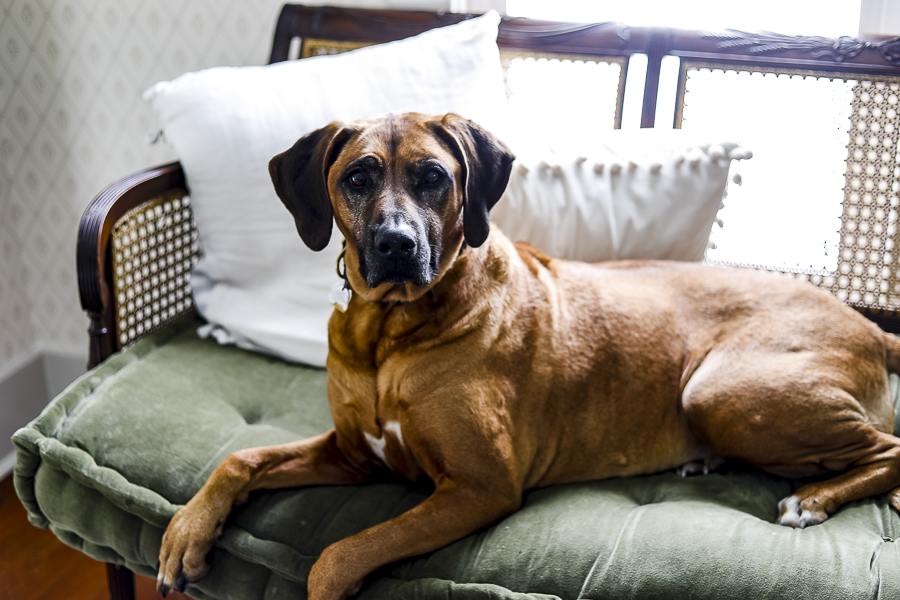
I think Kiera (our dog) does too, but you might not believe that from her expression.
I hope this was a fun source of inspiration for you, and if you’re looking for more help building your own gallery wall or wall decor with thrifted decorations, you’ll enjoy that I have a new master class out all about just that! You can access it after getting your free art prints HERE! I hope to see you there!
Pin these Thrifted Wall Decorations for Later:
Until next time,


