How to Install a Rustic Brick Accent Wall
The fellow that owns his own house
is always just coming out of the hardware store.
-Frank McKenney Hubbard
Oh, I am so excited about sharing this project, even though it did require several trips to the hardware store! It is such a great home improvement project for a beginner. And I have a feeling that brick accent walls will be trending for quite some time into the future.
Most of my crazy ideas turn out to be ten times harder than I envision, but not this one. This was easier than I first thought.
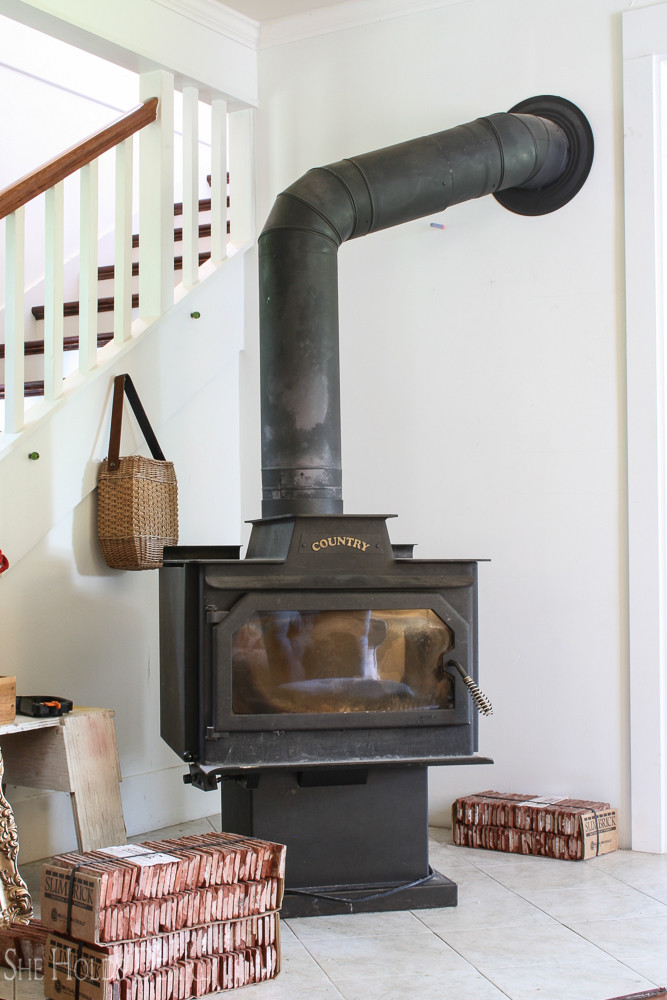
Our 1906 farmhouse is heated with a wood stove.
Charming, you say?
Yes, you could say that.
It does require 16 trips a day out to the porch to get the wood and my dear husband works really hard finding wood, then splitting, stacking, drying (two years of “seasoning” is best) and bringing it to the house with the tractor. Then, stacking it again on the porch.
I got tired just typing that!
HOWEVER, the ambiance afforded to us is unparalleled. Wood heat, they say, is the most comforting of all heat sources, even your bones feel warm. Then, there is the glow that I swear can cure seasonal depression in the winter and that faint campfire smell. The popping and crackling sound you can hear from your bed in the morning makes every morning feel a little like Christmas morning.
We have heated the old house with that wood stove for almost six years now and it is definitely the heart of the home.
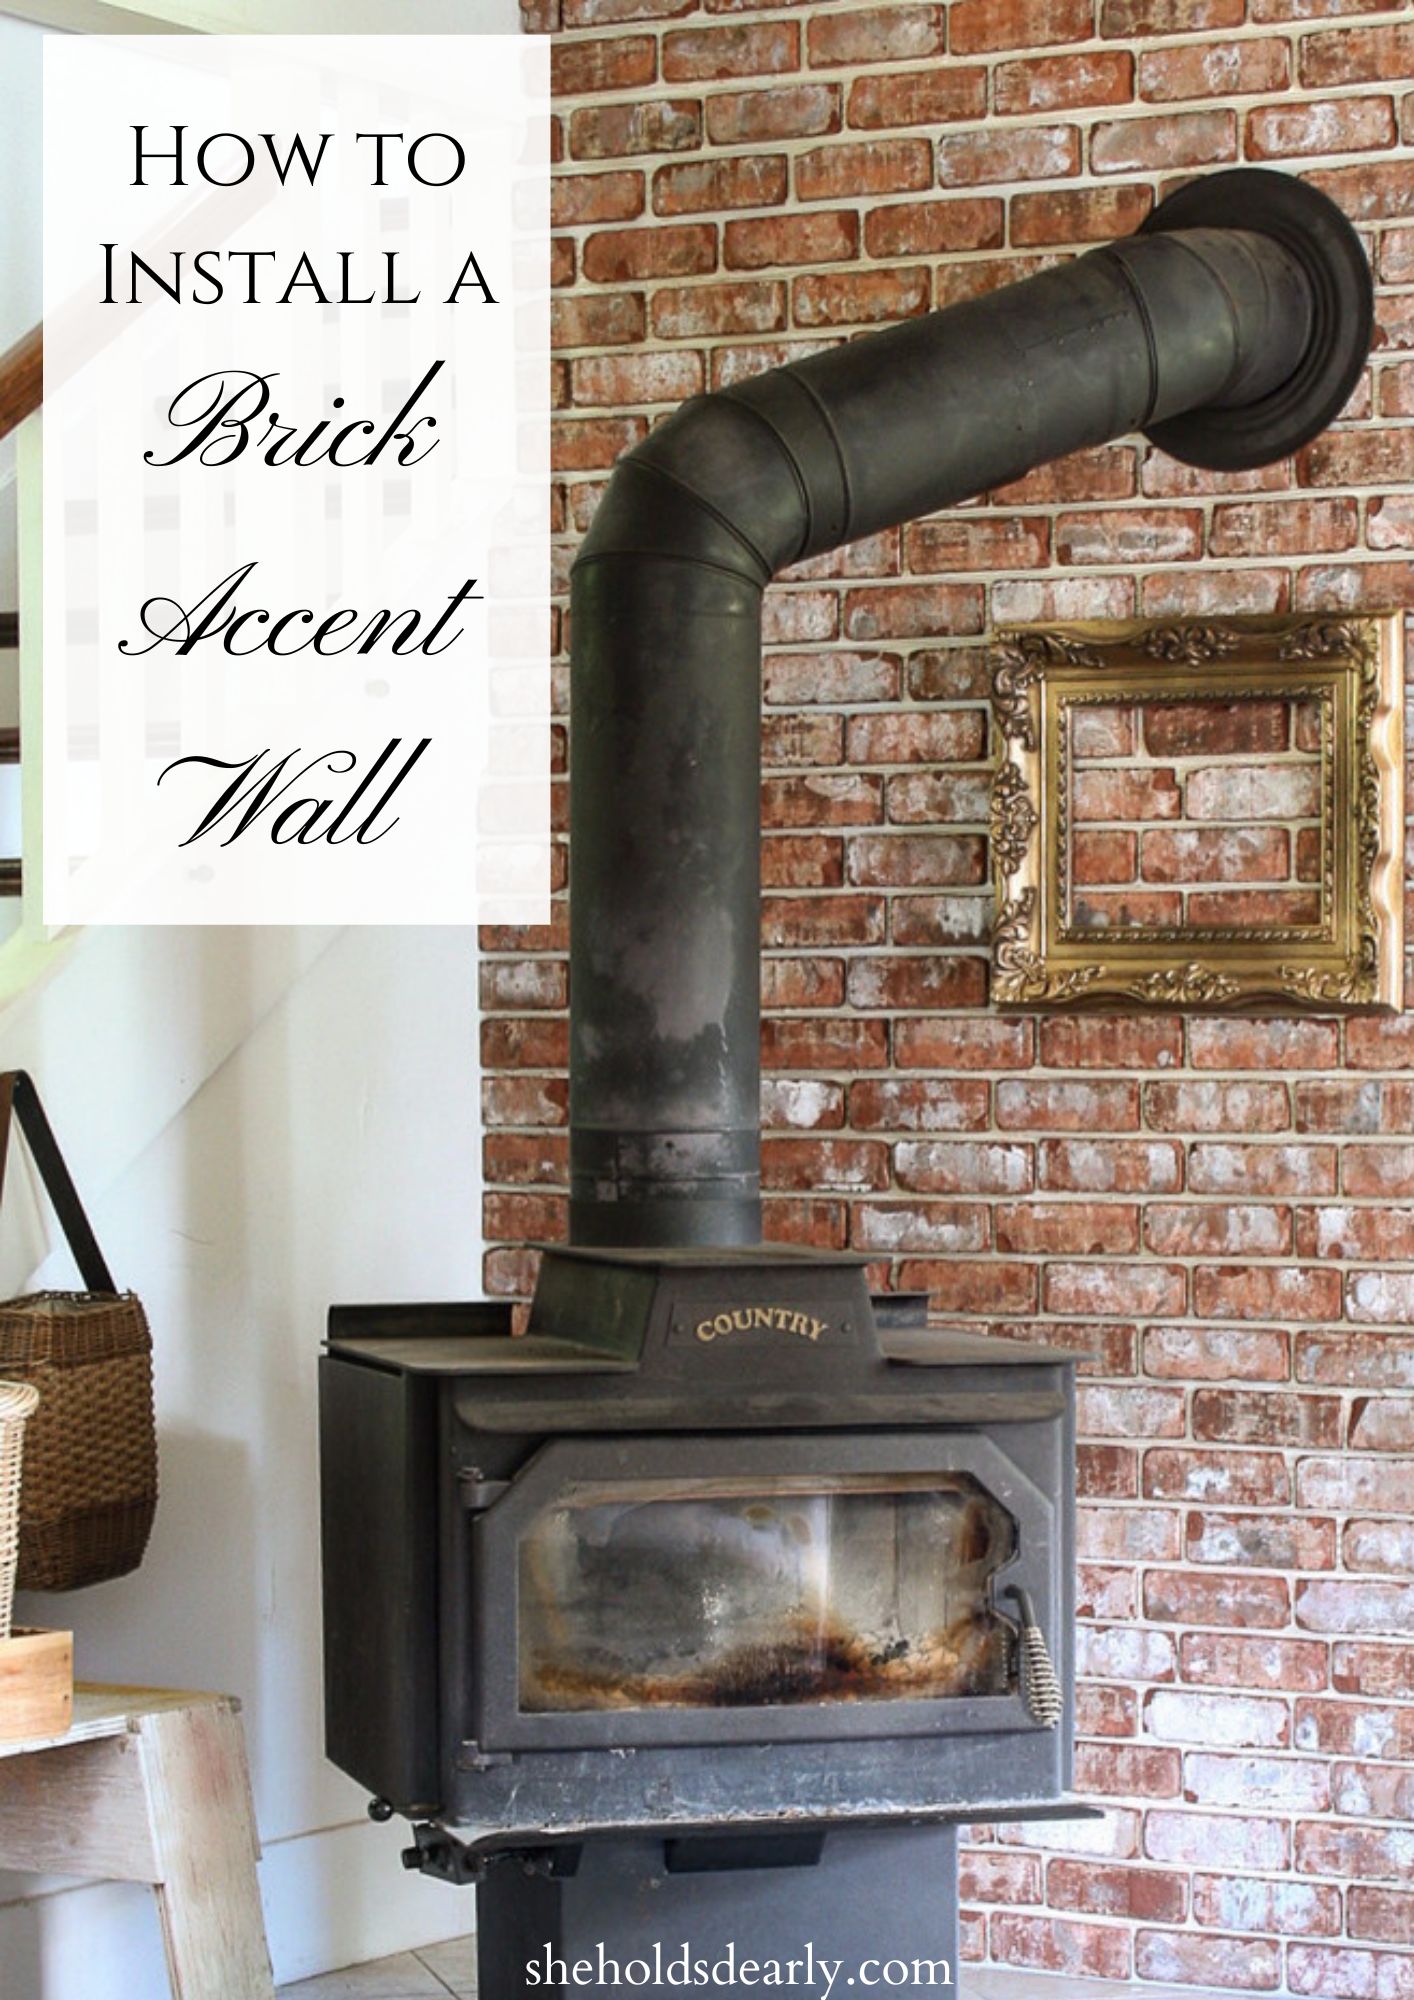
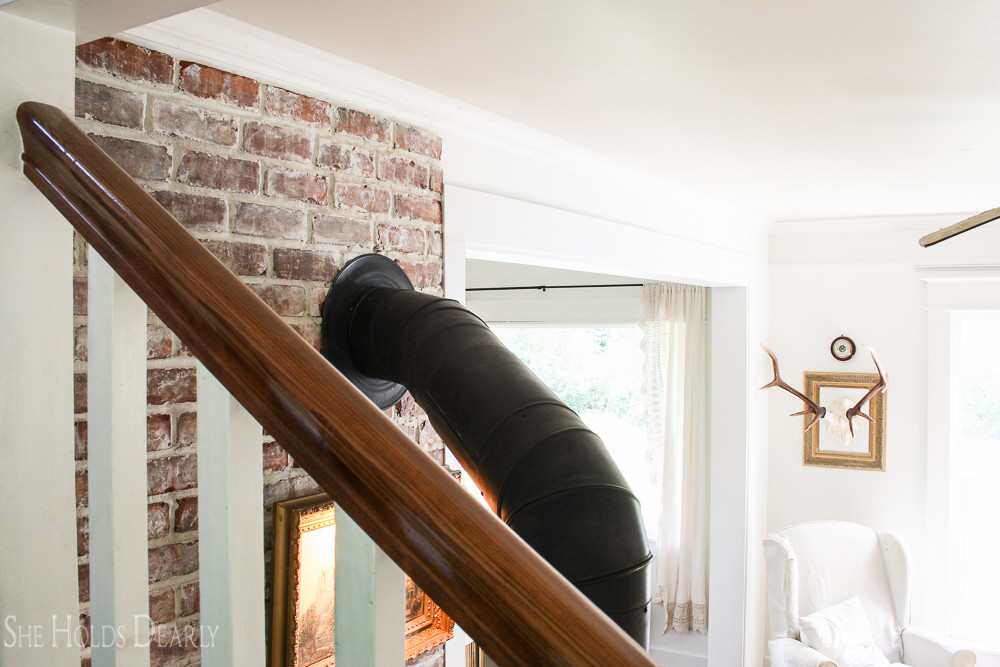
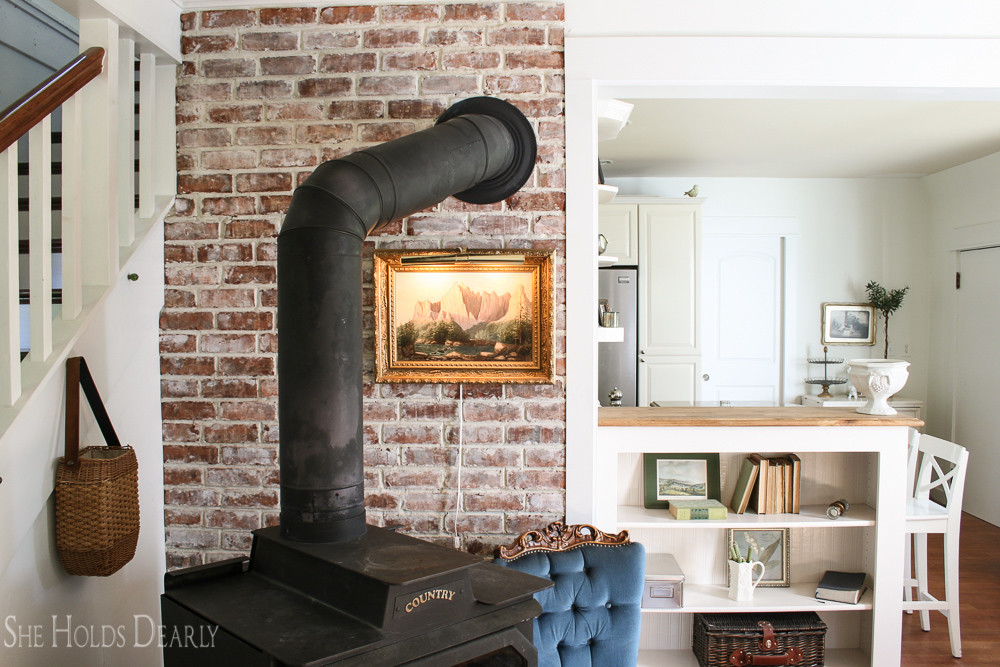
The “fireside room”, as we affectionately call it, does have its decorating challenges, though. The angle of the chimney, while necessary for excellent heat distribution up the stairs, has always baffled me a little and the sheer presence of the stove can be overwhelming.
For a long time, I have just ignored this room because other rooms were screaming for my attention.
We finally got to a place where we could start to focus on this room by celebrating the wood stove and letting it be the focal point that it is.
Here is my favorite inspiration picture for this room makeover. . .
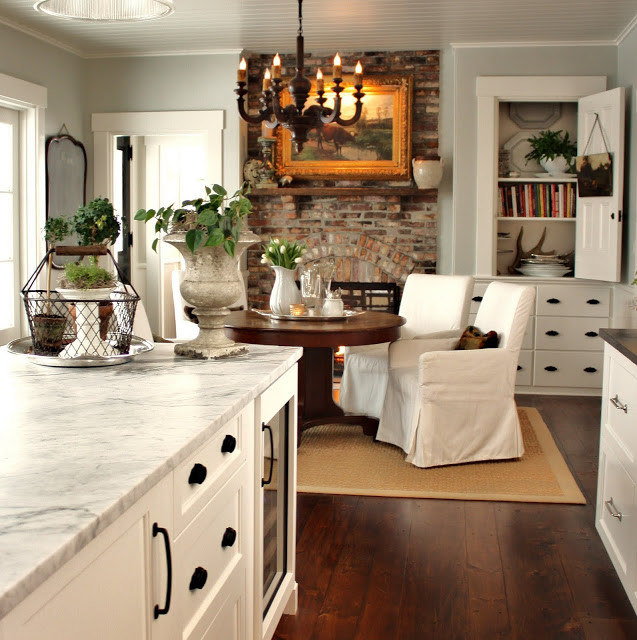
So, as you can see, a brick accent wall was definitely on order.
I liked the idea of real brick, but didn’t want it sticking out too far from the wall. A brick veneer was just what we ended up needing. Technically it’s still brick, so you don’t have to think of it as a faux or fake brick wall!
Here is what we learned as we brought our little dream to reality. . .
(Notice the nerf gun bullet on the wall.
My son shot right when I took the picture and he thought he was hilarious.)
How to Install a Rustic Brick Accent Wall
This post contains some affiliate links for your convenience.
Click here to read my full disclosure policy.
Our accent wall is 6′ x 8′.
Installation time was five hours and the grout took three hours.
Dry time was 2 days for the brick and 1 day for the mortar.
Materials Needed
- Slimbrick
- we chose the “Ashland Used”
- Unfortunately, Mutual Materials is a company located only in the Pacific Northwest. Amazon.com carries a similar product.
- Omnigrip
- Trowel
- Level
- We liked using a smaller one better, about the size of a brick
- Tape Measure
- Saw
- Diamond Blade
- Grout
- We used 25 lbs of Snow White
- Be sure to get the sandable kind if you want a messy, rustic look
- Grout Bag
- Clean 5 Gallon Bucket
- Paint Stir Stick
- Brick Jointer
- Gloves
- Be sure to wear gloves that are your size and have several pairs, I think I went through seven pairs.
- Painters Plastic
Tutorial
Warning: this project may bring out the cake decorator in you or at least make you hungry!
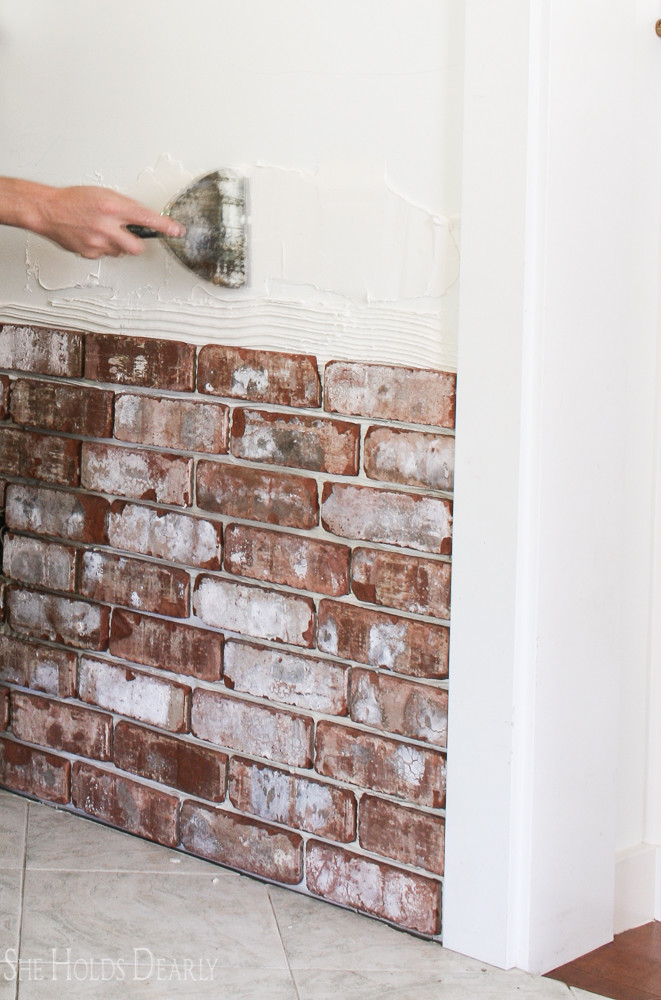
- Apply some Omnigrip all along the bottom of the wall, make it about three rows high, two if you covering a larger wall. It is just like working with frosting. I kept thinking about eating sugar cookies and icing cakes.
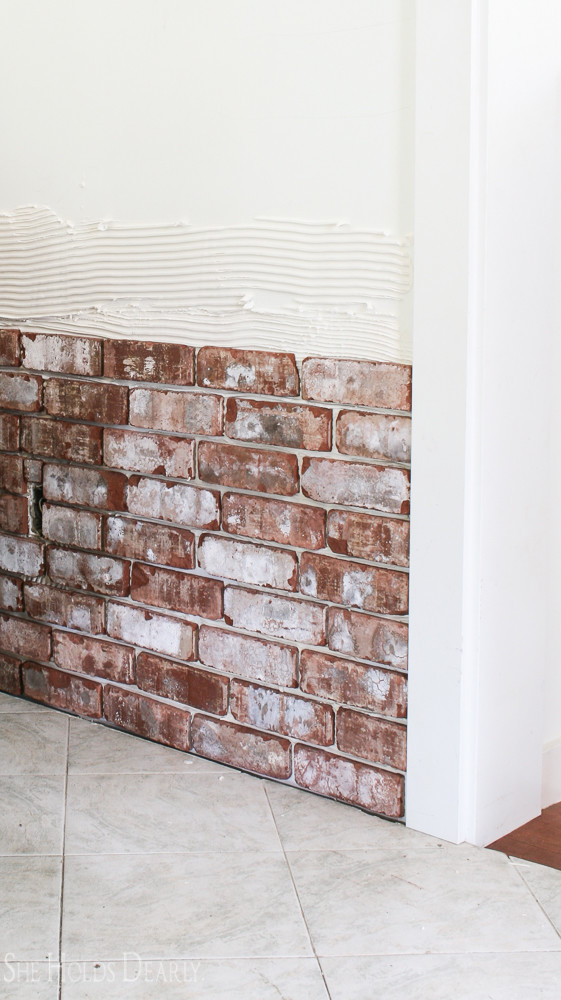
- Create grooves in the Omnigrip with the toothed edge on the trowel.
- Apply your brick and check each one with the level. We spaced ours about a 1/2 inch all around the brick and made sure that each top brick was a little off center compared to the brick right below it.

Let this dry for 48 hours.
Put your painters plastic down on the floor before starting to grout, it is unbelievably messy.
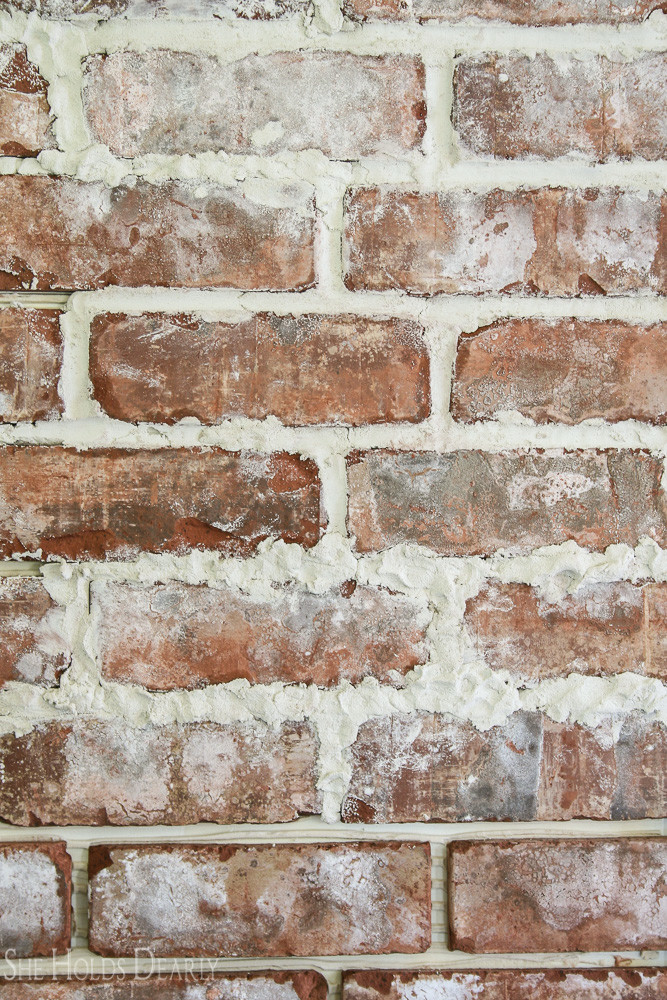
For the grout, don’t worry too much about measuring, its the consistency that matters. At first, I followed the directions on the bag exactly, then started tweaking things. Now I say ignore the directions and do what I ended up liking. What worked best for me was to dump about eight cups of powder into a clean five gallon bucket. Then, I added about 1/2 cup of cool water and stirred with my paint stirrer. Once it felt like the consistency of cool whip I put it into my grout bag and piped away.
You can collect the drips off the floor and reuse them, adding water as needed.
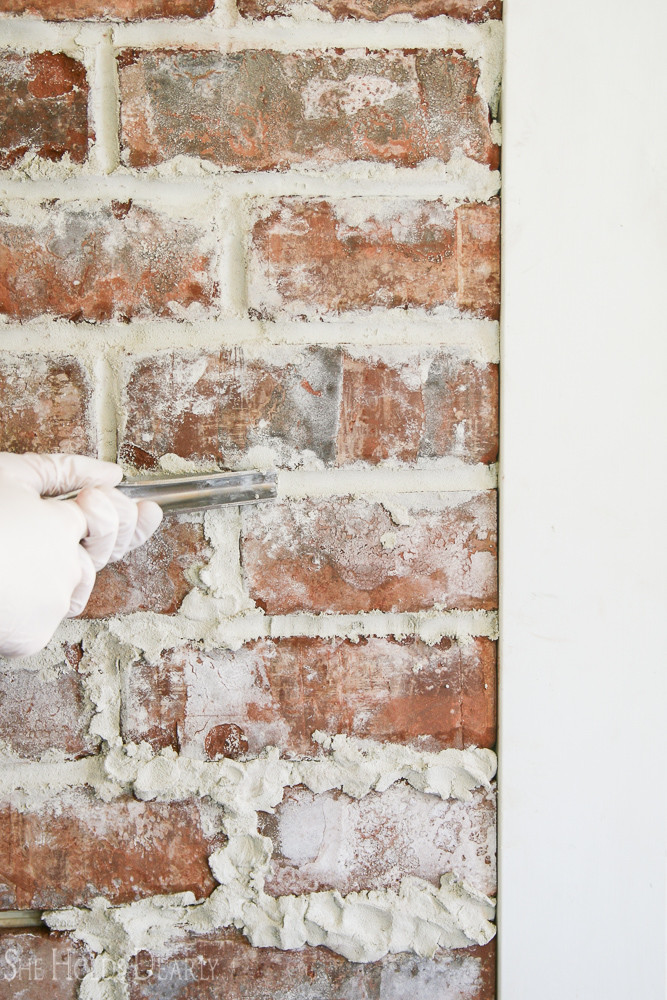
Every 20 minutes or so, take the brick jointer and shape the grout by pressing it into place.
Allow to dry for 24 hours.


Now go eat some sugar cookies, you deserve it!!
Pin this Brick Accent Wall Tutorial for Later: