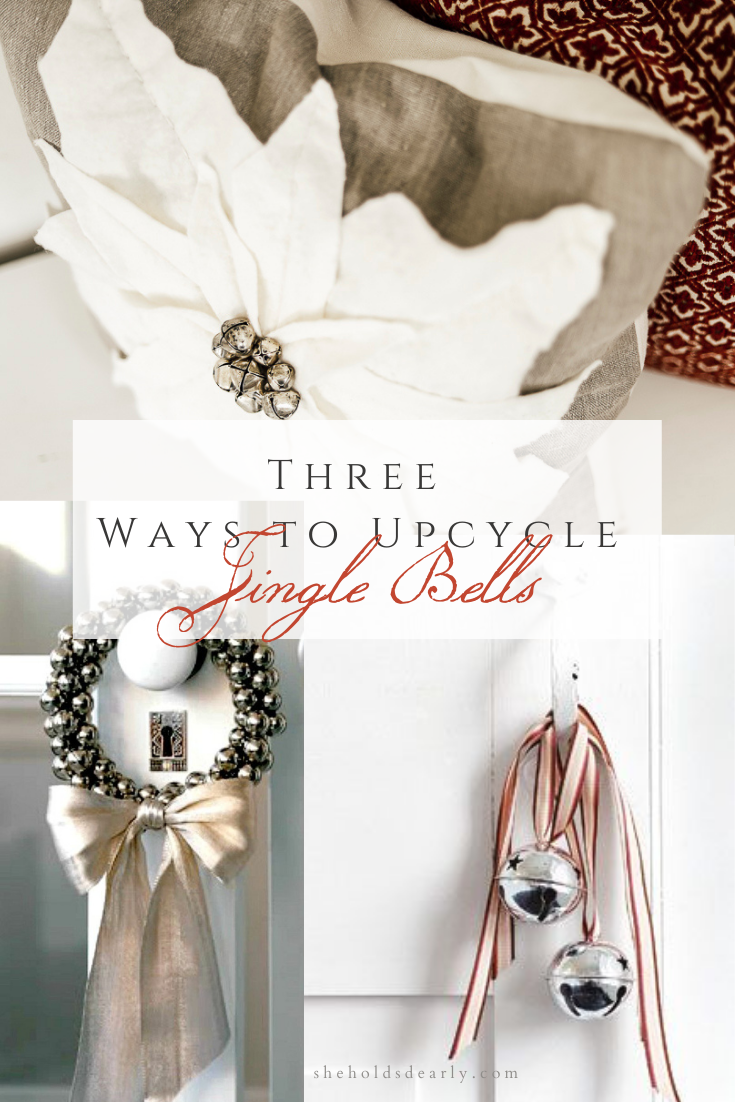
3 Ways to Upcycle Jingle Bells for Christmas
Have you ever wondered how to upcycle vintage or thrifted jingle bells?
Today I’m excited to be sharing with you not just a fun winter DIY, but also 3 creative ways to incorporate jingle bells into your winter decor!
I found a small strand of jingle bells for $2 at a thrift store, and I knew I wanted a new way to incorporate them into my look for this year! I decided to DIY them into a poinsettia pillow, but I’ll share all the details about that in just a bit!
*This post contains affiliate links to products I know &/or love.
First let’s look at three inventive ways to use jingle bells in your home this season:
One of my favorite ways to use jingle bells during winter and at Christmas is to add them to my wrapped gifts! Incorporating a few bells to your final ribbon creates a big impact with little work! It’s the perfect festive touch.
Click HERE for more quick gift wrapping tricks that I shared about last year!
During next month’s Styling Thrifted Decorations series post (the first post shared in December), I’ll also be sharing a few more ideas, so check back for that in a few weeks!
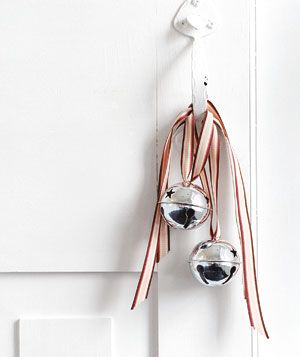
Another way to use jingle bells on ribbon is to add them to your doors or drawer handles!
This is a super easy way to add a festive feel to every day life through the winter season.
My second idea for thrifted jingle bells is just a slight notch up in the difficulty department, but still very doable!
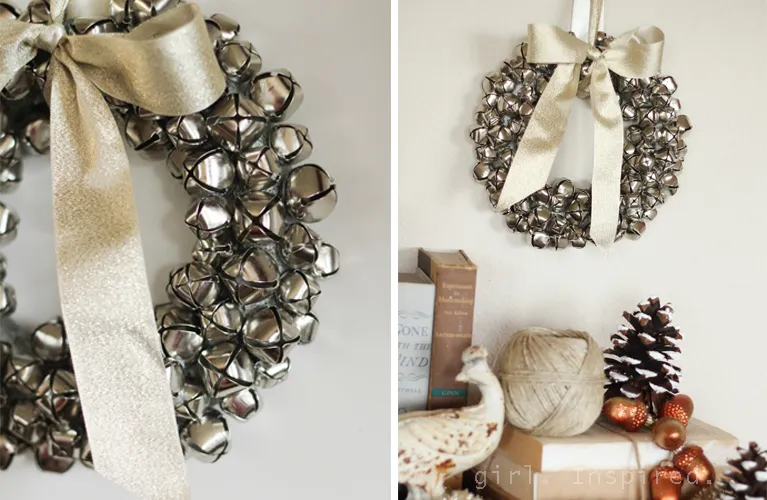
Make a jingle bell wreath!

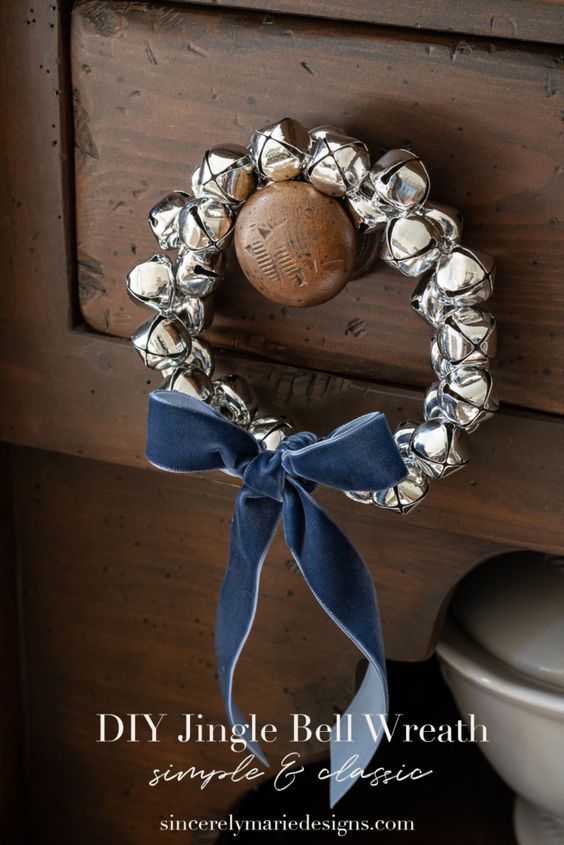
These wreaths make great decor for your own home, but also are wonderful gifts for anyone on your list! I especially think they’re fun for (supervised) children since they’re so delightfully noisy when shaken.
Speaking of noisy when shaken, one year we added bells to our dog and cat’s collars and it made for a pretty back ground noise/soundtrack as we opened gifts that morning.
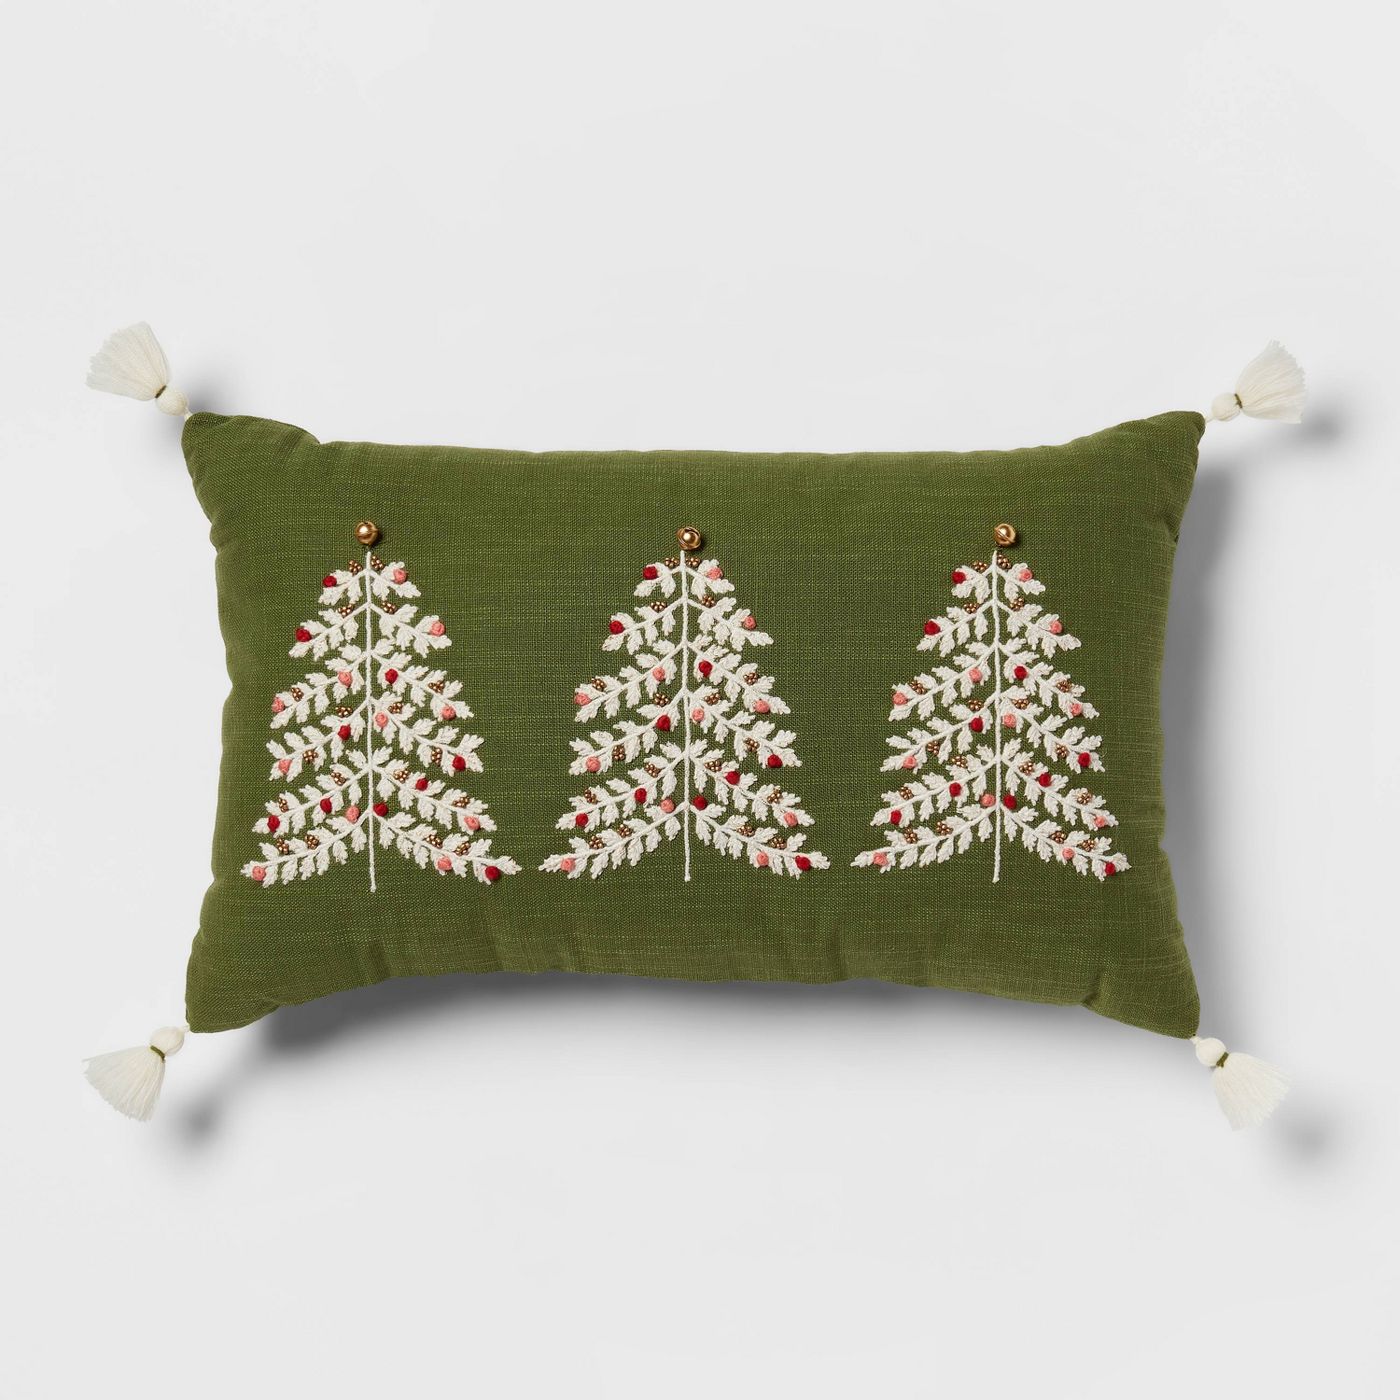
My third idea for using vintage or thrifted bells is to add them to a pillow!
This darling green lumbar pillow was at Target, but has since been discontinued. They chose to only add the three bells on top of each tree, but if you’re making a pillow of your own, you could absolutely add more bells in among the tree branches!
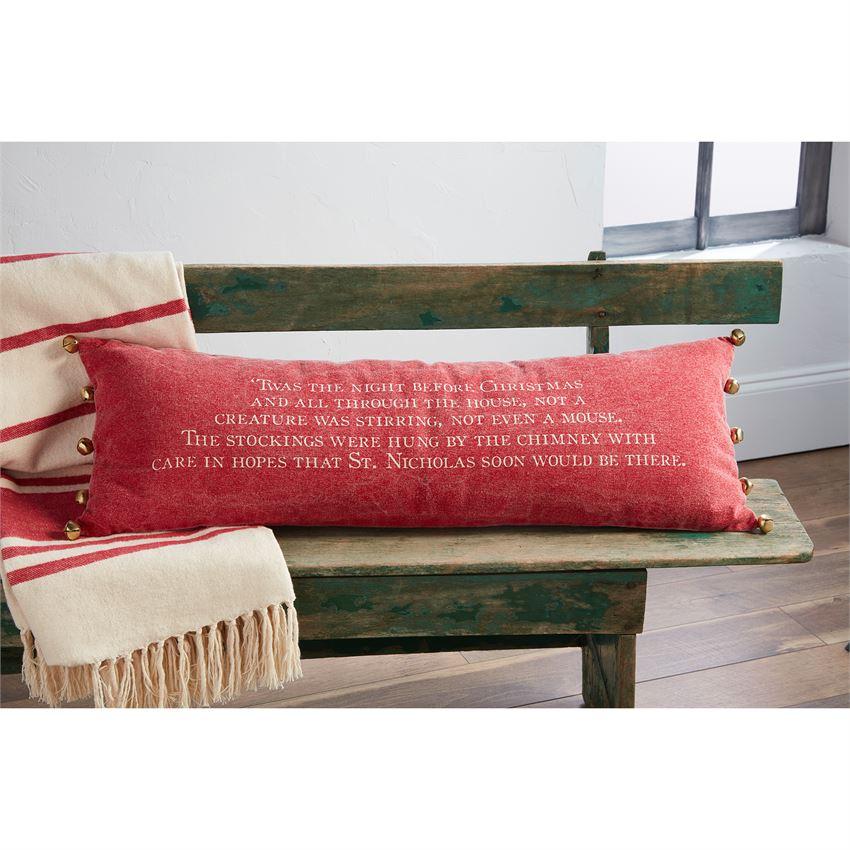
This striking “twas the night before Christmas…” lumbar pillow is another on my future DIY list. I love the bells along both the sides!
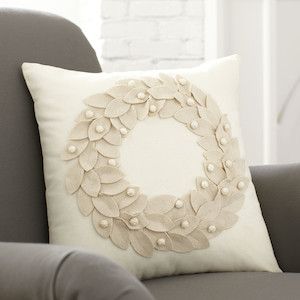
This wreath on a pillow idea mixes two of my ideas into one! This is another opportunity to add quite a few bells not only for visual impact, but as a joy to the senses when the pillow is moved.
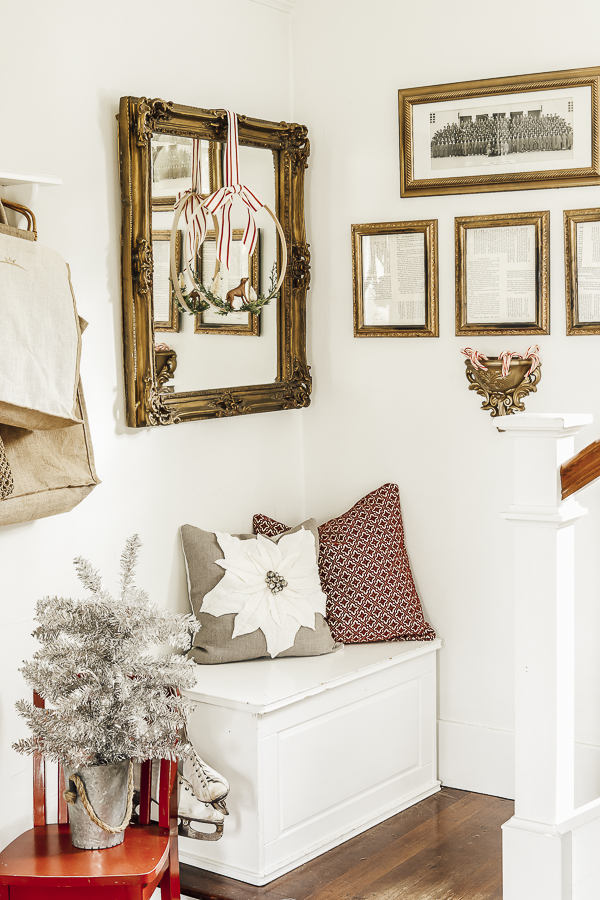
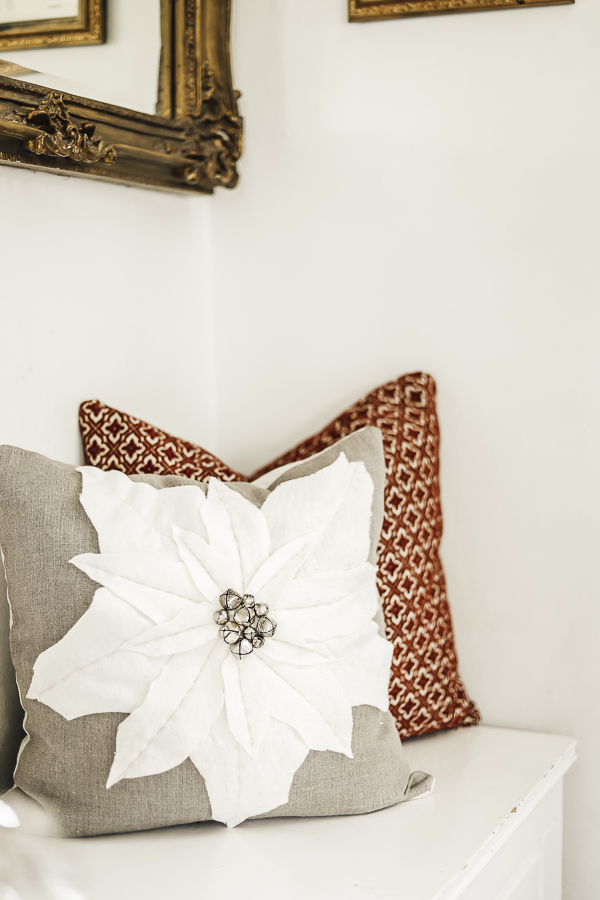
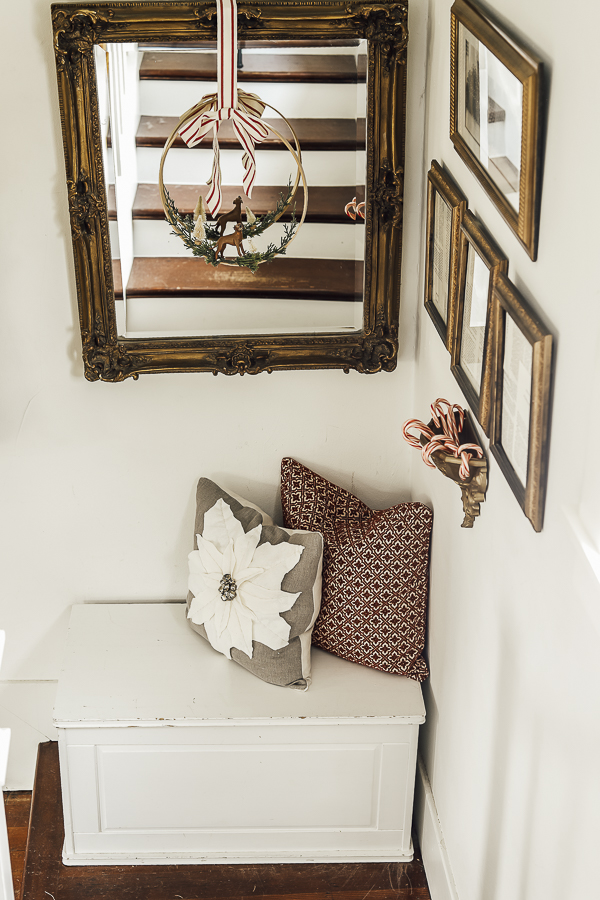
Lastly, and most importantly for the sake of today’s post, there’s the poinsettia pillow with bells!
I think I saw a pillow like this for the first time in a Pottery Barn ad or catalog, but it seems to have since been discontinued, and I can’t even find it on ebay!
If anyone knows of a better source to attribute this cute design to, please let me know in the comments!
My inspiration picture this time comes from my friend Amanda at Sincerely, Marie Designs.

I knew I would be able to create a knock-off Pottery barn version, and was pretty confident that it would come together quickly – and I was right!
I was also quite pleased that this project was nearly free!
I had fabric on hand from when I completed my Vintage French Chair Makeover and my No Pattern DIY Parson Chair Slip Covers to make both sides of the pillow cover itself, and some quilt batting and a zipper also already in my collection.
My general rule when saving fabric is to only save pieces that are at least 20×20″ because that is often the smallest item I will use fabric pieces for.
I recommend the same, save pieces only if they are big enough for your size that is most commonly used.
I have a friend who quilts, and she saves pieces 6×6″ and up because she is more likely to use those for her projects.
How to Create a Poinsettia Pillow with Jingle Bells:
Supplies:
- Pillow Form (I prefer feather, and 20×20″ is my favorite size for throw pillows.)
- Fabric for the front and back of your pillow (20×20″ + seam allowances, this can be either the same on front and back or different)
- Fabric for the poinsettia leaves (Suggested: Thick batting or felted wool)
- Zipper
- Jingle Bells (thrifted, upcycled or bought in bulk from a craft store)
- Sewing Machine
- Iron
- Scissors
- Coordinating Thread and embroidery floss
- Poinsettia Leaf Templates (I’ll explain below how you can create these, you’ll just need 3 pieces of plain white paper in the mean time.)
Process:
- Measure out and cut the fabric for the front and back of your pillow cover and set aside.
- Draw basic leaf shape templates on your plain paper and cut them out.
For this design, you’ll want (5) each of three different size leaves. Because I was doing a 20″ square pillow, I started my largest leaf almost the size of a page of letter size paper.
I’m NO artist when it comes to drawing free hand, so please be encouraged that the leaf does not have to look perfect. Follow a picture of a poinsettia for a basic shape and you should be great!
If I could do it, I know you can too!
Create a medium size template in the same manner and cut out (5) leaves.
Finally create a small size template and cut all (5) leaves.
Even though I was following the same template within these different sizes, I varied up the individual leaves themselves by trimming the edges a little differently and by turning a few of the leaves over.
The batting I used isn’t a directional or “sided” fabric, so it didn’t matter how I had cut them. If you were going with a different type of fabric with a “right” and “wrong” side, you’ll want to flip your template over before cutting for a few of the leaves.
- Once all your leaves are cut out, fold them in half length wise (creating a long skinny half leaf) and iron them to create a crease line down the center of each leaf.
- Open them back up and lay them flat with the largest five first in the center of the fabric you’re using for the front of your pillow, in a 5 point star formation with some overlap in the center.
- Then layer your medium leaves slightly offset but still in a star formation to help fill in some of the open gaps from the large leaves.
- Offset your smallest star with your small leaves as well to make a nicely layered poinsettia “flower” with your three levels.
- Pin the three levels down all together onto your pillow top fabric and use your sewing machine with coordinating thread to attach all of the leaves to the backing fabric. Sew along the exposed crease lines for each leaf until they’re all secured. (Sewing through the overlapped layers in the center can be a bit tricky, but you can do it if you just go slow and careful with your sewing machine!)
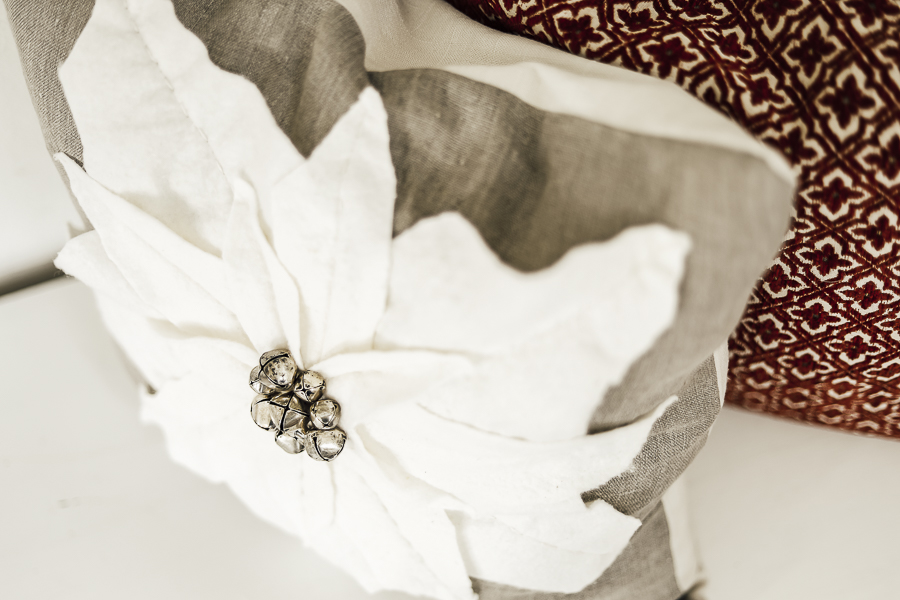
- Next I took some coordinating embroidery floss and hand-sewed thick stitches down the center lines for some added depth and dimension.
- Once the leaves are all attached and trimmed, you can assemble the rest of your pillow case!
I have some great tutorials already out on the process for:
- Sewing Pillows (Simple Ticking Lumbar Pillow, Patriotic Pillow Cover Tutorial)
- Adding a zipper to a pillow cover in 10 minutes
So I won’t repeat those steps in detail here, but you should be able to get any questions answered in those linked posts!
If you’re a more visual learner, you can watch some of my process HERE in this week’s video!
What did I learn?
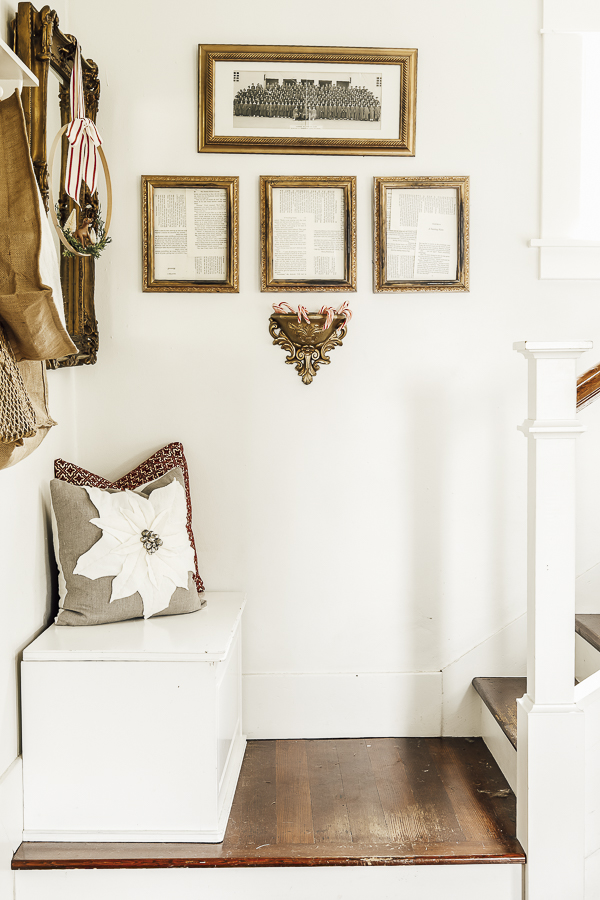
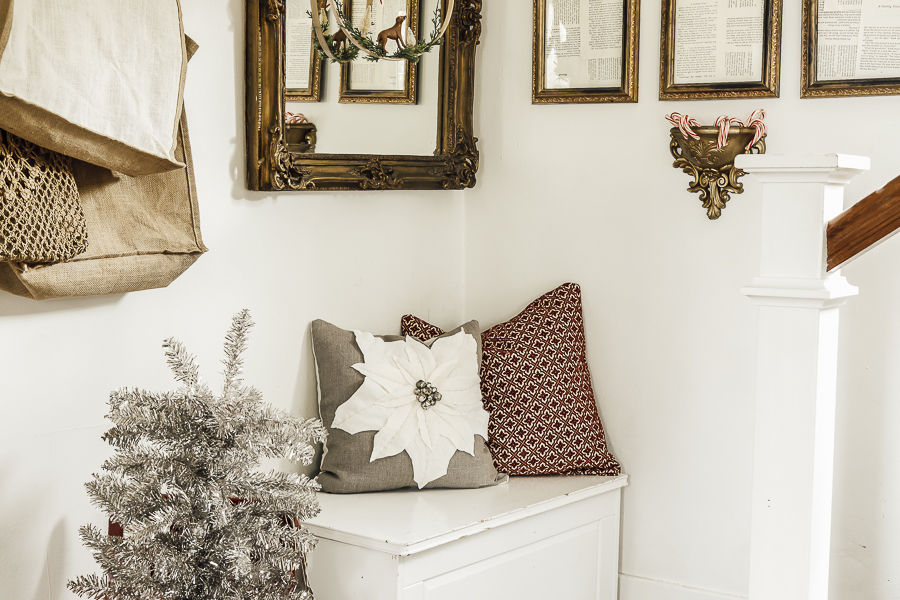
Overall I am excited about the finished look and think it’s a great addition to my landing for this winter’s decor.
Looking more closely, I’m a little disappointed in the thickness of the leaves themselves. I used a basic quilting batting I already had on hand, and it will work well enough, but if I were to ever make one again, I would purchase a higher quality thicker batting OR even better, some felted wool for the leaves.
I think it would help create an even more high end look for the finished product.
Well I hope this pillow is a fun inspiration for you, and that you find these other jingle bell ideas useful as well!
Next week I’ll be sharing how to create your own 1970’s macaroni Christmas tree.
I know off hand, that doesn’t sound all that cute, but I have one from my childhood, and each time it makes an appearance in my decor (just about every single year), I get questions about how it was made and how to recreate it!
Inquiring minds will be satisfied in one week’s time!
Pin this Post for Later: