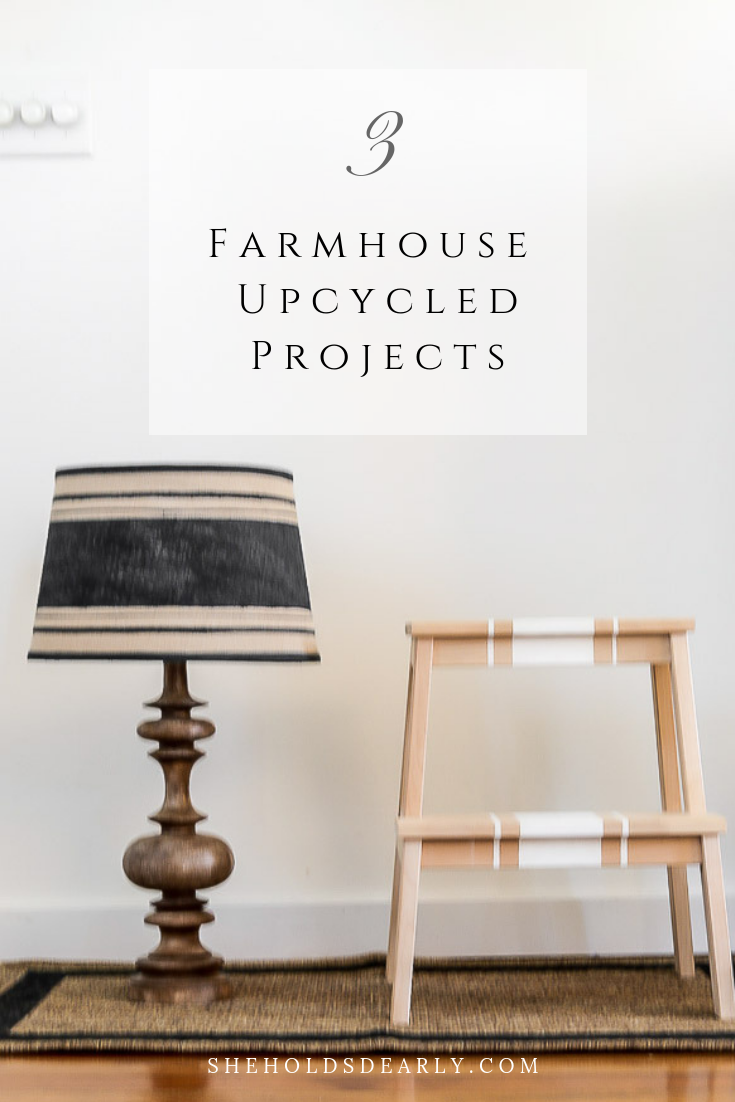
3 Farmhouse Upcyled DIY Projects
One of my favorite things to do it take a normal household item and tweak it somehow to make it extra beautiful. What could be more normal than a plain rug, step stool and lamp shade?
Fortunately, these projects are simpler than they look. You don’t need much more than some paint and FrogTape for what I am about to show you.
Hopefully, you will have some household items like mine and feel inspired to add some French farmhouse flair with Frogtape. (I love alliterations!)
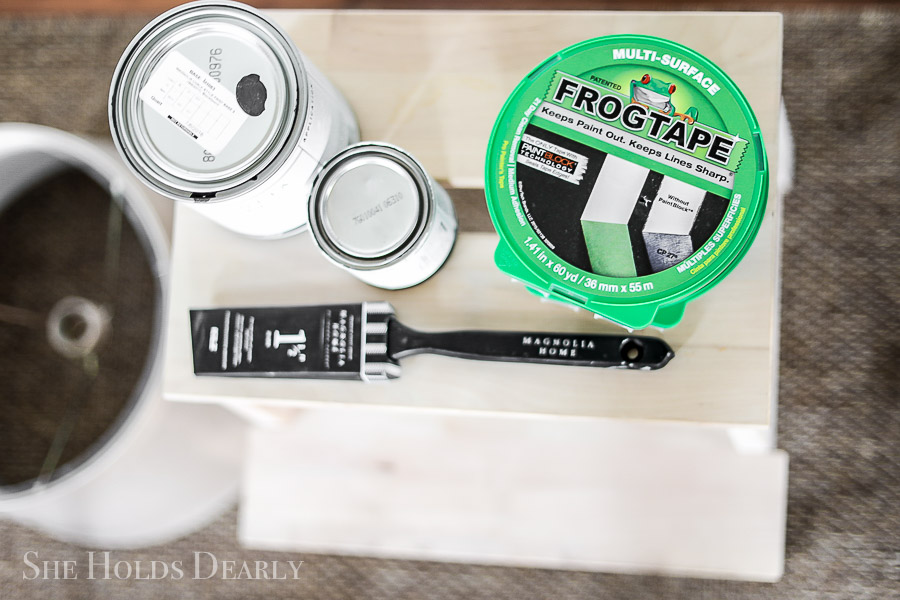
The reason I love FrogTape brand painter’s tapes are because they are treated with patented PaintBlock Technology. This super-absorbent polymer reacts with the water in latex paint and instantly gels to form a micro-barrier that seals the edges of the tape, preventing paint bleed and the need for touch-ups. The results are crisp, clean paint lines the first time.
Because ain’t nobody got time for paint bleeding on their projects! Am I right?
For the three projects farmhouse upcycled projects, I add a grain sack detailing to wood and burlap, then add a border to an indoor/outdoor rug AND showyou how to DIY tassel trim using- you guessed it- FrogTape!
*I received compensation to complete this project for using FrogTape painter’s tape products. All opinions, projects and ideas are based on my own experience.
*This post contains affiliate links to products I know &/or love.
*Magnolia Home by JoAnna Gaines Paint was provided by Kilz. All opinions are my own.
3 Farmhouse Upcycled DIY Projects
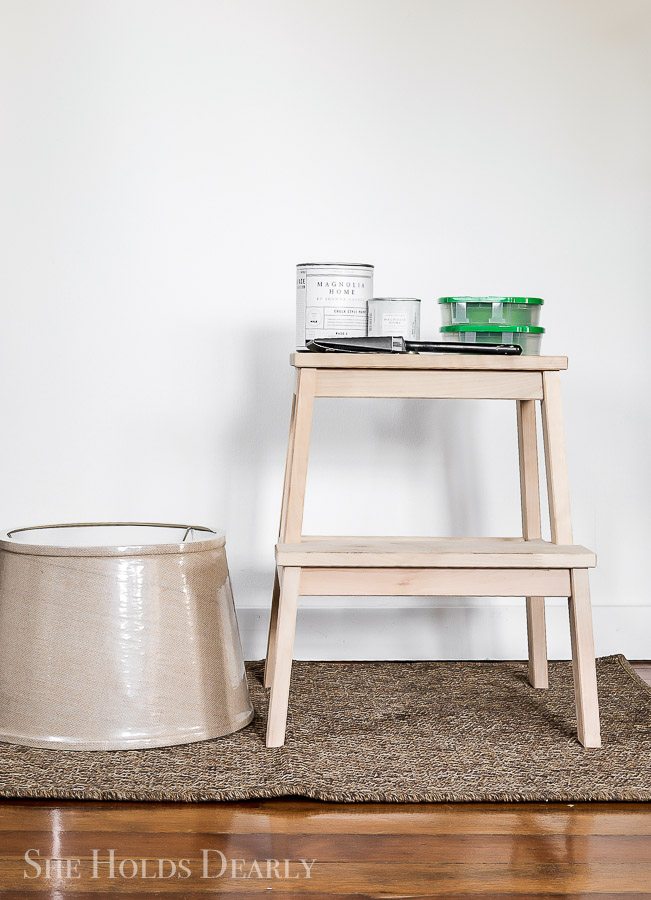
Let’s start with the easiest surface first. . .
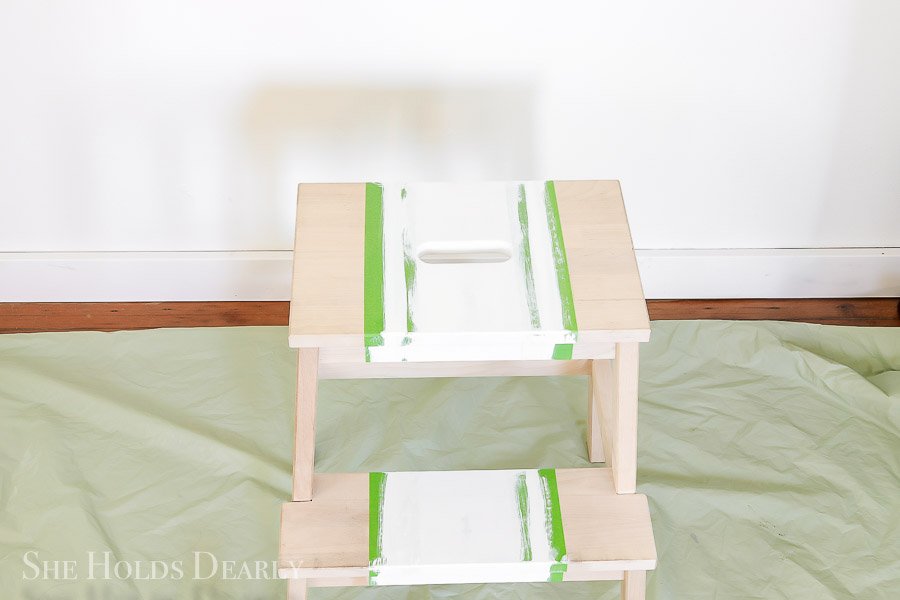
Wooden Stool
I am using the BEKVAM stool from IKEA
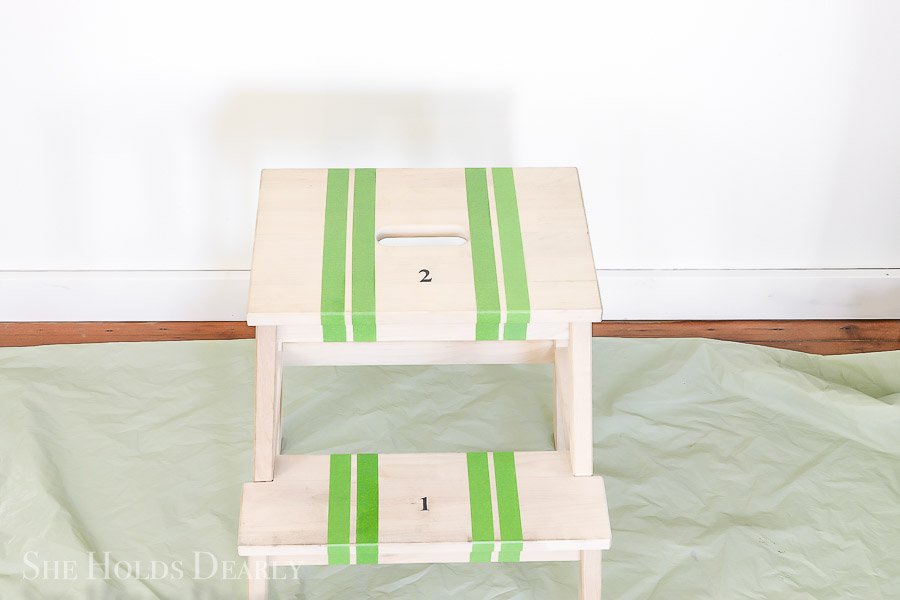
- Decide on your exact design.
- Add your strips of .94″ FrogTape and reposition as needed.
- Then, measure in several places along the tape line to ensure that your lines are exactly parallel.
- Press FrogTape in place.
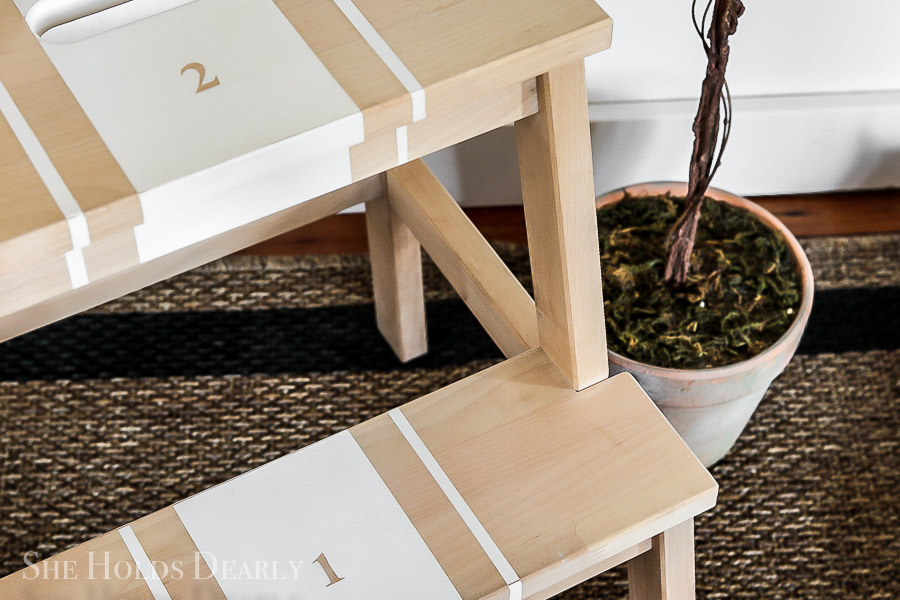
- For the numbers, either use stickers or print on labels in the font of your choice. I used the numbers 1 and 2 to act as directions for using the stool. Haha! (My husband thought I should put “do not stand on top step” like they have on tall ladders- so funny.)
- I didn’t even set the printer to “label” settings, I just cut out two sections of the numbers where it didn’t all fit on the label.
- Mine are set on Times, Bold, 79 pt.
- Cut out with scissors and adhere where you want them on your stool.
- Add two coats of paint, drying in between.
- I am using Magnolia Home paint by Kilz in Silos White, Eggshell Finish.
- Peel off the FrogTape while the paint is still wet and use an Exacto knife to carefully pick off the numbers.
- Once dry, sand down the piece with 220 grit sandpaper and then 400 grit sandpaper to give it a buttery finish. I did a little distressing of the white on the edges.
- Finish with a dark furniture wax to seal the whole piece.
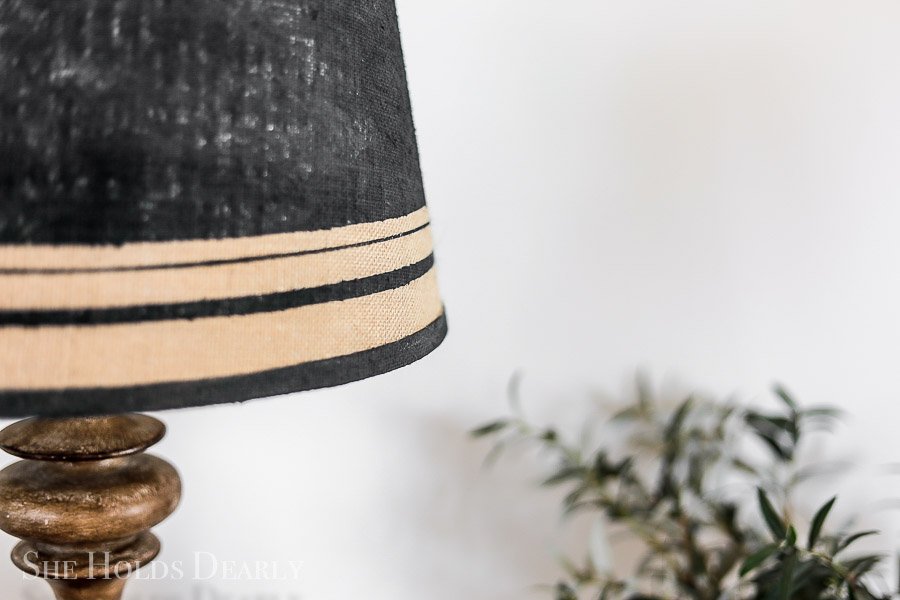
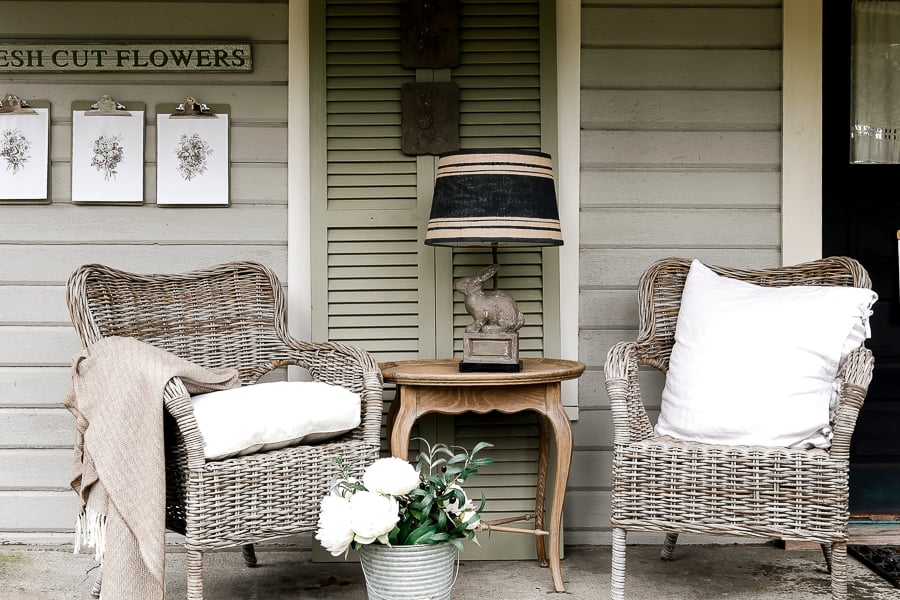
Burlap Lamp Shade
I bought my burlap lamp shade at Walmart.
World Market has a smaller one already finished.
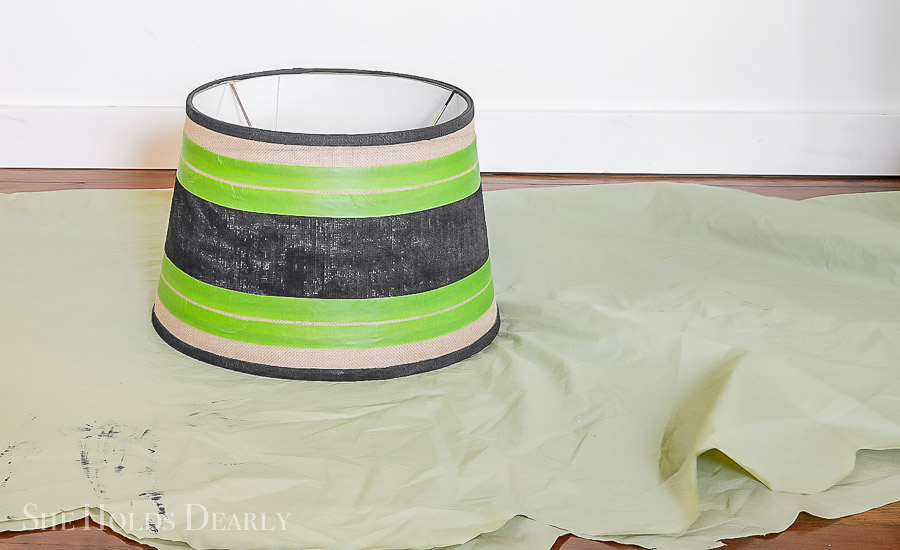
- Using the top and bottom edge as a guide, tape off the edges with the .94 inch FrogTape
- It will want to buckle as some points because of the shape. Just do your best at sealing the edges.
- Start and stop on the back seam of the lampshade.
- Now add a second band of tape and space it about 1/4 inch inside the top and bottom band.
- I didn’t measure, I just eyeballed it.
- Quickly put it in place and then, go back over it the press the edges all the way down. I used the back of my thumbnail to do this.
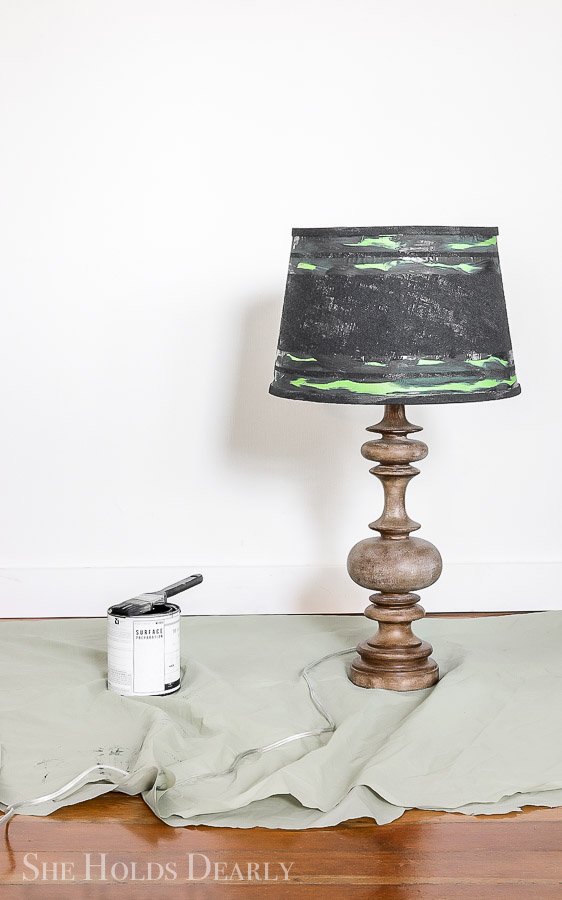
- Paint with your choice of paint.
- Peel off Frogtape while paint is still wet.
- Once dry, go back in and add two more tiny bands for a finishing touch.
- Note– I did get a tiny bit of bleeding on this project because of the combination of the tapered shape and rough surface. I still really like it, but if it will bother you, either don’t use a burlap shade or get a true drum style shade.
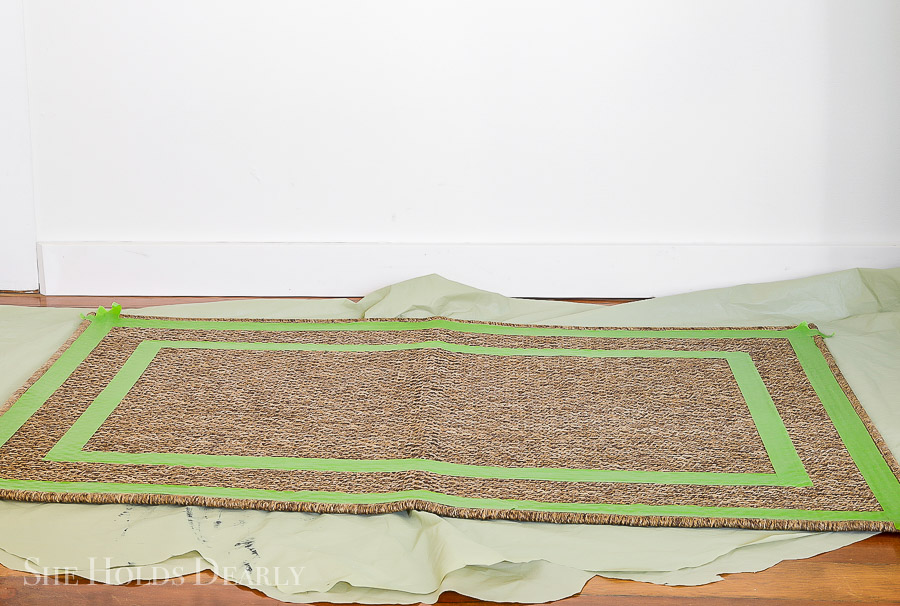
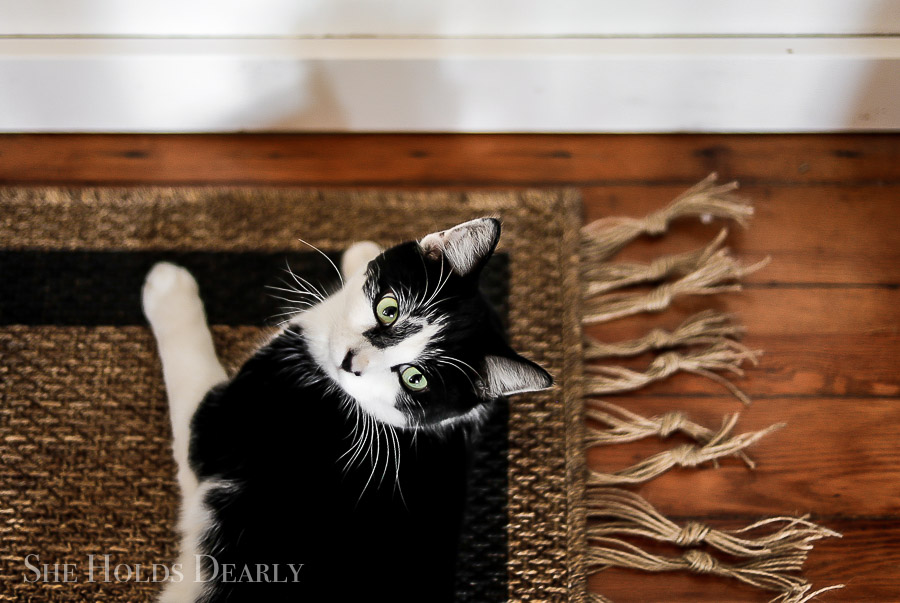
Indoor/Outdoor Rug & Tassle Trim
My rug is from Bed, Bath & Beyond 29″ x 45″
- Using the 1.41 inch FrogTape, follow along the binding and tape down your first frame.
- Tape down a second line of Frogtape inside the first line.
- I spaced mine second line 2 1/2 inches from the first line.
- Paint with your choice of paint. Dab the paint on, working it into the texture of the rug and thin with water, if needed.

- Peel off Frogtape while paint is still wet.
- For the tassel trim-
- Cut a piece of FrogTape the length of the shortest end of the rug.
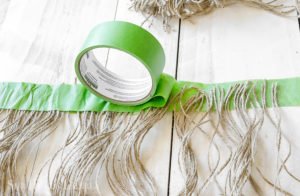
- Then cut 8″ inch strips of jute string and lay in on the sticky side of the tape.
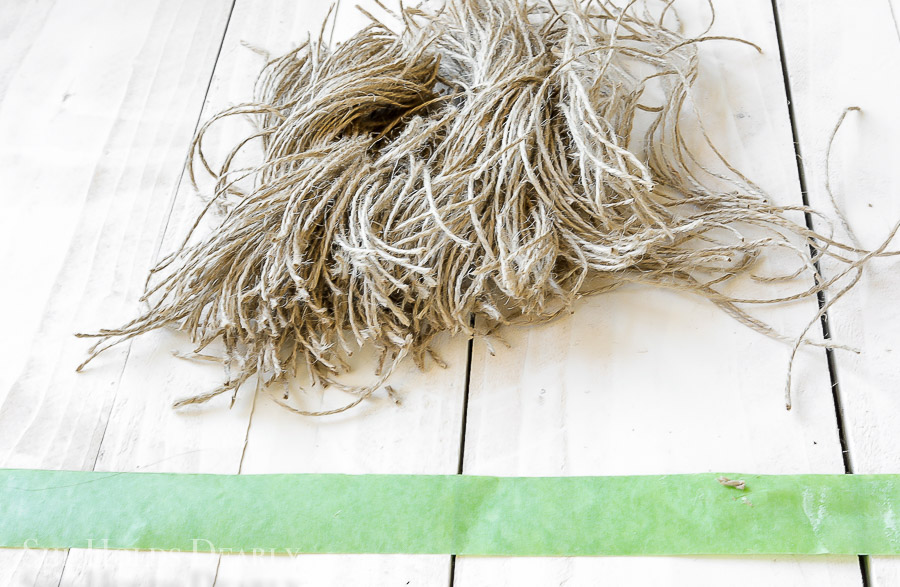
- Cover the first piece of FrogTape with another piece to seal down the jute string and stitch into place on a sewing machine using two rows of stitches.
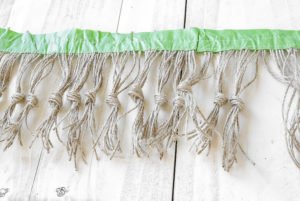
- Hot glue the trim to the bottom of your rug.
- Finally, take nine strands at a time and tie a knot about half way down the strings.
Once you are done, return your FrogTape to the plastic container it came in. The signature FrogTape canister protects your tape edge not only against moisture, but nicks and dents that can ruin the tape edge during storage.
Related Posts
- Painting Tips From a Pro
- How to Paint French Doors
- Favorite Painting Supplies
- When to Paint Antique Wood
Pin These Farmhouse DIY Projects for Later: