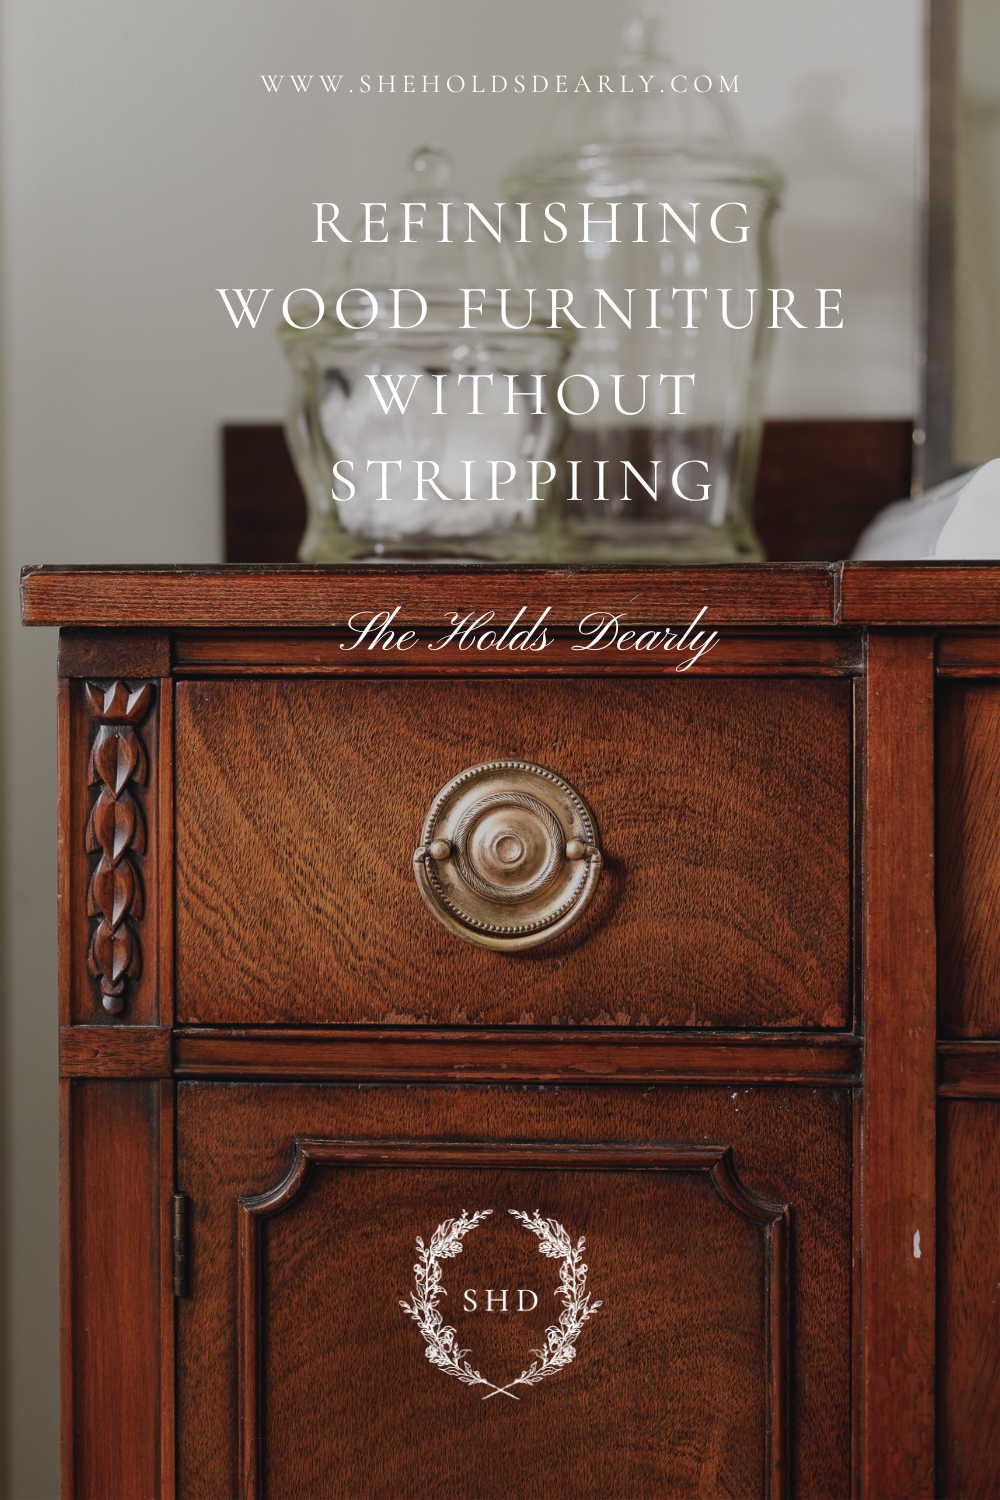
Refinish Wood Furniture | No Stripping Required
If you’ve got a piece of wood furniture in need of a refresh & refinish – you’ve come to the right place! I have a new product recommendation that makes the task quick & easy! No need for sanding or stripping!
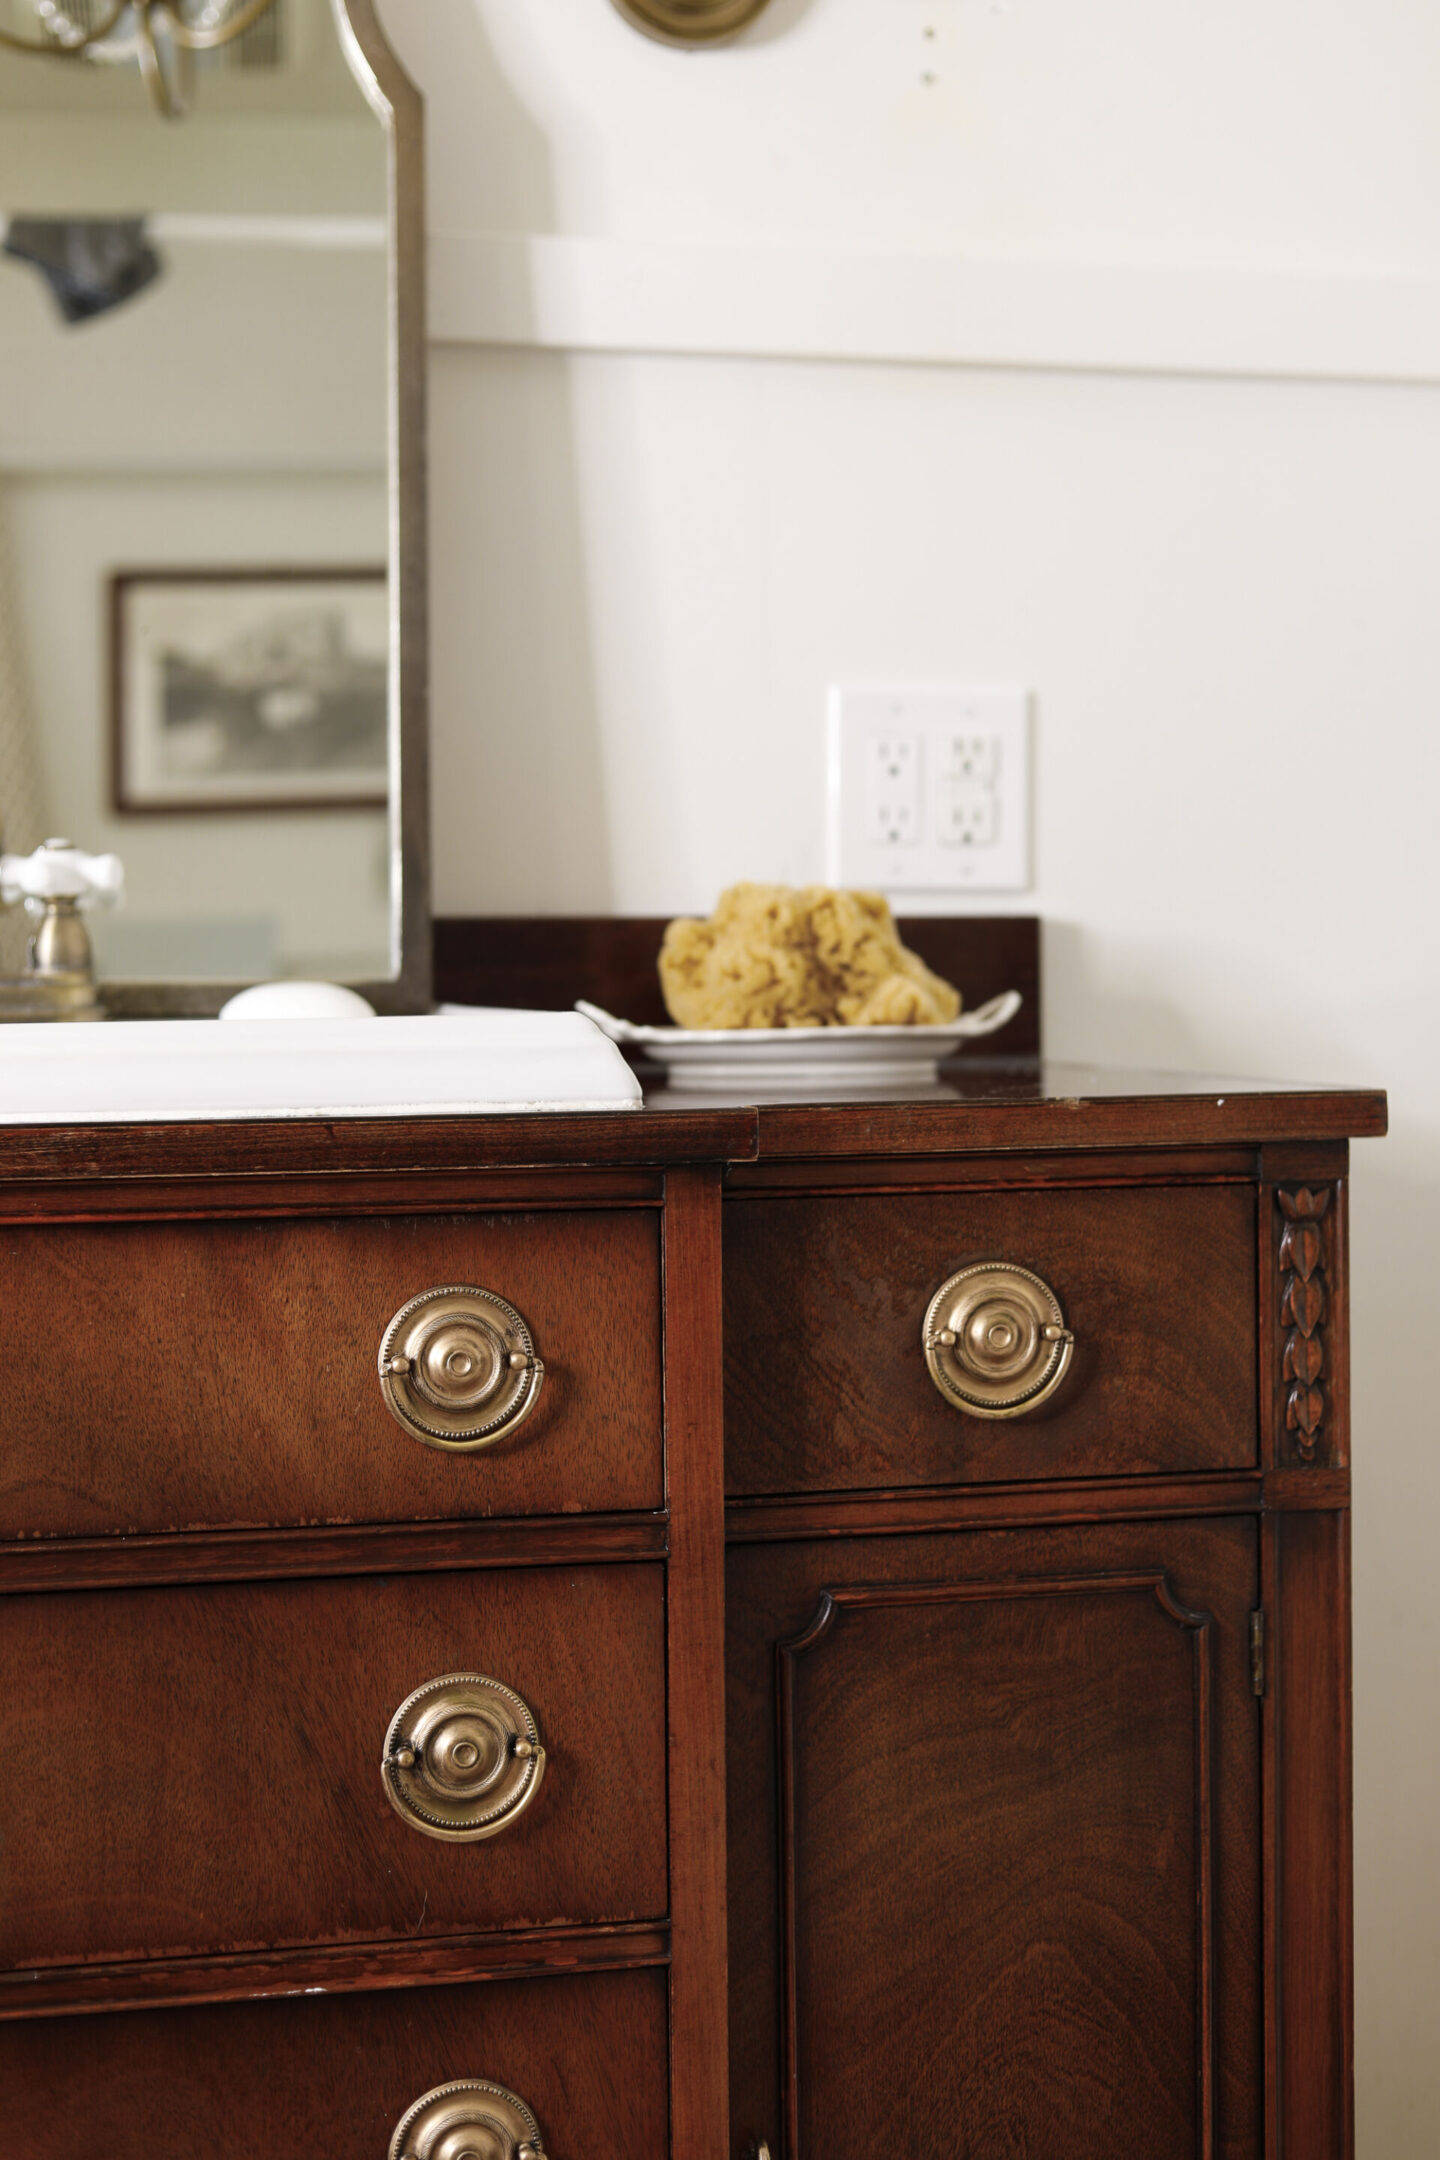
We’re currently in the middle of giving our upstairs bathroom a refresh, and after finishing the claw-foot tub; this sink vanity was the next project I wanted to tackle!
*This post contains affiliate links to products I know &/or love.
The Vanity Backstory
We purchased this dresser years ago off Craigslist for $150 and modified it to fit a sink we had also found on craigslist. We cut the drawers down to size to accommodate the sink and the plumbing, and we coated the top of the vanity with a waterproof epoxy to protect it.
The top of the vanity has held up beautifully, but we did not protect the fronts of the drawers quite as well and they were starting to really show some wear and tear from constant use.
Here’s a peek at how it was looking before the refinish project:
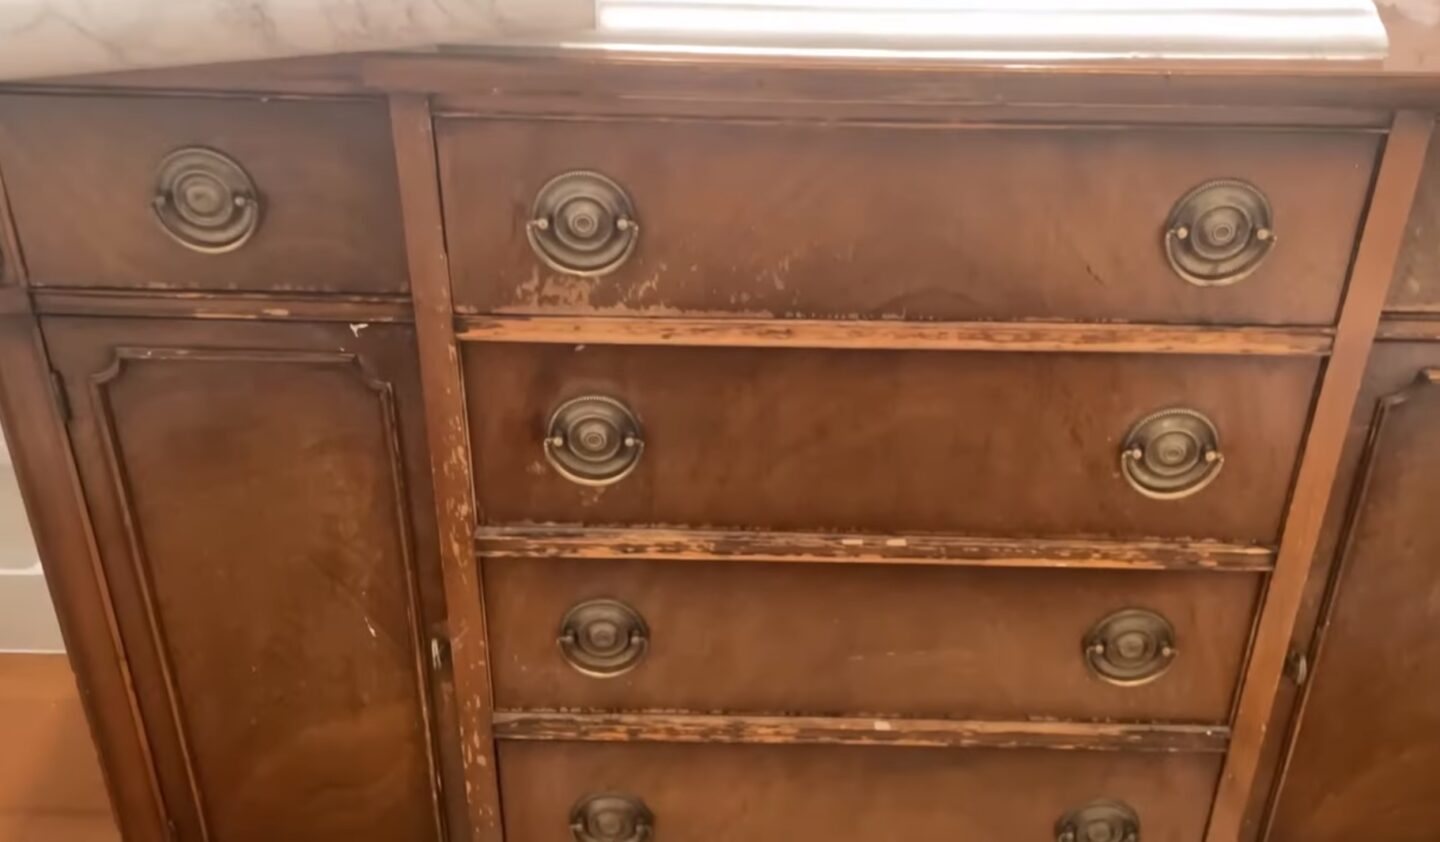
This picture really shows the difference from where it was exposed to use, and where the hardware had protected the old finish.
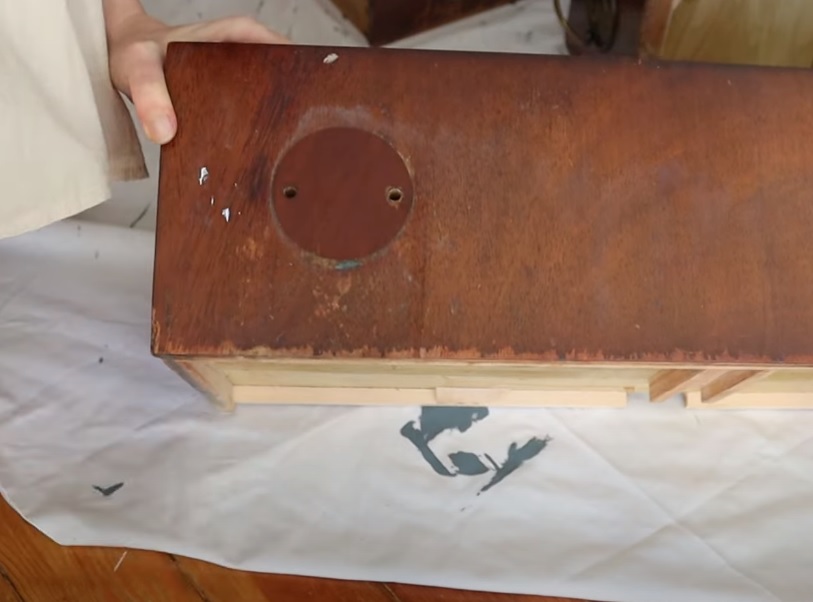
I had originally been thinking to paint the dresser because the idea of stripping and sanding and doing a complete refinish job seemed like a ton of work, especially since the vanity is secured to the wall and has plumbing running all through it.
This is where the new product recommendation comes in! I had heard of this product, “Restor-A-Finish” from Howard Products. The idea is that it restores faded and scratched spots without needing to sand and strip before hand!
I figured it was worth a try (and spoiler alert: it worked great!).
While in the Bathroom…
In my Behind the Scenes Decor Group, we’re spending this month decluttering and editing our bathrooms, so taking out and emptying all of the dresser drawers was a great time to also get that task done!
While I was in there I decided to refresh the contact paper I had used as drawer liner. One of my BTS gals said that Etsy has a great selection of contact paper, and I hadn’t ever checked there for it before. I was so pleased with all the options! I ordered a sample of one with birds and I can’t wait to see it inside the drawers.
How to Refinish Wood Furniture Pieces:
Now to the most exciting parts! Refinishing the wood!
I sprayed each of my drawers with my favorite Mrs. Meyers cleaner and gave them a good wipe down to remove any dust or spills.
Then I used an old soft cloth to wipe on the Restore-A-Finish product. It really does just erase the smaller scratches and imperfections right as you’re wiping it on!
(For anyone curious, I used the “Mahogany” color.)
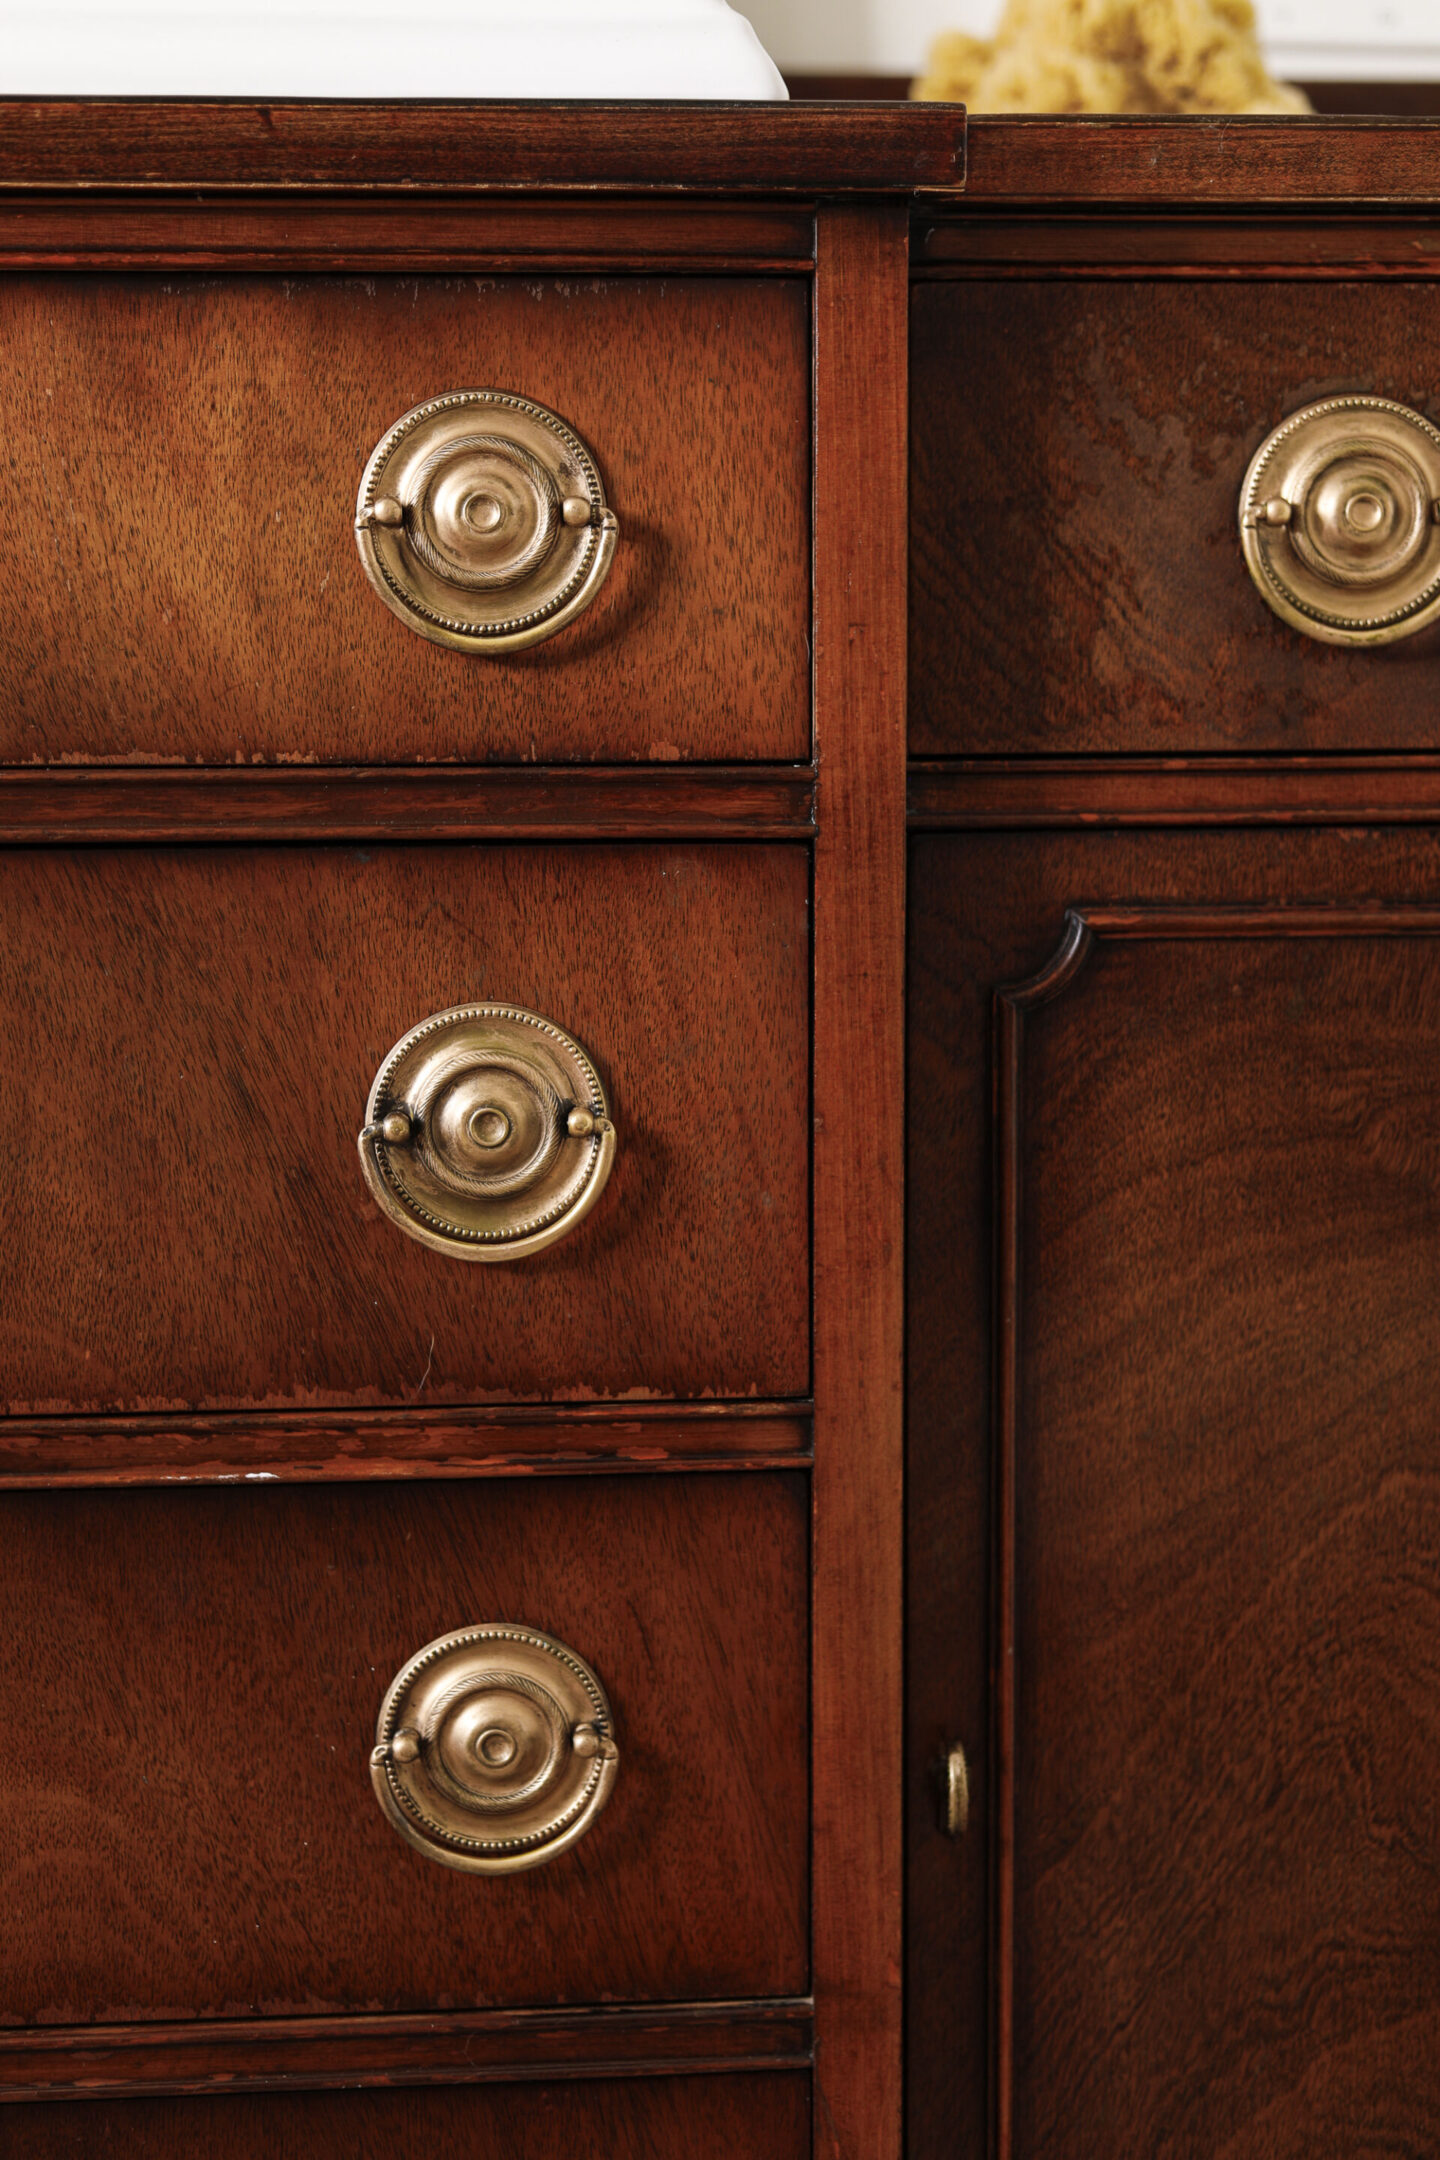
You can see there are some parts where the veneer was slightly peeling at the bottom of the drawers – and those parts weren’t completely fixed by the product, but it certainly lessened their visibility; which I call a win!
I had a little bit of leftover Minwax Gel Stain in the color “Hickory” that I decided to put on top of some of the areas to help add some additional pigment and dimension.
After I was finished, I used another great product by Howard’s called “Feed-n-Wax“. This will help protect this wood refinish against upcoming use.
Final Details:
While I had all the hardware removed, I decided to give the handles a quick refresh using Rub-n-Buff. I used my favorite color, Antique Gold and applied it to the larger areas with an old makeup brush, and to the more detailed areas with a small art brush.
I was so excited to see it all put back together! The finish really did look spectacular, especially considering how little work was involved.
I know I could have completely stripped and refinished the wood for an even more perfect look – but for the time and accessibility required in this project; the Restore-A-Finish was an amazing solution.
I hope you’re able to use it on some of your own projects, too!
Related Bathroom Posts:
- 10 Bathroom Design Mistakes & How to Fix Them
- Master Bathroom Remodel
- Master Bathroom Reveal
- How to Refinish A Clawfoot Tub
Pinterest Boards You may Like | Vintage Bathrooms | Vintage Bathtubs | Vintage Sinks | Vintage Lighting | Vintage Mirrors |
Pin this Tutorial on how to Refinish Wood for Later:
