How To Refinish A Clawfoot Bathtub
Do you have a vintage cast iron clawfoot bathtub that you need to refinish? Well so did we – and we got it done in as a 4-hour DIY project for less than $200!
So, before I jump in to the tutorial, I have to share a little bit of the history of this tub – because this is not the first time it’s had a post dedicated to it.
We originally got the tub from some friends who gifted it to us as a housewarming present when we purchased and began remodeling our current farmhouse. They had used it in their playroom as a cozy reading spot filled with pillows, and when they were ready to part with it, remembered that I had always admired it when we visited.
I loved it because it reminded me of the cast iron tub my grandparents had at their cabin when I was growing up. There’s nothing quite like a nostalgic memory attached to furniture pieces!
So as we did the original full remodel on our upstairs bathroom, we tried out a product and refinished the tub before we moved it in.
This process involved patching the old faucet holes and giving the entire exterior and the legs a new coat of paint.
Here is the before shot.
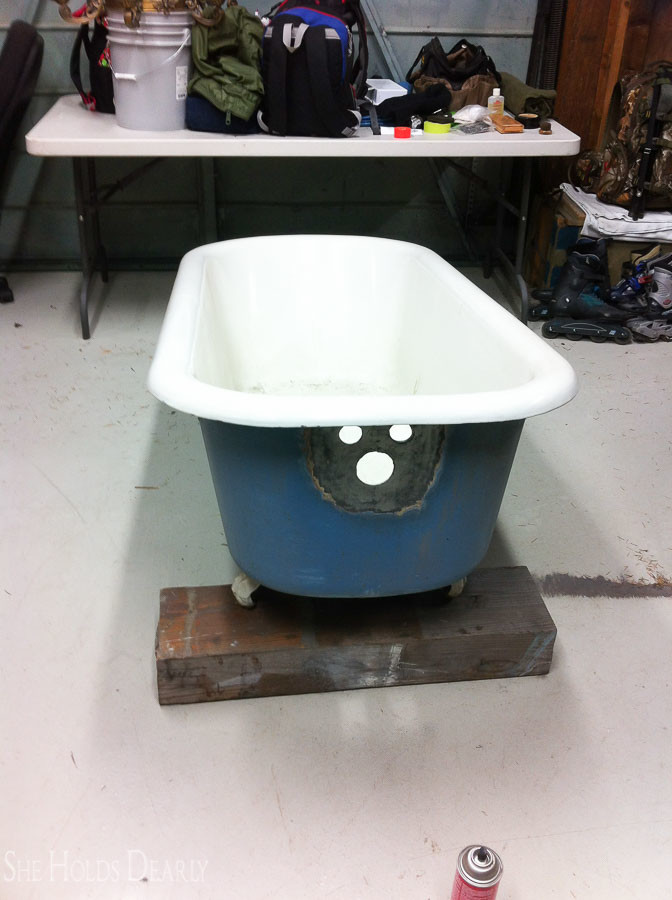
*This post contains affiliate links to products I know &/or love.
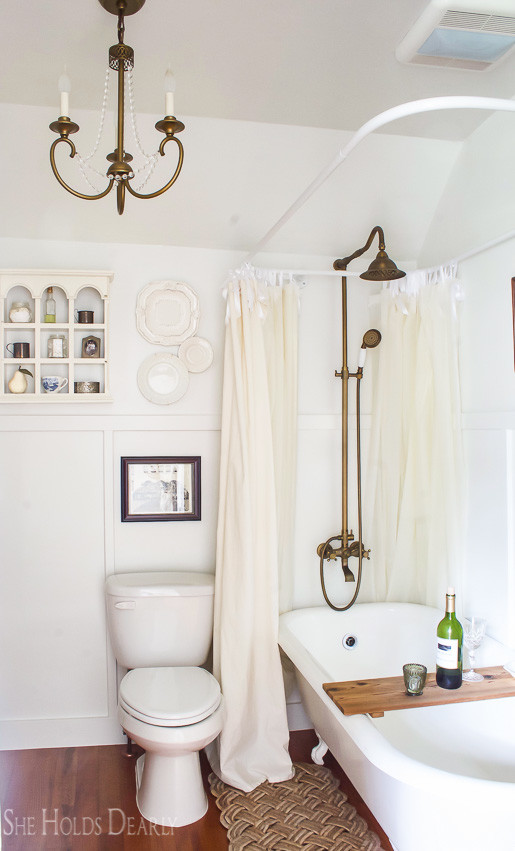
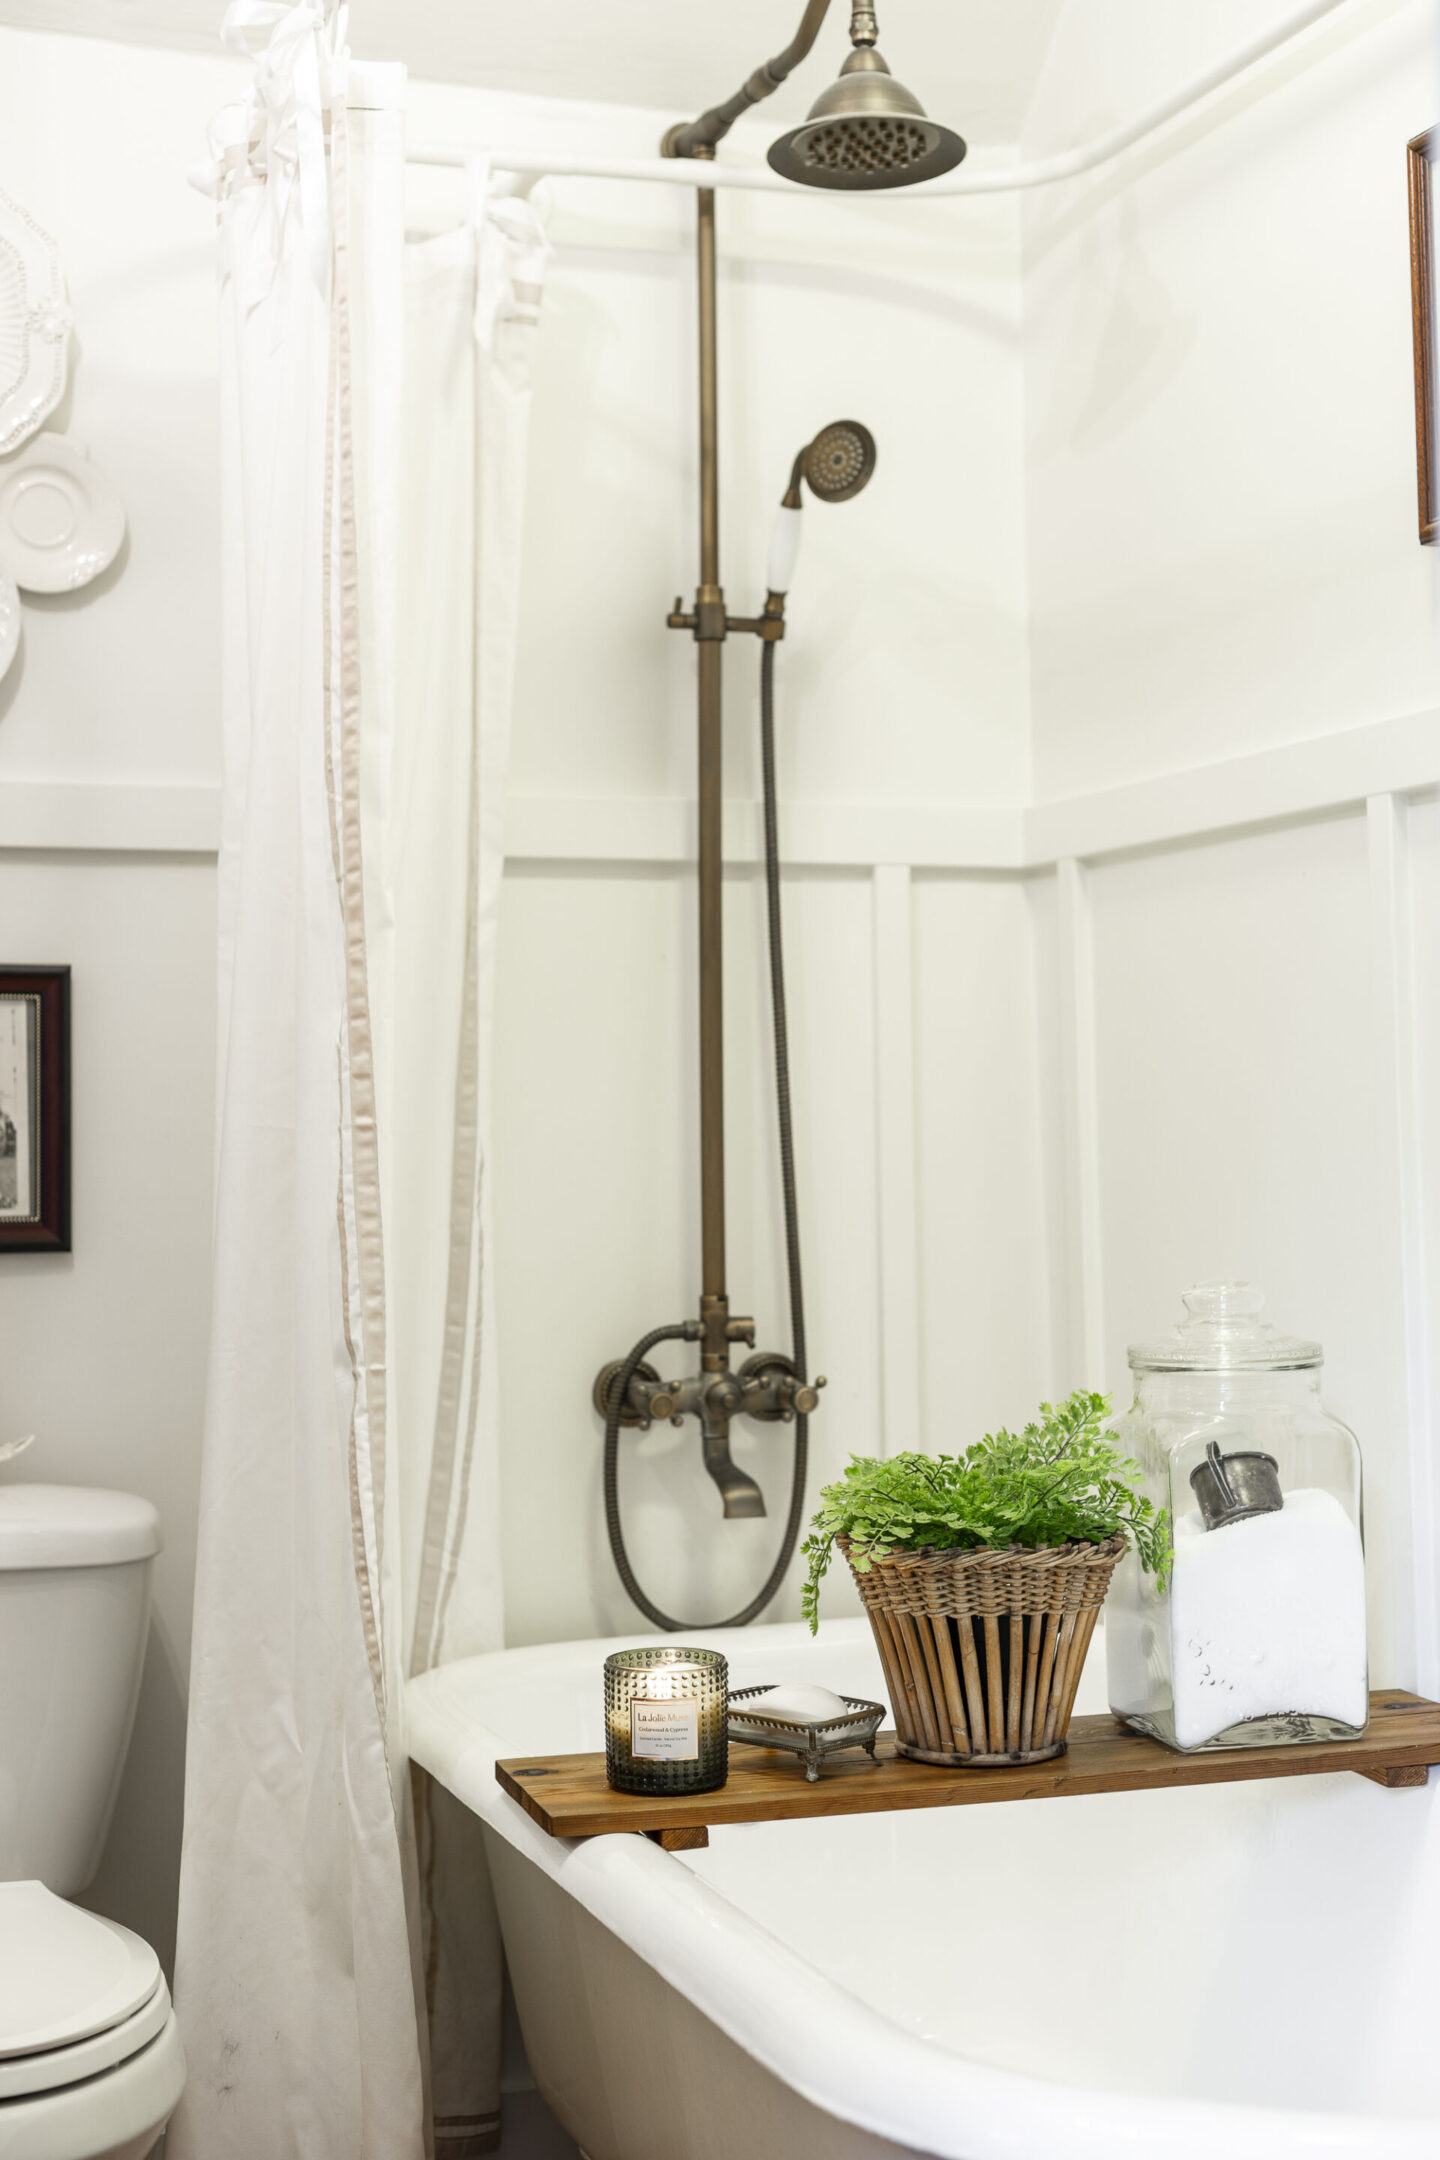
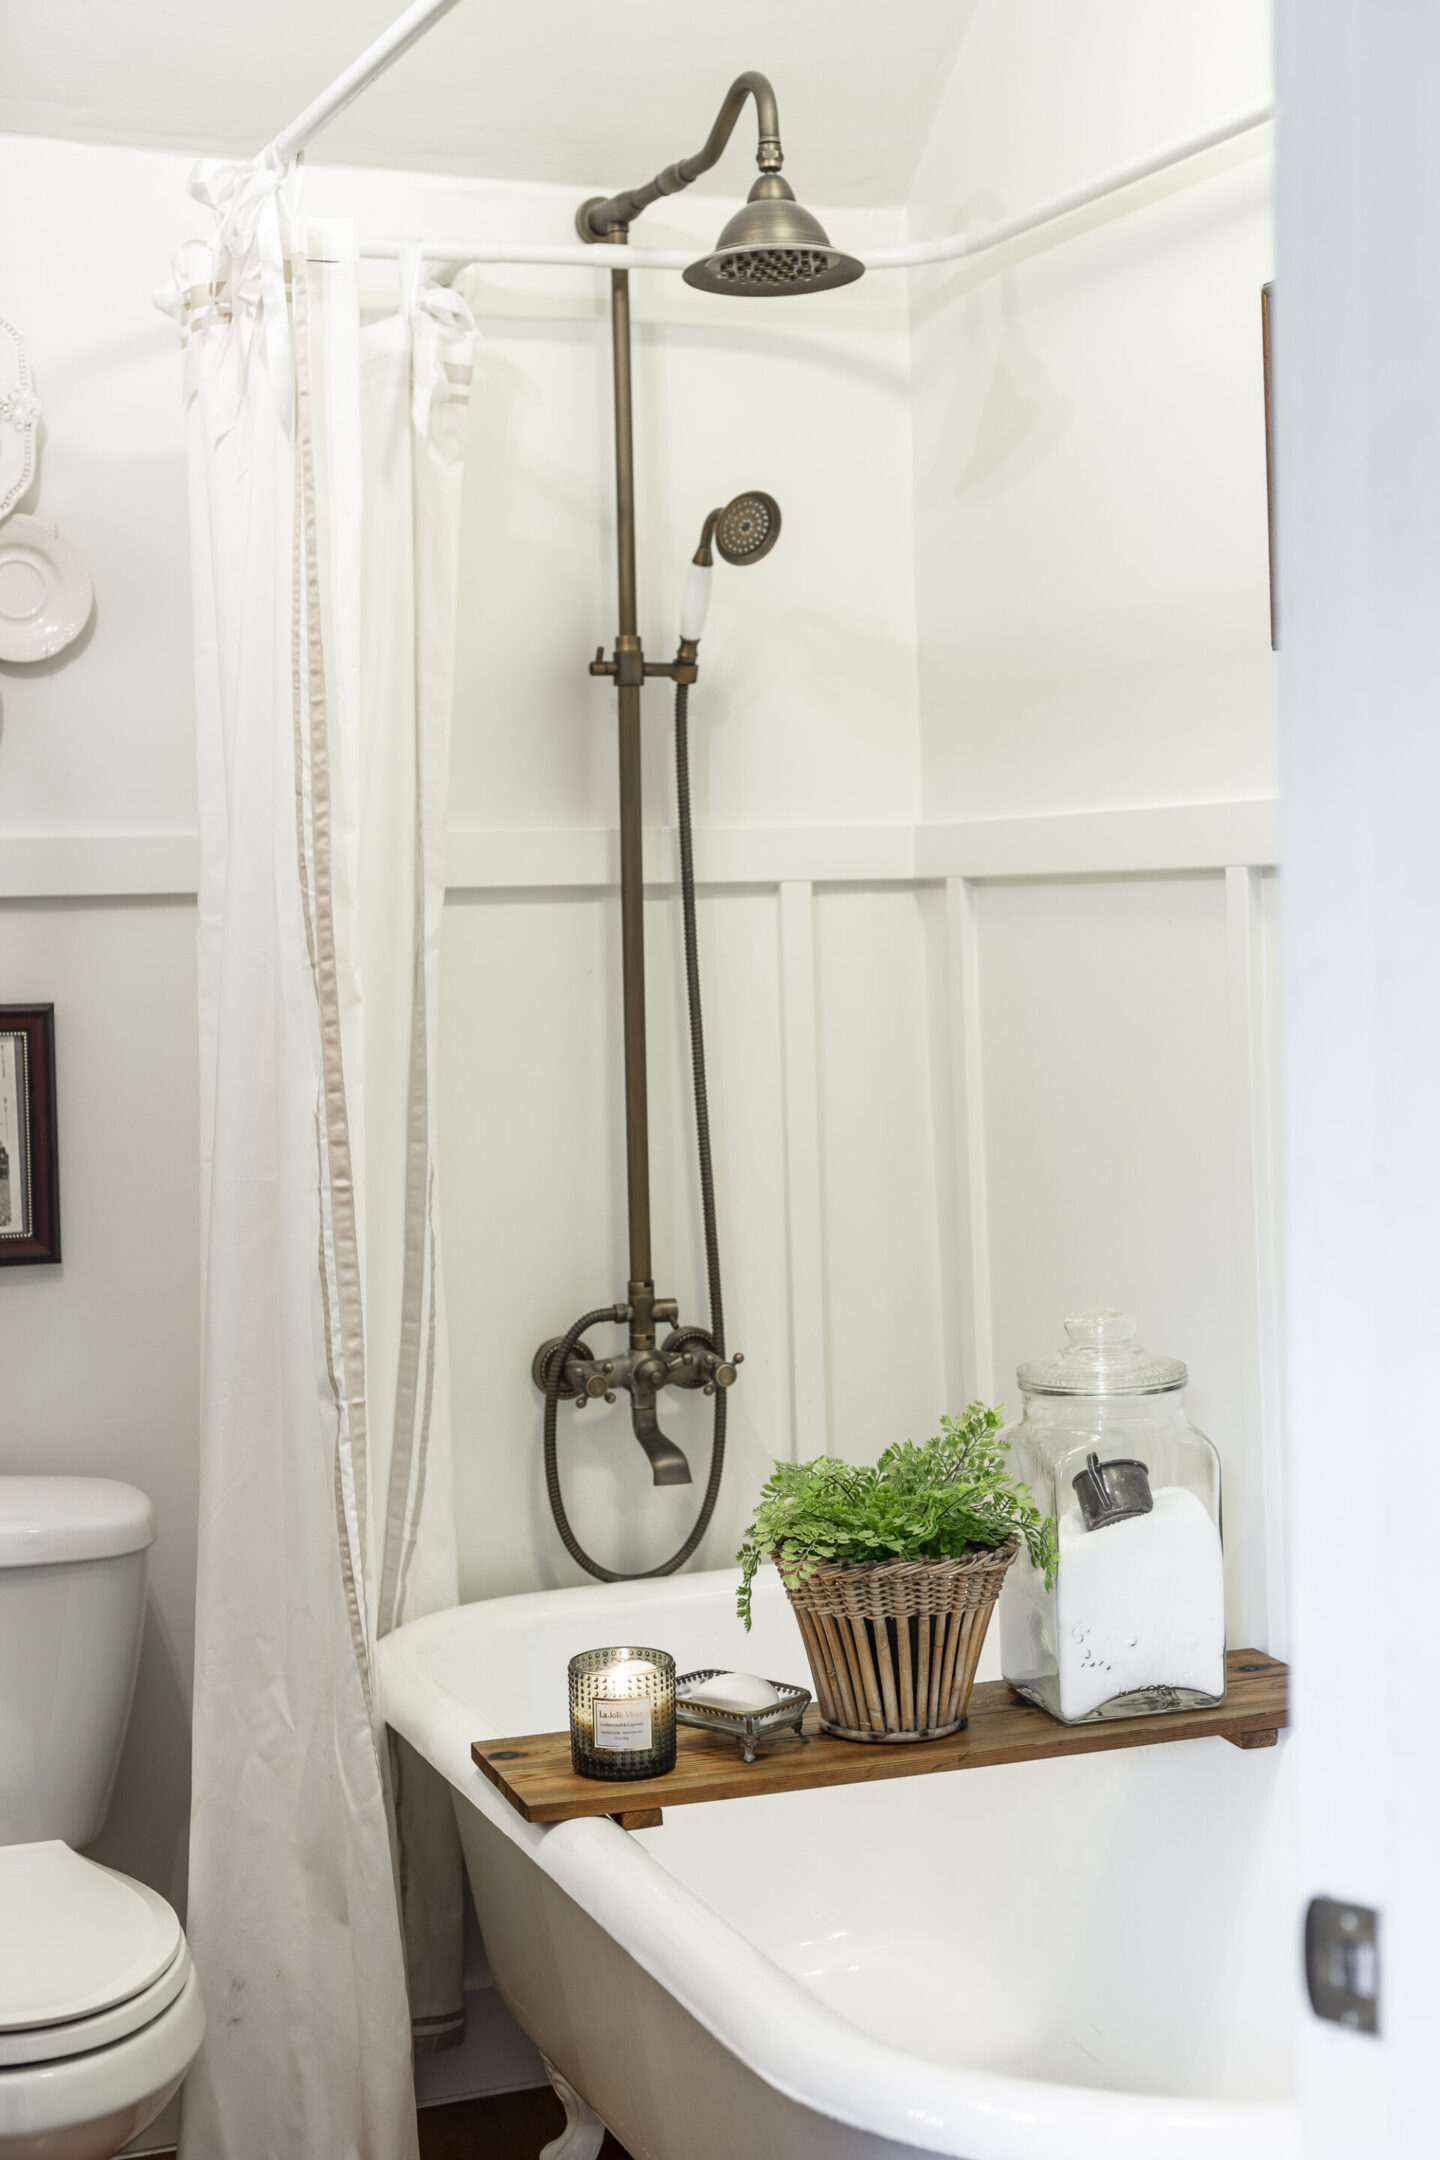
And here’s how it looked after.
The beautiful shower hardware was purchased on Ebay, but you can find similar options on Amazon.
Flash forward a bit, and I did a DIY project, bleaching some drop cloths to make curtains for our living room. To this day, I don’t know if it was an inferior product that we used to refinish the tub the first time, or if it was solely to blame on the high amounts of bleach used – but the finish was ruined.
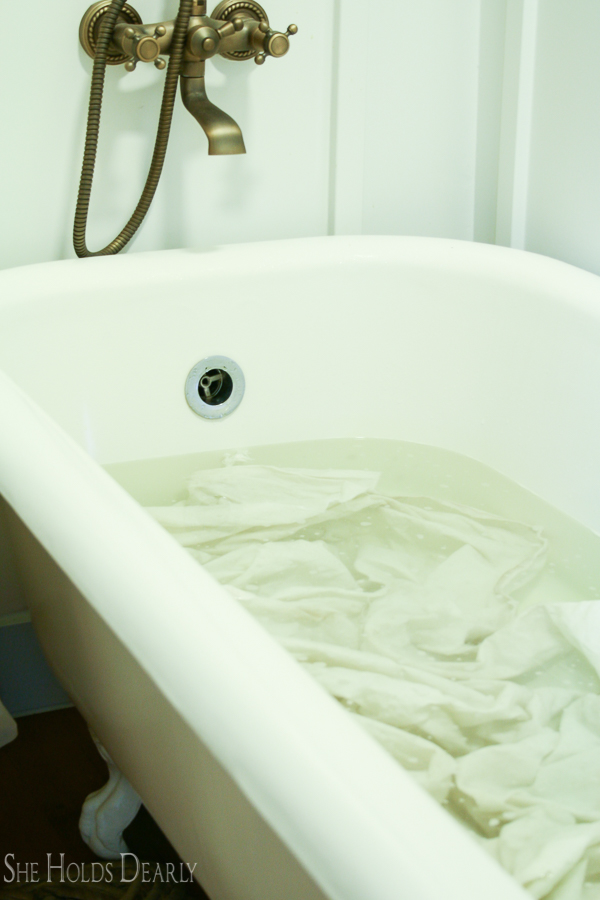
And it’s sat that way, slowly chipping more and more for the past few years…. Until this week!
We’re working on doing a refresh of this room, and re-re-finishing this tub was at the top of my list!
Sneak Peak : It’s beautiful!
Now it’s time to Refinish this Cast Iron Clawfoot Bathtub!
Supplies:
- Razor Blade Scraper
- Angle Grinder
- Avanti Pro Quick Strip Disc – 4 1/2″ Metal
- Lysol Power Cling Toilet Bowl Cleaner
- Drop Cloth
- Painter’s Tape
- Ekopel 2K Cast Iron Bathtub Recasting Kit
Colby based his process off of THIS YouTube video he found.
Prep Work:
This prep will probably look different, depending on what your tub looks like to begin with. If you’re removing original enamel, for instance – but the general process should be similar!
We temporarily removed all the fixtures and the drain from the tub while we worked.
Because our finish was already chipping badly, over the past weeks I’ve been able to slowly chip more and more away using a razor blade scraper. As my hands grew tired of that and we were more and more ready to start the actual refinishing process, we brought out the heavier duty option.
My husband used his angle grinder with the special “quick strip” sanding disk to help cut through the remaining epoxy from the former finish.
Once all of the old chipped finish was removed, we used the Lysol Power Cling toilet bowl cleaner to clean and etch the surface to prepare it for the new epoxy coat.
The Finishing Process:
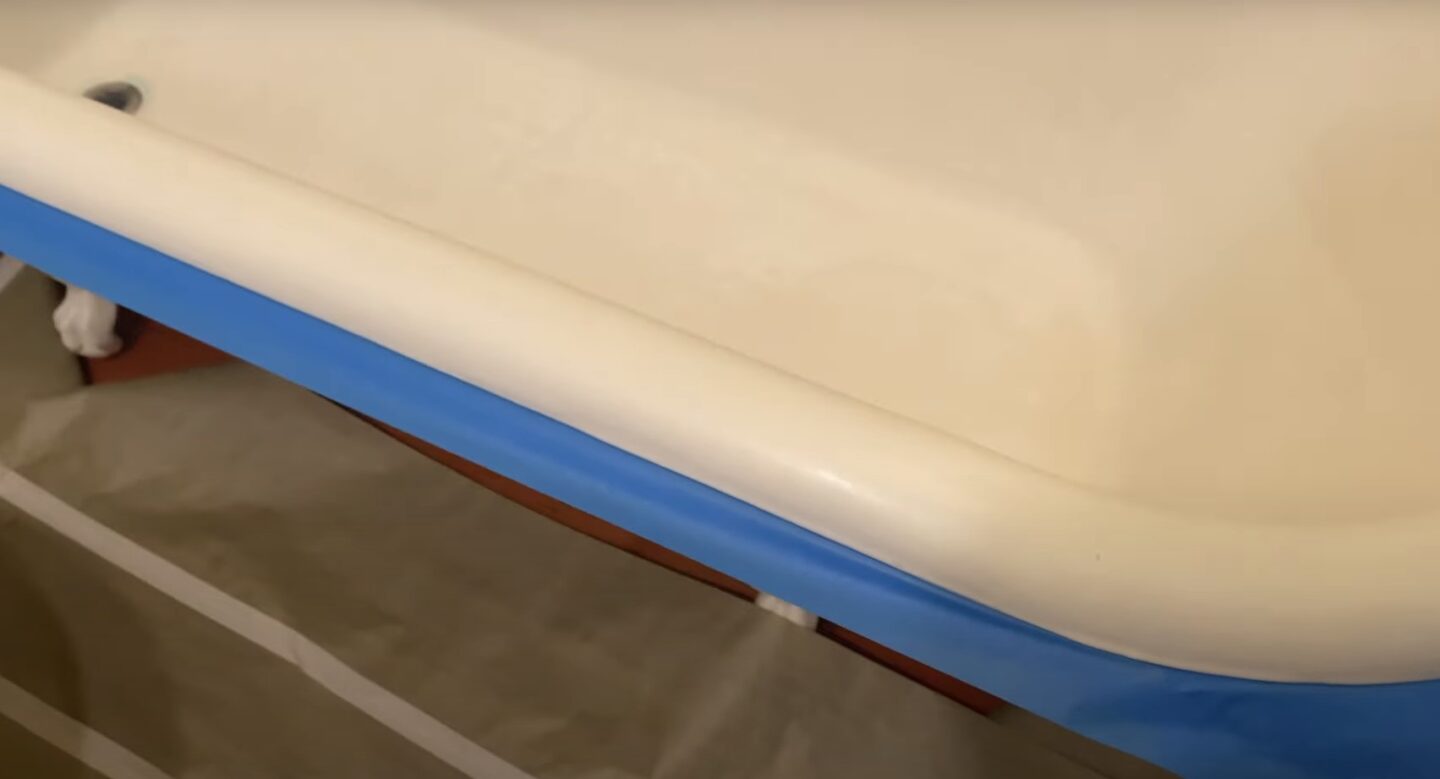
Once all that prep work was done, we protected the floor with drop cloth and used painter’s tape to tape the edge of the rim to create a sort of “lip” to help catch the epoxy and keep it in contact with the tub.
In place of the lower drain, we placed a catch cup to collect the epoxy as it self-leveled with gravity’s help down the sides and bottom of the tub.
We mixed the 2-part epoxy following the instructions that came with our Ekopel kit and then began slowly pouring it along the upper rim of the tub.
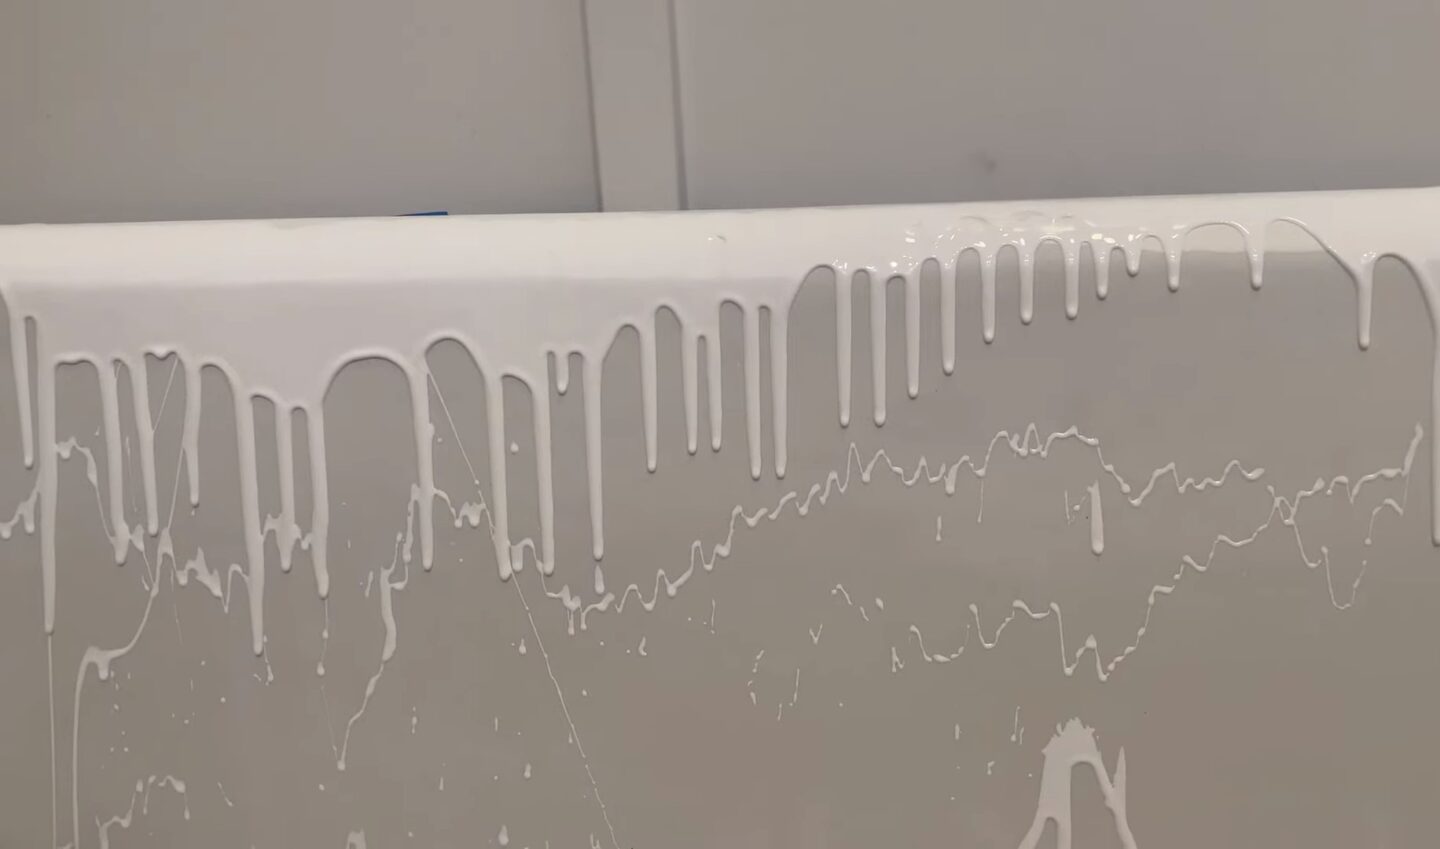
My husband, Colby, used the included foam brush to carefully move some of the epoxy product along the outer edge closest to the tape to ensure it was well covered.

Other than that, the process just involved pouring slowly along the top edge and allowing time to take the product down the sides and slowly fill in the missing spots.
Once the catch cup at the base drain had some product in it, we swapped it out and re-poured it over any spots that looked like they weren’t fully covered yet.
The one Ekopel kit says it should be enough for 1 standard bath-tub, and it worked on ours! Colby spent about 4 hours babysitting this process and re-pouring from the collection cup and using a tooth pick to carefully direct the epoxy into missed spots.
By the next morning it was already curing and looking so beautifully smooth!
After the full curing process it hardened wonderfully and I’m SO very glad to have a beautiful tub in this bathroom again – no more bleach projects; that’s for sure!
Styling it Up:
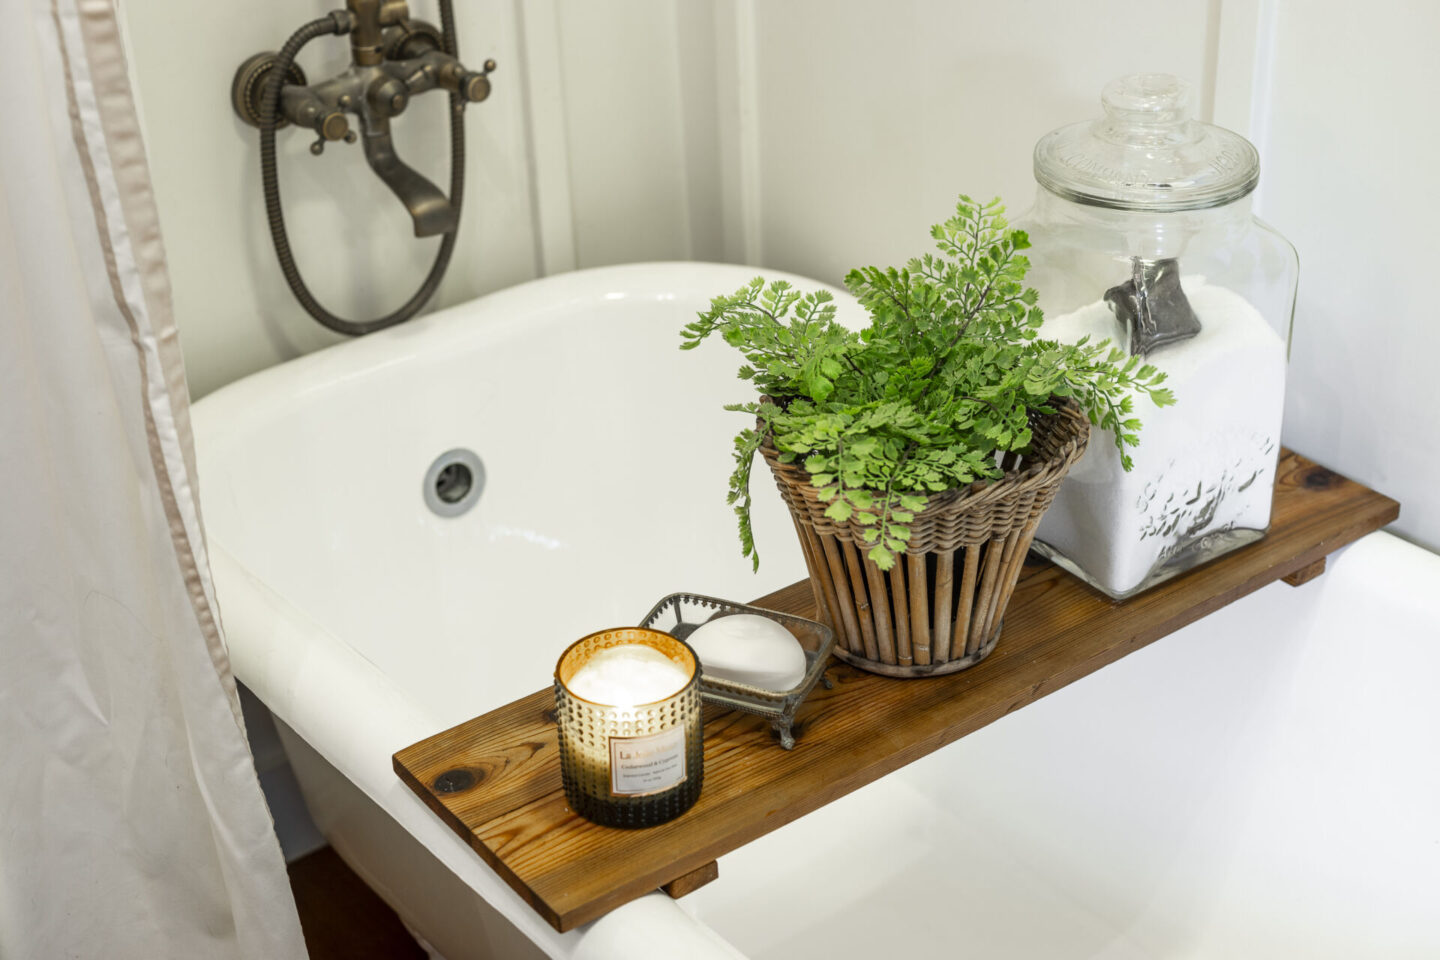
Of course the last bit of any DIY project in our home is styling it back up to look beautiful!
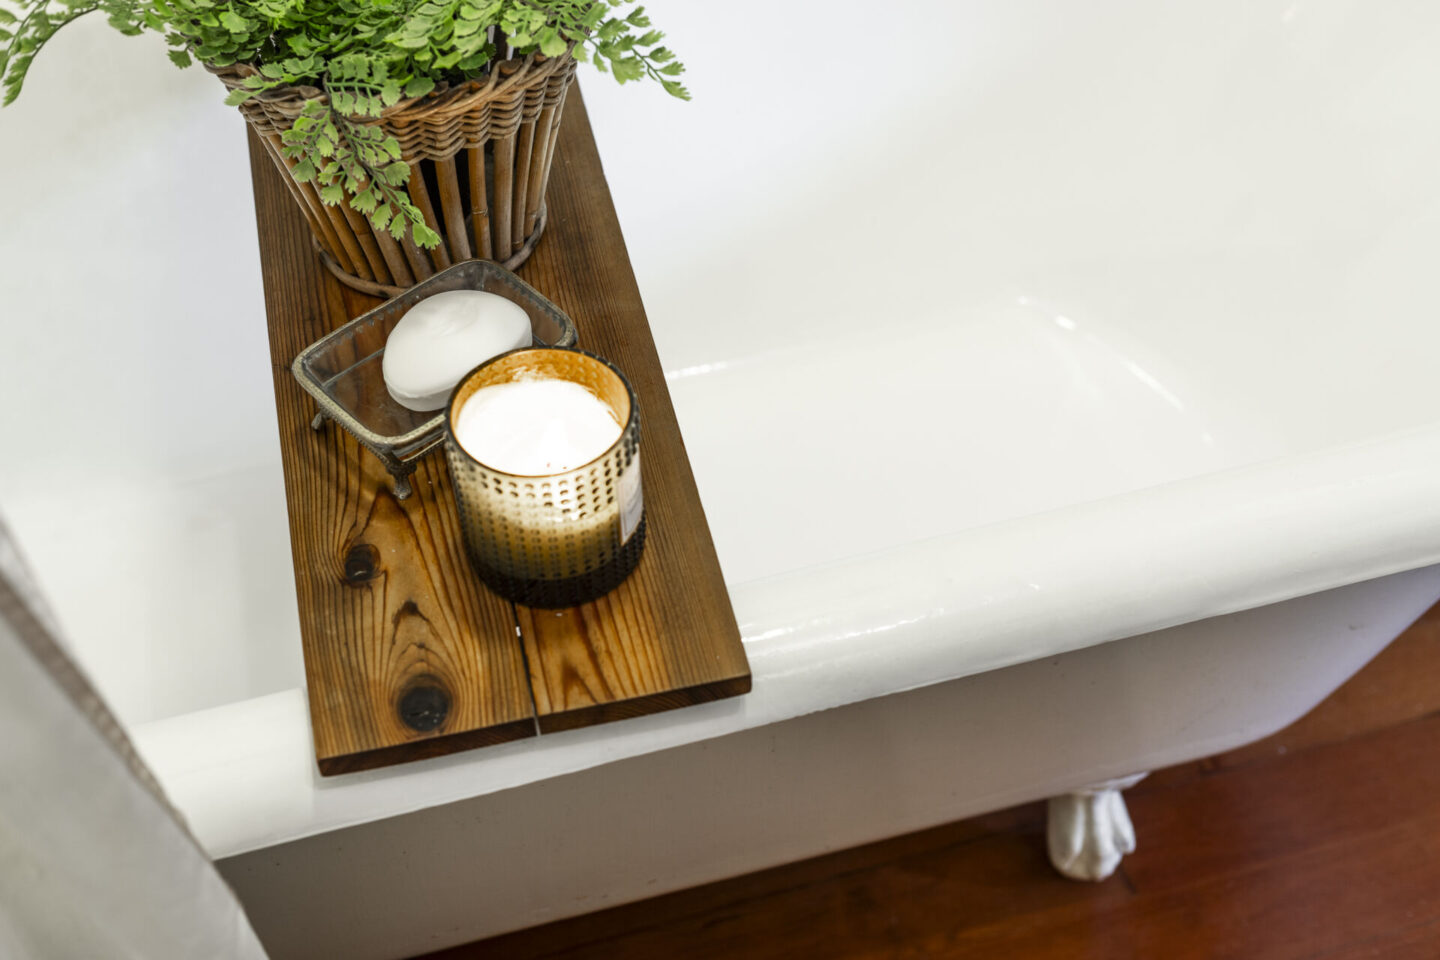
I gave our DIY bath tray a clean and polish with Howard Feed-N-Wax Wood Polish & Conditioner, and then added back my large Aberdeen Heather glass lidded jar that I found while thrifting a while back. I use it to store my Epsom salts – and I use a sweet metal cup that was my Mom’s as the scoop.
Next comes a cute faux fern, a pretty bar of soap and a candle to round out the tray!
Now we’re ready to start working on the rest of the projects in this room! Stay tuned to see what’s next.
Related Blog Posts & Resources:
- 10 Common Bathroom Design Mistakes
- Master Bathroom Remodel Begins | From the Archive
- Master Bathroom Reveal | From the Archive
- Free Workshop | 10 Design Mistakes & How to Fix Them
- Vintage Bathrooms| Pinterest
- Vintage Bathtubs | Pinterest
Pin this Tutorial to Refinish a Cast Iron Clawfoot Bathtub for Later: