How to Age New and Thrifted Wood Furniture
What do you do when the wooden furniture piece you buy either new, or find at a thrift store just doesn’t have quite the vintage charm you’re looking for? No worries – I’m going to teach you a method for aging wood furniture today!
As sometimes happens, I have a few pieces of furniture that I love, but don’t have exactly the look I’m after. Today I’m going to share a method for aging furniture that takes away from their existing look, and next week I’ll share a second post about how to add to furniture to give it an aged look.
*This post contains affiliate links to products I know &/or love.
Project Number One | The Coffee Table
You might remember a few months back I shared some of my Living Room Progress and asked for suggestions about making some changes to the look of our living room.
One of the questions was about what to do with my coffee table: either to swap it out completely or change my existing table to give it a more vintage and dark wood look.
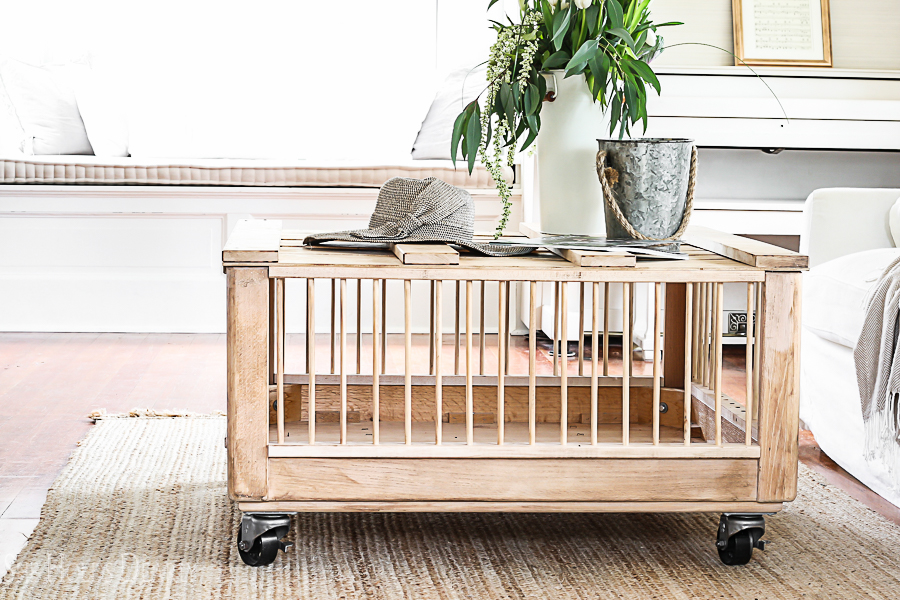
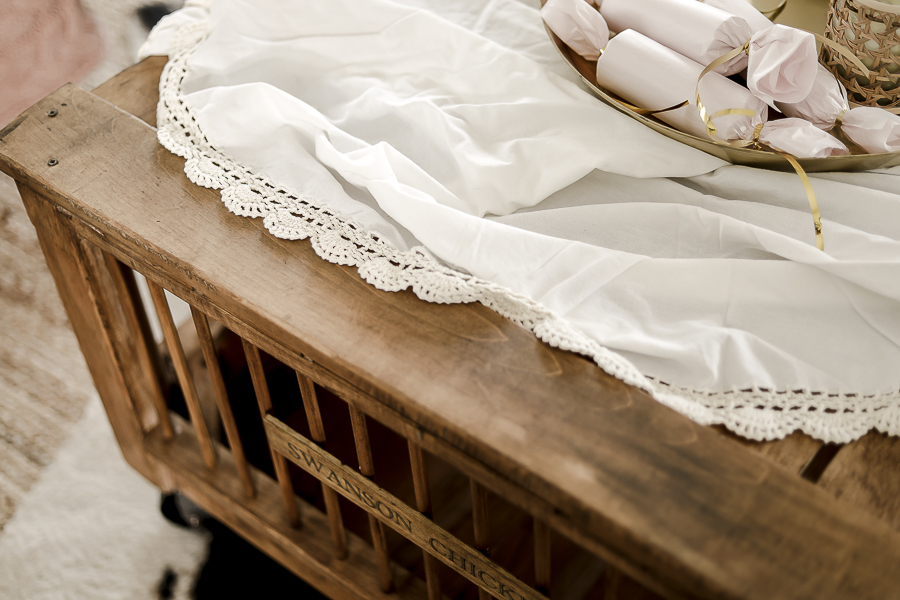
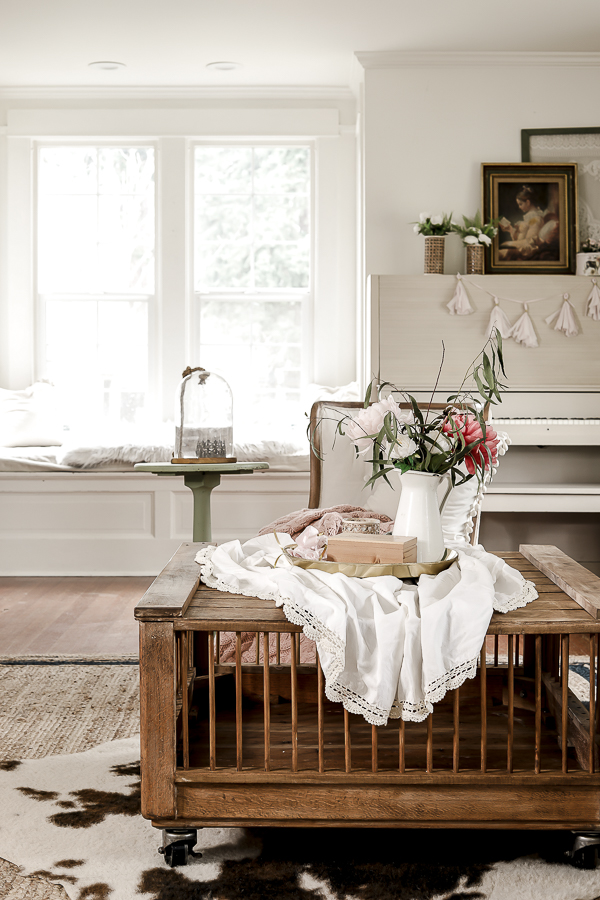
Well as you can probably guess, I’m keeping the chicken crate, but making it more vintage with today’s process!
I was inspired to make this table a few years back because I had been enjoying the look of chicken crates turned into coffee tables, but the price for real crates could be between $100-300 (on Etsy), and they were usually a bit smaller than what I knew we needed for our family size.
Flash forward to finding a heavy square coffee table at the thrift store for $9! We flipped it upside down, added dowels, trim and casters, and created our own DIY Chicken Crate Coffee Table that has served our family well for the past four years!
Something I’ve always loved about it is that the family we purchased this house from was called the Swanson Family, and when they owned the house and property, this was the Swanson Chicken Farm! They raised thousands of baby chicks here, and the idea of this coffee table paying homage to that was important to me.
So much so, that even as I’ve debated making changes to this room and the coffee table, the sentimental aspect always drew me back to keeping this DIY chicken crate.
But I knew I did want to age it a bit, and I wanted to give it a label like I had seen on this one from Etsy.
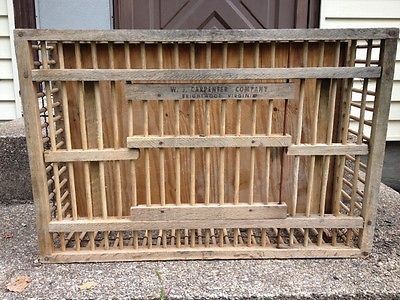
I wanted the crate to fit the story of the house even better, and since it’s one of the first things you see upon coming in the front door, I didn’t mind it being a bit of a conversation starter.
Project Number Two | My Stools
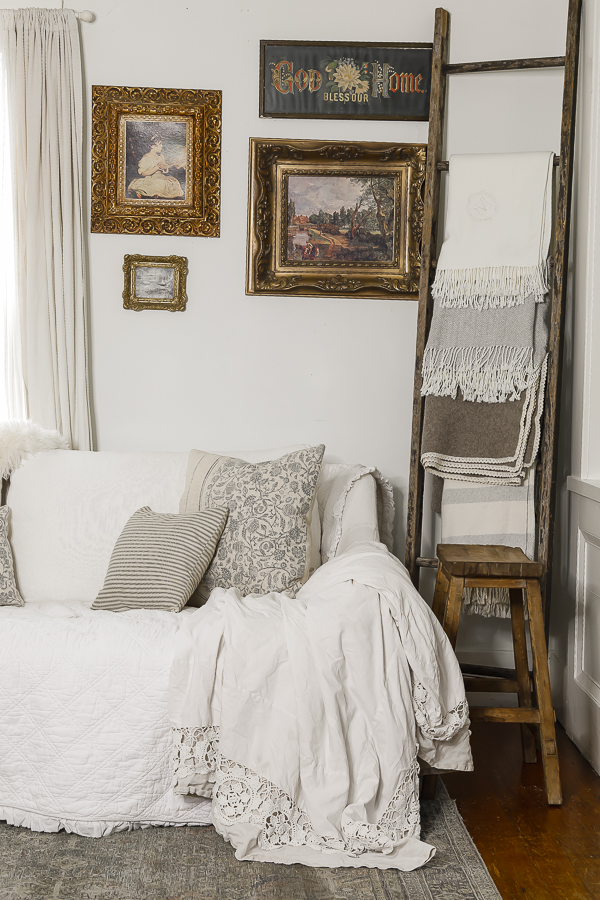
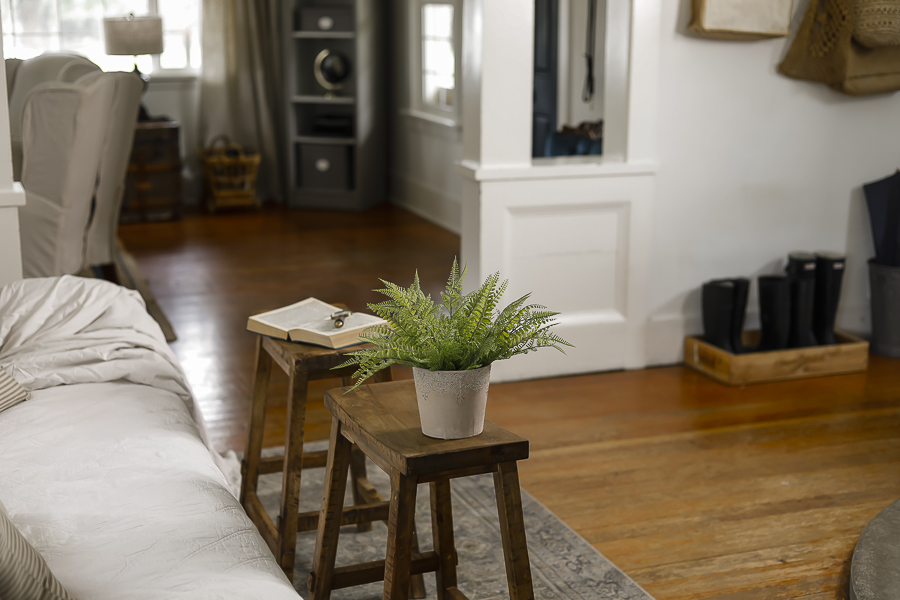
The next dilemma I had that I knew could be solved with some aged wood was in my Fireside room.
This is another room with a lot of history here on the blog!
For some of you who have been around a while, you might remember this Fireside Reveal tour back in 2016, or you might remember how we used it as our Dining Room for a few years after that, or if you’re a more recent follower, you might remember me mentioning last year how I was taking it back to being a sitting room and talking about some of those plans.
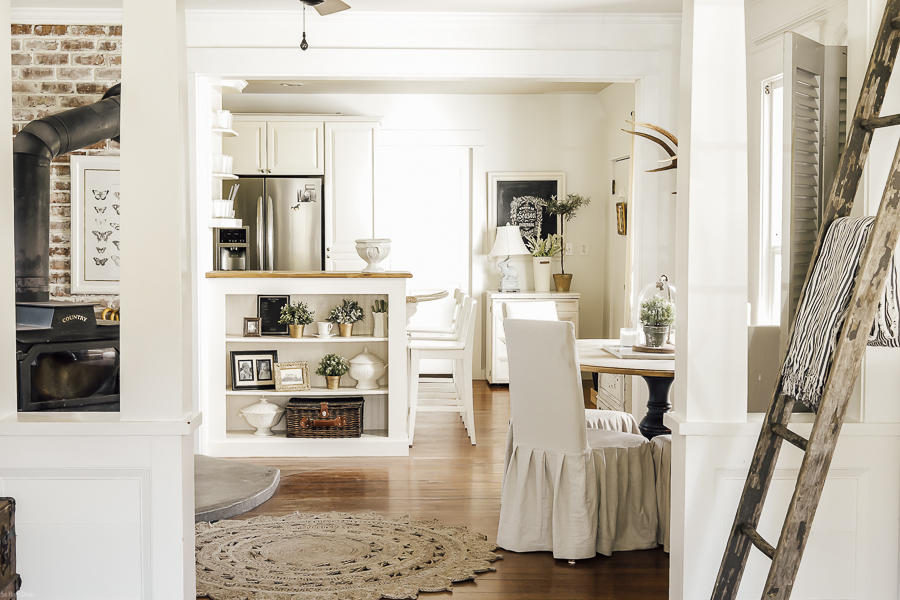
The main trouble with this room is that due to where it’s situated, it’s really a glorified hallway between our staircase, the living room and the kitchen. Finding the right furniture arrangement to not impede that flow of traffic has caused it’s share of stress over the years.
Since my post from last year we’ve kept our slipcovered IKEA Farlov couch in here and it’s been working really well!
The one problem I’ve noticed is that there hasn’t been anywhere for people to set things down when they’re sitting on the couch.
In order for a seating area to be comfortable and effective, each spot should have a place for the occupant to set down a drink or other items.
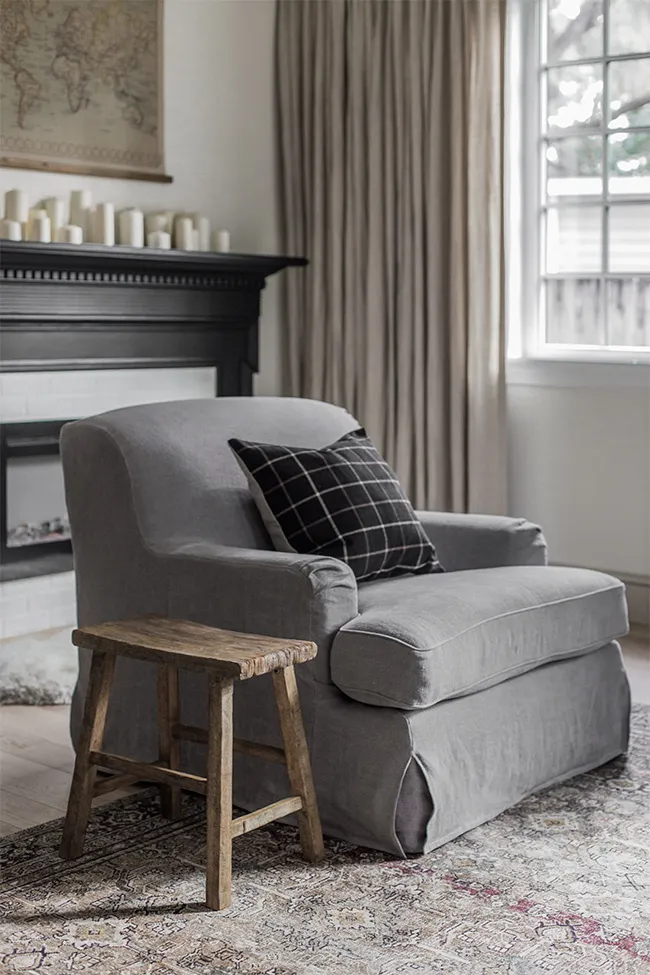
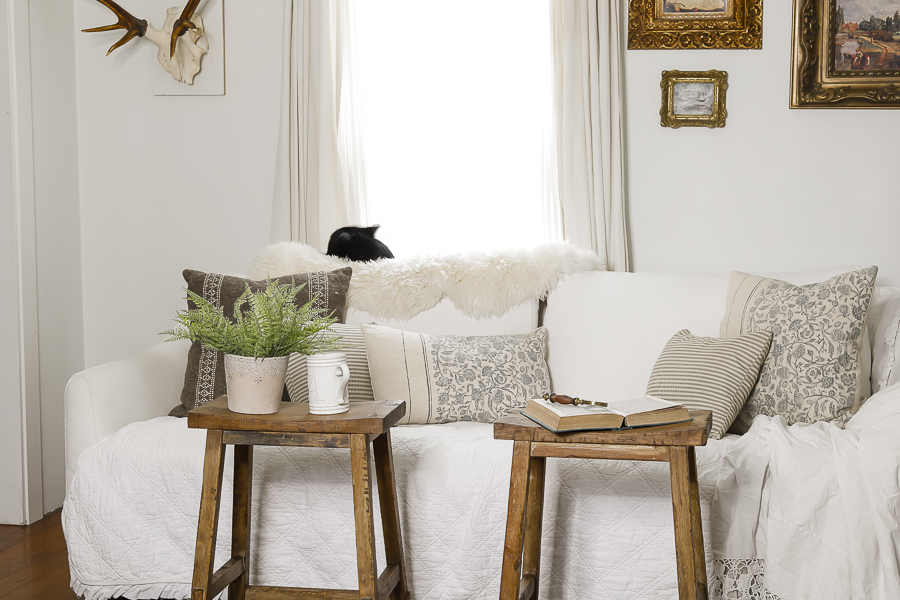
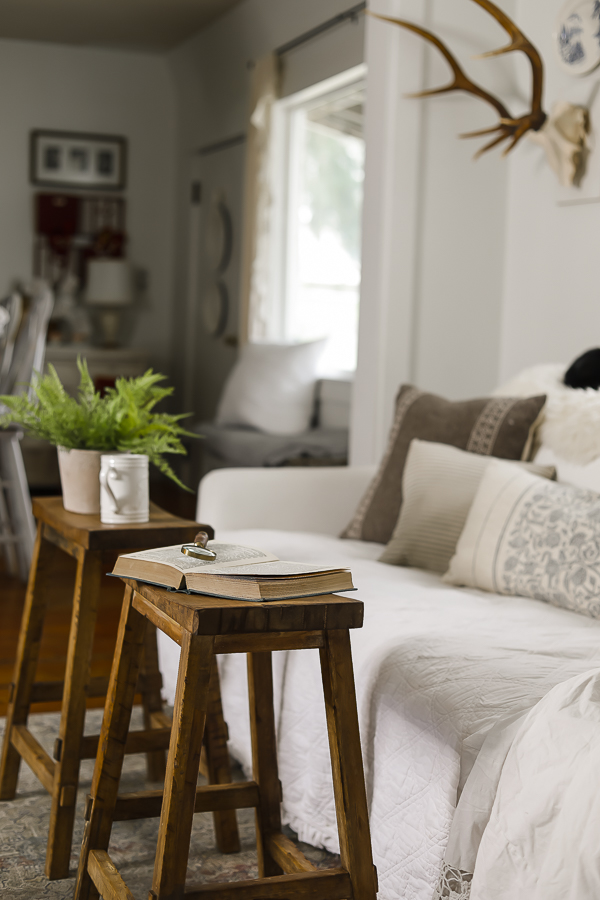
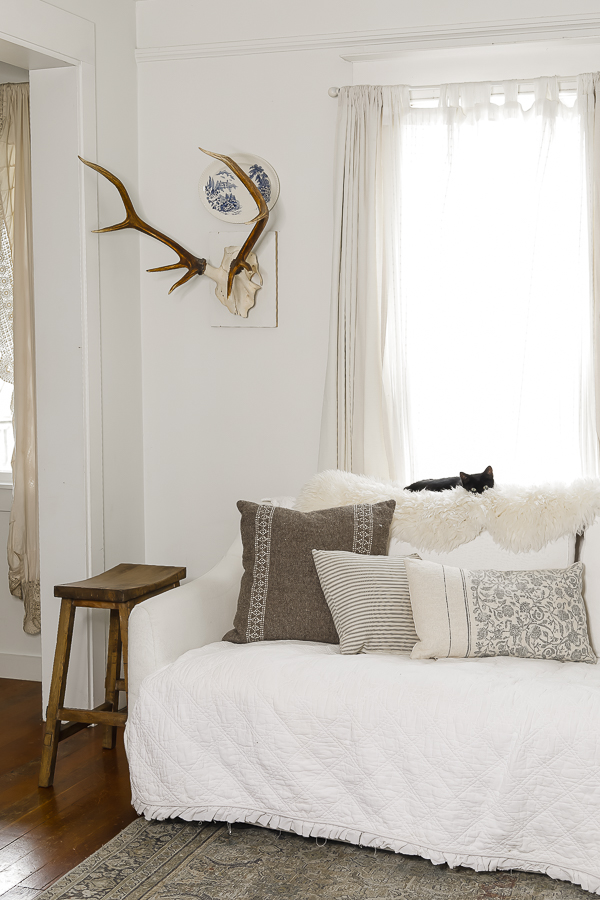
Due to the nature of this room, I knew a coffee table wouldn’t work, but luckily, I had the perfect solution in two thrifted stools.
I actually found these over a year ago during a thrifting haul and have been waiting for the perfect time to take on the project to age them. I knew with their beautiful simple lines that they’d look wonderfully rustic and would fit perfectly on either side of the couch for drinks.
These stools were $29.80 each, which if they were simply thrifted stools, would seem a bit high. But they were actually new (one was un-assembled and still in the box) from Target’s Threshold line, called Halifax counter stools. These retail from $65 at Target to upwards of $114 on Wayfair and other online retailers. So for $30, they’re over half off retail, which is well worth it for me!
My local goodwill actually gets a lot of Target’s post-clearance items, and the pricing is similar to how these stools shook out. They might be considered a bit high for a true thrifted piece, but they’re still a good deal when you consider it’s new, from a well-known brand, and over 50% off retail.
If you’re looking for similar stools, I’ve found a few options online:
- Unfinished Saddle Stool
- Finished Stools Option One and Option Two
I had seen a tutorial from Jenna Sue about how she DIY Aged similar wood stools, and I was excited to try it out for myself.
I mean, come on! Look how beautiful her stool turned out!
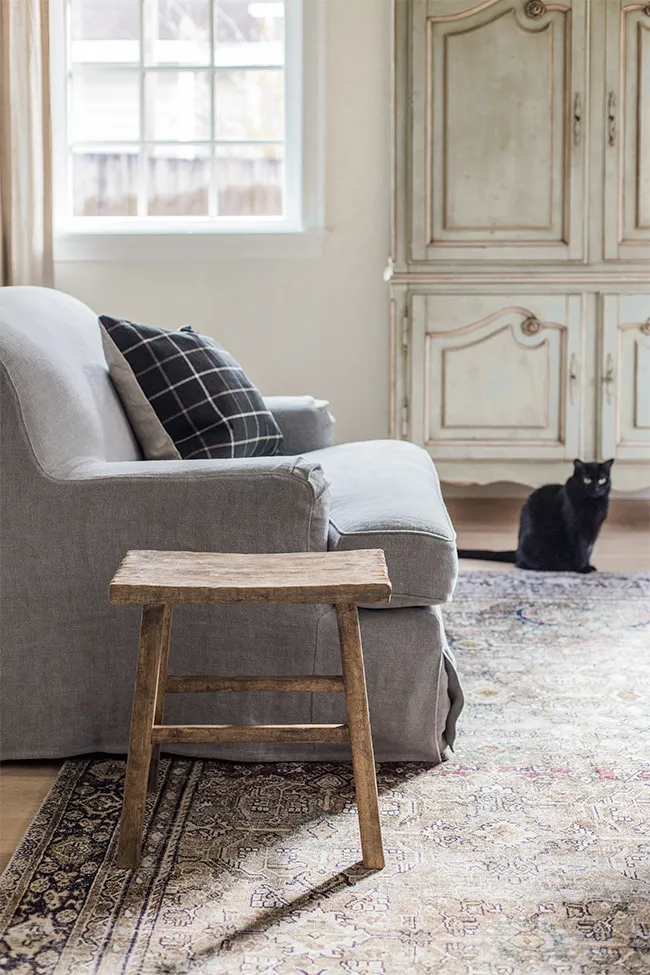
We even have matching cats!
But now back to the projects at hand!
How I Aged My Wood Furniture Pieces:
I started out using the following tools for distressing the wood:
I quickly realized that my wire brush was no match for the wire brush drill attachment that Jenna Sue used in her tutorial. This brush I linked is the type of brush I use for cleaning my nicer paint brushes, though, so if you have one, there’s a tip for making good use of it!
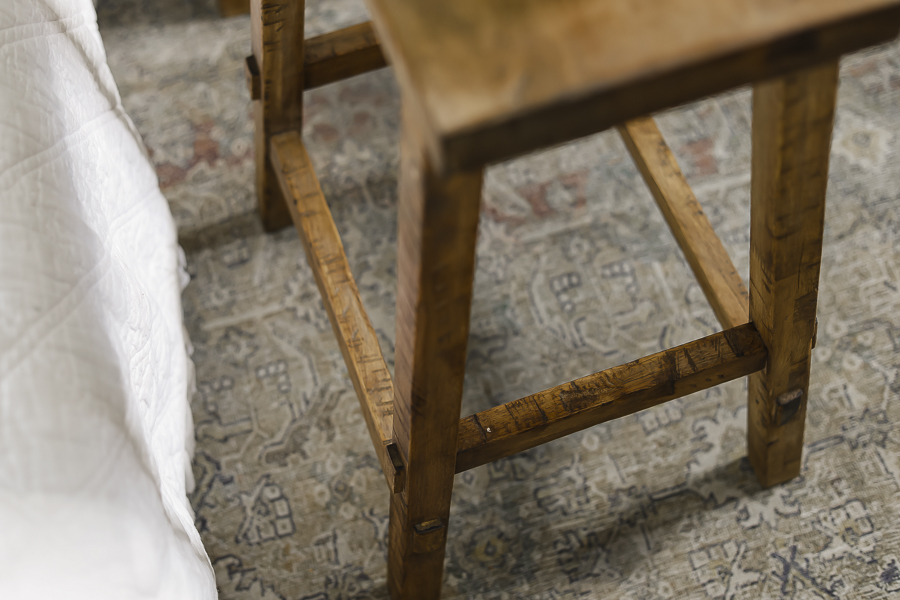
After going over both stools and the chicken crate with the jig saw, planer and smoothing down the largest spots with the orbital sander I was about to move on to staining and finishing the pieces when I realized that they both had enough of their previous finishes on them that they weren’t going to take the stain very well, AND they were also going to look so much better if I took them down to raw wood first.
I ended up having to set back my blog & video posting timeline in order to take this extra step, but I’m so glad I did!
They turned out even better than I had expected, but I’m getting ahead of myself!
I protected my work space with a drop cloth, wore latex gloves and used my trusty chip brushes to apply a thin coat of Citristrip over all the wood surfaces.
Then I waited 30 minutes before using my scraper tool to scrape away as much of the old paint and finish off the flat areas as I could reach. I followed that up with water and steel wool for the detailed areas, like around each dowel.
After I got all of the wood and finish scraped away and rinsed, I left the wood pieces to dry overnight in front of our fireplace.
The next day I applied Minwax Stain in “Driftwood” over all of the raw exposed wood. (I also used my drop cloth, latex gloves and chip brushes for this process.)
If you haven’t used stain before, here are a few tips:
- Stir, but do not shake the stain well before you start working. The pigment settles at the bottom and you’ll want it nicely mixed for an even color. Shaking causes air bubbles which affect the final look of your stain!
- Stain stinks, so you’ll want to work in a well ventilated area, like outside or in a garage/shed and not around children or animals.
- Using a cheap chip brush means you don’t have to worry about washing the oil based stain out of your nicer reusable brushes.
- And gloves and a drop cloth will protect your hands and work surface from the same oil-based residue!
Once the stain was evenly applied I left the pieces to dry for another evening before adding the final layer of dark wax.
To apply the wax I used my Siff brush. Remember with wax, a little goes a long way! You want to really work it into the piece until it’s smooth and buttery. If yours feels sticky, you’ve probably used too much product and not worked it in well enough.
The dark wax especially is great in pieces like this where I really want to highlight each imperfection and mark on the wood. It fills those spots in nicely and draws additional attention there. The rustic look is exactly what I was going for.
One Last Detail | My Chicken Crate Label
Well once the distressing and finishing were done, my stools and crate no longer looked too new for the space – I was really pleased with how they turned out!
But I had one more detail to work on for my crate: the label!
I decided to use a piece of a stir stick from home depot. I sanded down the ruler and all number markings and then used a wax paper wood transfer process that I shared a tutorial about a few years back to add the words, “Swanson Chicken Farm Est 1906”.
You can read the full tutorial for the details, but it’s really as easy as printing any image or wording onto wax paper (in reverse) and then using water and the back of a spoon to transfer the ink!
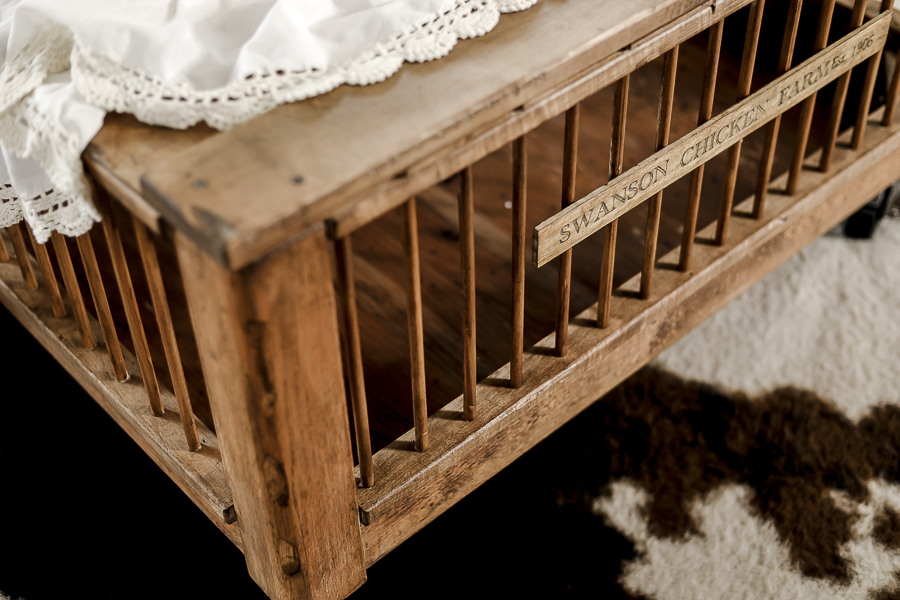
I am happy with how this sign turned out, even though there was a bit of a mishap with the wet ink transferring before I was ready at the end where it says Est 1906.
Looking at it now I’m glad that it adds to the “vintage” feel.
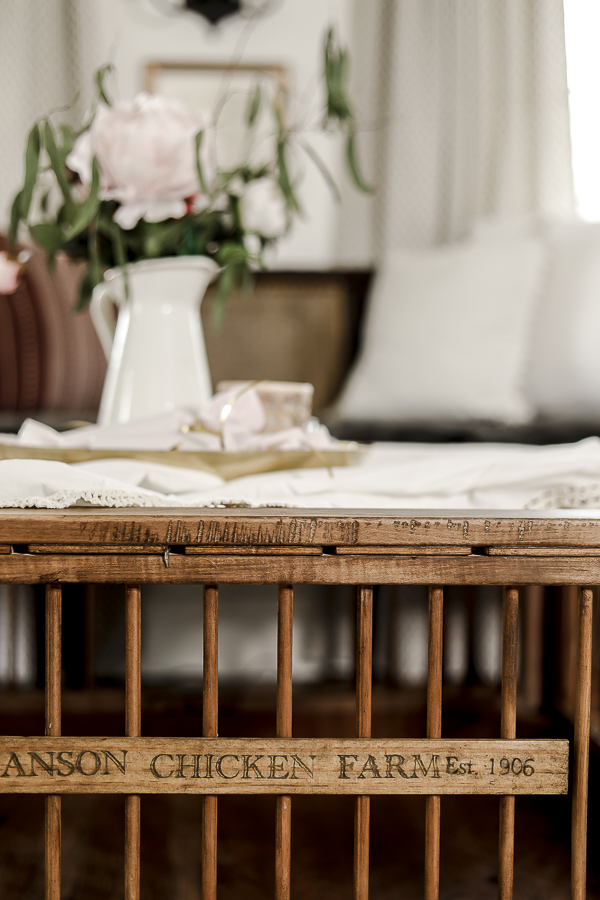
I used glue to attach it onto the dowels similar to how it looked in my inspiration picture.
I hope you enjoy these tricks for aging wood furniture, and that you’re as excited as I am for how these two rooms are coming along!
Pin this For Later: